Affiliate disclosure: This post may contain affiliate links. Please see our Privacy Policy.
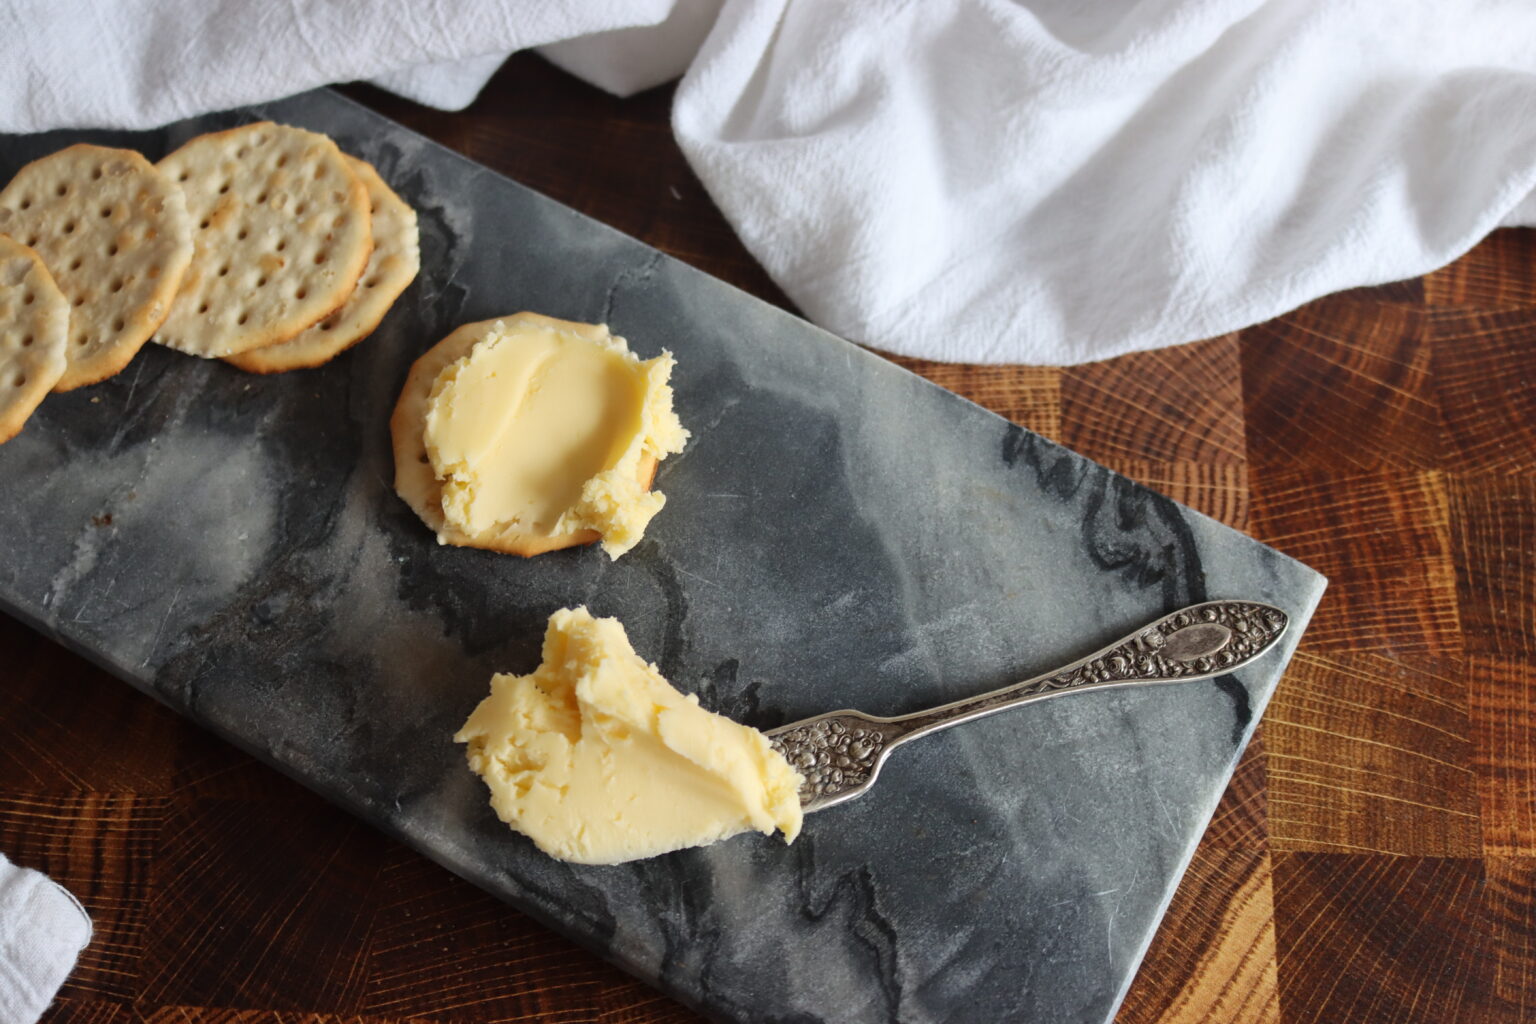
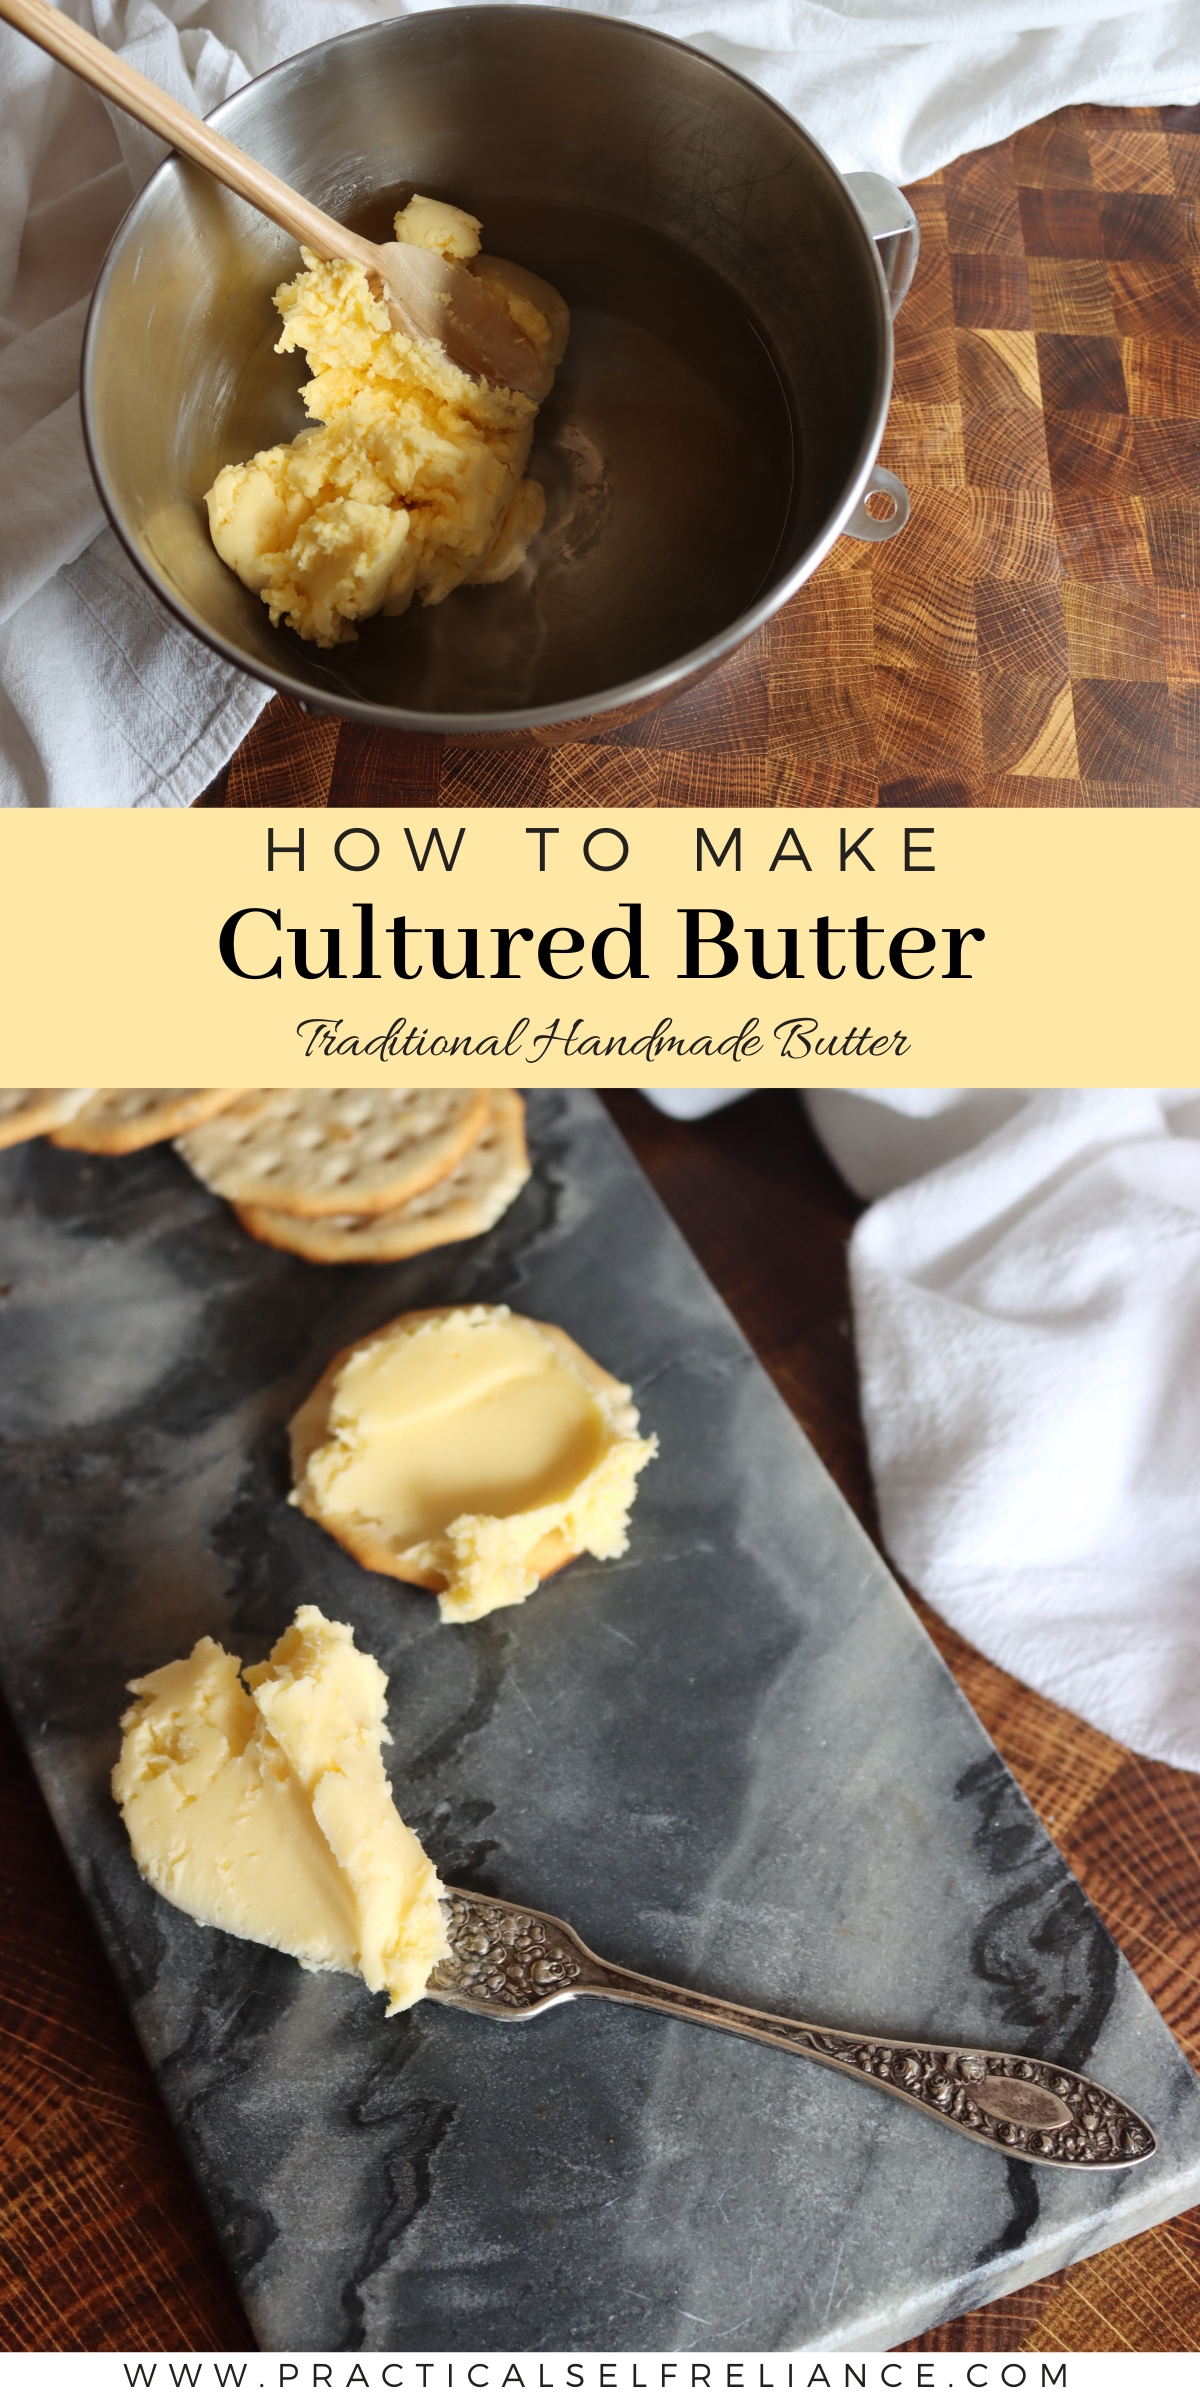
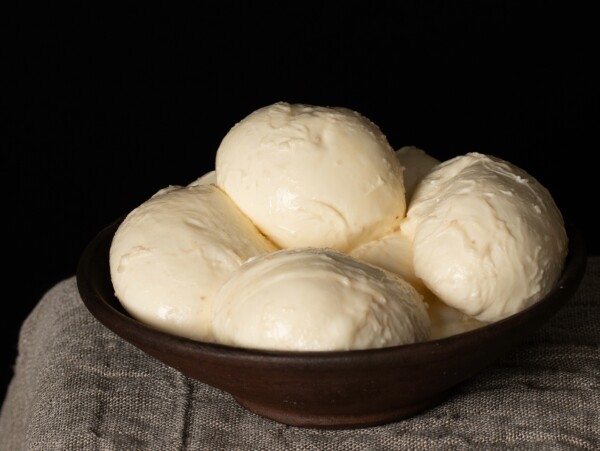
Cultured butter has so much more flavor than regular butter, and it’s incredibly easy to make it yourself.
Springtime is all about new green growth, pulling us out of the darker days of winter. We’re not the only ones excited about the return of green plant growth, and arguably, it’s less meaningful for us on a personal level than it is for all the grass-eating ruminants that depend on it for their lifeblood.
This is when dairy animals bear their young, and in the days before year-round milk from the grocery store, this is when we’d be tasting the first spring cream (and fresh butter).
Bright yellow and full of aromas from the fresh forage, the best cream of the year comes from grass-fed animals dining on these tender spring greens.
Around this time of year, I start to feel the cheesemaking itch, and I pull out all my favorite cheesemaking books and try my hand at new varieties. In the past, it’s been more intense projects, like traditional clothbound cheddar…but there are so many things that can go awry with a long-aged cheese.
This time, I wanted something more accessible. Maybe some Mascarpone or Crème Fraiche, or other simple things that can be done start to finish in less than 48 hours…yet still bring out the best of fresh milk and cream this time of year.
What Makes Good Butter?
I just came across the book “Butter: A Rich History,” and it absolutely blew me away.
Sure, I knew that homemade butter with fresh, high-quality cream is going to be better than mass-produced grocery store butter made with the lowest percentage of butterfat you can get away with (and still legally label it “butter”). But, still, butter is just fat, right? It can’t make that much difference.
But…it does.
Butter, at least well-made butter, is much like a fine cheese. It has nuances in flavor, texture, mouthfeel, and aroma…and it’s hard to appreciate if you’ve only ever been exposed to mass-produced standardized sticks from the grocery store.
(Or, like me, you grew up eating margarine because your parents wanted the best for you…and back then, trans-fat laden margarine was the “healthy” alternative.)
Reading this book kicked off a whole new spring passion for me, and now we’re hosting “butter offs” with friends, blind taste testing different types…and putting those head to head with our own batches of homemade butter.
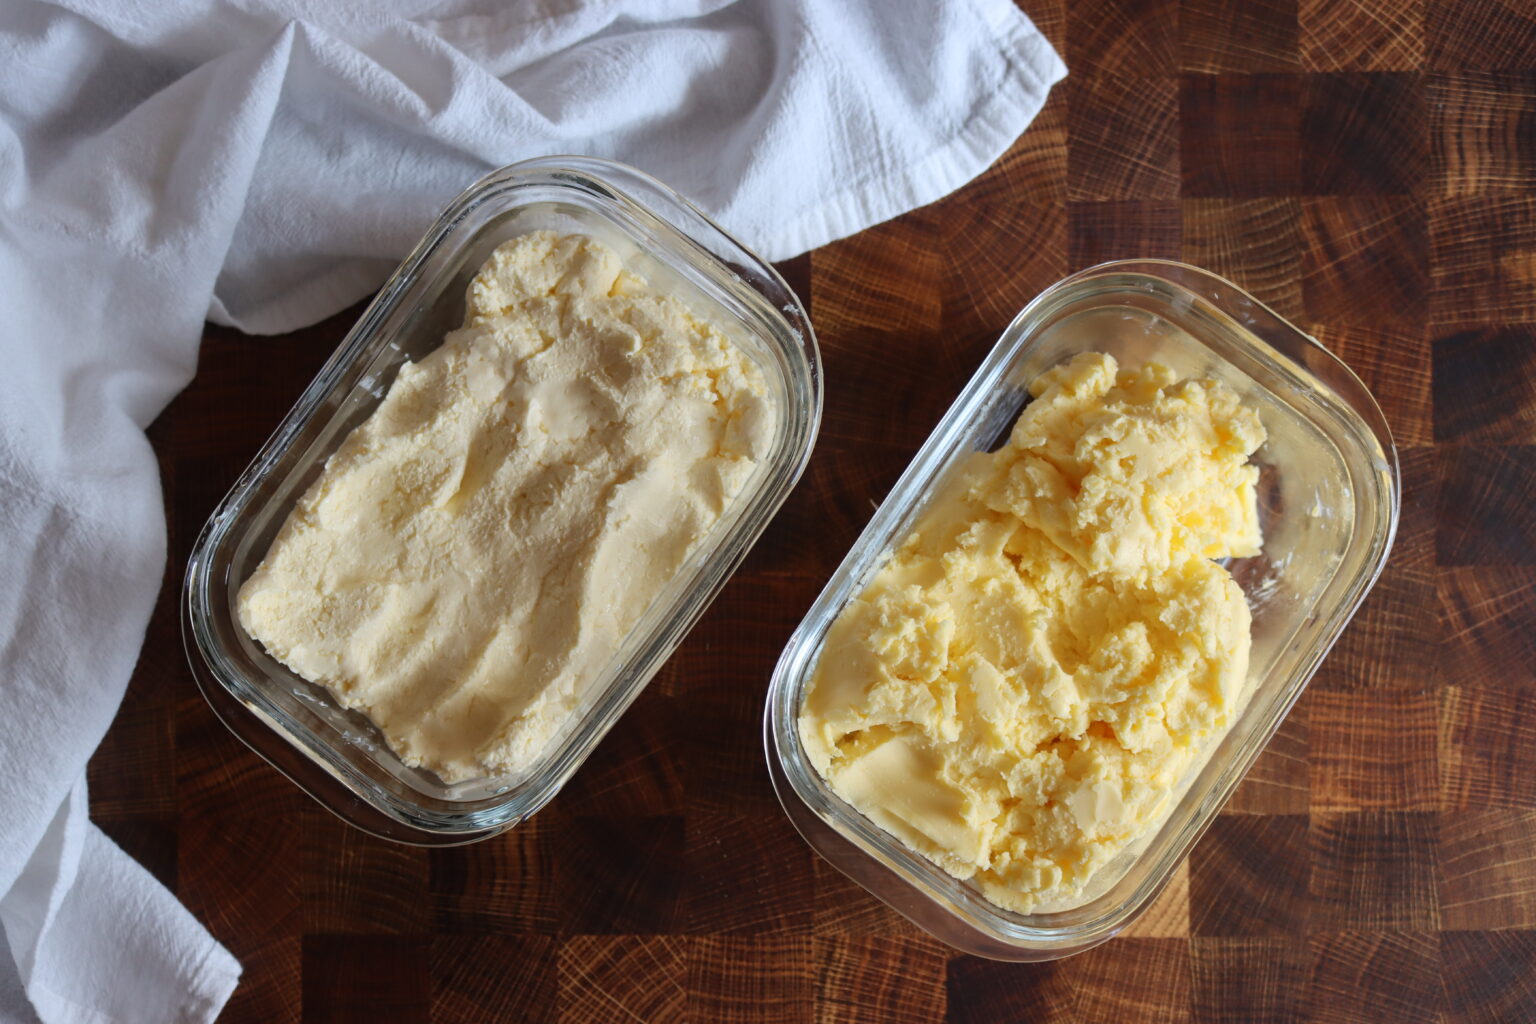
It’s amazing how much of a difference the type of cream makes, but that’s to be expected. What I didn’t expect is what a difference the churning method would make, as well as how the cream is handled before you make the butter.
The two batches pictured below were made from the same pitcher of cream, but two different churning methods. One produced a beautiful yellow butter that’s rich, creamy, and luscious…the other a greasy, grainy butter lacking rich color and with a pretty sub-par mouthfeel (at least in comparison).
There is an art to this process, after all….
Anyhow, like anything, you can really dive down the rabbit hole into the art and science of butter making (as I have), and if you want to, I’d strongly suggest the butter book I mentioned above.
For the rest of you, who maybe want to taste some truly spectacular homemade butter, without spending a month testing recipes, cultures and churning techniques as I have…I have a shortcut for you.
Here’s what you need to do.
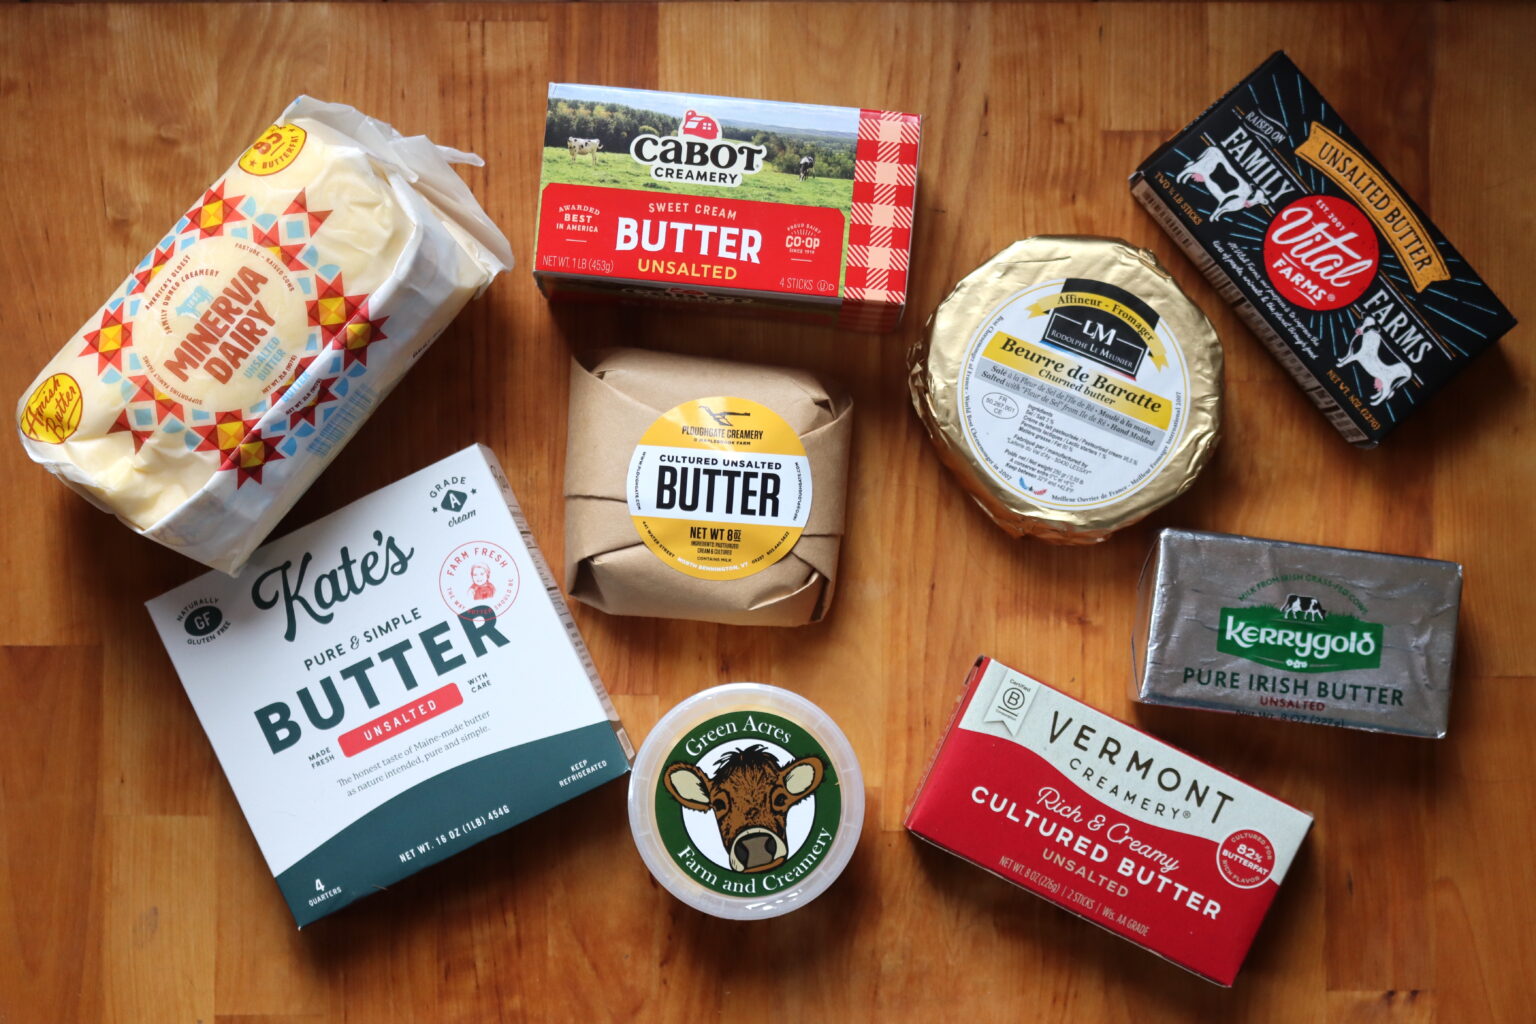
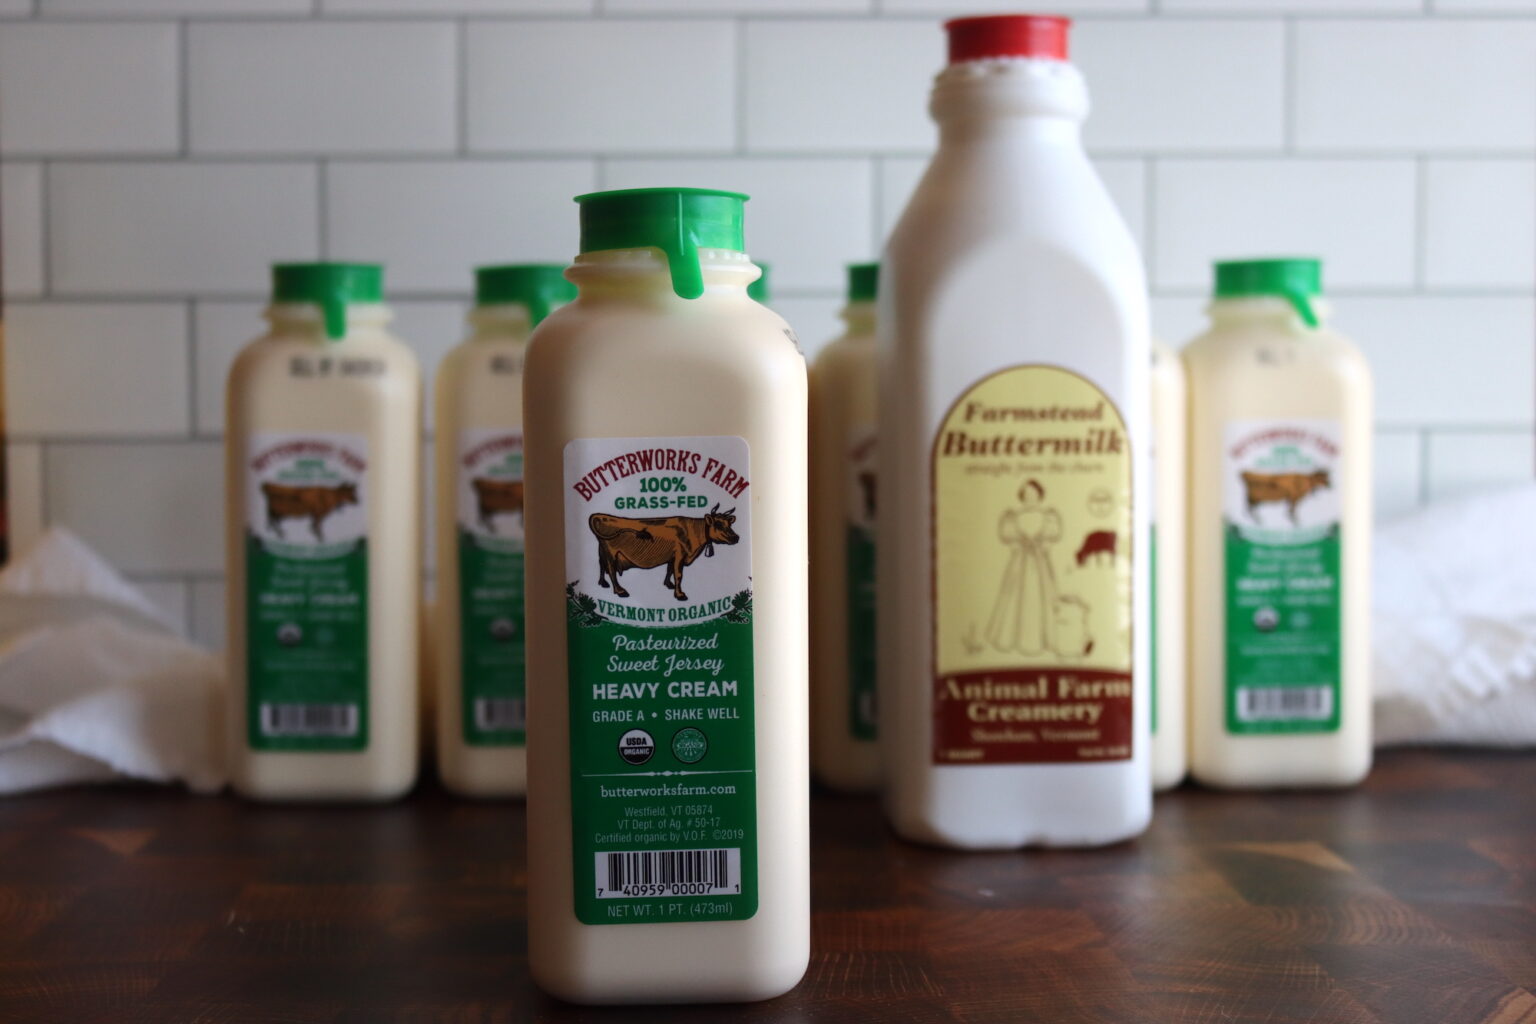
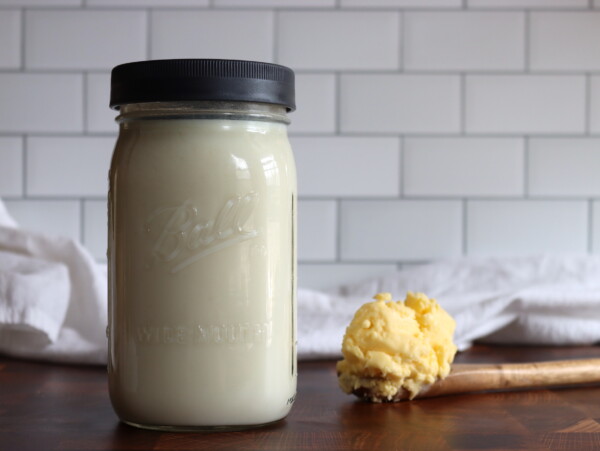
Buy a pint (or a few pints) of the highest-quality heavy cream you can find. Any heavy cream will make butter, including ultra-pasteurized cream. Homemade butter (even from low-ish-quality generic supermarket cream) will pretty much always taste better than storebought butter. That said, the better your starting ingredients, the better the finished result.
Grass-fed Jersey cream and Brown Swiss cream are the best, and believe it or not, they are actually structurally different from the cream that comes from other breeds of cows. Modern holsteins not only produce less cream than those heritage breeds, but the fat molecules are different.
(The proteins are different, too, but that’s a different story, and if you’re interested in that, you can dive into the rabbit hole of A2/A2 milk. The Casein (or milk protein) used to be different historically, and modern cow breeds actually have different proteins as an unintentional side effect of the selective breeding that took family cows producing 2-3 gallons of milk a day and bulked up their production to 9+ gallons a day…but again, that’s another story.)
Ack…there I go again.
Didn’t I promise to keep it simple?
Ok, let’s start again with the ingredients.
Ingredients for Cultured Butter
For the best butter….
Buy a few pints of high-quality cream and a small container of cultured buttermilk. You just need a splash of live culture buttermilk to innoculate the cream, and you can use the rest for some epic pancakes or biscuits.
If you’d rather start with pure cultures or don’t have access to cultured buttermilk with live cultures, you can always grab a packet of buttermilk starter culture.
Historically, before milk pasteurization became widespread, the natural mesophilic cultures present in the cream itself acted as the starter. If you have access to fresh raw milk, you can simply separate the cream and leave it at room temperature, and it will culture perfectly on its own. Adding a little bit of buttermilk from your previous batch can give it an extra boost too.
For those of you who are home cheesemakers with cultures already on hand, any mesophilic culture can work to kickstart the process. It doesn’t have to be a specialized buttermilk starter.
Keep in mind that yogurt is a different culture and won’t yield quite the same results. It will still give you cultured butter, but one culture with very different microbes (and its own unique taste).
How to Make Cultured Butter
Cultured butter starts with cultured cream. The culturing step happens before churning, so it’s not something you’re just adding into the finished butter.
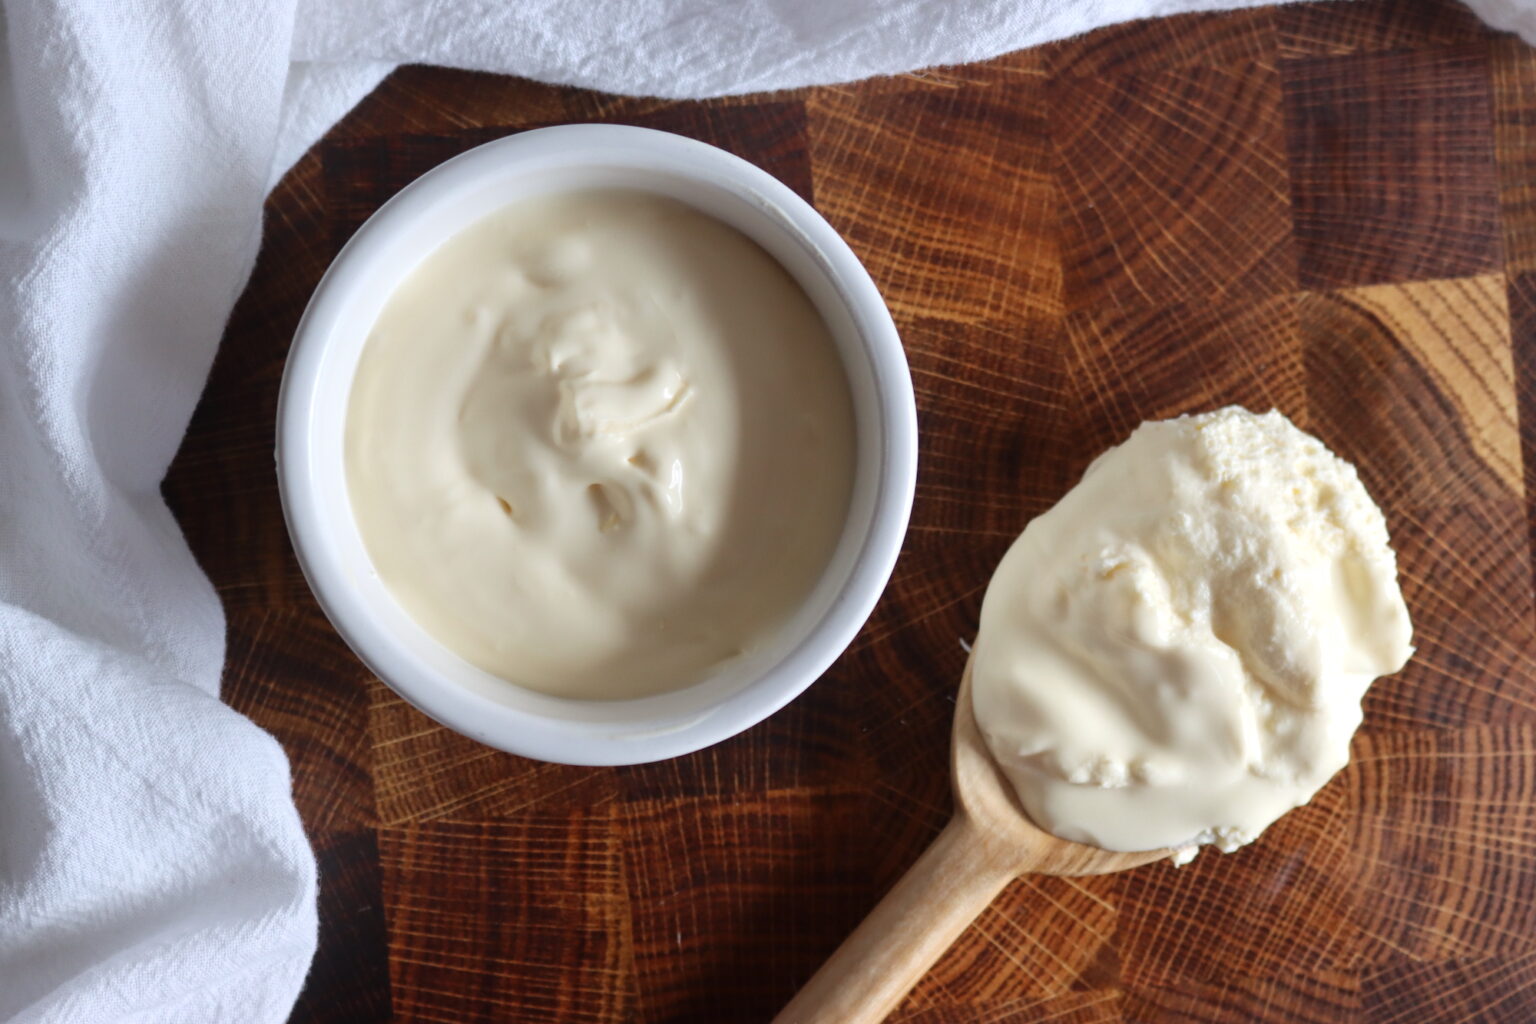
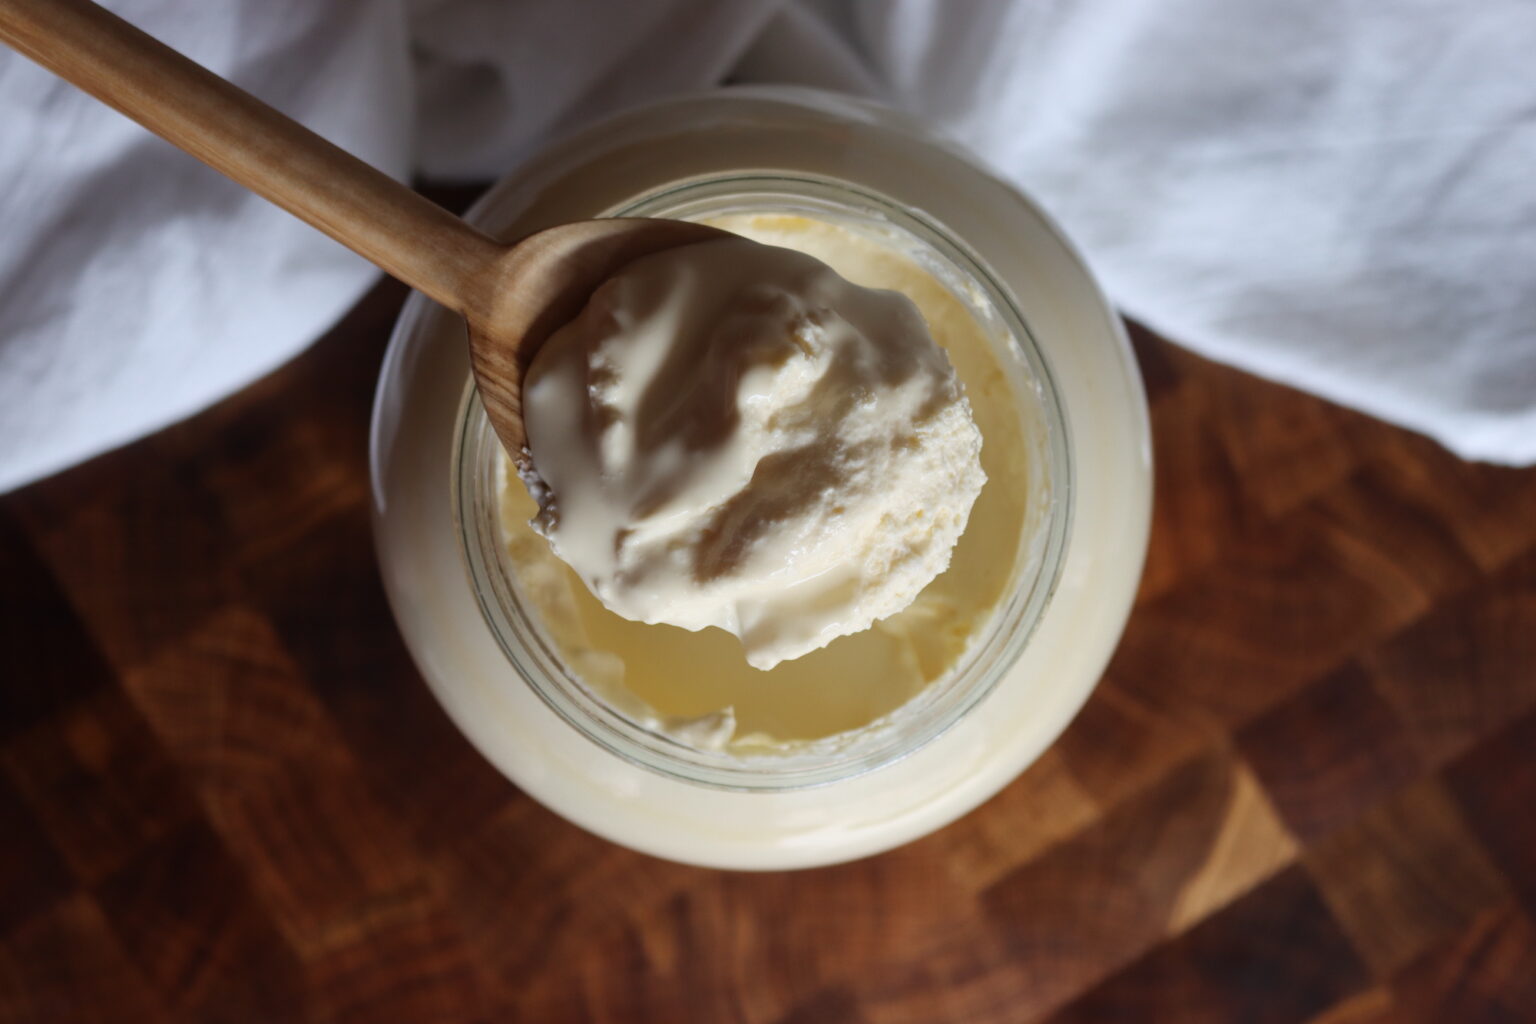
Splash in about 1/8th to 1/4 cup of buttermilk per pint of cream. Allow the mixture to culture at room temperature for 24 to 72 hours, until the top is nice and thick, like creme friache. The mixture should smell/taste fresh and buttery, with a slight lactic tang, like very mild yogurt.
This is optional and only necessary for cultured butter (which does taste better), but you can skip it and go right to churning, and it’ll still be delicious.
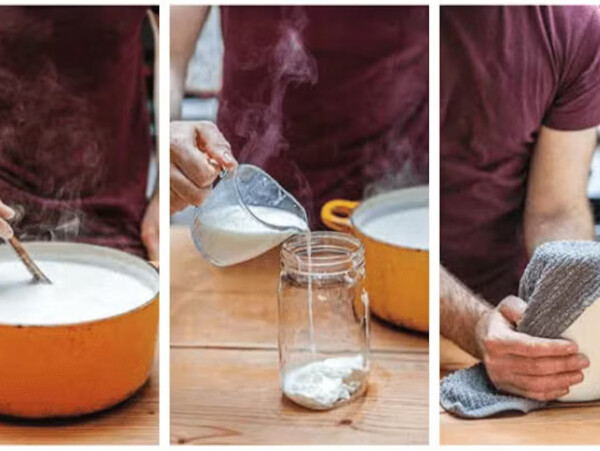
Pour the cream into a stand mixer, and mix on medium-low (3-4 speed, out of 10). A hand mixer works too, as does a butter churn. In a pinch, you can also just add 1 pint of cream to a quart mason jar and shake. Just make sure the jar is no more than half full.
All of these methods churn the butter slowly and gently, ensuring a good finished texture in the butter.
After about 10 minutes, you’ll have whipped cream. At about 15 minutes, the whipped cream will start to “break,” and you’ll see butter globules start to separate. Keep churning, at about 20 minutes it’ll start to come together into a firm mass of butter. Turn off the mixer at that point.
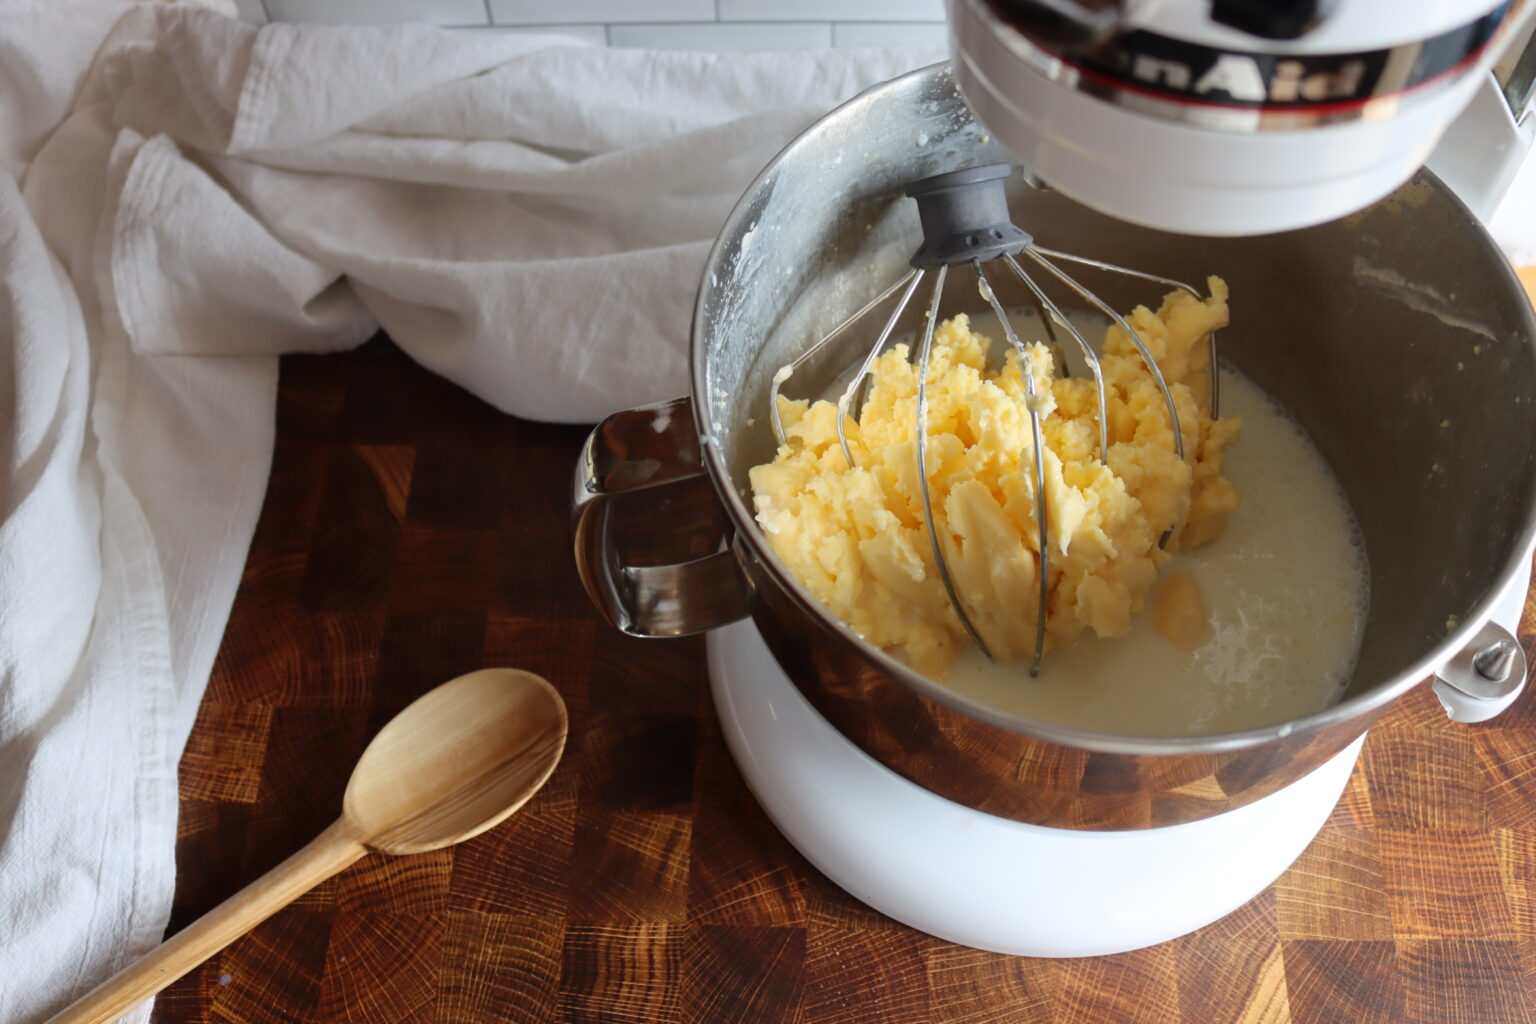
Strain off the liquid and reserve it for other uses. That’s cultured buttermilk, and you can use it to start your next batch of cultured butter.
It’ll keep in the fridge for about a week or so.
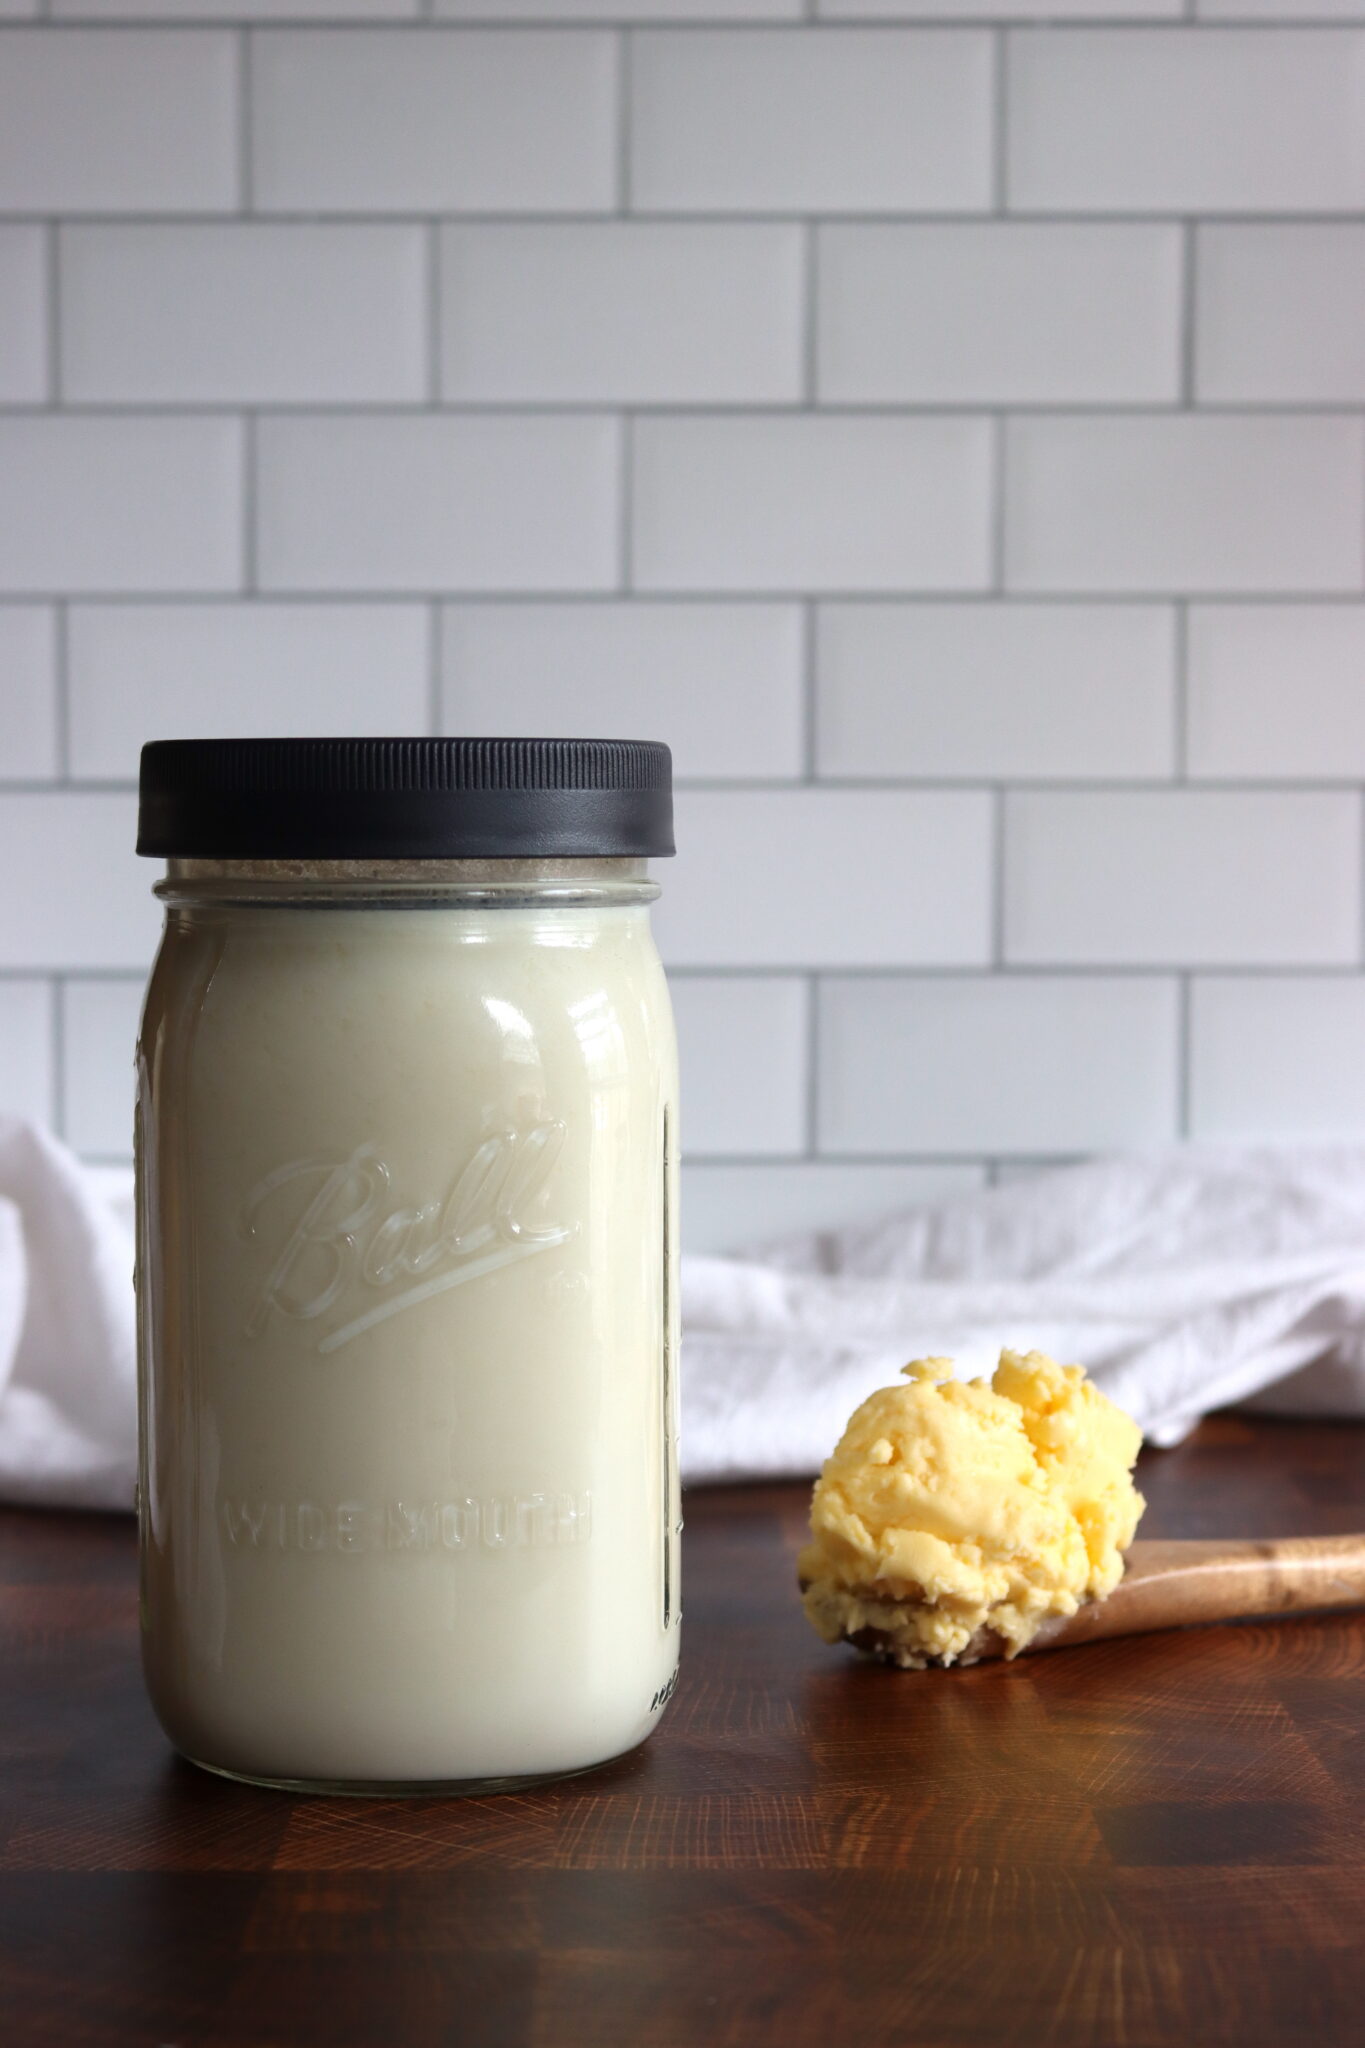
The butter itself still has some buttermilk in it, which gives it a lot more flavor, but shortens its shelf life. If you’re going to use the butter in the next few days, you can store it as is and it’ll be wicked flavorful.
If you want it to keep in the fridge for at least 3-4 weeks though, you should “wash” the butter by rinsing it with very cold water. Work it with a wooden spoon (not your warm hands), straining it every 30 seconds or so, and adding new cold clean water until the water runs clear. This should only take 2-3 minutes.

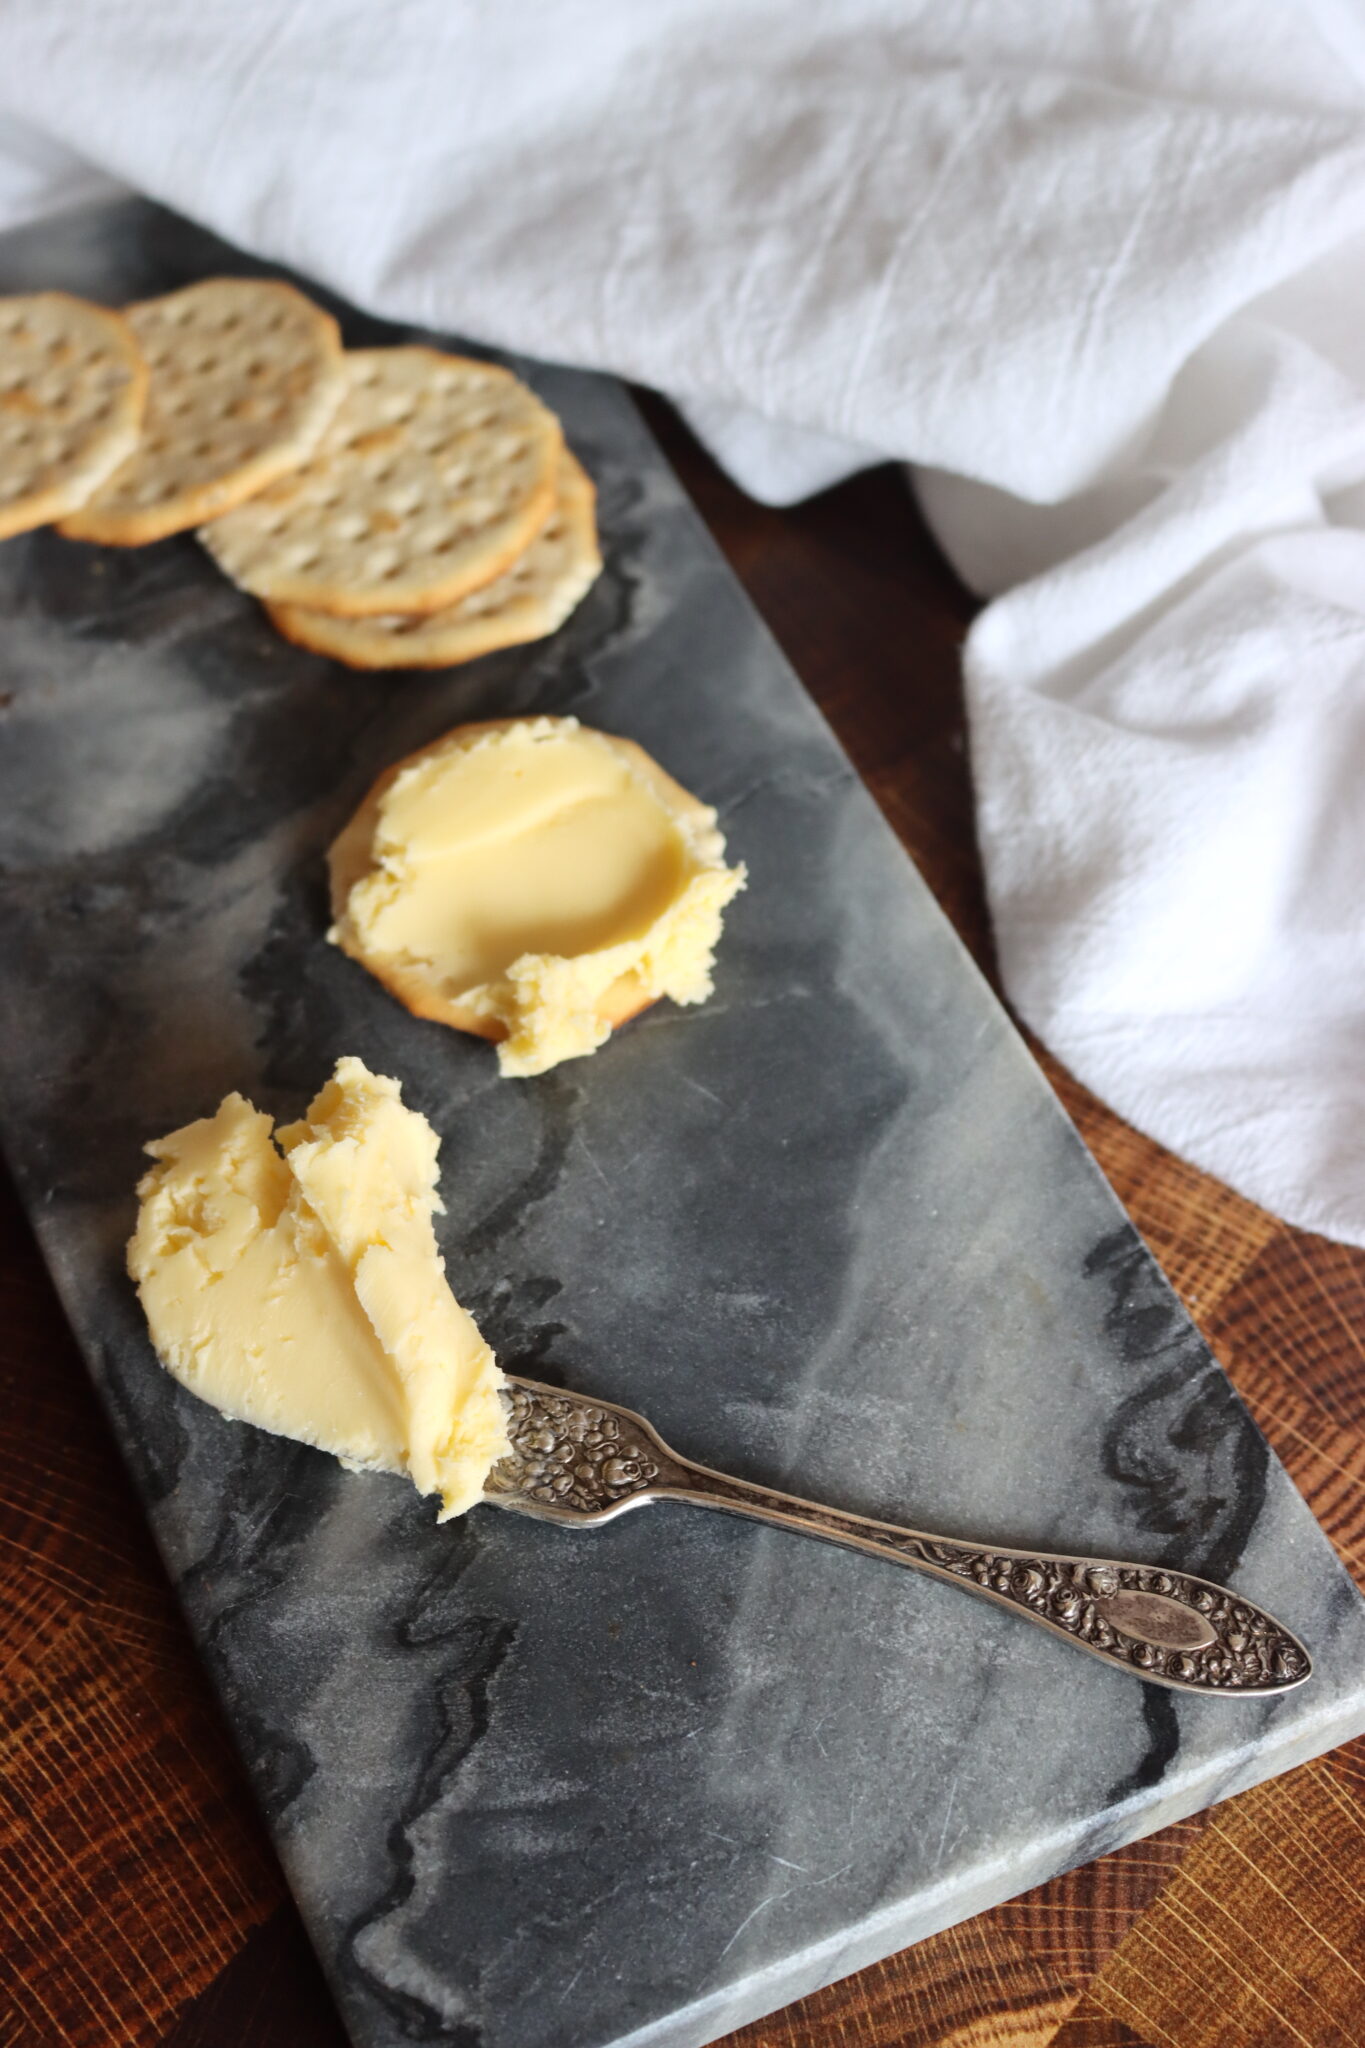
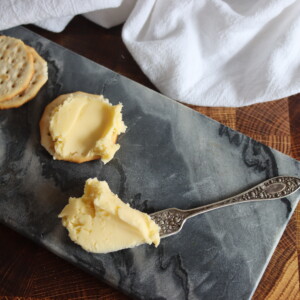
Pull the cold butter out of the water, drain, and pack it for storage (or use immediately). At this point, it’s done, but not fridge cold, so it’s still spreadable.
You’ll probably notice that once it’s refrigerated, your homemade butter is much firmer than grocery store butter. Even at a warm room temperature, it’ll still hold its shape.
That’s because it’s a higher butter fat content, as with grocery store butter, they actually add water to bulk it out and bring it down to the legal minimum butterfat required for something to be labeled “butter” in the US (which is 80%). European butter tends to be 82 to 84%, and homemade butter will usually land in the 82 to 86% range.
(There’s this myth that you actually want less butterfat in butter to get better lift in pastries. Lies. That’s only true above 90 to 92% or so, which is hard to achieve without some kind of mechanical separator. Ask the French if they’d rather use their high-fat butter for making croissants or if they’d prefer the watery stuff from an American grocery store. You’ll have your answer.)
Steps for Making Cultured Butter
Ok, so now the cliff notes version. It’s actually short this time, I promise.
- Obtain high-quality cream
- Add a splash of buttermilk to culture
- Leave at room temperature for 24 to 72 hours
- Churn at a medium-low speed in a stand mixer for about 20-ish minutes
- When it comes together into a mass, turn off the mixer and drain the buttermilk.
- Wash the butter with cold, clean water (or not)
- Add Salt to taste (or not)
Enjoy your homemade cultured butter on toast, with biscuits, or in any recipe that calls for butter! The flavor is truly incomparable to store-bought, and you’ll find yourself addicted to the richness and depth of flavor.
Cultured Butter
Equipment
- Kitchenaid Mixer for mixer churned
- Paddle Butter Churn for hand-churned
Ingredients
- 1 pint Heavy cream, High-quality, preferably grass-fed Jersey or Brown Swiss cream for best flavor
- 1/4 cup Cultured Buttermilk, with live cultures
Instructions
Culture the Cream
- Pour your heavy cream into a clean jar or bowl. Add a splash (about 1/8 to 1/4 cup) of cultured buttermilk to the cream, stirring gently to combine.
- Cover and let it sit at room temperature for 24 to 72 hours. You’ll know it’s ready when the cream thickens to a consistency like crème fraîche, with a fresh, buttery aroma and mild tang.
- (Note: If you want to skip this step, just skip the buttermilk and proceed directly to churning, though the flavor will be milder.)
Churn the Cream
- Pour the cultured cream into your stand mixer (using the whisk attachment). Start mixing at medium-low speed (about 3-4 out of 10) for 15-20 minutes.
- Alternatives: You can also use a hand mixer or traditional butter churn. If you're in a pinch, place the cream in a mason jar, filling it no more than halfway, and shake vigorously until butter forms.
Separate the Butter and Buttermilk
- After about 10 minutes, the cream will whip into whipped cream. Keep churning until you notice the cream "break" and the butter begins to form clumps, separating from the buttermilk.
- When the butter is firm and cohesive (about 20 minutes total), stop the mixer.
- Drain off the liquid—this is your fresh buttermilk, which you can reserve for other uses, like pancakes or baking.
Wash the Butter
- (Optional) To improve the shelf life and texture, rinse the butter under very cold water. Use a wooden spoon to gently work the butter, rinsing until the water runs clear.
- This step helps remove excess buttermilk, which can cause the butter to spoil faster.
Season and Store
- (Optional) If desired, add salt to taste, mixing it into the butter.
- Pack the butter into a container, and refrigerate. Homemade butter will be firmer than store-bought, but it will stay spreadable at room temperature for a few hours.
Notes
Troubleshooting:
Butter is too grainy or greasy? You likely churned it too quickly. Next time, try churning on a lower speed for a longer time to achieve a smoother texture. Butter too soft or hard? Let the butter sit at room temperature for a few minutes before using if it’s too cold and stiff. If it’s too soft, try refrigerating it a bit longer. Don’t like the tangy flavor? Simply skip the culturing step. The butter will still taste great without it, though it won’t have that signature cultured flavor. At that point, you have just regular homemade butter, not cultured butter. It's also delicious, and so much better than storebought...but it's not "cultured butter."Nutrition
Nutrition information is automatically calculated, so should only be used as an approximation.
Cultured Dairy
Looking for more cultured dairy recipes?


Cultured butter is so much better than anything you can get in the store. I know, it seems like a hassle to make it at home, but it’s so worth it!