Affiliate disclosure: This post may contain affiliate links. Please see our Privacy Policy.
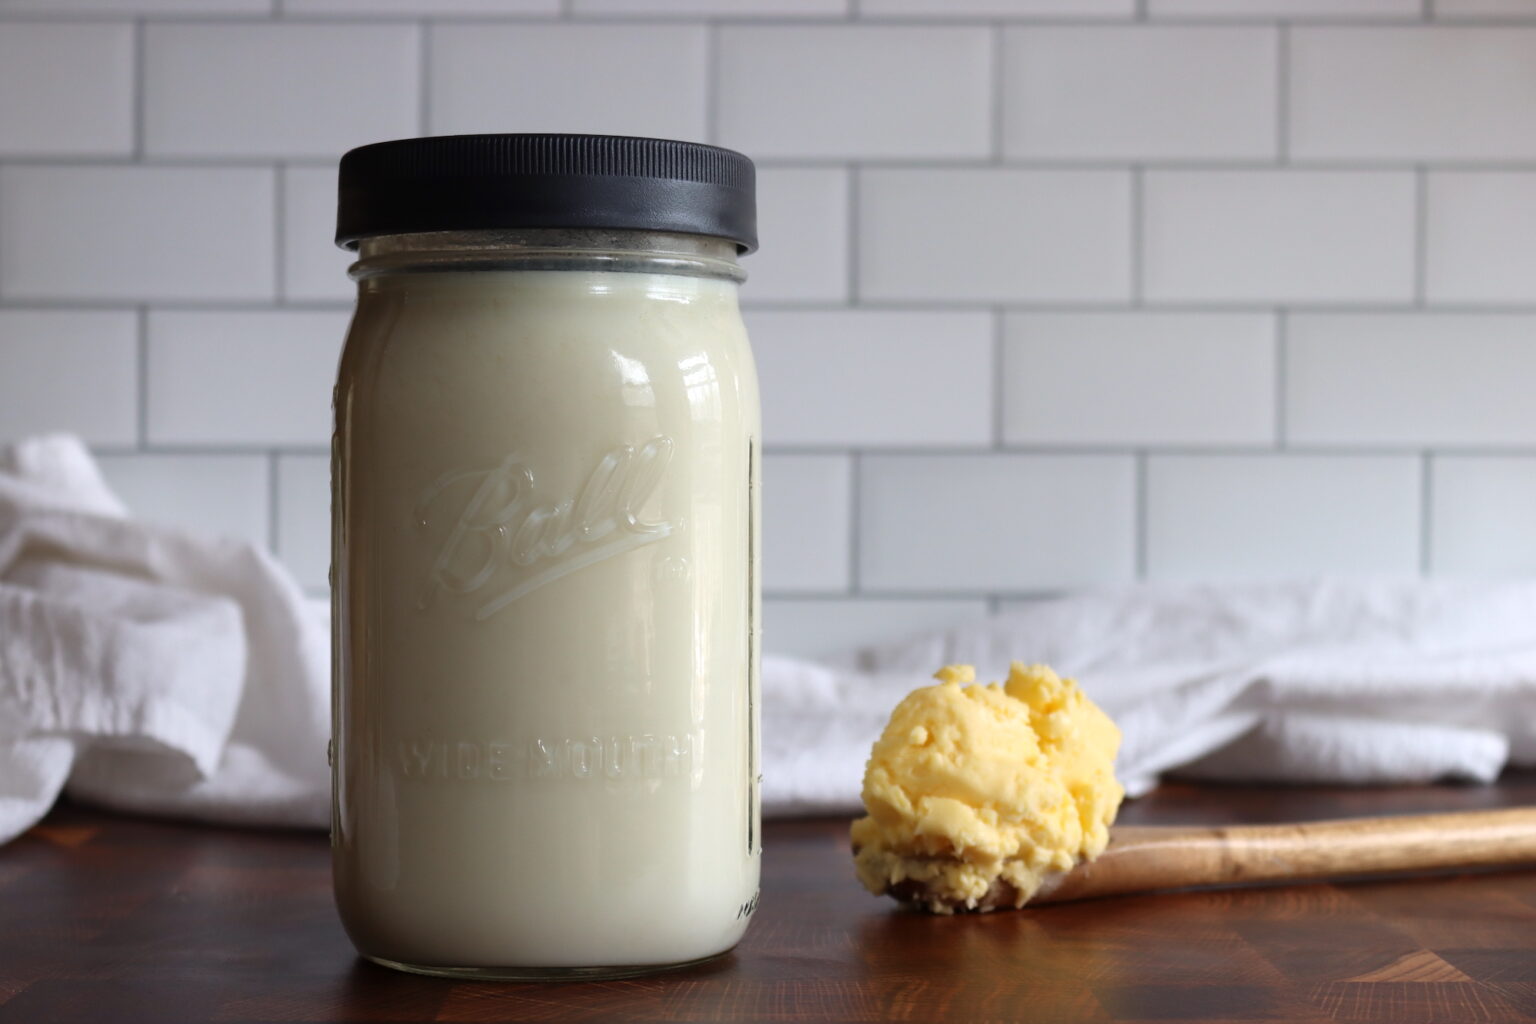
Making cultured buttermilk at home is a simple, rewarding process that yields a tangy, creamy liquid perfect for baking, cooking, or dressings. Plus, you’ll have fresh homemade butter as a bonus—two delicious staples in one easy recipe!
If you’re a fan of rich, tangy buttermilk and love the idea of making it from scratch, you’re in for a treat! Cultured buttermilk is the liquid gold that forms as a byproduct when making butter. While many recipes call for buttermilk as a key ingredient, you might not realize that you can make your own at home with just a few simple steps. Plus, as an added bonus, you’ll get homemade cultured butter as a delicious byproduct!
Making cultured buttermilk isn’t difficult—it’s as simple as culturing cream and then separating it from the butter. While the butter is definitely a nice bonus, the buttermilk itself can be used in everything from pancakes and biscuits to dressings and marinades. If you’ve ever tasted a store-bought version, you’ll know that homemade buttermilk is miles ahead in terms of flavor.
What is Buttermilk?
Buttermilk is a tangy, creamy liquid that’s often found in recipes for pancakes, baked goods, and dressings, but its origins are much simpler. Traditionally, buttermilk is the liquid left behind after churning cream to make butter. As the cream is agitated, the butterfat separates from the liquid, and the result is a thin, slightly sour liquid—what we know as buttermilk. It’s different from the stuff you typically find in a carton at the grocery store, which is often a cultured version made by adding bacteria to low-fat milk.
The key to authentic buttermilk is that slight tang, which comes from the lactic acid produced during fermentation. In homemade cultured buttermilk, this tang is the result of the live cultures added to the cream, creating a mildly sour flavor similar to yogurt or sour cream. The texture is smooth and creamy, but much thinner than the rich cream from which it’s made.
Though buttermilk has a history rooted in butter-making, it’s become a beloved ingredient in its own right. It’s prized for its ability to tenderize baked goods, balance out rich flavors, and provide a slight acidity to recipes like cornbread, fried chicken, or salad dressings. Whether it’s used in cooking or simply as a drink, buttermilk has a unique, refreshing flavor that’s both nostalgic and essential in many culinary traditions.
Cultured Buttermilk Substitutes
If you’re in the middle of a recipe and realize you’re fresh out of cultured buttermilk, don’t worry—there are a few quick and easy substitutes you can use without having to wait for buttermilk to culture or taking a trip to the store. While nothing will exactly replicate the tangy, slightly thicker texture of real cultured buttermilk, these options can help you get the same results in a pinch.
One of the easiest substitutes is to mix milk and an acid. For every cup of buttermilk called for in a recipe, add 1 tablespoon of white vinegar or lemon juice to a measuring cup. Then, fill the cup with milk until you reach the 1-cup mark. Stir it well and let it sit for about 5-10 minutes before using. The acid will curdle the milk slightly, mimicking the tangy acidity of cultured buttermilk. This method works especially well in baking recipes like pancakes, cakes, and muffins.
If you have plain yogurt on hand, it can also be a good stand-in for cultured buttermilk. To substitute, simply thin out about 1/2 cup of yogurt with 1/2 cup of water or milk to reach the consistency of buttermilk. If you want to replicate the slightly tangy flavor of cultured buttermilk, add a teaspoon of lemon juice or vinegar to the mix.
Another option is using sour cream. Like yogurt, sour cream has a rich, tangy flavor, though it’s a bit thicker. To make it work as a buttermilk replacement, thin it with a little water or milk until it reaches the pourable consistency of buttermilk. You can also add a small splash of lemon juice or vinegar to get that extra acidity.
Finally, if you have milk kefir (a fermented milk drink) in your fridge, you can use it as a direct substitute for cultured buttermilk. Kefir has a similar tang and consistency, so it can stand in for buttermilk in most recipes, just as easily as the real thing. No extra thinners or acid are needed.
While none of these substitutes are quite the same as using actual cultured buttermilk, they’ll work just fine in most recipes. And hey, you’ll still get that lovely tang and texture that makes buttermilk such a unique ingredient in the first place!
Why Make Cultured Buttermilk?
Why not just buy it from the store?
While store-bought buttermilk can work in a pinch, homemade cultured buttermilk has an incredible depth of flavor. The fermentation process introduces beneficial bacteria and adds a tang that’s impossible to replicate with a mass-produced product. Plus, you control the quality of the ingredients—using fresh, local, or even grass-fed cream will elevate the flavor even further.
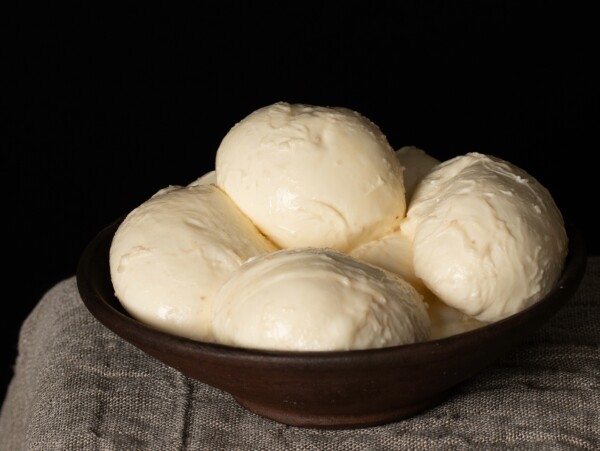
You also get the added benefit of homemade butter! The process of churning your cream into butter not only gives you the freshest, richest butter.
Cultured butter is unbelievably delicious, and even the “cultured” stuff at the store often doesn’t contain live cultures. True fresh homemade cultured buttermilk and cultured butter are nothing like store-bought!
Ingredients for Cultured Buttermilk
Cultured buttermilk is just two ingredients, and it’s super simple to make. (Back in the day, with raw milk, the cultures were already in the milk, but these days we use an existing batch of buttermilk to add the cultures to the next batch.)
Heavy cream is the base of your buttermilk. It contains the butterfat that, when churned, separates to form the butter, leaving behind the liquid—what we call buttermilk. The higher the butterfat content, the creamier and richer your buttermilk will be. If you use a high-quality cream, such as grass-fed or organic, you’ll notice a more vibrant, nuanced flavor in both the buttermilk and the resulting butter.
Cultured buttermilk is the live culture starter that inoculates the cream and kickstarts the fermentation process. It introduces beneficial bacteria (lactic acid bacteria) that thicken the cream, transforming it into a tangy, slightly acidic substance, similar to yogurt or crème fraîche. These bacteria are responsible for creating the signature tartness and complexity of cultured buttermilk.
Without cultured buttermilk (or a similar live culture), the cream won’t ferment properly, and you won’t get the desired flavor or texture. The live cultures also contribute to the buttermilk’s longer shelf life and slightly tangy, delicious taste.
Any store-bought cultured buttermilk will work as a starter, as long as it contains live active cultures. You can also use other cultured dairy products like yogurt, crème fraîche, or kefir as a substitute, but buttermilk is ideal because it’s already the right consistency and flavor profile.
If you’d like to start with pure cultures, or you don’t have access to cultured buttermilk with live cultures, you can also buy a packet of buttermilk starter culture.
Back in the day, before milk pasteurization, the natural mesophilic cultures in the cream itself would have been the starter culture. If you have access to very fresh raw milk, you can simply separate the cream and leave it at room temperature, and it’ll culture just fine. Of course, it helps if you add a splash of the buttermilk from your last batch, too.
If you’re a home cheesemaker and you have cultures on hand, you can use any mesophilic culture to get the mixture started. It doesn’t necessarily have to be a specific buttermilk starter culture. If you’re only interested in making buttermilk though, might as well just go with that culture.
How to Make Cultured Buttermilk
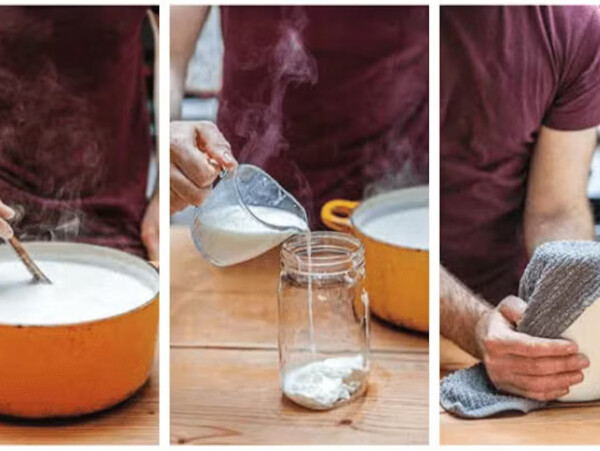
Start by pouring 1 pint (2 cups) of heavy cream into a clean jar or bowl. Add about 1/4 cup of cultured buttermilk, which will act as your starter culture. Give it a gentle stir to combine the two, then cover the jar loosely with a lid or cloth.
(If using a powdered buttermilk starter culture, simply sprinkle it over the top of the cream. Allow it to rehydrate for a minute before stirring it in with an up-and-down stirring motion. Beyond that the process is the same.)
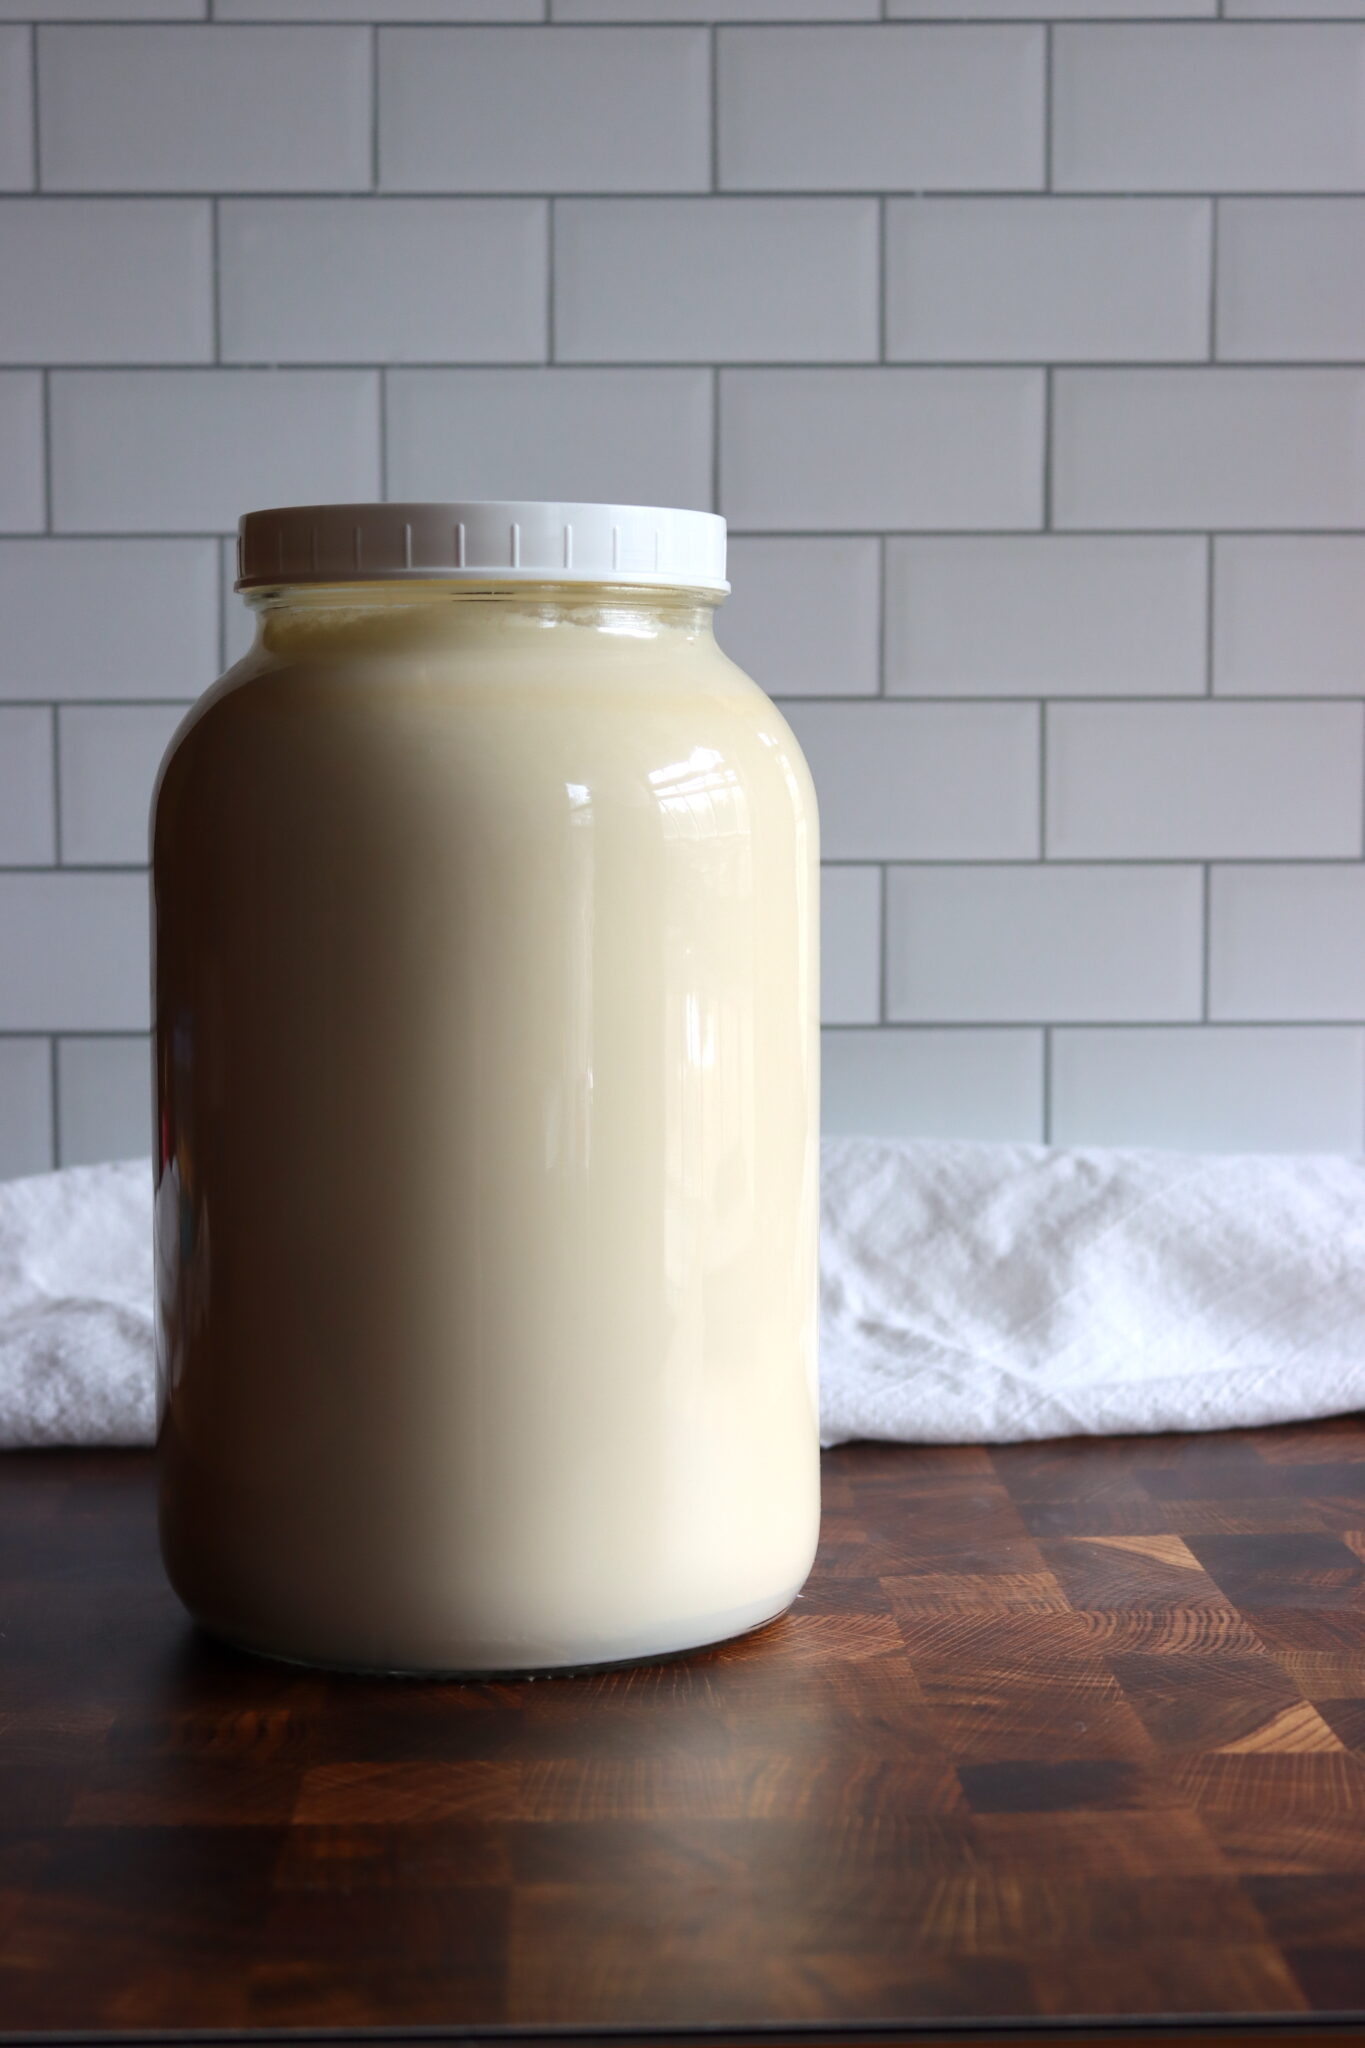
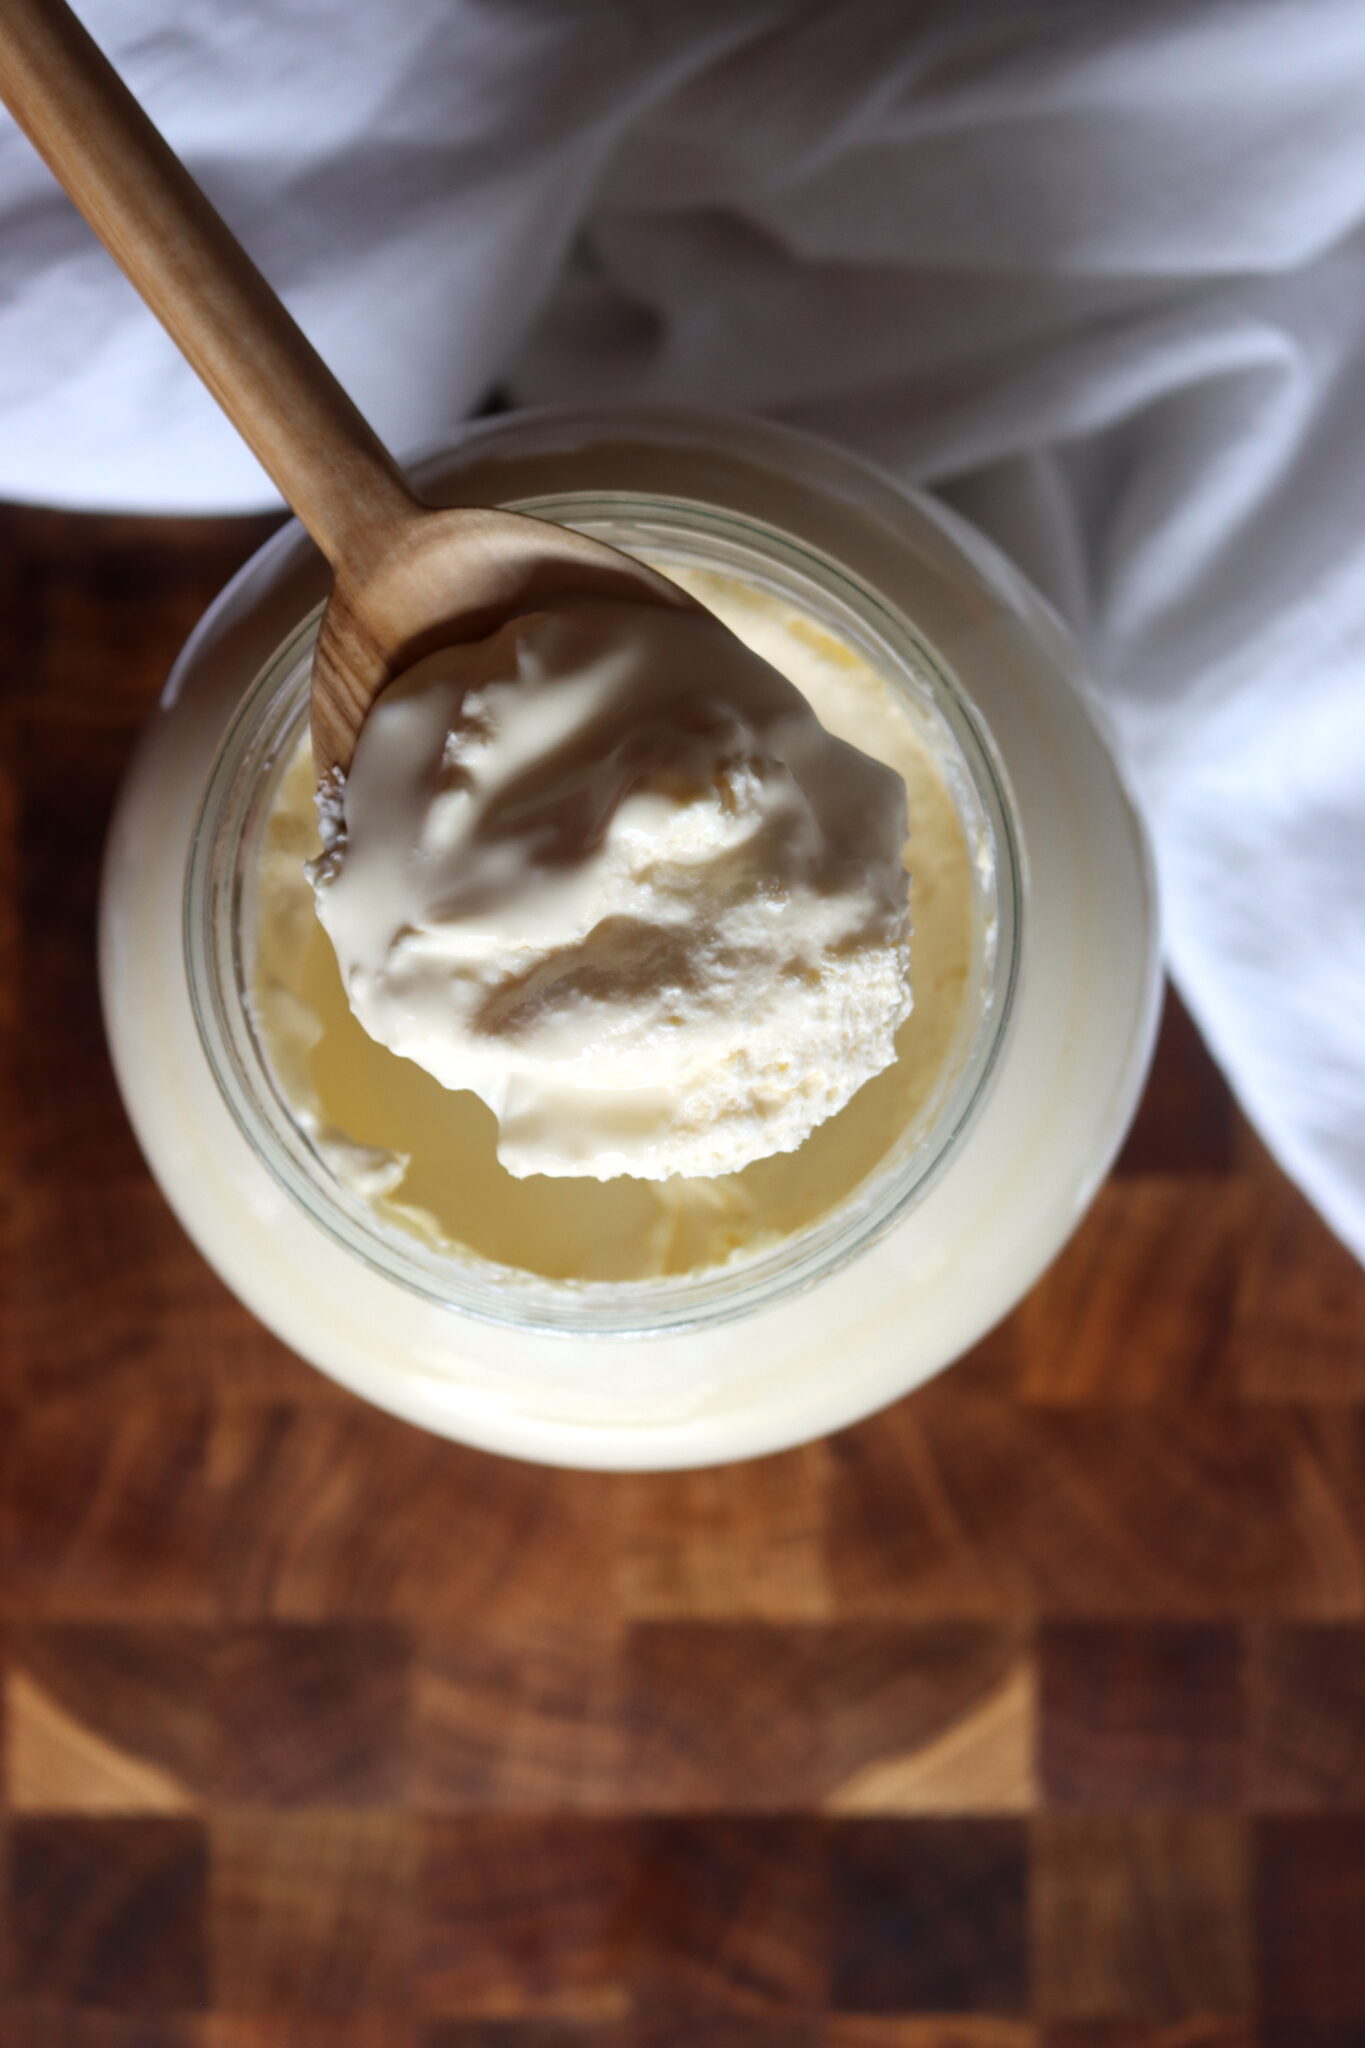
Let the mixture sit at room temperature for 24-48 hours, allowing the cream to thicken and develop a mild, tangy aroma similar to yogurt or crème fraîche.
Once it has thickened, you’ll know it’s ready to churn.
Pour the cultured cream into a stand mixer, food processor, or use a hand mixer. Mix on medium-low speed for about 15-20 minutes.
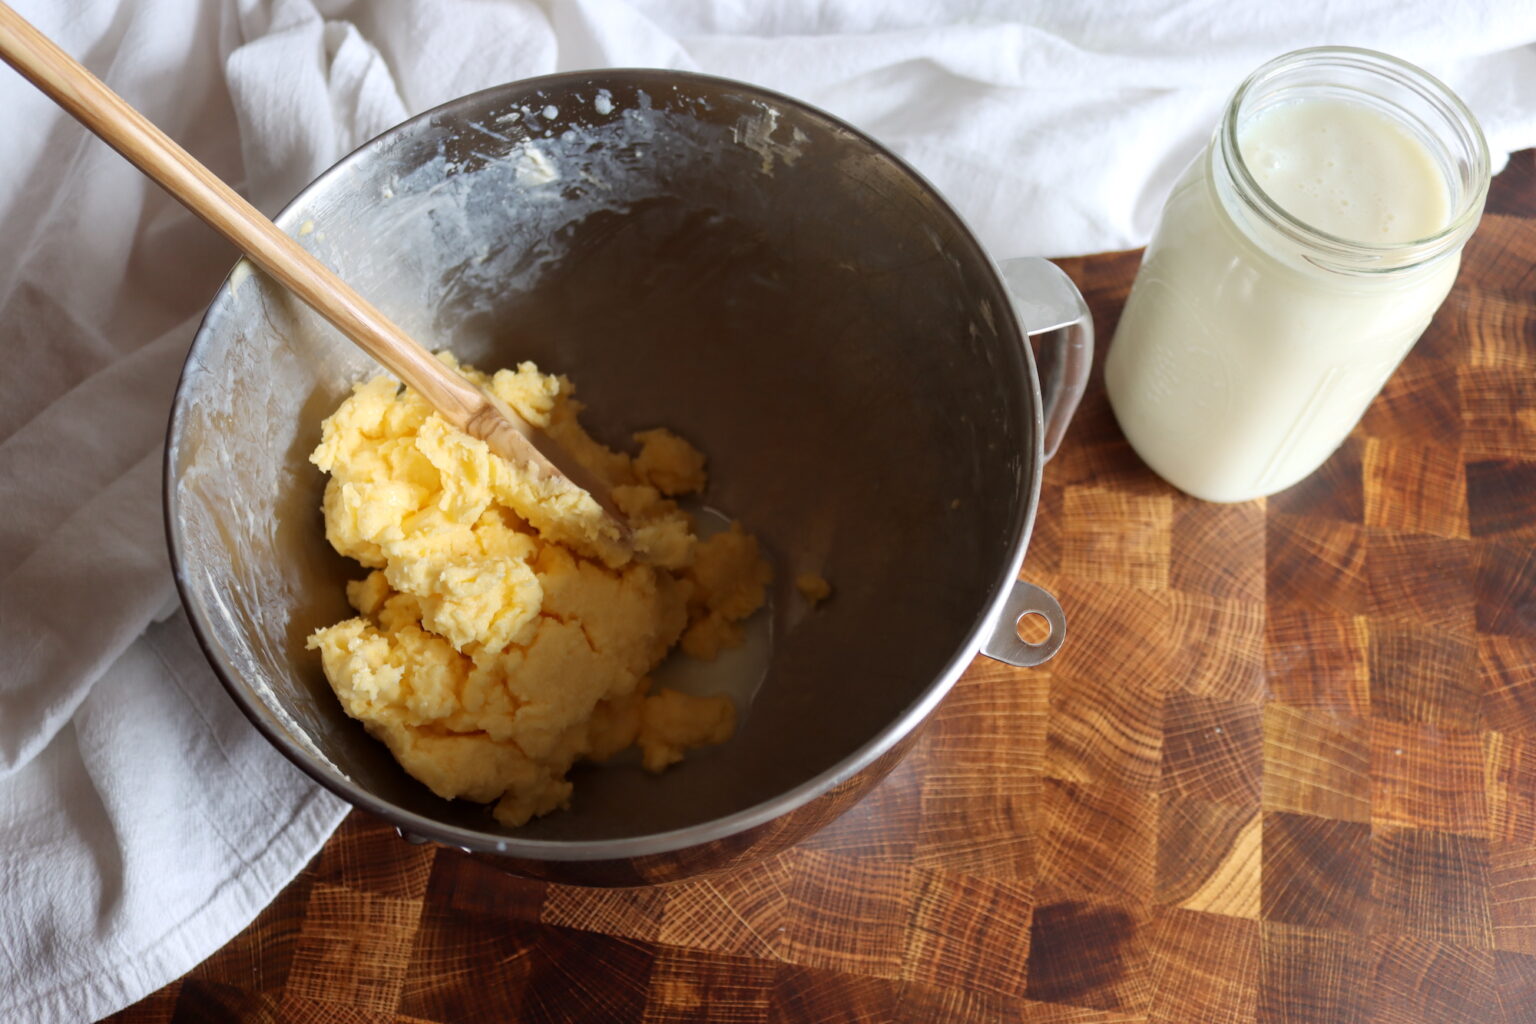
Initially, the cream will turn into whipped cream, but as you keep churning, the butter will start to separate from the buttermilk. The butter will clump together and separate from the liquid—this is your buttermilk. When the butter has formed into a solid mass, stop the mixer.
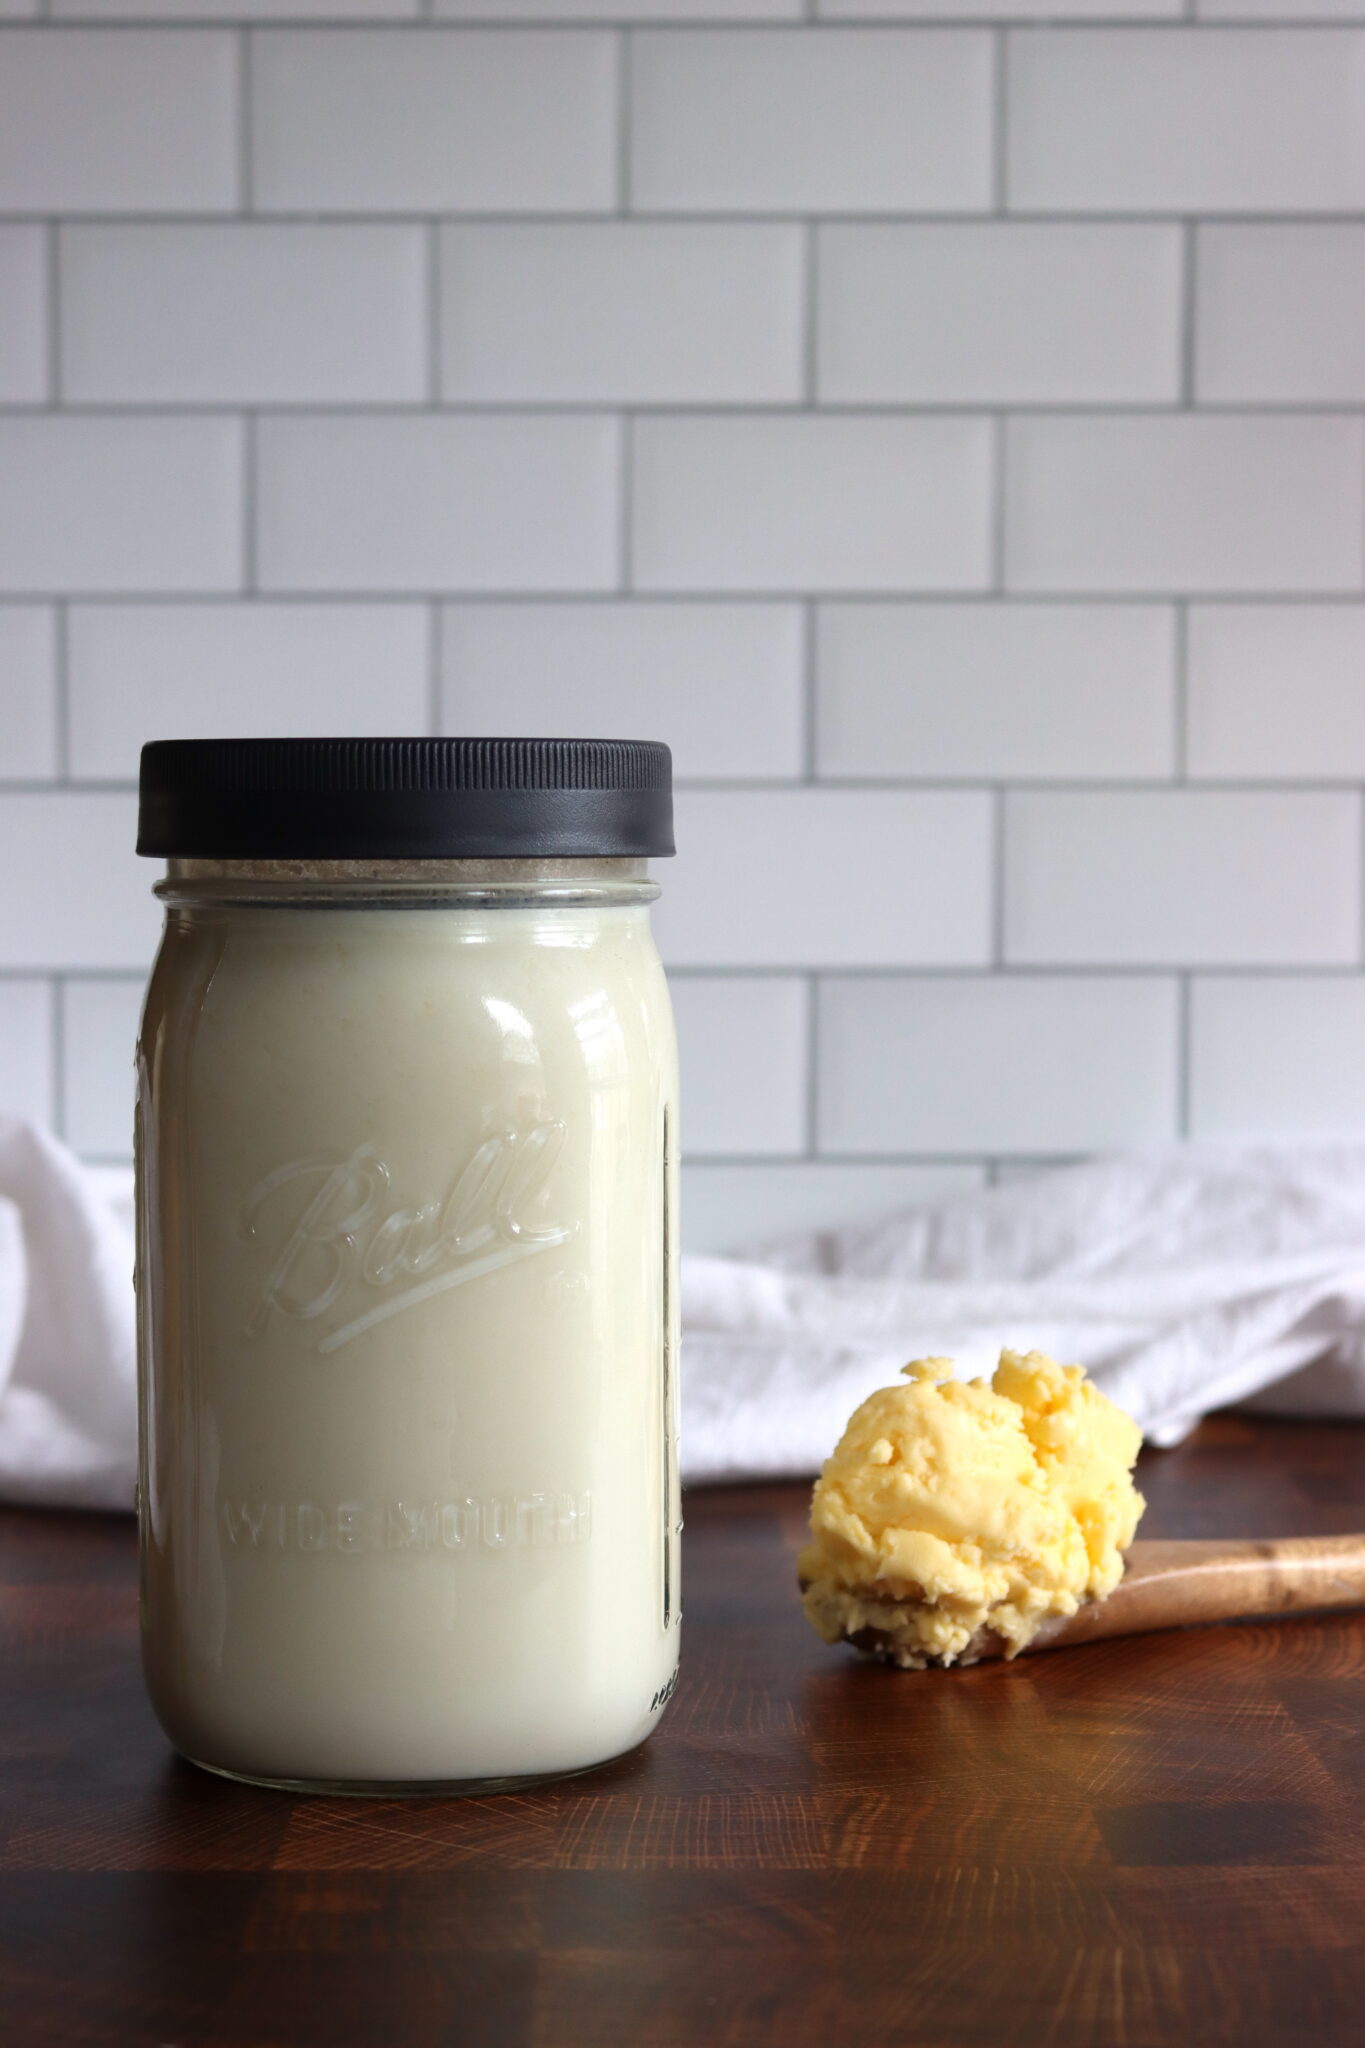
Strain the buttermilk into a clean container, and voilà—you have fresh, homemade buttermilk!
Store it in the fridge for about a week and use it in all sorts of recipes, from baking to dressings. You can rinse it under very cold water to wash off any excess buttermilk, which will help it last longer. Gently work the butter with a spoon while the cold water runs over it until the water runs clear.
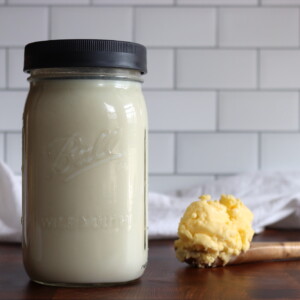
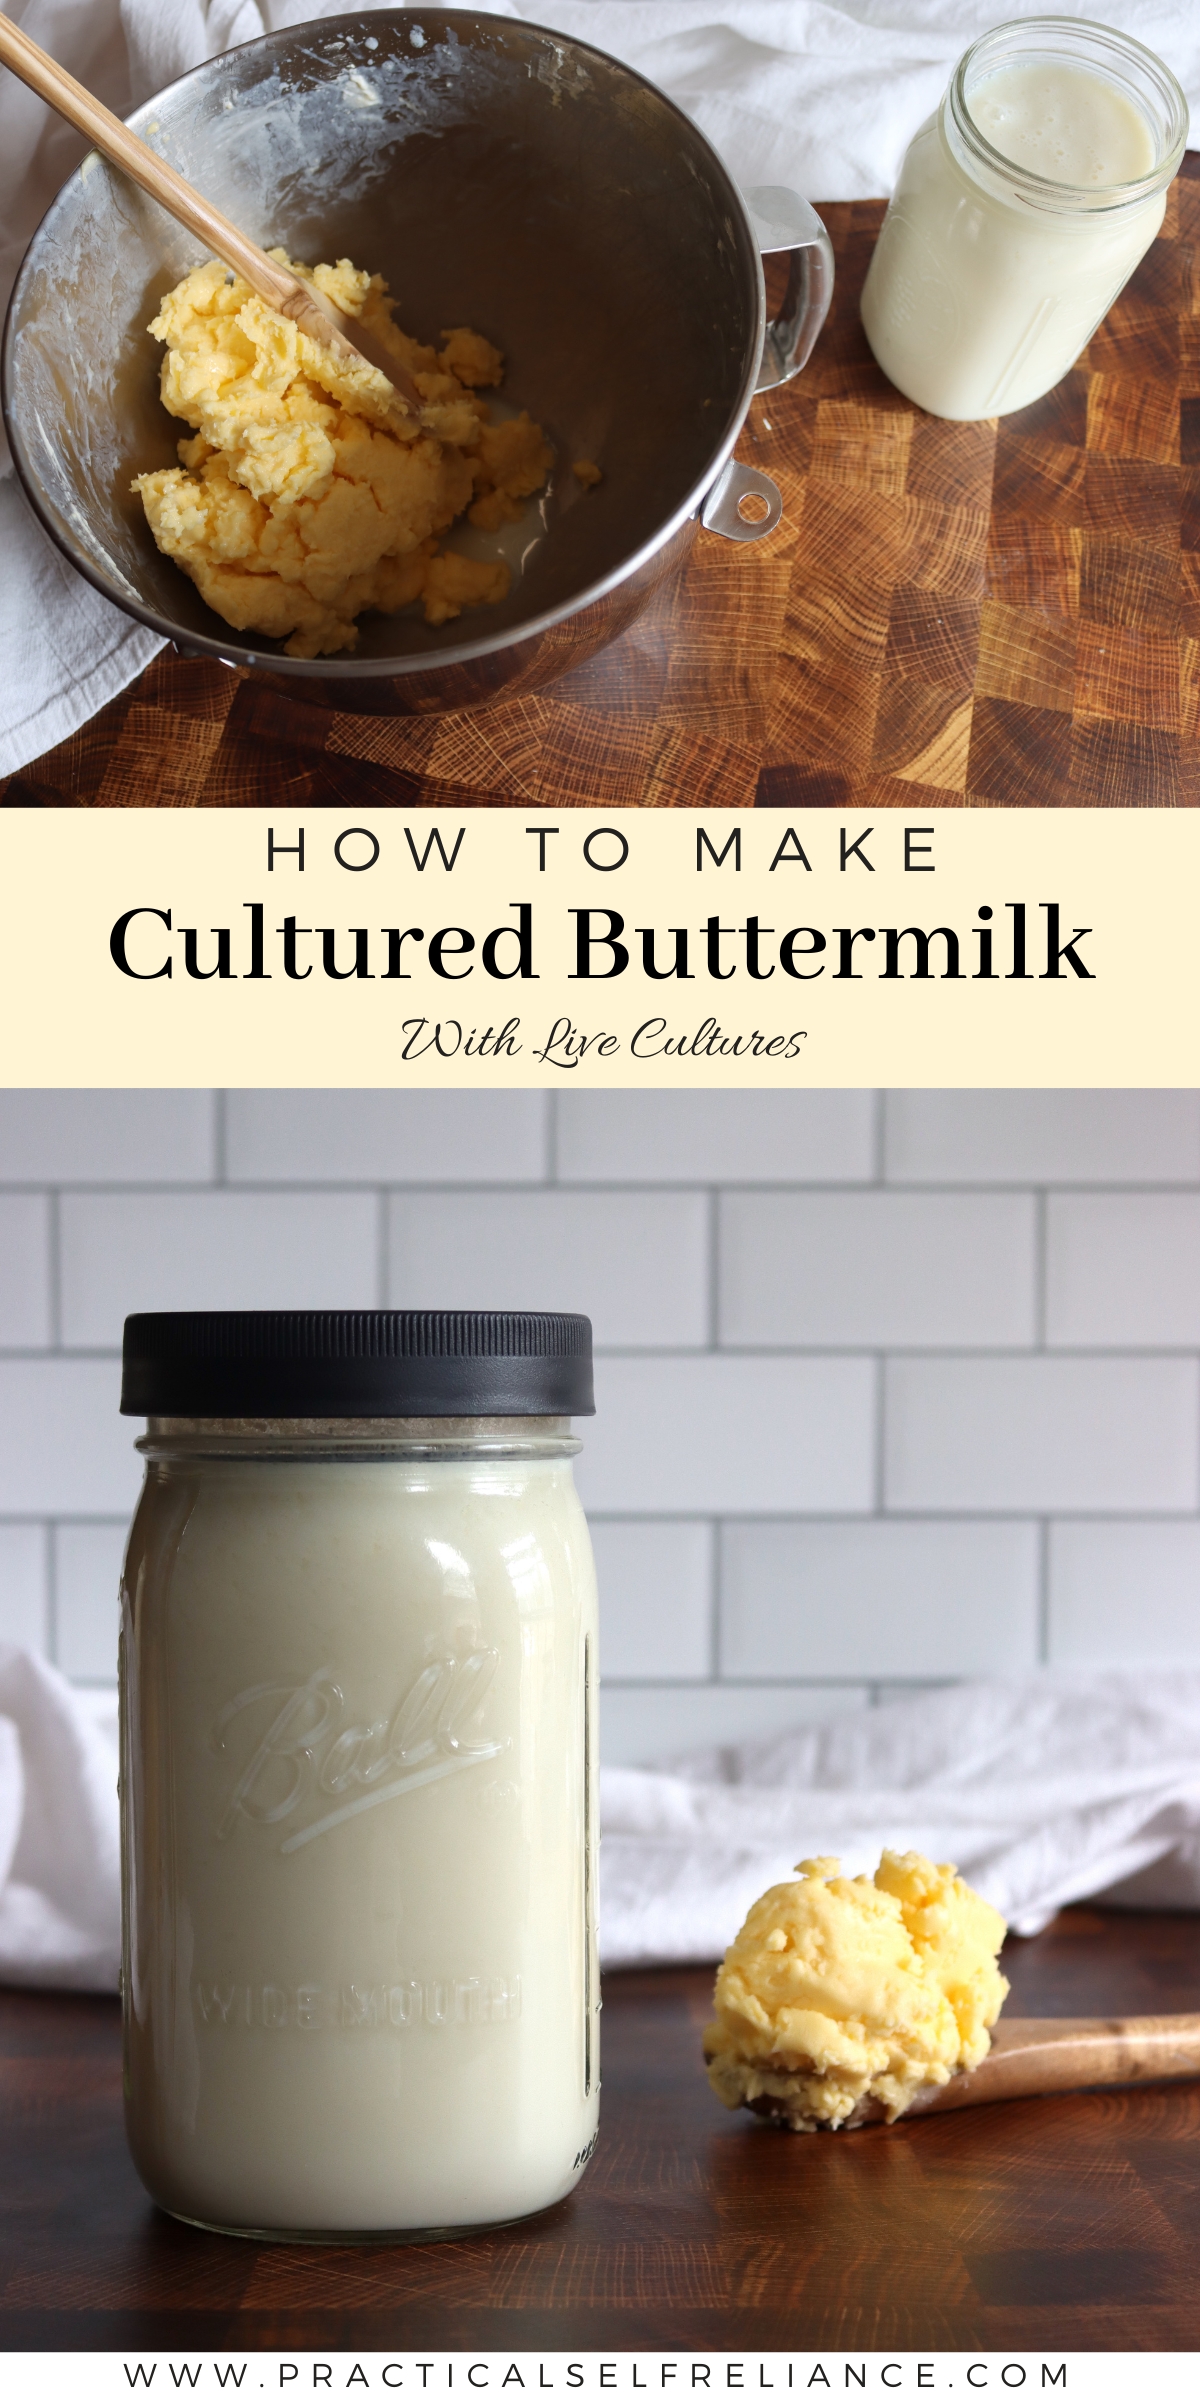
Now you have both buttermilk and butter—two delicious, homemade staples to enjoy!
Tips for the Best Buttermilk
- Quality Cream Matters: The better the cream, the better the buttermilk will taste. Look for grass-fed or high-quality heavy cream if possible.
- Timing is Key: Be patient when culturing the cream. Don’t rush the process, as the cream needs time to thicken and develop that wonderful flavor.
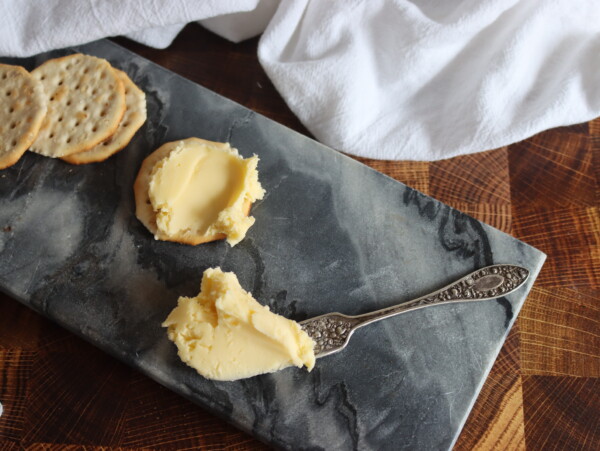
- Don’t Forget the Butter!: If you churn the cream, you’ll end up with butter too, which you can wash and store separately or use immediately on fresh bread or biscuits.
Ways to Use Cultured Buttermilk
Cultured buttermilk can be drunk as is, and my grandmother would enjoy a glass with breakfast each day. We bought it special for her, but as a child it never occurred to me that we could just make it.
While I thought the store-bought stuff was pretty unappealing, I absolutely love homemade stuff. It’s completely different to my tastes.
Besides just enjoying it as a natural probiotic cultured drink, buttermilk is common in cooking too.
Add extra lift to pancakes and muffins, or make the crispiest buttermilk fried chicken.
It also works well in marinades, as the natural cultures help tenderize the meat.
Cultured Buttermilk
Ingredients
- 1 pint heavy cream, preferably grass-fed or high-quality cream
- 1/4 cup cultured buttermilk, with live cultures
- buttermilk starter culture, only if you don't have access to cultured buttermilk
Instructions
Culture the Cream
- Pour the heavy cream into a clean jar or bowl.
- Add a splash (about 1/8 to 1/4 cup) of cultured buttermilk to the cream. Stir gently to combine.
- Cover the jar loosely with a lid or cloth and let it sit at room temperature for 24-48 hours. You’ll know it's ready when the cream has thickened and has a fresh, buttery aroma with a slight tang (like mild yogurt or crème fraîche).
Churn the Cream into Butter
- Pour the cultured cream into your stand mixer, food processor, or use a hand mixer.
- Mix on medium-low speed for about 15-20 minutes. At first, the cream will turn into whipped cream, but keep going until the butter begins to separate from the liquid (buttermilk).
- You’ll notice the butter will clump together and separate from the buttermilk as you continue churning. Once it forms into a mass, stop the mixer.
Strain the Buttermilk
- Once the butter has been separated, strain off the buttermilk into a clean container. This is the magic liquid you’ll use for your recipes!
- You can store the fresh buttermilk in the fridge for about a week.
Wash the Butter
- Butter doesn't have to be washed, provided you use it within a few days. To prolog the shelf life of the butter you get when making buttermilk, wash it in very cold water to get out every last bit of buttermilk.
- To wash, work the butter gently with a spoon while running cold water over it until the water runs clear.
- If you’ve made butter, now you have a batch of the creamiest, freshest homemade butter. If you’ve just made buttermilk, it’s ready to be used in baking, cooking, or even as a tangy addition to dressings.
Nutrition
Nutrition information is automatically calculated, so should only be used as an approximation.
Cultured Dairy Products
Looking for more ways to add live cultures to your dairy products?
Cultured Foods
Keep your kitchen culturing with these fun ferments!


It can be hard to find cultured butter (or live cultured buttermilk) but it’s so darn easy to make it yourself. Then you know exactly what’s in it, and you know for sure that it’s live culture. Yum!