Affiliate disclosure: This post may contain affiliate links. Please see our Privacy Policy.
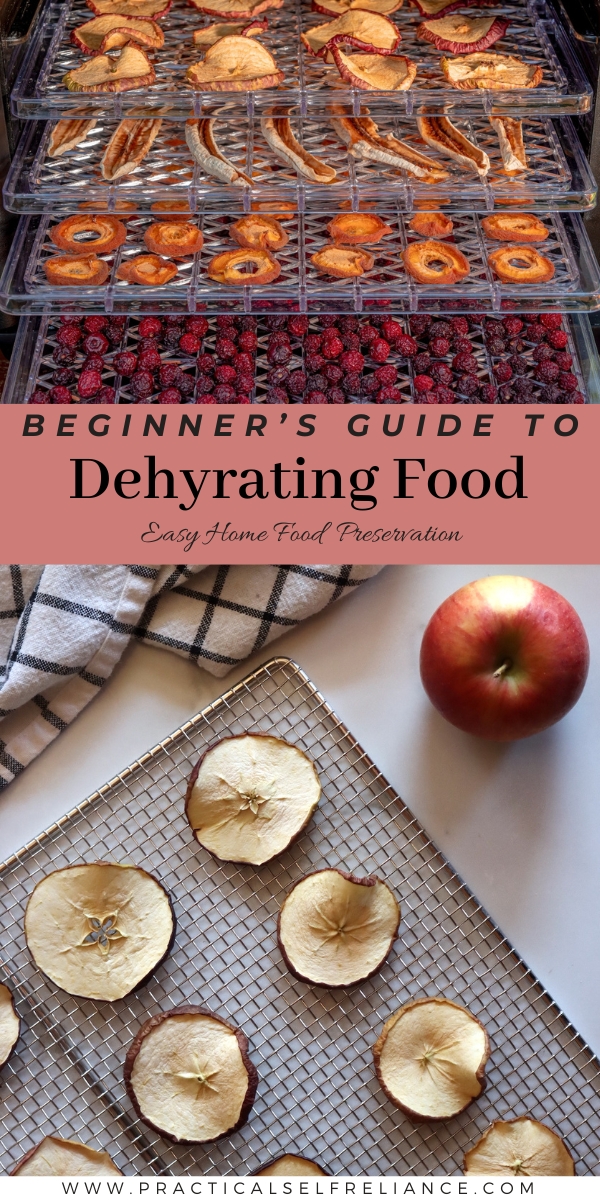
Dehydrating food is one of the oldest methods of food preservation, and it works just as well now as it did back then! It’s incredibly easy to dehydrate food at home, either in a food dehydrator or your home oven.
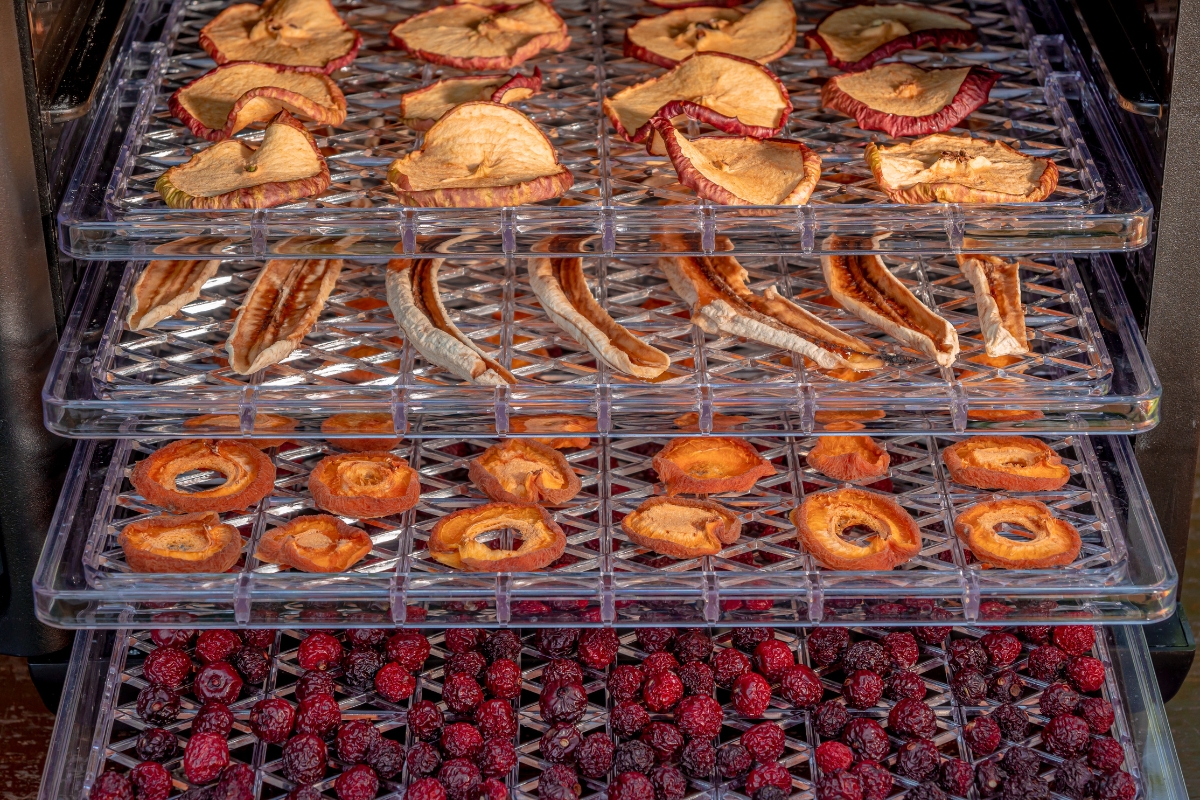
Table of Contents
- Dehydrating For Food Preservation
- Necessary Tools for Dehydration
- What Foods Can You Dehydrate?
- What Foods Are Not Safe to Dehydrate?
- How to Dehydrate Herbs and Spices
- How to Dehydrate Nuts and Seeds
- How to Dehydrate Fruit
- How to Dehydrate Vegetables
- How to Dehydrate Legumes and Grains
- How to Dehydrate Meat and Fish
- How to Rehydrate Dried Food
- How to Use Dried Food
- Best Way to Store Dried Food
- Food Preservation Guides
In this introductory guide to dehydration, we cover everything you need to know before embarking on your food dehydrating journey! Discover the advantages of dehydrated food, how to pick and prepare food for drying, and how to use dried foods in cooking. We even have tips on what features to look for when selecting a dehydrator.
Read on to learn how to dehydrate fruits, nuts, veggies, meat, and other valuable food items.
Dehydrating For Food Preservation
From the ancient Egyptians to Native Americans, people have been dehydrating for centuries as a form of food preservation. For years dried food kept people fed through the cold winter months when food supplies were low or scarce. In fact, throughout history, dehydration always seems to experience a resurgence during times of food insecurity — WWI and WWII are just two recent examples.
Why is dehydration such a dependable form of food preservation? Dehydration preserves goods through the process of removing moisture from food. This effectively stops the formation of mold and spoiling, consequently preserving items for future use.
Although multiple forms of dehydration have been used throughout history, such as sun drying and air drying, most modern individuals tend to opt for electric dehydration using a food dehydrator. These home food dehydrators apply low heat to food while circulating airflow to remove moisture from foods, making the process much easier than in the years of yore.
What Are the Advantages of Dehydrating Food?
Dehydration has remained a valuable form of food preservation for many reasons. Dried food takes up less space than either canning or freezing. Canned fruits and veggies are lovely, but when your pantry is already overflowing, drying will take up less room.
Unlike freezing, dehydrated goods require no electricity to store or time to thaw. Anyone who’s had their power go out for a day knows the terror of an entire freezer of stored food going to waste.
Dried food is also highly portable due to its lightweight nature. Experienced hikers and backpackers know some of the best food to bring on multi-day hikes is dehydrated. Dried food doesn’t have to be boring either — you can use dried foods to make an assortment of backpacking meals to cook over a campfire including stews, pasta recipes, and rice dishes.
In addition to storage and portability, many people dehydrate food for other reasons. Drying food is a simple and economical way to store a bumper crop of fruits or vegetables. Others simply enjoy having a supply of dried goods on hand for recipes and drying your own is much more cost-effective than purchasing dried food from a grocery store — not to mention most store-bought dried foods are usually laden with sugar, salt, and other preservatives.
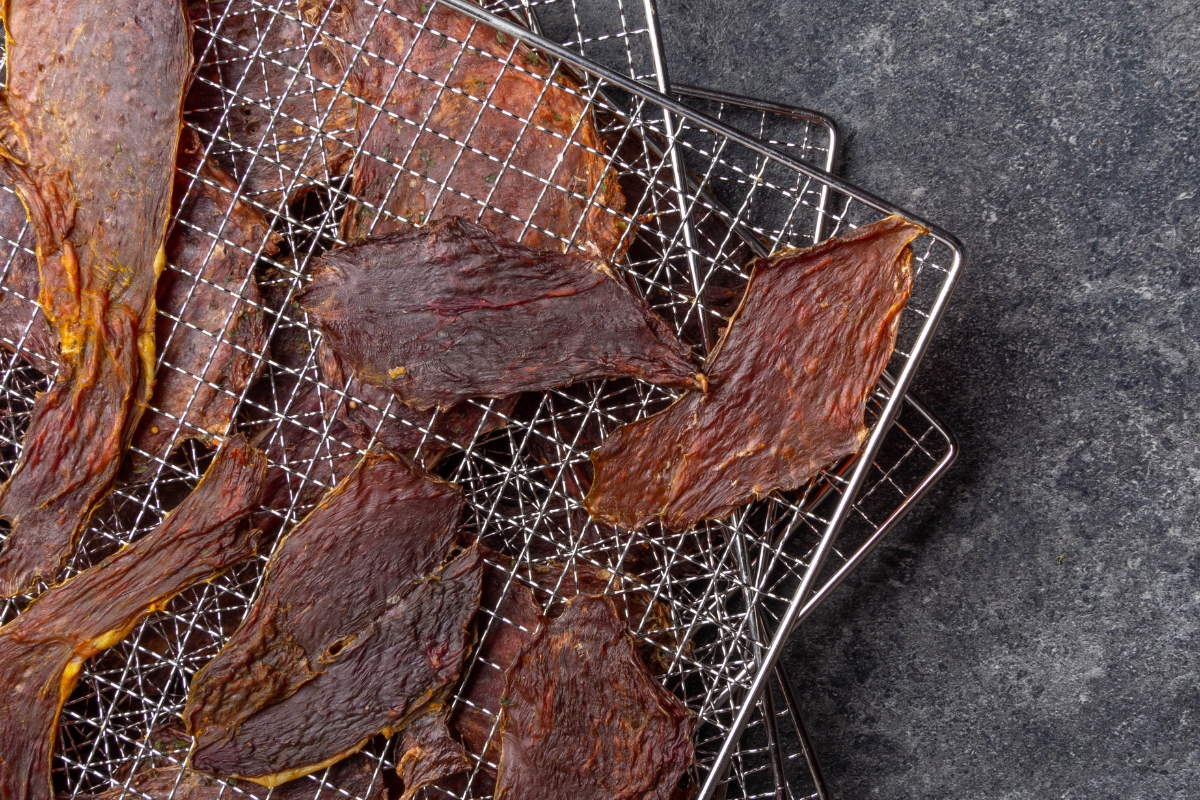
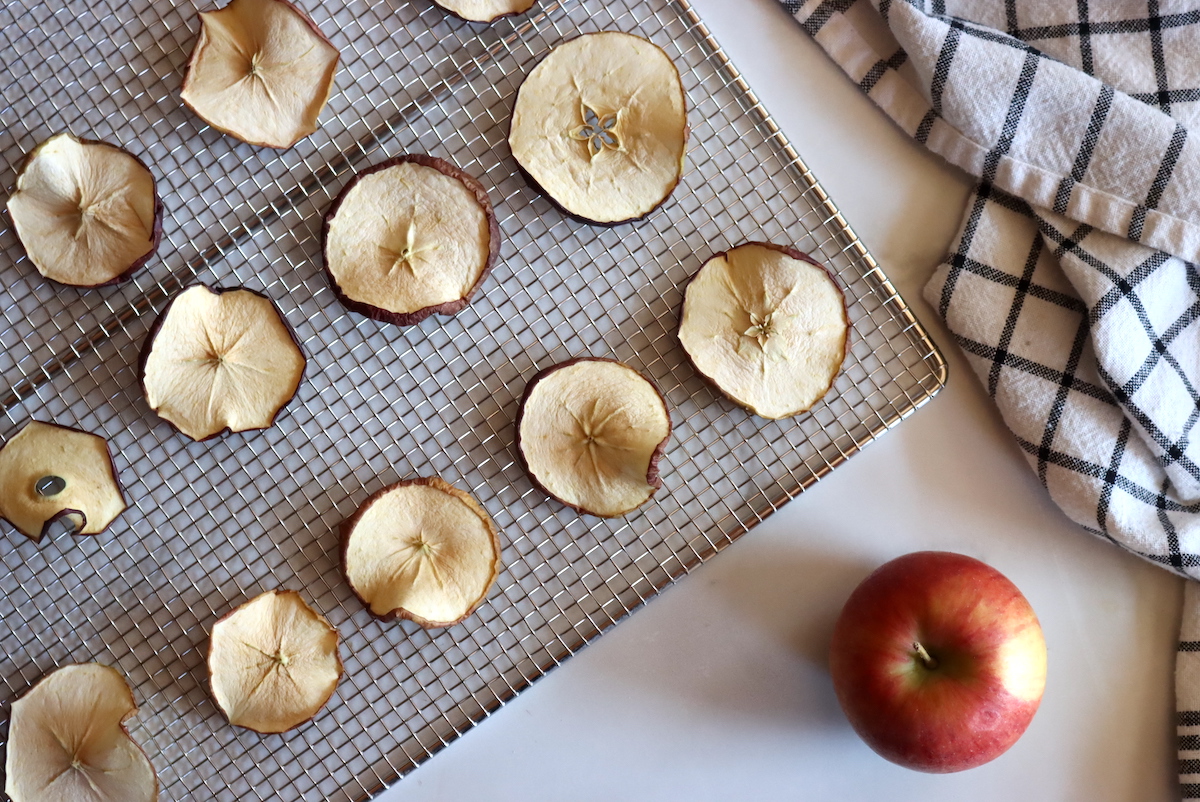
Still, more people simply love the taste of dried foods for snacking. I mean, who doesn’t love beef jerky and apple chips while on a hike or family camping trip?
Necessary Tools for Dehydration
Although air drying and sun drying have been used throughout history, there are now faster (and better ways) to dry food, especially given the modern convenience of electricity!
An oven may work for some food items that require higher temperatures, but ovens are not ideal for dehydrating. They lack proper airflow and tend to only operate at higher-than-desired temperatures for preservation. The fact is, most ovens cannot be set below 170°F for food safety reasons. For dehydrating most food items, this temperature is much higher than ideal.
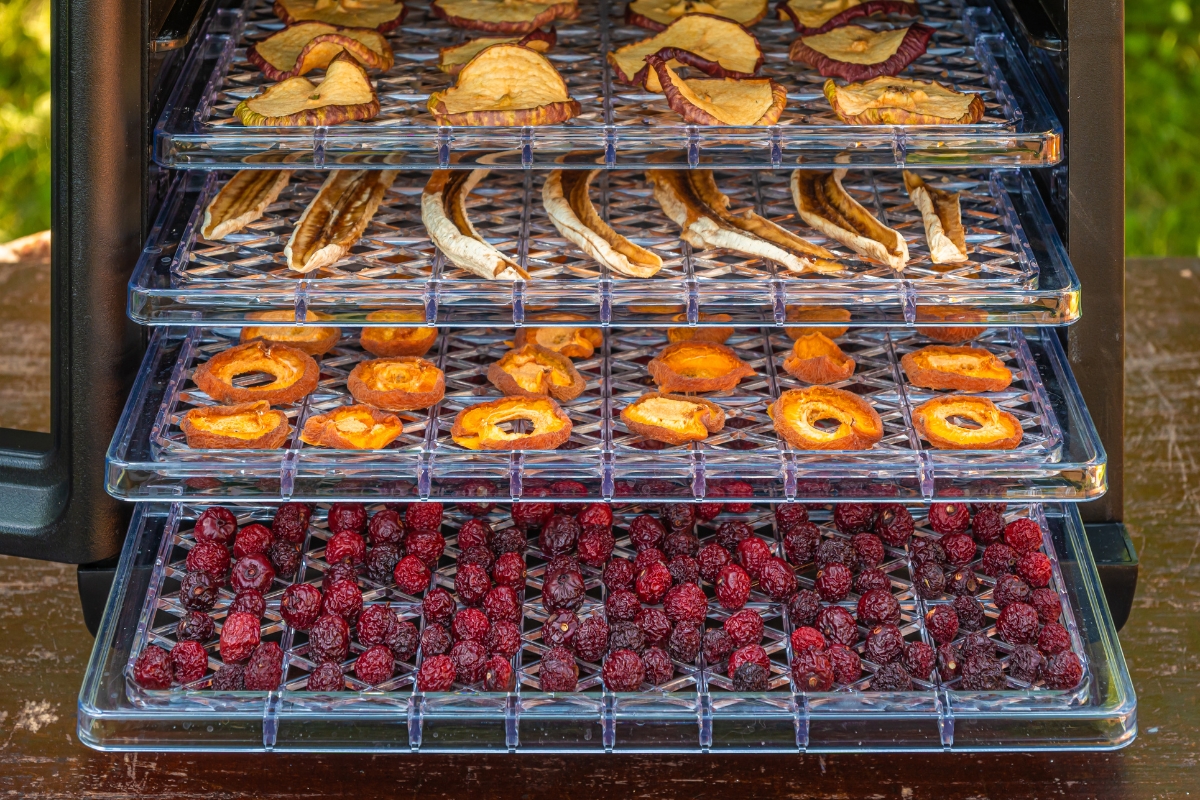
A home dehydrator, on the other hand, is made specifically for dehydrating food items. Designed with air circulation in mind and often equipped with adjustable temperature settings for dehydrating a variety of foods, these appliances render dehydration a relatively simple and easy task.
How Do I Choose a Dehydrator?
Although a food dehydrator is better than oven drying or air drying, not all dehydrators are of the same quality. So what are some features to look for in a dehydrator?
Beneficial Dehydrator Features:
- Adjustable temperatures and timer settings
- Decent capacity
- High-quality materials
The first thing to look for in a decent dehydrator is one with adjustable temperature and timer settings. Adjustable temperature settings are necessary if you plan on dehydrating a range of food items since fruits, vegetables, herbs, and meat all call for different temperatures when drying.
Adjustable timer settings are another valuable feature if you plan on dehydrating food items overnight or when not at home. Setting a timer on your dehydrator will decrease the chances of scorching if you forget to check items as they dry.
Capacity is another feature to be mindful of. A smaller dehydrator may be less expensive but will require you to use it multiple times for large batches. If you’re looking to dehydrate large amounts of a certain food or perhaps multiple fruits or vegetables at once, a dehydrator with a large capacity is a valuable asset to have.
Materials are yet another factor to consider. The National Center for Home Food Preservation recommends choosing a dehydrator with “double wall construction of metal or high grade plastic.”
Other Factors to Consider:
- Stackable vs. Front-Loading
- Horizontal vs. Vertical Airflow
Another feature to be mindful of is whether a dehydrator is stackable or front-loading. Stackable dehydrators may be handy because they are expandable and you can add additional trays, but this comes at a cost.
With stackable dehydrators, the heat and fan will be either on the top or bottom of the dehydrator, lending you a vertical airflow. With a front-loading dehydrator, the heating element will be at the back, making airflow horizontal. Why does this matter?
Horizontal airflow decreases the mixture of flavors when dehydrating. In these models, you can dehydrate different foods at the same time with less mixing of flavors. With a stackable model, the airflow will be upward or downward, mixing the flavors from your different trays all together.
In addition, if the heating element is at the base of the dehydrator as with stackable models, juices or liquids will drip onto it as the foods dry. This doesn’t occur if the heating element is at the back and the dehydrator is front-loading.
Ultimately, the decision is yours. If you are looking for a recommendation, I’d be sure to look into Excalibur dehydrators. Excalibur is a longstanding staple in the dehydrating community and is considered by many to be the premier dehydrating brand. They’ve been around for half a century, making dehydrators since 1973.
Cosori is a newer, up-and-coming brand. Cosori dehydrators have been heralded for their quality materials, stainless steel design, and ultra-quiet operation. Both Excalibur and Cosori dehydrators come equipped with adjustable temperature and timer features along with a variety of models to choose from.
What Foods Can You Dehydrate?
There exists a bounty of foods that are good for dehydrating and a few that are not. Fruits and vegetables are excellent for dehydrating. Herbs, spices, grains, and legumes (beans and lentils) are also great candidates for drying.
Meats with a low-fat content can be dehydrated as well along with sauces so long as they are egg and dairy-free.
What Foods Are Not Safe to Dehydrate?
What food shouldn’t you dehydrate? Anything with a high-fat content like high-fat meats, dairy, eggs, and even olives.
Fats will not be drawn out by dehydration, so spoiling will likely occur. Additionally, eggs and dairy carry a high chance of food poisoning when dehydrated. Some also recommend avoiding raw meat altogether unless first cooking to an internal temperature of 160°F for meat and 165°F for chicken as recommended by the USDA guidelines on drying meat and jerky.
The bottom line: you should not attempt to dry foods with a high fat or oil content, high-fat meats, or anything with eggs or dairy.
How to Dehydrate Herbs and Spices
Dried herbs and spices will provide you with an arsenal of flavorings to embellish dishes all year round.
In drying, different parts of the plant are selected for different herbs. With basil, mint, and sassafras, the flavor is found mainly in the leaves. Caraway and cumin, however, are valued for their seeds. At other times the entire plant (leaves and stems) is included as in the case of parsley and dill. Occasionally, the root is what you’re after such as with garlic and ginger.
Selecting Herbs and Spices
Regardless of which part, the drying process is often quite simple, no matter the spice. When to pick your herbs depends heavily on the part of the plant you intend to harvest. For flowers, harvest the buds when they are about half-open but before they reach full bloom. Leaves should be picked when young and tender.
Roots should be sought out in the fall after the plant is fully mature. Seeds should be selected before the pods burst and scatter their contents — usually, you need only wait until the seeds have lost their green color, changing to either brown or gray depending on the plant.
Harvest herbs by cutting them with scissors. Pulling them by hand will damage the plant. Know that you can save yourself the extra work of washing excessively dirty herbs by rinsing the plants the day before you plan to harvest them. They will dry overnight and you can pick them in the mid-morning after any dew has evaporated.
Preparation
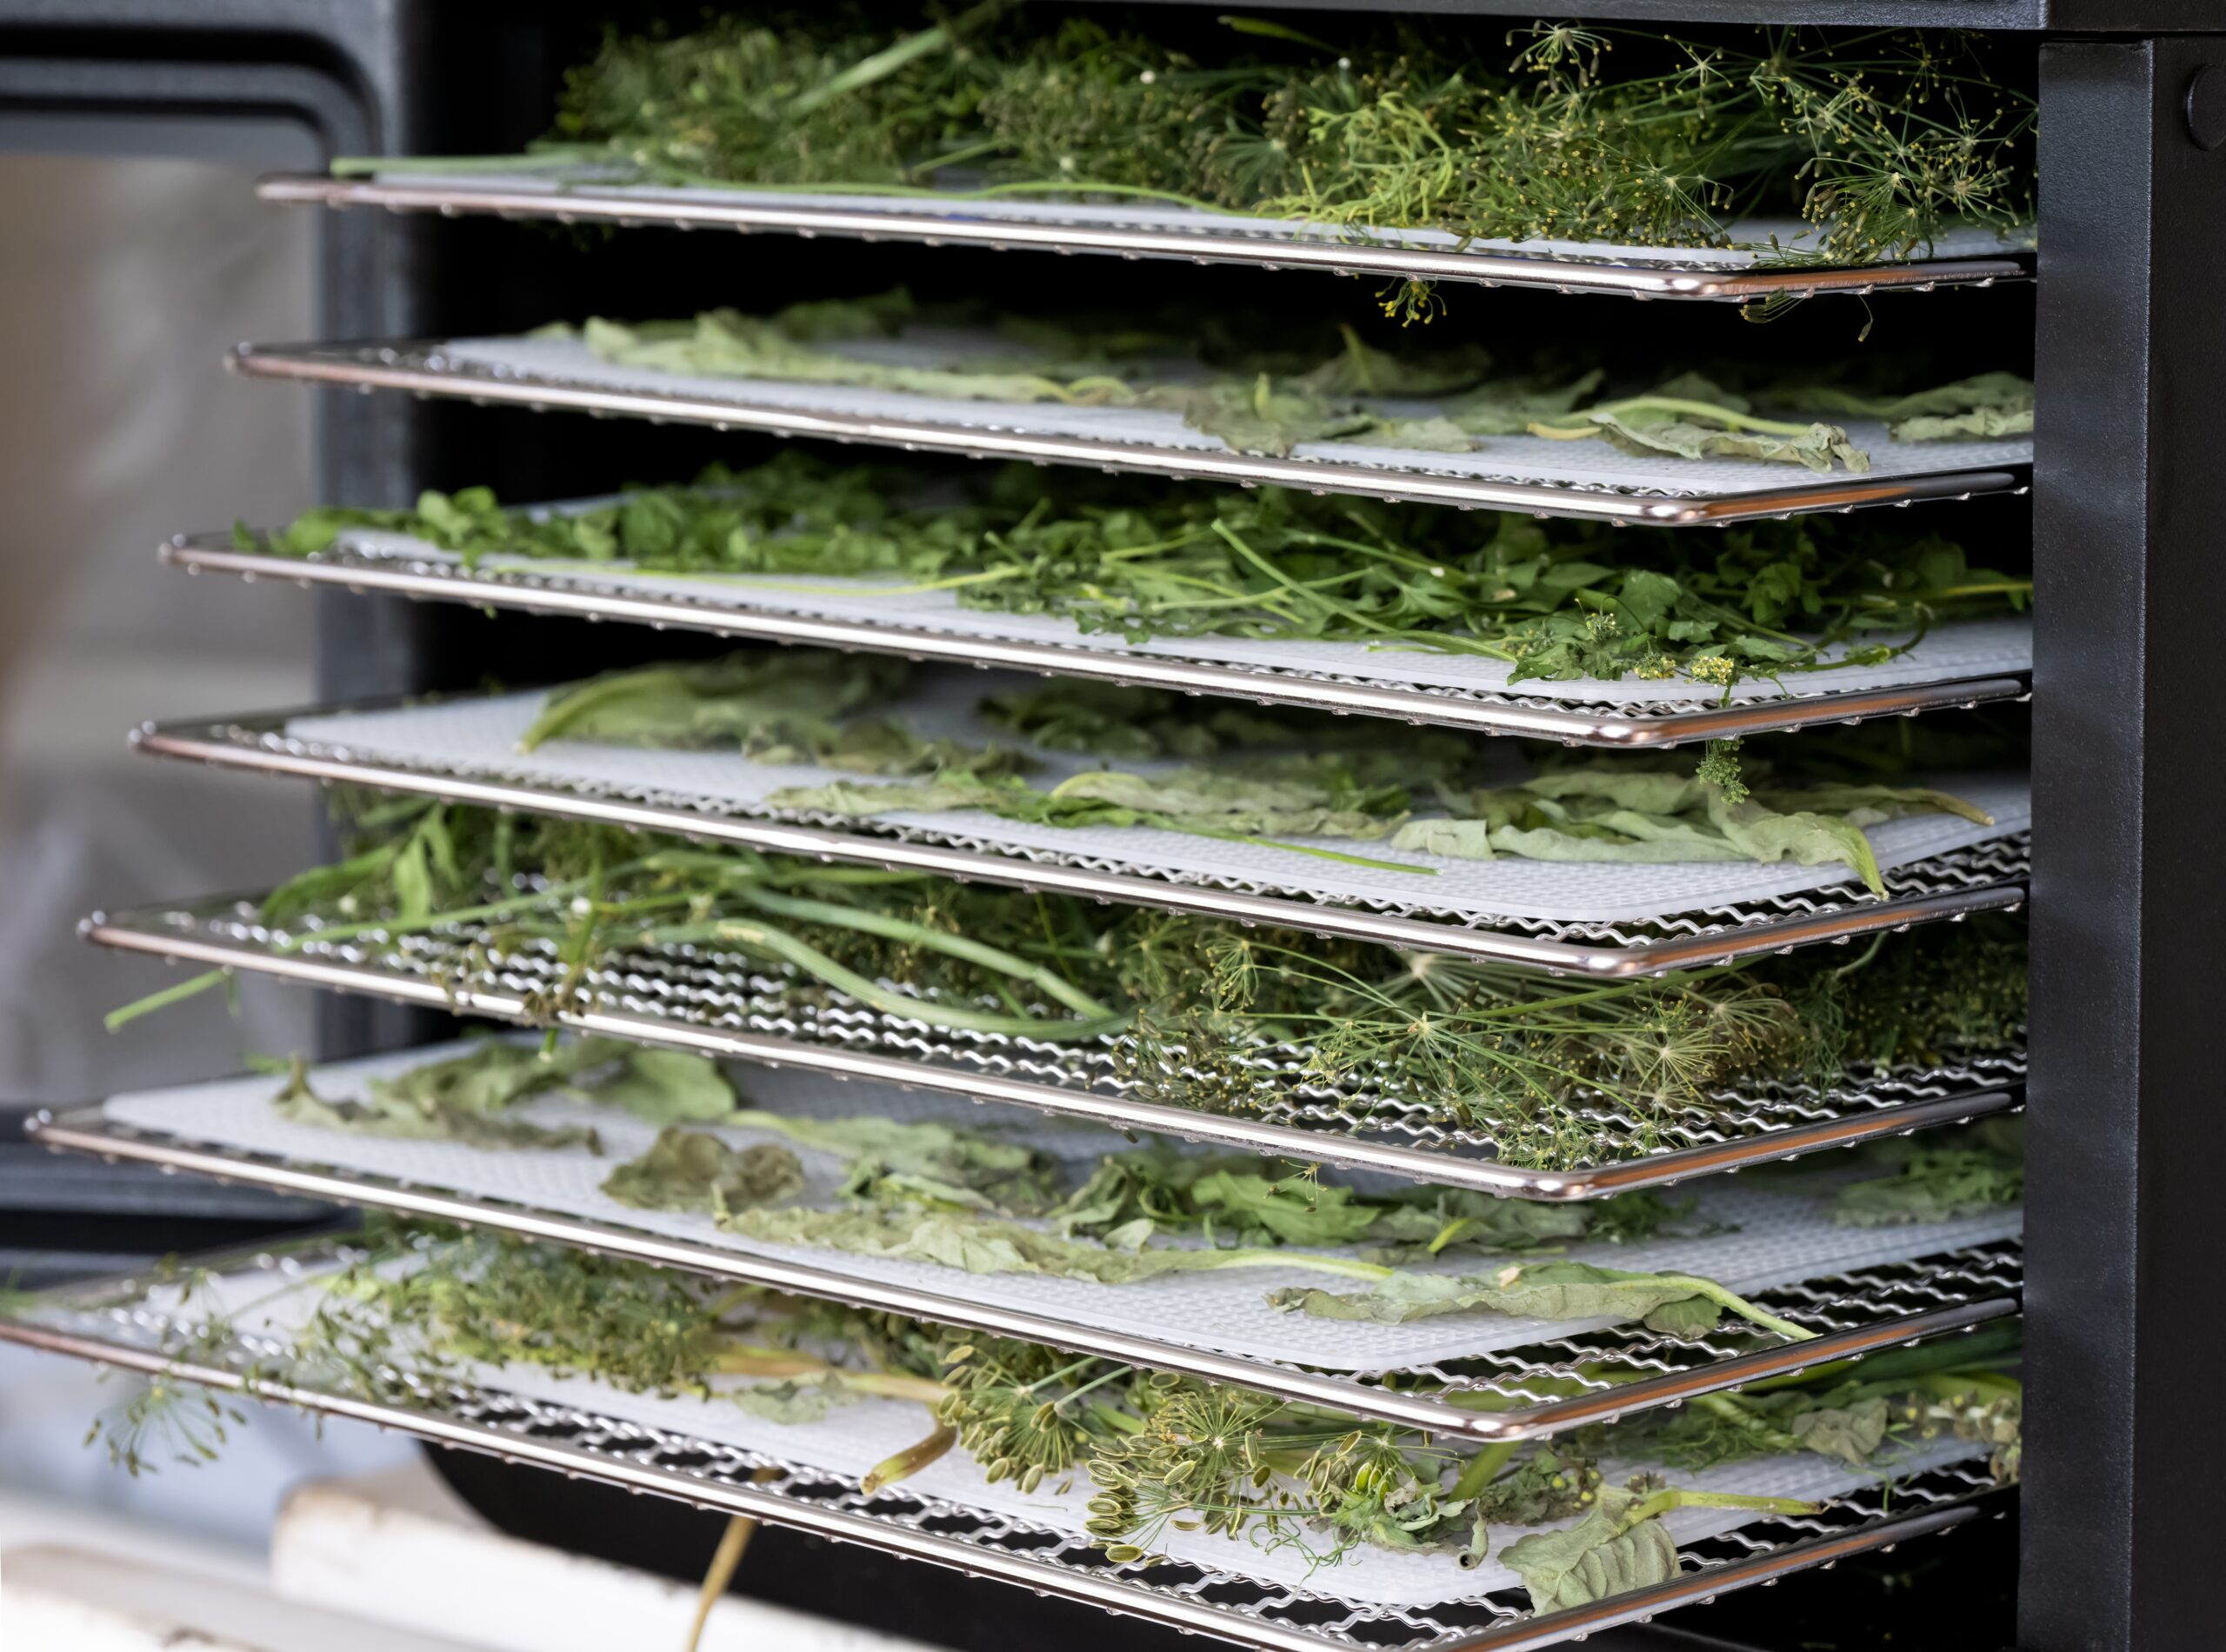
Be sure to trim any parts of your plant that are damaged, dead, or discolored. Rinse leaves and stems in cool water. Flower heads should be rinsed before the petals are removed. Flower heads can also be dried whole for use in teas.
For seeds, be sure to freeze them before dehydrating to eliminate any chances of insect contamination. Freeze seeds for 48 hours before dehydrating for best results.
Temperature
Herbs require the lowest temperatures of all the dehydrated foods — just 95°F to 105°F (35°C to 41°C). This is because you want to preserve all their aromatics, flavors, and nutrients, so they must be dried gently.
Plants should be placed on dehydrator trays in a scattered, single layer. Herbs should be dried separately from other foods as the moisture released from additional items like fruits and vegetables can compromise their quality.
Most herbs will take between 2 to 4 hours to dry in a dehydrator set at 95°F to 105°F, although some may take longer. Herbs should be dried until brittle and crumbly.
Know that drying herbs and spices intensifies their flavor. A bundle of 8 ounces of fresh herbs should dehydrate down to just 1 ounce once dried.
How to Dehydrate Nuts and Seeds
Did you know nuts are actually the one-seeded fruits of a shrub or tree that have been dried? It’s true! There is an assortment of nuts that are ideal for drying, providing you with a snackable pantry staple rich in proteins and fats.
Some popular nuts for dehydrating include cashews, chestnuts, hazelnuts, hickory nuts, peanuts, pistachios, pine nuts, walnuts, and macadamia nuts.
Pumpkin seeds and sunflower seeds are also quite popular as well.
Preparation
Select nuts with well-formed shells avoiding ones that are cracked or broken. Heaviness is a good indicator of freshness as older nuts will lighten as they age. Any part of the nut can be dried, be it just the kernel or nut meat, or the entire unshelled nut.
No additional preparation is needed when drying nuts. How simple!
Temperature
Next, spread nuts on dehydrator trays in a single layer and dehydrate at 95°F (35°C). The only nuts that call for higher temperatures are peanuts, which are often dried at 125°F (52°C).
Unshelled nuts usually dry in 10 to 14 hours while shelled nuts can take anywhere from 8 to 12 hours.
Shelled nuts should be dried to a moisture content of just 3% to 5%. They are dry when they achieve a somewhat crunchy texture. By contrast, unshelled nuts should contain 7% to 8% moisture once dried and contain nut meat that is still tender when cracked open.
For seeds, be sure to wash just before dehydrating. Pumpkin seeds should be dried at 110°F to 120°F (43°C to 49°C) until crisp. Stirring may be needed during dehydration. Sunflower seeds should be dried at 100°F (38°C) until crunchy.
How to Dehydrate Fruit
For the best quality dehydrated product, select fruit at the peak of ripeness when the fruit is fully mature. This is the point when both sugar and nutritional content are at their highest as well, resulting in an end product that is sweet and nutritious.
Do not use overripe fruit, bruised fruit, or fruit with spoiled spots.
Preparing Fruit For Dehydration
Wash fruit just before dehydrating. Certain fruits (citrus especially) that have been bought from a produce market may have a wax coating. These can be washed off with a homemade fruit cleaner made from vinegar and then rinsing the fruit again in cool water.
Some fruits will need to be peeled before dehydrating (such as pineapple, kiwi, and bananas); others like citrus and persimmons are best dried with the peel on. Grapes and berries with a natural wax coating should be checked before dehydrating.
You can check or crack the skins by dipping the fruit in boiling water for 30 to 60 seconds, then immediately plunging it into cold water to stop the cooking process.
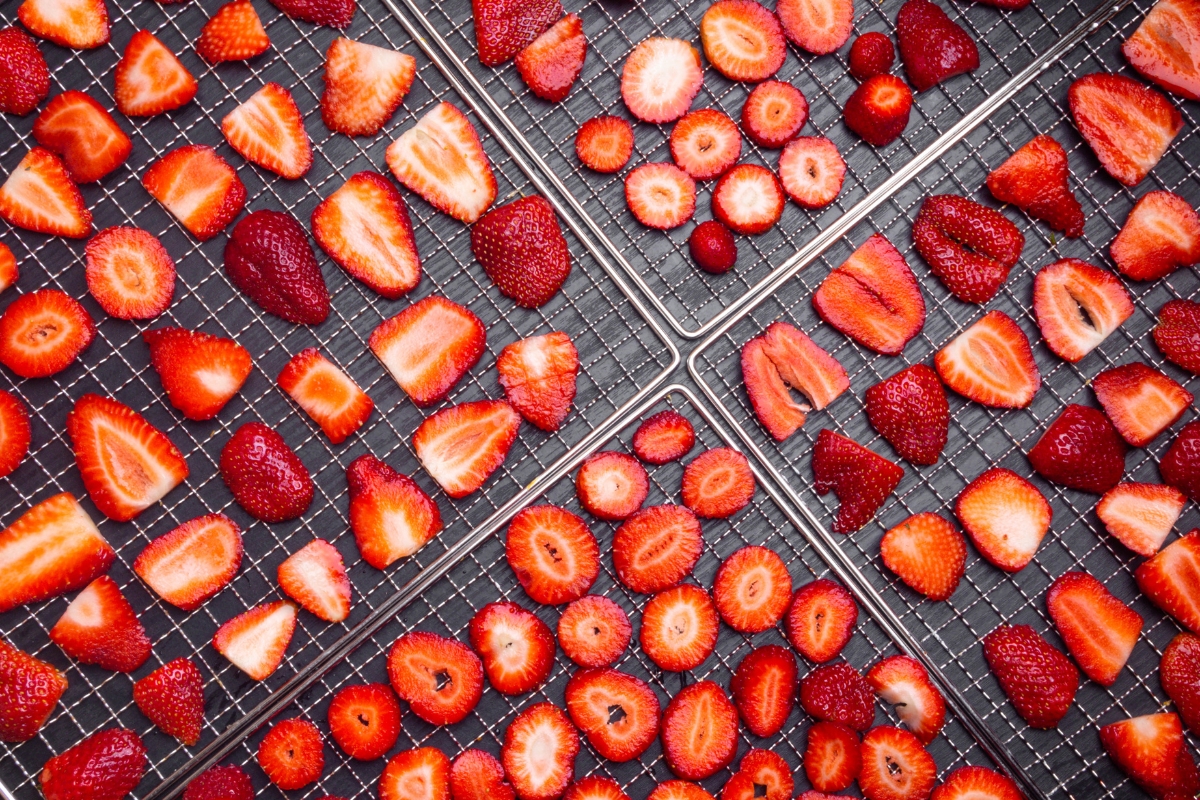
When it comes to slicing, small fruits can be halved while larger fruits should be diced or sliced into rounds. Uniform slicing is important to ensure fruit dries evenly, so try to keep slices even in thickness.
Many choose to also pretreat fruit to avoid darkening, help preserve nutrients, and add an additional barrier of protection against bacterial growth and deterioration. There are a few options for pretreating fruits. These include:
- Ascorbic Acid
- Citric Acid
- Fruit Juice
To pretreat with ascorbic acid follow the instructions provided below to make an ascorbic acid mixture, and soak the cut fruit directly in the ascorbic acid solution for 10 minutes. Remove with a slotted spoon, drain, and dehydrate. One quart of solution should treat 10 quarts of cut fruit.
To make an ascorbic acid solution, follow these instructions from the Colorado State University Extension:
“Stir 2 1/2 tablespoons (34 grams) of pure ascorbic acid crystals into one quart (1000 milliliters) of cold water. For smaller batches prepare a solution using 3 3/4 teaspoons (17 grams) of pure ascorbic acid crystals per 2 cups of cold water. Vitamin C tablets can be crushed and used (six 500 milligram tablets equal 1 teaspoon ascorbic acid).”
For citric acid and fruit juice, the Colorado State University Extension offers these instructions:
“Prepare the citric acid solution by stirring 1 teaspoon (5 grams) of citric acid into one quart (1000 milliliters) of cold water. For the lemon juice solution, mix equal parts of lemon juice and cold water (i.e., 1 cup lemon juice and 1 cup water). Cut the peeled fruit directly into the citric acid or lemon juice solution. Allow to soak 10 minutes, then remove with a slotted spoon, drain well and dehydrate.”
Once sliced and, if desired, pretreated, fruit should then be placed on dehydrator trays in a single layer leaving a small amount of space between the slices for decent airflow. Many different fruits can be dried together provided they call for the same temperature.
Temperature
Fruits are most commonly dried in the temperature range of 125°F to 135°F (52°C to 57°C). This temperature is low enough that all the flavors and nutrients of your hard-earned fruit are preserved, but high enough that drying doesn’t take too long and you don’t risk spoiling.
The length of time fruits will need to dehydrate varies largely based on the exact fruit being dehydrated. Whole fruits will take longer than sliced fruits. Times will also be longer during periods of high humidity. Fruits with a high moisture content will take longer as well.
Fruits should be dehydrated until dry to the touch and leathery. They should not be so dry as to become brittle. The goal in dehydrating fruit is to reduce the moisture content to right around 20%.
Conditioning
Conditioning is recommended for many fruits to help evenly distribute moisture and lessen the chances of spoilage. To condition your dehydrated fruit, move cooled fruit to a covered container, like a glass jar, and loosely fill it with your dried product.
Shake or stir the jar daily for 7 to 10 days. If you see condensation or moisture appear on the glass, your fruit isn’t dry enough. Remove and dehydrate some more. If after 10 days, no moisture appears, your fruit is ready for long-term storage.
How to Dehydrate Vegetables
Vegetables should be picked at the peak of ripeness to ensure all their delicious nutrients and flavors are preserved.
Pretreatment
Wash vegetables in cool water just before you are ready to dehydrate them. Some vegetables require peeling such as turnips and eggplant. Be sure to cut away fibrous or woody portions as well, as these will toughen once dried. Do not attempt to dry vegetables that have spoiled or those with moldy spots.
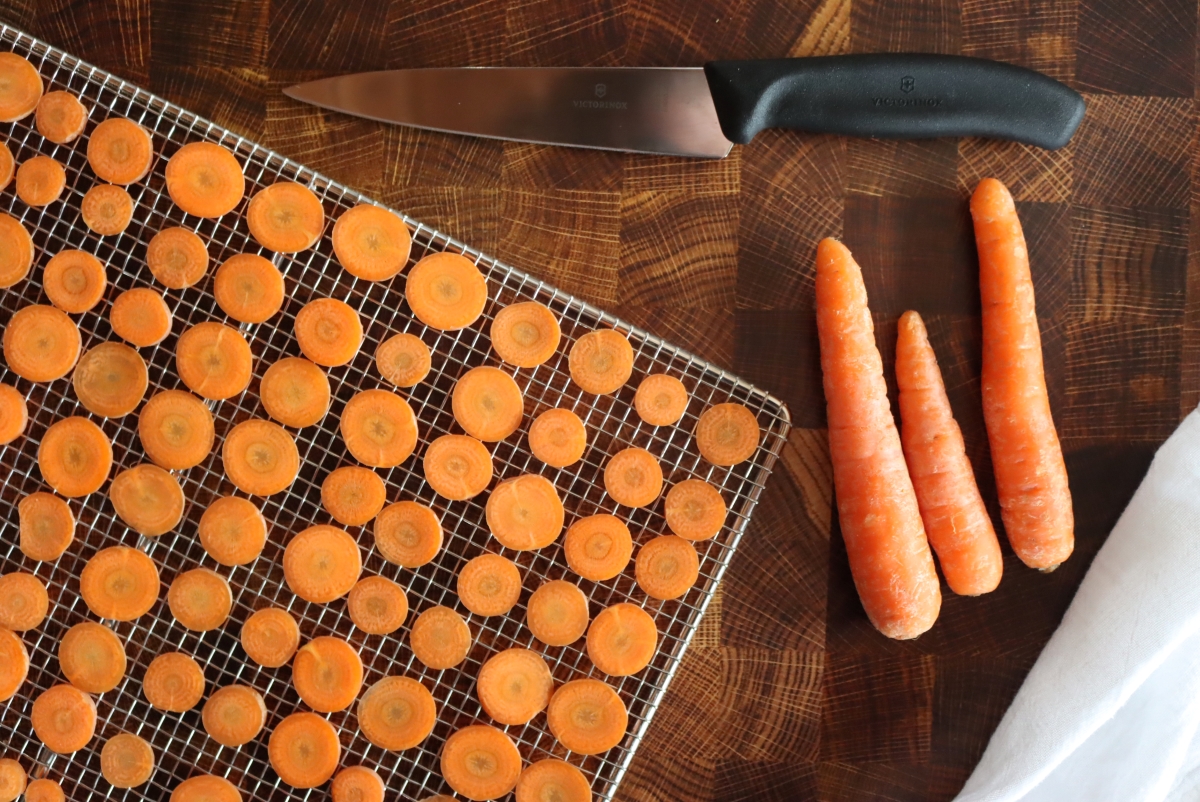
Vegetables can be blanched to speed along the drying process — this is helpful considering the longer you dry your vegetables, the less flavorful they will be. Many vegetables will additionally need to be sliced into smaller sections to speed along drying. This is a great time to use a mandoline slicer if you have one.
Vegetables generally need to be blanched between 2 to 5 minutes. Below is a brief outline for those that need blanching and those that don’t.
Vegetables that recommend blanching:
- Green Beans
- Lima Beans
- Carrots
- Corn
- Peas
- Potatoes
- Sweet Potatoes
- Turnips
- Artichokes
- Asparagus
- Broccoli
- Cauliflower
- Cabbage
- Brussel Sprouts
- Swiss Chard
- Summer Squash
- Zucchini (unless making zucchini chips)
Vegetables that don’t need blanching:
- Mushrooms
- Onions
- Peppers
- Beets
- Pumpkin
- Tomatoes
- Cucumber
- Winter Squash
Temperature
Because vegetables have a lower moisture content than most fruits, they call for lower drying temperatures. Drying at too high of a temperature can cause hardening. Vegetables are usually dried in the 115°F to 130°F range (46°C to 54°C). As a general outline, most vegetables can be dried at 125°F (52°C), with tomatoes and onions being the outliers best dried at 145°F (63°C).
Times can vary substantially based on the type of vegetable being dried, in addition to the size of the pieces and current humidity that day. Vegetables can take anywhere from 4 to 14 hours to effectively dry in a dehydrator. Rotating your trays 180 degrees approximately halfway through cooking can also shorten drying time.
Once effectively dehydrated, vegetables should have about 10% moisture or less left in them. Vegetables are often dried until hard and brittle.
How to Dehydrate Legumes and Grains
Grains and legumes can also be dehydrated to preserve them for future use.
Grains
Some grains, like barley, buckwheat, corn, oats, and wheat, should be dried partially on the stalk before picking. Grains should then be placed on dehydrator trays in a ½ inch layer and dried at 115°F (46°C) for 12 to 18 hours.
Dried corn should appear shriveled once done. Grains will be hard and crunchy.
Beans and Legumes
Dried beans are a classic dried pantry staple perfect for adding to soups and stews. Before beginning, bean shells should be removed and the beans washed. The beans should be pretreated by blanching in boiling water for 2 to 3 minutes. After draining, dehydrate at 125°F (52°C) for 9 to 13 hours until beans are brittle and hard.
Pasta and Rice
If you make your own homemade pasta, dehydrating your noodles ensures your creations will last long into the future. Cut pasta dough into strips, place on dehydrator trays in a single layer, and dry until crisp.
Rice should be cooked before being dehydrated and then dried at 145°F (63°C) for 4 to 6 hours. Once done, the rice should be hard.
How to Dehydrate Meat and Fish
There are two types of dehydrated meat: cooked meat and jerky. The drying process is mostly the same with slight differences between the two.
Although many skip this step for jerky-making, instead opting for curing over cooking, for all other meats it is recommended they be cooked to an internal temperature of 160°F before dehydrating (and 165°F for poultry). When dehydrating, a constant temperature of 130°F to 140°F (54°C to 60°C) must be maintained according to Ask USDA.
Best Meats To Dehydrate
Fish and other meat with a high fat or oil content will spoil quickly. Only lean meats and low-fat fish should be dehydrated. Any additional fat on these meats should be removed before dehydrating.
Pork is generally not recommended for dehydration due to its higher fat content (lean cuts of cured ham are the only exception). Overly fatty fish are best skipped as well.
Dehydrating Cooked Meat
Too many leftovers in your refrigerator? You can dehydrate any remaining cooked meat to save it for adding to future recipes like soups, stews, and casseroles.
Dehydrate cooked meat by draining it from liquid and chilling cooked meat so the fat hardens — it will be easier to remove this way. After removing the excess fat, cut into ½ inch cubes and dehydrate in small batches.
Space your meat evenly across dehydrator trays and dehydrate at a temperature between 145°F to 155°F (63°C to 68°C) until the meat is thoroughly dried (it will be hard and tough at this point). Meat can take anywhere from 6 hours to 12 hours to dehydrate.
Some also recommend lowering the temperature to between 120°F and 130°F (49°C to 54°C) toward the end of cooking to make dried meat more tender.
Once done, dab the meat to remove any beads of oil lingering on the surface. Allow to cool and move to an airtight container for storage.
Dried meat can be reconstituted by soaking in broth or water for 30 to 60 minutes. Add to recipes and allow to simmer for an additional 10 to 20 minutes to further soften.
Beef and Venison
When dehydrating beef and venison, select a tender cut being mindful to avoid areas with a good deal of fat. Trim off excess fat and cook the meat by steaming, braising, simmering, or pressure cooking. Once done, place in the refrigerator overnight to chill the meat.
For dehydrating, meat should then be cut into cubes about ½ inch in size. Dry at 145°F (63°C) for about 6 hours then reduce heat to 130°F, continuing to dehydrate until the cubes become hard.
To test if the meat is appropriately dry, slice a cooled cube — no moisture should remain in the middle.
Ham
Only lean, well-cured ham should be dehydrated. All fat should be removed before dehydrating. Ham must be cooked before dehydrating, then cut into ¼ inch cubes (or thin slices). Ham should then be dried for 4 hours at 145°F (63°C) then reduced to 130°F (54°C) and further dehydrated until hard.
Poultry
Only turkey or chicken should be dehydrated — duck and goose are too fatty and oily.
Steam or simmer poultry until tender, let cool, and remove any lingering fat or skin. Cut meat into cubes ¼ to ½ inch thick. Dehydrate at 145°F (63°C) for 4 hours, then lower temperature to 130°F (54°C) and finish dehydrating until hard.
Lamb
Choose lean roasting cuts when dehydrating lamb, trimming off any fat you see. Cook by steaming or by using a pressure cooker, allow to cool, and cut into ½ inch cubes. Dry for 4 to 6 hours at 145°F (63°C), lower to 130°F (54°C), and continue to dehydrate until hard.
Shrimp
Cook shrimp before dehydrating by boiling in salted water until pink (1 to 3 minutes). Remove, drain, and shell shrimp. You can also devein the shrimp by cutting down the back of the shrimp and washing the vein under water.
Shrimp can be dehydrated as is or cut into smaller pieces. Arrange in a single layer and dehydrate at 145°F (63°C) until shrimp become firm, hard, and dry (about 4 to 6 hours on average).
Jerky
You can make jerky from just about any meat, whether fresh, cooked, or frozen. Beef and venison jerky, however, are the most popular.
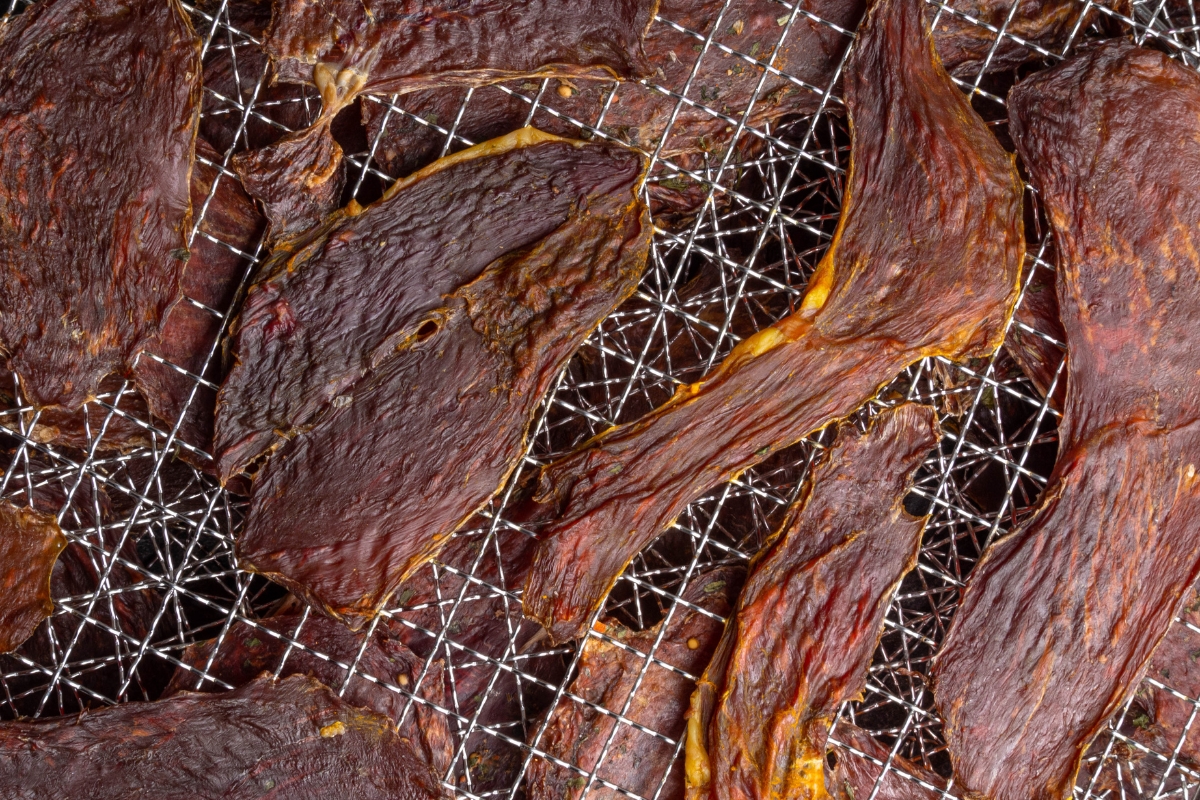
The general process for making jerky is to slice the meat into strips 1 inch wide and ¼ inch to ⅜ of an inch thick. For chewier jerky, cut with the grain. For a more tender, but slightly more brittle jerk, cut across the grain.
Next, you’ll want to cure and marinate the meat. Place in a shallow pan, cover with marinade (and a cure for raw meat), and refrigerate for 6 to 12 hours. Drain and dehydrate between 145°F to 155°F (63°C to 68°C).
Beef jerky can take 4 to 8 hours and should be dried until pliable and leathery. Lamb jerky should be dried for 8 to 12 hours.
Ham jerky (made only with cooked and cured ham) can take 5 to 5-½ hours and should be dried until hard and snappable. Fish jerky can also be made from freshly caught fish after being cleaned and fileted, provided the fish aren’t too fatty. Fish jerky usually takes somewhere between 12 to 14 hours to dry.
How to Rehydrate Dried Food
You may wish to rehydrate fruits and vegetables before adding them to recipes. To do so, food will need to be refreshed by soaking or cooking the food in water until reconstituted. Quite helpfully, the University of Missouri Extension provides a handy chart for rehydrating fruits and vegetables outlining both the amount of water and length of time needed to rehydrate many popular fruits and veggies.
Rehydrating Vegetables
While fruits can be snacked on in their dried form, dehydrated vegetables usually need to be rehydrated before being used. Vegetables can be rehydrated by soaking them in water until they plump up and return to near-fresh size. Depending on the vegetable, this can take anywhere from 10 minutes to upwards of two hours. Soaking in boiling water will quicken the process.
Leafy vegetables such as spinach and chard do not need rehydrating and are best added directly to recipes to reconstitute in the cooking process. Most root, stem, and seed vegetables will rehydrate in 30 to 90 minutes in cold water.
Rehydrating Fruits
To rehydrate dried fruit for recipes and cooking, place dried fruit in a dish and cover with boiling water — use only as much as needed to cover the fruit. Fruit should reconstitute in about 10 minutes using this method.
Dehydrated fruit can also be rehydrated by allowing it to soak in fruit juice overnight in the refrigerator.
Dried fruits can be rehydrated by cooking as well. Add your dehydrated fruit to boiling water (or fruit juice) and cook for 10 to 15 minutes. Add any desired spices and sweeteners at the end of the cooking time. Know that ½ cup of dehydrated fruit will equal about 1 cup fresh.
Rehydrating Meat
To rehydrate beef and venison, pour a cup of boiling water over 1 cup of dehydrated cubed meat and soak for 3 to 4 hours.
For ham, pour 1 cup water over 1 cup ham and cook over low heat for an hour. Dried poultry and lamb should be rehydrated like ham, but only need to be simmered for 45 to 50 minutes.
Rehydrate shrimp by covering 1 cup of shrimp with ½ cup boiling water. Move to the refrigerator right away and leave there for 1 hour. Drain water and keep refrigerated until ready to use.
How to Use Dried Food
The only thing that seems to number higher than the amount of food items you can dehydrate, is the number of ways you can use them.
Add dried herbs to teas, use them in rubs, marinades, and herbal vinegars, or create your own homemade tinctures. The uses for herbs continue: dried herbs can be used to make everything from healing herbal salves to infused honey, infused oils, oxymels, and glycerites.
Nuts and seeds can be eaten as is (and are a great hiking snack) or can be added to breads and other baked treats.
Dehydrated fruits can be nibbled on straight out of the jar or rehydrated for a number of dishes. Add dehydrated fruits to morning meals like yogurt, oatmeal, cereal, and more. Toss dried fruit into the batters for pancakes and waffles, muffins and scones, or breakfast breads like streusel and coffee cakes.
Dried fruits can even be made into a dried fruit jam. Both dried figs and dried apricots make lovely jams. Rehydrated fruits can also be used in cobblers, pies, and pudding.
Dehydrated vegetables generally need to be rehydrated before use (unless stirring into soups, of course). An array of dehydrated vegetables can be added to winter soups. Onions, carrots, and green beans are a few standout options.
Refreshed vegetables will need less time to cook than fresh ones — simply simmer to your preferred level of tenderness. Dried vegetables can be utilized in casseroles, stews, sauces, or simply enhanced with butter and cheesy toppings.
Extra dry vegetables can be pulsed into vegetable powders to impart flavor and nutrients to drinks and other dishes. Add beet powder to smoothies and yogurt for a healthy boost or to baked goods for coloring. Spinach powder is excellent for adding to pasta dough, vinaigrettes, and marinades.
As meat is cooked before dehydrating, it can quickly be refreshed and added to a variety of recipes. Dried meat can be rehydrated and added to stews, chilis, soups, and stir-fries. Use thin-sliced meat for sandwiches and topping salads as well.
Best Way to Store Dried Food
You’ve gone through all the hard work of dehydrating that food — don’t let it go to waste due to inferior storage. Dried foods can be prone to reabsorbing moisture and consequent spoiling. To decrease the chances of this, proper storage techniques should be followed.
Fruits should be conditioned before moving to a place for long-term storage. Vegetables usually do not need this additional step.
Be sure to allow your dried food to cool completely before moving to storage as warm foods can sweat. Next, be sure to move your food to clean, airtight, insect-proof containers. Some good options include canning jars, plastic freezer bags, or vacuum-sealed bags. If you need to clean jars before using, be sure they are 100% dry before filling them with your dried food. (Moisture is your enemy!)
Additionally, be aware that every time you open a container, you are introducing the food to potential moisture that can quicken spoilage and lessen food quality. To decrease the need to open containers repeatedly, try to store dried foods in smaller-sized containers.
Dried food should be kept in a cool, dark, and dry location as heat and moisture will quicken degradation. The recommended storage time for dried foods ranges from 4 months to a year depending on the item.
According to the Oklahoma State University Extension, dried fruits can be stored for a year if kept at 60°F (16°C) and 6 months at 80°F (27°C). Vegetables possess a shelf life of about half this. Shelf life can be extended further by freezing drying foods instead of dehydrating.
Food Preservation Guides
Looking for more ways to preserve food at home?
- Pressure Canning: Beginner’s Guide
- Cheesemaking: Beginner’s Guide
- Winemaking: Beginner’s Guide
- How to Make Sauerkraut
- How to Make Apple Cider Vinegar




Ashley – your entire blog is a valuable, easy-access, organized online repository of information I use weekly in my own homesteading journey. Thank you for creating content, reviews, photos, and hosting it all online for all of us to access without barriers. People like me who also homestead – but aren’t nearly as organized and informed – appreciate your effort, and promote you and your content as often as possible. Many thanks – I appreciate you year-round.
In this particular instance re: dried food, my 20 year-old dehydrator stopped working mid-batch last night, and you were my first thought when I decided to invest in a new dehydrator. I plan to use your tips when shopping for a new one.
Wonderful Lisa! I’m so glad it’s helpful to you =)