Affiliate disclosure: This post may contain affiliate links. Please see our Privacy Policy.
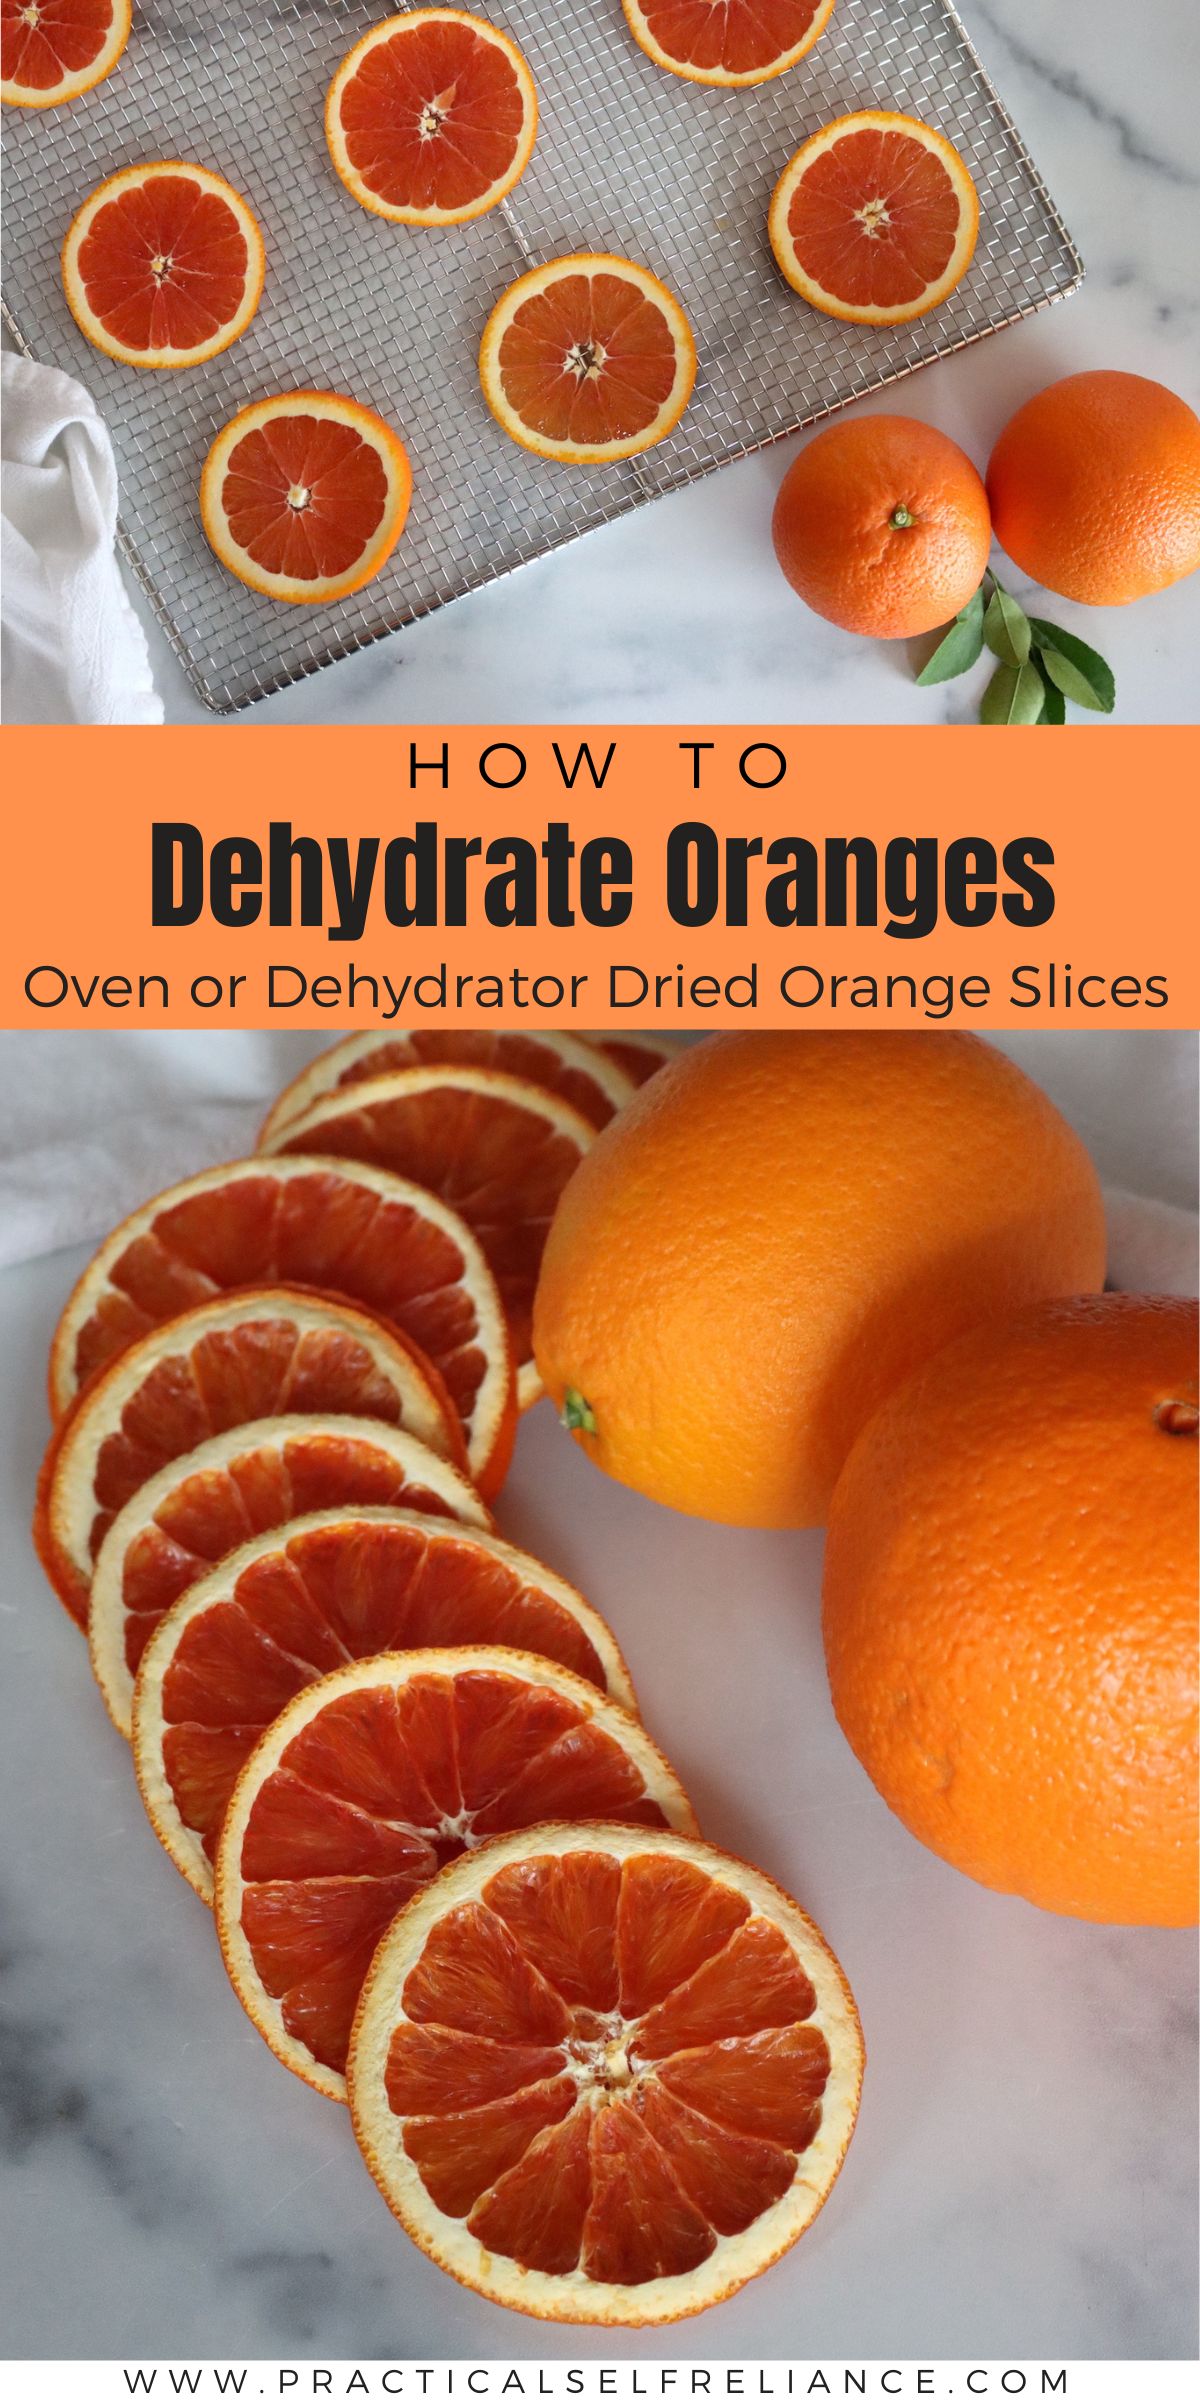
Dehydrating oranges turns winter citrus into crisp, fragrant slices that keep on the pantry shelf for months. You can dry them in a dehydrator or a low oven, and you’ll have dried orange slices ready for tea, cocktails, baking, and holiday garlands.
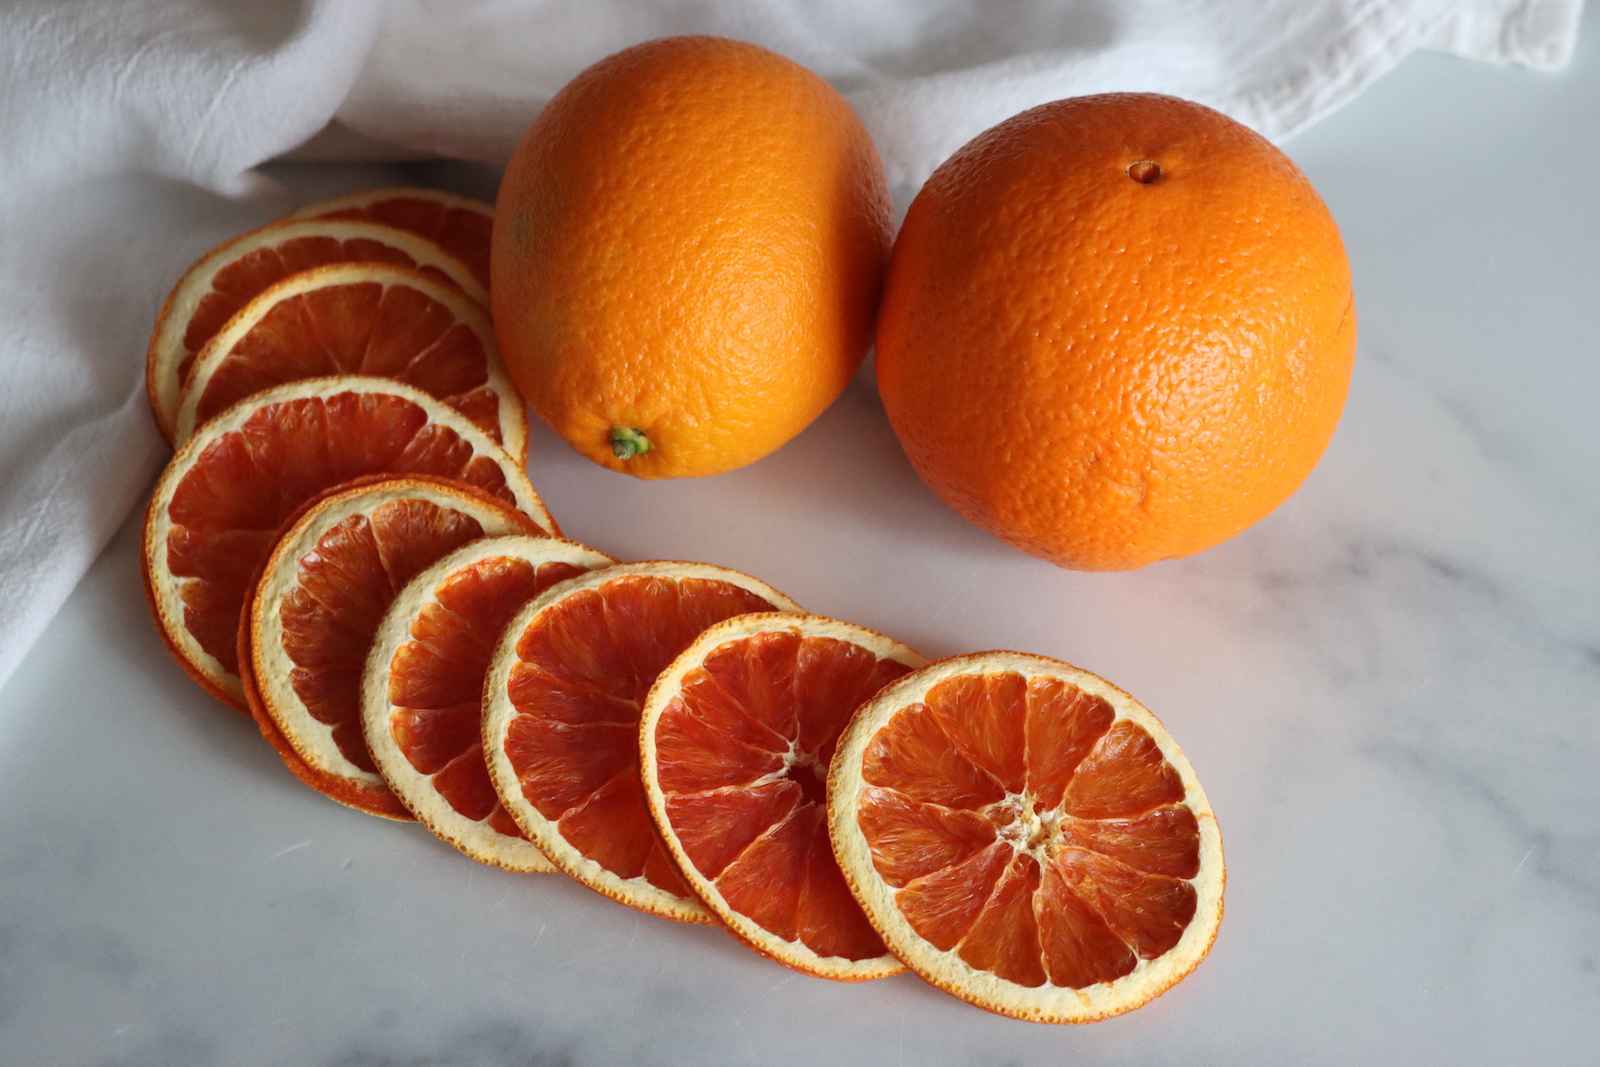
Table of Contents
Citrus season peaks in the middle of winter, right when our garden here in Vermont is under snow. That’s when blood oranges, Cara Caras, and sweet navel oranges fill the grocery store, and it’s a good time to put some by.
I can oranges, and I love a good orange jam or orange marmalade, but most of those come with a fair bit of sugar. Dried orange slices are just oranges. They keep in a jar on the shelf, and there’s no canner required.
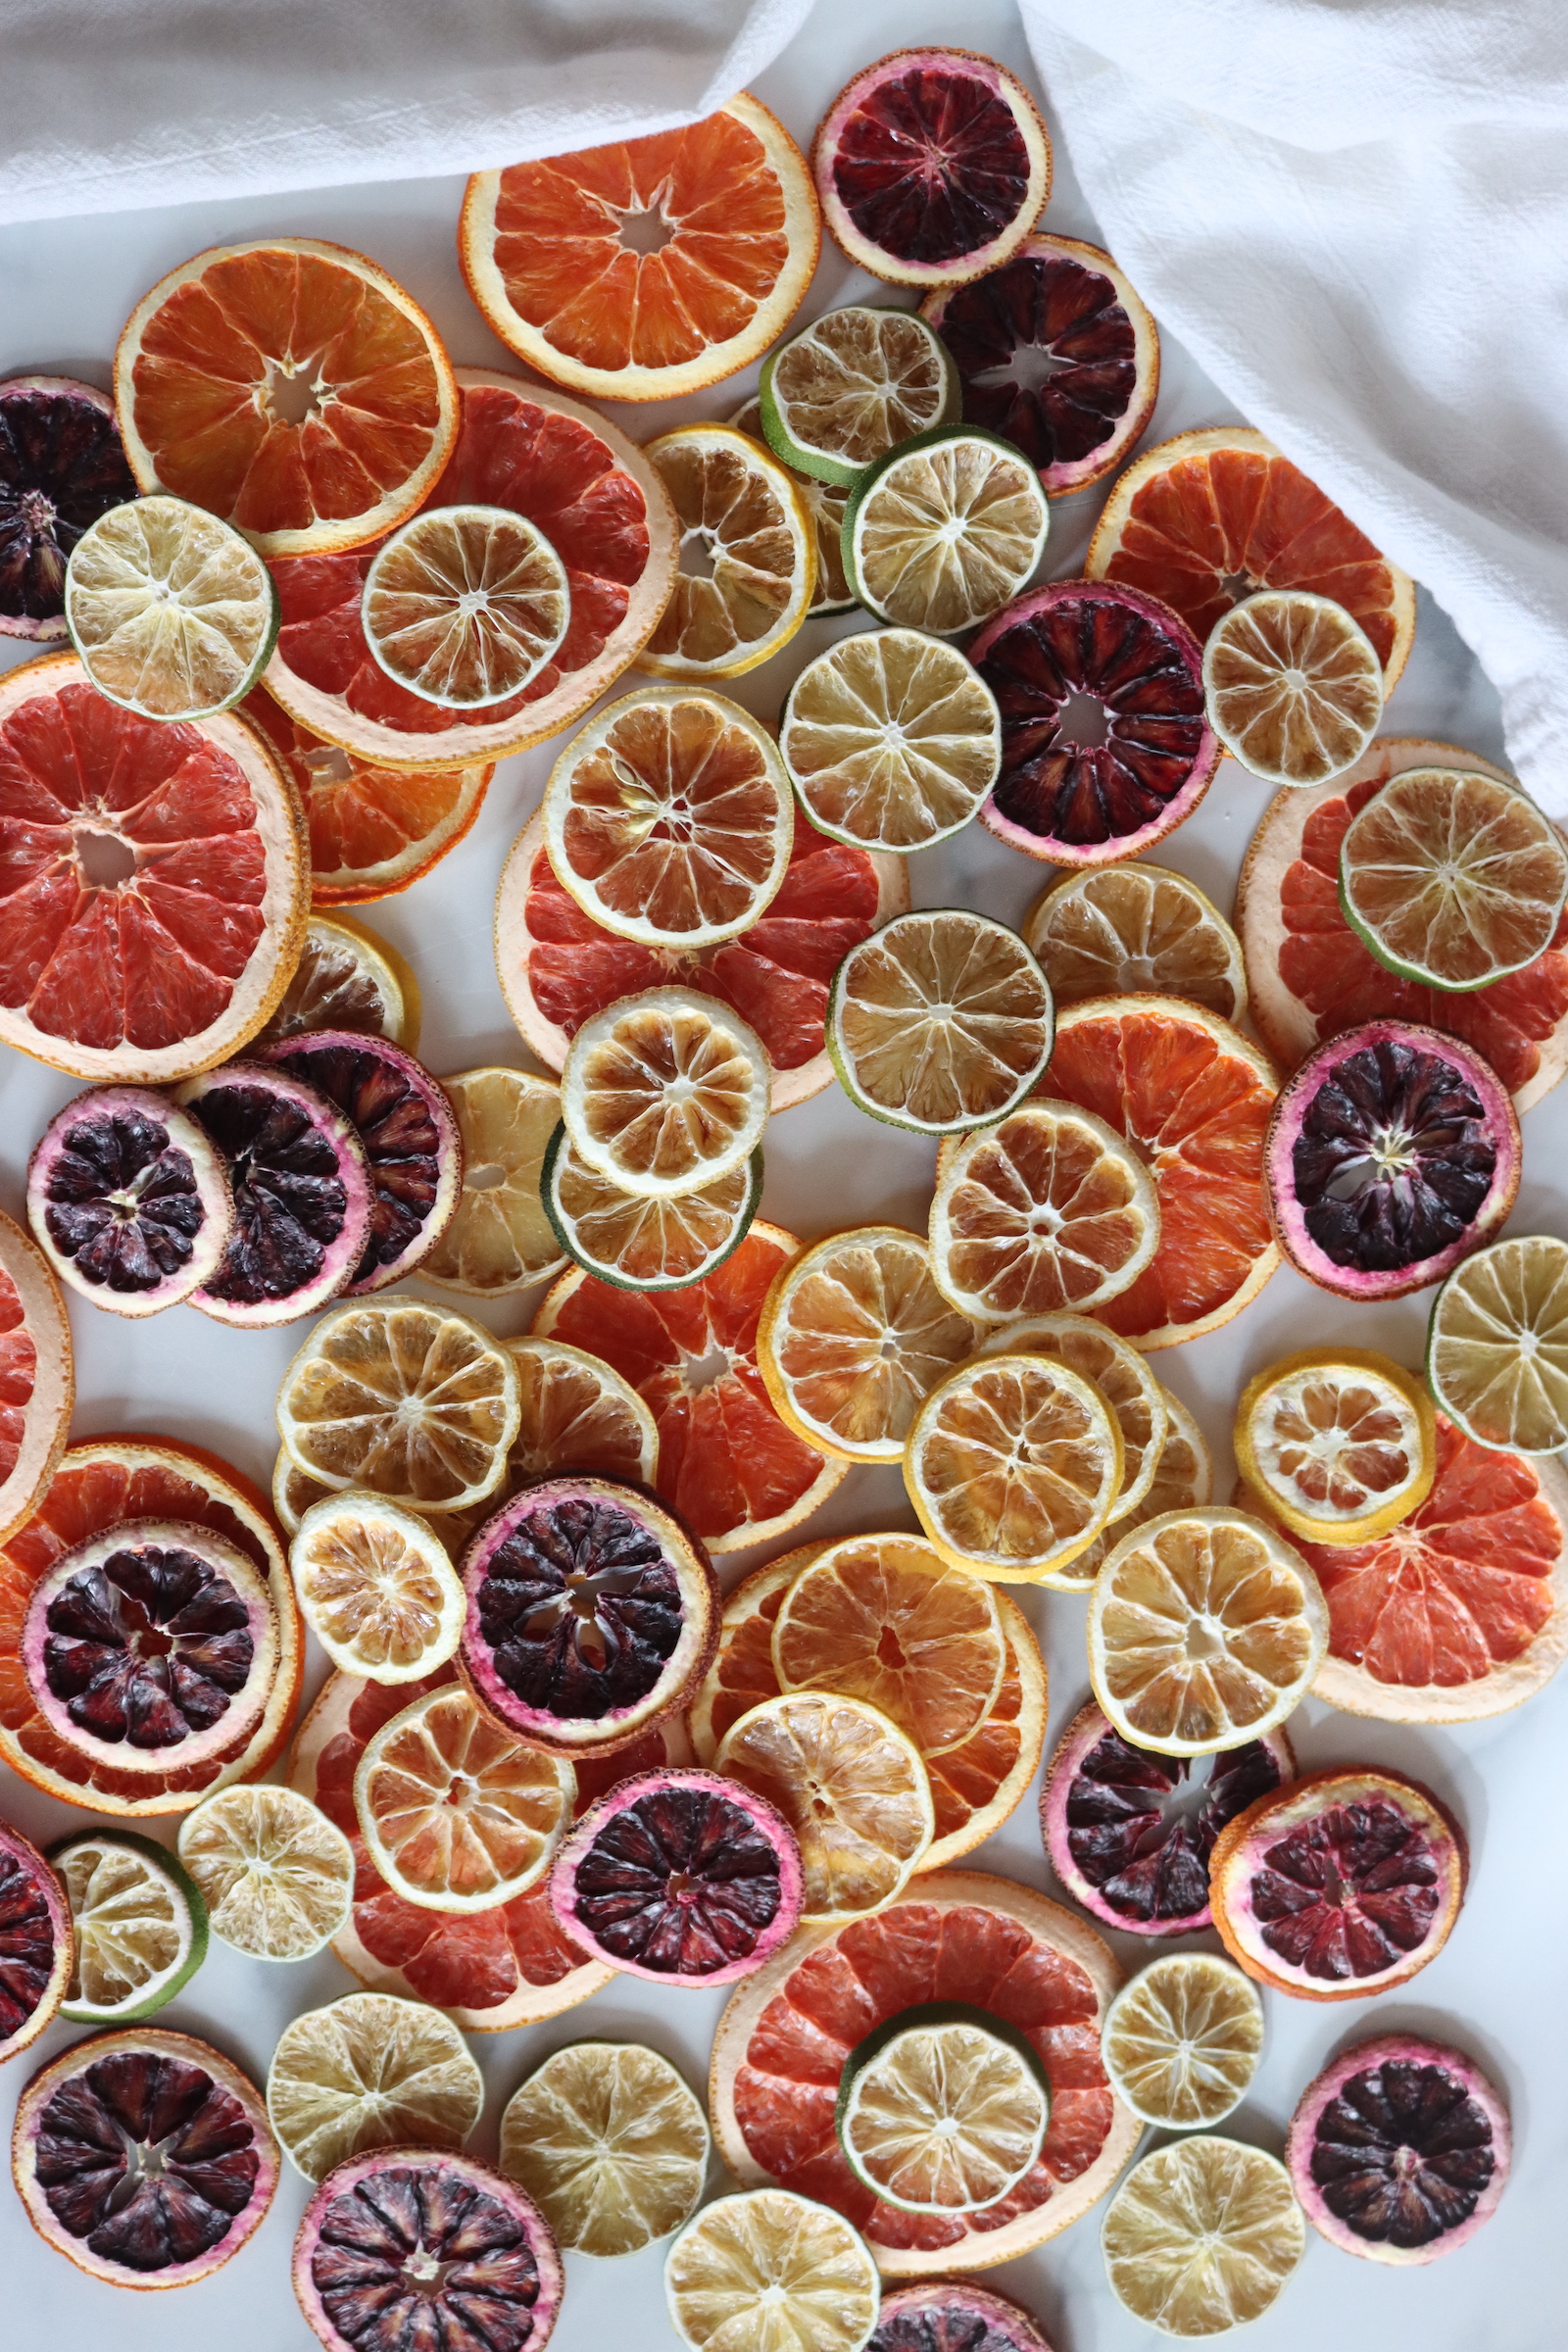
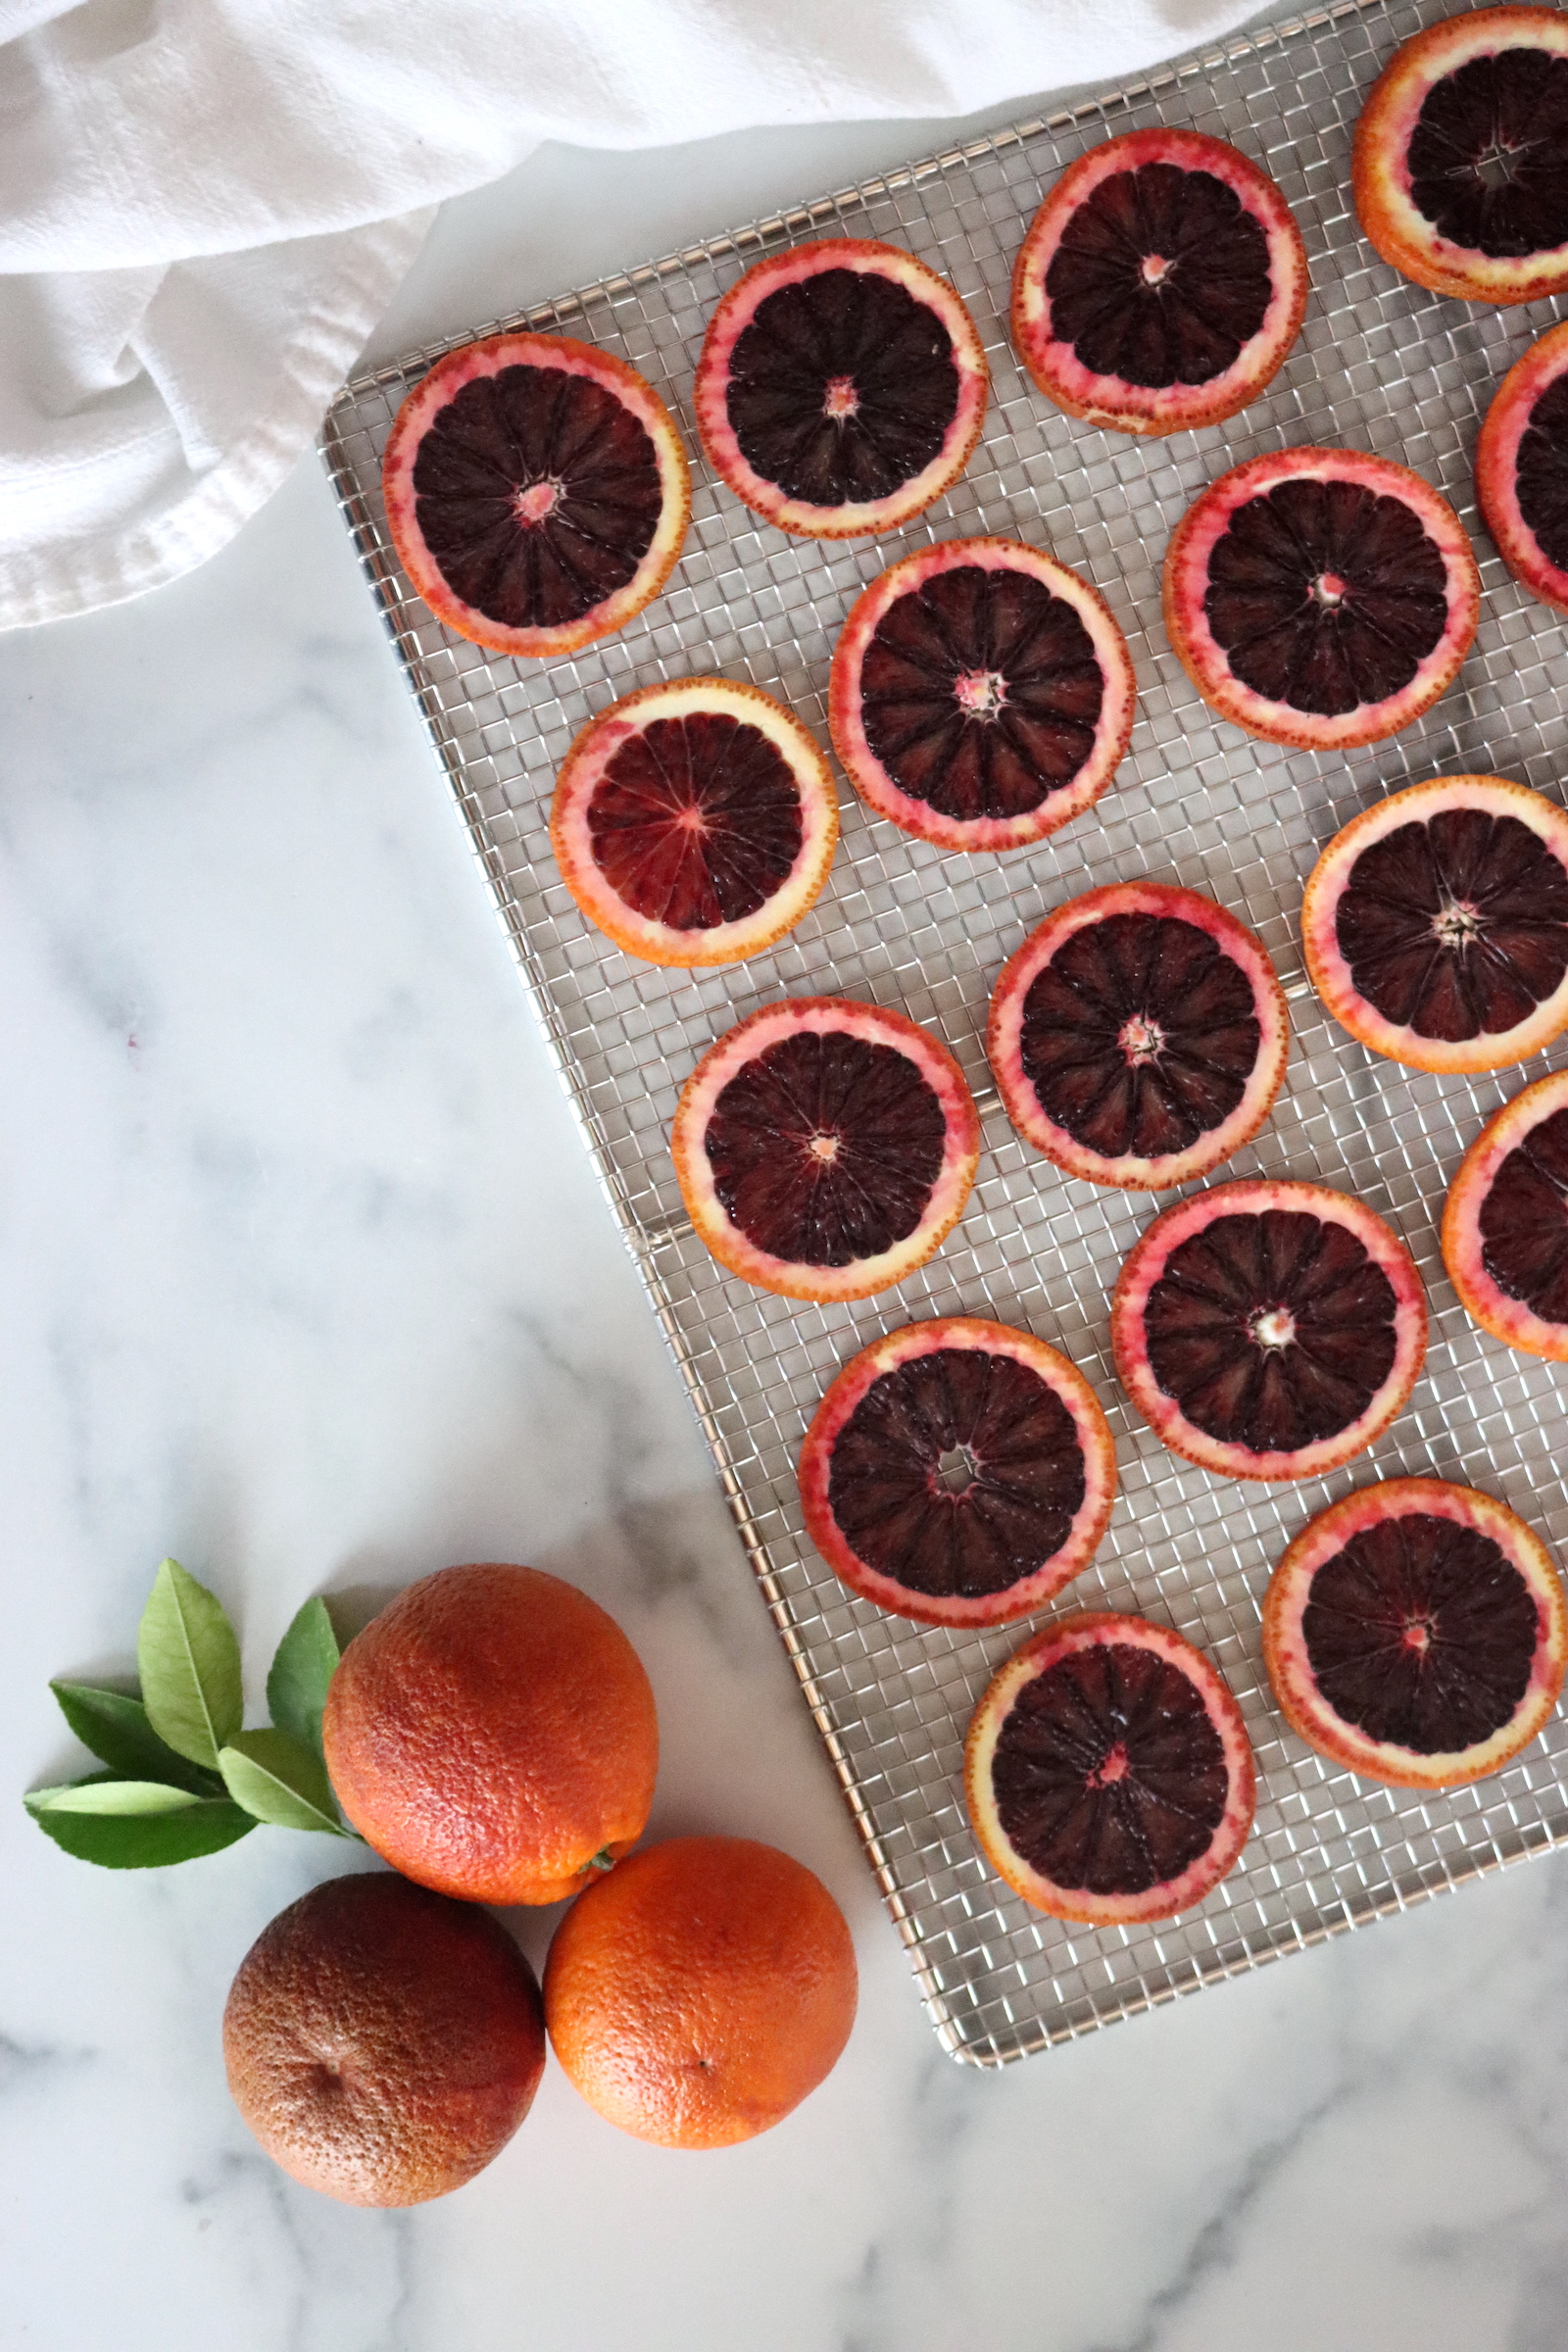
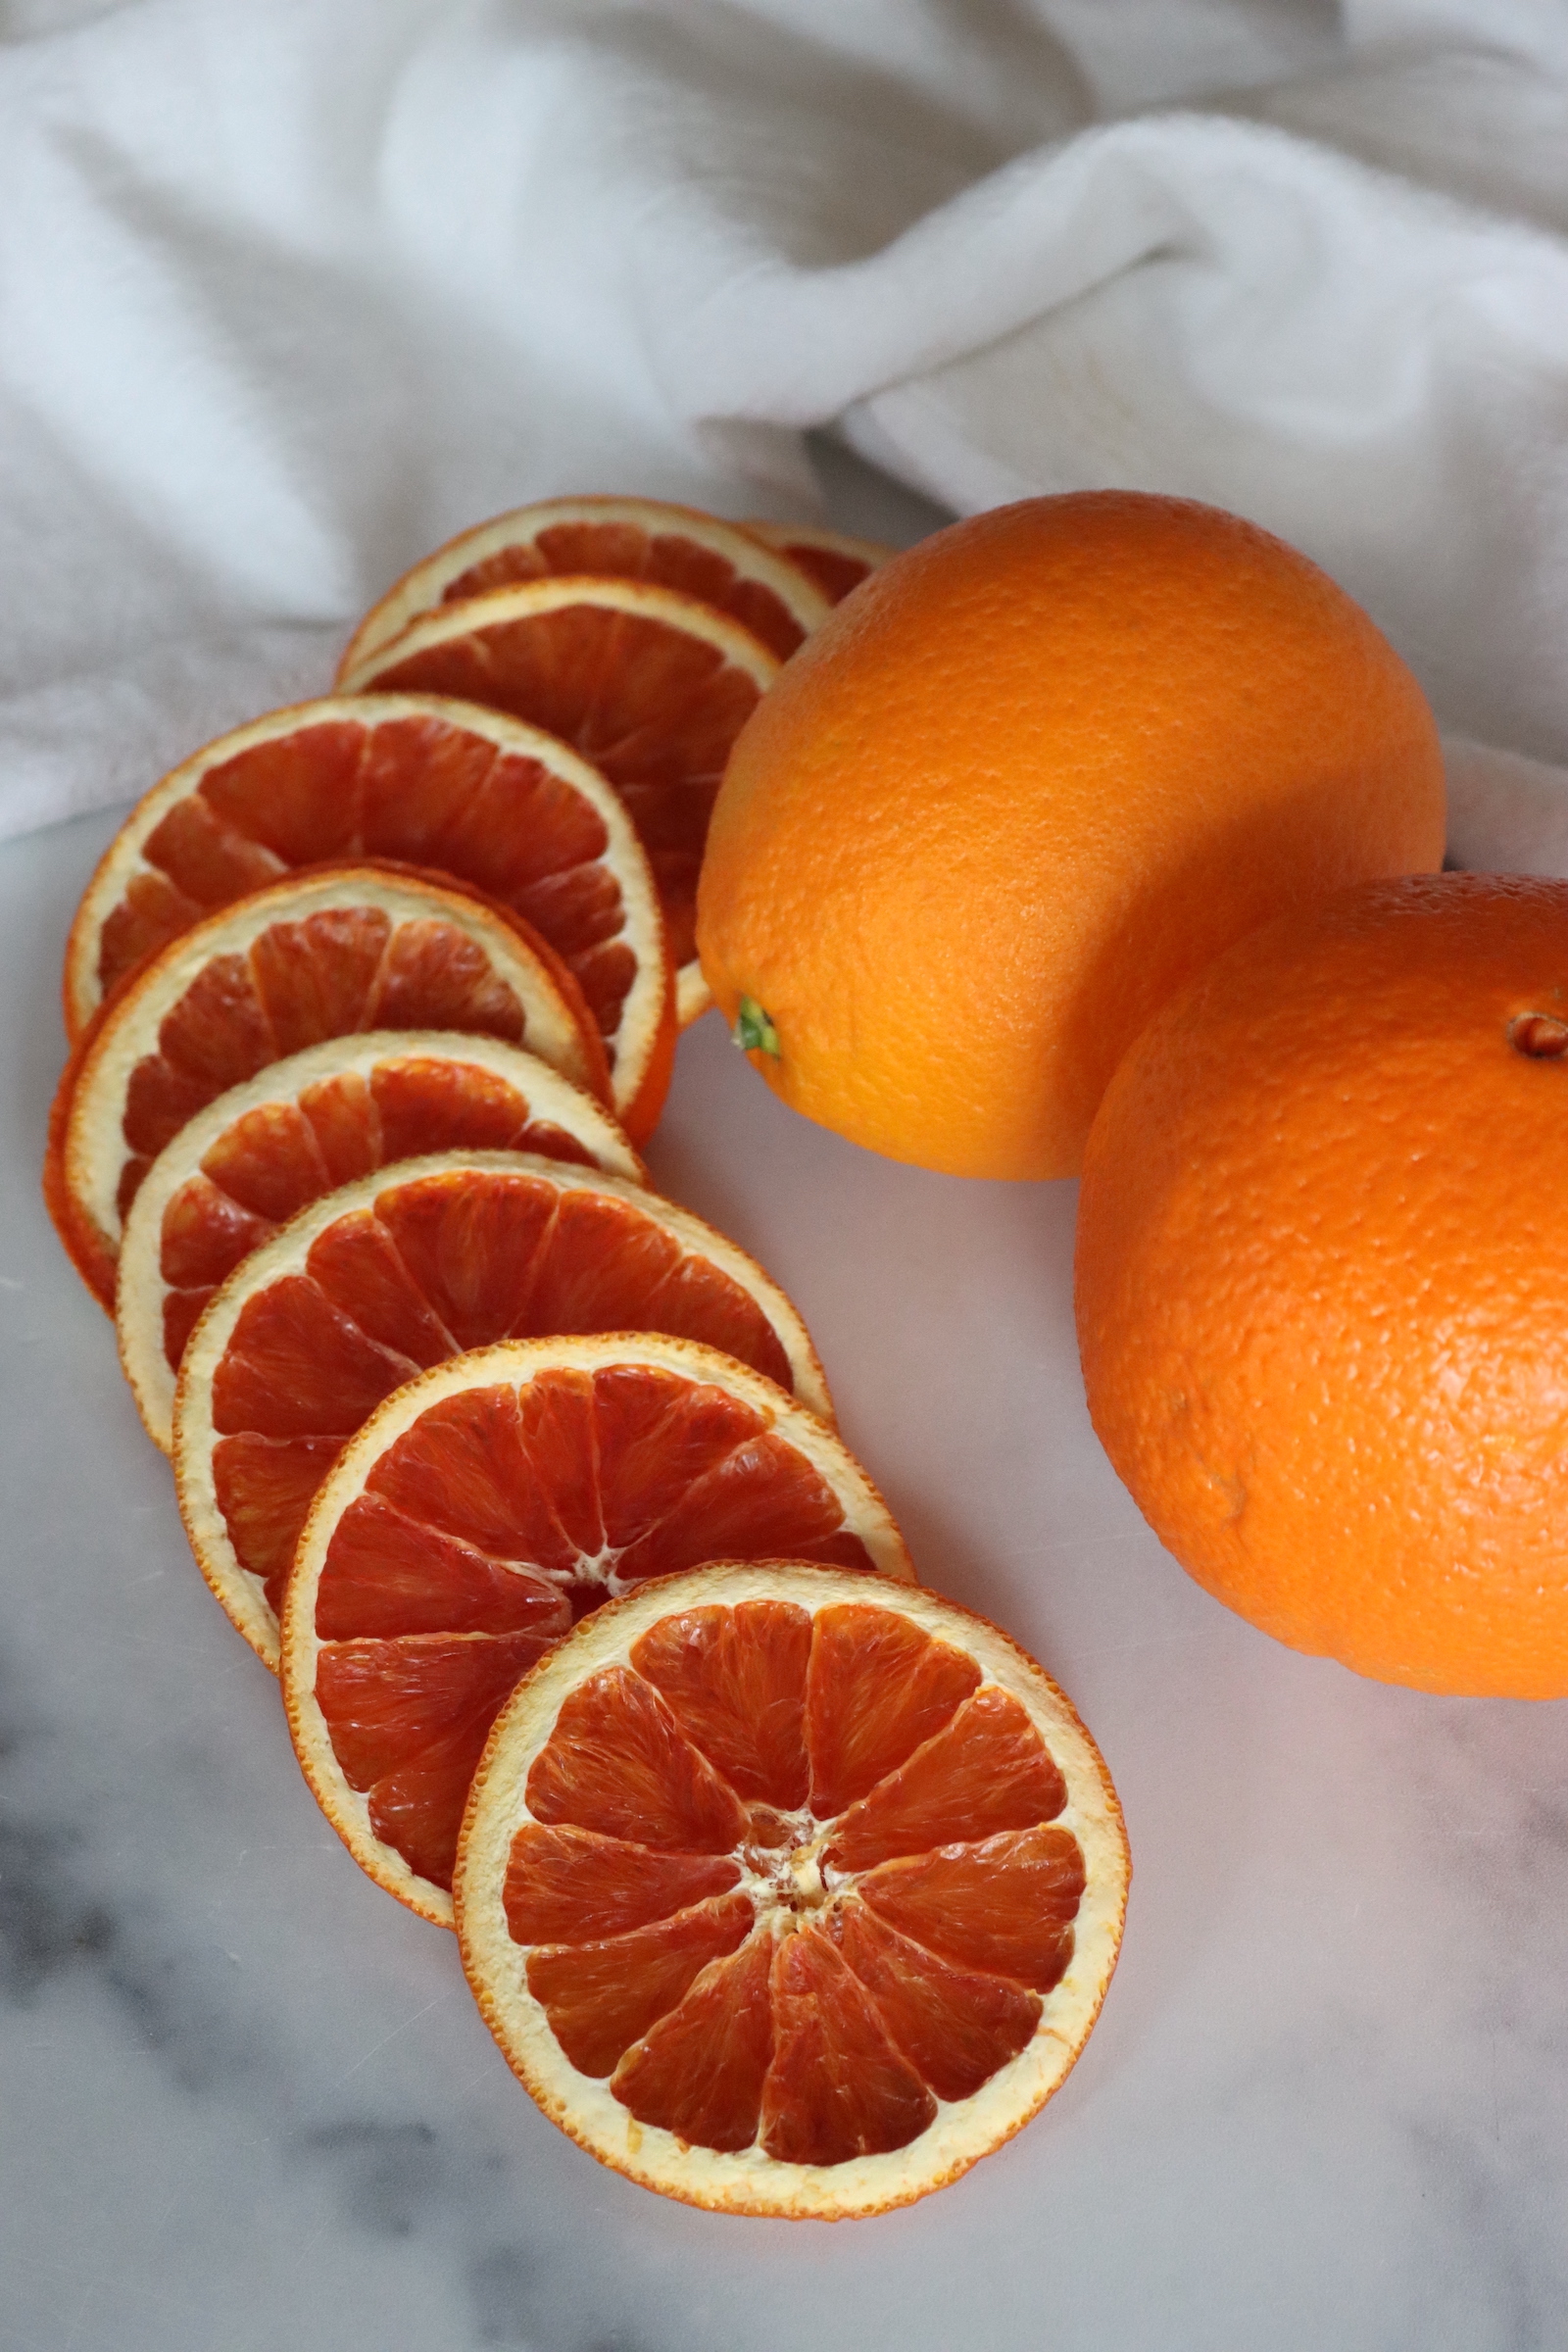
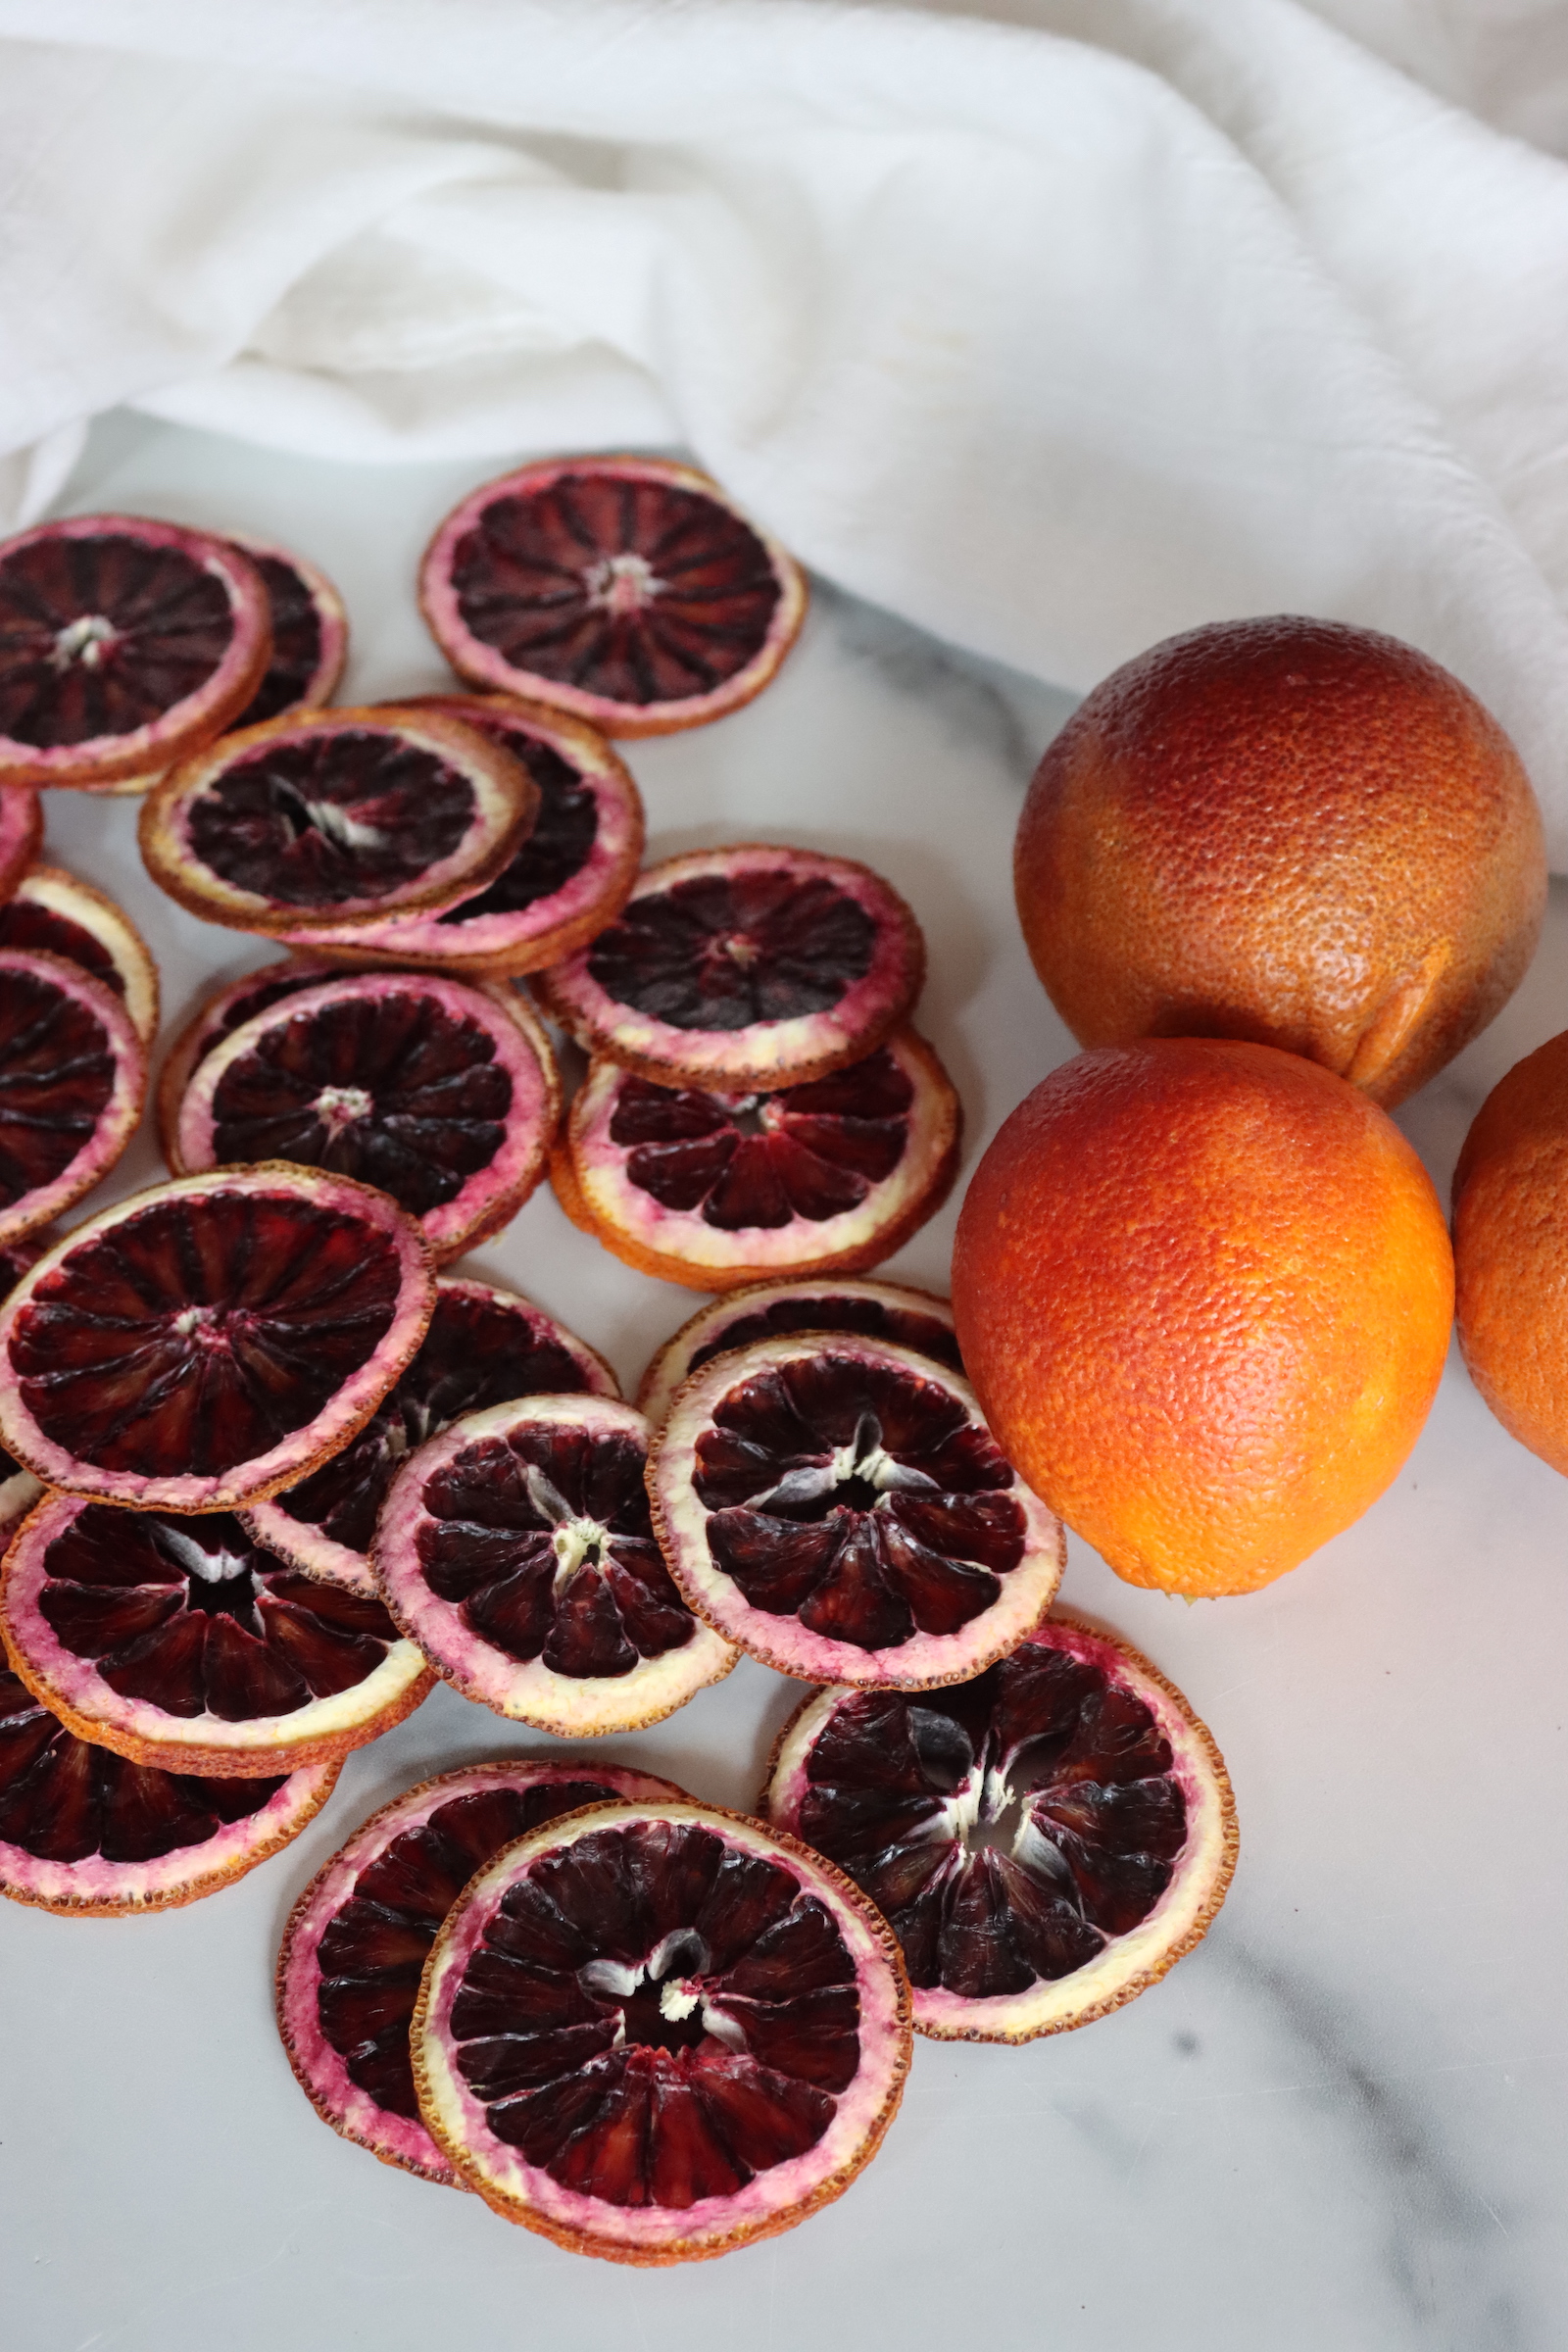
They’re pretty, too. Blood oranges dry to a deep burgundy, Cara Caras turn a pinkish orange, and navels stay bright orange, so a mixed batch looks great on a cake or strung into a garland.
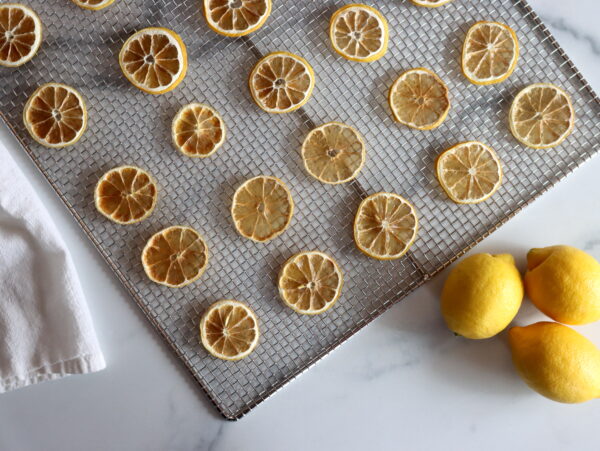
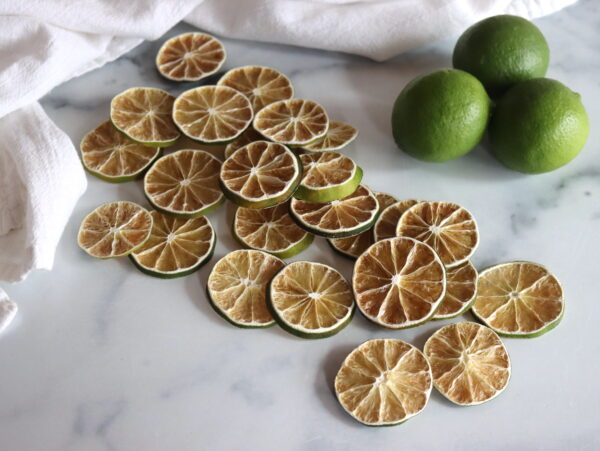
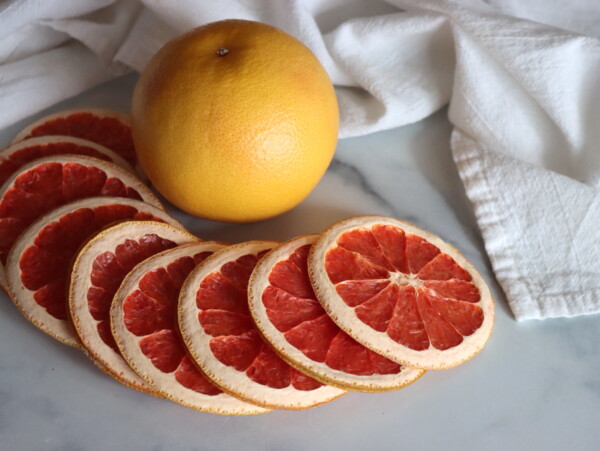
The method is nearly the same for dehydrating lemons, limes, and grapefruit, so you can dry the whole citrus bowl the same day. And once the dehydrator is out, there are over 100 more dehydrator recipes to keep it busy all winter.
Notes from My Kitchen

When I was growing up, my grandmother would buy a few cans of mandarin orange slices at Christmas, just to decorate dishes for the holiday table. That always struck me as a little funny, since we lived right in the middle of the California citrus groves.
Now we live on a homestead in Vermont, about as far from an orange grove as you can get, and I’m the one decorating with oranges. Dried citrus is pretty (and fragrant) strung into a garland, and it’s so good in a cup of tea. No can opener required.
Choosing the Best Oranges for Dehydrating
Any orange will dry, but seedless oranges are easier to work with. You have to pick seeds out with the tip of a knife, and they leave little holes in the finished slices.
Thinner peels dry faster, and they have less of the bitter white pith. Very juicy oranges take longer in the dehydrator, so save the extra-juicy ones for juice.
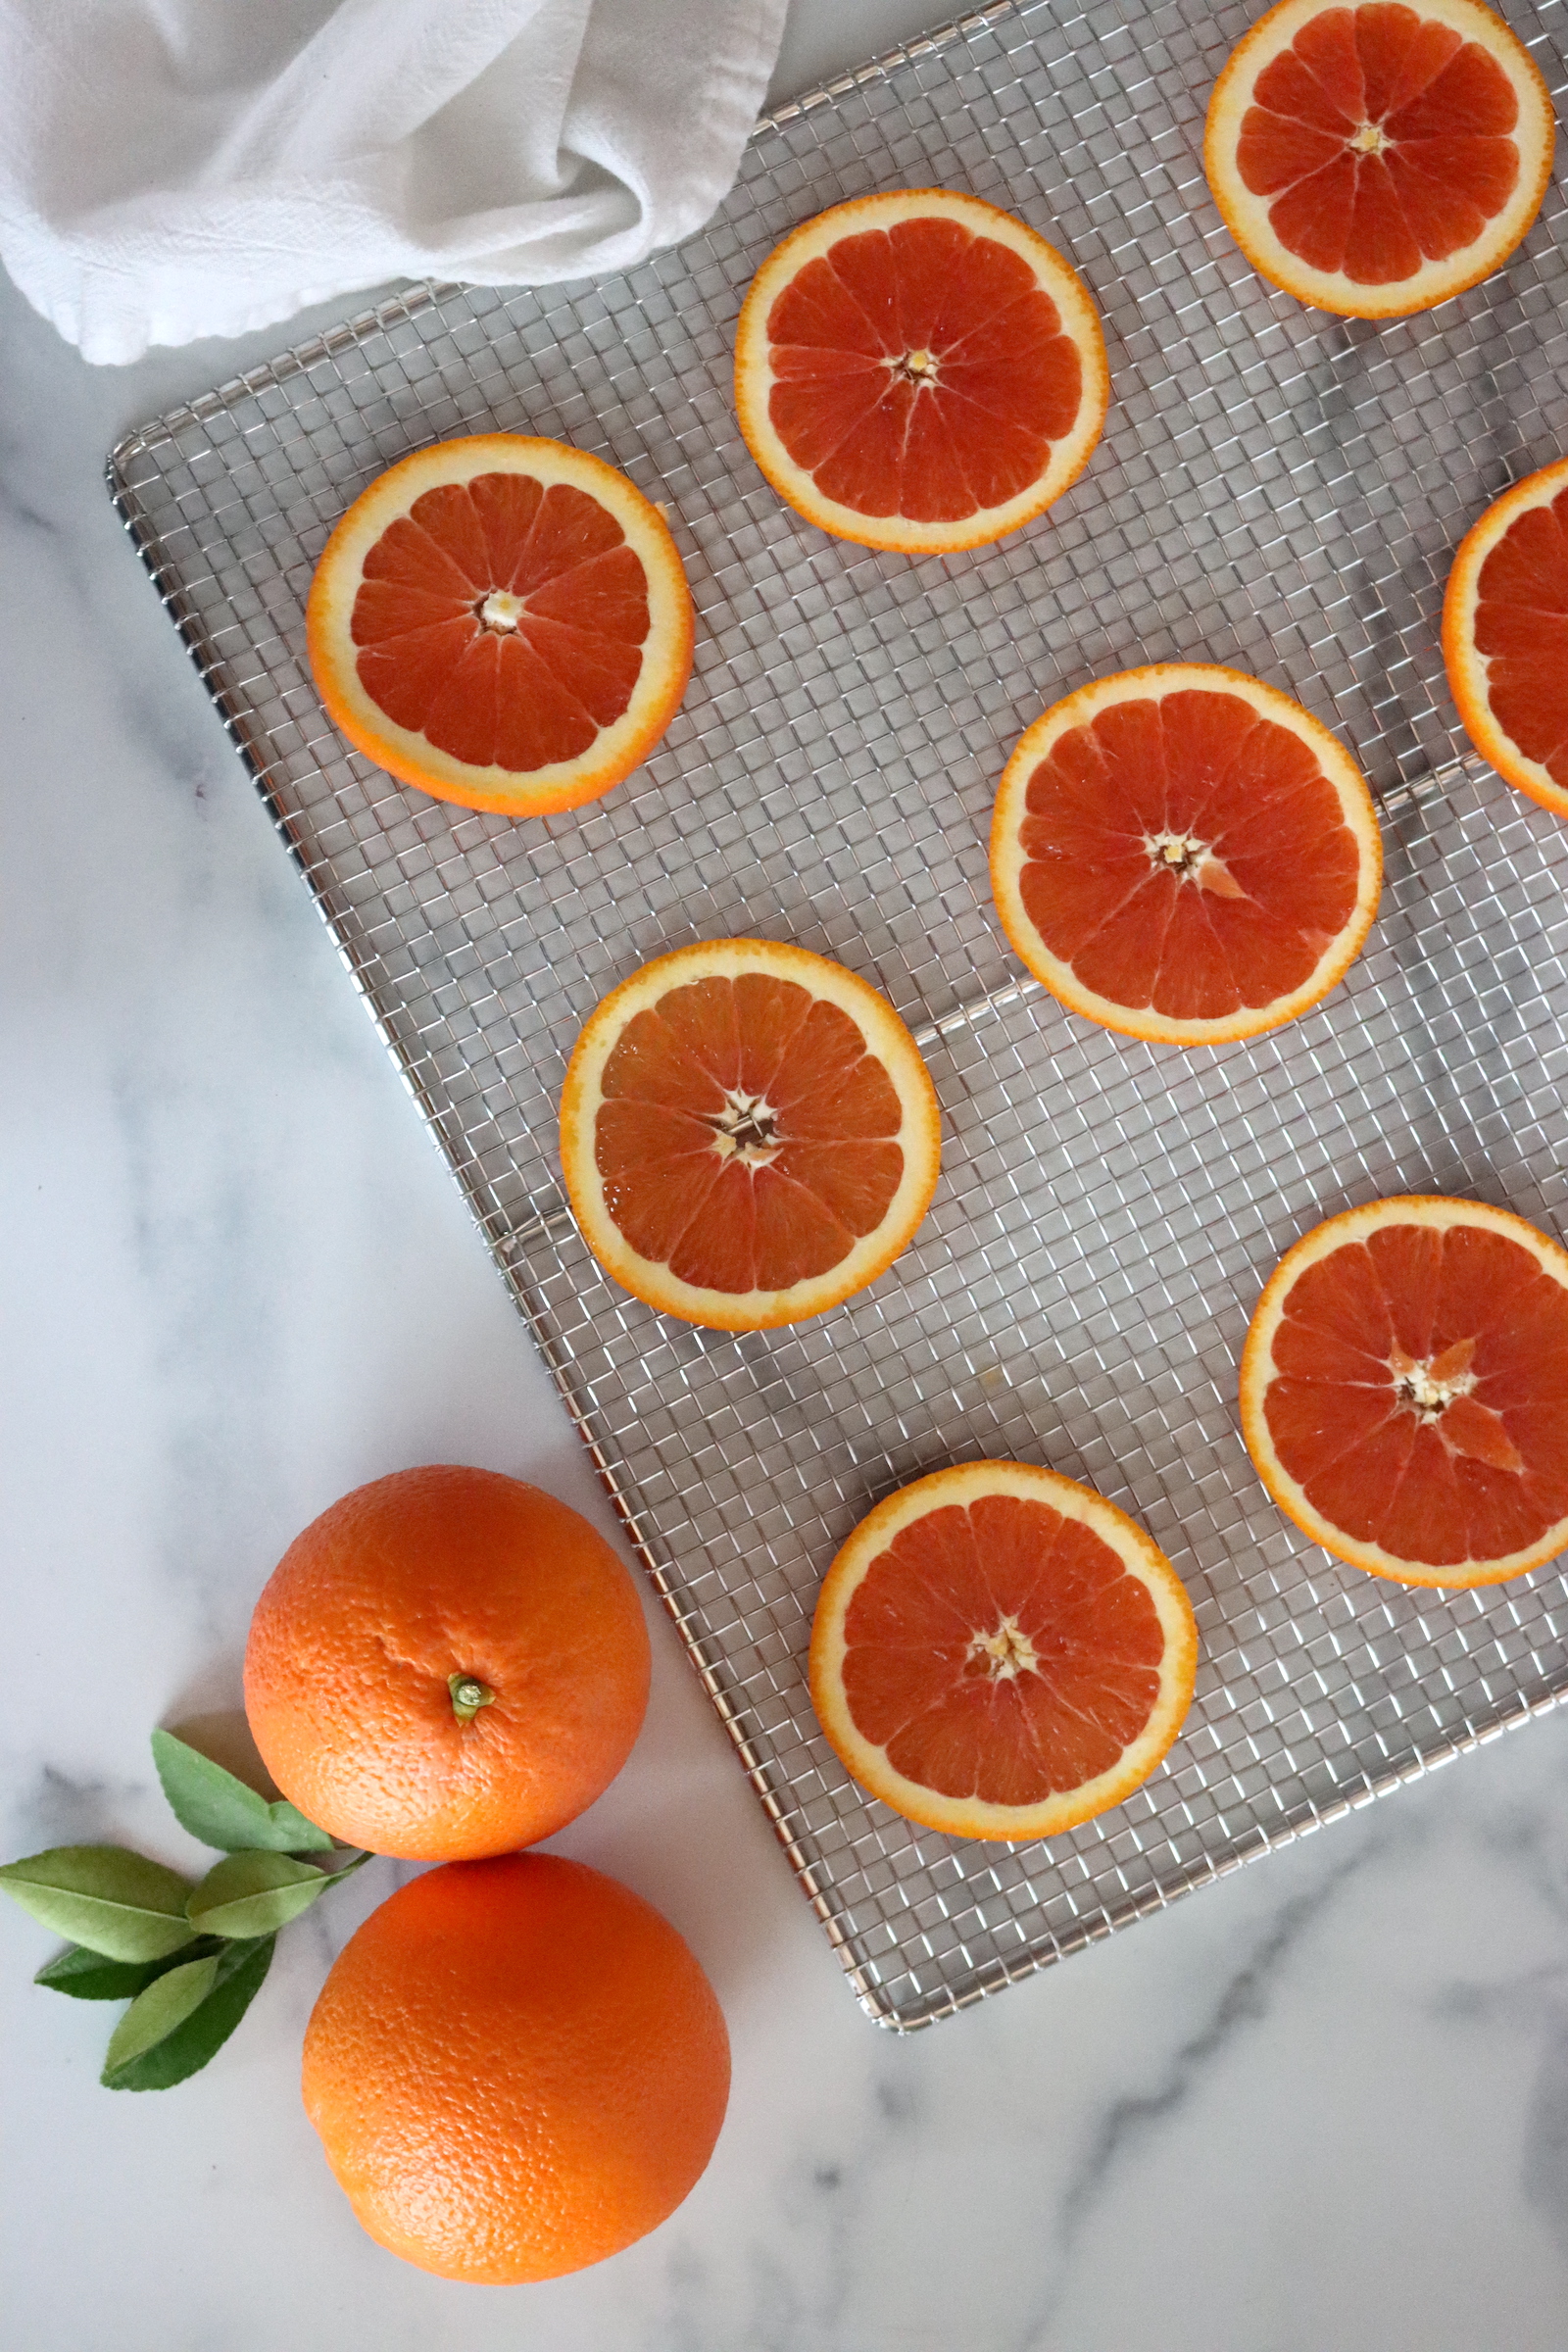
- Navel and Cara Cara: Both are seedless and easy to find all winter. Cara Caras are a type of navel orange with pink flesh, and they’re sweeter and less tart than a regular navel.
- Blood oranges: Moro and Tarocco blood oranges dry to a deep red that looks great on a garland or a cake. They’re in season through the winter and into spring, and they may have a few seeds.
- Mandarins: Clementines and satsumas make small slices that dry faster, and they’re usually seedless. Tangerines work too, but they tend to have more seeds.
- Valencia: This is the main summer orange, with a thin peel and a few seeds. It dries well, but all that juice adds time.
Whatever you choose, pick firm oranges without soft spots or bruises.
How to Dehydrate Oranges
Drying oranges takes about 20 minutes of hands-on work, and the rest is waiting. A dehydrator gives you more control, and the oven is faster when you need them the same day.
The prep is the same either way. Wash the oranges, slice them evenly, and lay them out so air can reach both sides.
Wash and Dry the Oranges
Scrub the oranges under warm running water with a vegetable brush. Store-bought citrus usually has a wax coating, and since the peel stays on, you’ll end up eating it.
If you want to take more of the wax off, try a vinegar wash. Then pat the oranges dry with a towel.
Slice Them Evenly
Cut the oranges into rounds 1/8 to 1/4 inch thick. Thinner slices dry faster and come out crisper, and keeping every slice the same thickness means they all finish at the same time.
A mandoline slicer makes quick work of it, though a sharp knife is fine if you go slowly. Flick out any seeds with the tip of the knife, and if you get a lot of them, save them for homemade citrus pectin.
Lay the slices on a clean towel and blot the tops. That takes off the juice that pools on the cut surface, so the slices stick less and dry a little faster.
Dry Them in a Dehydrator
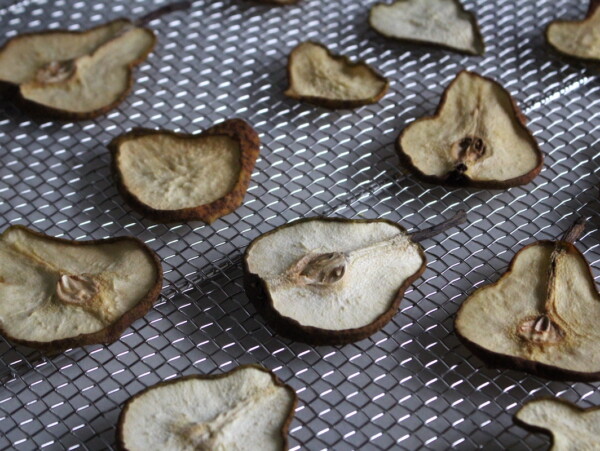
Set the dehydrator to 135°F, and lay the slices on the trays in a single layer so they don’t touch. That’s the temperature Excalibur uses for citrus.
Plan on 7 to 15 hours. That’s the range in Excalibur’s dried citrus recipe, and it’s wide because slice thickness, the juiciness of the fruit, and the humidity in your house all change it. Thin slices on a dry winter day finish at the short end.
Rotate the trays every few hours if your dehydrator dries unevenly. Any model with an adjustable thermostat can hold 135°F, including the Excalibur, Cosori, and Cabela’s dehydrators. An adjustable one is handy anyway, since drying herbs takes a much lower setting.
If your dehydrator only has one setting, it’ll still dry oranges. They’ll likely finish sooner and come out a little darker.
Or Dry Them in the Oven
The oven is faster, but it’s also hotter. Many ovens won’t go below about 170°F, and the extra heat browns the slices more than a dehydrator does.
Clemson Cooperative Extension’s guide, Drying Oranges for Holiday Decorations, dries 1/8-inch slices on a parchment-lined baking sheet at 175°F for 3 to 5 hours. It says not to go over 200°F, and to flip the slices every 30 minutes so they stay flat.
You can also set the slices on oven-safe wire racks over the baking sheets, which lets air reach the bottoms. Not every cooling rack is oven-safe, so check yours before it goes in.
Check for Doneness
The slices are done when they’re dry and crisp all the way across, with no tacky spots. The peel dries first, so check the center of each slice, since that’s the last part to dry.
Let them cool for 30 to 60 minutes before you decide. Warm slices feel softer than they are, and they crisp up as they cool.
Tips for Dehydrating Oranges
Go lower for less browning. Higher heat browns the slices, so if you’re drying blood oranges for a cake or a garland, try a lower setting. Clemson’s dehydrator method dries 1/8-inch slices at 130°F for 12 to 14 hours, flipping them every hour.
Sort the slices by size. Small clementine slices dry well before big navel slices, so give each size its own tray. Then you can pull a whole tray at once instead of picking through them.
Storing Dried Orange Slices
Store dried orange slices in a glass jar with a tight lid, somewhere cool, dark, and dry. Glass lets you spot any moisture right away.
Condition them first. Pack the cooled slices loosely into a jar, close it, and shake it once a day for 7 to 10 days. If you see condensation on the glass, put the slices back in the dehydrator for a few more hours.
That’s the National Center for Home Food Preservation’s method for conditioning dried fruit, and it evens out the moisture between slices that dried at different rates. The same source says most dried fruit keeps about a year at 60°F and about 6 months at 80°F.
Slices you’re only keeping for decorations will last longer, as long as they stay dry. My guide to dehydrating food has more on jars, vacuum sealing, and other storage options.
Yield Notes
One medium orange sliced 1/4 inch thick gives about 8 to 10 good rounds once the ends come off, and about twice that at 1/8 inch.
Oranges with the peel on are about 82 percent water, according to USDA’s FoodData Central, so crisp slices weigh a bit under a fifth of what you started with. Ten pounds of fresh oranges comes down to roughly 1 3/4 pounds of dried slices.
Ways to Use Dried Orange Slices
Dried orange slices are mostly for drinks, baking, and decorating, since they don’t plump back up into anything like a fresh orange. Drop one into a cup of black tea or hot water with honey, or use it to garnish a cocktail.
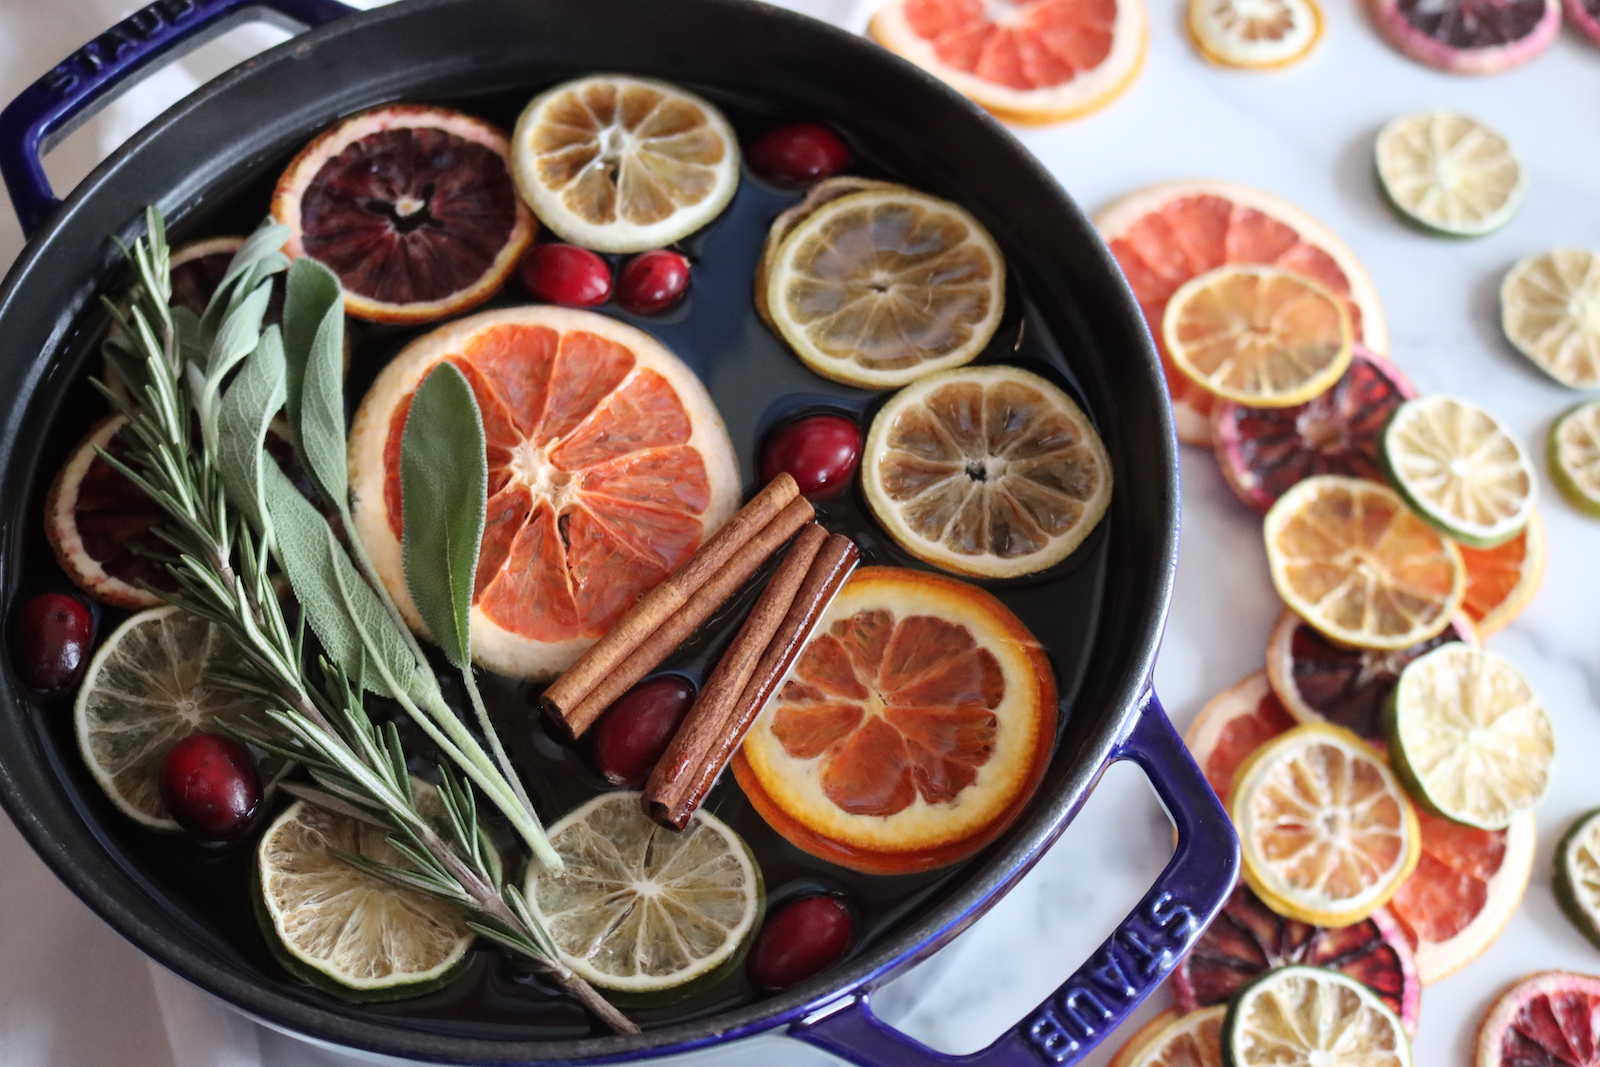
They’re good in a pot of mulled wine or a scented simmer pot, and they make a pretty topping for an orange cake. You can also dip them in chocolate for a holiday treat.
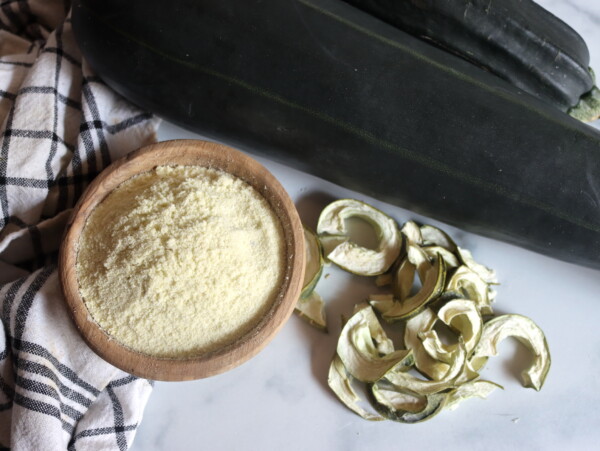
Grind crisp slices into citrus powder for baking, spice rubs, or a sugared rim on a glass. The powder doesn’t dissolve, so strain it out of drinks.
At the holidays, string them into a dried orange garland, make citrus ornaments, or tie a slice onto a wrapped gift. Simmer a few slices on the stove with a cinnamon stick, and the whole house smells like Christmas.
My daughter loves orange slices in honey syrup in her tea party cups, and dried slices are the no-sugar version of the same idea.
If you’re looking for more to make in the dehydrator, I’d recommend the Complete Dehydrator Cookbook by Carole Cancler.
Dehydrating Oranges FAQs
Here are the questions that usually come up when you’re drying oranges for the first time.
No, leave the peel on. It holds each slice together while it dries. You can dry peeled segments, but that’s a different project, and the segments take longer to dry.
Yes, peel and all. Thin, crisp slices snack like apple chips, though the peel and pith have a bitter edge. Cara Caras and navels are sweeter than tart Moro blood oranges for snacking.
Usually it’s too much heat. The natural sugars in the fruit brown at higher temperatures, which is why oven-dried slices come out darker than slices dried at 135°F. A little browning around the edges is normal, and the slices are still fine to use.
Once they’ve cooled, they should be dry and crisp all the way to the center, with no tacky spots. If condensation shows up in the jar while you condition them, they need more time in the dehydrator.
In an airtight jar in a cool, dark place, most dried fruit lasts about a year at 60°F and about 6 months at 80°F, according to the National Center for Home Food Preservation. Slices you keep for decorations last longer, as long as they stay dry.
More Dried Citrus
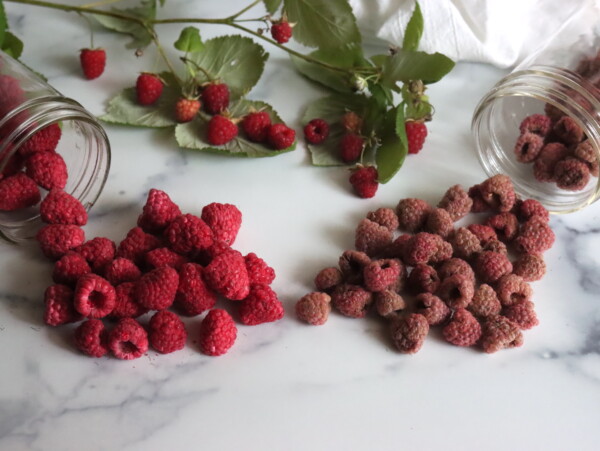
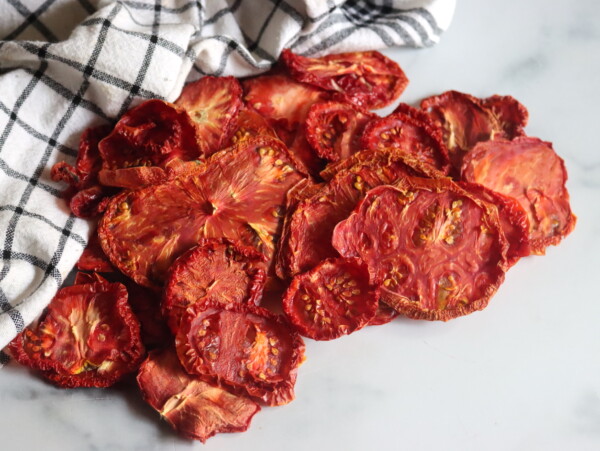
Dry the rest of the fruit bowl, too.
If you tried this Dehydrating Oranges recipe, or any other recipe on Practical Self Reliance, leave a ⭐ star rating and let me know what you think in the 📝 comments below!
And make sure you stay in touch with me by following on social media!
Dehydrating Oranges (Dehydrator or Oven)
Equipment
- Quart Mason Jar (Wide Mouth) for storage
- Mandoline Slicer optional
Ingredients
- 4 oranges, navel, Cara Cara, or blood oranges, see notes
Instructions
- Scrub the oranges under warm running water to remove dirt and wax, then pat them dry.
- Slice the oranges into rounds 1/8 to 1/4 inch thick, keeping the thickness even, and remove any seeds with the tip of a knife.
- Blot the slices on a clean towel to remove the surface juice.
- Dehydrator: Arrange the slices in a single layer on the dehydrator trays so they don’t touch. Dry at 135°F for 7 to 15 hours, rotating the trays every few hours, until the slices are crisp with no tacky spots in the center.
- Oven: Arrange the slices on a parchment-lined baking sheet, or on oven-safe wire racks over baking sheets. Dry at 175°F, or your oven’s lowest setting up to 200°F, for 3 to 5 hours, flipping them every 30 minutes, until crisp.
- Cool the slices for 30 to 60 minutes, then condition them in a loosely packed glass jar for 7 to 10 days, shaking it daily, before storing them airtight in a cool, dark place.
Notes
Nutrition
Nutrition information is automatically calculated, so should only be used as an approximation.
Dehydrator Recipes
More ideas to keep the dehydrator busy.
Find the perfect recipe
Searching for something else? Enter keywords to find the perfect recipe!