Affiliate disclosure: This post may contain affiliate links. Please see our Privacy Policy.
Dehydrator recipes can be hard to find in this age of modern convenience foods. The thing is, dehydrated food is the original convenience food, and there are few quicker, easier and more versatile food preservation methods than simple dehydration. Recover this lost art with more than 100 food dehydrator recipes to fill your pantry!
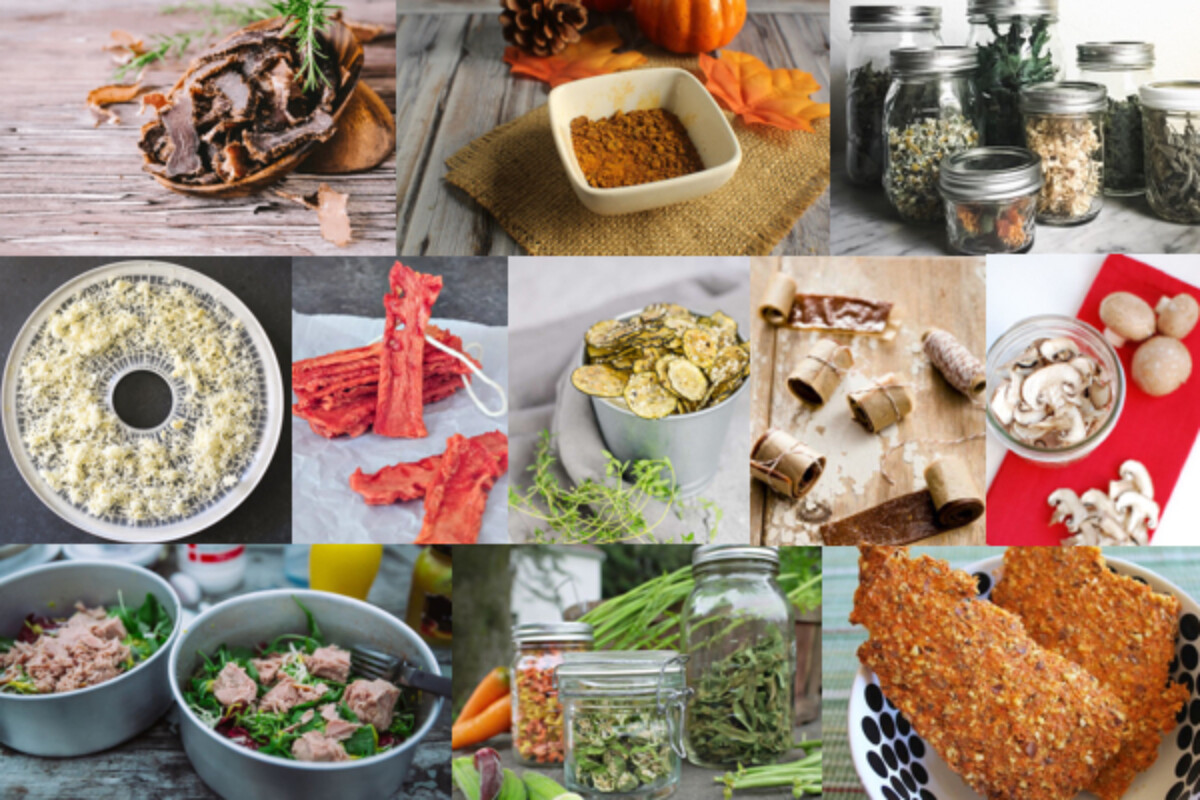
Table of Contents
- Choosing A Dehydrator
- What’s the Best Food Dehydrator?
- Food Dehydrator Recipes
- Dehydrator Jerky Recipes
- Mushroom Dehydrator Recipes
- Dehydrator Fruit Recipes
- Vegetable Dehydrator Recipes
- Dehydrated Herb and Powder Recipes
- Dehydrated Cracker Recipes
- Dehydrator Recipes for Desserts & Sweets
- Dehydrated Food Recipes for Backpacking
- Food Dehydrator Chip Recipes
- Dehydrated Soup Recipes
- Dehydrated Dairy Recipes
- Dehydrated Flour Recipes
- Food Dehydrator Dog Treat Recipes
- Beyond Food Dehydration
Choosing A Dehydrator
There are a number of dehydrators on the market, and the prices span a broad range. Some of the cheaper ones are around $50, and then you can go up to the larger commercial models for hunters and serous homesteaders at around $1000.
I’ve had a number of different food dehydrators over the years, and I can tell you that you get what you pay for, at least to a point.
The cheap plastic stacking dehydrator models (Nesco, Presto, Hamilton Beach, etc) are inexpensive, but they have a number of drawbacks:
- Everything’s dehydrated at the same very high temperature. Fruits and veggies should be dehydrated at lower temperatures, but since there’s no adjustment, everything is dehydrated at around 165/170 F, so that it’s safe for dehydrating jerky and meats. This results in lower quality for everything else.
- Plastic stacking trays break. Pure and simple, the stacking trays for these dehydrators break pretty easily. While I’ve found their fans and heating elements to be surprisingly well made, the plastic body of the inexpensive food dehydrators breaks easily. I’ve lost several over the years to cracked trays after I dropped pieces.
- Stacking dehydrators are loud. Now that I have small kids who nap, noise is more of an issue than ever before. The inexpensive dehydrators I’ve had are very loud, like a tiny countertop leaf blower.
- They also use a lot of electricity for the volume of food dehydrated. Generally, capacity is low and they pull a lot of electricity for extended periods. (Sometimes 24+ hours, depending on what you’re drying.)
For all these reasons, I don’t recommend spending $50 to buy a relatively inexpensive plastic, stacking tray food dehydrator. If you find one for $2 at a garage sale, snap it up. But don’t waste the $50 on something that won’t last.
What’s the Best Food Dehydrator?
While I don’t recommend the low-end food dehydrators, there’s no reason to buy a crazy expensive one either. The best food dehydrator, in my opinion, is actually one right in the middle price-wise.
I’d highly recommend the Excaliber 9 tray food dehydrator. They run about $200, but they are really efficient, quiet, and well built. Ask anyone who has one, they last 20+ years.
Besides the Excaliber, I’ve also heard great things about Cabella’s Dehydrator Models. Though I haven’t used these personally, I have friends who swear by them. They’re similarly high quality, but considerably less expensive than the Excaliber models.
They also adjust down temps between 80 and 160 degrees, which is a wider range than any other dehydrator on the market. Most adjustable temp dehydrators start at 110 degrees, which is a bit hot for drying herbs and other delicate things like flowers.
Lastly, the Cabela’s models have the highest capacity I’ve seen, especially for the price. They offer three models currently, all of which are much higher capacity than the standard Excaliber models:
- Cabella’s 10 Tray Dehydrator ~ A great buy at around $150, and considerably more space than the 9-tray Excaliber. Each individual tray is larger, and there’s an extra one for more dehydrating space.
- Cabella’s 12 Tray Dehydrator ~ Likely the model I’d choose if I were ever in the market for a food dehydrator again, plenty of space to get the job done.
- Cabella’s 80 Liter Commercial Dehydrator ~ The option they market towards serious hunters, homesteaders, and food preservers. Still 12 trays, but each tray is 15.75 x 18.75 inches and holds A LOT of food. Remarkably inexpensive (around $300) given the size and capacity.
Food Dehydrator Recipes
Is it peak summer and your garden is cranking out more fruits and veggies than you know what to do with? Or are you in the midst of autumn and just finished processing your first buck of the season? Whichever camp you fall into, you’ll benefit from preserving your harvest for the cold months ahead.
There are a plethora of dehydrator recipes out there, and I’ve collected them all in one place, neatly organized to save you time during harvest season.
Dehydrated foods can last for several months, if not years when they’re fully void of their water content thus saving you the money you otherwise would have thrown in the compost. Choosing to dehydrate lends you and your family the freedom to enjoy the fruits of your labor well into winter and beyond!

This collection of quality food dehydrator recipes for you to refer back to during any season of the year. From dehydrator jerky to crackers, vegetables, fruits, and yes, even dog treats!
Dehydrator Jerky Recipes
I have fond memories of making and eating dehydrator jerky as a kid and enjoy sharing my knowledge with my children today. It’s one of their favorites, so I try to keep it in stock! When it comes to jerky making, I want to emphasize that you should always use a cut of meat that has as little to no fat on it.
Not only does fat give your meat an off-putting texture, but it also can cause it to spoil more rapidly. Trim off as much as possible!
Choice cuts are those that are lean, readily available, and affordable. A few popular options that meet these standards include top, eye, and bottom rounds. With a few more expensive cuts consisting of flank and sirloin tips.
My personal preference is venison. Deer meat is very lean, flavorful, tender, and best of all, I know exactly where it’s coming from!
- How to Make Chicken Jerky
- Simple Homemade Beef Jerky
- Venison Jerky
- Smoky Beer Beef Jerky
- Hickory Smoked Jerky
- Savory Eggplant Jerky

Mushroom Dehydrator Recipes
Whether you buy your mushrooms at your local farmer’s market, at the grocery store, or forage for chanterelles, chicken of the woods, or morels on your homestead, it can be a losing battle to eat them all while they’re still fresh.
Here are a few ways to dehydrate those umami bombs for long-term storage. When you’re ready to reconstitute them, submerge your fungi in a bowl of water for a minimum of thirty minutes or more depending on thickness.
Once soft, strain the water from them into a jar. Voilà, you now have a tasty mushroom-infused liquid to use as a soup, sauce, or stew base!
- Dehydrated Mushrooms
- Mushroom Powder
- Teriyaki Mushroom Jerky
- Crispy Dehydrator Mushroom Chips
- Porcini Bouillon Cubes

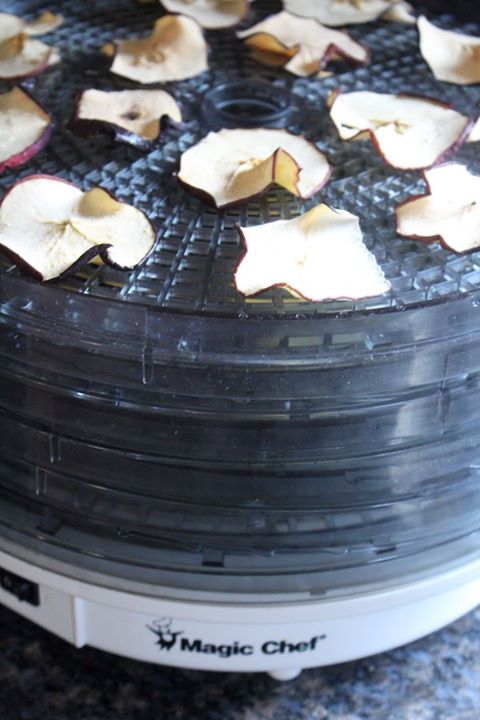
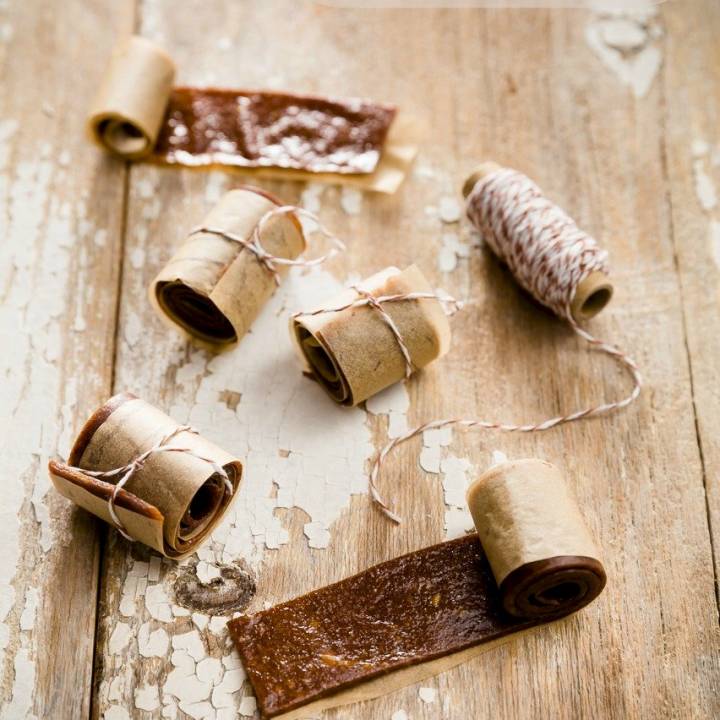
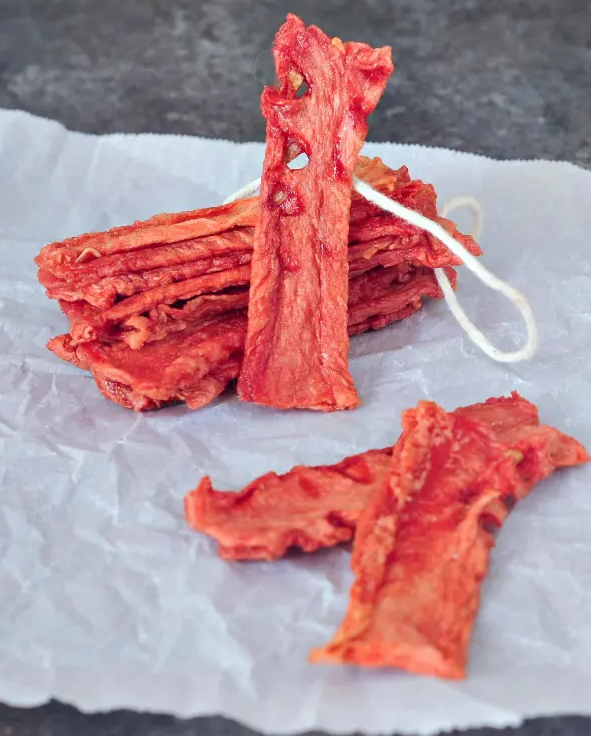
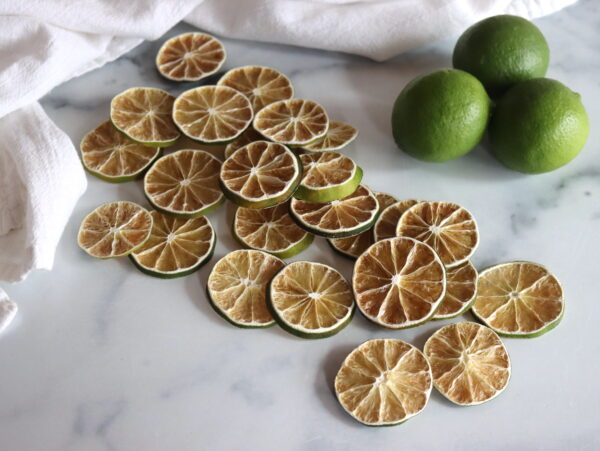
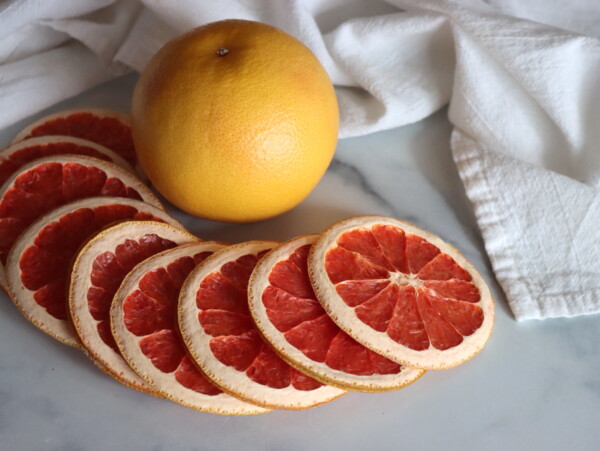
Dehydrator Fruit Recipes
Fruit has got to be the most popular food to dehydrate which made it difficult to narrow down my list to only these few. Fruit leather is easy to make and a great way to sneak some extra veggies into your kid’s snacks. Skip the expensive store-bought versions with added sugar and make your own with these simple fruit and fruit leather dehydrator recipes!
Many of these recipes are versatile and the fruit can be swapped for whatever is local and in season wherever you live. Just make sure you use the right method and temperature for dehydrating your specific fruit as they all differ. Some need very little preparation, whereas others need to be blanched prior to being dried.
- Fruit Powder
- Strawberries
- Banana Fruit Leather with Nutella
- Sweet Potato and Apple Fruit Leather
- Peanut Butter Banana Fruit Roll
- Apple Rings
- Cantaloupe
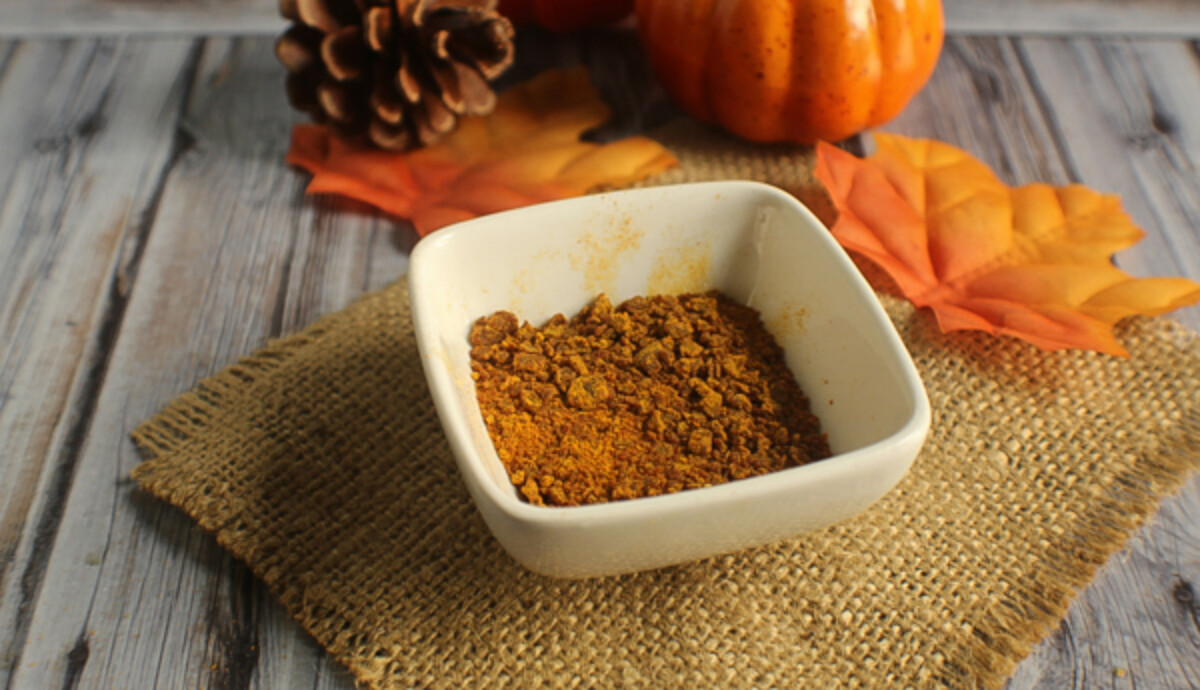
- Pumpkin Fruit Leather
- Orange Creamsicle Fruit Leather
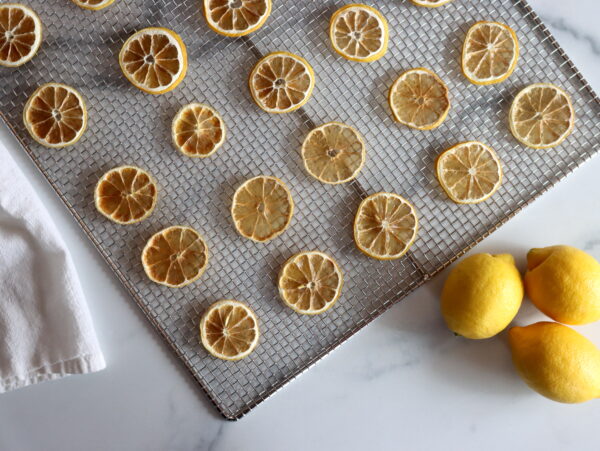
- Lemon
- Raisins
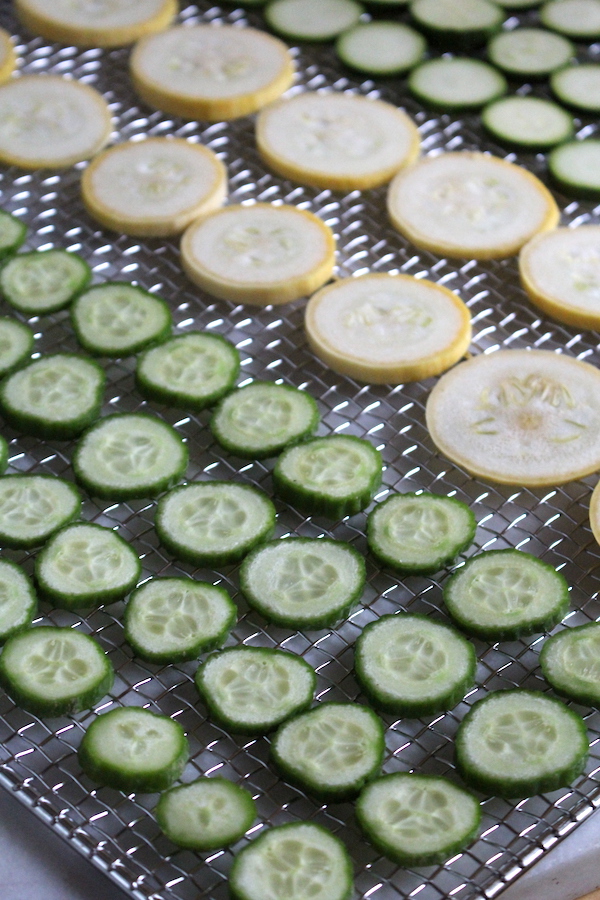
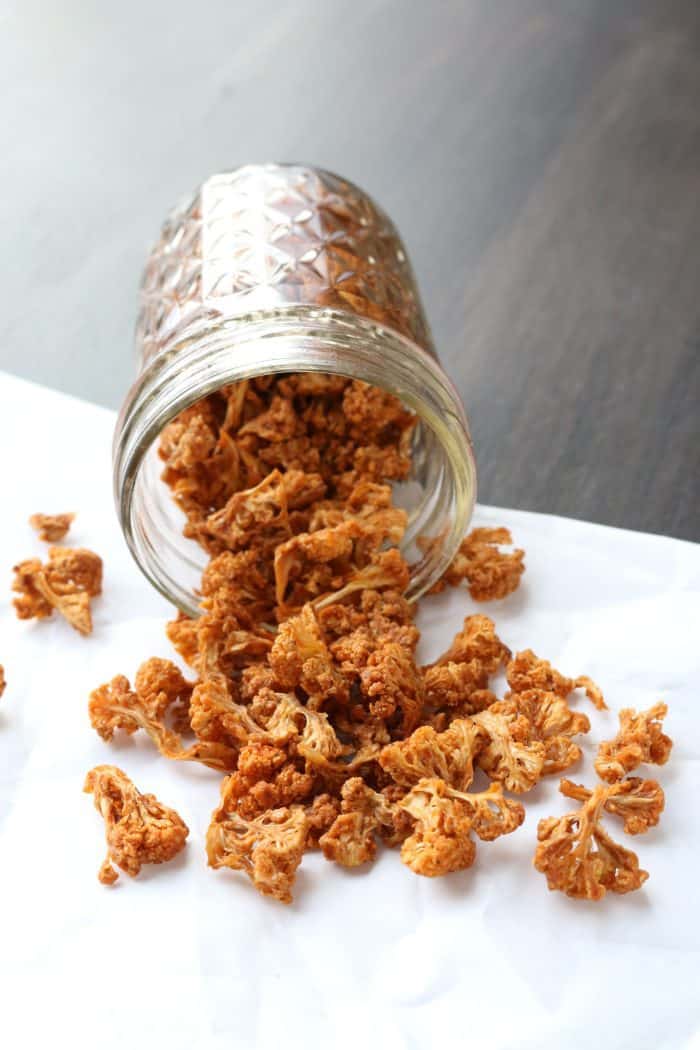
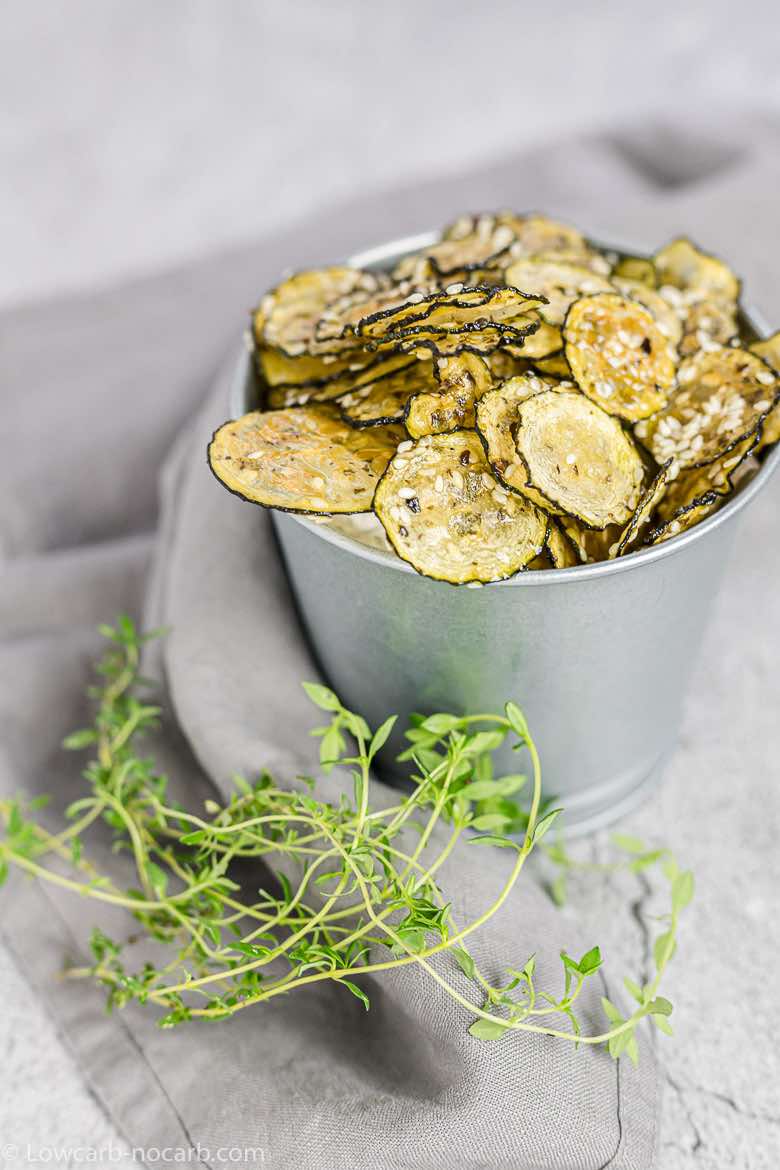
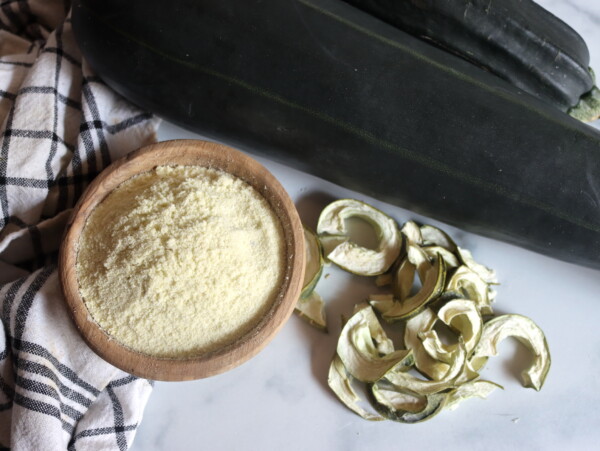
Vegetable Dehydrator Recipes
Ever feel overwhelmed with the yield of your backyard garden harvest? I have the solution for you right here with these simple dehydrator recipes! Vegetables generally dehydrate easily, and then they’re perfect for quick soups all winter long.
Vegetables and fruit are both susceptible to case hardening. This occurs when your vegetables are dehydrated at a temperature too high and the outside becomes too hard for the moisture in the interior to escape.
You’re left with a product that is deceptively dry and ends up becoming a breeding ground for mold in its moist center. Remember, always use the correct temperature on your machine and be extra careful if your oven is moonlighting as a food dehydrator.
- Cauliflower Popcorn
- Zucchini Fruit Snacks
- Cucumber Chips with Salt & Vinegar
- Potato Flakes
- Lambsquarters
- Sun-Dried Tomatoes
- Spicy Onion Rings
- Peppers
- Pickles
- Green Onions
- Okra
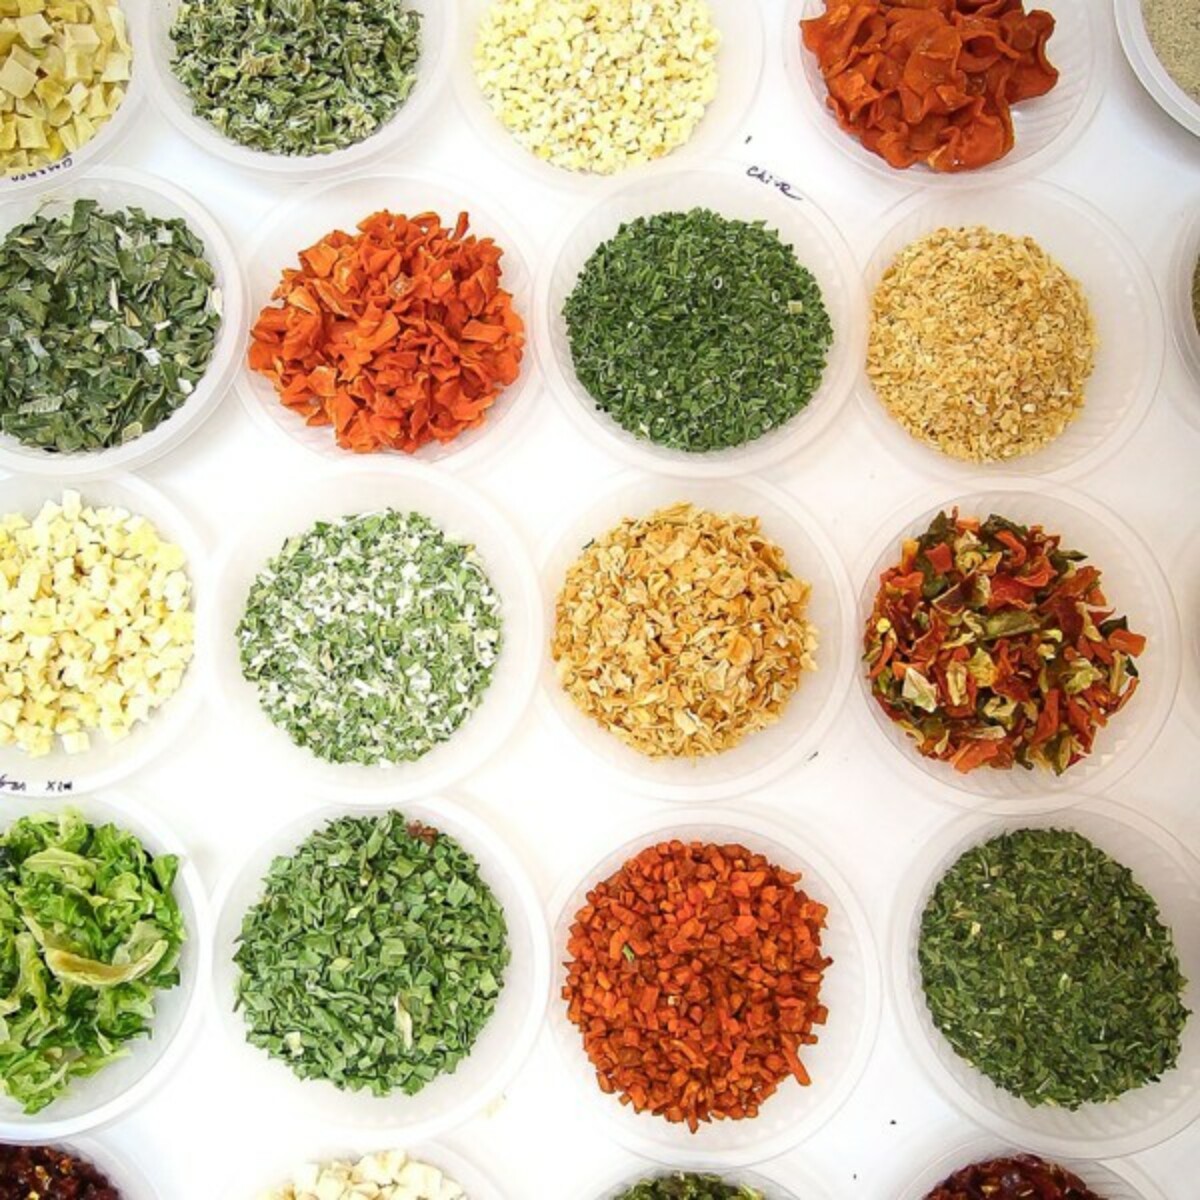
Dehydrated Herb and Powder Recipes
When dehydrating herbs, they must be brittle and crumbly with all their water content removed or they’ll be prone to mold. It’s also a good idea to store dried herbs and powders in airtight containers, like mason jars, so that they can’t absorb water from the air and become clumpy. Another way to avoid clumping is to cut in some arrowroot powder to your finished spices!
Herbs can easily be rehydrated by soaking them in water for ten minutes. When ready to use, they will need additional cooking time to bring out their flavor compared to fresh varieties.
Always use three times the amount of fresh herbs to dry as they can have a more intense flavor. A little goes a long way!
- Basil Powder
- Rosemary, Thyme, Lemon, and Garlic Herb Mix
- Italian Herb Rub
- Garlic Powder
- Ginger Powder
- Chili Powder
- Onion Powder
- Tomato Powder
- Leek Powder

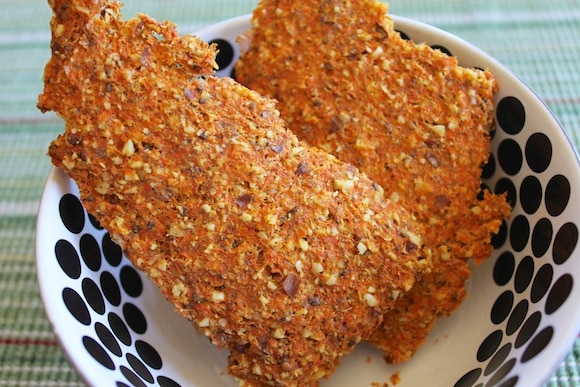
Dehydrated Cracker Recipes
Crackers make a great vessel for transporting dips and homemade soft cheese into our eager faces. They also add pleasant crunch and texture diversity to an otherwise flat soup.
Making your own dehydrated crackers is an excellent way to use up any scraps, peels or pulp that typically end up in the compost. Finished making a batch of carrot juice? Repurpose that pulp into a creative cracker and let the snacking commence!
- Carrot Juice Pulp Crackers
- Green Juice Pulp Crackers
- Tamari Seaweed Flax Crackers
- Mexican Raw Dehydrated Crackers
- Everything Bagel Flax Crackers
- Golden Flaxseed and Carrot Crackers
- Onion Nut Crackers
- Peanut Butter Banana Graham Crackers
Dehydrator Recipes for Desserts & Sweets
It was only when I stumbled upon dehydrated marshmallows that it hit me, you really can dehydrate anything!
All of the recipes I’ve included for dehydrated candy and cookies are super easy, require minimal sweetener or no sweetener at all. Making your own dehydrated sweets is a fun activity to do with kids and you can rest assured that only nutrient-dense, healthy food is going into their bodies.
- Watermelon Candy
- Pear Candy
- Marshmallows
- Rhubarb Candy
- Strawberry Twizzlers
- Apricot Coconut Cookies
- Oatmeal Cashew Cookies
- Pumpkin Spice Cookies
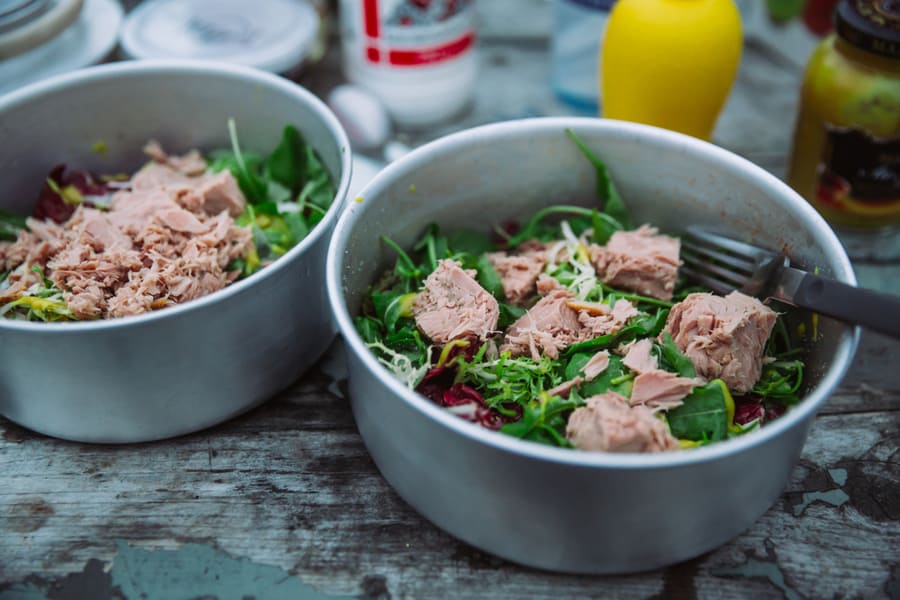
Dehydrated Food Recipes for Backpacking
If you’ve ever gone on a hunting or backpacking excursion into the bush for a few days or longer, you understand the constant need to refuel after burning thousands of calories hiking around with a heavy pack on your back. Sure, you could buy some of those freeze-dried meals from an outdoor store, but they’re typically loaded with preservatives and ingredients you can’t even pronounce. What’s more, they’re expensive.
Skip the store-bought packages this time and opt for dehydrating your own healthy, calorie-rich meals. Here are a few backpacking staples to get you started that can be enjoyed on or off the trail!
- Eggs
- Salad
- Yogurt
- Hummus
- DIY High Fat Dehydrated Dinners for Backpacking and Hunting
- Chocolate Almond Breakfast Smoothie
- Vegetable Curry
- Red Lentil Chili
- Traditional Pemmican “protein bar”
- Bread and Cake Crumbs
- Sriracha Chickpeas
- Granola Bars
Food Dehydrator Chip Recipes
Dehydrated vegetable and fruit chips are a guilt-free way to enjoy salsa and other tasty dips. You can bet classics like corn or potato chips will be a hit, but what about trying cantaloupe or green bean chips at your next family gathering?
Get started with a few of these delicious dehydrated recipes and before you know it, you’ll be turning everything into a chip!
- Zucchini Chip
- Crispy Green Bean Chips
- Pear Chips
- Banana Chips
- Cantaloupe Chips
- Cinnamon Apple Chips
- Sweet Potato Chips
- Dehydrated Kiwi Chips
- Beet Chips
- Potato Chips
- Corn Chips
Dehydrated Soup Recipes
Soup becomes essential once winter rolls into town. When I’m busy with the kids and projects around my homestead, sometimes time is not on my side. I’ll quickly toss whatever scraps, leftovers, and dried vegetables into a pot and let it simmer. It’s the pinnacle of simplicity!
Throw in a dehydrated soup broth and you’ll barely break stride between the day’s hustle and cooking a nutritious family dinner!
- Vegetables to Dehydrate for Winter Soups
- Bone Broth
- Beef Broth
- Tomato Soup
- Ground Turkey Taco Stew
- Bone Broth and Soup Bases
- Vegetable Stock Powder
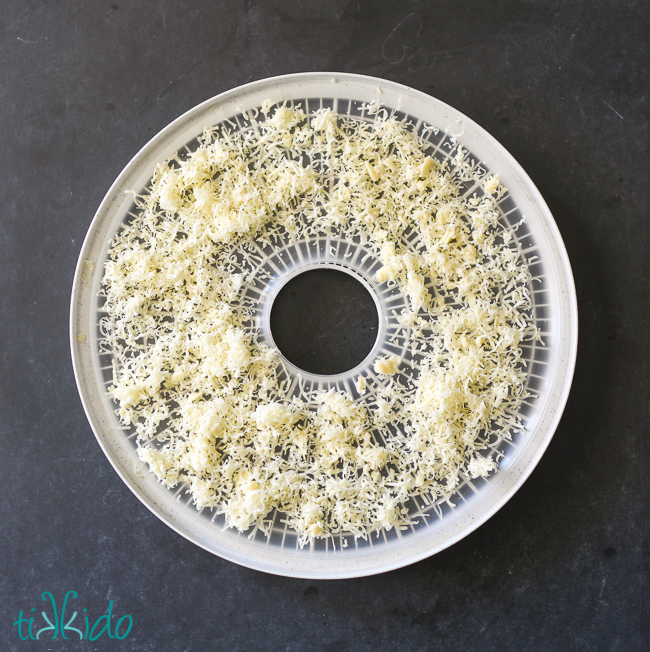
Dehydrated Dairy Recipes
If you’ve read this far, it must come as no surprise that you can dehydrate practically everything, even dairy! Use your powdered milk in baking and your cheese as a popcorn topping or in a homemade instant macaroni and cheese mix.
To reconstitute dehydrated milk, add one cup of cool water to a third of a cup of powdered milk to make one cup of liquid milk. Try enhancing the flavor by adding an equal amount of fresh milk to your yield.
- How to Dehydrate Cheese for Long Term Storage
- Cheese Powder
- Yogurt Drops
- Powdered Milk
- Cottage Cheese
- Yogurt Leather
Dehydrated Flour Recipes
Making homemade flour is extremely empowering and a satisfying activity to do on the homestead. Use some of the flour recipes I have listed here in baked goods, pizza crusts, tortillas, and other gluten-free items.
Savor the flavors of fall by dehydrating fresh pumpkin or any other winter squash for when you need it later in the year.
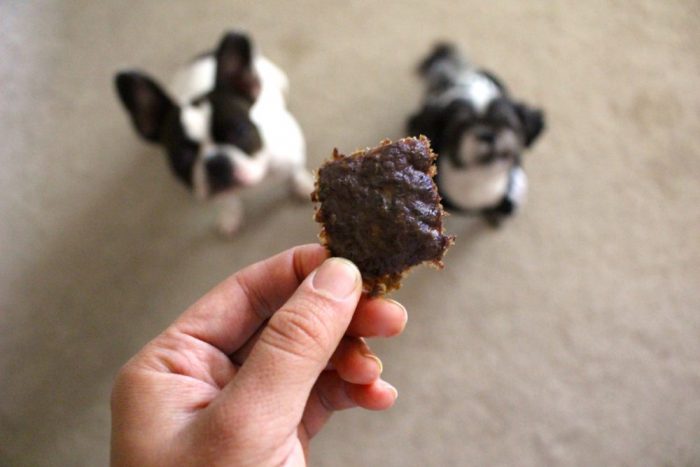
Food Dehydrator Dog Treat Recipes
Dehydrated foods aren’t only for human consumption. The little furballs around your homestead can also benefit from dried nutritious treats!
Conventional and over-processed pet foods are notorious for containing artificial preservatives that aren’t ideal for your good boy. In the wild, the most natural diet for dogs would consist of meat, bones, and organs. When you dehydrate your own treats you’ll know only natural ingredients are being consumed by your pup.
- Healthy Homemade Dog Treats
- Chicken Treats
- Chicken Liver Dog Treats
- Fish Chew Dog Treats
- Beef Jerky for Dogs
Beyond Food Dehydration
While this list of food dehydrator recipes will likely keep you busy, try any of these other food preservation methods to diversify your preserved pantry:
- 100+ Canning Recipes
- 20+ Ways to Preserve Lemons
- 30+ Ways to Preserve Apples
- 30+ Ways to Preserve Eggs


thanks
Excellent post
Very helpful articles. I’ve been so confused while attempting to dehydrate beyond bananas and apples. Considering my food restrictions, I’ve found limited options. I can explore these pages full of helpful ideas. Thanks for this.
I’m wanting to use my dehydrator for more than just apples, so your site was a great find.
Thanks.
That’s great! So glad you’re here.
Forgot to add, my Nesco is 600 watts which is the same as the 9-tray Excalibur so they use the same amount of electricity.
Hi, Love your site. When I do searches and yours comes up, I’m always happy to see that. I must say, however, I respectfully disagree with the assessment of the Nesco dehydrator. I first bought my Snackmaster about 28 years ago and it indeed had an adjustable thermostat from 95 degrees to 145 degrees. Just this year it tanked and it was my fault – I had it working in a cold room and it overloaded the motor. Never have any of the trays broken either. They were/are quite stout. Of course, I wash them by hand. I always thought, because of heavy duty marketing, that the Excalibur was the best one to buy so when I set out to replace my old one I did lots of research. What I found was that many of the reviews for the Excalibur were about 1 star. People complained that it broke shortly after use, was cheaply made, and others said that customer service was nonexistent. This often happens when companies get too full of themselves; they started out making a good product at the beginning but then due to greed/cheapness now make inferior products and then don’t bother supporting the people who buy them, yet in our minds we still think they are good. A bit of brainwashing from marketing, no doubt. So, I went back to my Nesco. It’s the best bang for the buck and my old trays still fit in the new machine. If it does tank after a year, at least I did not pay $500-$900 for it, like the Excalibur. (I’m in Canada, so everything is about twice what you lucky ducks pay in the US.) My 4 tray Nesco, expandable to 12 trays, cost me $114 CAD plus 15% tax. Not a bad deal at all. And it’s quiet and white noise too, which would put someone to sleep. 🙂 No doubt your dehydrator is awesome and this could be because you bought it when the product was actually good.
I really liked your way of presenting the article. Thank you for sharing this great article.
You’re welcome. So glad you enjoyed the article.
This is really an amazing article. Thank you for sharing this great article.
You’re very welcome.
Thank you for sharing this delicious recipe. This recipe is very healthy .
You’re welcome.
Thank You for sharing this great article. I really liked the way you have presented these delicious recipes.
You’re welcome.
Isthere a dehydrator recipe book if so where can i buy one
I’d recommend the complete dehydrator cookbook by Carol Cancler.
This is a great post; thanks. Do you have recipes which maximize use of the dehydrated ingredients?
I don’t at this time, but I hope to in the future. You’ll have to come check back in! 😁
I still have my original ronco dehydrator. Bought the extra trays still works never broke a tray but the silicone trays dried out and became brittle and had to replace them. Yes it has only 1 temperature but is quiet. And all electric dehydrator’s are not very efficient electrical.
I do my granola in the dehydrator. I use muslin fabric to place it on for good air flow. Dry at 130 to 140 drgrees. No turning, no burning, no timing. Easy peasy.
Are you going to put this in book form? I would buy it if you did!
I hadn’t considered it, but nice idea!
Wow! Thank you for this post! I was just getting ready to buy a dehydrator in about a week. A $39 one to be exact. I didn’t know about the temperature on these and how you can adjust. Thanks again!
Another great post! Thank you for such detailed information! I keep putting off getting the stainless steel dehydrator as my nesco from a free pile still works but if I had both it would go so much faster!!
I have to Say, I have a Nesco dehydrator and love it. It’s going on e years and a tray has not broken yet. Also,you are wrong about the temperature control. Mine adjust to different temperatures it does not dehydrate everything on high! I can also do 20 trays at once!