Affiliate disclosure: This post may contain affiliate links. Please see our Privacy Policy.
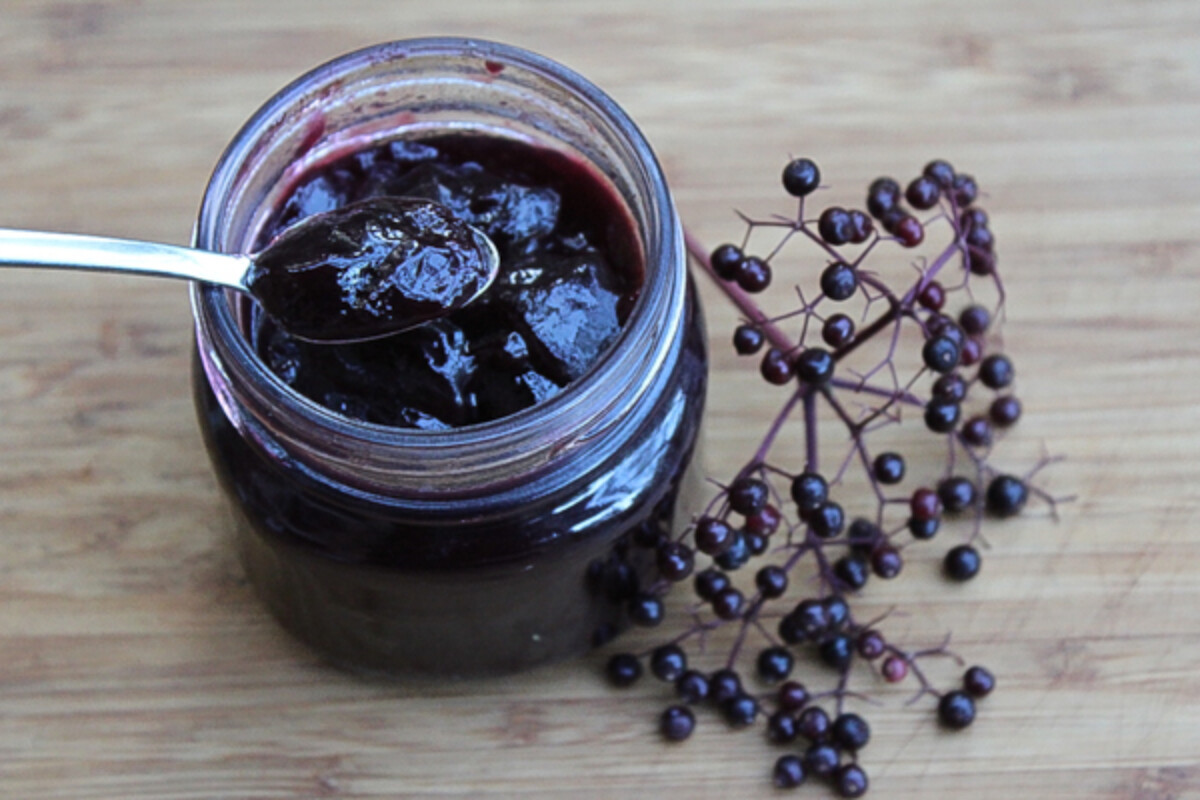
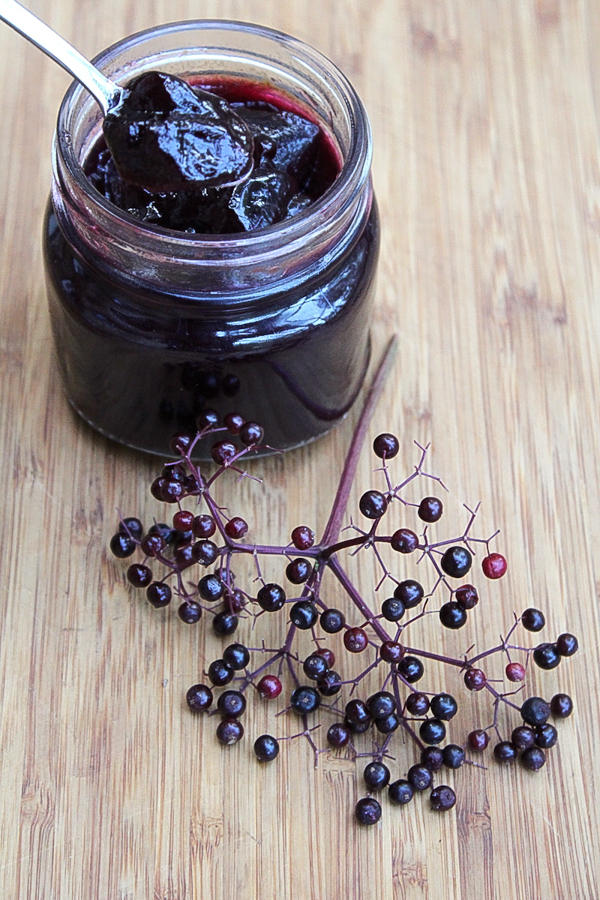
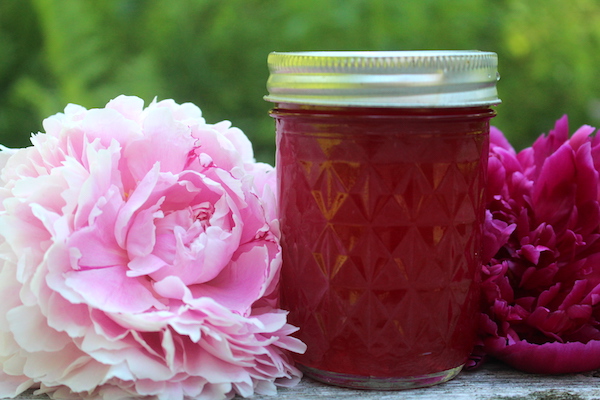
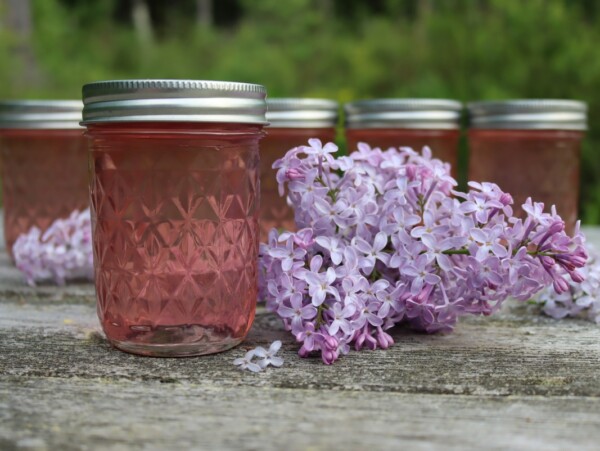
Elderberry jelly is a delicious way to preserve elderberries right in a canning jar. This is one of the only USDA tested recipes for canning elderberries, and believe it or not, while there are no tested recipes for canning elderberry syrup, there is this delicious tested recipe for canning elderberry jelly!
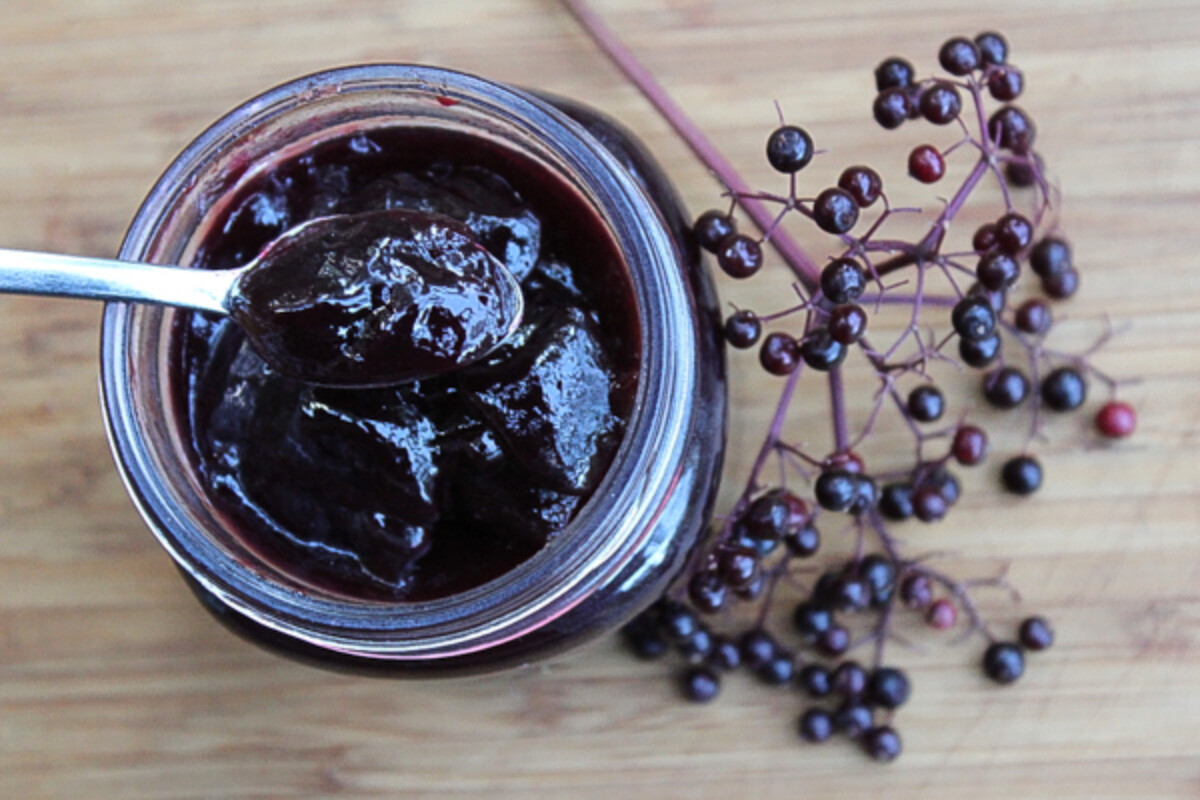
Elderberries have a very short season, and they barely have time to ripen before they’re gobbled up and carried away by the birds. If you have a keen eye and watch closely, elderberry bushes produce huge harvests of medicinal berries each year. Those berries make a quick and easy elderberry jelly that preserves their goodness all year long.
We often preserve them as elderberry oxymel, which is a honey-based pro-biotic cough syrup for winter colds. It’s very much like elderberry syrup, but oxymel is made with honey, and apple cider vinegar to provide balance. Elderberry mead is another one of our favorites. Both of those aren’t the best for young children, so this year I made a special batch of elderberry jelly for my jam-loving babies.
Though I made it for the little ones, elderberry jelly is now one of my very favorites. It tastes like a cross between blueberry jelly and blackcurrant jelly, with the sweet berry notes of blueberry, and then something a bit deeper and earthier like black currant.
The hardest part about making elderberry jelly is stemming and juicing the elderberries. If you pop the bundles of elderberries in the freezer for a few hours, the frozen berries fall from the stems with a quick comb of the fingers.
Since the berries are frozen, they won’t mash as easily and you’ll be less likely to stain your hands purple. This is optional though, and you can simply comb the berries from their stems while fresh…it’s just messier that way.
Once the berries are stemmed, they need a quick simmer to extract the juice. The berries fall apart quickly, so they just need a few minutes simmering with a bit of water to get the job done. Stirring and mashing with the back of a spoon helps too.
Either way, now you have juice mixed with pulp and seeds. At this point, the quickest way to extract the finished juice is with a jelly strainer stand and jelly bag.
Pour the mixture in, suspended over a bowl, and allow the elderberry juice to strain overnight. A jelly bag is efficient and will result in a very clean jelly, but it requires patience.
For the impatient, try using a fine-mesh strainer and a spatula. Press the berries into the strainer screen and stir them around until all the juice and pulp goes through but the seeds remain.
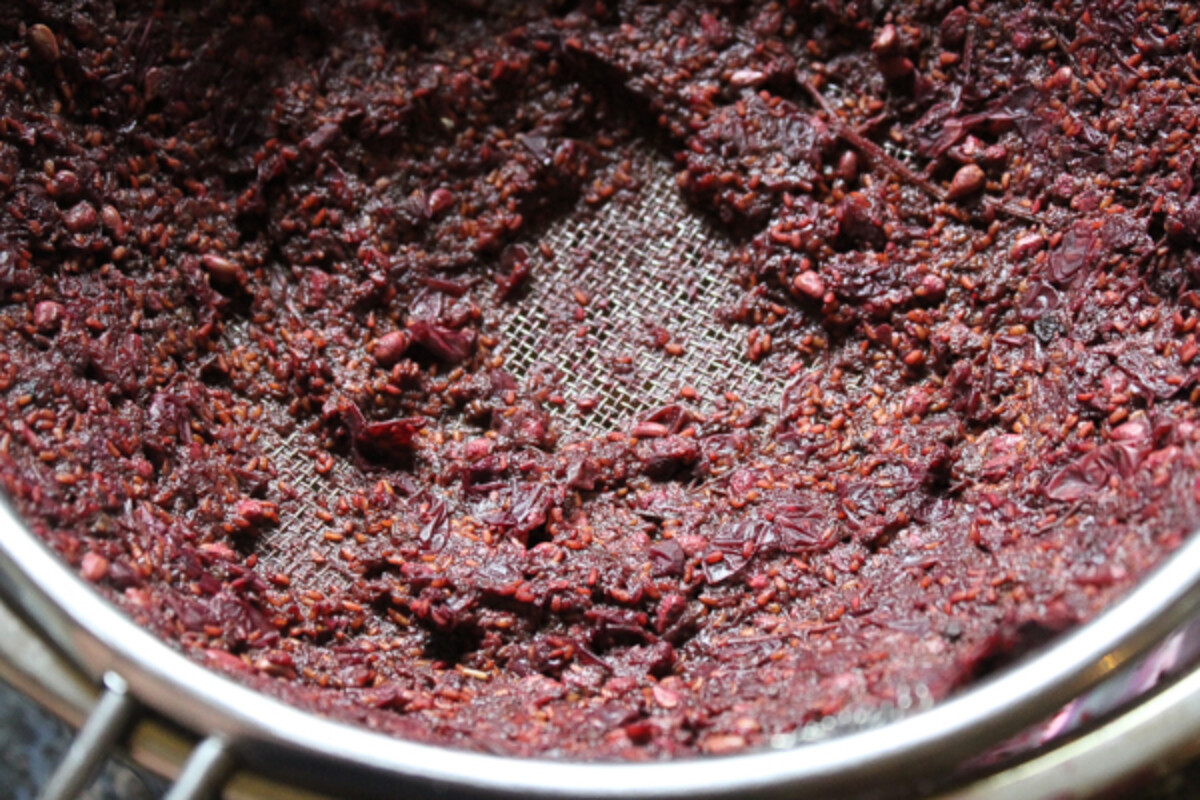
When you use a fine mesh strainer instead of a jelly bag, the result is more of an elderberry jam than a jelly. Much of the elderberry pulp ends up in the juice, which isn’t necessarily a bad thing.
At this point, all you need to do is simmer the juice with a bit of sugar, add pectin and can it up!
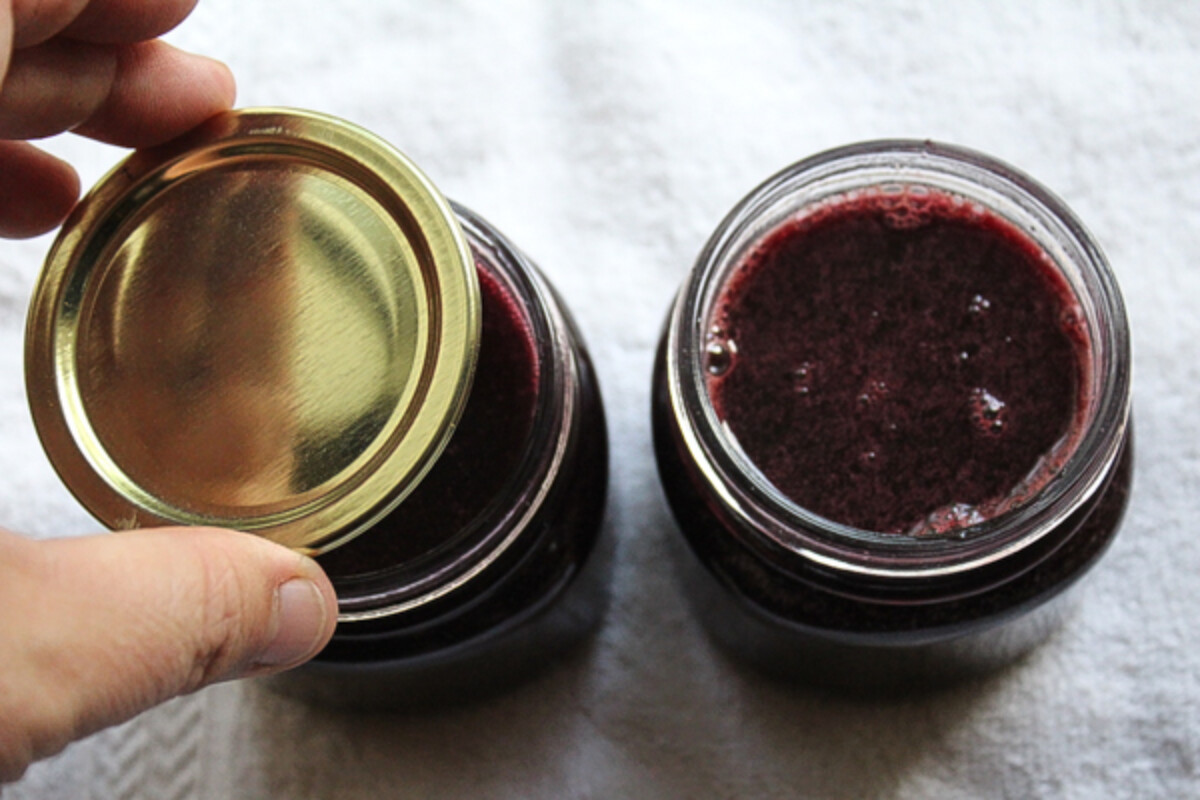
Elderberry jelly, like most jams and jellies, needs a headspace of 1/4 inch. That means you’ll be filling the jars very near the top before capping with two-part canning lids and processing in a water bath canner for 10 minutes (or 15 minutes if above 6,000 feet in elevation).
This particular recipe for elderberry jelly is a tested recipe from the University Extension in Wisconsin. Elderberries happen to be a low acid fruit, and their pH isn’t quite low enough for safe canning. Most fruits are acidic, but elderberries aren’t.
To make this elderberry jelly safe for canning, they set minimum sugar requirements, and they’re using sugar as a preservative instead. In this recipe, you cannot reduce the sugar, and you cannot sweeten it with other sugar substitutes (No honey, maple, splenda, or sugar substitutes).
The lemon juice in the recipe is for flavor, and it helps the jelly set, but it’s not sufficient for safe canning. You really do need all that sugar if you’re canning elderberry jelly. (If you’re not canning, and instead making a refrigerator jelly, you can use a low sugar pectin of your choice, and follow the instructions on the box for blueberry jelly.)
The ingredients for a batch of elderberry jelly (making 5 to 6 half pint jars) are as follows:
- 3 cups elderberry juice (from 11 to 12 cups stemmed elderberries cooked with 1/2 cup water)
- 1/4 cup lemon juice
- 4 1/2 cups sugar (I know, it’s a lot, but required for canning safety here, and elderberries aren’t sweet naturally)
- 1 box (1.75 oz) pectin (I’m using Sure-Jell)
The process is the same as any jelly made with pectin.
First, make the juice by cooking the stemmed elderberries with a bit of water. About 5 minutes simmering should break them apart, and then strain them through a jelly bag. Measure the collected juice, you should have about 3 cups. If you have more than 3 cups, save it for something else. If you have less, add a bit of water or apple juice to bring it up to 3 cups.
At this point, if canning, prepare a water bath canner, jars and lids.
Place the juice in a jam pot with the lemon juice and pectin (but don’t add the sugar yet). Stir to dissolve the pectin.
Turn on the heat and bring it up to a boil. Boil for 1 minute.
Add the sugar, stirring to incorporate and return the pot to a boil. Boil hard for 1 minute. Remove from the heat and ladle into prepared jars, leaving 1/4 inch headspace.
Canning Elderberry Jelly
Reminder, if canning, you cannot reduce the sugar in this recipe. The sugar is required for safe preservation on the pantry shelf.
Ladle the jelly into canning jars leaving 1/4 inch headspace and process the jars in a water bath canner for 10 minutes (15 minutes if above 6,000 feet in elevation). Turn off the heat and leave the jars in the water for another 5 minutes (to help prevent siphoning).
Use a jar lifter to remove the jars from the canner to cool on a towel on the counter.
Check seals after 12 to 24 hours and store any unsealed jars in the refrigerator to use in the next week or two.
Properly canned and sealed jars of elderberry jelly will maintain peak quality on the pantry shelf for 12 to 18 months, and be safe to eat as long as the jars are sealed. Refrigerate after opening.
Preserving Elderberries
Preserving a bumper crop of elderberries this year?
- Elderberry Syrup
- Elderberry Wine and Mead
- Elderberry Tincture
- Elderberry Oxymel
- Drying & Freezing Elderberries
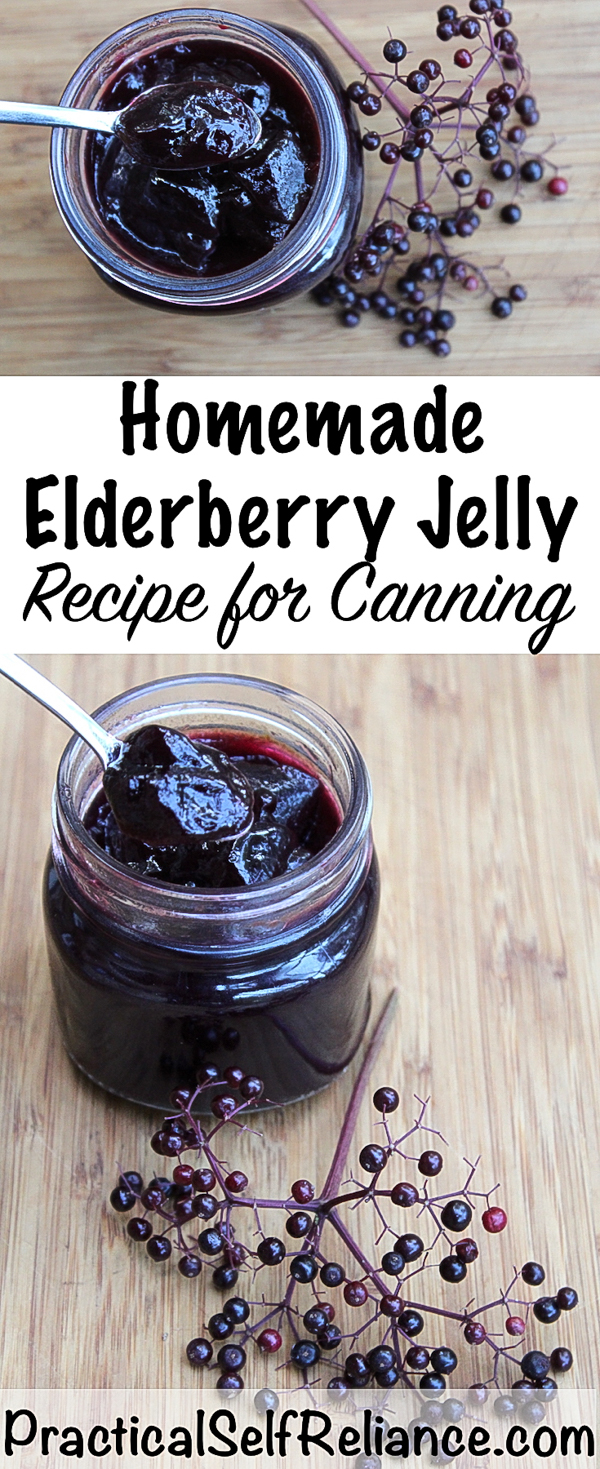
Elderberry Jelly
Equipment
Ingredients
- 3 cups elderberry juice, from 11 to 12 cups stemmed elderberries cooked with 1/2 cup water
- 1/4 cup lemon juice
- 4 1/2 cups sugar, not optional, see note
- 1 box, 1.75 oz pectin (I'm using Sure-Jell)
Instructions
Elderberry Juice
- Stem the elderberries, removing any woody parts and stem material. They're easiest to stem if you freeze the whole sprays of fruit for at few hours (or overnight) first. Frozen fruit pop off the stems easily, and the freezing process helps them release their juice for jelly.
- Once the elderberries are stemmed, place them in a saucepan with 1/2 cup of water. You'll need 11-12 cups of stemmed elderberries, or about 3 pounds of fruit, to get a yield of 3 cups of elderberry juice for this recipe.
- Bring the elderberries and water to a simmer and cook them for about 5 to 6 minutes, gently mashing them with the back of a spoon to help them release their juices. Once the fruit have fallen apart, remove the pan from the heat and strain the mixture through a jelly bag (or a mesh strainer lined with 2 layers of damp cheesecloth).
- Measure the resulting juice, you should have about 3 cups. If you have more than 3 cups, save the extra for another recipe. If you have less, add water or apple juice to bring the total up to 3 cups.
Making Elderberry Jelly
- If canning, prepare a water bath canner, jars and lids before beginning.
To make elderberry jelly, place 3 cups of elderberry juice into a pot and add the lemon juice and powdered pectin. Do not add sugar yet. Adding the sugar early will prevent your jelly from setting. - Stir the pectin to break up any clumps and ensure it's fully dissolved.
Turn on the heat and bring the mixture up to a boil. Boil hard for 1 minute.
After the pectin/juice mixture has boiled for 1 minute, add the sugar.
Return the mixture to a boil and boil for 1 minute. - Remove from the heat and ladle into prepared jars, leaving 1/4 inch headspace. Seal with 2 part canning lids.
- If canning, process the jars in a water bath canner for 10 minutes (or 15 minutes if above 6,000 feet in elevation). Once the processing time is complete, turn off the heat and allow the jars to sit in the canner for an additional 5 minutes before removing them with a jar lifter to cool on a towel on the counter (this helps prevent siphoning).
- Allow to cool completely and check seals after 12 hours. Store any unsealed jars in the refrigerator for immediate use. Properly canned and sealed jars will maintain peak quality on the pantry shelf for 12-18 months, and be safe to eat as long as they're sealed. Refrigerate after opening.
Notes
Nutrition
Nutrition information is automatically calculated, so should only be used as an approximation.
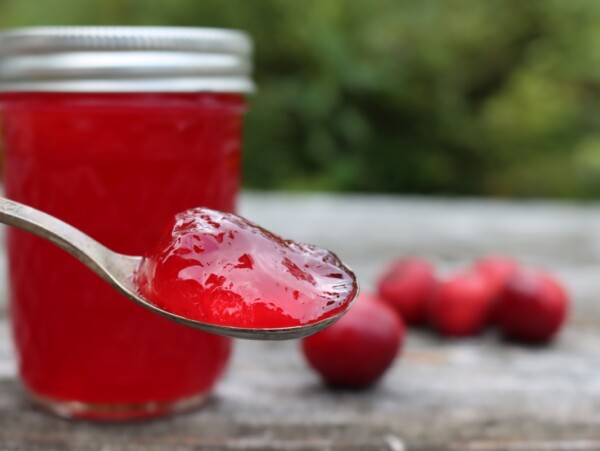
Jelly Recipes
Looking for more delicious homemade jelly recipes?


Hello, Ashley! I have a small elderberry patch, and often make wine with them. However, I now have a canner so am considering making jam. Do you know how I could convert this recipe to use Pomona Pectin? Would I use the same amount of sugar substitute?
TIA, Susan, Florida
Elderberries aren’t acidic enough for canning, so they’re one of the few jam recipes that you cannot make as a reduced sugar jam. The sugar in elderberry jelly or elderberry jam is what’s preserving it. (Sugar substitutes or reduced sugar recipes are not safe in this case.) That said, if you’re making it as a refrigerator preserve and not canning it, then yes, you can use pomona’s and a sugar substitute or reduced sugar. As to the amount of sugar substitute, I’m not sure, because I don’t know how sweet those are. This recipe, with regular sugar, is quite sweet because it needs all that sugar for preservation. As a refrigerator preserve, you could use as much or little as you like…but I don’t have good advice here for you since I don’t work with sugar substitutes and personal sweetness tastes are so subjective.
I used to make elderberry jam years ago. The seeds gave it a slight crunch for the first month or two, which we enjoyed. After that they got soft and it was similar to other jams. There doesn’t seem to be a recipe for jam, just jelly. Is there a reason for that?
I do actually have a recipe for elderberry jam on my canning website (just not yet on this one). Here’s where you can find the recipe: https://creativecanning.com/elderberry-jam/
Hi, can I add ingredients like chopped apples and golden raisins?
You could definitely add the apples without issues. You do want to be careful adding low acid foods because this could impact the overall acidity which could impact the food safety.
I made elderberry jam from frozen berries. 9 cups of berries measured without smashing down resulted in 3 cups of juice and pulp. I removed the seeds and skins with a food mill rather than a sieve, and I STRONGLY recommend that people DO NOT use a food mill. Elderberry seeds contain a form a latex that will stick to the mill. It is SO STICKY. I was afraid I ruined the jam, but because it is so sticky (I had to use Goo Gone to remove it), it seems to have adhered to the mill leaving no detectable trace in the pulp and juice.
My wife and I made jelly using this recipe and it was perfect!! Jelly set good and it was clear.I think it’s my new favourite. This is the first time we have had elderberries.I am hoping we have enough berries left to make two more batches. Thanks!!
You’re very welcome. We’re so glad you enjoyed the recipe.
I am 78 years old and have been eating jelly made form wild fruit all my life. As my mother did, I always seal the jelly with paraffin and have never had a problem. What has happened to that idea??
This practice has been discontinued due to possible mold contamination.
This was easy & delicious
I used a juice extractor /steamer to juice the elderberries! This saves SO MUCH time if you don’t have one. Loved this recipe and it appears to be perfectly setting up!