Affiliate disclosure: This post may contain affiliate links. Please see our Privacy Policy.
Grape jam is one of those lost recipes that no one seems to make any more. Every grade school kid knows about grape jelly, but grape jam has long since gone by the wayside. Grape jam is darn delicious, and it’s time it made a comeback!
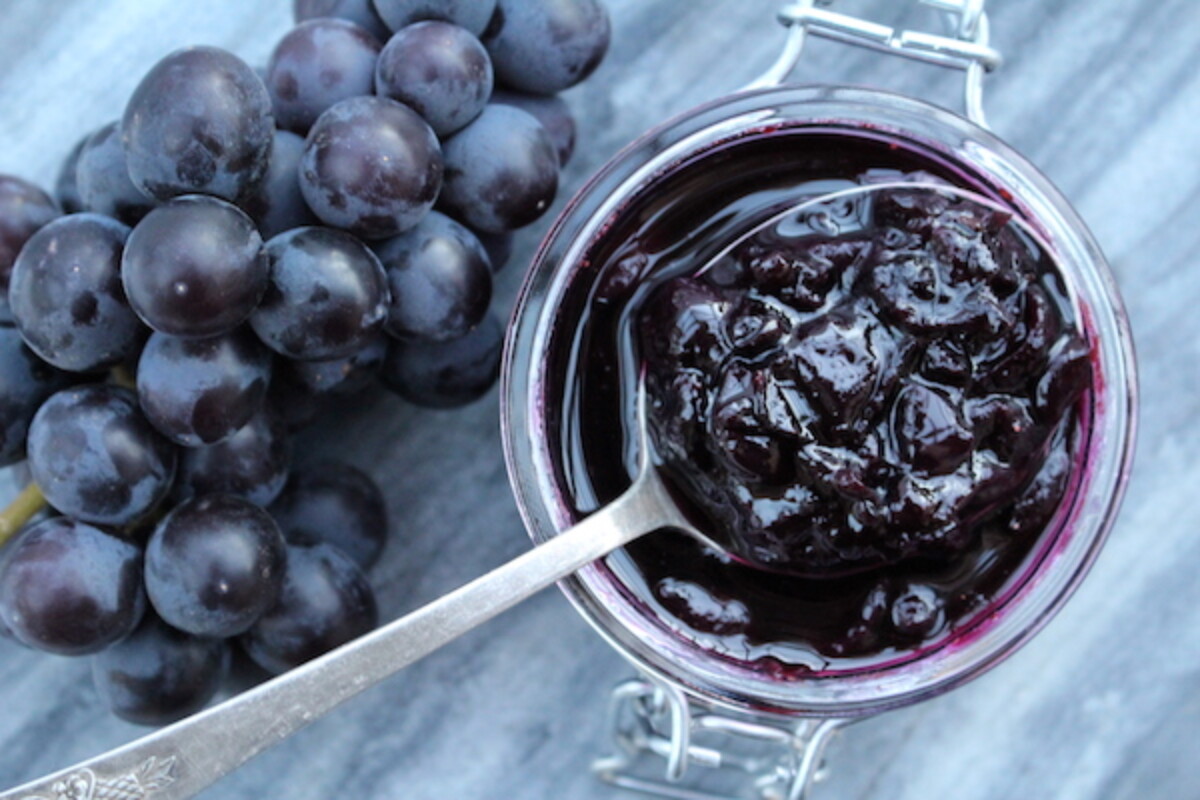
In truth, there’s a good reason why grape jam fell out of favor. Traditionally it required a lot of work, namely to remove large grape seeds in heirloom grape varieties. The first seedless grapes weren’t developed until the 1980s, and by that point, grape jelly was long since entrenched in our national cuisine.
To make a really fine grape jam, you need to remove the seeds from grapes. They much larger than raspberry or blackberry seeds, and once you’ve cooked a batch down, if you haven’t removed the seeds, there are a lot of grape seeds in the finished jam.
Seedless grapes mostly solve this problem, but not completely, because even “seedless” grapes still have tiny seeds. If you’re using “seedless” grapes, removing the seeds is optional, but I’ll take you through the process either way.
Removing Seeds from Grapes
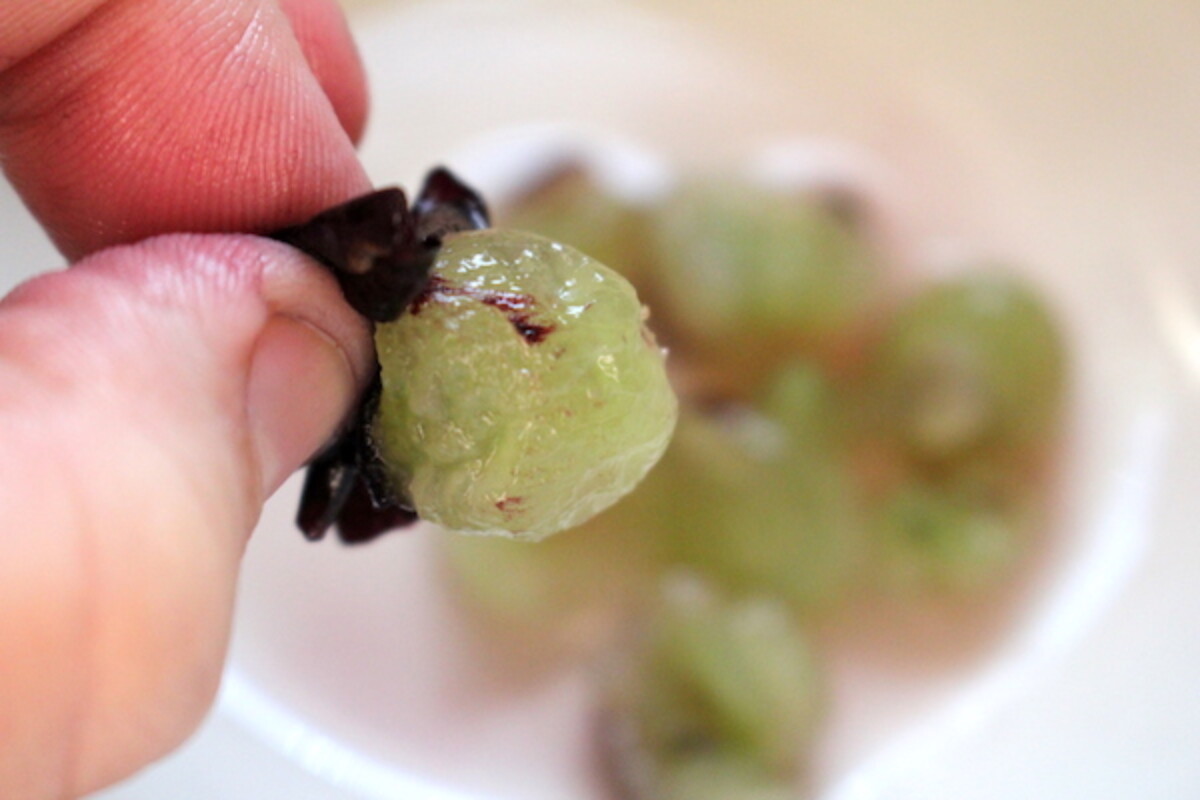
To make grape jam, the essential part is keeping the grape peels. The idea is to filter out the seeds from the pulp, but leave the peels still in the jam. How on earth does that work?
The Ball Book of Canning and Preserving suggests starting with uncooked grapes and separating the peels from the pulp. Start by peeling back a bit of the grape skin from one end of the grape and then squeeze out the inside. The grape pulp goes into one bowl, and the peels go into another.
I know, peeling grapes sounds tedious. So is shelling peas and all manner of tasks grandma filled her days with staying useful. For me, making jam is something I love to do with my toddlers. They love jam, and they love everything about helping make it. The cooking and canning parts are a little to hazardous for them, but since they’re at the end, once their attention is waning, it works out wonderfully.
Before the cooking process, the more steps the better. Idle baby hands take to coloring the walls, but babies happily put to work peeling grapes take an active part in preparing the food they’ll be eating later. If you don’t have easily entertained toddlers, keep in mind the seeding part is completely optional if you’re working with seedless grapes. Really it’s optional with seeded grapes, if you don’t mind the occasional crunchy grape seed.
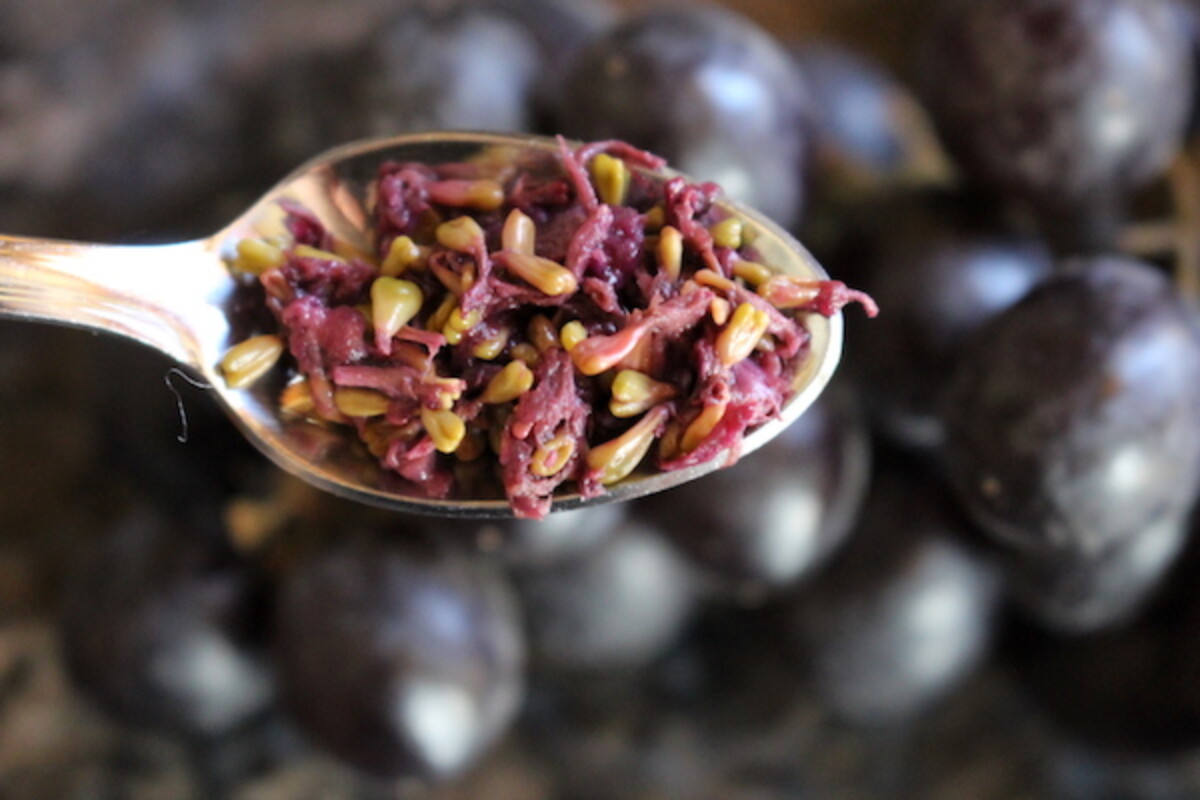
Leaving the bowl of grape skins set to one side, the next step is to cook down the grape pulp. Allow the pulp to simmer on the stove until it has pretty well dissolved. Give it a few mashes with the back of a spoon to help it along, but it won’t take long. Pass the pulp through a fine mesh strainer to remove the seeds. Even with “seedless” grapes, there are still quite a few tiny seeds.
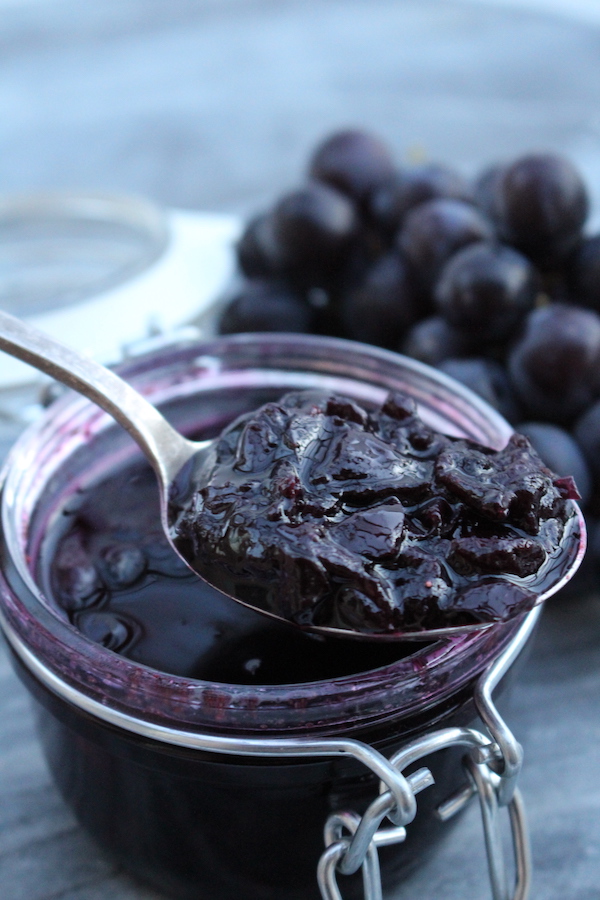
How to Make Grape Jam
At this point, combine the grape skins and the filtered grape pulp and add the sugar. If you’d like to make a low-sugar grape jam, you can reduce the sugar by half without a problem. Remember that a reduced sugar jam will yield considerably less because you’ll have to cook down the mixture further to reach gel stage. Either way, it’s darn delicious.
Add the pulp/skin mixture and sugar to a saucepan and bring to a boil over medium heat. Cook for about 10-15 minutes, until much of the juice is evaporated, and the bubbles in the jam begin to change consistency. This jam comes together really fast, quicker than any other no pectin added jam I’ve ever made.
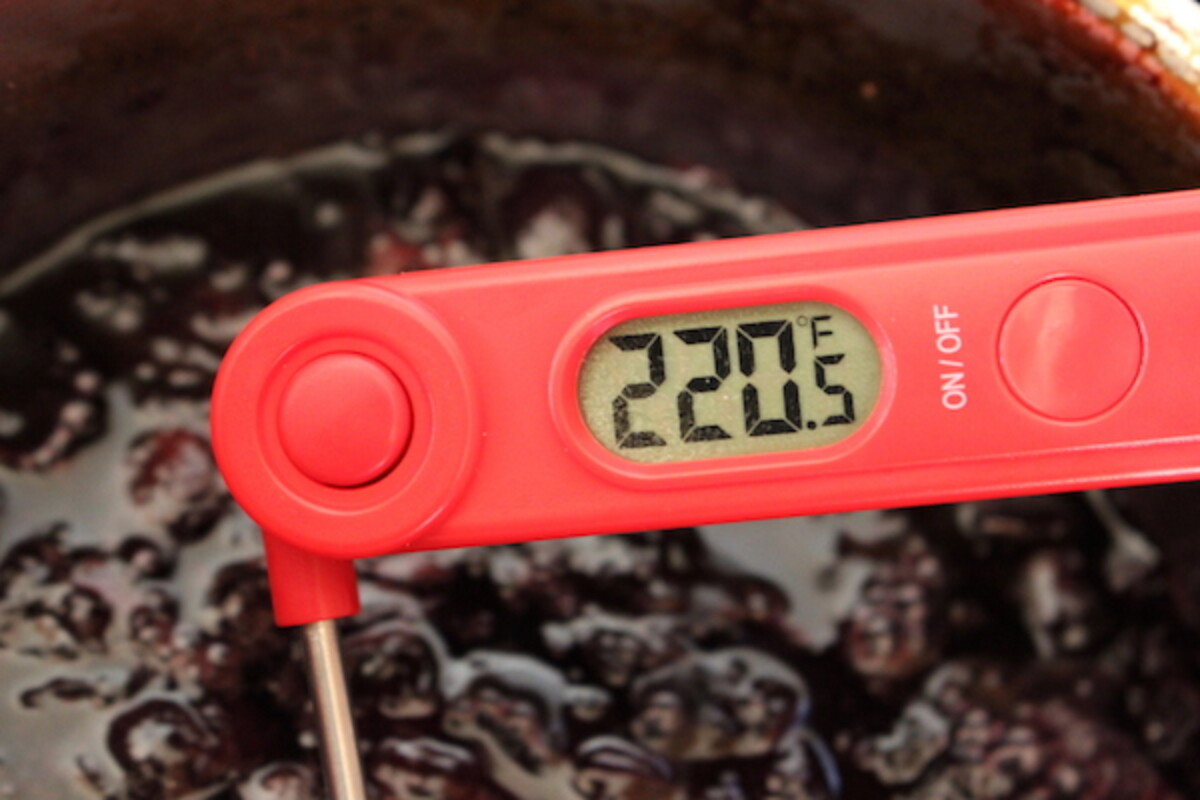
If you’ve made jam before, you’ll recognize this change as the jam approaches gel stage. Place a plate in the freezer and use it to test the jam’s consistency by putting small amounts on the cold plate. Alternately, generally gel stage is around 220 degrees F, and you can test the jam with a candy thermometer.
Once the jam reaches gel stage or consistency that you like, pour it into prepared canning jars leaving 1/4 inch headspace. Process the grape jam in a water bath canner for 10 minutes and then turn off the heat. Allow the jam jars to sit for an additional 5 minutes before removing them to a towel on the counter to cool.
At this point, it can take a while for the jam to fully gel. Give the jam about 48 hours to rest before you open and test one. If you find it’s too thin, you can pour them back out, recook for a while and re-can the grape jam without issue. If it’s too thick, similarly, you can pour them back into the jam pot and add a bit of water to re-cook. If you tested the jam ahead of time with a plate or thermometer, it should be just fine with no need to retry, but it’s nice to know that options there if you need them.
Choosing Grapes for Grape Jam
Most recipes these days are for “concord grape jam” perhaps because that’s the most popular type of grape for grape jelly. It’s a flavor we’re used to for jelly, thus it’s what they suggest for grape jam. The thing is, it can be hard to find concord grapes for sale in the store. Most of them go directly into jelly or juice, and the few I have seen on supermarket shelves didn’t look too appetizing. I assume they must not keep well, thus the reason they’re always preserved rather than sold as table grapes.
There is no reason you can’t make grape jam with just about any variety of grape. Dark purple or blue grapes make a particularly dramatic presentation, but a bright green Thompson seedless grape jam would have its own beautiful green appeal.
The Ball Book of Home Canning suggests using Concord, Muscadine or Scuppernong grapes. None of those varieties grow up in cold climates. Here in vermont we’re limited to cold hardy grapes for zone 4, which are mostly wine grapes. Most places, you’ll only find generic green or red grapes in the store.
Don’t worry, just get creative with what you can get (or grow) where you live. Trust me, it’s all good.
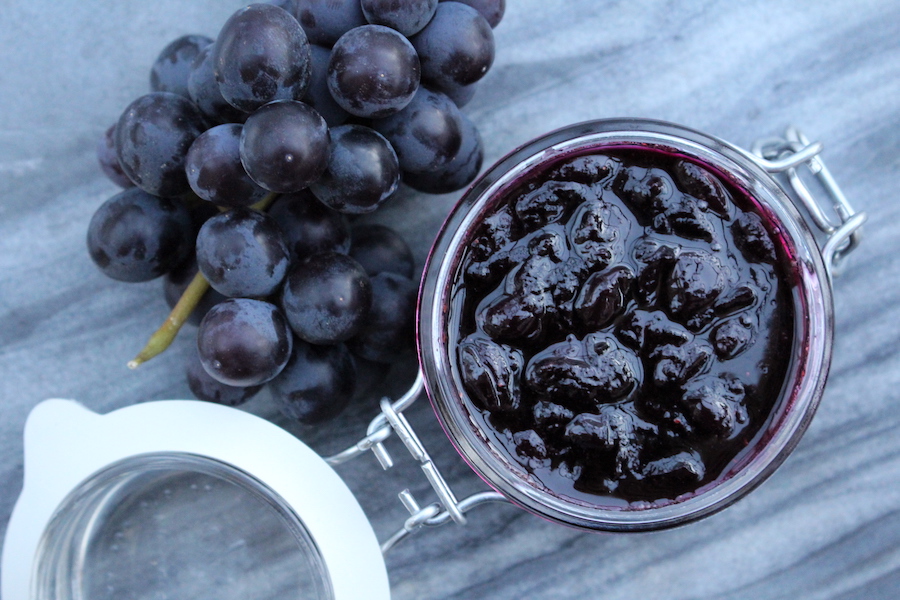
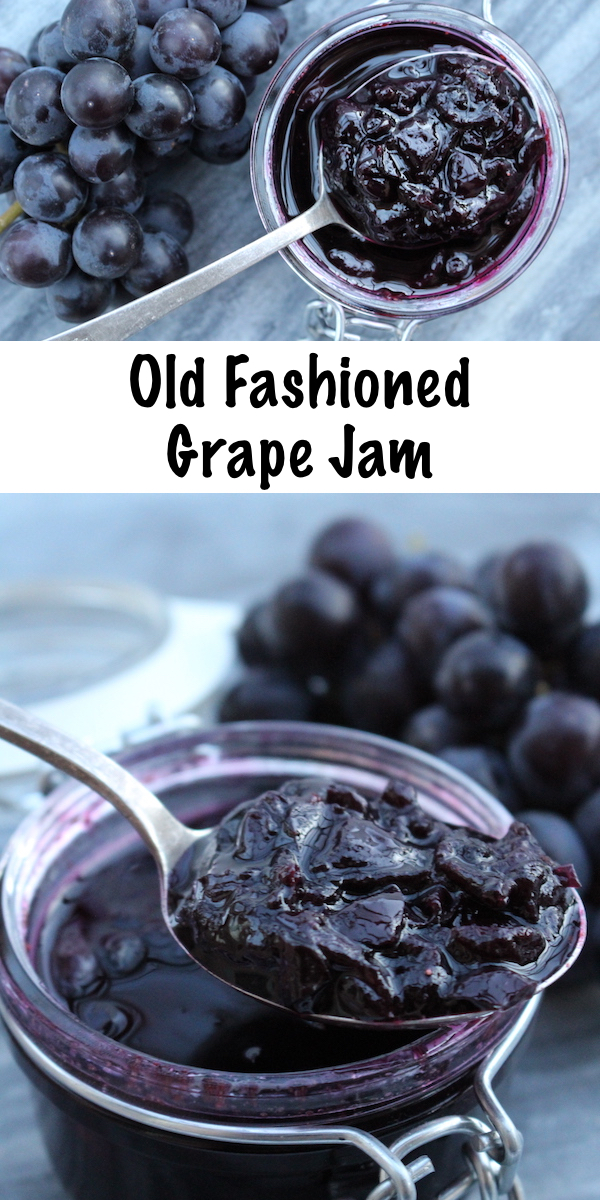
Old Fashioned Grape Jam (No Pectin Added)
Ingredients
- 8 cups grapes, stemmed
- 6 cups sugar
Instructions
- Seed grapes as discussed above by squeezing the grape flesh out of the skin and then cooking the pulp down. Put the pulp through a fine mesh strainer and then re-combine the filtered pulp with the grape skins.
- Add the skins and pulp into a saucepan along with the sugar and cook the mixture until it reaches gel stage, about 10-15 minutes. Experienced jam makers can watch for when the type of bubbles change and take on a glossy look. To be sure, test the consistency on a plate that’s kept in the freezer or with a candy thermometer.
- Pour the jam into prepared canning jars, leaving 1/4 inch headspace. Store in the refrigerator for immediate use, or process in a water bath canner for 10 minutes. Turn off the heat and allow the jars to sit in the canner for an additional 5 minutes before removing them to cool on a towel on the counter.
- Allow the jars to rest for 24 to 48 hours to completely gel.
Notes
Nutrition
Nutrition information is automatically calculated, so should only be used as an approximation.
Preserving Grapes
Looking for more ways to preserve grapes?


I’m going to try these recipes. Sounds wonderful. Thanks.
I bought some jelly berries they r very very sweet. How much sugar do I need?
The sugar helps the pectin set, so if you want to use less sugar due to very sweet fruit, you’ll need to add a low sugar pectin to get everything to set.
If I use pectin, can I make this with less sugar?
Yes, you can make it with less sugar if you use a low sugar pectin (like sure jel low sugar or pomona’s).
Is there any reason I couldn’t add some savory spices to this (like Indian flavors)?
Sure, go right ahead. The canning authorities here in the US say that you can add “reasonable amounts” of any dry spices to tested canning recipes. They don’t specify what reasonable means, so you’ll have to use your best judgement there.
If I put this jam in plastic containers, could I freeze it instead of “canning” it in a water bath?
Yes, that’s perfectly fine. So long as they’re freezer safe containers and you leave about 1 inch headspace, this jam does really well as a freezer jam. Enjoy!
Hi Ashley. How long can I store the jam in my pantry after canning, before it must be consumed. Thank you.
If canned, you can store it in the pantry indefinitely. Canned goods are good so long as they’re sealed. However, jams and jellies start to degrade a bit in flavor after about 12-18 months. For the best flavor, it’s good to eat it within a year for most canned goods. That said, high sugar preserves like this are often just as tasty a bit longer. Once opened, store in the refrigerator and use within a few weeks. Enjoy!
I used conventional red grapes and it turned out amazing! They had them for 89 cents a pound at my local grocery store, so I was excited to try out this recipe. I definitely recommend it!
Wonderful!
I have Concord grapes. This year I made jam instead of jelly, but unlike when I have made jelly or just grape juice, the jam was not deep purple/indigo purple, but more of a mauve/reddish purple. What caused this very disappointing color change? I wanted my jam to be the intense dark purple I always got with jelly and juice.
I’m not sure exactly why that would have happened. What method did you use when juicing your grapes for jelly or juice?
Would it be okay to blend the skins to create a smoother texture? I like the simplicity of not needing pectin, but my husband would prefer to not have the chunkiness of the skins.
Yup, that’s perfectly fine. Enjoy!
I love this jam!. I found that you could easily remove the skin from the seed. Some pulp stays with the skin, that’s OK. They come back together later.
Wow, labour intensive! But delicious! Just like plucking dandelion petals to make ice cream or jelly…!
My great aunt would make this and it was the best. So nice to replicate that. Thank you for sharing. Also, I did blend the grape skins after they came to a boil. We’ll see how it goes.
Hi Ashley,
What a great recipe. It’s exactly what I was looking for and I’m going to try it with our Catawba grapes tomorrow. We have a lot of rhubarb right now. Do you think I I could add that to the recipe in place of some of the grapes?
thanks!
I don’t see why not.
This is exactly as my grandma taught me in the early eighties! I used to pick them wild and bring them back to her and we would have enough jam for the year! Just the smell of Concord grapes takes me back to that 9yr old me . Fortunately I know of a farm here in CT that has 100yr old vines and as long as I don’t forget – I can get them around Labor Day every year. Makes the perfect jam and I followed your recipe exactly. Now I can keep a tradition alive and share with my grandkids.
I don’t use pectin – just sugar and the Concord grapes. I cut up the stems and used on top of my outdoor potted roses and dried the seeds for the birds. Didn’t waste a thing! And 12lbs of grapes gave me 13 -16oz jars with the last one only being a little less than full.
HLO ASHLEY ! – ENJOY READING YR EMAILS………!
* I ALWAYS GET “CONFUCIUS ” WHEN I SEE ” CUPS ” IN RECIPES………….
– PLS ADVISE HOW MANY GRAMS = ONE CUP OF GRAPES.?
– I THEN FIX YR GRAPE RECIPE AND WILL GIVE YOU A FULL REPORT……………
TKS IN ADVANCE & KIND REGARDS , PETER…
Unfortunately we can’t convert all of our recipes to grams but if you will do a quick internet search, you will most likely find the answer. There are lots of great measurement converters out there.
I’ve been making this recipe each year for 3 years now. I love that I don’t need to have special ingredients on hand. I also don’t use the full amount of this recipe because I don’t get that many grapes from our vine. I make one pint by simply using the sugar ratio. I also give the skins a slight blending in the bullet blender. My kids help me pop the skins off. One thing is to make sure it is cooked and runny enough before straining the seeds, else you might not be able get the pulp through. I wiggle mine in a colander. Thanks for sharing this wonderful and simple recipe. I have added it to our family faves cookbook binder1
I had seeded concord grapes. Alot of them. I measured out about 8 cups, took off the peels as described, cooked the pulp and pushed them through a sieve. I had tried a food mill for fruit leather and got lots of seed bits. For the 8 cups, I got 2 cups of liquid from the pulp. I them put the peels through a food processor, just so there wouldn’t be any big chunks and got a total of 4 cups. I did this again for a total of 8 cups of the mixture. I added about 7 cups of sugar, cooked this to boiling for about 15 minutes and got 4 pints plus about 3/4 of a pint. It gelled nicely and tastes delicious. It’s a bit of work but well worth it.
I know this is old thread, but if using seedless grapes do you still need to peel and all that or do you skip all that and just cook?
It’s optional to go through the process with the seedless grapes but there will still be tiny seeds even in the seedless grapes.