Affiliate disclosure: This post may contain affiliate links. Please see our Privacy Policy.
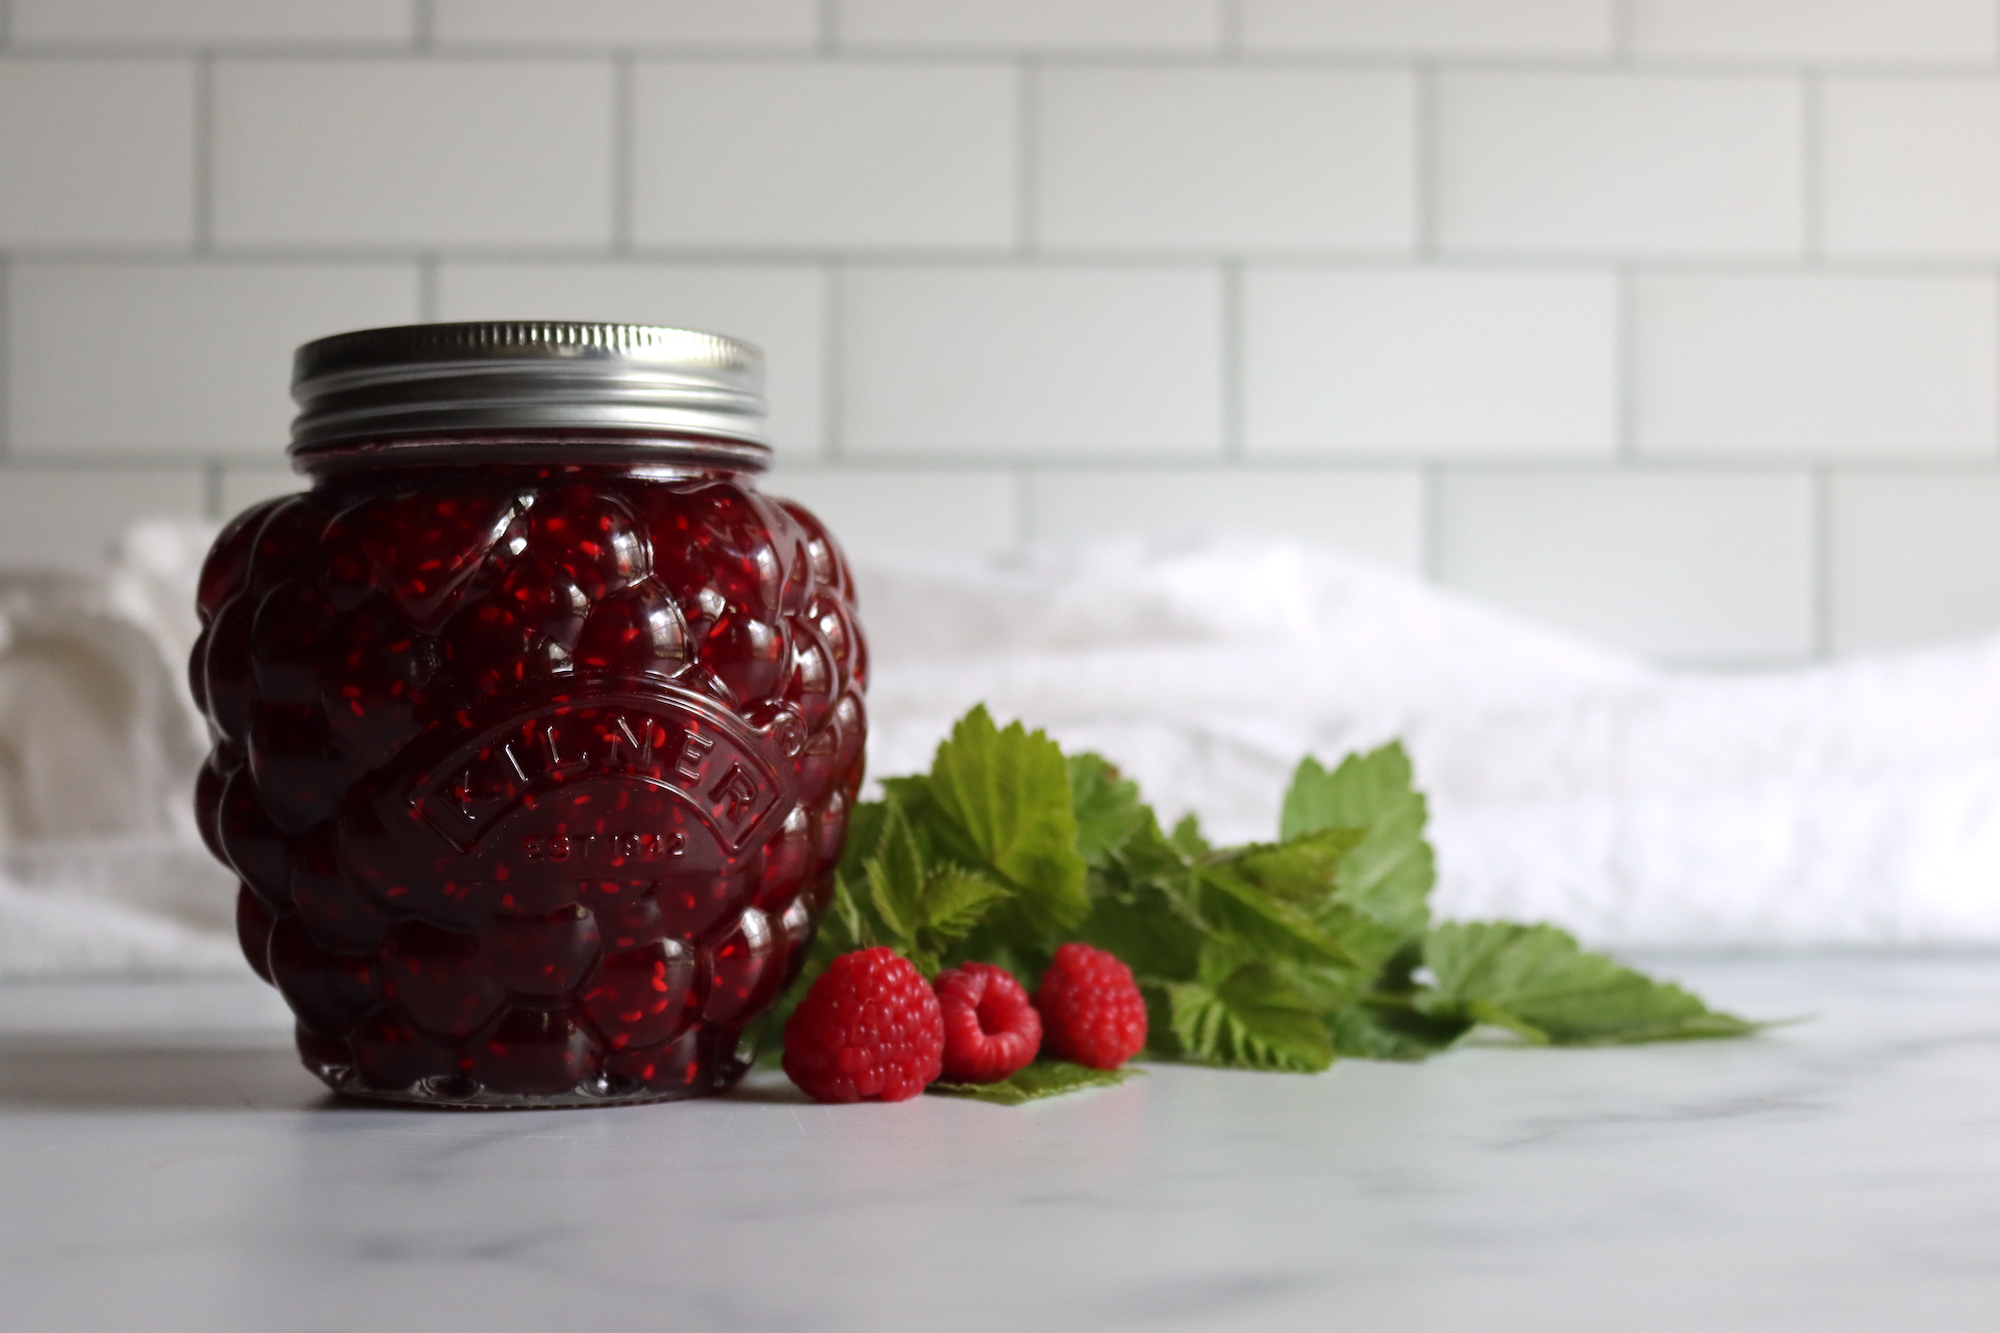
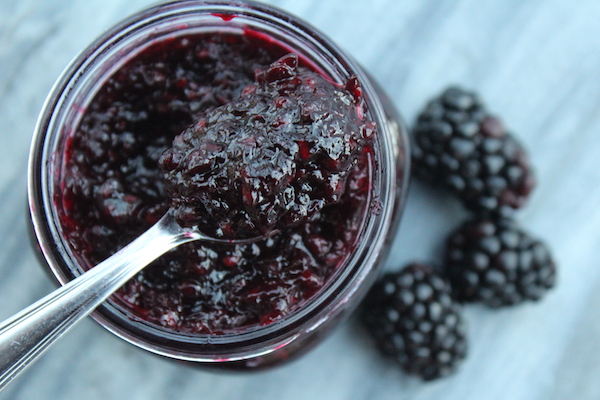
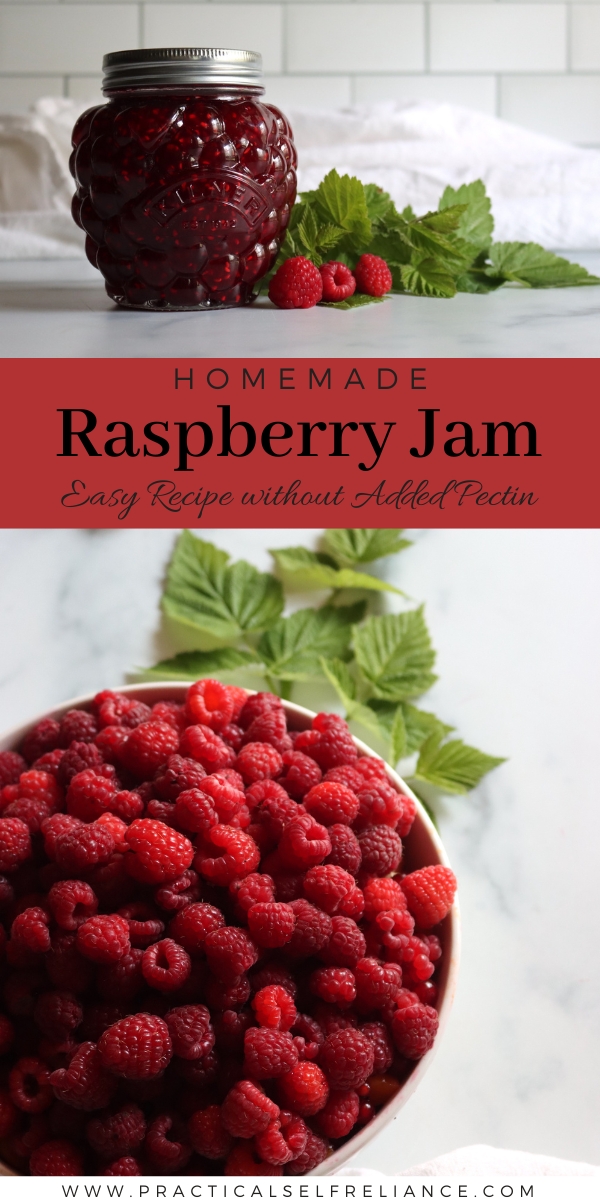
Raspberry jam without pectin is the ultimate summer preserve, capturing the bright, intense flavor of fresh raspberries with just two simple ingredients. If I had to choose just one jam to eat forever, this would be it, no question.
This old-fashioned jam recipe relies on the natural pectin in raspberries to set beautifully without any boxed pectin required.
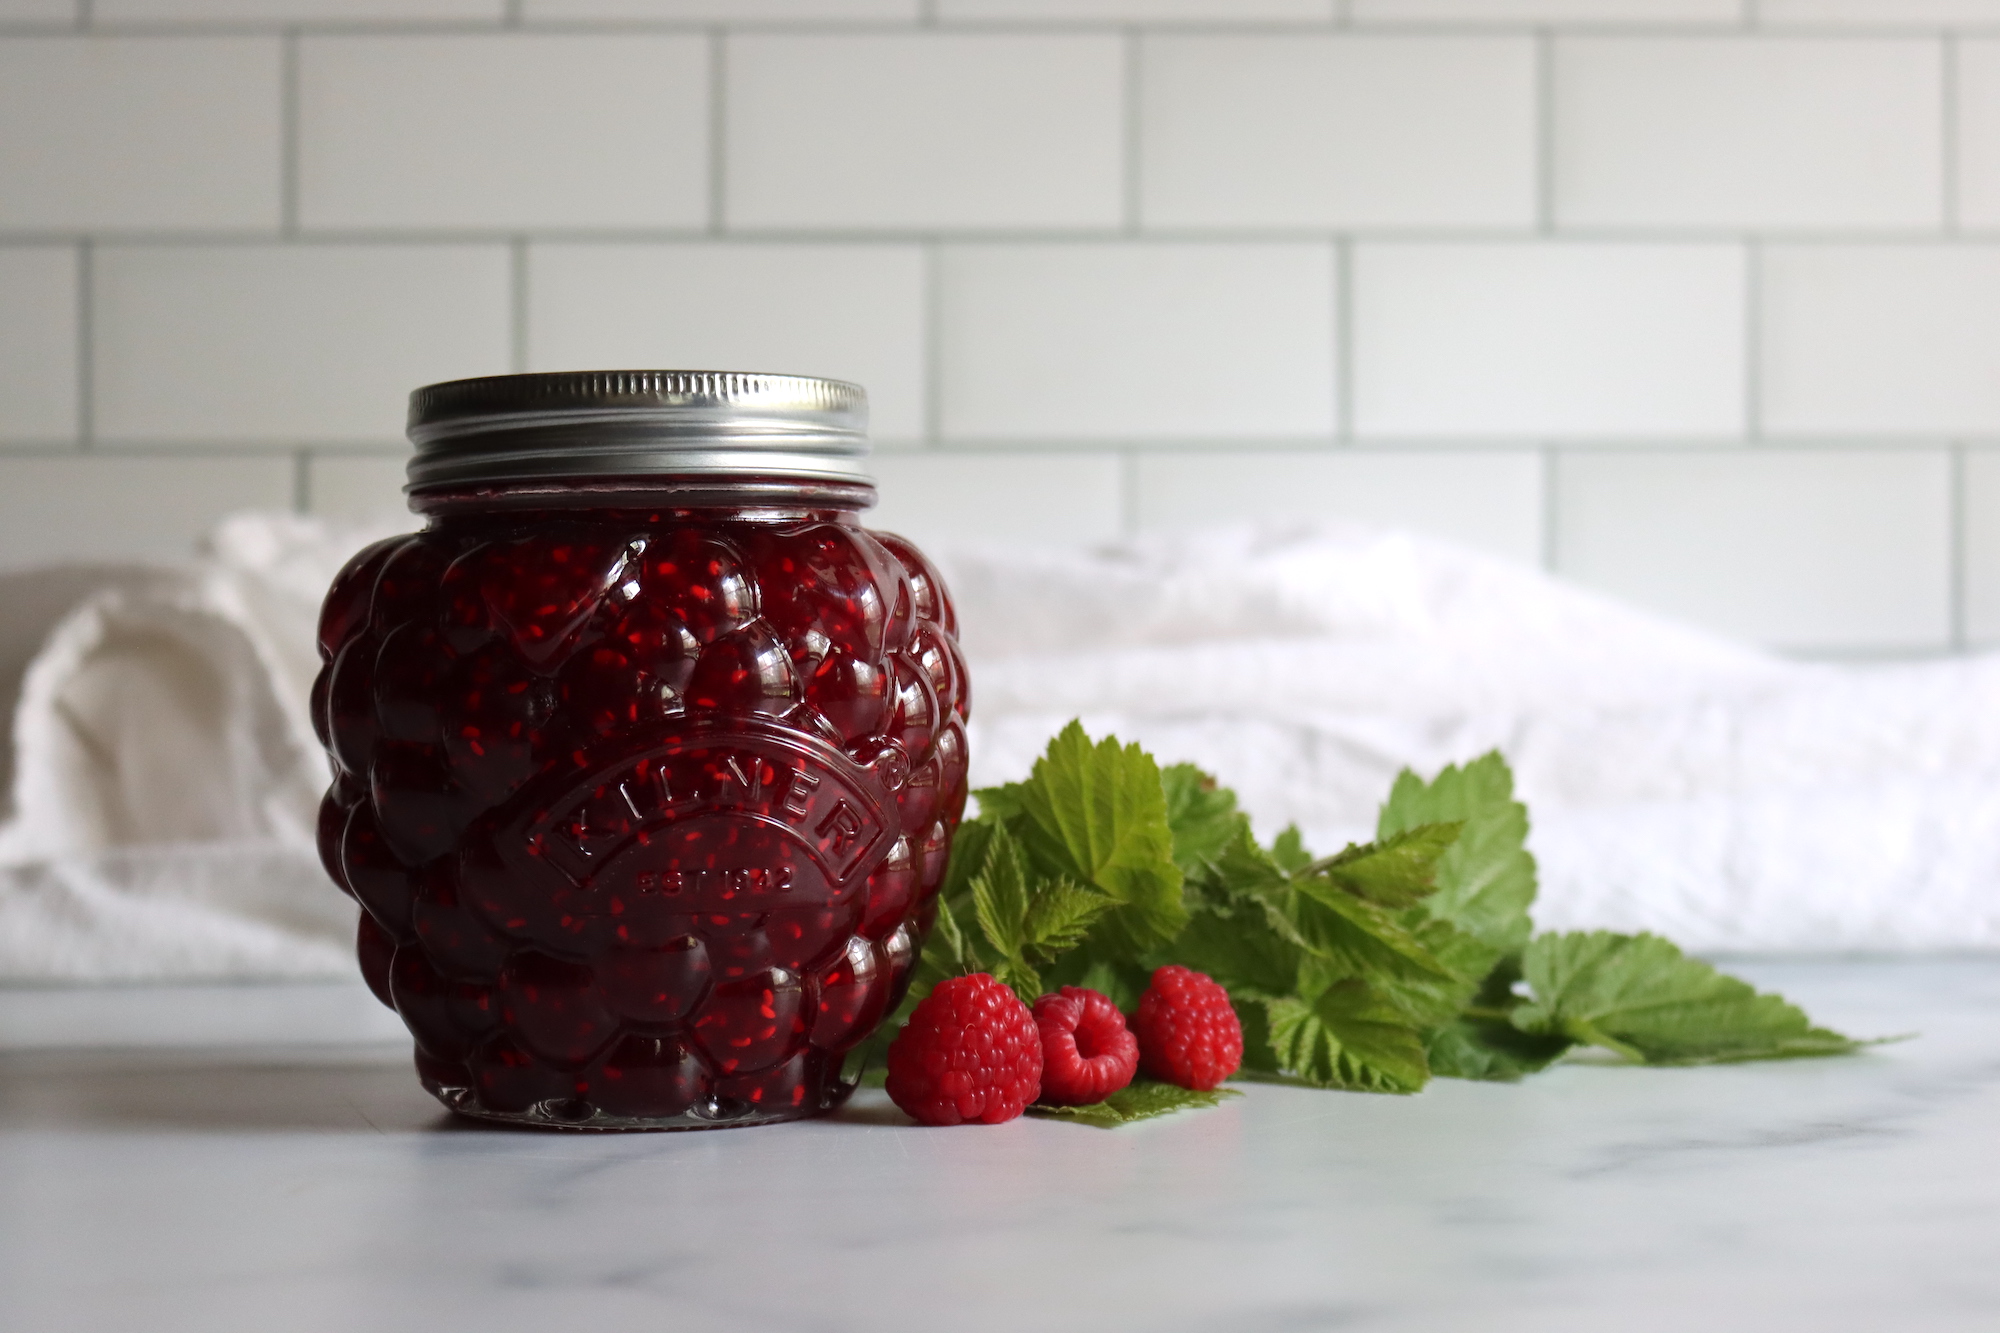
Table of Contents
Every year, we make batch after batch of homemade jam on our Vermont homestead, and I’ve accumulated an extensive collection of canning recipes over the years. But when it comes to favorites, nothing beats simple raspberry jam. It’s hands-down the best in my pantry, and I could never get tired of it.
While raspberries are technically considered a “low pectin” fruit, they actually behave more like a high-pectin fruit when making jam, which means they set up beautifully in just a few minutes of cooking without any added pectin.
Personally, I love the little seeds in raspberry jam because they give it texture and a rustic feel that makes each bite unique. But my kids prefer seedless raspberry jelly, which is equally delicious and just as easy to make without pectin if you prefer something smoother.
For a more adventurous project, you could also try raspberry wine, which captures the essence of summer in a completely different form.

Notes from My Kitchen

The key to perfect raspberry jam is not overcooking it. Because raspberries set so easily, you only need about 8-12 minutes of cooking time. Go too long and you’ll end up with something closer to candy than jam. I always have a cold plate ready in the freezer for the wrinkle test, and I pull the jam off heat the moment it passes. Once you’ve mastered this recipe, try blackberry jam or strawberry jam without pectin using the same method.
One thing I’ve learned over the years: stir frequently and scrape the bottom of the pot. Raspberry jam can go from perfect to scorched in seconds if you’re not paying attention. This is especially true if you’re using honey or maple syrup instead of sugar, as those tend to burn more easily.
Ingredients for Raspberry Jam
This old-fashioned recipe uses just two ingredients, which is part of what makes it so appealing. No pectin to buy, no complicated ratios to figure out.
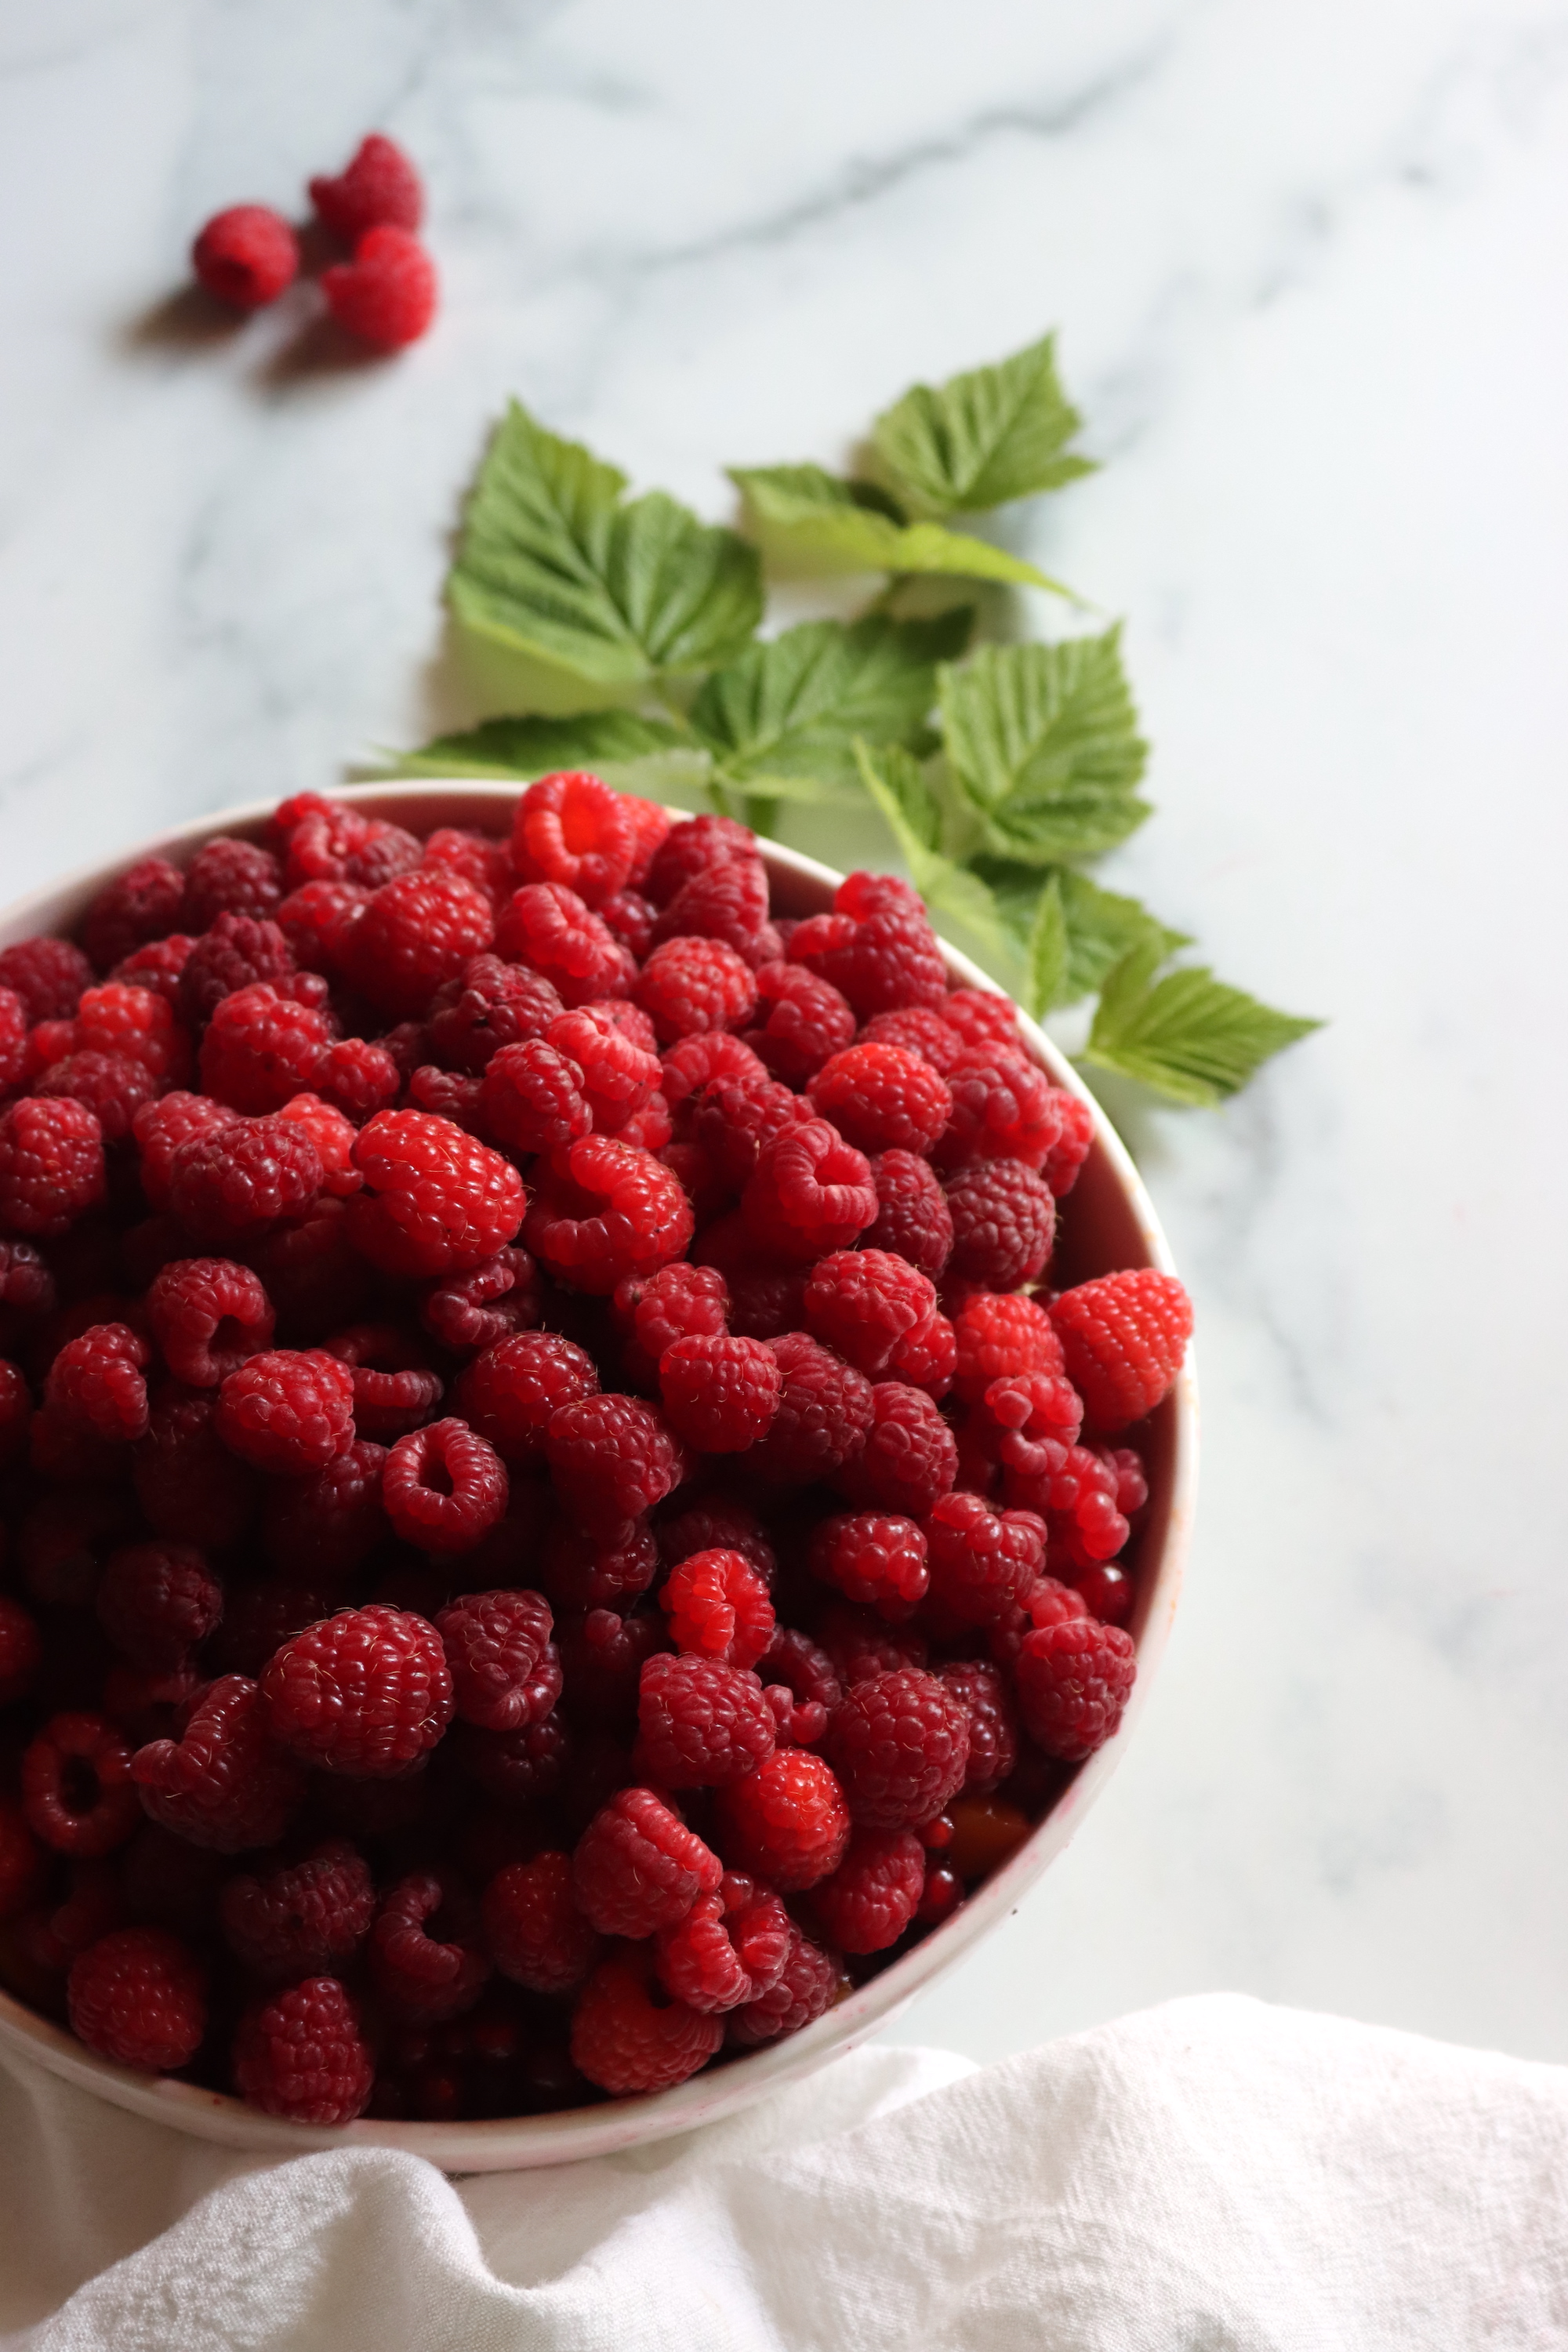
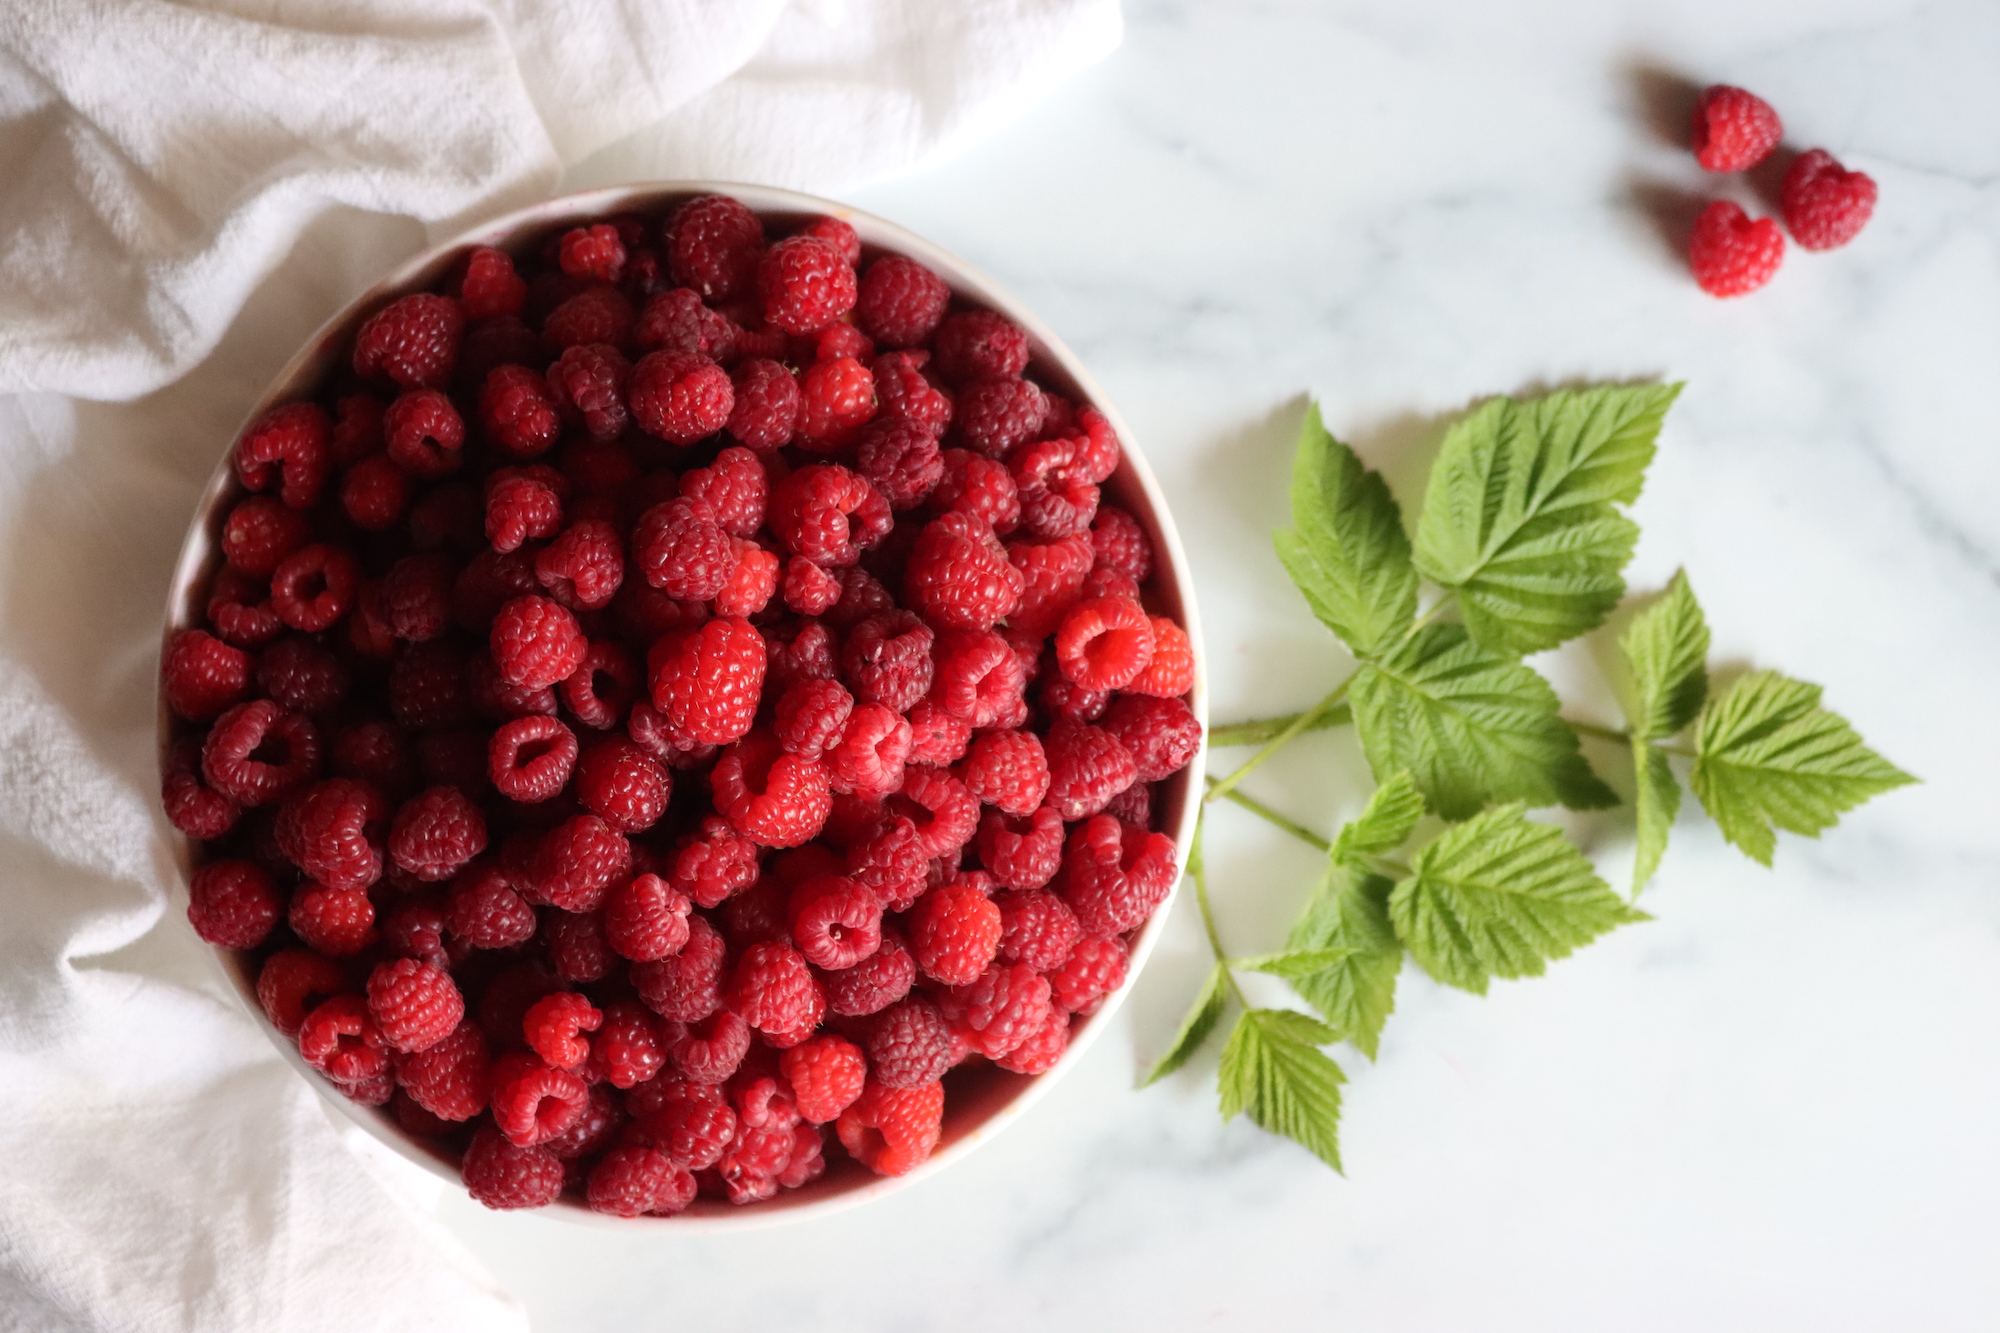
- Fresh Raspberries: Use ripe, freshly picked raspberries for the best flavor. You’ll need about 4 pints (3 lbs) of whole berries to yield 4 cups of mashed fruit. Red raspberries are traditional, but black raspberries and golden raspberries work beautifully too.
- Sugar: Use a 1:1 ratio of mashed fruit to sugar (4 cups mashed berries to 4 cups sugar). The sugar helps the jam set and preserves the bright raspberry color. For a lower-sugar version, you can use a 3:2 ratio instead (3 parts fruit to 2 parts sugar).
If you’re foraging wild black raspberries or have access to thimbleberries, those make incredible jam using this same method. One reader told me she makes this recipe with wineberries every summer and it’s become a family favorite.
Just made this with wineberries from our property and it turned out amazing! So much easier than I expected, and the flavor is incredible. Already planning to make more batches next summer!
How to Make Raspberry Jam
Making raspberry jam without pectin is surprisingly quick and straightforward. The whole process takes about 30 minutes from start to finish, with only 8-12 minutes of actual cooking time.
Preparing the Raspberries
Start by sorting through your raspberries carefully and removing any that are moldy, under-ripe, or starting to go bad. One bad berry can affect the whole batch. Give them a quick rinse if needed, but don’t soak them since raspberries absorb water quickly.
Mash the raspberries thoroughly with a potato masher or fork, then measure the result. Remember that 1 pint of whole berries yields about 1 cup of mashed fruit. For each cup of mashed fruit, measure out 1 cup of sugar.
Cooking the Jam
Combine the mashed raspberries and sugar in a large, heavy-bottomed pot. I like to use a wide pot rather than a tall one because more surface area means faster evaporation and quicker cooking. Bring the mixture to a boil over medium-high heat, stirring frequently to prevent burning.
Continue cooking for 8-12 minutes, stirring often and scraping the bottom of the pot. The jam will foam up dramatically at first, then settle down as it thickens. You’ll know it’s getting close when the bubbles become smaller and the jam starts to look glossy.
Testing for Gel Stage
There are two reliable ways to test if your jam is ready:
- Freezer plate test: Before you start cooking, put a small plate in the freezer. When you think the jam is ready, drop a small spoonful onto the cold plate and wait a few seconds. Push your finger through the jam; if it wrinkles and holds its shape, it’s done. If it runs back together, keep cooking.
- Temperature test: Use an instant-read thermometer. Raspberry jam sets at 220°F (104°C) at sea level. At higher elevations, subtract about 2°F for every 1,000 feet above sea level.
- Don’t overcook! Raspberry jam can quickly go from perfect to too thick or even start to caramelize if you push it past the gel point. When in doubt, pull it off the heat sooner rather than later.
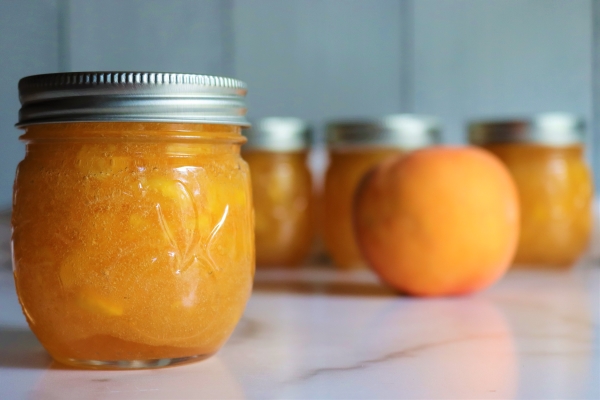
Canning Raspberry Jam
I always can my raspberry jam so I can enjoy it all year long, but canning is optional. You can also store it in the fridge for a few weeks or freeze it for up to 6 months. If you’re new to canning, check out my beginner’s guide to water bath canning before you start.
To can your jam, ladle it hot into sterilized jars, leaving ¼ inch headspace. Wipe the rims clean, apply the lids and rings, and process in a boiling water bath for 10 minutes. Let the jars cool undisturbed for 12-24 hours, then check the seals.
Altitude Adjustments
Processing times must be adjusted based on your elevation:
- 0-6,000 ft: 10 minutes
- Above 6,000 ft: 15 minutes
Yield Notes
Raspberry jam recipes can be confusing because some call for whole berries while others specify mashed fruit. Since whole berries mash down to about half their volume, here’s a quick guide:
- 1 dry pint of raspberries = 2 cups whole fruit = 1 cup mashed = about ¾ pound
- 4 cups mashed raspberries + 4 cups sugar = about 5 half-pint (8 oz) jars
- Maximum batch size: 8 cups mashed fruit (larger batches don’t cook evenly)
Storage Options
Not ready to commit to water bath canning? No problem. You have several options:
- Refrigerator jam: Let jars cool to room temperature, then store in the fridge. Keeps for 3-4 weeks.
- Freezer jam: Use freezer-safe containers and leave headspace for expansion. Lasts up to 6 months frozen.
- Canned jam: Water bath processed jars keep for 12-18 months in a cool, dark pantry. This is my preferred method because it means raspberry jam in January when the snow is piling up.
Recipe Tips
- Low-sugar version: Use a 3:2 ratio (3 parts mashed fruit to 2 parts sugar). For example, 9 cups mashed raspberries with 6 cups sugar yields 6-7 half-pint jars.
- Using honey or maple syrup: Yes, you can substitute honey or maple syrup for sugar! Use a light-flavored honey or very light maple since the flavor concentrates as it cooks. These don’t set quite as firmly as sugar and have a tendency to burn, so stir frequently and scrape the sides of the pot.
- Avoid overcooking: Raspberry jam sets quickly. Pull it off the heat as soon as it passes the freezer plate test or hits 220°F. Overcooked jam becomes too thick or turns into candy.
- Preventing scorching: Use a heavy-bottomed pot and stir constantly, especially toward the end of cooking. Raspberry jam burns easily.
- Foam: You’ll see foam during cooking, which is normal. You can skim it off before jarring if you want perfectly clear jam, but it’s just air and doesn’t affect flavor or safety.
Ways to Use Raspberry Jam
Beyond toast and PB&J sandwiches, raspberry jam is incredibly versatile in the kitchen. Swirl it into yogurt or oatmeal, use it as a filling for thumbprint cookies or layer cakes, or warm it slightly and drizzle over vanilla ice cream. It also makes an elegant glaze for pork tenderloin or duck breast.
If you find yourself with more jam than you know what to do with, check out my guide to 100+ ways to use up a jar of jam for more inspiration.
Raspberry Jam FAQs
Raspberry jam typically sets very easily without pectin, so if yours didn’t set, you likely didn’t cook it long enough. The jam needs to reach 220°F (104°C) or pass the freezer plate test, which usually takes 8-12 minutes of hard boiling. Make sure you’re using a 1:1 ratio of mashed fruit to sugar, as too little sugar can also prevent setting. If your jam is still runny after cooling, you can recook it by bringing it back to a boil until it reaches the proper temperature.
Yes, you can substitute honey or maple syrup for sugar in this recipe. Use a light-flavored honey or very light maple syrup since the flavor concentrates as the jam cooks, and an intensely flavored sweetener can become overpowering. Keep in mind that honey and maple syrup don’t set quite as firmly as sugar and have a tendency to burn more easily, so stir frequently and scrape the sides of the pot throughout cooking.
Use a 3:2 ratio of fruit to sugar instead of the traditional 1:1 ratio. For example, combine 9 cups of mashed raspberries with 6 cups of sugar. The jam will still set properly because raspberries have enough natural pectin, though the final product will be slightly less sweet. This method yields about 6-7 half-pint jars.
There are two reliable methods. For the freezer plate test, place a plate in the freezer before cooking, then drop a small spoonful of jam onto it. Wait a few seconds and push your finger through the jam. If it wrinkles and holds its shape, it’s ready. Alternatively, use an instant-read thermometer and cook until the jam reaches 220°F (104°C). At higher elevations, subtract about 2°F for every 1,000 feet above sea level.
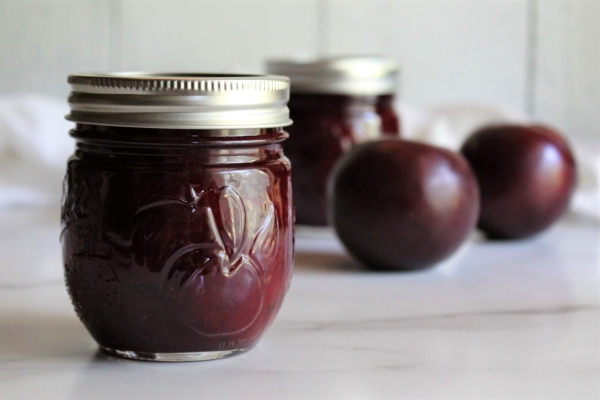
Many fruits have enough natural pectin to set without added pectin. Blackberry jam, strawberry jam, blueberry jam, and plum jam all work beautifully using this same basic method. Stone fruits and berries tend to have more natural pectin than tropical fruits, making them ideal for old-fashioned jam recipes.
Jam Recipes
If you tried this Raspberry Jam Recipe, or any other recipe on Practical Self Reliance, leave a ⭐ star rating and let me know what you think in the 📝 comments below!
And make sure you stay in touch with me by following on social media!
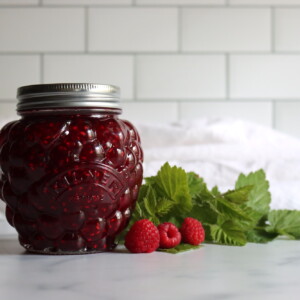
Raspberry Jam (without Added Pectin)
Equipment
Ingredients
- 4 cups mashed raspberries, from 4 pints of whole fruit, or about 3 lbs
- 4 cups sugar, see note for lower-sugar option
Instructions
- Sort through raspberries carefully and discard any that are moldy, under-ripe, or starting to go bad. Give them a quick rinse if needed.
- Mash the raspberries thoroughly with a potato masher. Measure the mashed fruit. (1 pint whole berries = about 1 cup mashed.)
- For each cup of mashed fruit, measure 1 cup of sugar.
- Combine mashed raspberries and sugar in a large, heavy-bottomed pot. A wide pot works better than a tall one for faster evaporation.
- Bring to a boil over medium-high heat, stirring frequently to prevent scorching. Continue cooking for 8-12 minutes, stirring often and scraping the bottom of the pot.
- Test for gel stage using either the freezer plate test (jam wrinkles when pushed) or an instant-read thermometer (220°F/104°C at sea level).
- Remove from heat immediately when gel stage is reached. Do not overcook.
- Ladle hot jam into sterilized jars, leaving ¼ inch headspace. Wipe rims clean.
- For canning: Apply lids and rings. Process in a water bath canner for 10 minutes (15 minutes above 6,000 ft). Let cool 12-24 hours and check seals.
- Store sealed jars in a cool, dark place for 12-18 months. Refrigerate after opening.
Notes
Nutrition
Nutrition information is automatically calculated, so should only be used as an approximation.
Canning Recipes

Find the perfect recipe
Searching for something else? Enter keywords to find the perfect recipe!


Looking forward to trying this recipe. I’ve got lots of frozen raspberries from our garden last year. Any changes needed to recipe for frozen fruit? Thx.
Pectin degrades in the freezer, and frozen fruit always gives a softer set than fresh fruit. I usually make this with fresh fruit, but let me know how it goes with your frozen fruit.
We make a lot of jams every year, but this one’s my absolute favorite!
Hi Ashley! Can honey or maple syrup be used instead of sugar?
Yes, this jam will work with honey or maple syrup. Sometimes, I think the honey or maple flavor gets a bit too intense when I use it in jams, so I’d suggest opting for a very light honey or very light maple. You’re going to be cooking it down and concentrating it in the jam, so starting with an intensely flavored one can be over the top. The second thing is that those usually don’t set as firmly as with sugar, and have a tendency to burn if you don’t stir frequently and scrape the sides of the pot. Just keep that in mind, but yes, honey and maple are delicious, enjoy!
Dear Ashley,
I am writing this morning from a beautiful day in the Hickory Nut Gorge in western North Carolina to say how much I appreciate you and your life, your sharing and today, for the reminder of raspberry jam. Here we have wild “wineberries” and in the past I have made jam and also not used pectin. However, this year there were not so many (after Helene’s awesome visit here) and bears enjoyed those that we had. I love the bears so I don’t mind. But I am going to resurrect this old favorite–and I will make your faux cinnamon buns! I know you prefer Twitter (I prefer that name too) but I’ve been drawn over to BlueSky. I share your love of all things natural and simple and self reliance. I’ll be in touch. Kindred spirit are the gems of life.
Blessings,
Mattie
Thanks so much Mattie! I wish we had wineberries here, I would really love to try them. I keep my eye out, but I’ve still never found them. I think they don’t do as well up here in the cold, though they’re supposed to be hardy.