Affiliate disclosure: This post may contain affiliate links. Please see our Privacy Policy.
Growing sprouts is an easy way to enjoy fresh greens year-round, right from your countertop. While they’re expensive to buy at the store, they cost just pennies to grow yourself.
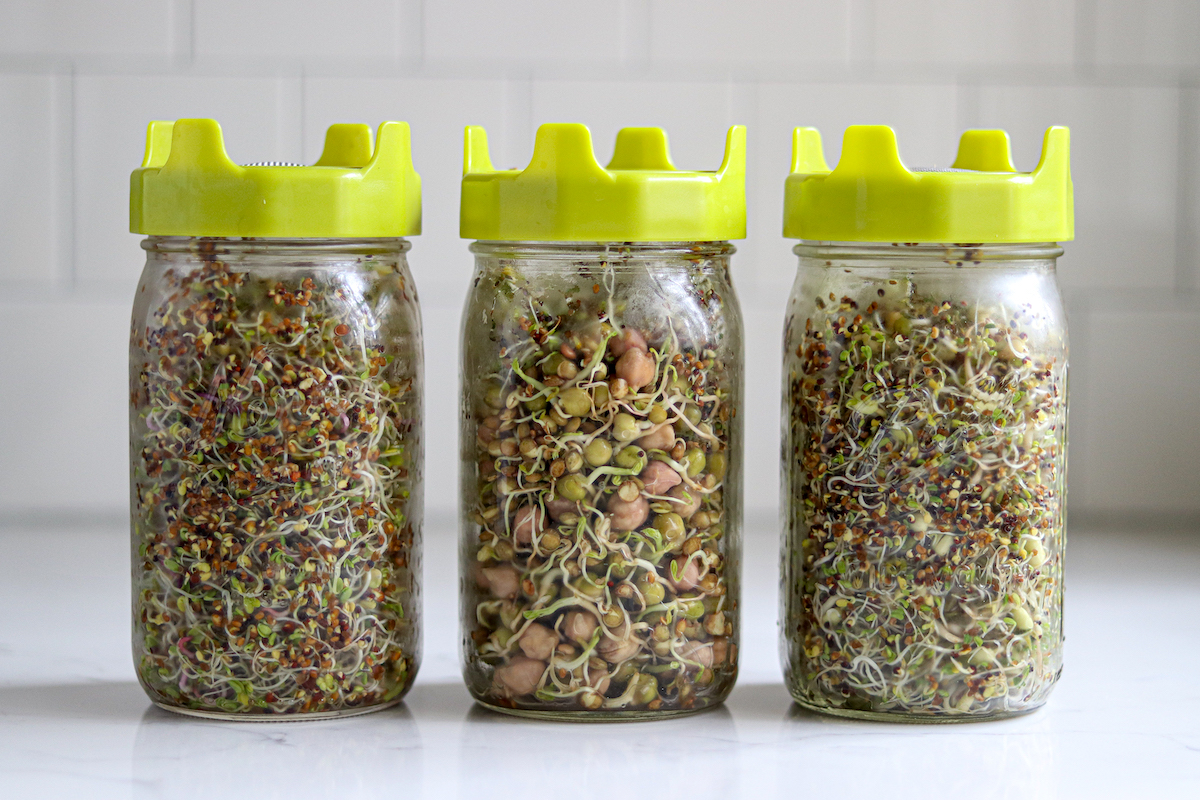
Table of Contents
- What are Sprouts?
- Where to Buy Sprouting Seeds
- Equipment for Growing Sprouts
- How to Grow Sprouts
- Tips for Growing the Best Sprouts
- How to Use Sprouts
- Sprouting Seeds FAQ
- Do You Need Special Equipment to Grow Sprouts?
- What’s the Best Container for Growing Sprouts?
- How Many Sprout Seeds Do You Add Per Jar?
- How Long Should You Soak Sprouting Seeds?
- How Long Do Sprouts Take to Grow?
- How Do You Store Sprouts?
- How Long Do Sprouts Last?
- Healthy Countertop DIY Projects
- How to Grow Sprouts Recipe
- Small-Scale Gardening Projects
Whether you prefer having fresh sprouts tucked into sandwiches or you like to add them to salad, the appeal of sprouts goes far beyond their universal status as a health food favorite. If you’ve ever spent good money on them at the grocery store only to not finish the little plastic container before the sprouts withered and spoiled, you’ll be pleasantly surprised to learn that you can grow them at home with minimal equipment and very (very) little money.
As someone who loves experimenting with different sprouting seeds at home and who’s been growing them in jars forever, I love spreading the word about how easy DIY sprouts can be.
Although I have plenty of room to work in my kitchen now, I’ve lived in my fair share of spaces with tiny kitchens, places where executing my dreams of a typical kitchen garden was pretty much impossible.
Sprouting seeds in jars has always been my idea of the ultimate kitchen garden because it can be done in a very small space. Even growing microgreens is a much more involved process than sprouting seeds.
You don’t have to think about soil, significant counter space, or even direct sunlight when it comes to sprouts. If you have five minutes a day, you can grow your own sprouts and use them as needed—plus you’ll have the freedom to try new seeds and create your own signature seed blends for sprouting.
What are Sprouts?
A sprout is simply a germinated seed or grain that has grown a small, premature plant shoot. All seeds will produce a sprout, but not all sprouts are edible for taste or toxicity reasons.
Sprouts tend to be quite mild tastewise and are typically a tamer version of the mature plant’s flavor. For example, mustard and radish seed sprouts have a pleasing amount of heat that isn’t quite as intense as that of their full-grown counterparts.
What’s the difference between Sprouts and Microgreens?
While it’s true that both are delicious tucked into a pita pocket, there are some keys differences to be aware of:
Sprouts are germinated seeds, legumes, or grains grown in a jar without soil. In most cases, the jar will have a screen for a lid; this makes the rinsing and draining stage quick and easy. Unlike microgreens, sprouts thrive in dark, moist conditions. The entire sprout is eaten, including the seed, root, stem, cotyledon (or “embryonic leaf), and leaves.
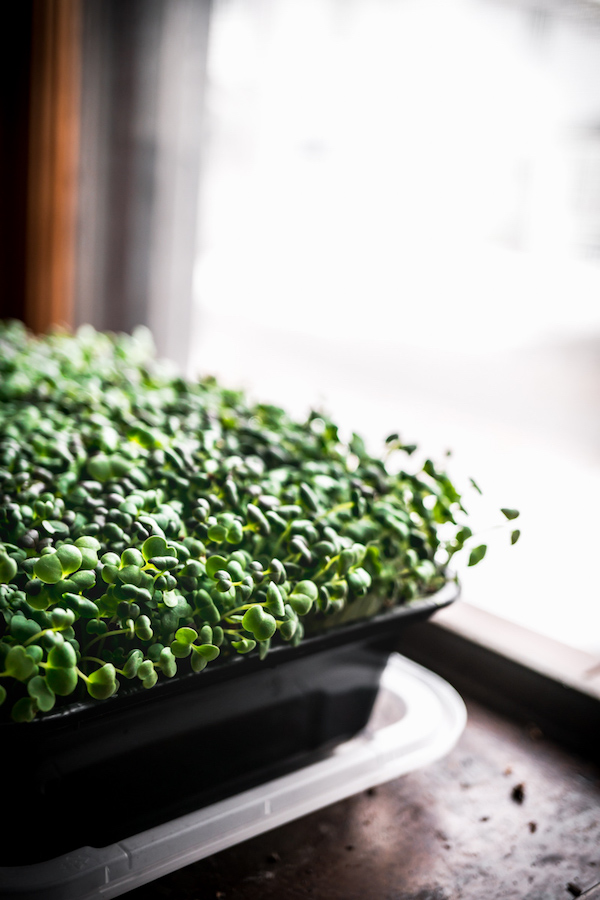
Microgreens, on the other hand, are grown in soil and require a good source of light as well as proper air circulation. As with regular greens, only the leaves and stems are harvested and eaten, and the roots are left in the soil. Microgreens are essentially just miniature versions of the mature plant.
Are Sprouts Healthy?
Unsurprisingly, there’s a good reason why sprouts have been an emblem of the health food movement for the past 40 years. Sprouts activate enzymes that stimulate the process of digestion, which improves gut health and minimizes gas buildup.
Nutrition-wise, sprouts are a good source of vitamins, minerals, and fiber; sprouted legumes and peas are also a source of plant-based protein. In fact, consuming sprouts is a win-win situation all around—numerous studies have shown that when they are eaten iron, zinc, and calcium is more readily absorbed by the body.
Some of the heartier varieties are briefly cooked and served, but for optimal nutrition, sprouts should be eaten raw (although all sprouts are still super nutritious, cooked or not!)
Where to Buy Sprouting Seeds
Where you choose to buy sprouting seeds will depend on whether you plan on purchasing them in-person or online. Either way, I recommend purchasing seeds from a reputable supplier since you’ll be eating the actual seeds.
We buy organic sprouting seeds from this online supplier, and though they ship anywhere, they’re also a locally-run Vermont company. (Sadly, they don’t have a retail store, so everything’s done online.)
Sprouting seeds can be hard to find in person, but you can sometimes find them in your local organic grocery’s “bulk” section.
Types of Sprouting Seeds
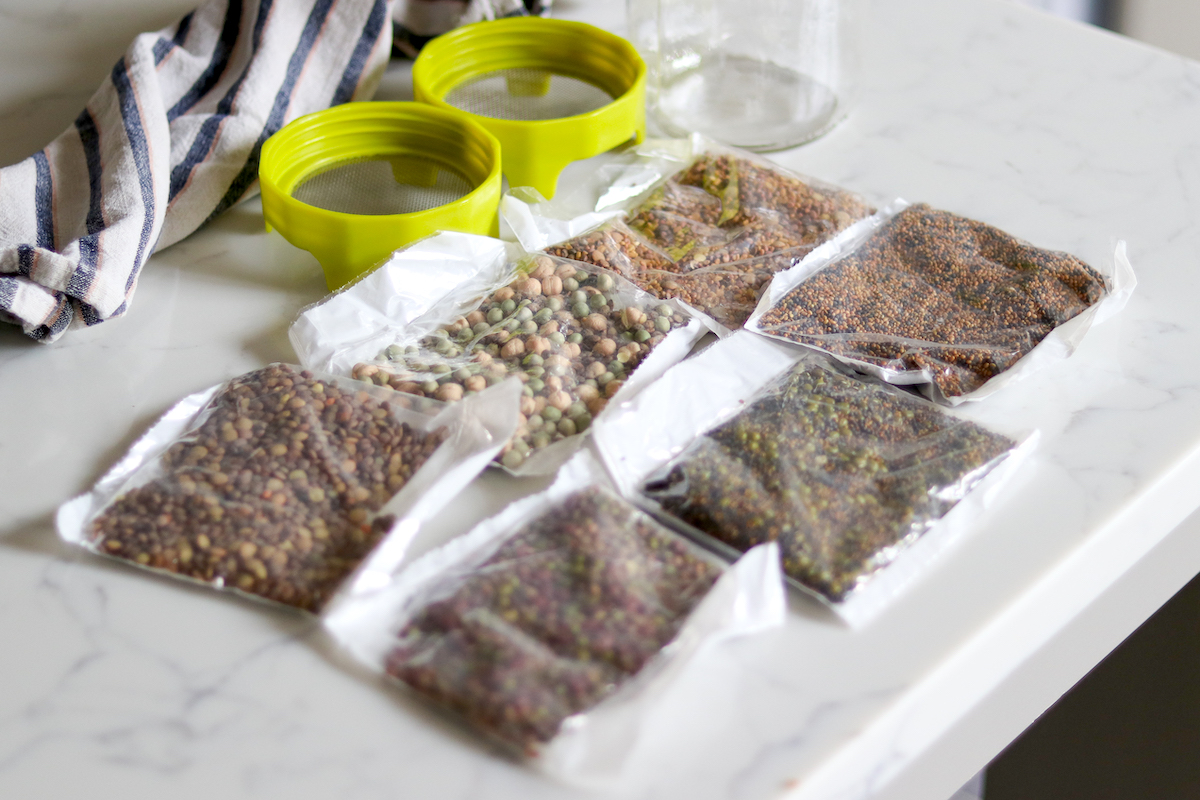
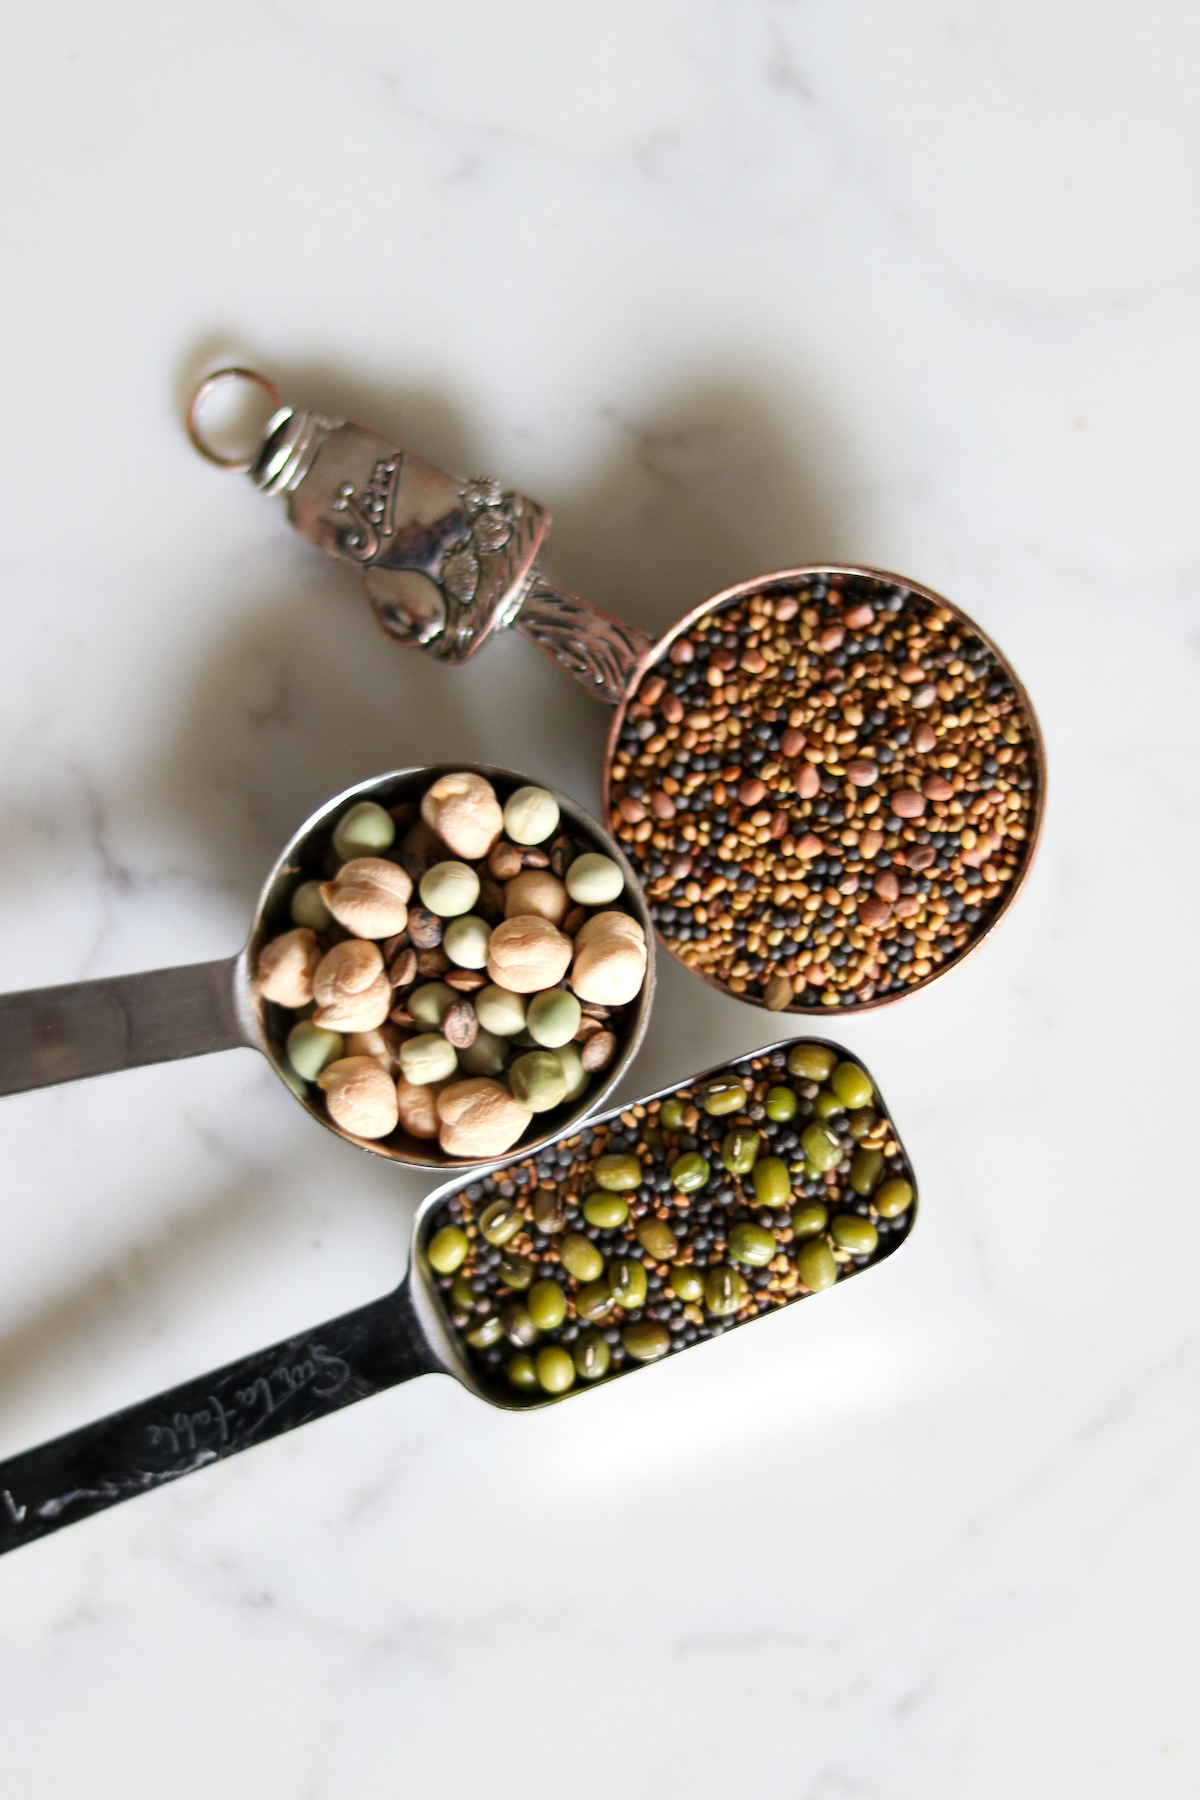
One of the best things about growing my sprouts at home is trying the many varieties of sprouting seeds and grains available to me. I also like to make my own seed blends, which can be sprouted together in the same jar.
Adzuki
Adzuki beans have the advantage of sprouting quickly. You’ll only have to wait two to three days before harvesting the sprouts since they can be eaten as soon as the root tip appears. Sprouted adzuki beans are a good source of dietary fiber and non-heme (plant-based) iron.
Alfalfa
Alfalfa sprouting seeds are easy to grow, producing sprouts in three to five days that are mild in flavor and lightly crunchy (in other words, your classic sandwich sprout). Alfalfa sprouts contain an impressive variety of nutrients, including calcium, magnesium, and vitamins A, B, C, E, and K.
Beet
Beet sprouts have the signature earthy flavor of mature beets, but taste is much more subtle. Sprouted beet seeds will grow beautiful pink-stemmed sprouts with bright green leaves and are a showstopper addition to green salads and sandwiches.
Beet seeds take roughly four to five days to sprout, although they can sometimes take as long as 12 days.
Broccoli
Broccoli sprouts have a mild heat that is reminiscent of mustard seeds or radishes. You should see signs of sprouting at the three-day mark, but if you don’t see any activity, give them another two or three days before giving up on them.
Tender broccoli sprouts are high in antioxidants and a good source of folic acid.
Fenugreek
Sprouted fenugreek seeds are quite bitter in flavor and are typically ground into a paste before being added to recipes. Fenugreek seeds sprout quickly and will be ready after only two to three days.
Lentil
If you’re looking for high-protein foods, sprouted lentils are the way to go (lentil sprouts contain more protein than any other type of sprout). When choosing lentil seeds, make sure you buy whole lentils—split lentils won’t germinate properly. A heartier sprout, lentil sprouts are a good source of fiber and protein.
Garbanzo or Chickpea
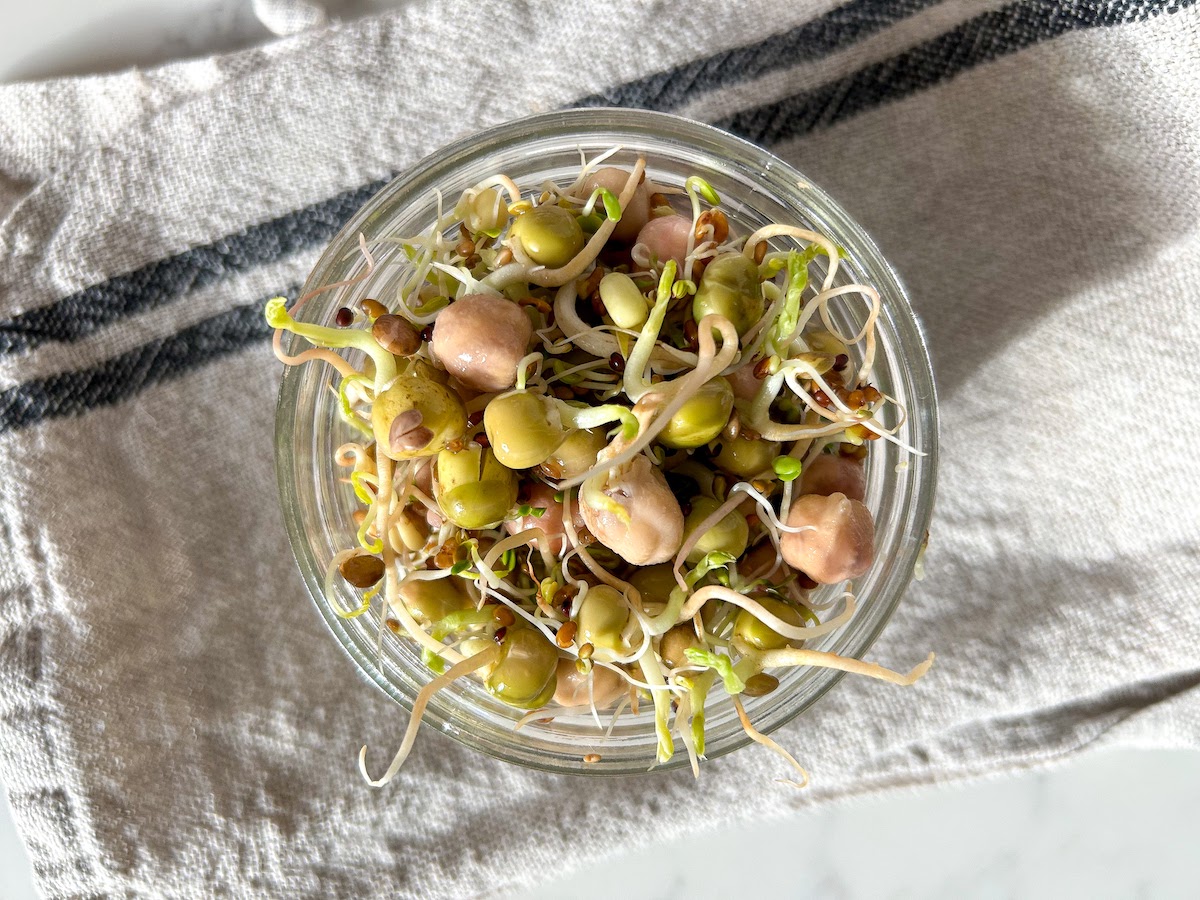
Despite their larger size, chickpeas are quick to germinate—after three days the sprouts will be ready for eating. I love adding sprouted garbanzos to salads and stir-fries, but the creamy, mild taste of chickpeas makes it a delicious choice for all kinds of meals.
If you find garbanzo beans hard on the digestive system, sprouted chickpeas are known to be easier on the stomach than the non-sprouted version.
Green pea
Sprouted green peas have a mild, sweet flavor that’s reminiscent of fresh snow peas. I love pairing green pea sprouts with baby radishes, carrots, scallions, and other spring lettuces or vegetables. Nutrition-wise, these sprouts are a good source of A, B, and C vitamins and calcium and phosphorous.
Green peas like to be sprouted in cooler temperatures (around 68-70°) and are usually ready to eat by the third or fourth day.
Kale
Another sprouted seed that borrows from other colors of the rainbow, kale sprouts have distinct purple and gray-green vein, making them an eye-pleasing ingredient for salads and vegetable trays.
Kale sprouting seeds will sprout on the third or fourth day, but wait until day five or six before eating for best flavor. Kale sprouts are a good source of vitamin C and calcium.
Mung bean
Mung bean sprouts are larger than other types of sprouts, and their crisp, mild flavor makes them a natural fit for stir-fries, omelets, and curries. Mung bean sprouting seeds only need two to five days to sprout, with the amount of time dependent on how large or small you’d like the finished sprouts to be.
Mustard
Sprouted mustard seeds will add a spicy, horseradish-like kick to any meal. If you find that these sprouts have too much heat on their own, you can always create a blend with milder sprouts like alfalfa or green pea.
Mustard sprouts are ready for harvest after three to six days, with heat levels increasing the longer the sprout is left to mature. These sprouts are a good source of calcium and zinc, among other nutrients.
Radish
Radish seeds produce sprouts that are the same color as the radishes the plant would eventually grow. Similarly, radish sprouts share a spicy flavor to their full-grown counterparts, and are right at home in salads or rolled up into sushi or fresh rice paper rolls.
Radish sprouting seeds will sprout in three to six days, and like mustard seeds, will grow increasingly spicy as the sprouts mature. Not just a tasty salad ingredient, radish sprouts are also a good source of vitamin B, folate, and manganese.
Red clover
Red clover sprouts could easily be mistaken for alfalfa sprouts, both varieties share a signature mild taste and delicate crunch. Red clover seeds sprout easily and should be ready for harvesting after five to six days. Like alfalfa sprouts, red clover is a good source of vitamins and minerals.
Spelt
Spelt berries can also be sprouted, resulting in a mildly sweet sprout that can be used in several different ways. Sprouted spelt is often ground into flour, lightly cooked or added to hot dishes, or eaten raw in salads and sandwiches.
Spelt grains will sprout in only two to three days, although they can be left to mature for a longer amount of time if you prefer a stronger-tasting sprout.
Sunflower
Sunflower sprouts are larger than most other varieties and have a pronounced nutty flavor and satisfying crunchy texture. Sunflower seeds are a great source of energy and are high in vitamin D, calcium, and iron. Because of their large size, the sprouts will take about 12 to 14 days until they’re ready to be eaten.
Equipment for Growing Sprouts
Although the equipment needed to grow sprouts is minimal, there are a few essential items you’ll need for successful sprouting:
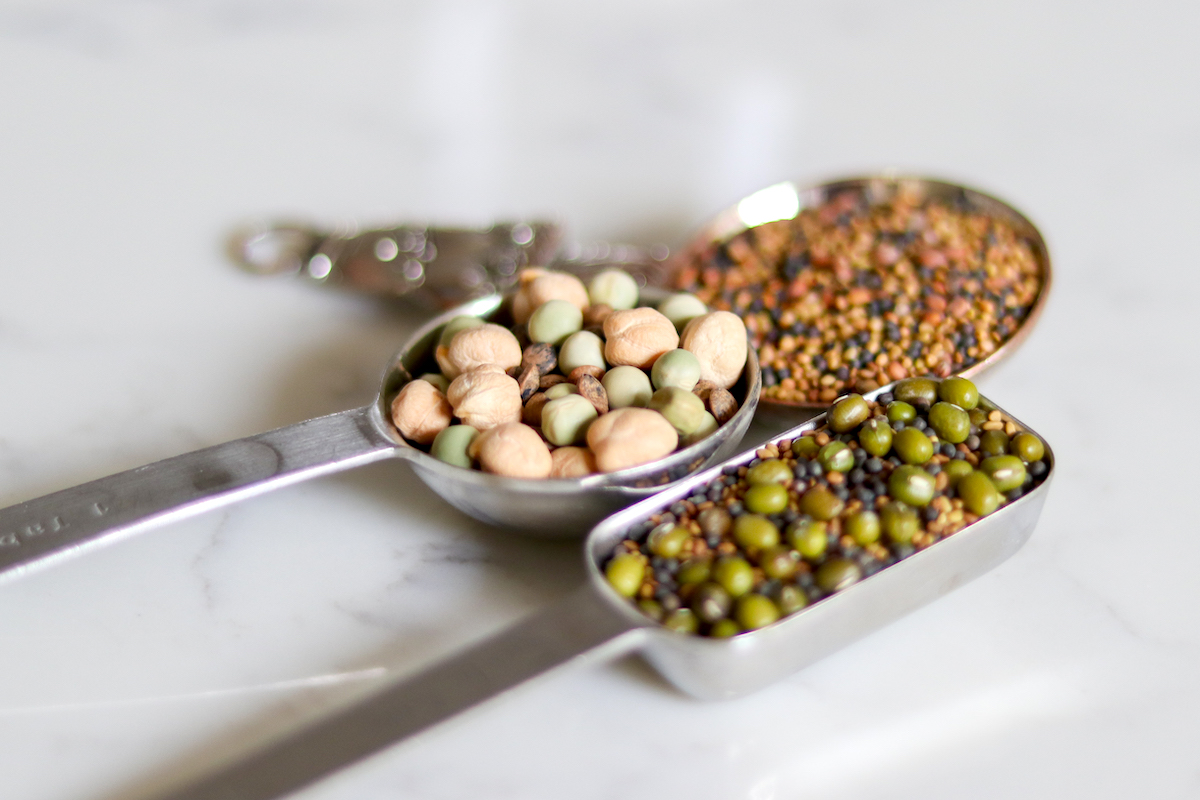
- 1 to 2 tablespoons of seeds or a seed blend
- Large wide-mouth mason jars (quart-sized jars work well for sprouting projects)
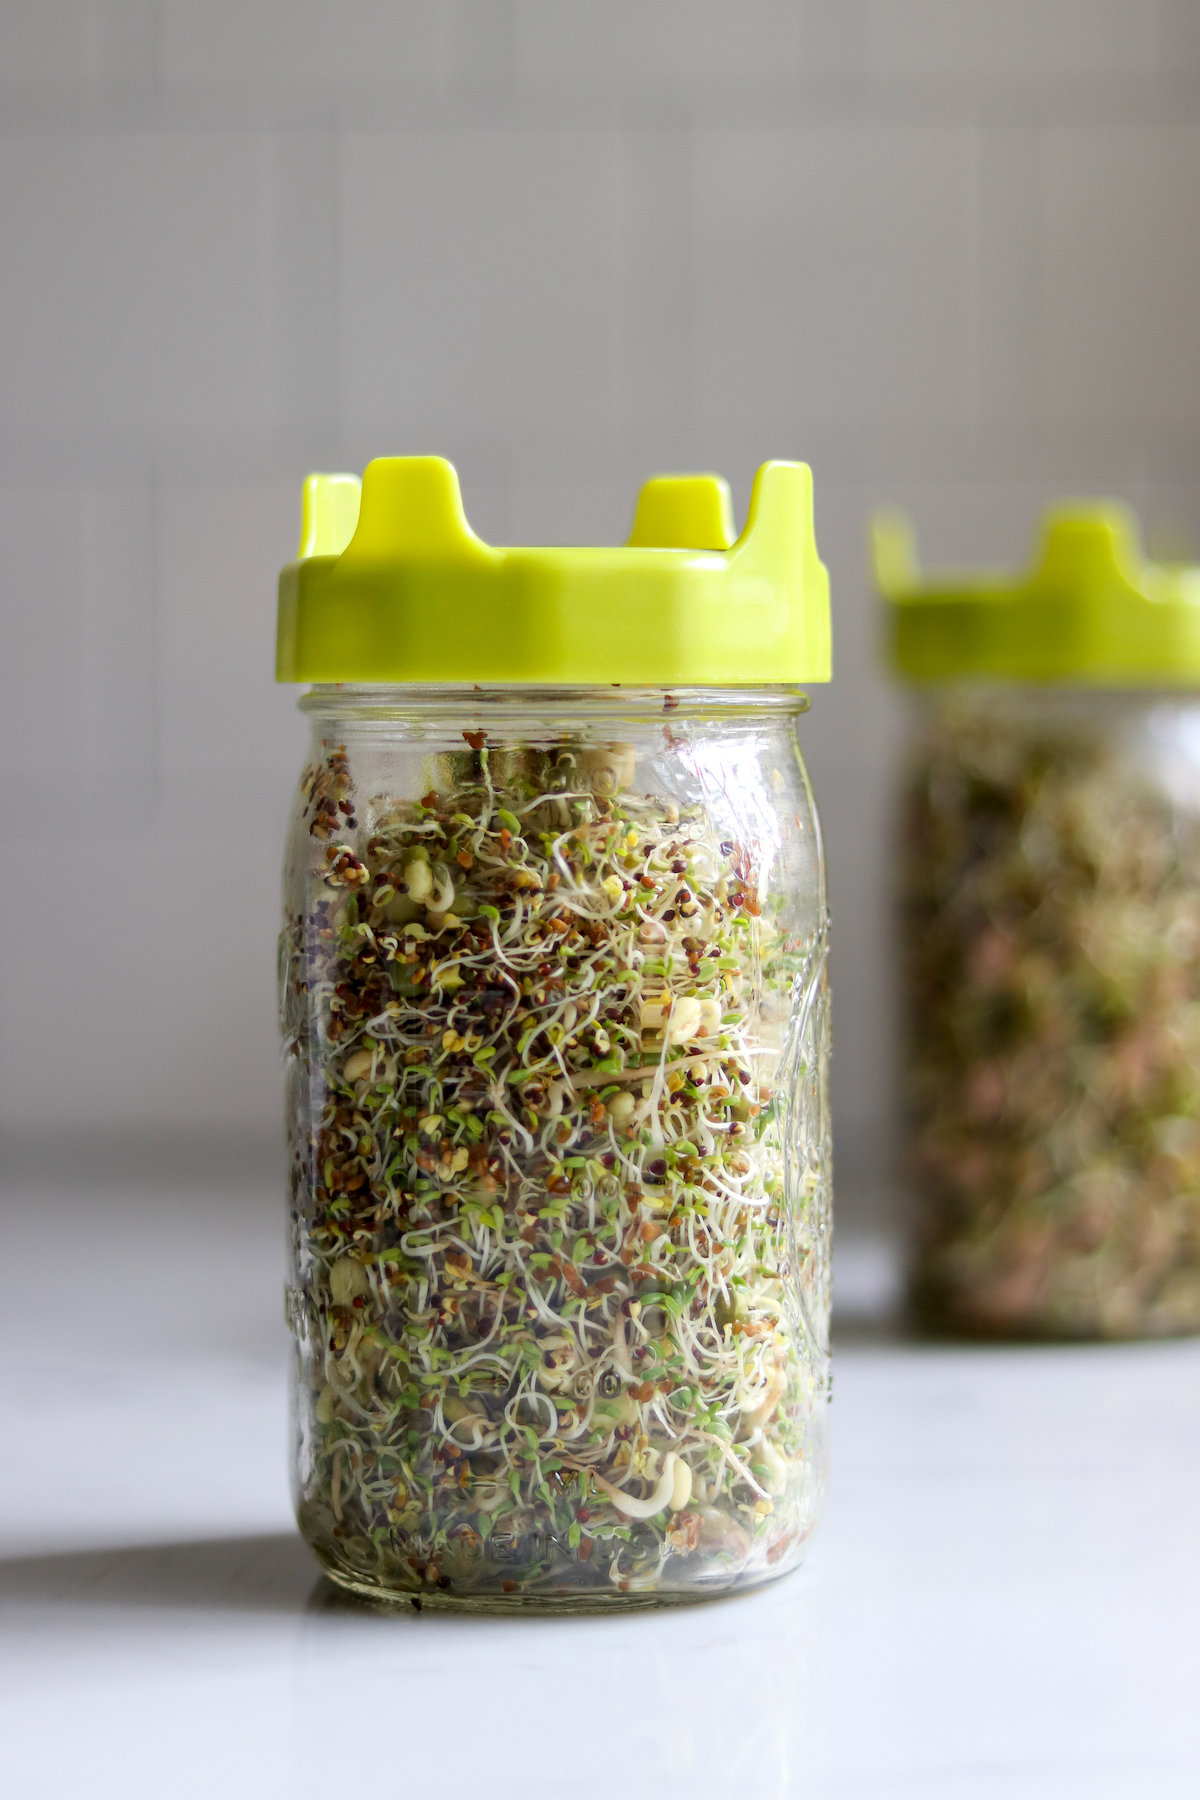
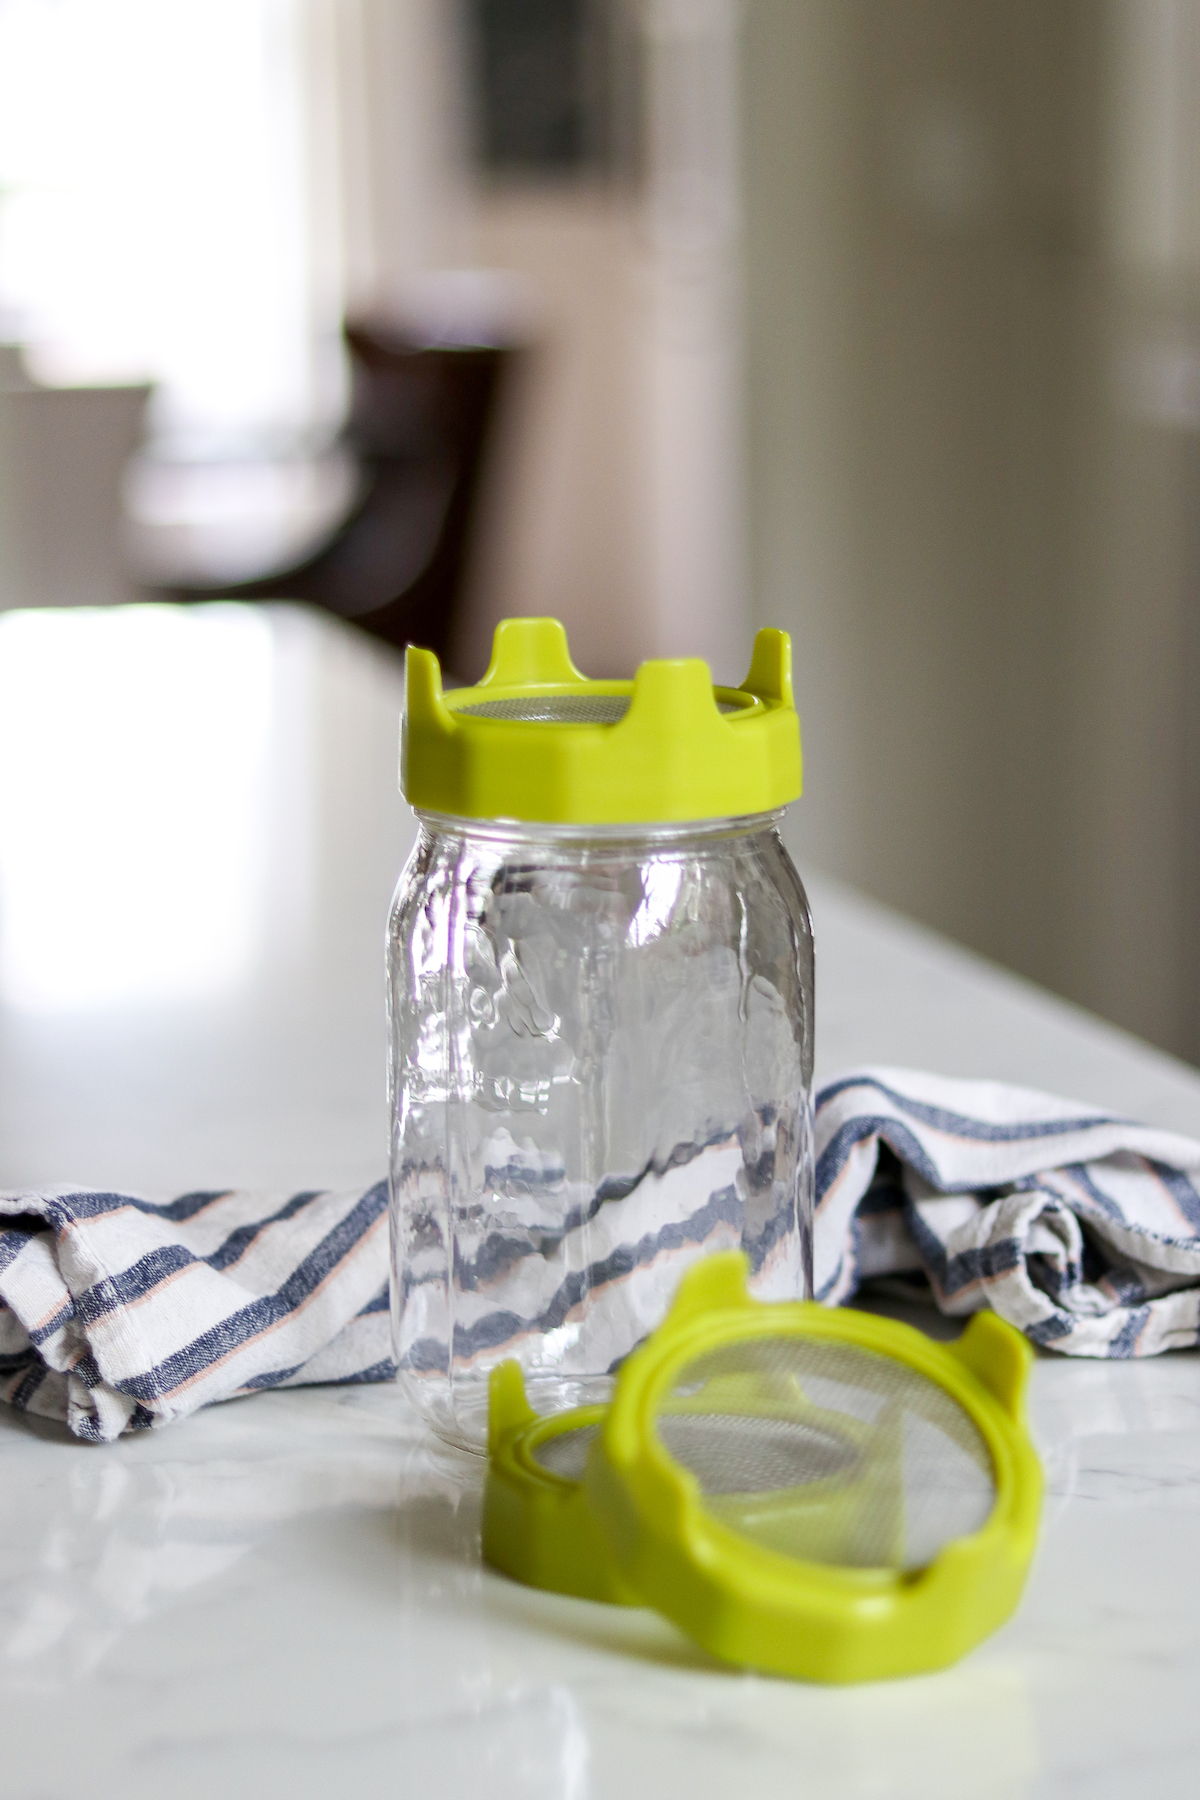
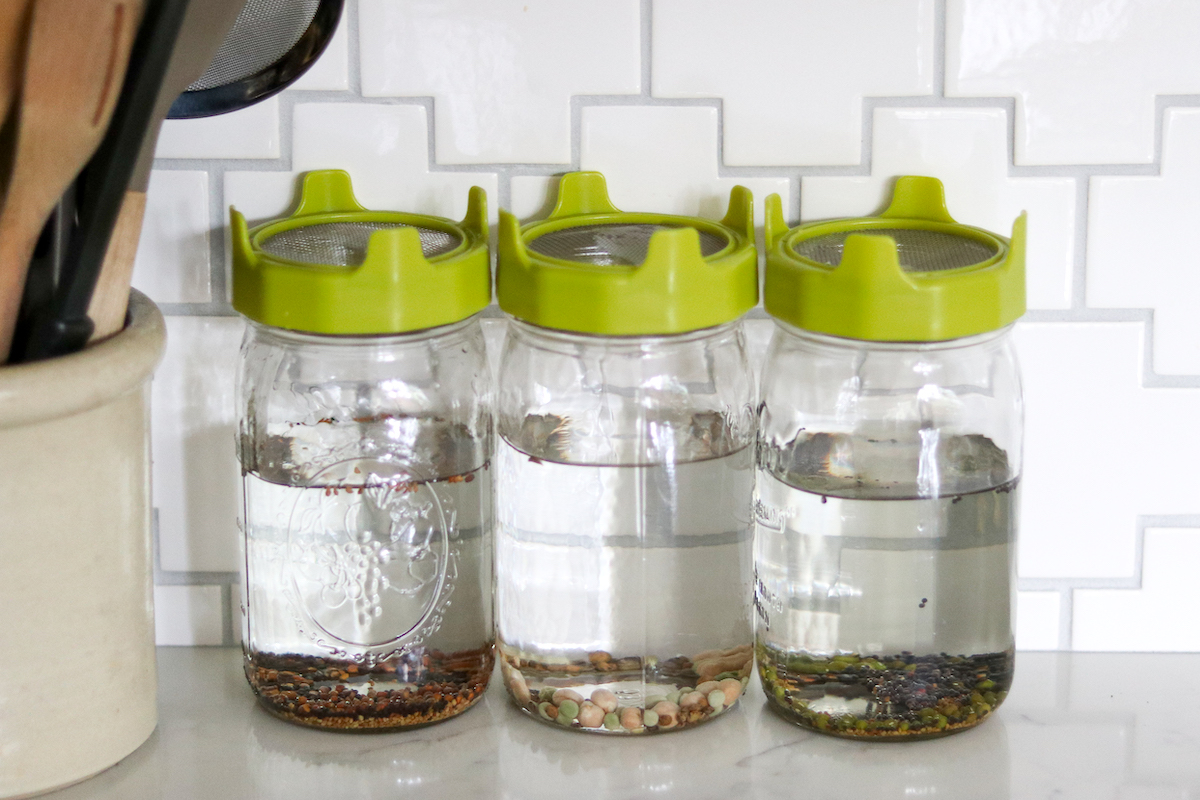
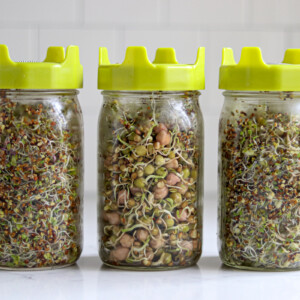
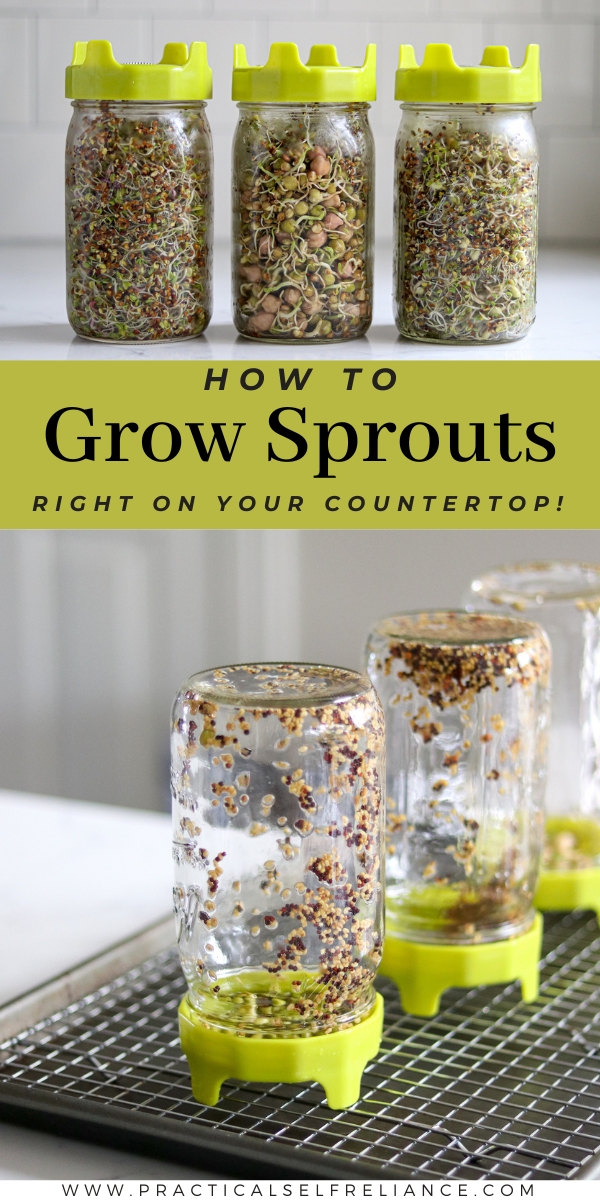
- A straining lid (such as the stainless steel mesh lids I’m using in the pictures below)
- Baking sheet and drying rack (to drain the jars)
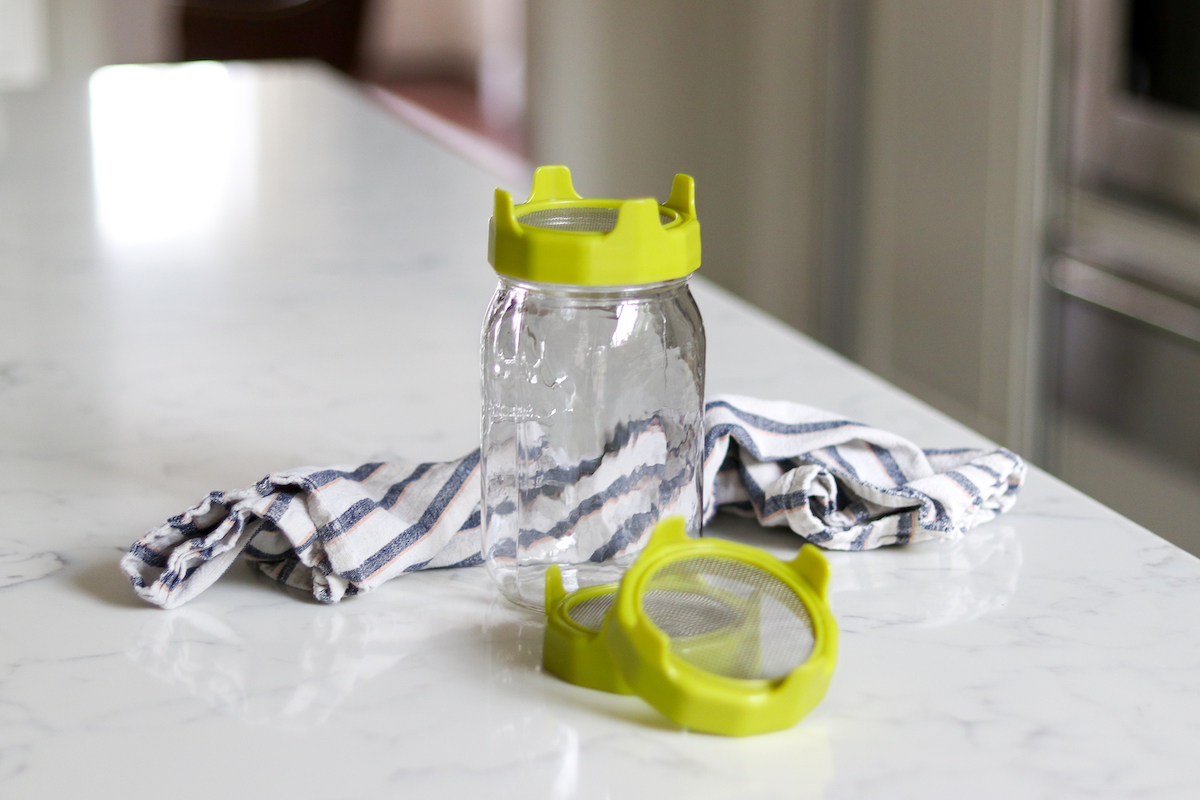
While it’s technically possible to sprout seeds without this particular lid (for example, some people use cheesecloth or a clean kitchen towel instead of a lid), I like using these lids specifically.
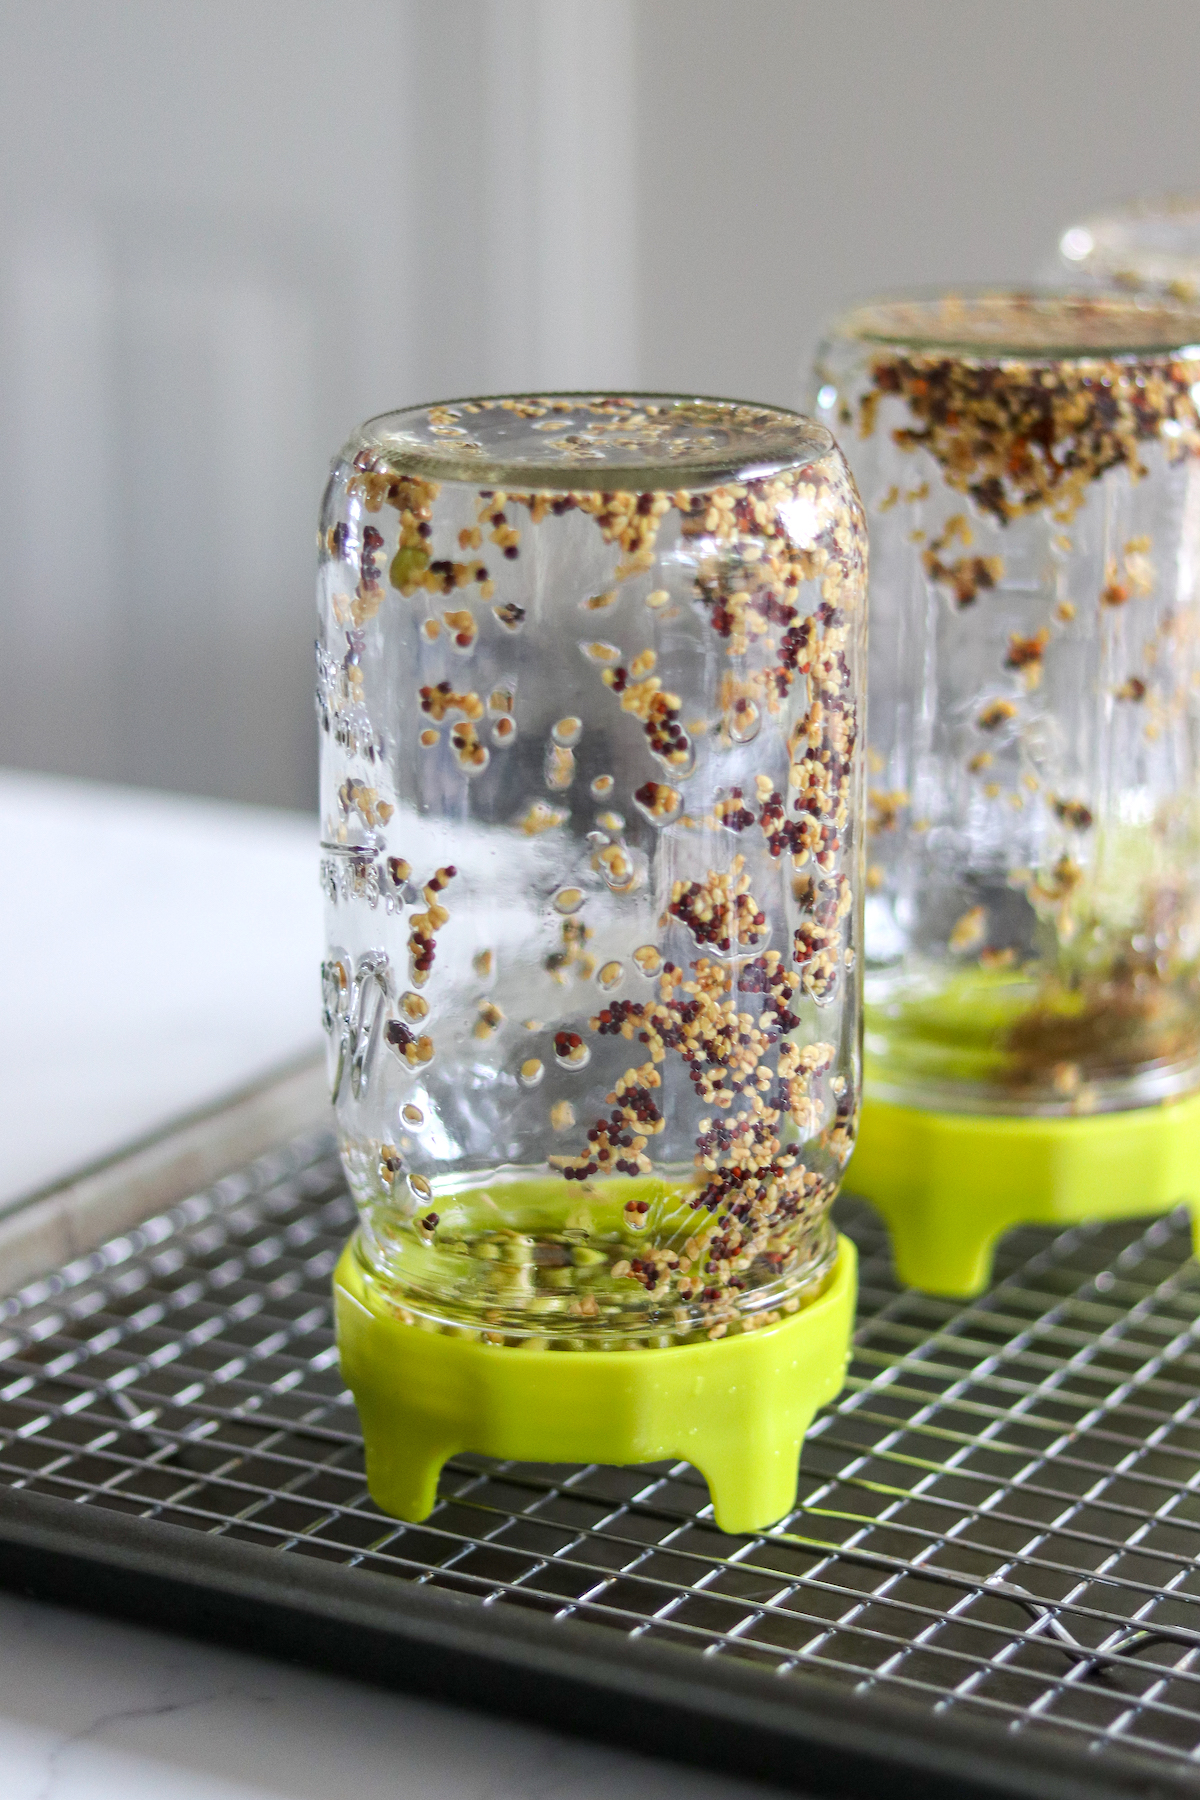
The plastic legs that are attached hold the upside-down jars upright, which makes the draining step all the easier.
How to Grow Sprouts
Measure out the seeds and add them to a clean jar. The amount of seeds needed will depend on the type of seed being used and the size of the jar. For most seeds, two to three tablespoons will be enough.
If you think there’s room for more seeds once the sprouts are ready to be harvested, increase the seed measurement when you sprout the next batch.
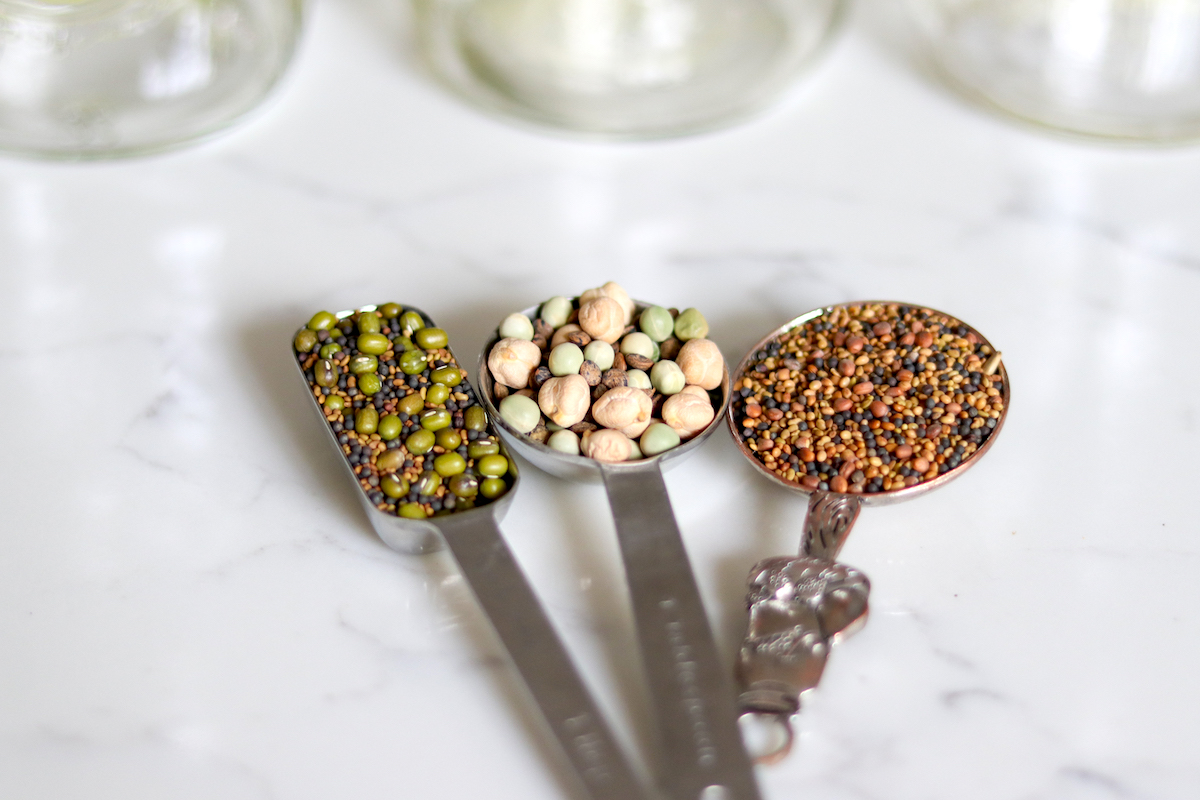
If you’re sprouting a variety of seeds over several jars and if you want to be able to identify the sprouts, I suggest labeling each jar and its contents with a piece of masking tape and a black marker.
Then again, there’s something to be said for keeping your sprouts mysterious!
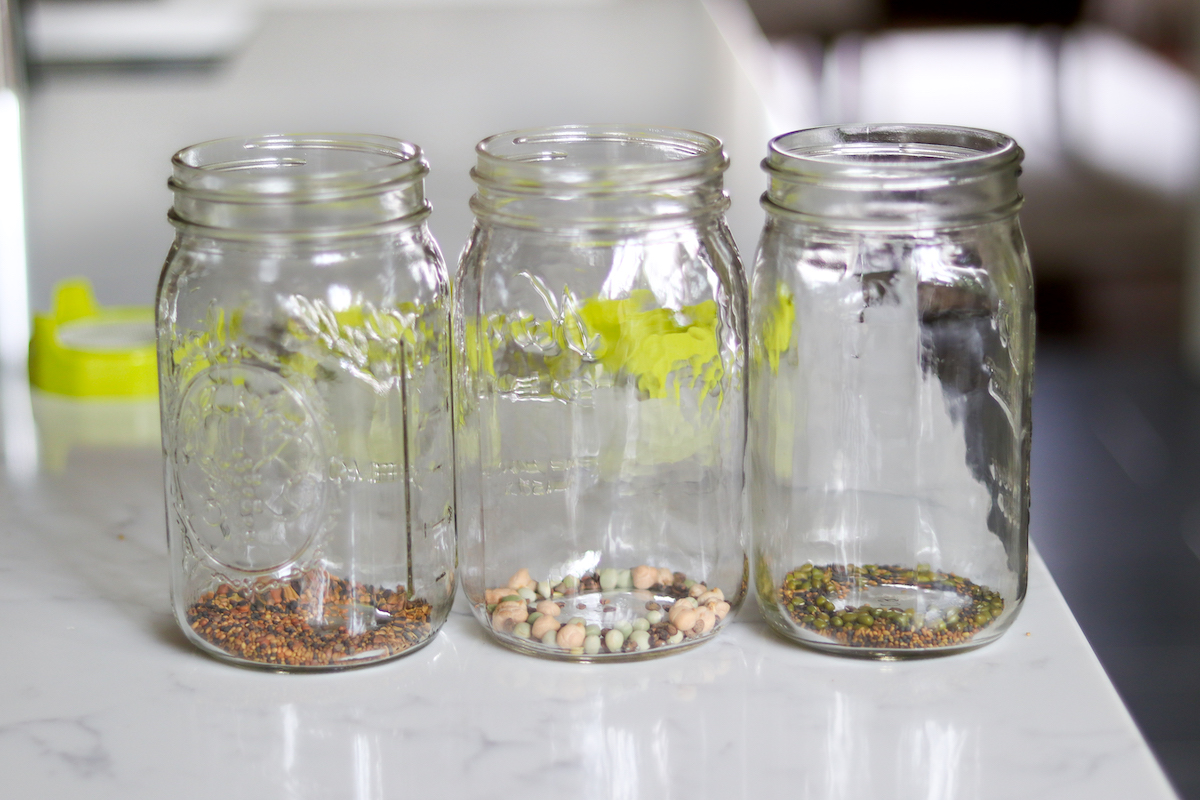
Next, we’re going to cover the seeds with water so that they can soak.
Tap water is fine as long as it’s clean and non-chlorinated; otherwise, use non-chlorinated or distilled water (bottled or otherwise) for best results.

For successful sprouting to occur, the seeds will need to soak for several hours. The soaking time will vary by seed type, but in most cases, it’s about six to eight hours. The point of soaking is to transform a dormant seed into one that’s awake and ready to germinate.
Give the seeds a little stir with your fingers or a spatula at the beginning of the soaking process, this helps get each and every seed is exposed to water and prevents clumping. Spreading the seeds over the sides of the jar will help prevent them from sprouting in a large clump.
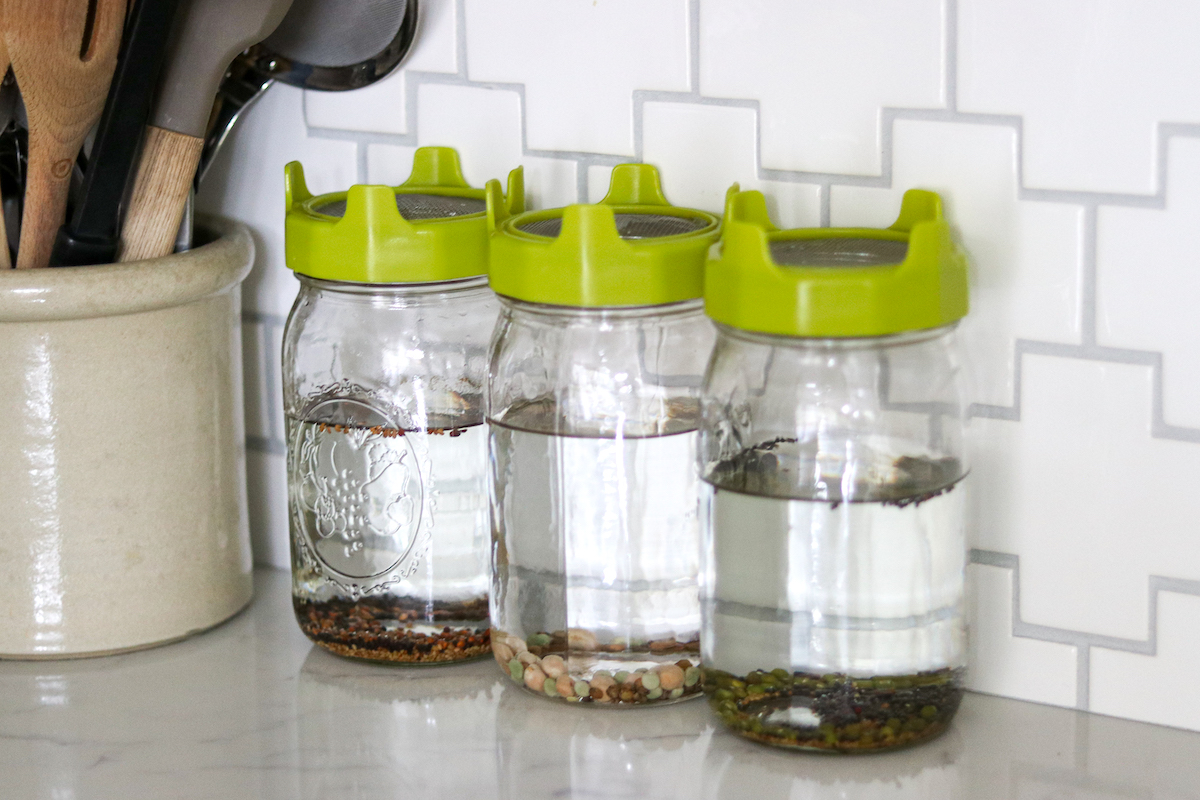
After the seeds have finished soaking, it’s time to drain the jars. The key to successful draining is to be thorough, removing as much water as possible. To do this, don’t hesitate to agitate the jar with a gentle shake or spin the seeds to maximize drainage. If the partially drained seeds sit in water they’re less likely to successfully germinate, and you’ll be left with a failed or moldy crop of sprouts.
Add fresh cool water to the jar and swirl the seeds around before rinsing and then draining out as much moisture as you can. Use plenty of water for this step, the more the better.
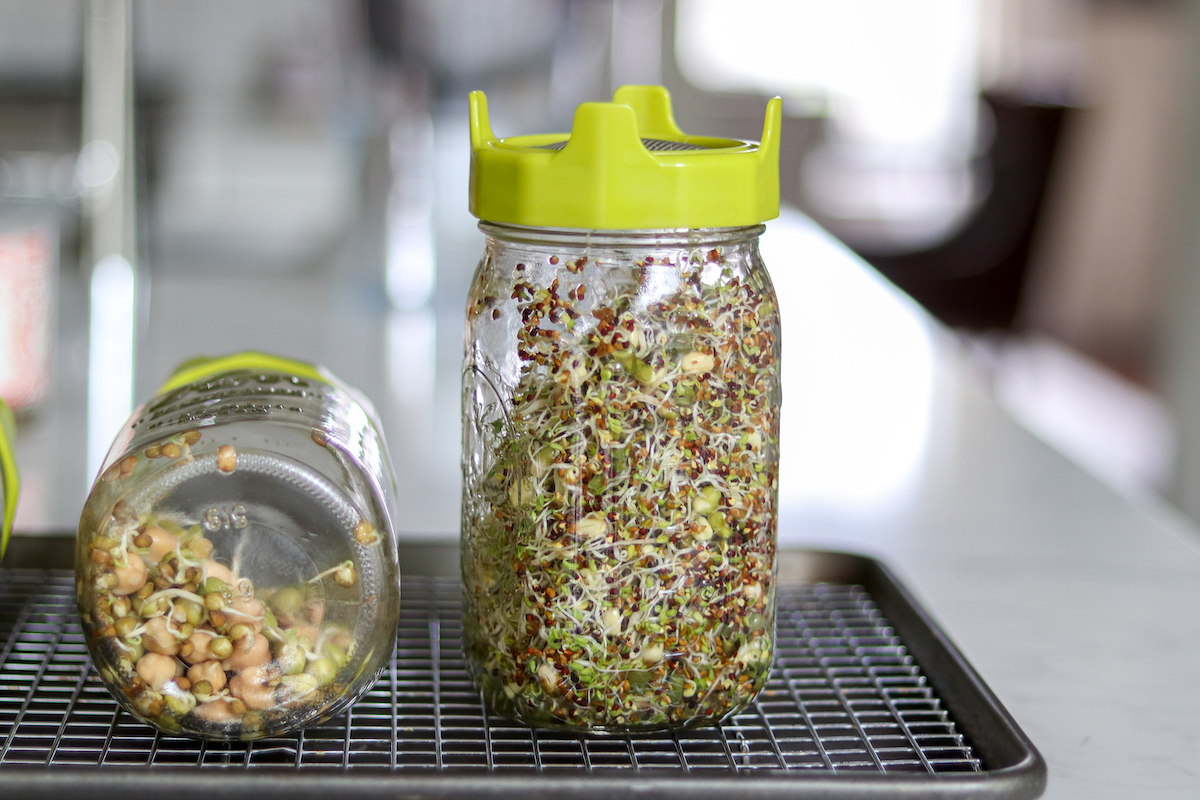
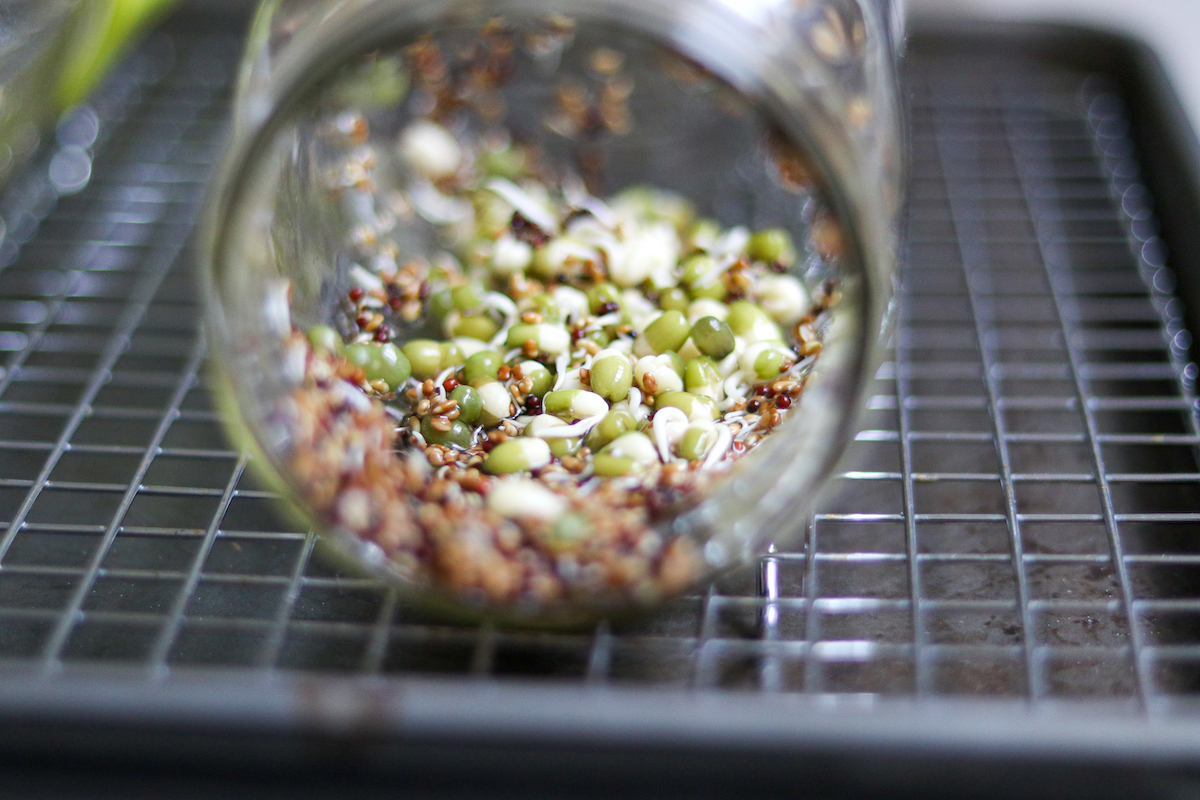
Drain the water out once again by propping the jar upside down so the liquid can drip out of the mesh lid. I like to set the jars upside down on a rimmed baking sheet lined with a drying rack to catch dripping water.
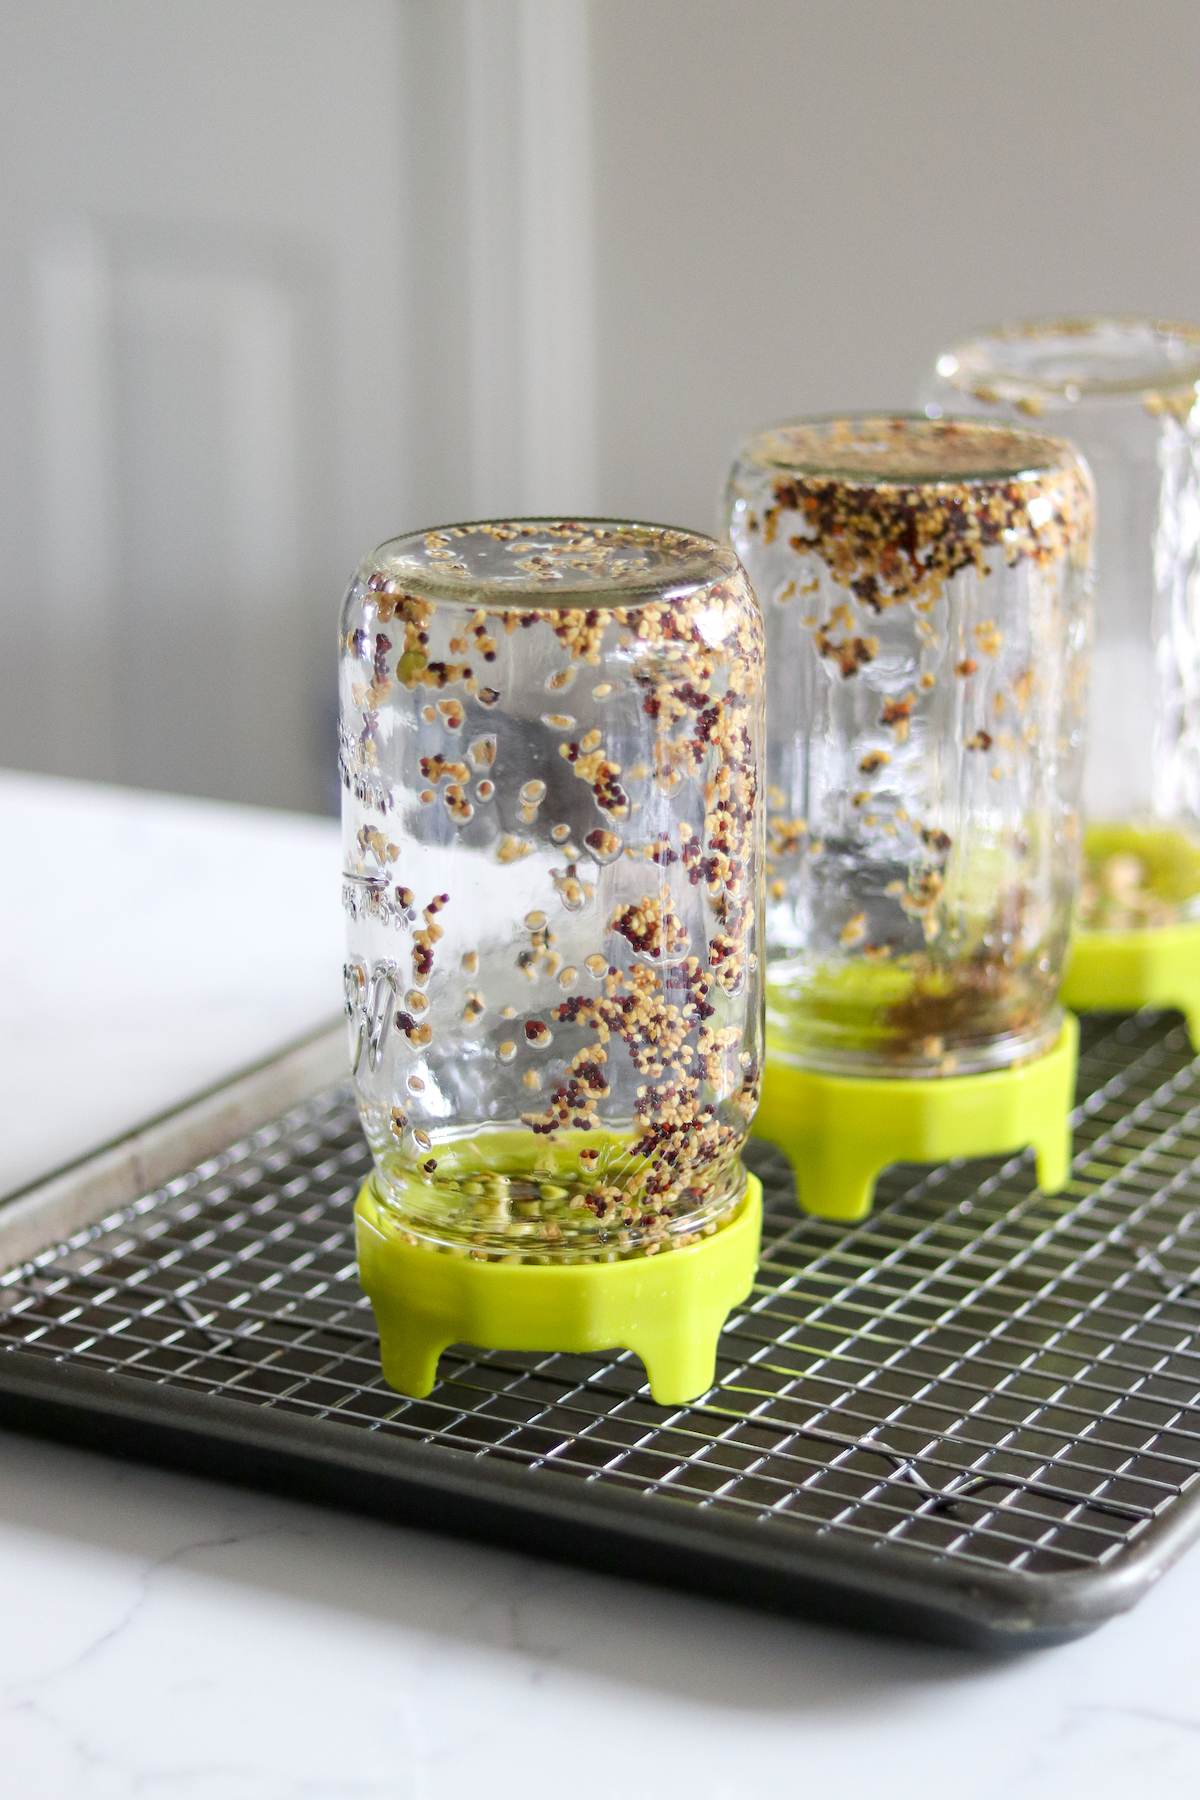
After the water has been drained out, I like to place the jar on its side.
This leaves more room for sprouting to occur and prevents the expanding sprouts from getting tangled in the screen lid.
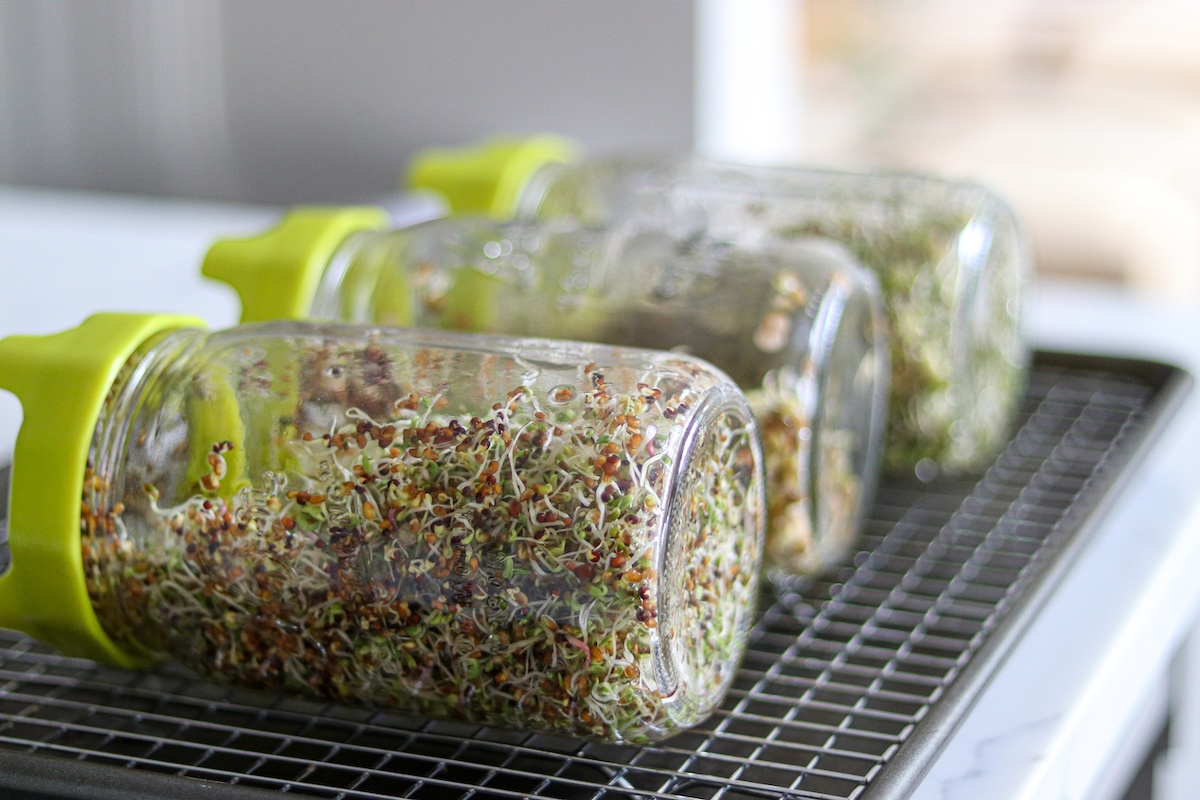
Repeat this drain and rinse cycle two to three times per day.
After a relatively short amount of time, as little as a day or two, you should notice the formation of tiny sprouts.
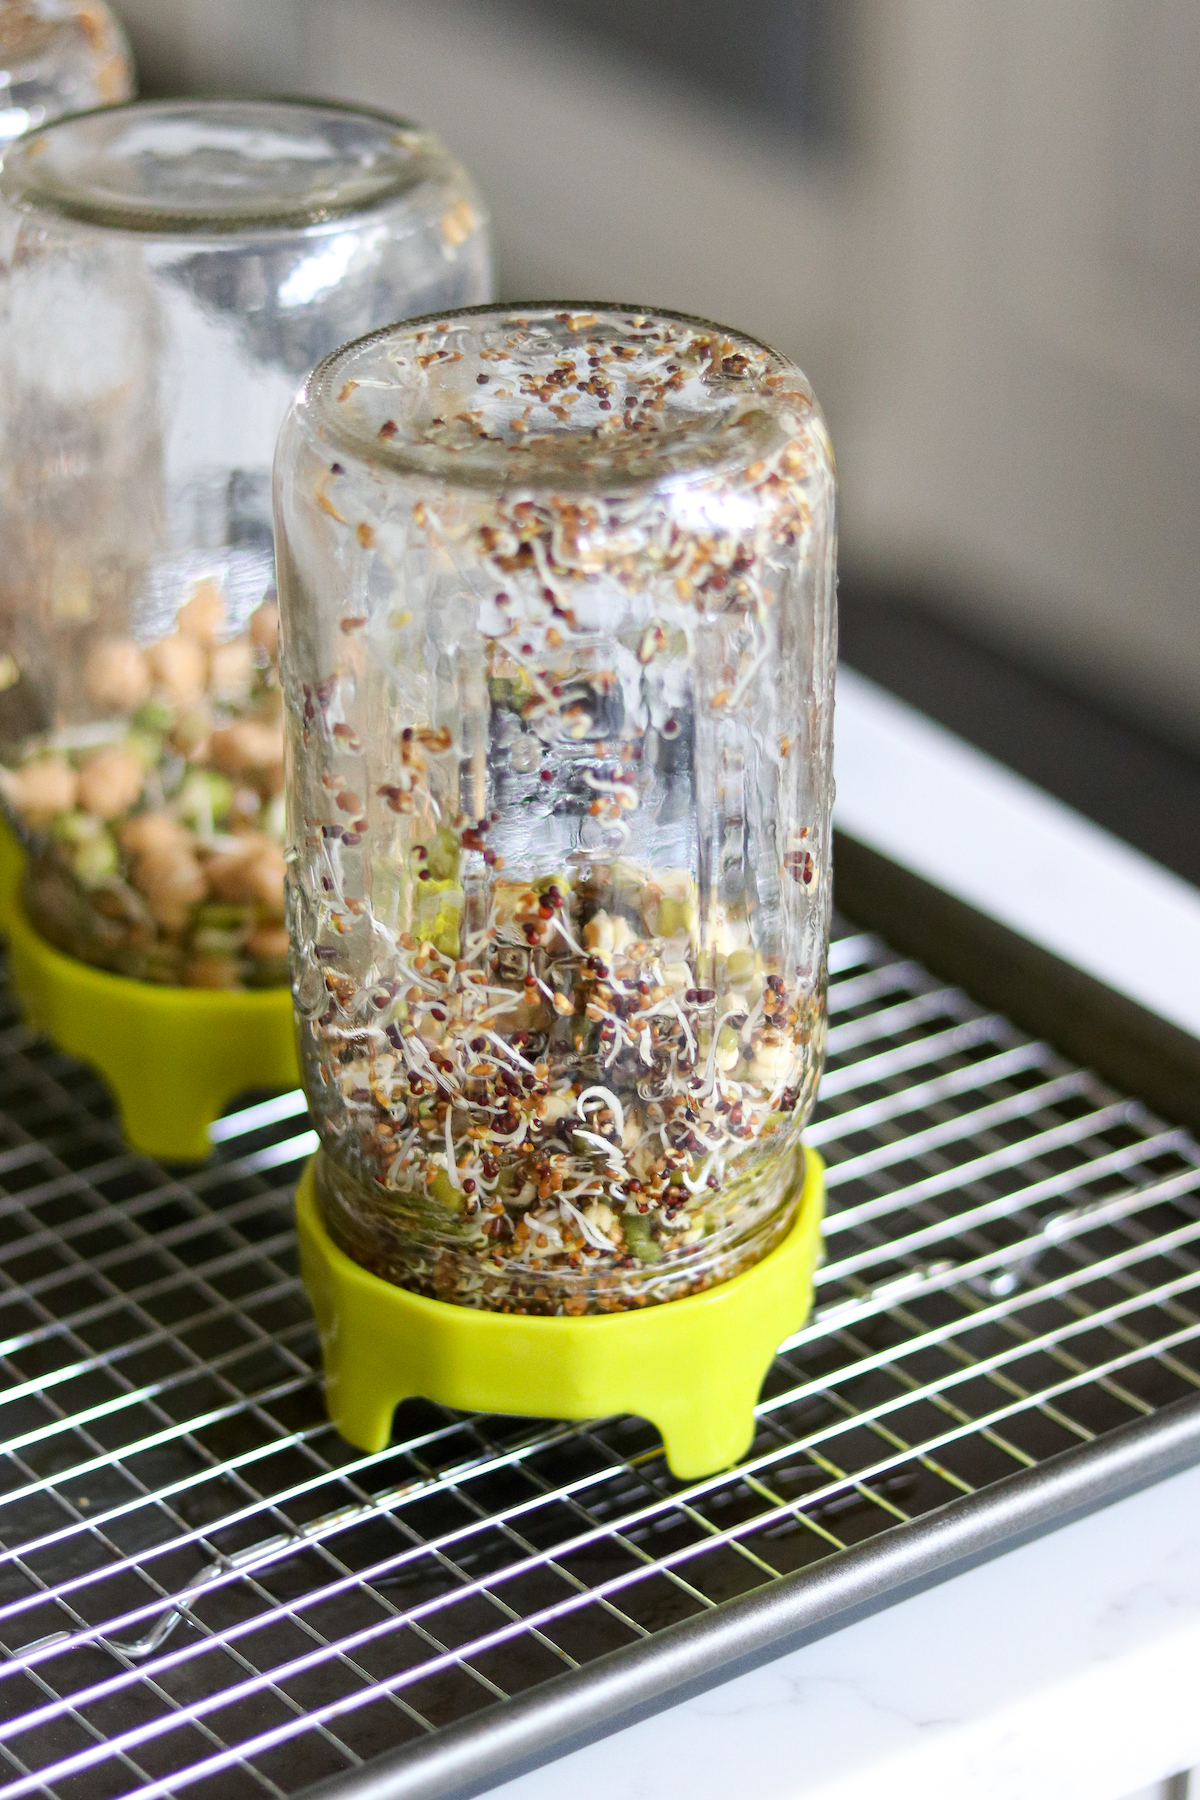
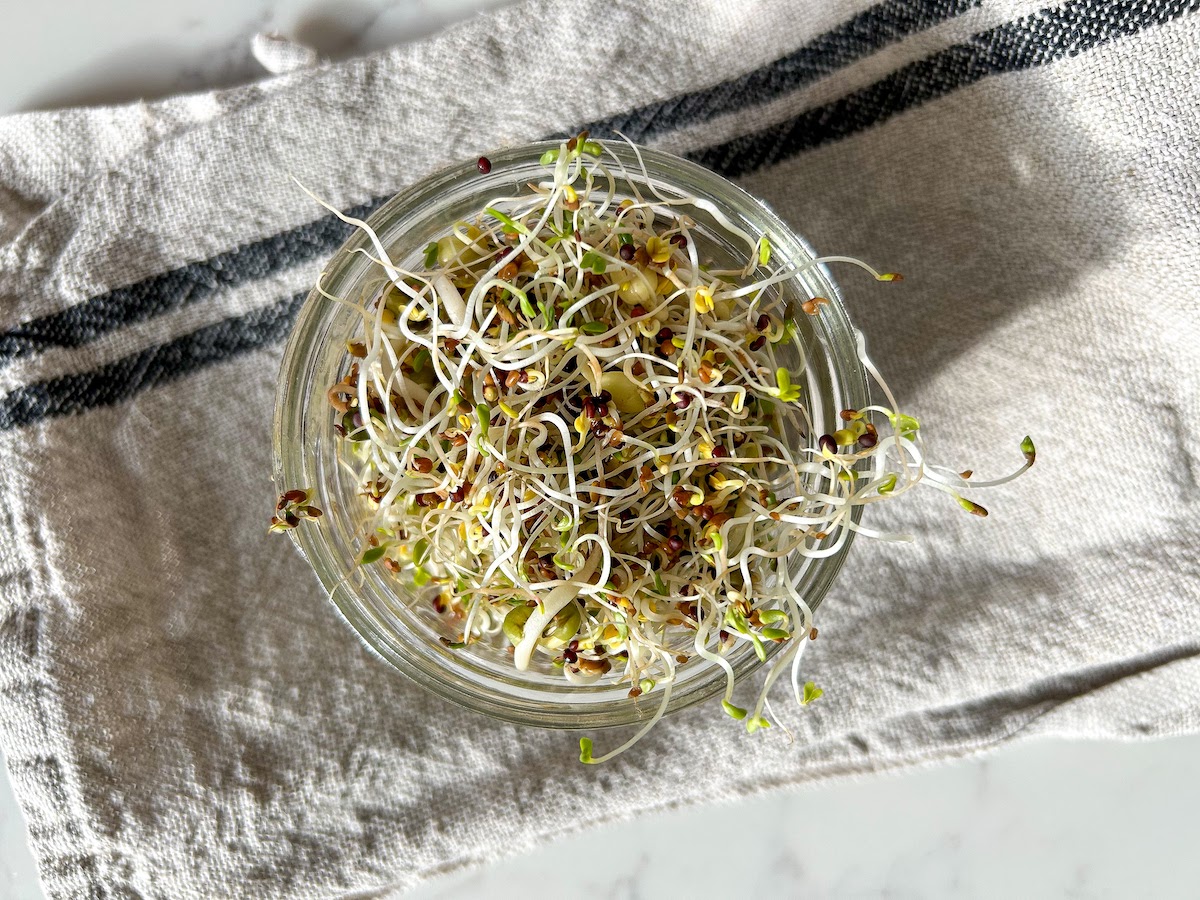
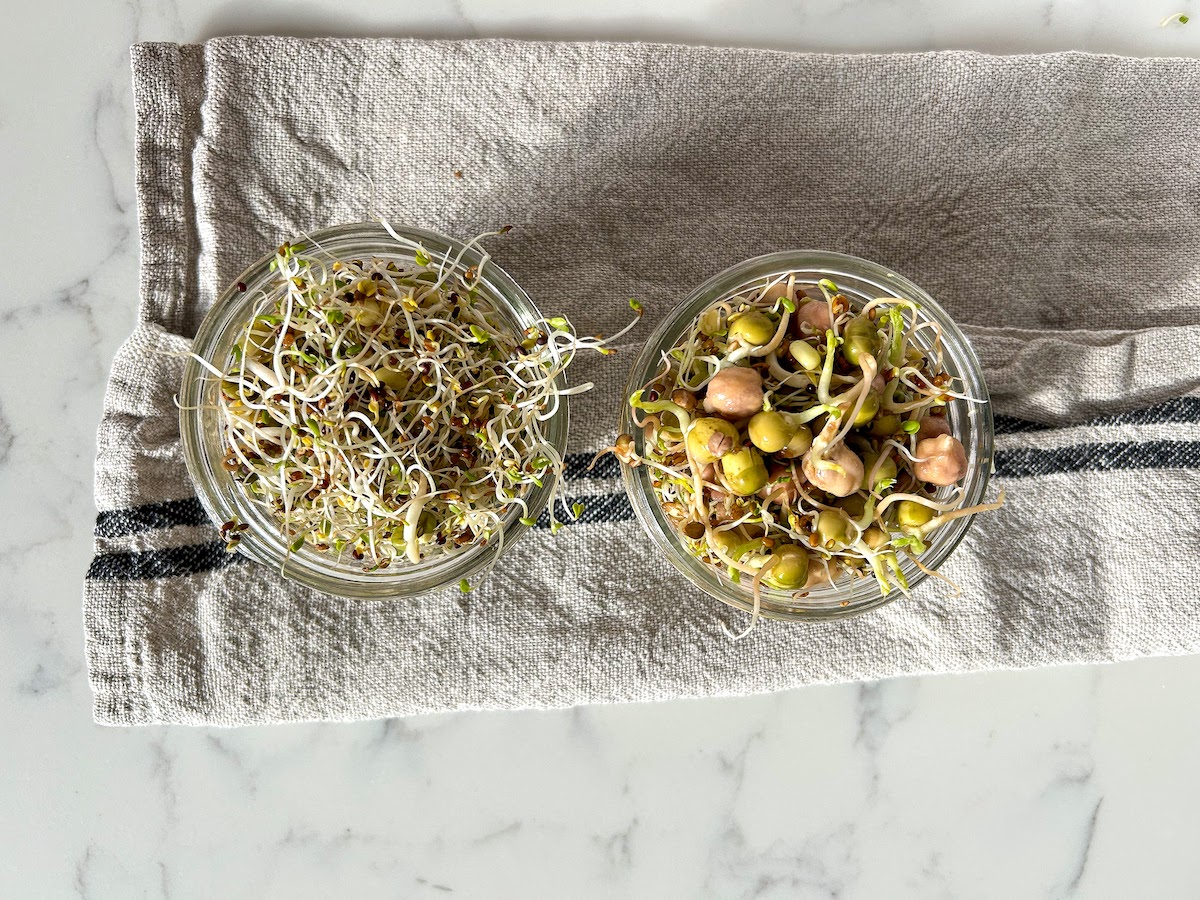
Depending on the type of seed or blend you’re using, you’ll have ready-to-eat sprouts in two to 12 days. While I don’t get a ruler out and measure the sprouts to determine the best time to harvest, I usually decide they’re ready to be eaten when the shoots are about 1/2-inch to 2 inches long.
To harvest the sprouts, give them a good rinse and then drain them while still in the jar. Dry the sprouts out even more by spreading them across a clean kitchen towel—I give them at least 30 minutes but any amount of time up to an hour will help keep them fresh.
To store sprouts, line a lidded container with another clean kitchen towel or use paper towels. Don’t leave out the towel, as it will absorb excess moisture and prevent premature sprout spoilage during storage. Sprouts will last in the fridge for about 1 to 2 weeks when stored this way.
Tips for Growing the Best Sprouts
Growing sprouts at home is a pretty straightforward process, but these tips and tricks will go a long way towards successful germination.
- Don’t oversoak the seeds. You might think that soaking seeds longer than suggested would be a good idea (or speed up germination), but too much time submerged underwater can be detrimental to the life of the seed. If the seed is left to soak for too long, the tiny plant inside of it will be completely deprived of oxygen, which will prevent it from growing into a plant shoot.
- Drain the seeds thoroughly. Draining is a crucial step when sprouting seeds, it removes extra water and regulates moisture levels in the jar. Make sure you’re taking the time to completely drain the seeds before they’re left to grow.
- Give sprouting seeds access to light. Sprouts don’t need a lot of light, or even natural sunlight to grow, but it certainly helps speed up the process. I place jars full of sprouting seeds on my kitchen counter, where they receive indirect sunlight from outdoors.
- Don’t overcrowd the jar. You’d be surprised by how much space a tablespoon or two of seeds can take up once they’ve started to grow. To avoid tangled, overly dense sprout growth, use a quart-sized mason jar for sprouting seeds.
How to Use Sprouts
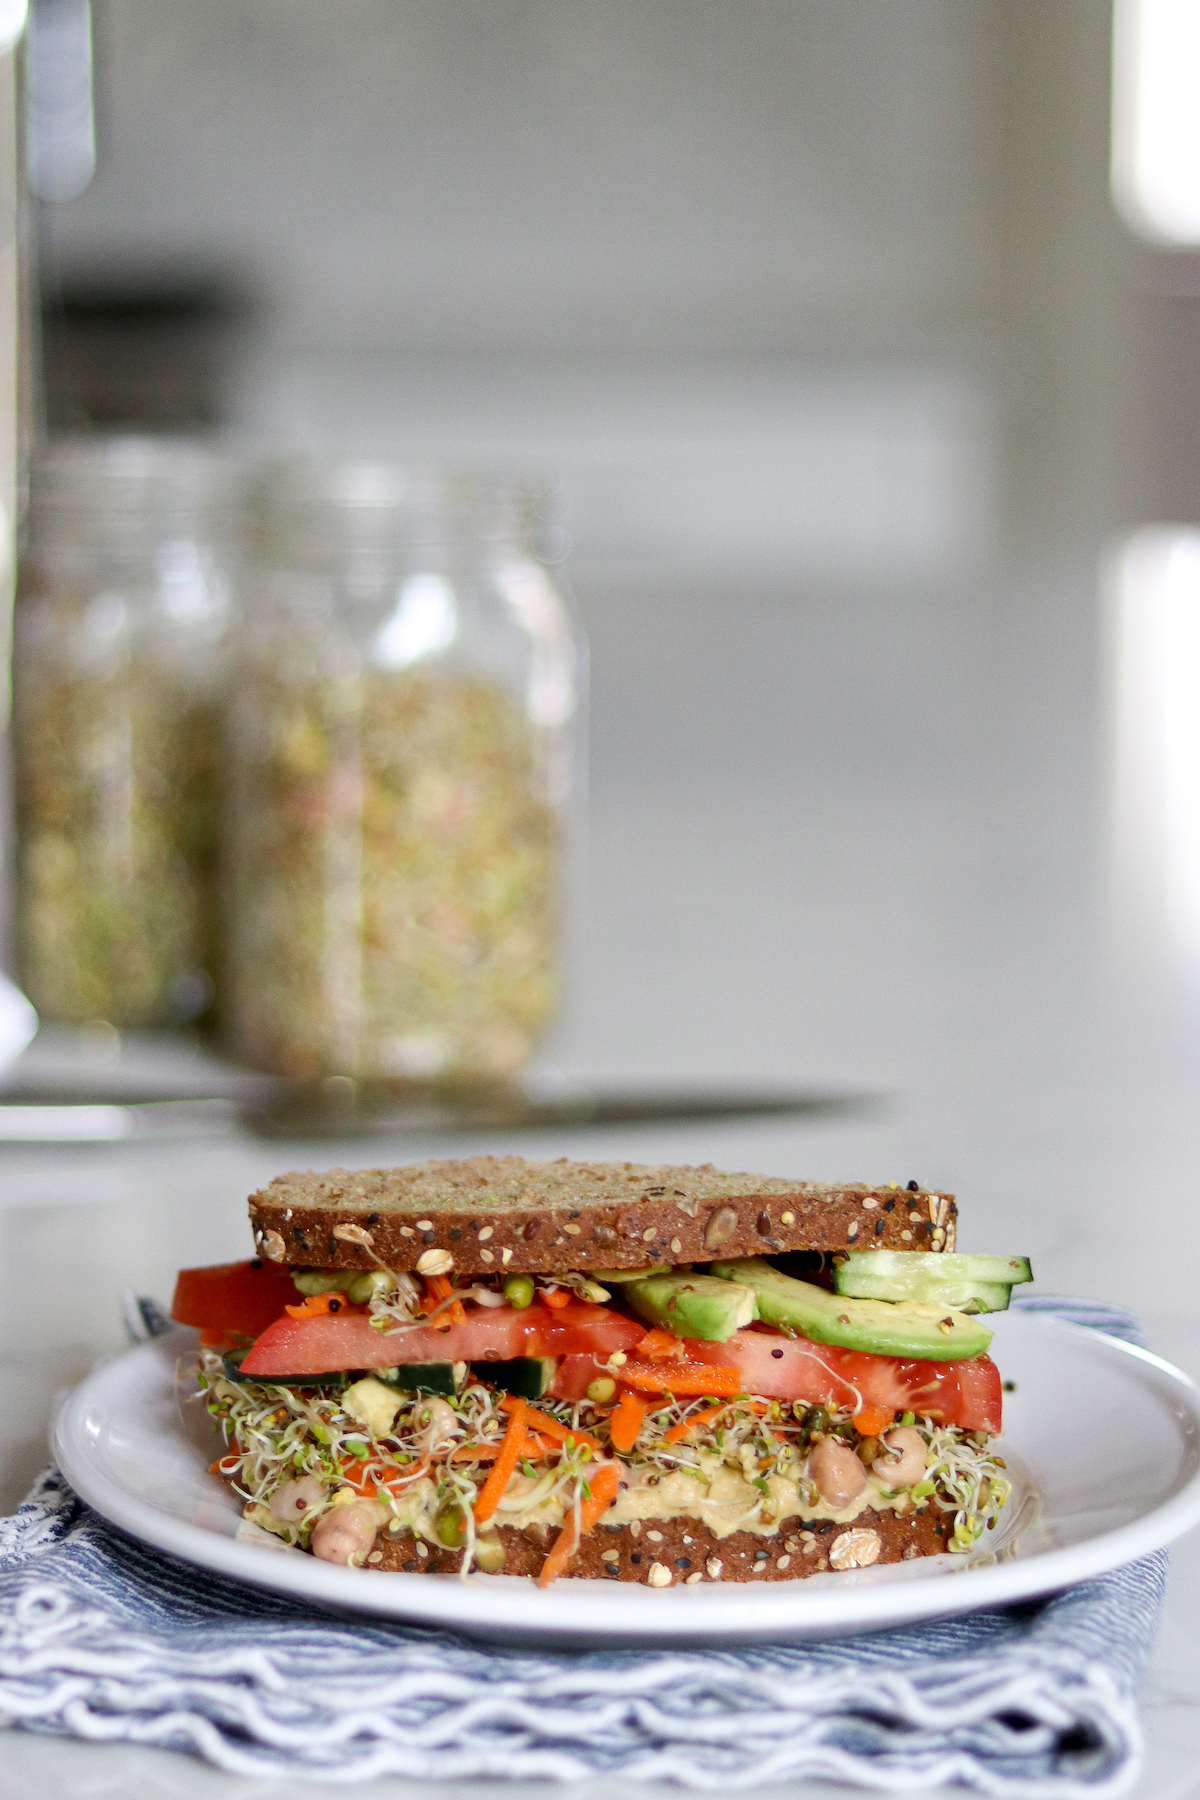
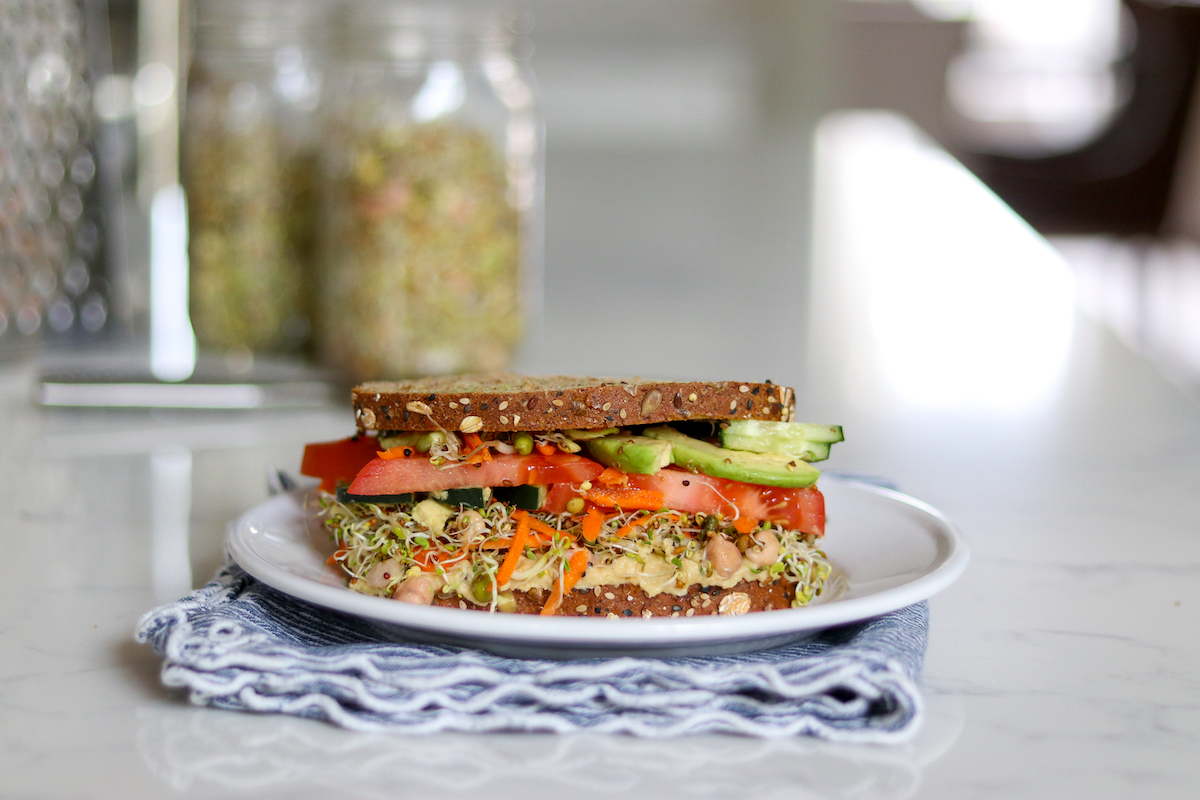
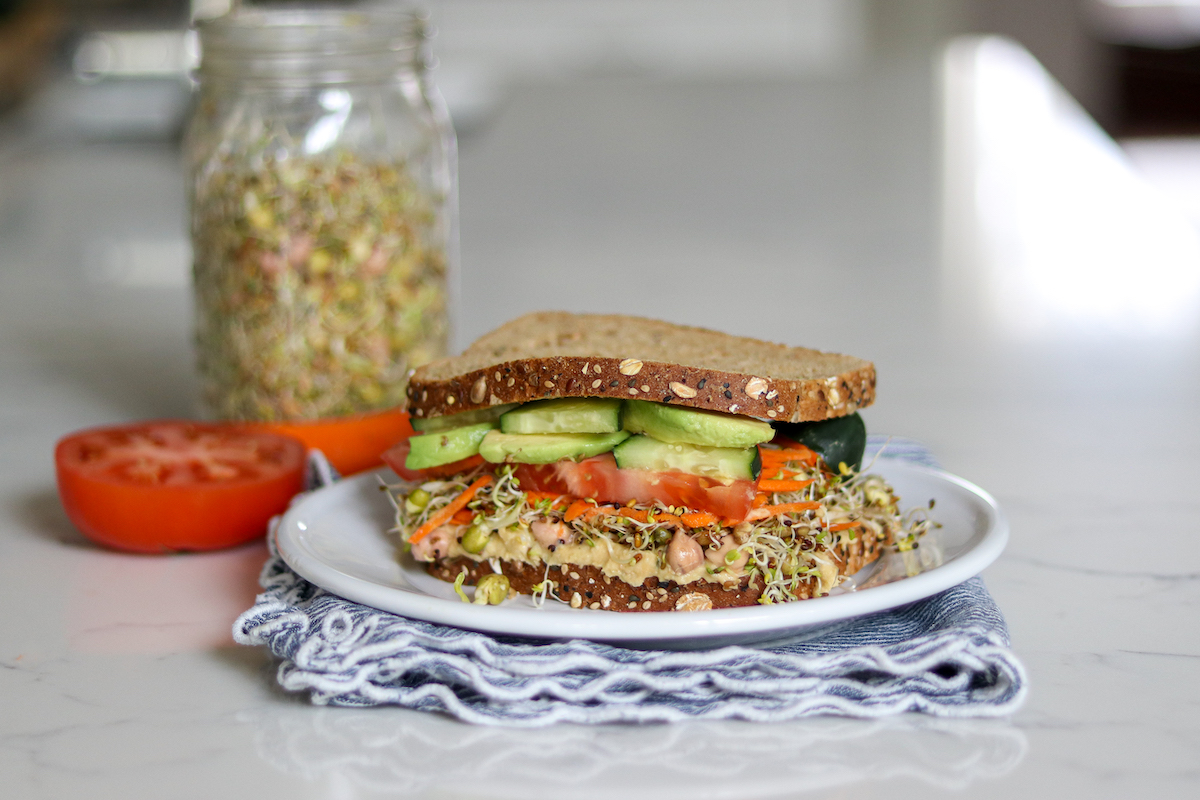
In my opinion, the absolute best way to use sprouts is in a sandwich, particularly one that has been made from whole grain bread stuffed with hummus and crisp veggies. My family also enjoys sprouts with pita bread, falafel, and tzatziki as well as grilled burgers (of any kind) in the summertime.
Sprouts make a beautiful addition to traditional salads or they can be the main event and used in place of lettuce or other greens.
Bean sprouts, which can still be eaten raw, have a heartier texture than sprouted seeds and are often cooked and added to stir fry and curry recipes.
Sprouting Seeds FAQ
Some questions and answers about the process of sprouting seeds in a jar at home.
Do You Need Special Equipment to Grow Sprouts?
The equipment needed to grow sprouts is minimal; besides a jar, the only real piece of special equipment called for is a mesh sprouting lid. However, if you don’t have one, don’t worry—people have been growing their own sprouts for ages without the use of special lids.
Instead, you can place a clean kitchen towel or cheesecloth around the neck of the jar and seal it with an elastic band. The method will be completely the same, I’d just recommend swapping out the towel or cloth to prevent wet smells.
What’s the Best Container for Growing Sprouts?
Interested in jar alternatives for growing sprouts? You can also try these containers:
- A sieve (a good option if you have room to keep the sprout-filled sieve out in the open at all times)
- A casserole dish or baking sheet with a rim (this method is similar to planting microgreens, the sprouts are just harvested earlier)
- A sprouting kit (lots of options here, it all comes down to personal preference)
How Many Sprout Seeds Do You Add Per Jar?
This number is going to vary depending on the type of seed being sprouted. As I said above, I like to grow my first new batch of sprouts using a smaller amount of seeds. Once I know how to predict the sprouting growth (and how much room the sprouts take up), I can adjust the next batch.
For general guidelines and measurements, see this table.
How Long Should You Soak Sprouting Seeds?
Again, this will come down to the variety of seed being sprouted. If you want to sprout a blend of seeds, check the information on the package (if there is any) for soaking times and instructions.
Otherwise, see the table above for guidelines.
How Long Do Sprouts Take to Grow?
Another answer that depends on the seed, sprouts can take anywhere from two days to two weeks to be ready for eating. If your sprouts came in a package with instructions, check to see if it specifies a growing time.
If not, refer to the table above or the list of common sprouting seeds at the beginning of this post.
How Do You Store Sprouts?
Once sprouts are fully grown, they must be stored in the refrigerator.
Drain the sprouts as well as you can, as excessive moisture can cause spoilage. A salad spinner can help here.
Place the sprouts into a sealed container (or just put a lid on the jar) and store them in the refrigerator.
The shelf life depends on the type of sprout, but usually, they’ll keep for about 1 to 2 weeks. Some sprouts can keep for as long as six weeks in optimal conditions, but that’s really pushing it.
Plan on using them within two weeks for the best quality.
I generally start a new batch of sprouts as soon as the first bath goes into the refrigerator, ensuring a steady supply of fresh sprouts.
How Long Do Sprouts Last?
Sprouts generally last about two weeks in the fridge, if stored properly.
When sprouts are past their prime, they shrivel up and develop a rancid smell, so you’ll know if they’ve gone off.
Healthy Countertop DIY Projects
Looking for more ways to cultivate something healthy right on your countertop?
- How to Grow Microgreens
- How to Make Sauerkraut
- Lacto-Fermented Garlic Honey
- Lacto-Fermented Turmeric (Natural Anti-Inflammatory)
How to Grow Sprouts
Ingredients
- Mason jar I recommend using a quart-sized jar
- Fine mesh sieve sprouting lid*
- Seeds or blend of seeds
Instructions
- Add seeds to a clean jar, starting with about 1 1/2 tablespoons.**
- Cover the seeds with plenty of non-chlorinated water and soak for the required amount of time specified in the chart below.***
- Drain the seeds by tipping the jar (with lid) upside down.
- Add more water to the jar and rinse the seeds well, swirling the jar around as you rinse to collect seeds on the sides.
- Repeat this process two to three times per day until the sprouts have grown 1/2-inch to 2 inches. Store the jar on its side when you aren't draining and rinsing the seeds.
- When the sprouts are ready to be harvested, rinse and drain well in the jar one final time. Spread the sprouts in a single layer over a clean kitchen towel. Let them air dry for 30 to 60 minutes.
- Line a lidded container with a clean kitchen towel or paper towel. Place the dry sprouts in the container, wrap in the towel, and store in the fridge for up to one week. Replace the towel if it becomes overly moist.
Notes
Small-Scale Gardening Projects
Gardening doesn’t have to take up a lot of space! You can grow so much in tiny spaces!



Thanks for sharing this, I have so many antique jars that are empty, now I know, growing these are going to be Awesome ☺️
Wonderful!
? Do sprouting seeds need a ACV cleaning / soak before the soaking in water? I have gotten sick from sprouts in the past and was told it was because I did not sanitize them first with ACV. Appreciate the additional sources for sprouting seeds. Thank you.
This shouldn’t be necessary if you are purchasing your seeds from a reputable supplier of sprouting seeds.
Do you have to buy special “sprouting seeds”, or can you just use regular seeds? I have leftover radish and broccoli seeds that I didn’t plant in my garden. Can I sprout these?
Sometimes seeds are treated with things you wouldn’t want to eat as sprouts (fungicides, coatings, etc). It’s more common than you’d think, since it really increases germination rates. Generally, sprouting seeds are also tested for salmonella since you’re going to eat the seed itself (along with whatever bacteria are on its seed coat).
For sprouts, it’s tricky that way.
For microgreens though, grown in soil where you’re not eating the actual seed itself, you can use any seeds you want.
Enjoying your posts. In this one, I appreciate the clarification of sprouts VS microgreens. I was beginning to think I need to cook all of my sprouts. I may have even read that. So glad I don’t have to.
One tip I saw somewhere was to use plastic canvas for my canning jar lids. Not a fan of plastic but I am sure there is plenty somewhere so new canvas doesn’t have to be purchased.
There are lots of things that you can use for your lids. It’s totally ok to use what you have as long as it works.