Affiliate disclosure: This post may contain affiliate links. Please see our Privacy Policy.
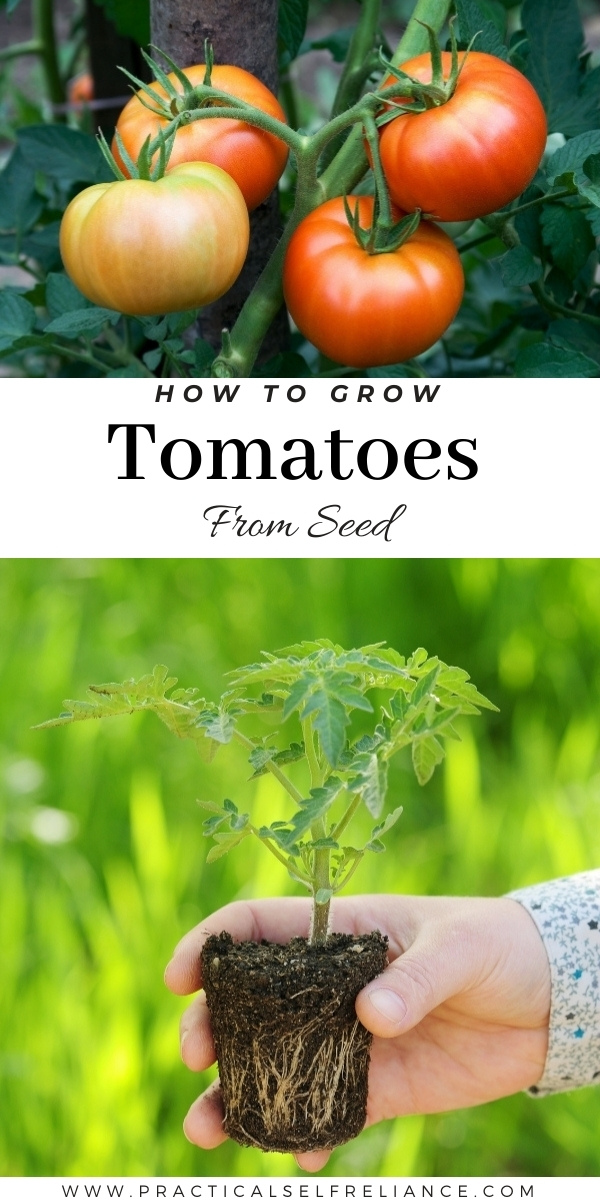
Growing tomatoes from seed is easy, and there’s nothing like biting into a homegrown tomato that you nurtured from seed to fruit.
While there may only be a few varieties of nursery starts available locally each spring, starting tomato seeds means you can grow any of the hundreds of unique tomato varieties.
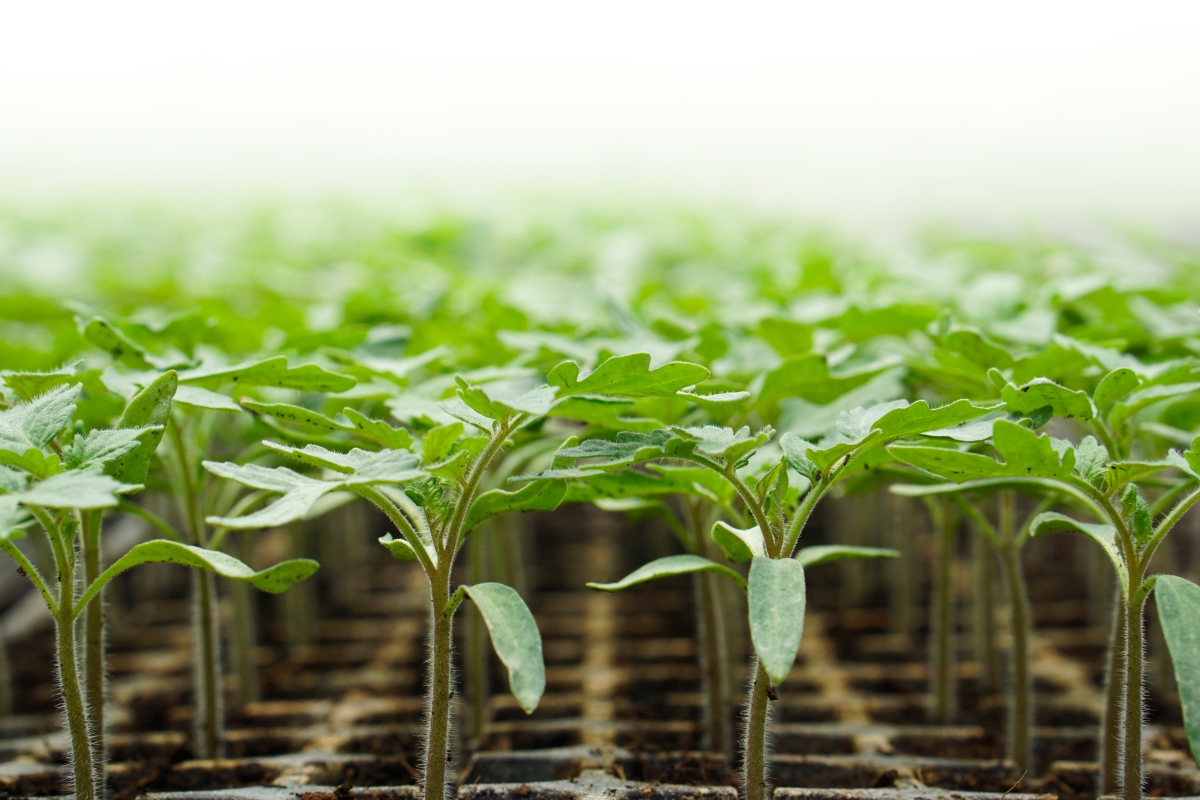
Tomatoes are one of the most popular vegetables to grow at home, but growing tomatoes from seed is a bit more involved than picking up started tomato plants at the nursery.
Tomato seedlings are known for being finicky at times, but with a little attention to detail, anyone can start tomatoes from seed.
Each year, I grow dozens of tomato plants. I plant a variety of heirloom tomato seeds in a rainbow of colors for fresh eating, and then a few rows of canning tomato varieties for filling our pantry shelves for winter.
Quick Guide to Growing Tomatoes from Seed
If you’re an experienced gardener and in a hurry, here’s everything you’ll need to know to start tomatoes from seed. (I encourage you to read on for the details, and tips to ensure success and prevent disease.)
- Starting Time: 6 to 8 Weeks Before Last Frost
- Planting Depth: 1/4 inch
- Seeds Per Pot: 2-3 seeds, then thin to 1 healthy seedling
- Soil Temperature: 65 to 85 Degrees F
- Days to Germination: 7 to 10 on average
When to Start Tomato Seeds
Tomato plants need warm soil and can’t handle even the lightest of spring frosts, so you cat plant them in your garden until the danger of frost passes. Here in Vermont, believe it or not, our last frost usually comes around Memorial day weekend, and we plant our tomatoes outdoors around June 1st.
Most places, the last frost happens much earlier in the year. This last frost calculator can help you find the date in your area.
Once you know this date, count back six to eight weeks, and that’s when you need to start your tomato plant seeds. Tomatoes take around 7 to 10 days to germinate, and they will spend the remaining weeks growing larger until it’s time to transplant your tomato seedlings outside.
I know everyone wants to get started early in the spring, but starting tomatoes too early is one of the biggest issues new gardeners have when growing tomatoes from seed. It’s much worse than starting them too late.
If kept indoors in the pot too long, the seedlings will get leggy, become pot bound or succumb to disease before they’re ever transplanted outdoors.
The ideal starting time is 6 weeks before the last frost, and you can do 8 weeks before the last frost if you just can’t wait any longer. Don’t start them earlier than that unless you have a greenhouse at home where they can grow large and still be protected from late frosts.
How Long do Tomato Seeds Take to Germinate?
Tomato seeds take, on average, 7 to 10 days to germinate, assuming that the soil temperature is between 65-85℉. The seeds germinate faster when they have warm soil temperatures, high humidity, and ample air circulation.
It’s possible to start seeds directly outside in the ground, but the only way to do that is to have a long growing season. Most gardeners don’t have a growing season long enough to support the amount of time that this takes.
For best results, start tomato seeds indoors 6 weeks before the last frost and then plant outside when the risk of frost is gone.
If you want your tomato seeds to germinate faster, there are a few things that you can do.
- Keep the soil moist but not wet. Seeds won’t germinate if the ground isn’t damp, and humidity helps with this. Having a cover over where your seeds, as they germinate, helps to speed up the process.
- Make sure the soil and seeds have proper air circulation. Avoid compacted soil after planting the seeds, and don’t log down the soil with water.
- Us scarification to encourage faster germination. Tomato seeds are generally small enough that you don’t need to soak them to speed up sprouting, but gently scratching the seeds’ surface increases the germination rate.
- Keep your tomato seeds warm. If the location isn’t warm enough, consider using a seedling heat mat. Ideal temperatures for germinating tomato seeds are 65 to 85 degrees F.
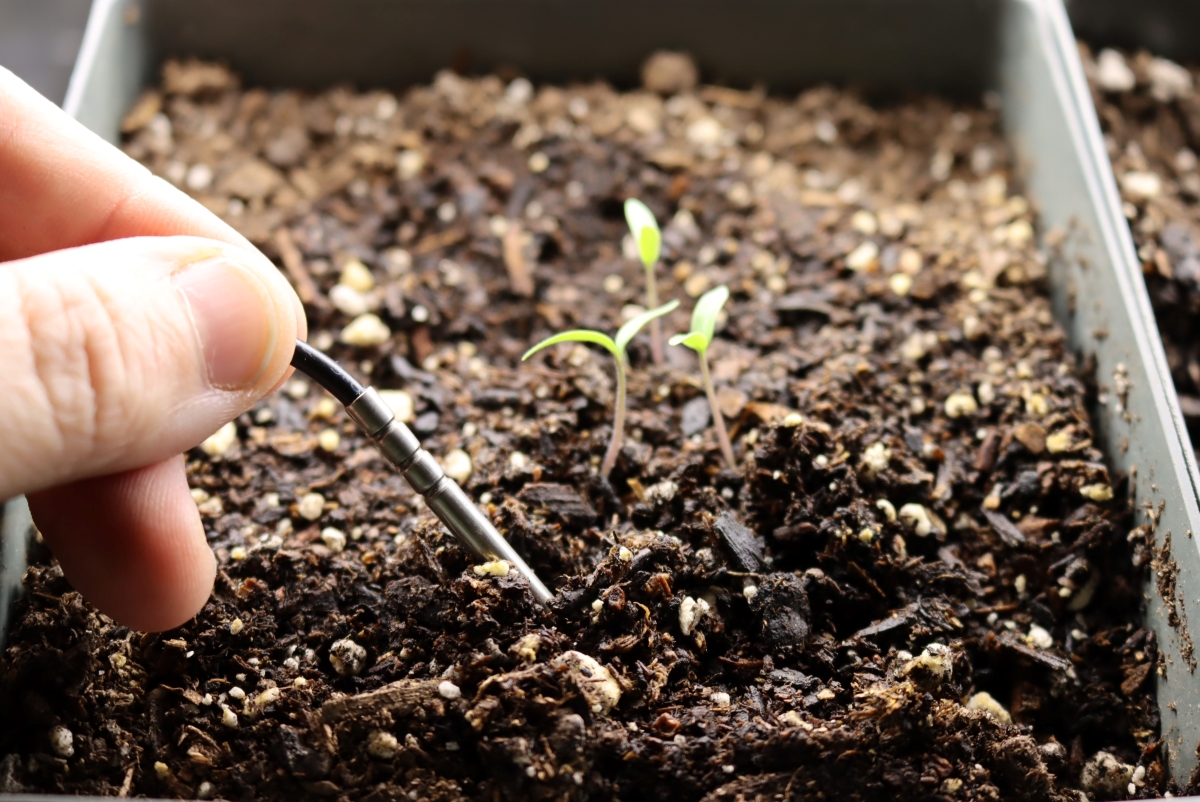
Below, I’m showing a temperature probe that comes with seedling heat mats. You put that into the soil, and it tracks the temperature so that the heat mat turns on and off automatically to keep the soil at the right temperature for germination.
How to Plant Tomato Seeds
First, you need to gather containers for starting tomato seeds. There are tons of options. Some like to use plastic containers from the store, similar to what you might find used at a garden nursery. Others use plastic cups or biodegradable pots.
Next, you have to pick the best soil medium for growing tomato seeds. The soil medium needs to be sterile, and have both good drainage, plus a bit of fertility. Most gardeners use premade seed starting mixes from the store that contain a mixture of sphagnum peat moss, perlite, vermiculite, and compost.
Avoid using garden soil from outside because it contains active bacteria fungi. This increases the risk of your tomato seeds dying, at least when they’re just germinating. It also compacts easily in pots, which is why seed starting mixes use fluffy peat moss instead of soil.
Moisten the seed starting mix before filling the containers. Don’t compact or press down the soil mixture into your containers; that leads to a problem with air circulation. Always moisten the soil medium before filling the containers, as it can be tricky to thoroughly moisten peat moss once it’s in the pot.
Place two or three tomato seeds in each container or cell in a seed starter tray. Cover the seed with ¼” of soil and gently pat it down. Then, mist the top layer of soil with water or pour a small amount; all you want to do is moisten the top layer.
Now, the seeds need to be kept in a warm location between 65-85℉. If you don’t have a warm enough site for seed germination, use a heat mat to keep the seed pots warm. You don’t need to provide light at this point, as tomato seeds don’t need light to sprout.
Make sure you have some air circulation. I poke holes in any plastic cover I place over my seed pots, and removing the cover once sprouting helps reduce the risk of diseases forming.
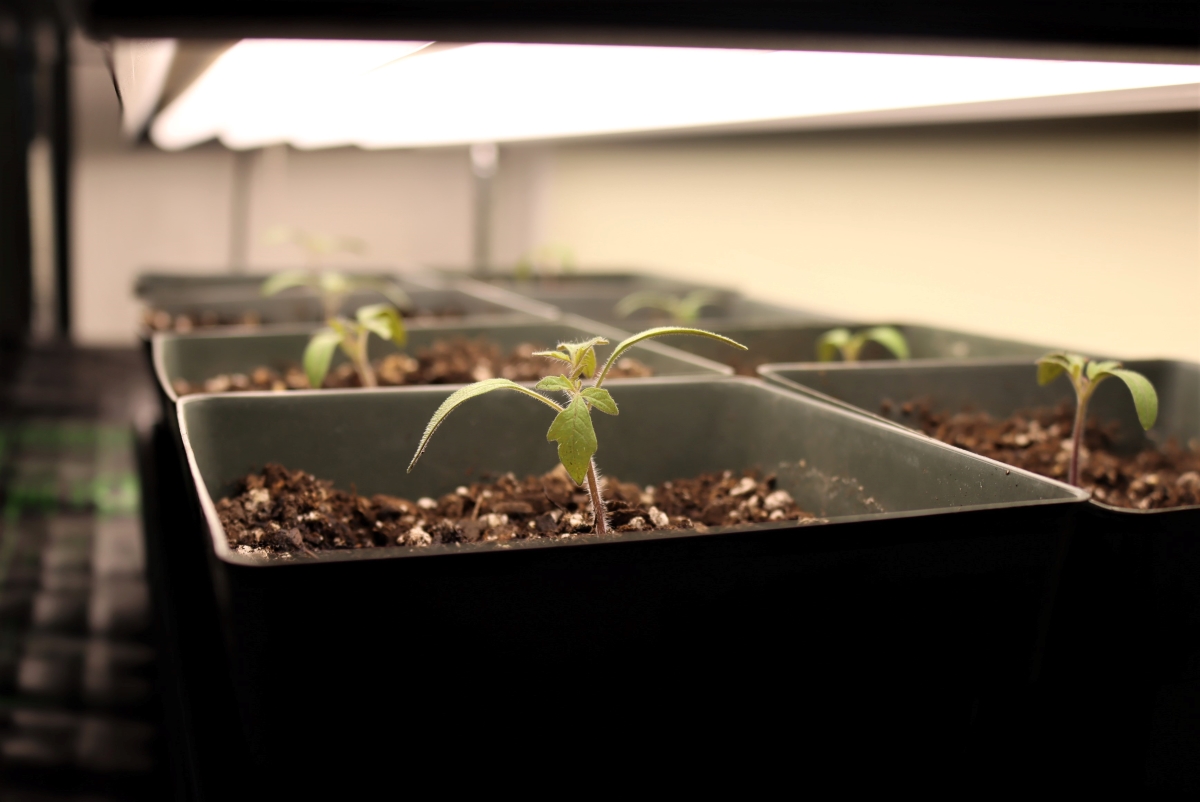
Check the seed pots daily for sprouts. As soon as sprouts appear, move the seedlings near a sunny window or place them under grow lights. I built a DIY grow light rack because our windowsills are so chilly in the early spring, and now I can both keep them warm and well-lit even when it’s cold outside.
Tomato Seedling Care
It’s exciting when your tomato seeds sprout, but now the real work begins. The soil needs to stay moist while the seeds continue to grow. Watch the seed-starting mix color; if it turns lighter in color, it means that it needs water.
Air circulation is a big part of taking care of tomato seedlings. Some gardeners find that keeping a fan in the room where they grow seedlings reduces the risk of damping-off and other diseases.
Pay attention to the growth of your seedlings and the position of the lighting. Seedlings that grow on windowsills need to be rotated daily to keep the plants upright rather than leaning in one direction. If you have the seedlings under a grow light, the lights need to be raised as they get taller.
When you planted the seeds, you put two to three seeds into each cell or pot. Sometimes, all of the seeds germinate, so they need to be thinned. You want to keep one seedling per pot, and they need to be the strongest and healthiest.
Watch their growth and pick the one that is the biggest. Instead of pulling out the other ones, use scissors to snip them off at the soil line. (Pulling them out disturbs the roots of the other seedlings.)
Another important step while you take care of tomato seedlings is fertilization. When the seedlings have their second set of true leaves, it’s time to start fertilizing. A water-soluble fertilizer used at half the rate is sufficient. Read the back of the bag; most tell you how much to use for seedlings.
Don’t stress about fertilizing. Using a general all-purpose fertilizer that’s meant for vegetable plants is perfect.
Eventually, your plants will be large enough that they need to be repotted into larger containers. This almost always happens unless you start them in a large pot from the start. Allowing the plant to get pot-bound is damaging; it causes stunted growth.
Moving into new pots is easy. Add seed starting mix at the bottom of the new container with a bit of fertilizer. Gently remove the seedling from the pot and use your hands to loosen the roots. Place the seedling into the new container and fill it with more soil medium. Water well to moisten the mix.
Troubleshooting Tomato Seedling Problems
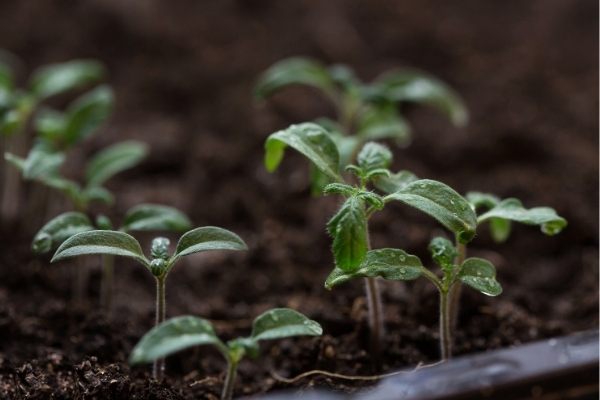
I wish that tomato seedlings never had problems, but they do. These plants are prone to a variety of issues that give gardeners serious headaches.
It’s impossible to cover all of the problems that you might face, so let’s look at the most common tomato seedling problems and what you can do to fix them.
Leggy Seedlings
Leggy seedlings often happen when the light is too far from your newly sprouted seedling. The seedling grows rapidly towards the light, but the stem is thin and floppy. Gardeners call this a “leggy” seedling.
The first thing you need to do is repot your seedlings or start new tomato seeds. If you repot, you need to gently bury the leggy stem in the seed starting medium, leaving only the sprout showing at the top.
Then, you have to bring the light closer to the plant. The whole reason why this happens is that the light is too far away (or too dim).
Yellow Leaves
Yellow leaves on tomato seedlings have a few causes. It might be caused by not enough or too much light, but the most common cause is too much or too little water. Overwatering causes sick seedlings, just like underwatering causes problems.
Start by making sure your plants have enough light. Are the other plants nearby yellow or just one or two? If it’s only a few, then you might have watering problems. Check the soil next. Is it dry or soggy? Dry soil means you aren’t providing enough water, but saturated soil means you need to water them less.
Ensure the container that holds your seedlings has drainage holes, and consider putting a fan near your seedlings.
Damping Off
Damping-off is caused by the fungi Pythium or Rhizoctonia, another common disease. It happens in cool, wet, rich soil, and it causes the seedlings to wilt and die. This disease causes seedling to be water-soaked and thin, and the young leaves wilt and turn green-grey to brown.
Seedlings infected by damping-off rarely survive to grow into a full-size healthy plant. There is no cure, and damping-off spreads quickly.
Remove any infected plants immediately, and add a small fan near your seedlings to improve air circulation.
Pot Bound
Pot-bound seedlings recover quickly if you repot before it affects the growth of the seedlings. Leaving seedlings in this condition will cause stunted growth and eventual death because they cannot grow.
Get a large pot and put soil at the bottom. Take out your seedling from its current pot and gently loosen up the roots. Place it in the new pot and fill it with soil. Water well, and your seedling should recover quickly.
Transplanting Tomato Seedlings
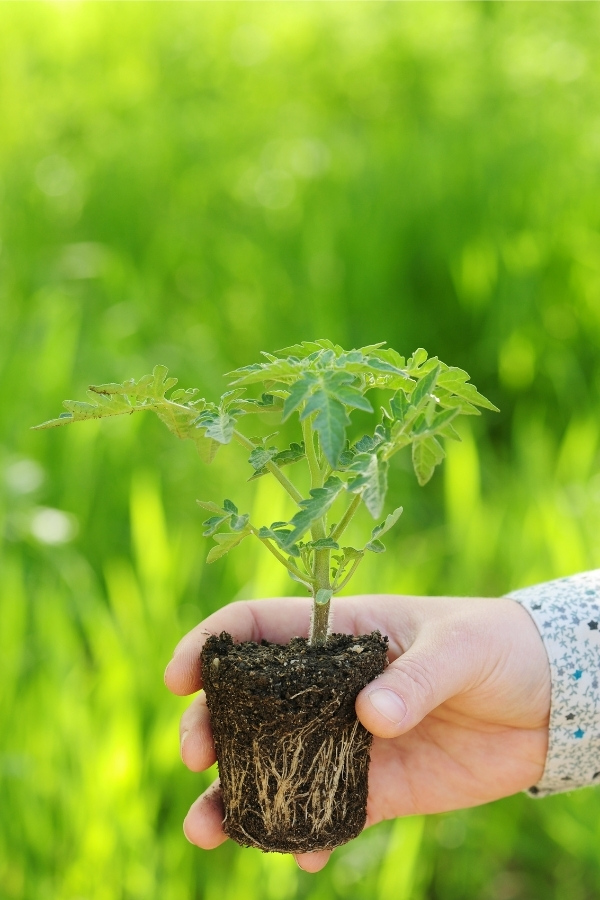
One week before you want to transplant your tomato seedling outside, you need to start the hardening-off process. Hardening off is a must – you cannot ignore this step. If you do, there is a good chance your plant will die after all of the hard work you put into it.
Start by bringing your seedlings outside on a cloudy day, leaving them there for one to two hours, and getting them back inside. The next day, leave them out for two to three hours before bringing them inside. Continue this process, adding two hours more each day until they stay outside for 24 hours, including nighttime.
(Be sure that it’s warm out that night, as they’ll die if left out during risk of frost.)
If your plants look good and healthy still, it’s time to transplant them into your garden.
Dig a hole that is twice the size of your tomato root ball. One mistake I see that gardeners make is breaking up the root ball too roughly. You never want to damage the roots. All you need to do is take your hands and gently loosen the roots and soil around the roots before placing them into the hole.
Some gardeners like to add different supplements or fertilizers into the hole before planting. You should always work compost into the soil before planting, but you also can add more to the planting hole.
Here are some options to consider:
- Baking Soda ~ Some gardeners think that adding baking soda to the hole when you plant tomatoes helps to create sweeter tomatoes. Sprinkle a small amount of baking soda around your plants’ base, and the baking soda lowers the soil acidity level.
- Epsom Salt ~ Tomato plants often suffer from a magnesium deficiency, so adding one to two tablespoons of Epsom salt when you transplant eliminates this plant. Make sure you cover the Epsom salt with a thin layer of soil; it shouldn’t directly touch the plant’s roots.
- Eggshells ~ Adding eggshells to the soil increases the calcium content. Calcium is valuable to tomato plants; calcium deficiency is the leading cause of blossom end rot. Crush up some eggshells and stick them in the hole before planting.
- Kelp Meal ~ Kelp meal is a fantastic soil addition that provides a variety of micronutrients and trace elements. Adding a dose of kelp meal at the bottom of the hole offers slow-release nutrients. One cup is adequate for an entire growing season!
- Bone Meal ~ Bone meal is another supplement that you can put in the hole when planting tomatoes. A 1/4 cup of bone meal provides most of the nutrients needed for blooming and growing quality fruits. It’s high in phosphorus, as well as calcium.
- Coffee Grounds ~ Adding coffee grounds to the soil when transplanting provides a slow release of nutrients, including nitrogen. Nitrogen is most needed during the two phases of growth; the final stage needs more potassium than nitrogen.
After transplanting, stake your tomato plants. Some gardeners prefer stakes or cages; it doesn’t matter what you use, but some support is needed for most tomato plants.
Staking and caging stops the tomato plants from toppling over and keeps the fruits off the ground, where they might encounter diseases and pests.
Growing Tomatoes
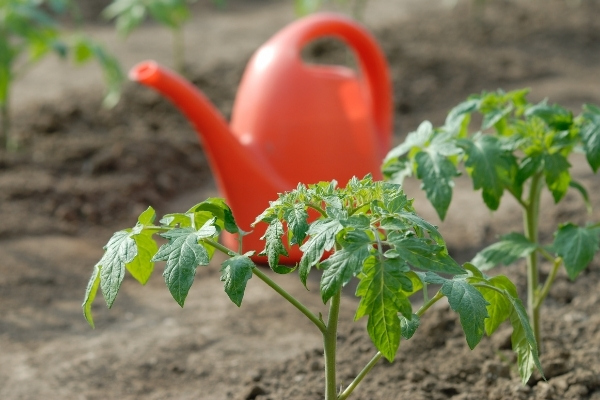
Caring for tomato plants involves three main steps: watering, fertilizing, and pruning. Let’s take a look at what you need to do to keep your plants happy and healthy.
Tomato plants need plenty of water; aim to provide two inches of water (1.2 gallons) per square foot per week during the active growing season. Deep watering encourages healthy, vigorous root growth.
The best time to water tomato plants is in the early morning, giving the plants plenty of time to absorb as much moisture as possible before drying out when the temperatures rise. The first few days after planting, tomato seedlings need to be watered generously and often.
Avoid watering tomato plants overhead; the water shouldn’t touch the leaves or splash dirt on the leaves because it encourages diseases. The best way to water tomato plants is to water at the plant’s base or soil level.
Mulching after you transplant your seedlings helps retain moisture in the soil, and it also stops dirt from splashing onto the lower leaves of your plant. A two-four-inch layer of organic mulch is sufficient. Try straw, hay, or bark chips.
Tomato plants benefit from side-dressing compost or liquid fish emulsion every two weeks, starting when the tomato fruits are one-inch in diameter. If you prefer to use organic granular fertilizer, pull back the mulch and gently work it into the first two inches of soil with your fingers. Water deeply, and then replace the mulch.
Tomato plants need different nutrients as they grow and enter different stages. In the initial stages, nitrogen and phosphorus are the top two nutrients required, but potassium is the most needed nutrient when your plant starts to flower and fruit.
Be sure to avoid using too much nitrogen at the final stage because it leads to excessive foliage growth. Potassium encourages fruiting, and that’s what you want!
As the tomato plant grows, remove the lower leaves from the stem. There shouldn’t be any leaves on the bottom 12 inches of the plant because they typically touch the ground, increasing the risk of diseases.
Pinching off suckers, which are the tiny, new stems and leaves between the branches and main stem, helps increase air circulation. Not only does this encourage more growth, but it allows more sunlight to access the middle of the plant.
Having problems? Read through this guide to organic treatment for common tomato pests and diseases.
How Long Until Tomatoes Fruit?
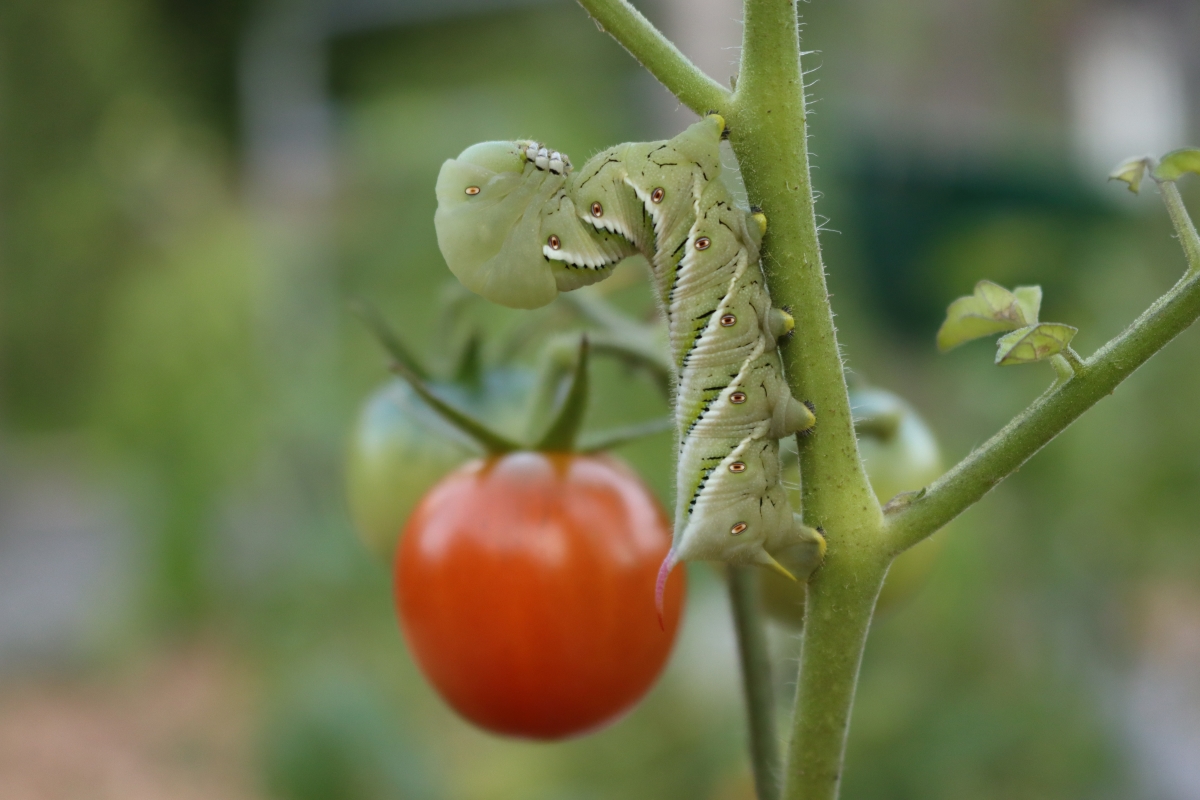
Before you plant your tomatoes, make sure you find out their days to maturity. For tomato plants, the days to maturity start when you transplant the seedling into your garden beds. That’s the length of time it takes for the plant to develop and mature fruits.
When your tomato plant has its first flower, it takes 25-30 days after the flower opens for a cherry tomato to mature and 45-60 days for a large tomato to ripen.
Some tomato plants take longer, and some are faster. Make sure that whatever type of tomato plant you grow will mature within your growing season. Your growing season is the length of time from your final frost date in the spring and the fall’s first frost date.
I like to have some quick and fast-maturing tomato plants. It’s hard to be patient when you’ve waited so long for fresh, homegrown tomatoes. Some varieties mature in as little as 60 days.
Here are some of the fastest maturing tomato plants:
- Stupice ~ Stupice is a tomato variety that matures in 60 days, producing small fruits that only measures one inch in diameter. The fruits might be small, but the plants are long producers with huge yields.
- Sub Arctic Plenty ~ One of the easiest tomato varieties is Sub Arctic Plenty. It says the days to maturity are 55 days, but some gardeners say it’s only 45 days until a harvest arrives. The fruits are small, measuring two inches in size, but they set fruit in low temperatures.
- Sungold ~ Sungold is one of the most popular cherry tomato plants. The plant takes 60 days to ripen, producing heavy amounts of sweet, orangish-yellow tomatoes.
- Moskvich ~ This is a Russian tomato variety that grows well in low temperatures. The fruits typically weigh around six ounces and resist cracking. Expect them to fruit in 60 days and produce large harvests.
- Glacier ~ Here is another must-have tomato plant for cool-climate gardens. The fruits are 2-3 inches and take 55-60 days to reach maturity.
- Betalux ~ This tomato plant is a determinate variety that doesn’t need to be staked. The fruits weigh up to 6 ounces and take 60 days to ripen. Betalux tomatoes are great for making sauces and canning.
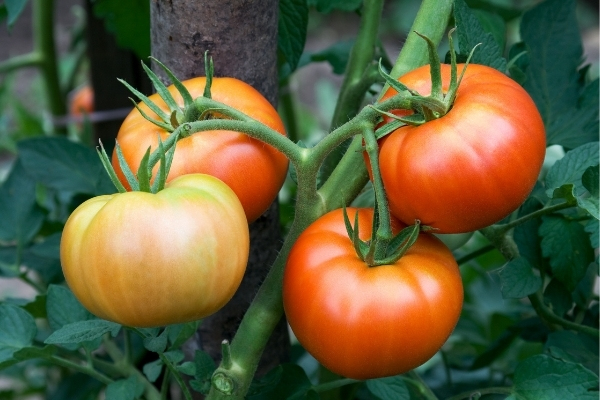
At the end of the season, if your tomatoes haven’t ripened you can bring them in to ripen on the counter, or simply use them unripe in these green tomato recipes.
Harvesting Tomatoes
When the time comes, the tomatoes start to turn red (or whatever their mature color is). Leave the tomatoes on the plant for as long as possible, continuing to make sure the soil doesn’t dry out. (Fluctuating moisture levels in the soil might cause cracking of the tomato skin.)
Tomatoes are ready to harvest when they’re firm and red in color (or their intended color). Size isn’t an indicator of ripening; all tomato varieties come in different sizes. Some are one-inch in diameter, and some weigh up to two pounds per tomato.
It’s possible to harvest tomatoes before they’re ripened. That’s because tomatoes emit ethylene gas, and they continue to produce this chemical even once they leave the plant. Ethylene gas causes the tomatoes to fully mature and ripen.
The actual process of harvesting tomatoes is basic. Don’t squeeze the fruit hard because tomatoes bruise easily. Give it a gentle squeeze to confirm that the tomatoes are firm enough to harvest.
Then, grasp the tomato and gently pull it from the plant. Make sure you hold onto the stem with one hand. If you pull too hard, you might rip off an entire branch from the plant.
Preserving Tomatoes
If all goes well, you should be buried in tomatoes by mid-summer. Once you’ve had your fill of tomato toast, try these tomato preserving recipes:
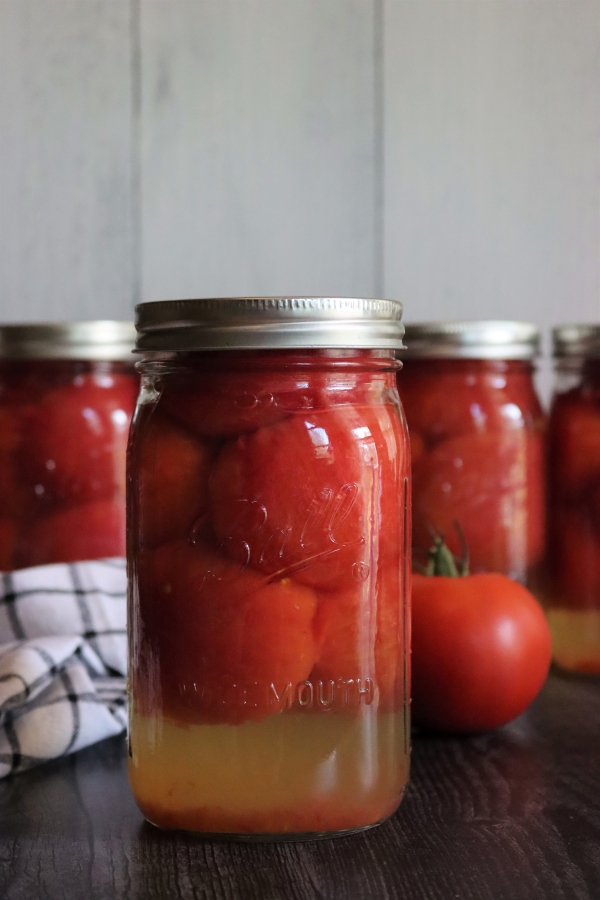
If you don’t have time to preserve your tomatoes before they go bad, I learned last year that tomatoes can be frozen whole. I tried it this past summer when I felt like I was drowning in tomatoes, and I couldn’t keep up with the production.
Don’t feel stressed about it. Freezing tomatoes requires little effort; you don’t have to blanch or peel them. In fact, if you wanted to freeze all of your tomatoes and wait until the garden dies back to turn them into home-canned sauce.
Seedling Growing Guides
Growing more than just tomatoes this spring?
- Growing Rhubarb from Seed
- Growing Asparagus from Seed
- Growing Strawberries from Seed
- Growing Apple Trees from Seed

This was one of the best articles for tomato growing that I’ve seen. I start my seeds every year at about this time (late March early April). Thank you so much for answering questions that I have that I couldn’t find anywhere else.
You’re very welcome. We’re so glad you enjoyed the post.
Do egg shells need to be baked before adding to the soil? I’ve heard that when adding egg shells to citrus plants that they should first be baked to remove possible nasty bacteria.
I have heard of people doing this mainly because of the possibility of salmonella. I don’t personally see a lot of concern for that because I use eggs from my own chickens and feel confident that they are healthy and disease-free.
REally good help, some things that I had never considered a problem or concern are covered here in plain language. Also great tips for all stages of growing tomatos. Great article, thank you!
Wonderful, so glad it was helpful to you!
can I cut a tomato that is fresh and use their seeds or do they have to be dry??? Thanks
You need to at least dry them but it’s actually even better if you ferment them. Here is an article about that process and the benefits.