Affiliate disclosure: This post may contain affiliate links. Please see our Privacy Policy.
Skip the grocery-store can and instead make your own homemade pumpkin puree. Perfect for all your fall baking projects or preserving your pumpkin harvest.
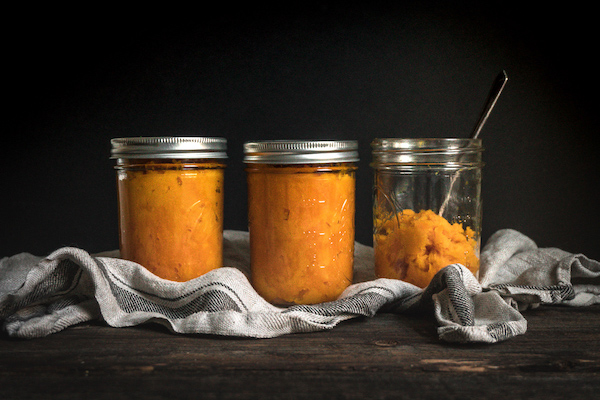
Table of Contents
- Choosing Squash for Homemade Pumpkin Puree
- Growing Squash for Pumpkin Puree
- How to Make Homemade Pumpkin Puree
- Prep your Pumpkin for Roasting
- Roast the Pumpkin
- Scrape, Strain and Puree the Pumpkin
- Use or Store your Perfect Homemade Pumpkin Puree!
- Can you Can Pumpkin Puree?
- Homemade Pumpkin Puree Recipe
- Recipes Using Pumpkin Puree
(This post is a contribution by Melissa Keyser)
Choosing Squash for Homemade Pumpkin Puree
I titled this post “How to Make Homemade Pumpkin Puree” because that’s the kinda thing that Google likes, and the kind of thing you’d search for…like just now. But really, a more appropriate title of this story would be “The Great Red Kuri Squash Crisis: when 50 pounds of squash start to go moldy”
But Google’s not down with that kinda thing.
The truth is though, “pumpkin puree” that you buy in the store isn’t made out of cute little pie pumpkins either. It’s actually a squash cultivar that’s much less a “pumpkin” and more of butternut squash in both flavor and texture. It turns out, if you truly want the most pumpkin-y pumpkin puree, don’t use an actual pumpkin…
This method for making pumpkin puree works with any winter squash, and the best “pumpkin” flavor comes from firm-fleshed winter squash varieties like kabocha, red kuri, butternut, new england cheese pumpkins, and pie pumpkins. Avoid large jack-o-lantern varieties, which are bred for size rather than flavor.
This summer, I grew my three favorite varieties of winter squash: delicata, butternut, and Red Kuri.
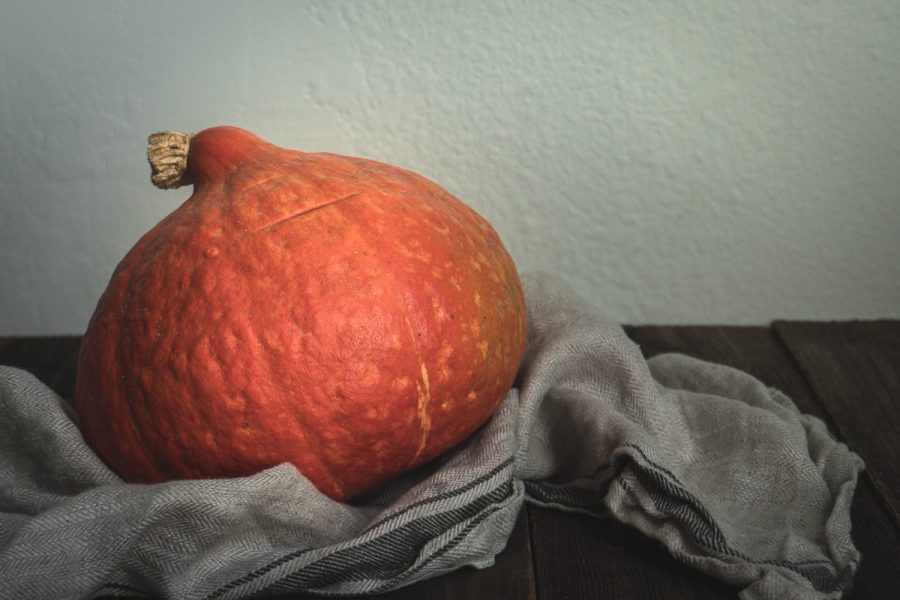
Red Kuri is of Japanese origin, tear-drop shaped, with a red-orange skin, and sometimes also known by the name Hokkaido. They have golden flesh that’s very smooth, dry, sweet and rich.
It makes some of the best pumpkin puree out there, even though it’s not what you’d normally consider a pumpkin. No matter, use any firm-fleshed winter squash you choose with this recipe.
I don’t grow any pumpkin, and instead, I grow Red Kuri for all my pumpkin needs, as I find them to be much superior.
Nonetheless, regardless of the winter squash you’re using, pumpkin or otherwise, making puree is the same.
Growing Squash for Pumpkin Puree
Like most winter squash, they grow on very long vines and are quite prolific- each vine producing several 3-5 pound squashes. And like most winter squash, they are great keepers.
At least, in theory.
Winter squash stores well all through the season, providing the skin is firm and unblemished. If the skin is cut or damaged, they quickly start to spoil, and mold and oozy bits radiate out from the point of injury. Not what you want in a long-term storage situation.
Over the summer, I looked out over my squash day after day, proud of my little squash babies blushing orange on their drying vines, cradled in the dry grass of their mulched bed. Towards the end of the season, I checked the stem for drying out, a cue of telling when ripe, eager for my day of harvest.
Finally, that day came and used my pruners to cut the fruit off the vines.
Then, I realized the horror.
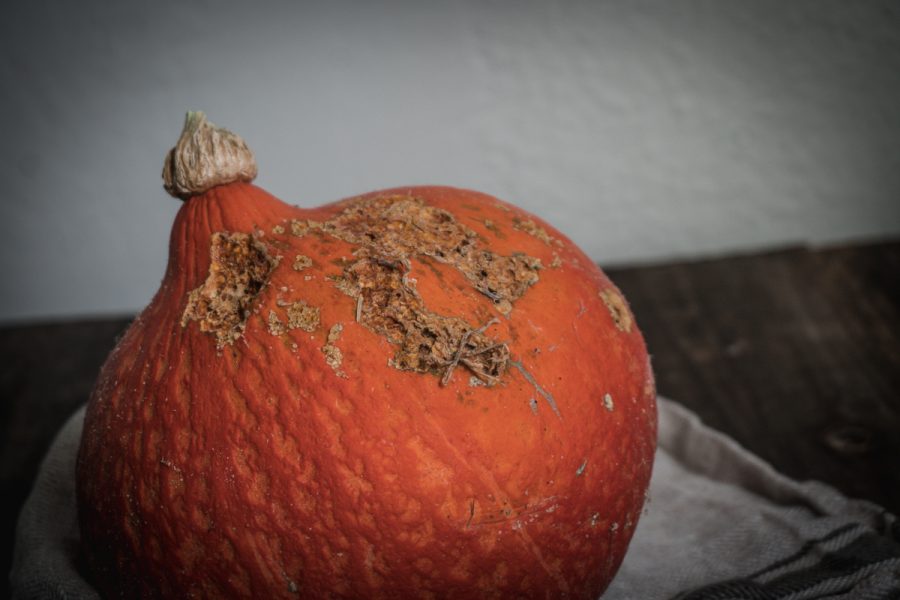
Where the squash had been resting on the ground was covered in scabby sores, made from the chewing of insects. Some squash completely collapsed on themselves when I tried to pick them up, like a melting squash snowman, flumping into a pile of seeds and molding squash goo. Rolly-pollies or earwigs were still present at the scene of the crime, buried in the squash, munching away.
My mind went to a scene of a B-rated horror movie, of invading parasites that burrow into human flesh to devour them from the inside out.
Nothing says Halloween and Pumpkin Spice Latte Season like a horror film happening in your own backyard, albeit in miniature scale.
So I placed all my squash that was at least still whole on a metal rack in my sunroom/extended pantry/room where we put random shit, pretending that everything was going to be ok, but deep down, know to know the inevitable would happen.
And I was right.
By the next week, I could spot signs of softness and mold.
I had entered squash crisis mode. I had about 50 pounds of beautiful squash on the verge of destruction. Enter “Preserve all the Red Kuri Squash as to not Waste this Delicious Flesh” mode.
Enter making homemade pumpkin puree mode.
And pureed, thankfully, is the form that I like to use Red Kuri squash the best.
How to Make Homemade Pumpkin Puree
Not all pumpkins are created equal. If you’re looking for a puree like the type you’d find in the can (or the kind needed for any pumpkin recipe) it’s unlikely you’ll get the same results from your average Halloween carving pumpkin.
Instead, choose a pie pumpkin or a fancy, culinary heirloom pumpkin with a name you can’t pronounce like Jarrahdale (the squatty blue/grey ones), Musquee De Provance (the squatty tan ones), or Rouge Vif D’ Etampes (the squatty orange ones). Or, another winter squash that yields smooth, sweet and dry flesh. Like my Red Kuri squash.
Prep your Pumpkin for Roasting
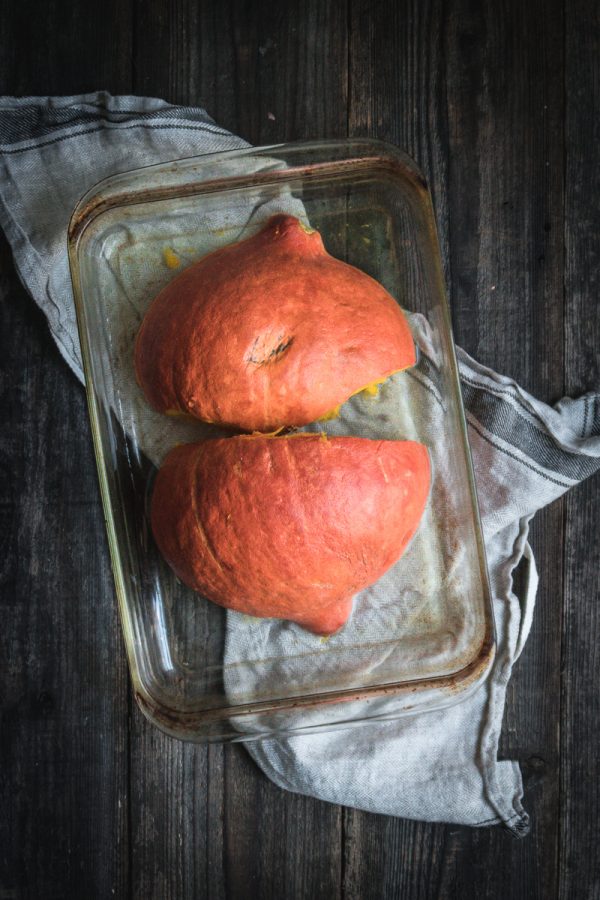
Preheat your oven to 350° F. Wash the pumpkin, then cut your pumpkin in half. Scoop out the seeds and the gut-like bits (I’m a big fan of using a grapefruit spoon for this!) and either save for roasting (a post for another day) or toss into the compost.
If you have any soft or moldy bits, cut those away and discard as well.
What if the pumpkin is too hard to get a knife through? Do a pre-bake whole!
If it’s on the smaller side, you can even just cook a whole pumpkin in an instant pot, no cutting required. Or, whole in the oven, either way.
Just place in your baking sheet and roast for a bit, until there is some give when poked. Take from the oven, cut in half, scoop out the seeds, and then continue roasting.
Roast the Pumpkin
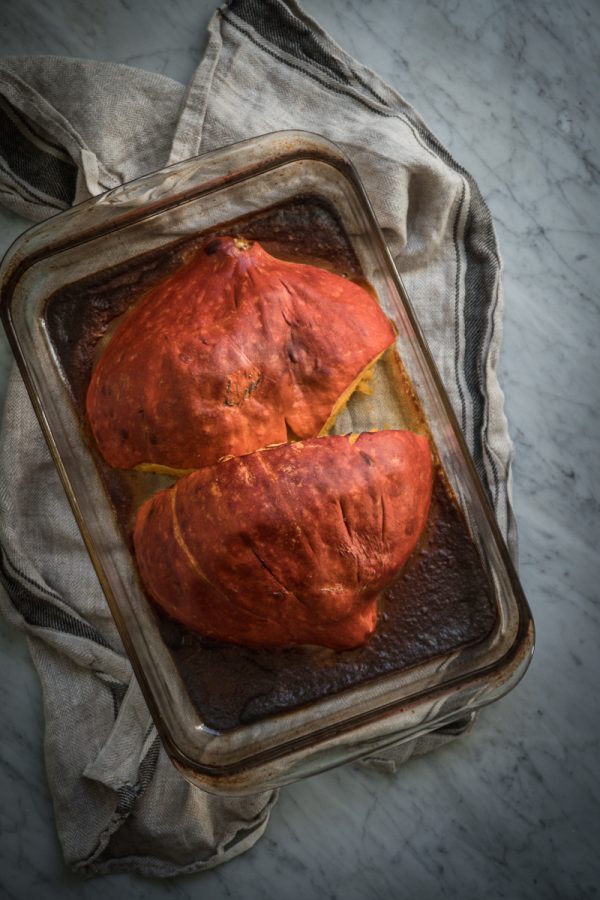
Place the pumpkin CUT SIDE DOWN on a baking sheet with a lip or roasting pan. Cut side down is important, as it helps the pumpkin flesh steam. If you leave the cut sides up, it gets kinda dry and leathery.
Pour a bit of water into the pan, so the pumpkin is sitting in about a 1/4″ of water.
Bake until the squash is very soft and falling in and collapsing on its self. Like a drunk melting snowman.
Or, a baking squash. Or, a melting zombie in a pile of acid. You know, whatever Halloween scenario you want to come up with.
How long it needs to bake will totally vary depending on the size of the pumpkin and what type of pumpkin. Mine usually take at least an hour.
This is also a very forgiving baking project: you can start roasting, turn the oven off and run to the store, leave the pumpkin in the oven to bake with residual heat, come back, and turn on the oven again to finish. Or, you can turn off the oven to let it cool and then forget about it for several hours with no ill effect.
Not that I know from personal experience or anything.
Scrape, Strain and Puree the Pumpkin
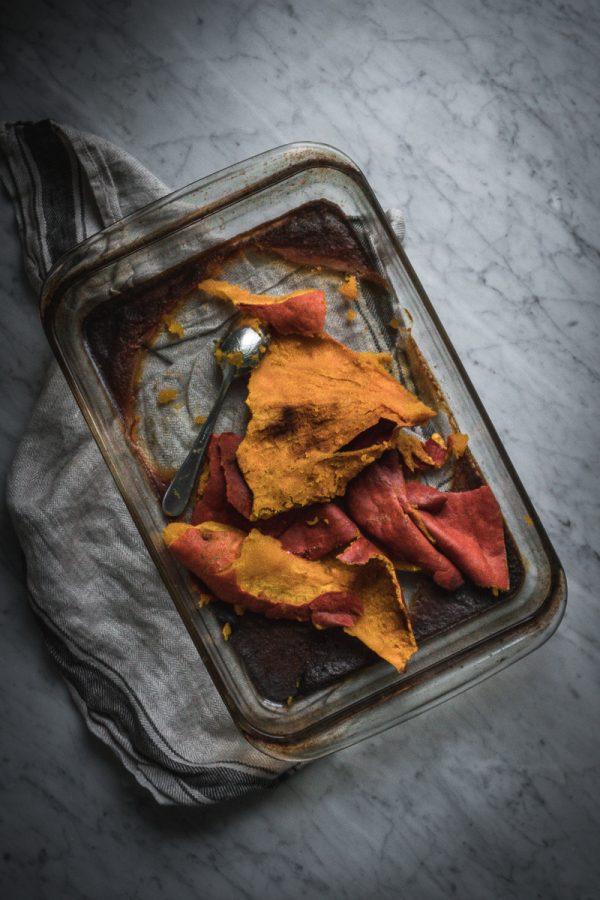
Once the pumpkin is roasted, allow to cool. Then, use a spoon and scrape the flesh away from the skin (wow, this is like an ongoing horror movie plot….). Discard the peel.
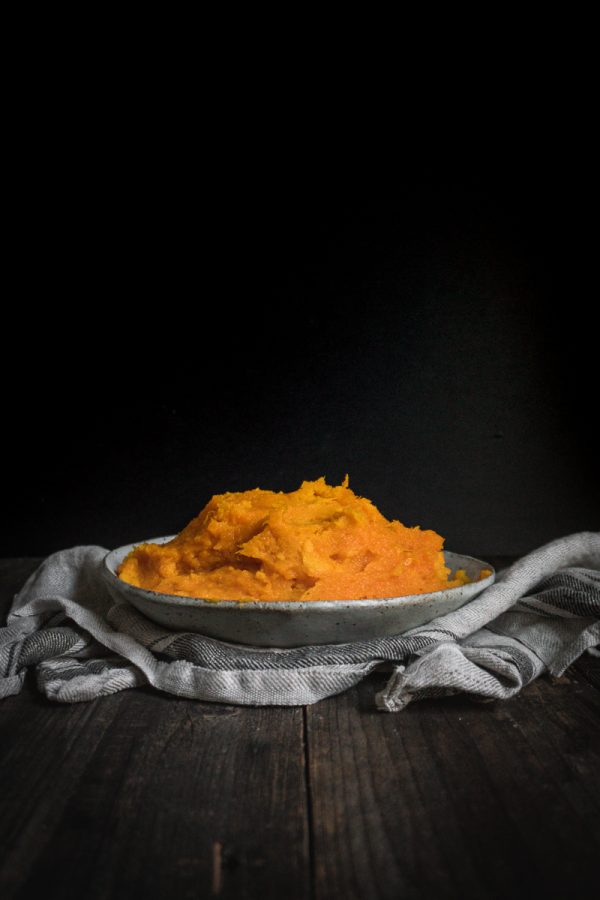
Depending on the type of pumpkin, it may be very smooth as is, and you can use just like that. Otherwise, you can mash the pumpkin with a fork, a potato masher, run through a food mill or a food processor to get all the lumps and stringy bits out. Whatever your method of choice of mashing up flesh is.
Some pumpkin is very watery, which is not what you want in pumpkin puree to be used for baked goods. If this is the case of your pumpkin, allow the puree to sit in a bowl for an hour or so, and then strain off any water that may have accumulated.
Use or Store your Perfect Homemade Pumpkin Puree!
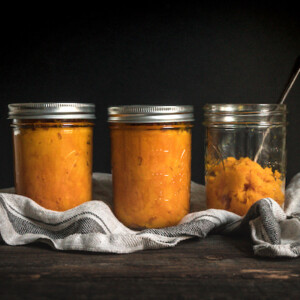
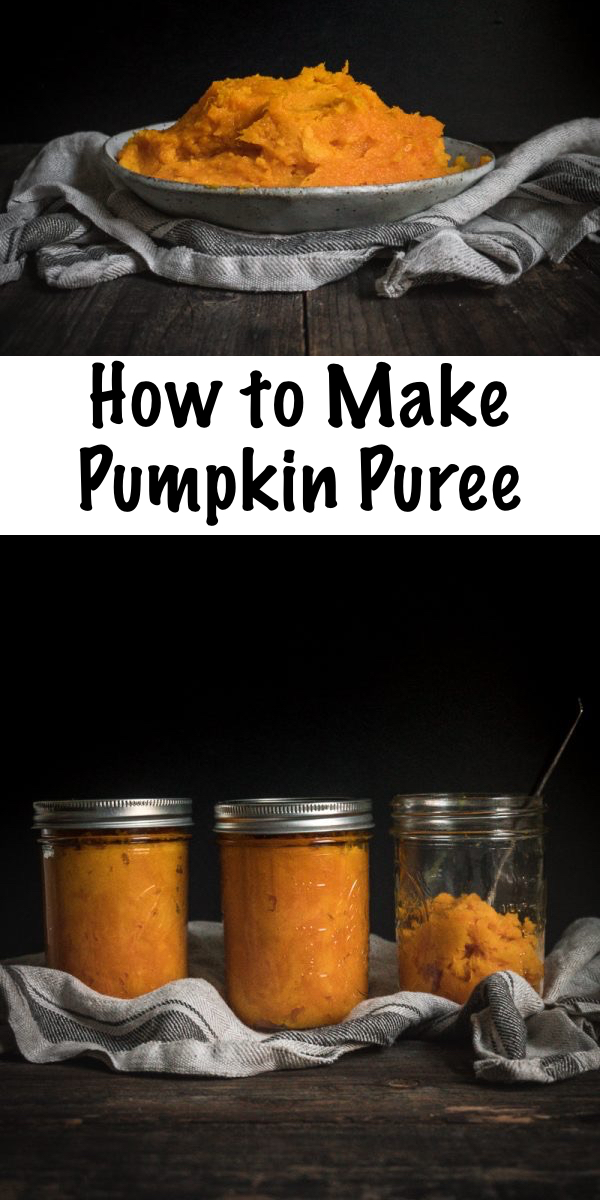
Your pumpkin puree is now ready to use in any recipe that calls for canned pumpkin! If you don’t need it right away, or, if you’re like me and making puree as a form of squash salvation and preservation, you’ll want to freeze it.
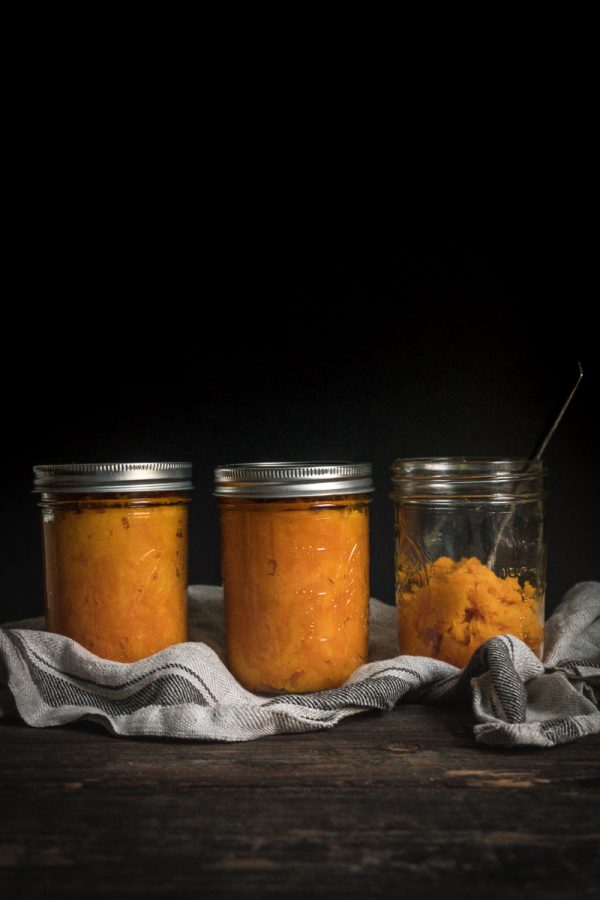
Pack into freezer-safe containers or jars, leaving headspace for expansion, label, and freeze. I like to use wide-mouth pint-sized mason jars, which, when filled about an inch below the rim, holds about the same amount you’d find in a normal-sized grocery-store can of pumpkin. Convenient when making recipes that call for “1 can of pumpkin”!
Can you Can Pumpkin Puree?
No. Because it’s so thick and dense, it’s not safe to can at home. Pumpkin can be pressure canned in chunks packed in water, but not as a puree. The results are not the best though. Stick to freezing homemade pumpkin puree instead.
Homemade Pumpkin Puree
Ingredients
- Pumpkin or Winter Squash
Instructions
- Slice the squash in half and remove seeds.
- Place face down on a baking dish. Add about 1/4 inch of water to the pan.
- Bake at 350 for about 1 hour, until the squash is very tender when tested with a fork.
- Scoop out the pumpkin flesh and either mash with a fork or puree in a food processor.
- Store pumpkin puree in the freezer for up to 1 year, or in the fridge for a few weeks.
Recipes Using Pumpkin Puree
Now that you have pumpkin puree, there are so many ways to use it. Try any of these pumpkin recipes:
- Making Pumpkin Flour from Pumpkin Puree
- Easy Pumpkin Cheesecake
- Honey Molasses Pumpkin Pie
- Grandma’s Pumpkin Cookies
Wonderful! How do I go from cubed canned pumpkin to soft pie ready pumpkin mash? Do I than cook the cubes and mash them? Would a quart of cubes be enough for a pie when mashed? Hoping you might know!
Yes you can just mash them. They should already be cooked from the canning process. One quart will make one pie.
Try Dehydrating the puree and grinding it up into powder, takes up much less space and easily reconstituted and shelf stable!
Great idea and I’m all over it! ~ How to Dehydrate Pumpkin Powder
Thanks for this great information. If I do a pre-bake in order to be able to cut the pumpkin do you think that would prevent me from being able to grow the seeds later? I suspect they will get too hot in the oven to be able to germinate after that. But they would still be good for roasted pumpkin seeds.
Pre-baking the whole pumpkin with the seeds inside would kill the seeds, and they wouldn’t germinate. As to whether they’d roast nicely, that’s a good question. They’ll steam inside the pumpkin, so they’ll already be cooked, and I wonder if that’ll make them turn out different when you roast them later? I honestly don’t know, but I’d love to hear how it goes.
I was sent this link by my sister-in-law and I really appreciate the practical and funny advice. Are use the big beautiful pumpkins that I call Cinderella pumpkins which I buy every October for decoration and they produce an astonishing amount of pumpkin meet. Thanks for this practical information. I hate to see the pumpkin flash go to waste.
I love homemade pumpkin puree. If I can find hokkaido pumpkin I use it for the puree because the taste has some chestnut notes. Love it!