Affiliate disclosure: This post may contain affiliate links. Please see our Privacy Policy.
Soap making is a fun craft that’s easy to master, provided you have good attention to detail and know-how to carefully follow directions. Once you learn how to make soap, you can begin experimenting with your own homemade recipes, and truly make it your own!
Homemade soap is a real pleasure to make, and once you experience all-natural homemade soap, I doubt you’ll ever go back to store-bought.
Making your own soap allows you to control the process completely, and knowing the exact ingredients gives you peace of mind in our modern world of chemical additives.
The process may seem overwhelming at first, but once you’ve made your first few batches, it’ll be second nature. In truth, learning how to make your own soap is simple and only has a few steps from start to finish.
The following is reprinted with permission from The Big Book of Homemade Products for Your Skin, Health and Home by Jan Berry, Page Street Publishing Co. 2020. Photo credits: Jan Berry where noted.
Soap-Making Basics
Before you jump into the process of making soap, there are a few things to know.
In order to make soap, you need to combine a caustic substance with oils or fat. In days past, our grandmothers used potash, made from wood ashes and animal fats. The problem was that there was no way to know how strong or weak the potash was and how much fat should be used in ratio to it. The result was often a harsh bar that did well for cleaning laundry, but didn’t feel so great on skin!
Today, we have one standardized chemical for making bar soap. It’s called sodium hydroxide, or more commonly, lye. Because it never changes, we can use online lye calculators and figure out exactly how much we need to make a perfectly balanced bar of soap every single time.
In order to do this, it’s important that all ingredients, even water and oils, are measured by weight instead of volume, as inconsistent measurements will yield unreliable results.
Some people fear that because lye is a caustic substance, some might be left over in the soap and will hurt your skin. That’s an understandable concern, but it’s completely untrue.
Every single molecule of lye reacts with corresponding molecules of oil and they both turn into something new—soap plus glycerin. There is no lye left in a properly made bar of soap.
Store-bought soaps either contain chemical detergents or lye. Look on the label of your favorite soap. If it has the words “saponified,” “sodium cocoate,” “sodium tallowate” or “sodium palmitate,” that’s just another way of saying oils that have been reacted with sodium hydroxide, or lye.
Lye is a strong chemical that does require utmost caution and respect when handling. For safety, wear a pair of goggles, to protect your eyes from splashes, along with rubber or latex gloves and long sleeves.
Always add lye to liquids, and not the other way around, or it may have a volcano effect and make a mess. When mixing lye into water or another liquid, it gets very hot fast, and strong fumes will develop for a few moments. (This is one of the most common soapmaking mistakes, and it’s easy to avoid!)
Don’t breathe these fumes in directly. The ideal place to work is in your kitchen sink, with the window open for fresh air.
Handling lye is for grownups only. Make sure small children and pets are out of the area. Lye solutions should be clearly marked with both words and danger symbols for non-readers.
If you get lye on your skin, rinse repeatedly with copious amounts of cool water. For large-area burns or if you get it in your eyes, rinse and seek medical attention right away.
I know that all of these safety warnings make lye sound pretty scary! Keep in mind, though, that soap is made every day by many people without incident. If you can safely handle bleach, another potentially harmful chemical, you should be able to handle lye with the same amount of competence.
Soap-Making Supplies
There are a few basic things you’ll need for making soap.
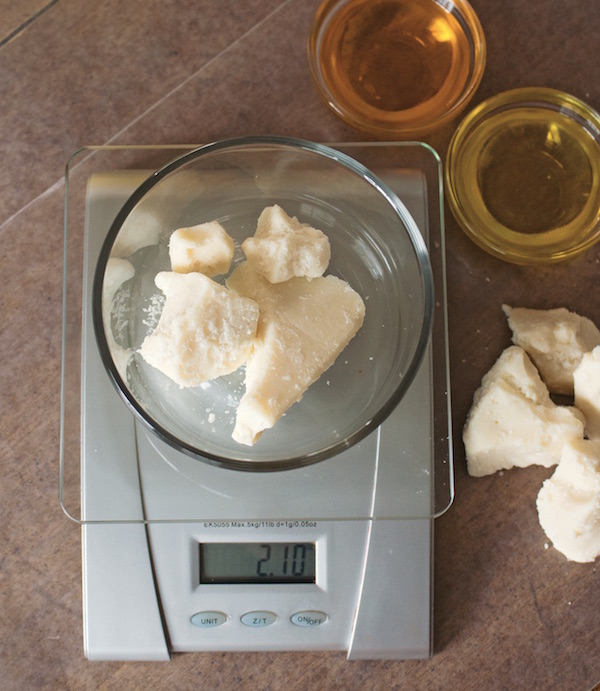
Digital Scale—It’s important that soap-making ingredients, especially the lye, are measured precisely in order to make a balanced bar of soap. An accurate digital scale is a must. Check at your local big-box store, near the kitchen accessories section, for a reasonably priced one.
Thermometer—A candy thermometer works well to measure the temperature of lye solution and oils. Save it just for soap making, though, and get a separate one for making candy.
Small Measuring Container—This is for measuring dry lye. Mark it clearly with the words “LYE” and a symbol for nonreaders. I use a plastic cup.
Heatproof Pitcher—Use this for mixing the lye and water together. Use stainless steel or heavy-duty plastic. Some people use heatproof glass, but over time the inside develops weaknesses that make it prone to breakage, so it’s not recommended.
Soap Pot or Large Bowl—This is for mixing the entire thing together. It should be stainless steel, high-density plastic, enamel-lined or ceramic. Don’t use aluminum or nonstick surfaces; they will react badly with lye.
Rubber Gloves, Long Sleeves, and Safety Goggles—Use these to keep hands, arms and eyes protected.
Stick or Immersion Blender—This shortens stirring time considerably and is highly recommended. Don’t use a regular handheld mixer with beaters; it doesn’t work in the same way.
Heatproof Mixing Utensils—Use heavy-duty plastic or silicone spoons and spatulas for mixing and scraping soap into the mold.
Soap Molds—Most soapmaking recipes will fit a Crafter’s Choice regular loaf silicone mold 1501, or approximately a 3-pound (1.3-kg) mold.
Parchment Paper or Plastic— For lining soap molds. (See notes on lining soap molds below)

How to Make Soap
Now that you have the basics down, you’re ready to make soap! Remember that all measurements are by weight, even the water portion.
STEP 1
Assemble your ingredients and don your safety gear of gloves, goggles and long sleeves. I like to lay several sheets of wax paper over my work area, to make cleanup easier. Prepare your mold by lining it, unless it’s silicone. (See more details below)
STEP 2
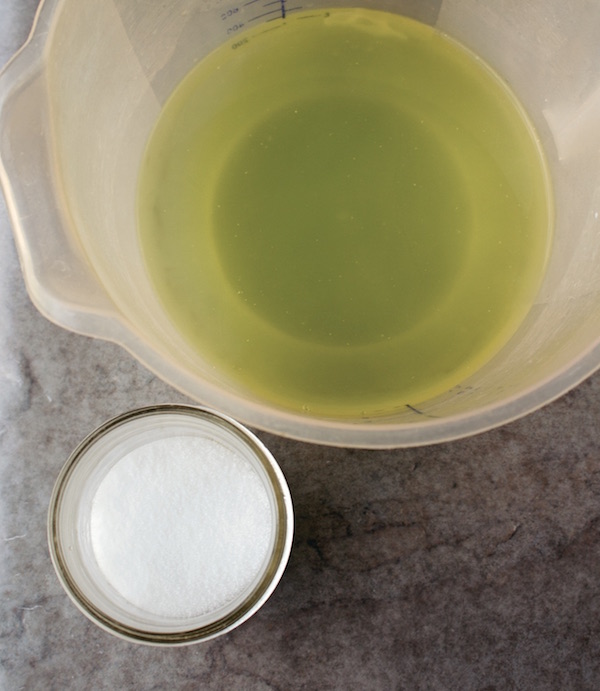
Weigh out the water or herbal tea part of the recipe in a heatproof container and set it down into your kitchen sink or another spot near a source of fresh air.
Weigh out the lye in a separate container.
STEP 3
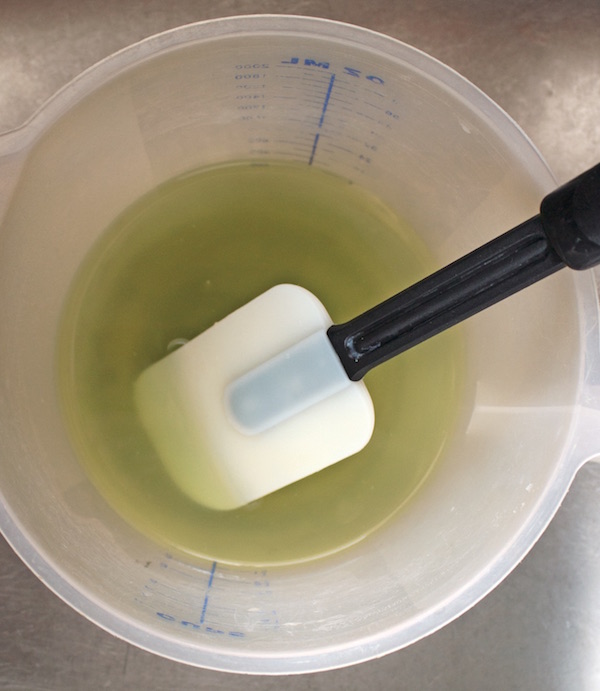
Pour the lye into the water or tea and stir gently with a heatproof spatula or spoon until the lye is fully dissolved from the bottom of the container.
Always add the lye to water and not the other way around, to avoid a potentially dangerous, and messy, lye-volcano. Avoid directly breathing in the strong fumes.
Set the solution aside in a safe place out of the reach of children and pets, and let cool for 30 to 40 minutes. The temperature should drop to 100 to 110°F (38 to 43°C) during that time.
STEP 4
While the lye solution is cooling, weigh out the oils and butters you’ll need for your recipe. Melt coconut oil and any solid butters in a double boiler before adding to the other oils in your bigger soap-making pot or mixing container.
Heat the oils more, if necessary, until they’re 90 to 100°F (32 to 38°C).
STEP 5
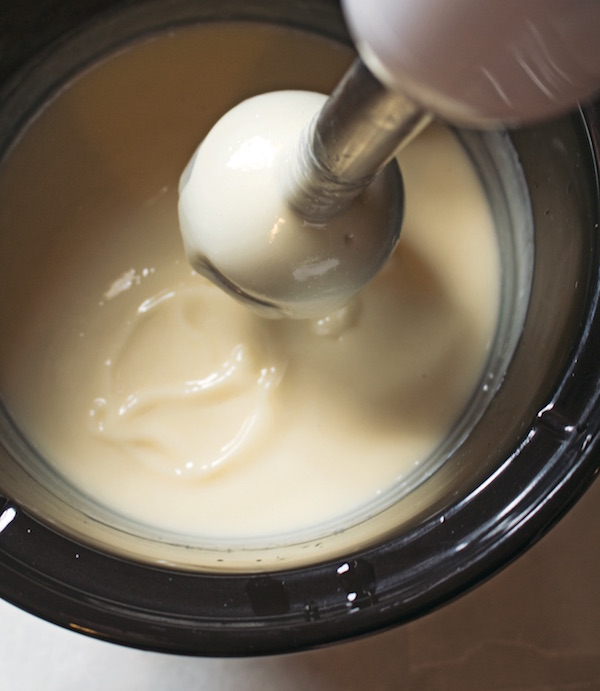
Pour the lye solution into the pot or mixing container of oils. Hand stir with an immersion blender (powered off) for 15 to 20 seconds, then turn on the immersion blender and mix the soap batter, alternating every 15 to 20 seconds or so with hand stirring to prevent the immersion blender’s motor from burning out.
Continue mixing until trace is reached. This could take anywhere from 2 to 10 minutes. “Trace” means that the soap batter is thick enough to leave a faint, fleeting imprint when it’s drizzled across itself.
STEP 6
Once you’ve reached trace, you can choose to make either cold process soap or hot process soap.
For Cold Process Soap
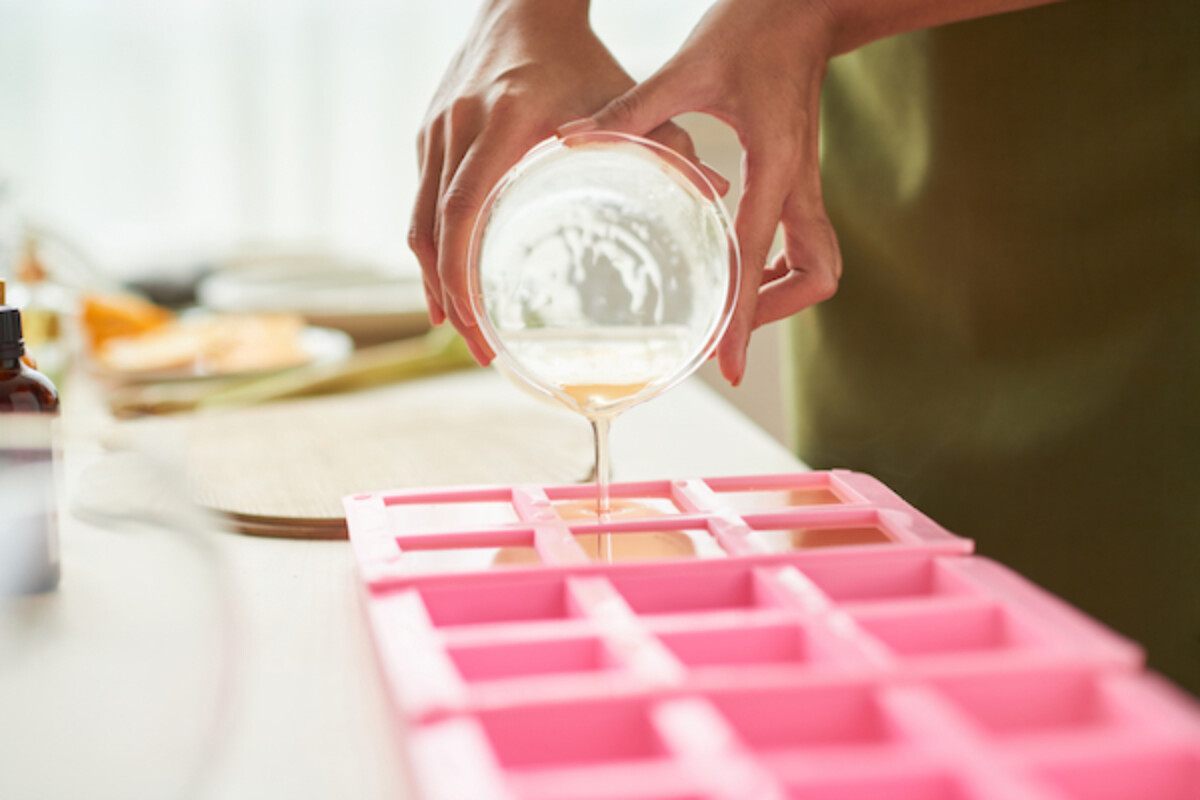
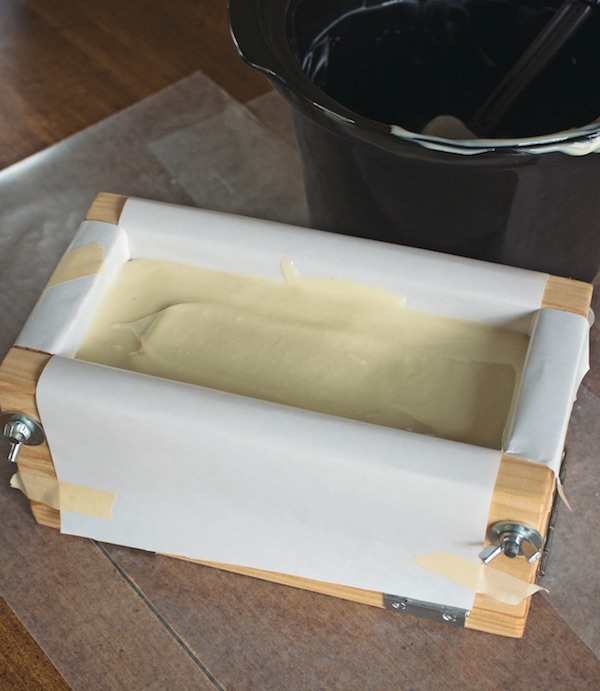
Stir in any extra ingredients, such as essential oils, oatmeal, honey and such, then pour the soap batter into the prepared mold. At this stage, the soap is still caustic, so be sure to have your gloves on while handling it.
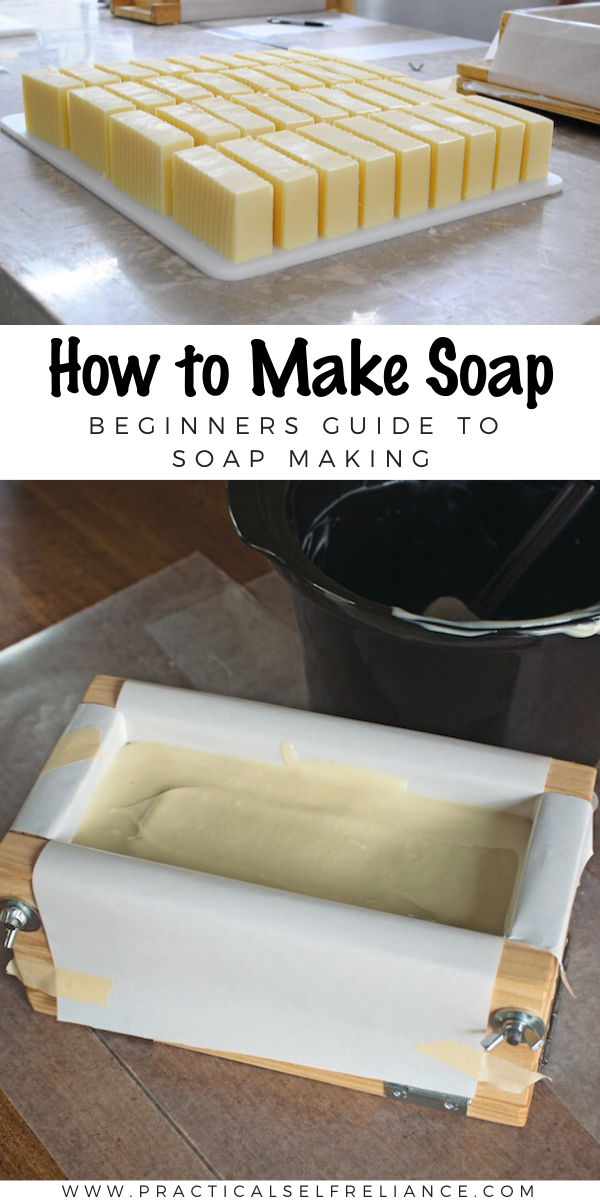
Pour the soap into your choice of soap mold, then cover the mold with a sheet of wax paper and then the mold’s top or a piece of cardboard. To retain heat, tuck a quilt or towel around it. Make sure it’s in an area where it won’t get disturbed or knocked over, then allow it to stay in the mold for 24 to 48 hours.
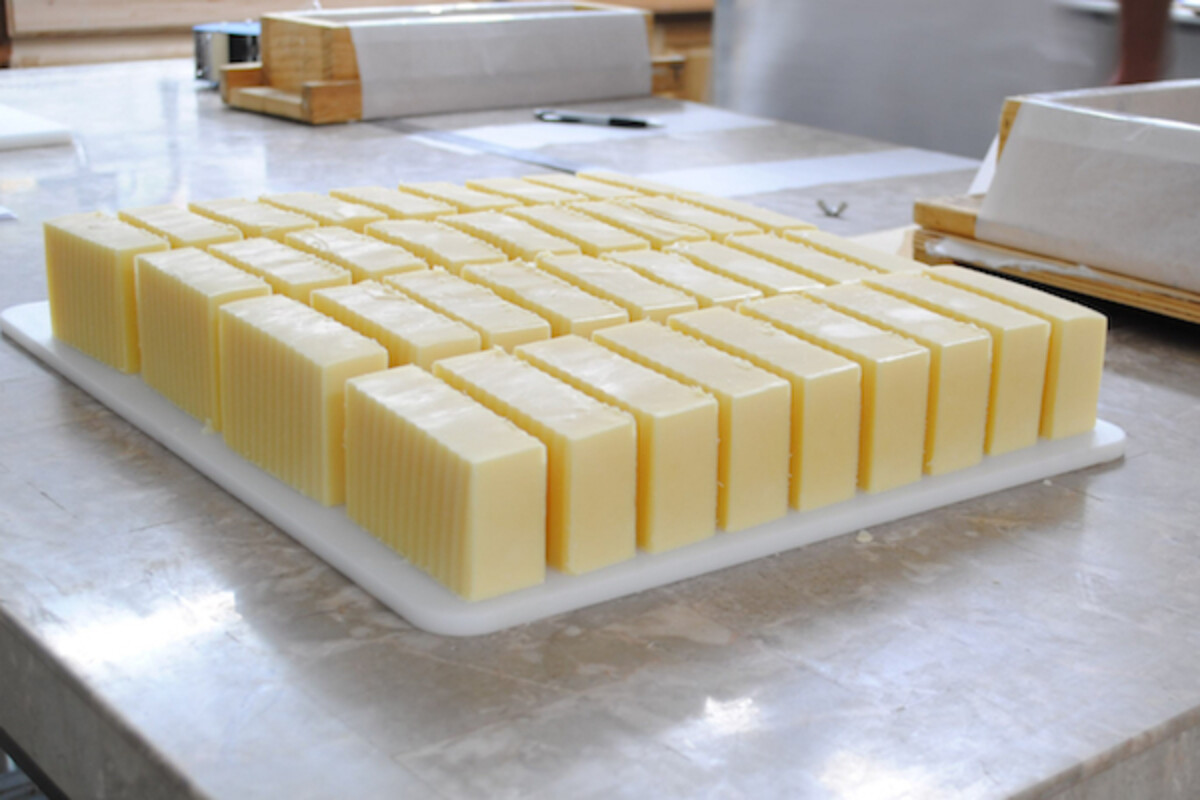
After that time, remove the soap from the mold and slice into bars. Let the bars cure in the open air on sheets of wax paper or a coated baking rack for at least 4 weeks before using.
For Hot Process Soap
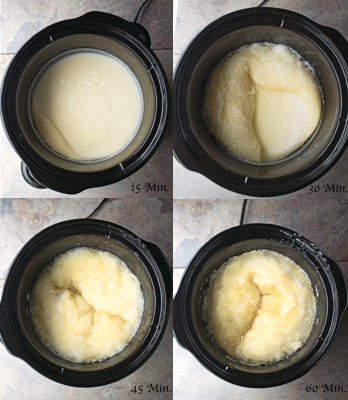
Pour the soap batter into a slow cooker turned on low heat. Cover with the lid and let cook for 1 hour, checking and stirring every 15 minutes. The soap will go through many changes during the process.
At times, it will rise up higher and then fall back in on itself. Parts of the soap will turn dark and gel-like. This is all normal.
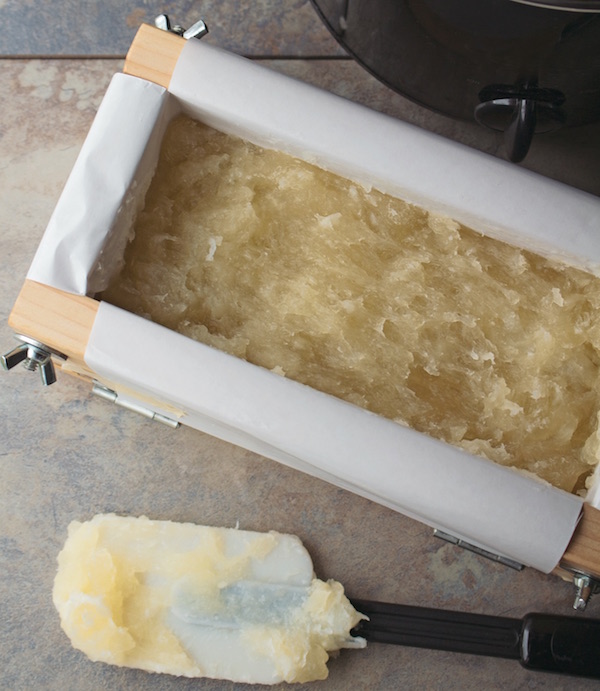
After 1 hour of cook time has passed, give the soap a final stir. It will have a thickened consistency reminiscent of mashed potatoes.
At this stage, stir in any extras such as essential oils, oatmeal, honey and such.
Spoon the cooked soap into the prepared mold. Allow it to firm up overnight, then remove from the mold and slice into bars.
You can use hot process soap bars right away, although it makes a longer-lasting bar if it cures in the open air for a few weeks.
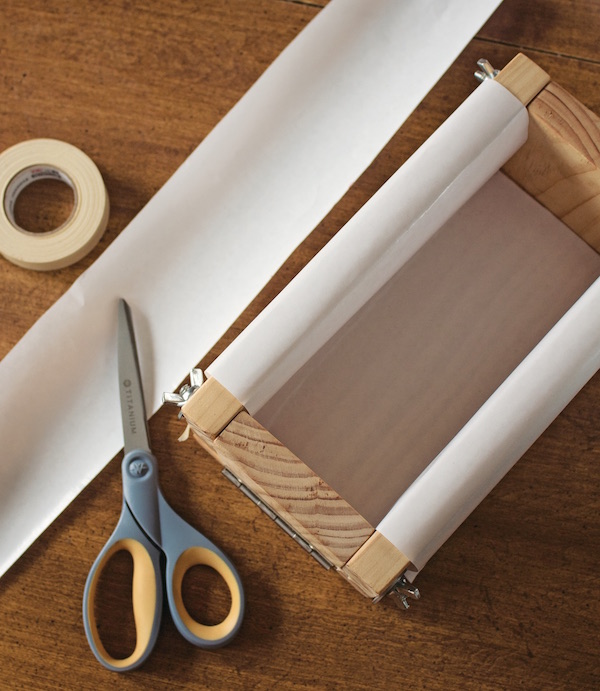
Lining Molds
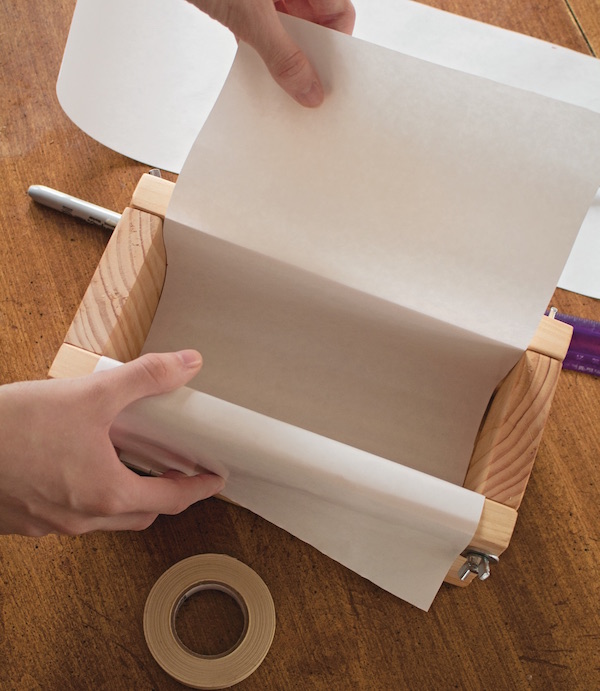
This is a step that can be done several ways. One method is to use two long sheets of parchment or freezer paper, one cut to the exact width of the mold and the other cut to the exact length.
Lay the sheets across each other so they hang over the sides of the mold. This makes it easy to lift the finished soap out of the mold by the paper.
For a quick and easy liner, buy a bag of unscented store-brand trash bags. Make sure they’re not the thinnest, flimsy kind that tears easily, but they don’t have to be expensive either.
Open the bag and press it to fit neatly into the bottom of the mold. You’ll find that you have a lot of bag left over when you’re done. You can tie it up, out of the way, or trim off the excess.
You can bypass the need for lining your mold in the first place by buying silicone molds or wooden ones with silicone liners. While they have the advantage of being nonstick, they often hold in moisture longer, so your soaps may have to sit in them a few extra days before they can be unmolded.
Unmolding & Slicing Bars of Soap
Soap often can be unmolded 24 to 48 hours after being poured into the mold. It should be completely cool and feel solid when pressed. Some silicone molds or very deep ones will hold in moisture longer, so they may take several extra days before the soap is firm enough to unmold easily.
If you continually have problems with unmolding soap, try reducing the water in your recipe by 0.5 ounce (14 grams) or adding around 1 1⁄2 teaspoons (7.5 ml) of sodium lactate (a salt, naturally derived from corn or beets). Both of these techniques will help the soap harden faster.
Once your soap is firm enough, remove it from the mold and place the loaf on a sheet of parchment or wax paper. Slice evenly into bars using a soap cutter or sharp, non-serrated knife. How thick you slice the bars is a personal preference, but many soap makers like to cut them 1 to 11⁄4 inch (2.5 to 3 cm) thick.
Adding Natural Fragrance and Color
Essential oils can be added to soap for natural fragrance, although it does take a fairly significant amount, around 2 tablespoons (30 ml) per batch, to create a noticeable, long-lasting scent. (Use half as much for a lighter scent.)
If you plan on scenting your soaps with essential oils, you’ll find that online vendors of soap supplies are significantly more economical than local health food stores, where tiny bottles are often expensive.
Many citrus essential-oil scents fade too quickly, while other essential oils are too cost-prohibitive to use in soap. Some that I’ve found to work well include lavender, rose geranium, peppermint, spearmint, lime, 10x (ten-fold) orange, lemongrass, and eucalyptus.
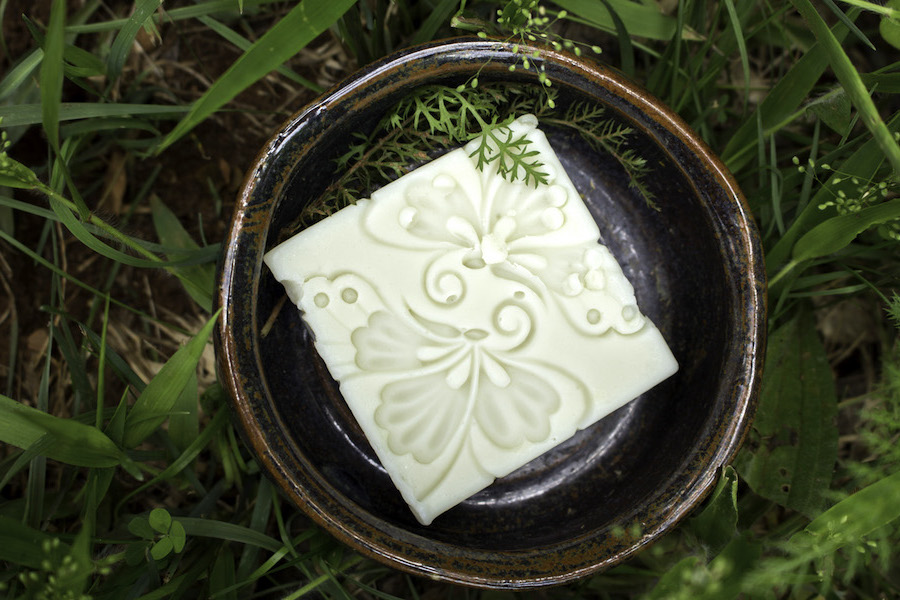
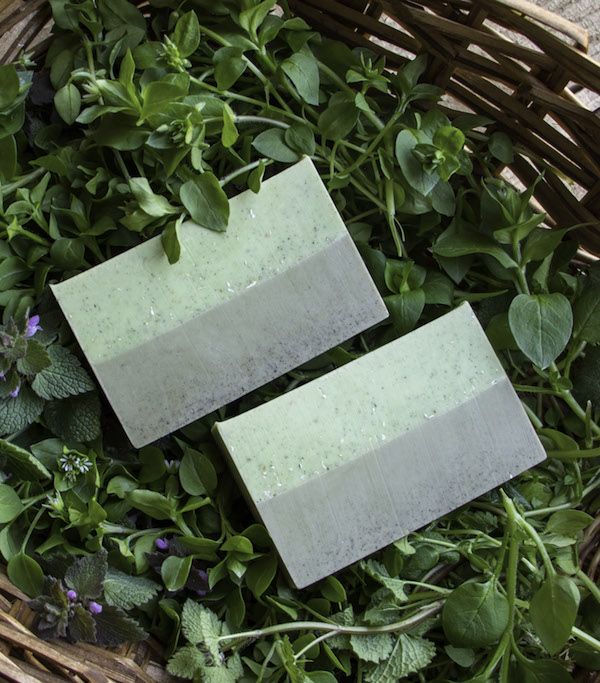
To color soap naturally, try adding clays and botanicals, such as annatto seed powder (for yellow and orange), purple Brazilian clay, French green clay, rose kaolin clay and indigo powder.
*The preceding was reprinted with permission from The Big Book of Homemade Products for Your Skin, Health and Home by Jan Berry, Page Street Publishing Co. 2020. Photo credits: Jan Berry.
Beginner Soap Recipes
I’m so happy that I was able to share the basics of soapmaking with you from Jan Berry’s new book. Hopefully, now you have a better understanding of all the steps in the soapmaking process, and you’re ready to pick your first soapmaking recipe.
As you get started, I’d strongly suggest that you use tested soapmaking recipes from trusted sources.
Soapmaking can be tricky chemistry, and the balance of lye to oils is very important. Even when using established recipes, I’d strongly suggest putting the ingredients into a soap calculator to double-check the recipe before starting.
Jan’s book includes more than a dozen beginner soapmaking recipes, as well as recipes for shampoo bars, herbal salves, lotions, bath melts, scrubs, soaks, and salts. It’s the perfect introduction to making all your own body products, and a great place to start for beginner soap crafters.
Beyond that, here are a few beginner soapmaking recipes to get you started right away:
If you’re still not ready to take the plunge and work with lye, no worries. You can always start with melt and pour soap.
- How to Make Melt and Pour Soap
- Goats Milk and Honey Melt and Pour Soap
- Spring Weeds Gardener’s Soap (Melt and Pour)
Other Soap Making Resources
Want to learn more? Here are some other wonderful soap making resources:
More Easy Homemade Body Products
Looking for homemade body product tutorials? Read on…


Hello Ashley l enjoyed reading your instructions on making soap. It read out like you were standing right in the kitchen giving instructions. I would like to give it a try. Wish me luck.
Thank you. We’re so glad you enjoyed it. Please check back in and let us know how it goes.
Where’s the best place for an absolute newbie to get supplies?
Honestly a lot of supplies can be found pretty inexpensively at your local big box store. I just normally use supplies straight from the kitchen department for soapmaking.
It awesome and wonderful
Please can you also organize a zoom lecture as well?
We’re so glad that you enjoyed it but we don’t offer Zoom lectures at this time.
Would you recommend having all separate supplies? Or can I use the same immersion blender I use for my cooking?
You should always use separate supplies for soapmaking.