
Affiliate disclosure: This post may contain affiliate links. Please see our Privacy Policy.
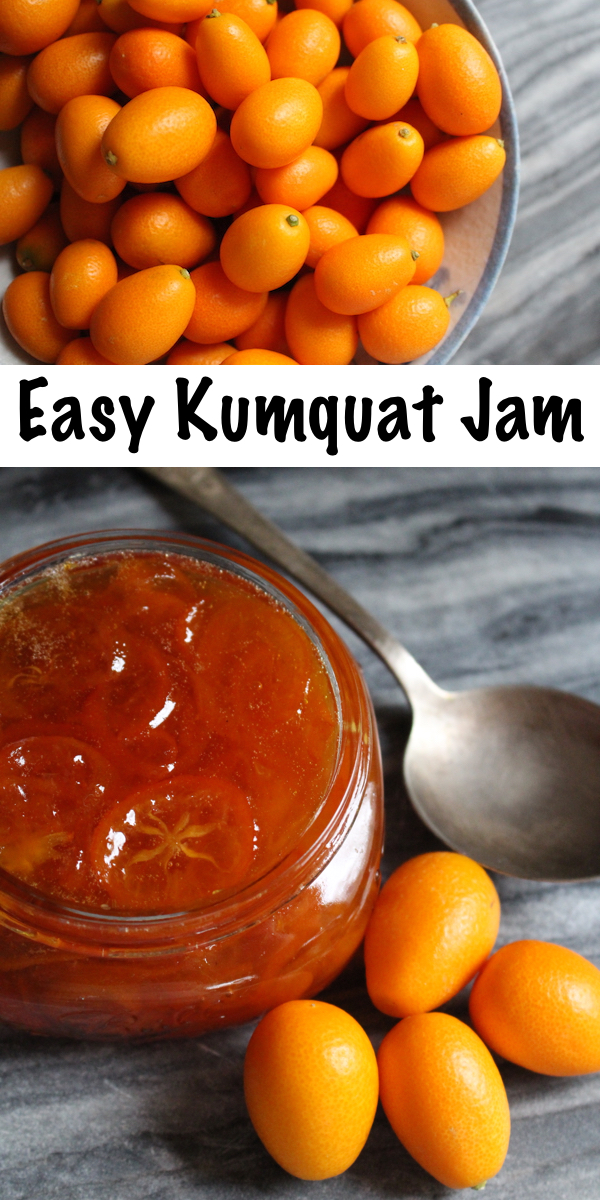
Kumquat jam turns a tart little citrus that most people don’t know what to do with into a bright, full-flavored spread for your morning toast. All that zing mellows into something glorious once it cooks down with a bit of sugar.
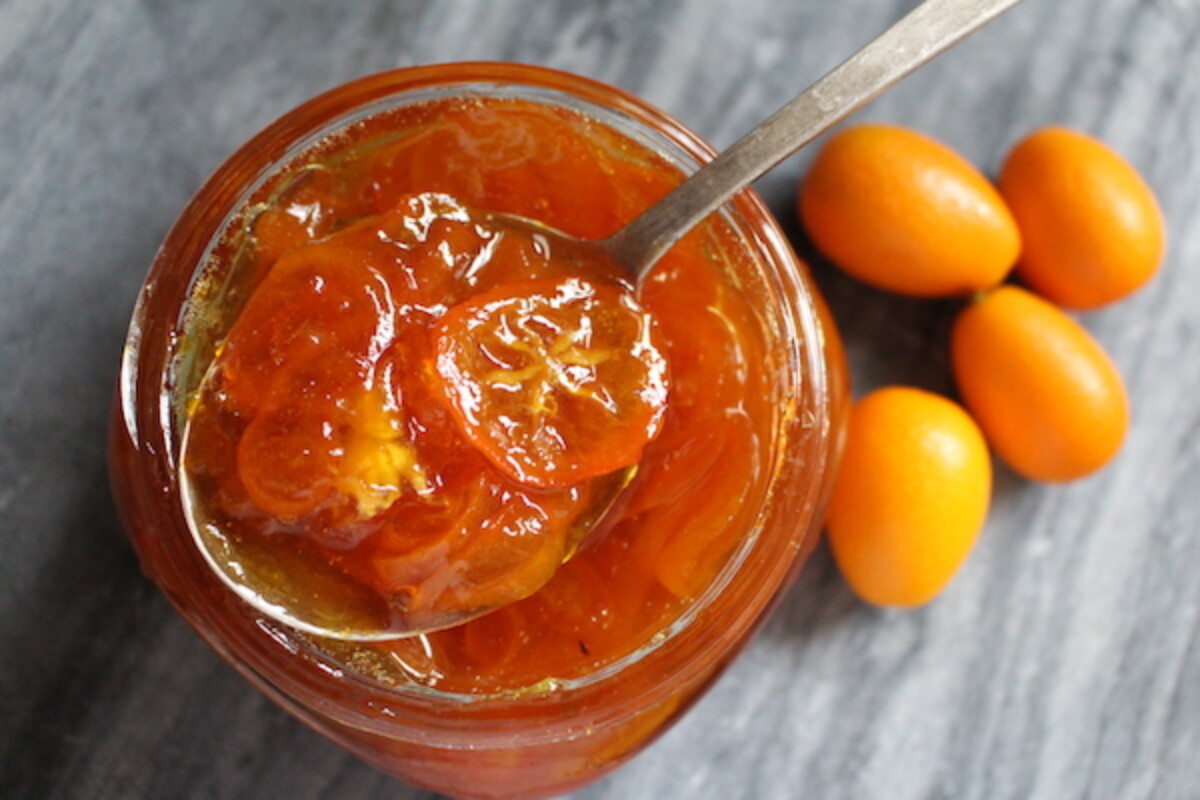
Kumquats are eaten whole, peel and all, which throws a lot of people the first time. The inside is sharply tart, but the skin is mild and sweet, so together they’re a treat with a bit of zip. Bite into one without the peel, and it’s sour enough to make your eyes water.
That whole-fruit quality raises a fair question: is this a jam or a marmalade?
Marmalade is usually a citrus spread that includes the peel to add bitter notes that balance the sweetness. But kumquat peel isn’t bitter, and you can’t really eat the fruit without it. I call it kumquat jam. You can call it marmalade if you like. My kids just call it delicious.
This is a small batch jam that sets without any store-bought pectin, using the natural pectin tucked inside the kumquat seeds, the same way my raspberry jam relies on the fruit’s own pectin instead of a box.
If you’re newer to preserves, it helps to read up on how to make jam from scratch before you start.
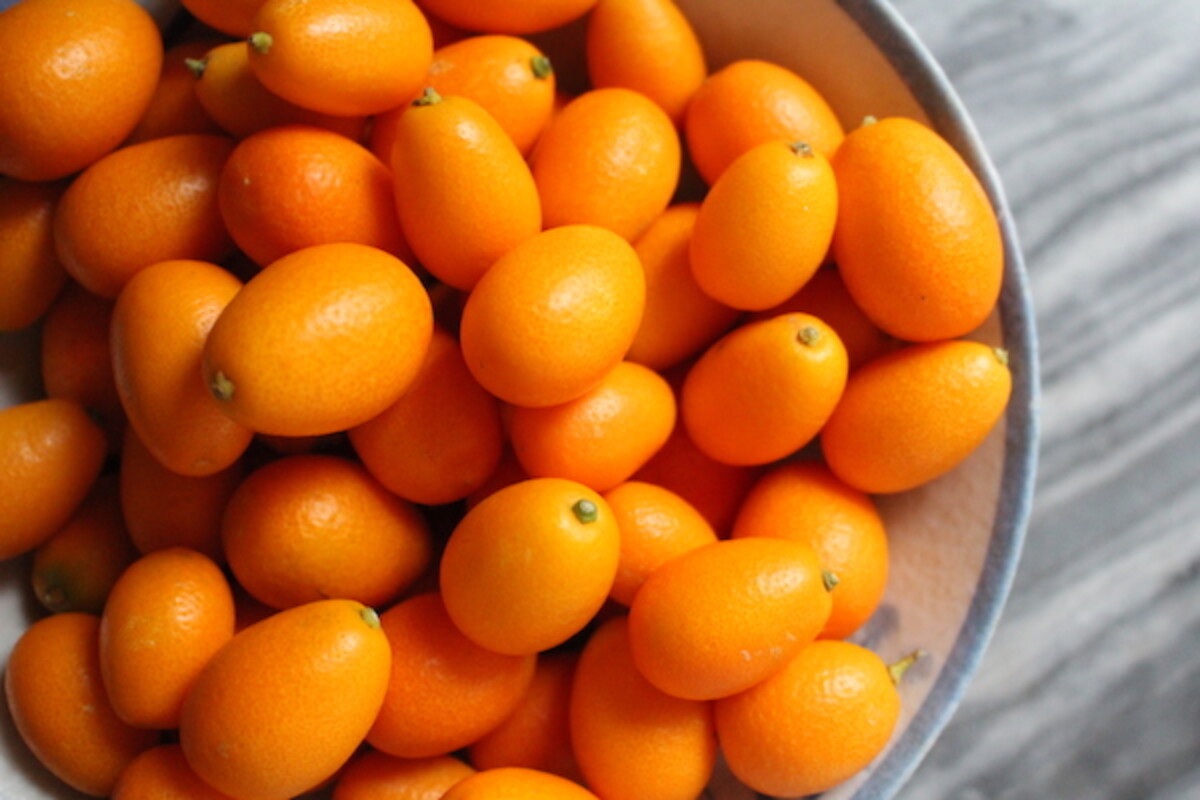
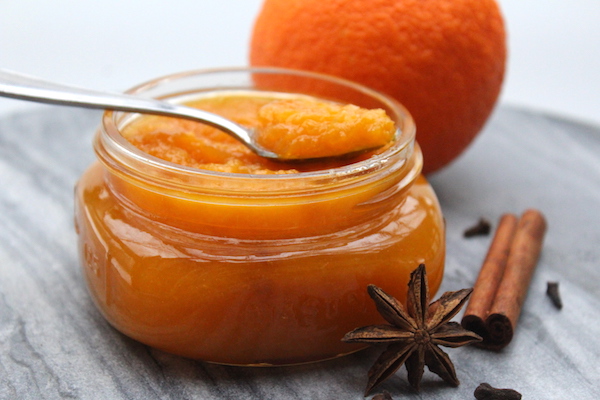
Kumquats show up in stores through the winter citrus season, right alongside the other fun ones worth putting up. If you’ve got a citrus haul, this jam is good company for orange jam with warm spices, a batch of canned lemons, or any of the other ways to preserve lemons, or even a bottle of homemade lemon wine, when the boxes show up cheap.
Notes from My Kitchen

The first time I tried a kumquat was right off the tree in California, back in high school. I grew up among the citrus groves and had still never heard of them until one afternoon when my team played on a new field with a giant kumquat tree hanging over the dugout fence. We were all curious, so I plucked one, carefully peeled it, and got the surprise of my life. So incredibly tart. Nobody had told me you’re supposed to eat the whole thing, skin and all.
These days I’m up in Vermont, a long way from any citrus grove, so kumquats are a winter treat I grab when they turn up in the store. A couple of bags becomes a few jars of this jam, and it’s a little bit of that California sunshine on toast in the middle of a gray northern February. I make the sweeter version for my mom, who has a serious sweet tooth, and a tarter low-sugar batch for myself.
Ingredients for Kumquat Jam
This is a short ingredient list, and the kumquats do almost all the work, including the gelling. Here’s what each part does.
- Kumquats (sliced, seeds reserved): Use them whole, peel and all, since the sweet skin is what balances the tart flesh. Slice them into rounds across the equator and pick out the seeds as you go, but don’t throw the seeds away. They’re your pectin.
- Water: The kumquats soak in water with the seed packet so the natural pectin can draw out before cooking. The water cooks off as the jam simmers down and thickens.
- Granulated sugar: Sugar sweetens and helps the jam set and keep. The full amount makes a sweet jam that’s just barely tart. You can cut it in half for a sharper, lower-sugar jam, which is how I usually make it for myself.
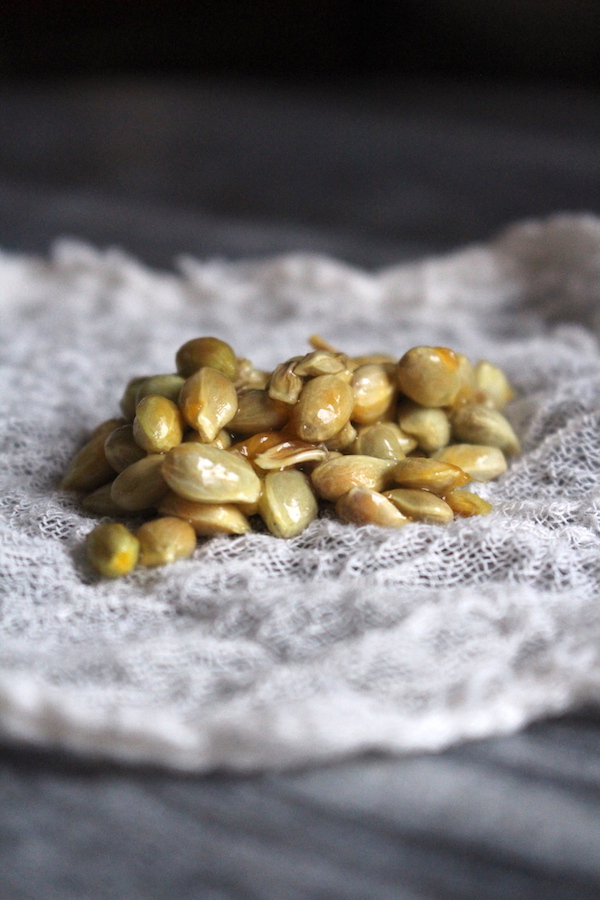
The seeds are the secret here. Citrus fruit is naturally high in pectin, and the seeds hold the most concentrated dose of it. Tied up in a bit of cheesecloth, they go into the pot as a thickener and come back out before jarring, so you get a clean, seedless jam that still gels on its own.
It’s the same trick behind natural citrus seed pectin, and it’s why this works without a pectin box. The same idea boosts the set in mango jam, where a little citrus juice helps the set along.
My jam has a beautiful consistency and flavor! Not too stiff, not too runny, but just right! I could spoon it in like pudding. Love it!
How to Make Kumquat Jam
There are two stages to this jam: a long soak and first simmer to pull pectin from the fruit and seeds, then a short, hard boil with the sugar to bring it to set. Don’t rush the boil at the end, since that’s where most batches go wrong.
Preparing the Kumquats
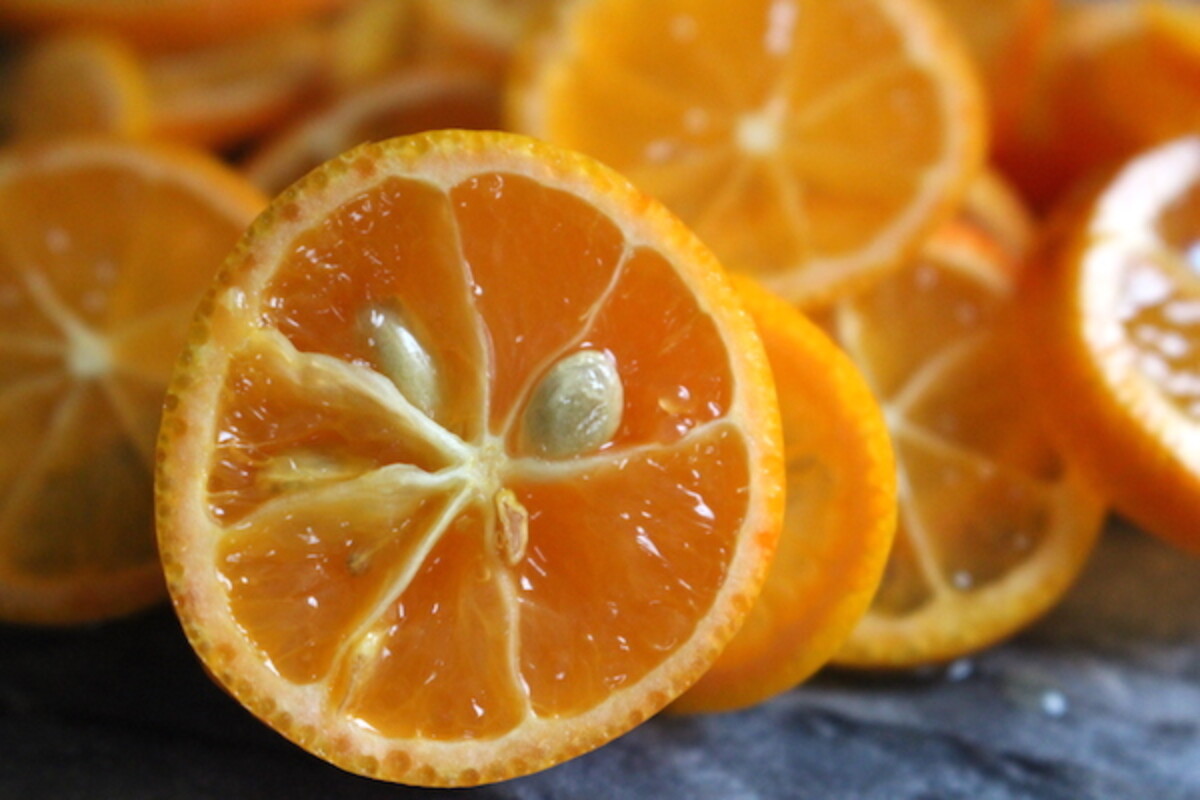
Slice the kumquats into thin rounds across their equator. For such a small fruit, they have surprisingly large seeds, and you’ll find a pocket of them toward the center of each slice. Use the tip of your knife to flick the seeds out as you go, and set them aside in a bowl.
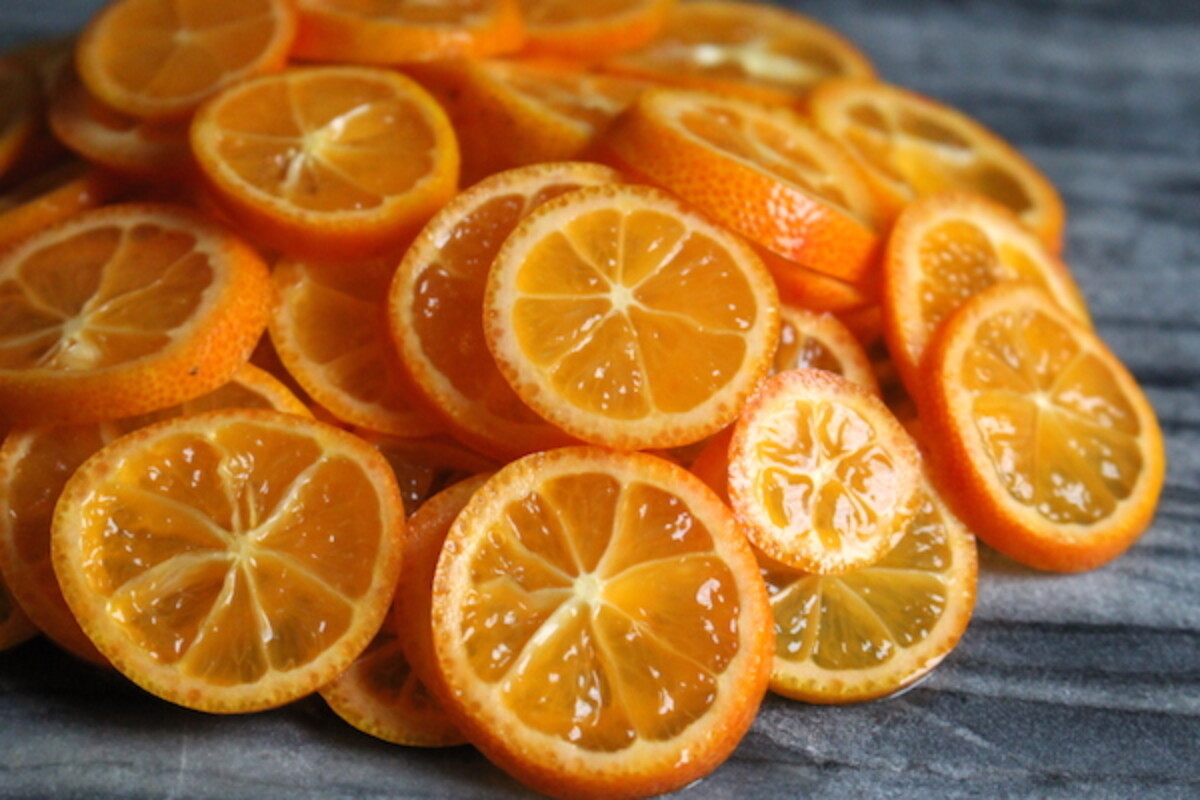
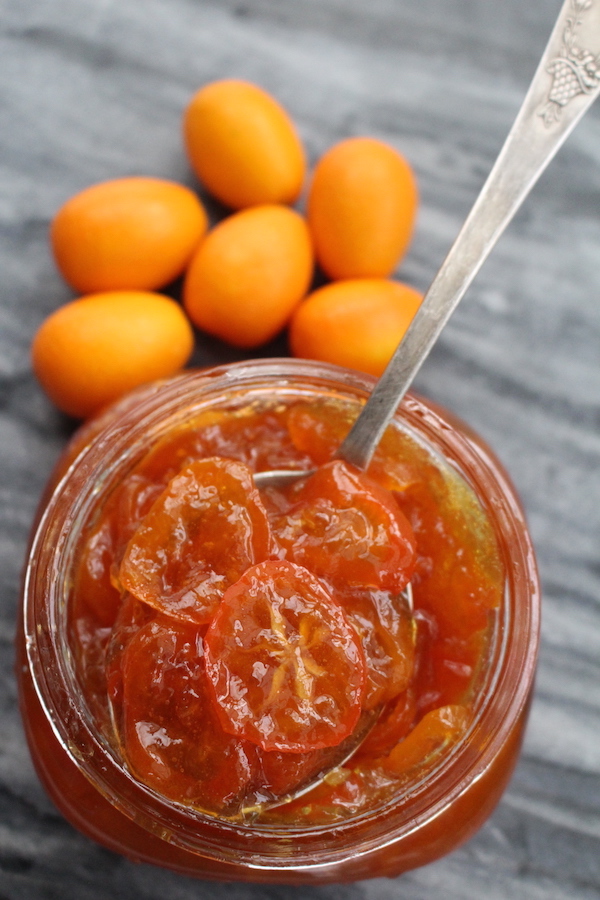
The rounds make a striking jam, since there’s no other citrus tiny enough to slice into little wheels. If you’d rather a look closer to traditional marmalade, slice the fruit into thin strips instead, so the peel runs through the jam like confetti.
Either way, gather up all those reserved seeds and tie them into a small square of cheesecloth.
Cooking the Jam
Put the sliced kumquats, the cheesecloth seed packet, and the water in your jam pot, and let it all soak for 3 to 4 hours. That rest gives the pectin time to draw out of the fruit and seeds, and it makes a real difference in how well the jam sets. You can skip the soak if you’re pressed, but expect a softer set and a slightly lower yield.
Bring the pot to a simmer with the lid off and cook for 35 to 45 minutes, until the fruit is soft and the mixture has started to thicken. Keep the lid off the whole time, since part of the job here is cooking off that extra water. Now lift out the seed packet, squeezing it against the side of the pot to release the gel it’s holding, and stir in the sugar.
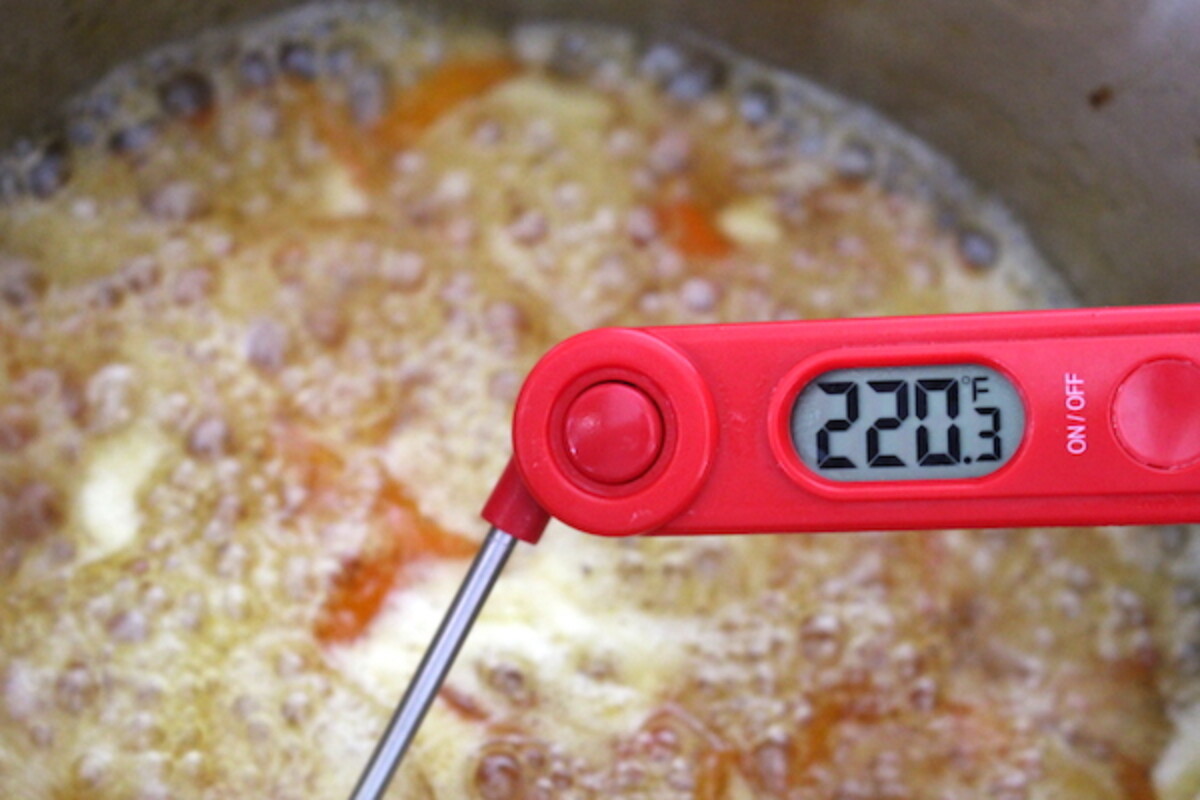
Once the sugar is in, turn the heat up and bring the jam to a full, rolling boil. This is the step that makes or breaks it. A gentle simmer won’t get you there, because you need a hard boil to climb past the boiling point of water up to gel stage at 220 degrees F. Boil hard, stirring often, until it reaches that temperature or passes the frozen plate test, then ladle it into prepared jars.
Testing for Gel Stage
Most runny kumquat jam comes down to one thing: it never got hot enough at the end. Here’s how to land the set.
- Boil hard, don’t simmer: Once the sugar is in, you need a full rolling boil to reach 220 degrees F. A simmer tops out near the boiling point of water and will never gel.
- Thermometer test: Jam gels at 220 degrees F at sea level. That drops about 1 degree for every 500 feet of elevation, so at 1,000 feet gel stage is 218 degrees F.
- Frozen plate test: Spoon a little jam onto a plate chilled in the freezer. If it wrinkles when you push it with a finger, it’s ready.
- It thickens as it cools: The jam will look looser in the pot than it does in the jar. Give it a full 24 hours to finish setting before you decide it didn’t work.
Canning Kumquat Jam
You don’t have to can this jam. Let it cool and keep it in the refrigerator for a few weeks or the freezer for up to 6 months. I like to can it so it’s shelf stable through the year, and kumquats are high-acid citrus, so they’re safe for water bath canning. If you’re new to it, walk through my water bath canning for beginners guide first.
To can it, prepare a water bath canner before you start. Funnel the finished jam into clean jars, leaving 1/4 inch headspace, remove air bubbles, and recheck the headspace.
Cap with two-part lids and process for 10 minutes for half-pints and pints. When the time is up, turn off the heat and let the jars rest in the canner for 5 minutes before lifting them out to cool. Check the seals after 24 hours.
Altitude Adjustments
Adjust your processing time for elevation:
- 0 to 6,000 feet: 10 minutes
- Above 6,000 feet: 15 minutes
Yield Notes
This is a small batch, sized to gel reliably from the natural pectin.
- Fruit: About 2 cups of sliced kumquats, roughly 3/4 pound.
- Yield: About 2 half-pint (8 oz) jars.
- Don’t double it: A bigger batch takes much longer to cook down and reach gel stage, and doubled batches are the most common reason this jam stays runny. Make single batches back-to-back instead.
Storage Options
However you make it, here’s how long kumquat jam keeps:
- Refrigerator: 3 to 4 weeks in a covered jar.
- Freezer: Up to 6 months.
- Canned: 12 to 18 months at room temperature in a sealed jar. Once opened, refrigerate and use within a few weeks.
Recipe Tips and Variations
- Honey kumquat jam: You can swap honey for the sugar, but watch it extra careful as honey can scorch as it cooks. I’d suggest substituting just half the sugar for honey for better results than all the sugar.
- Keep the color bright: Long boils can turn the jam brownish. Use plain white cane sugar rather than raw or evaporated cane juice, since the bit of molasses in those darkens preserves during a long cook.
- Don’t cover the pot: Cook with the lid off start to finish. A lid traps the water you’re trying to cook away and leaves you with a runny jam.
Ways to Use Kumquat Jam
Kumquat jam is bright and citrusy, so it does more than sit on toast. It’s lovely over a wheel of warm brie, spooned onto yogurt or oatmeal, or stirred into a pan sauce for chicken or duck. The little rounds of peel make it pretty enough to give as a gift, which is exactly what I do with half of every batch.
It also bakes beautifully into thumbprint cookies or a citrus tart, and a spoonful whisked into vinaigrette wakes up a winter salad. For a pile more ideas, I rounded up 100+ ways to use up a jar of jam.
Kumquat Jam FAQs
They’re very close. Marmalade is a citrus spread that includes the peel for a touch of bitterness, while jam is usually just fruit and sugar. Kumquat peel is sweet rather than bitter, and you eat the fruit whole, so this sits right between the two. Call it kumquat jam or kumquat marmalade, the recipe is the same.
No store-bought pectin needed. Kumquats are citrus, and citrus is naturally high in pectin, with the most concentrated amount in the seeds. Tie the reserved seeds in cheesecloth, cook them in the pot, then remove them before jarring, and the jam gels on its own.
Almost always because it didn’t get hot enough at the end. Once the sugar is in, you need a full rolling boil to reach gel stage at 220 degrees F, since a simmer never gets there. Cook with the lid off, don’t double the batch, and remember the jam keeps thickening for 24 hours after it’s jarred. If it’s still too thin, pour it back in the pot and boil it harder.
Use 1/2 cup of sugar instead of the full cup. It makes a tarter jam with a slightly lower yield, and it still gels because the pectin comes from the seeds rather than the sugar. To go with no sugar at all, switch to a low-sugar pectin like Pomona’s.
Yes, take the seeds out of the fruit so they don’t end up in the finished jam, but don’t throw them away. Wrap them in cheesecloth and cook them in the pot as your pectin source, then lift the packet out before you jar the jam.
Ways to Preserve Citrus
If you tried this Kumquat Jam recipe, or any other recipe on Practical Self Reliance, leave a ⭐ star rating and let me know what you think in the 📝 comments below!
And make sure you stay in touch with me by following on social media!
Kumquat Jam
Equipment
- Canning Jars, Lids, and Rings
Ingredients
- 2 cups sliced kumquats
- 3 cups water
- 1 cup sugar
Instructions
- Slice the kumquats into thin rounds across their equator, picking out the seeds as you go and setting them aside. Don't discard the seeds.
- Wrap the reserved seeds in a square of cheesecloth, tie it closed, and drop the packet into your jam pot.
- Add the water and sliced kumquats to the pot with the seed packet.
- Let the fruit, seeds, and water soak for 3 to 4 hours so the natural pectin can draw out. This step can be skipped in a pinch, but expect a softer set and a slightly lower yield.
- Bring the pot to a simmer with the lid off and cook for 35 to 45 minutes, until the fruit is soft and the mixture has started to thicken. Keep the lid off so the extra water cooks away.
- Lift out the seed packet, pressing it against the side of the pot to release the gel, then stir in the sugar.
- Turn the heat to high and bring the jam to a full rolling boil. Boil hard, stirring often, until it reaches gel stage at 220 degrees F or gels promptly on a plate chilled in the freezer. A gentle simmer will not reach gel stage, which is the most common reason this jam turns out runny.
- Funnel the finished jam into prepared jars, leaving 1/4 inch headspace. Remove air bubbles, wipe the rims, and apply two-part canning lids.
- For immediate use, store in the refrigerator. For shelf-stable jars, process in a water bath canner for 10 minutes (10 minutes below 6,000 feet, 15 minutes above). Let the jars rest in the canner 5 minutes, then cool and check the seals after 24 hours.
Notes
Nutrition
Nutrition information is automatically calculated, so should only be used as an approximation.
Jam Recipes
Find the perfect recipe
Searching for something else? Enter keywords to find the perfect recipe!











I made your kumquat jam today and it came out like those expensive jams one would buy in a deli. I cannot believe I made it as it was my first time to make jam.
Please can you post a dried apricot jam with brandy.
I’m so glad you like it Karen! I haven’t tried making dried apricot jam with brandy, but I’ll add that one to my list. That sounds so good!
Easy!