
Affiliate disclosure: This post may contain affiliate links. Please see our Privacy Policy.
How did primitive potters harvest clay? People have been making pottery for millennia, and convenient hobby shops have only been a thing for a few decades at best.
Before that, people harvested their own clay right from the soil.
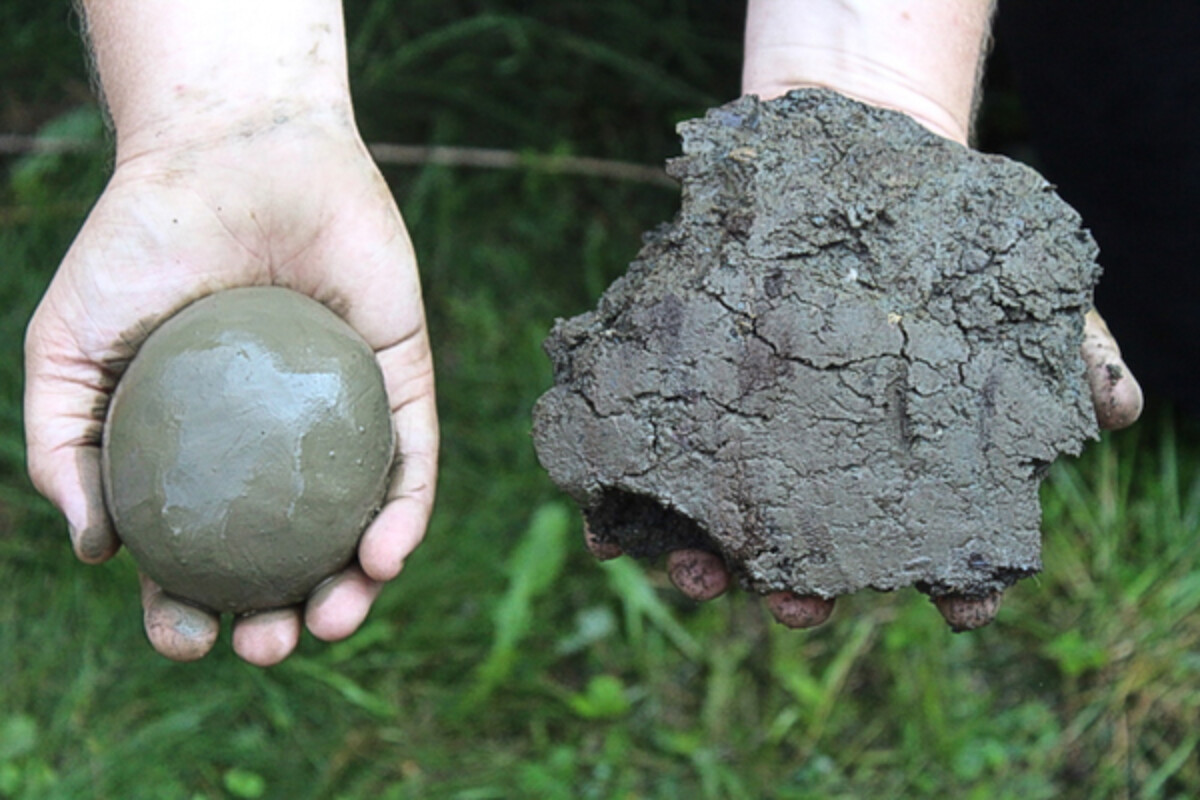
Clay is present just about everywhere, and even soils described as “sandy loam” can contain as much as 20% clay. To the naked eye, it may look like sandy soil, but with a 20% clay content, every 10 pounds of soil is hiding 2 pounds of clay ready for harvest.
With a little effort, you can harvest your own clay for craft projects or even something as advanced as a backyard bread oven.
Though most soil has some clay content, the yield will obviously be higher if you find high clay soils. Look for areas where the water tends to sit after a heavy rain.
Our soils are very shallow, and there’s usually somewhere between 8 and 18 inches of topsoil before a layer of dense clay. We’ve been working to slow the water runoff from our land, and the clay harvest happens more or less by accident while in the process of digging small slowing ponds.
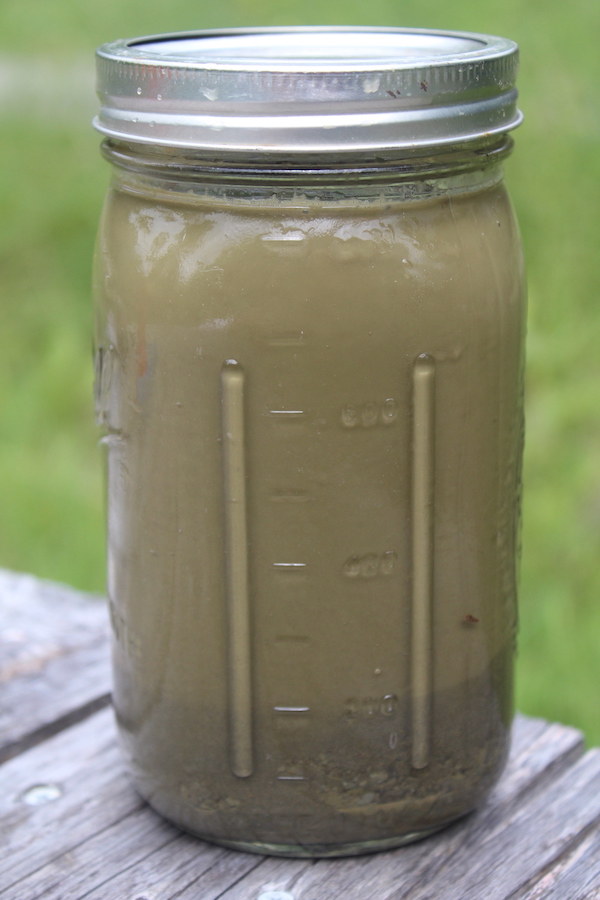
If you’re curious how much clay your soil contains, try doing a test jar. Fill the jar about halfway with soil, add water and stir to completely break up soil particles. After a few minutes, any sand and silt will settle to the bottom. Anything that’s still left suspended in the water is the clay content.
This jar started at half full, and it’s now 1/4 full with silt, sand, and rock. I’d estimate that my soil sample is roughly 50% clay.
There are two traditional methods for harvesting clay: dry and wet.
Dry Clay Harvest Method
The dry method involves completely drying out the soil, sifting it repeatedly and pounding the clay globs until it’s completely uniform and flour-like. This sifting is followed by a few rounds of winnowing the clay onto a collection surface.
The dried clay powder is then rehydrated and kneaded into workable potting clay.
This method is a great option in water-limited areas, but it requires a lot of time and energy. If you have baking hot sun and very little rain, it’s practical to completely dry earth.
None the less, the process of sifting, pounding and winnowing will take hours for just a few pounds of clay.
Wet Clay Harvest Method
The wet harvest method involves adding both water and soil to a bucket. The soil is then stirred into the water, and allowed to sit for a brief period to allow the rock, sand, and silt to settle out. The clay stays suspended in the water for longer.
The clay and water mixture is then filtered through a fine cloth or sheet. What’s left is a ball of smooth clay.
The wet harvest method is much more efficient and allows gravity to do most of the work. If you have access to plenty of water this is the way to go.
Up here in Vermont, we’re never short on water, and it’d be hard to find enough hot rain-free days in a row to completely dry the soil out for the dry extraction method anyway.
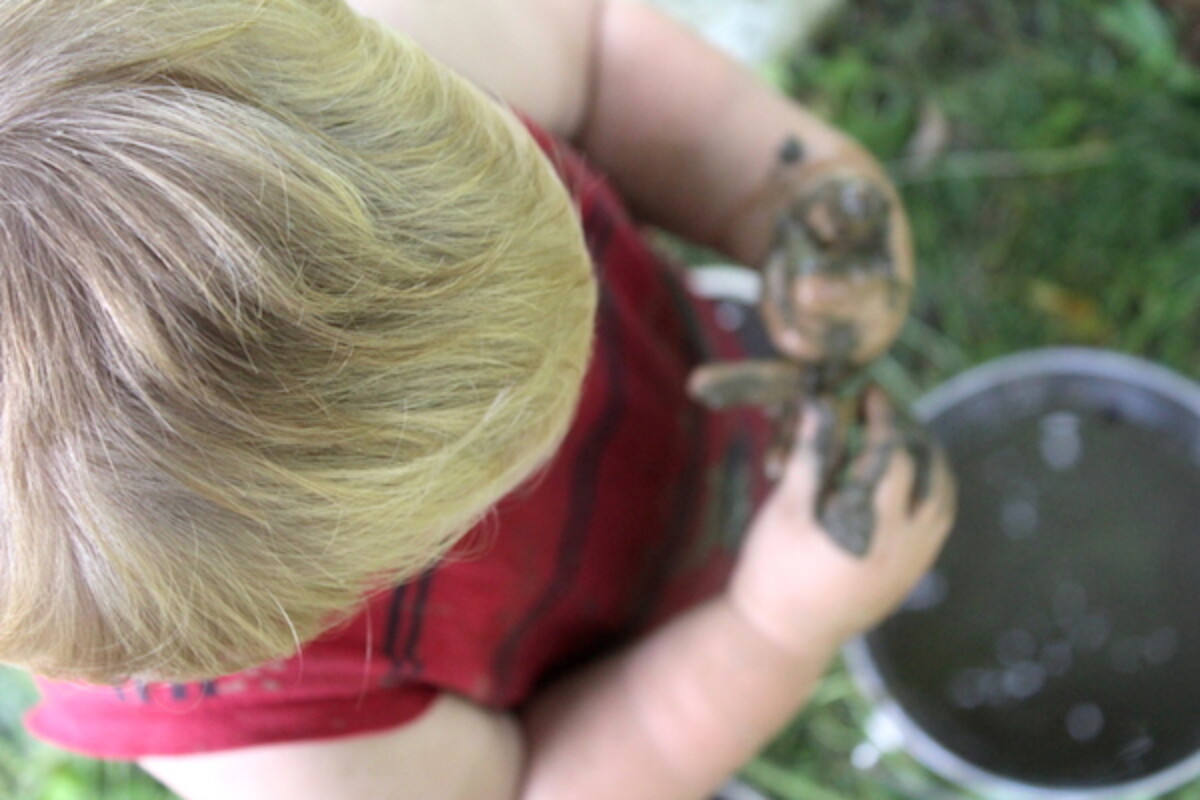
The wet extraction method is also a lot more fun, and allows kids to join in on clay processing. My 18-month-old was a huge help loading soil into the bucket and stir it up, and I couldn’t have asked for a more enthusiastic helper.
Processing Clay for Pottery
To use the wet extraction method, start by filling a bucket about 1/3 of the way with soil. Add water and use your hands to break up the soil particles as finely as you can get them.
Allow the soil to hydrate for a few minutes, or preferably a few hours. Then use your hands to break up the soil pieces again.
Give the whole bucket a good stir. A shovel works well for this, or a boat oar, or just an arm.
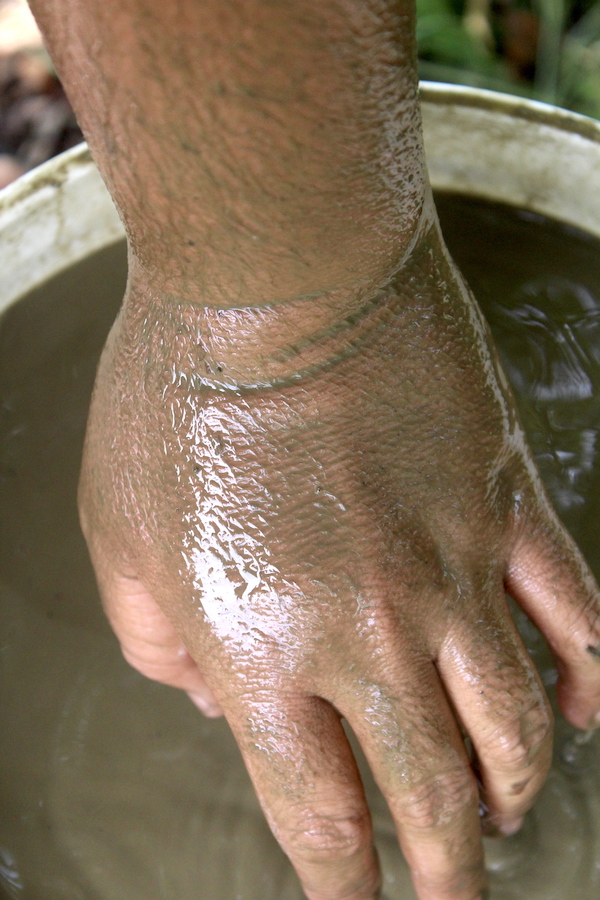
Our soil has so much clay suspended in the water that an arm in the bucket comes out completely covered in the clay slurry.
Once the soil is fully suspended in the water, give the bucket a few minutes to settle. The rocks fell out of suspension almost immediately, followed by the sand.
The silt will take 2-5 minutes to settle down, leaving only the smallest clay particles suspended in the water.
While you’re waiting, get a sheet ready inside a bucket or colander. Anything with a fine weave will do, I’m using an old bedsheet.
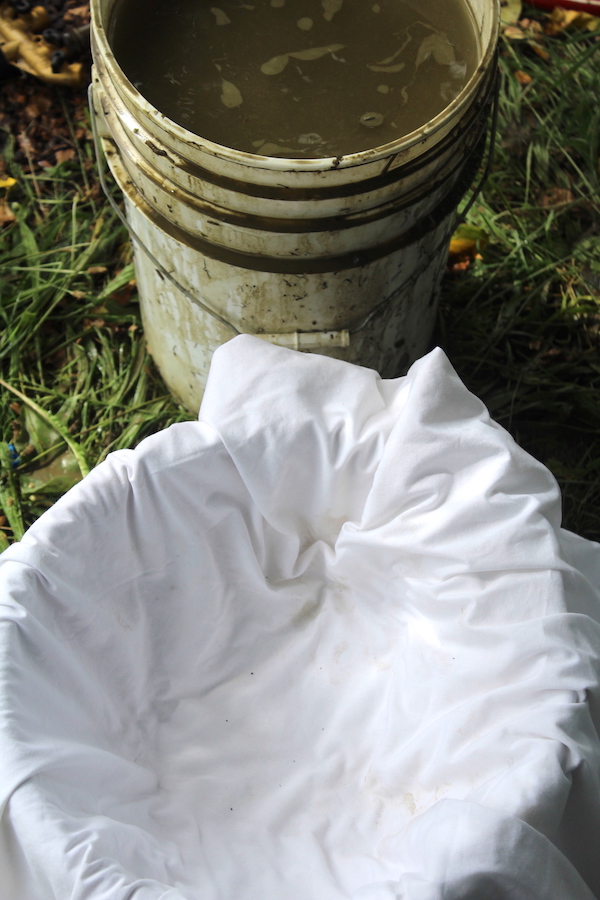
The sheet has a relatively loose weave, so I’ve folded it into quarters.
The water moved through the sheet quite slowly, and I think next time I’ll just double it instead so I don’t have to wait 24 hours for the water to completely drain.
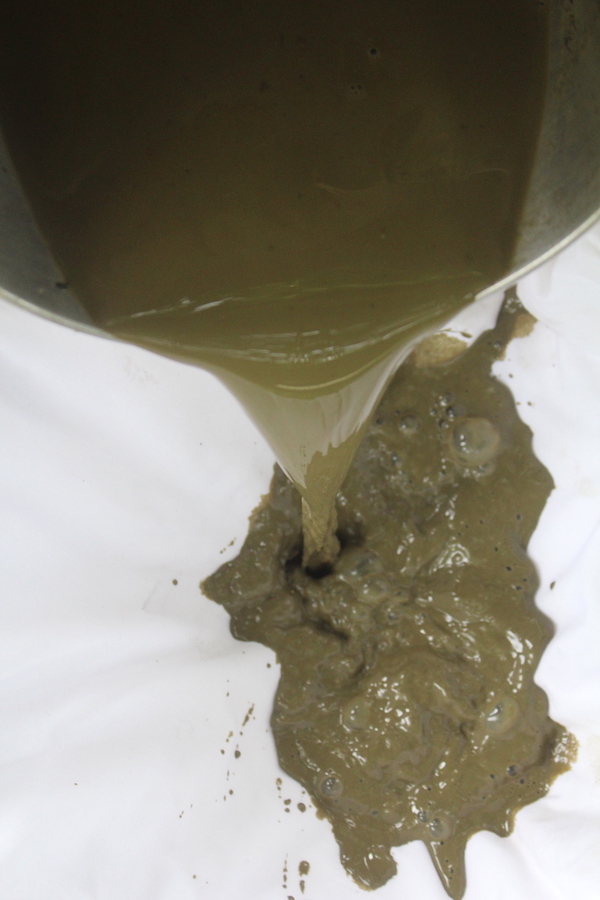
I’ve read in rural Bangladesh, women who filter water through 7 layers of sari cloth actually filter out cholera. With 4 layers of bed sheet, I was able to filter a clay slurry to completely clear water.
I wouldn’t imagine that I removed bacteria, but it’s good to know that I can take scummy water and make it clear enough to boil for fresh drinking water.
My daughter has been drinking from our pond all summer using a life straw, mostly for novelty value. She gets a kick out of being able to drink right from the pond, but filtering the water to remove dirt first seems like a much more sustainable long-term solution for water.
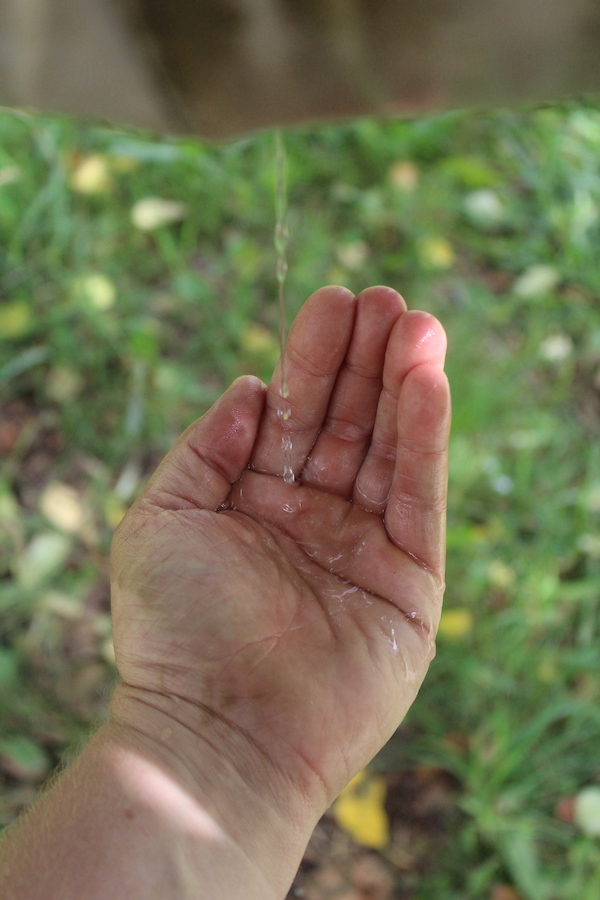
With 4 layers of bed sheet, it took about 24 hours for the water to completely drain. As I said, 4 layers is definitely overkill.
Next time I’ll cut this sheet in half and make two clay extractors, each with two layers of a bedsheet.
To speed up the process, I gathered the corners of the sheet and hung it from a tree.
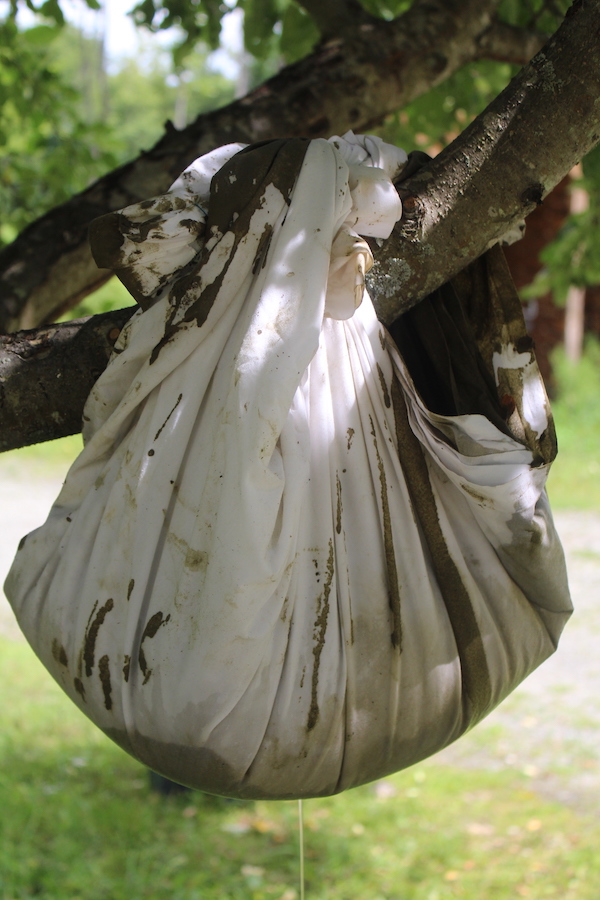
In the end, the top inch of clay was still pretty wet and slimy.
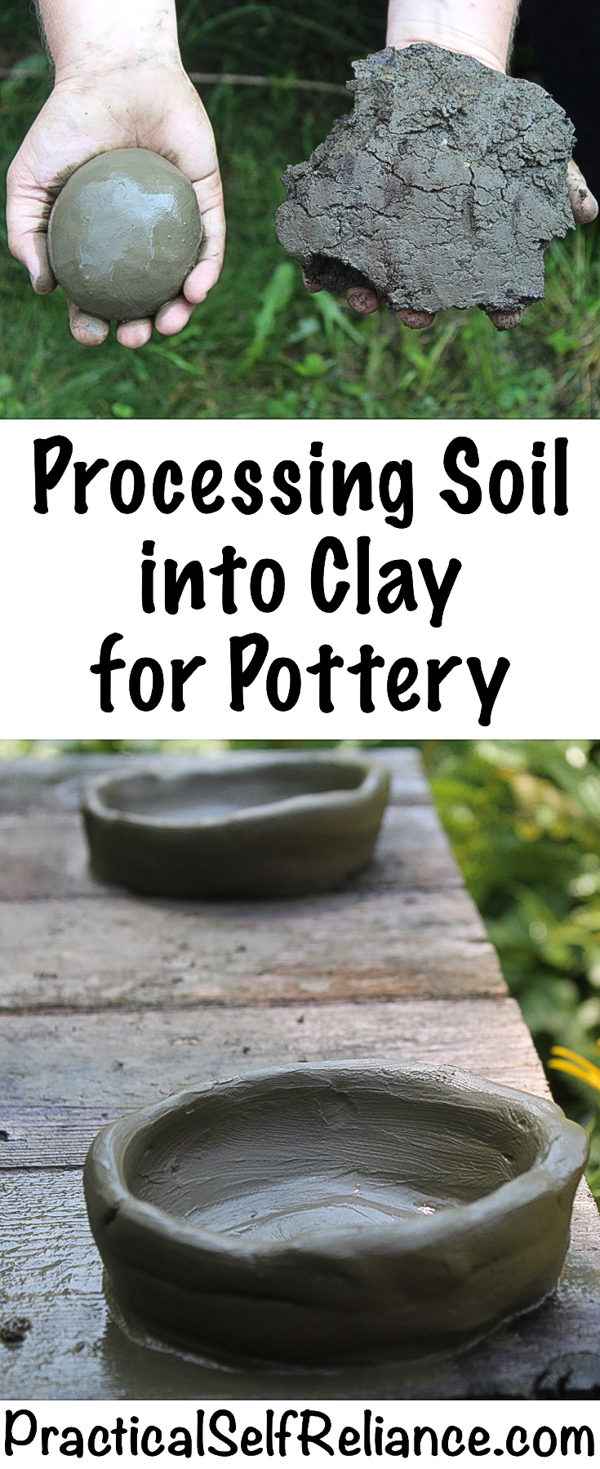
After 24 hours, I pulled all the clay out of the sheet, kneaded it together and let it dry in the sun for a few hours. At that point, the texture was just right.
Since it’s not commercial clay, it’ll take a bit of effort to learn how to fire it correctly. The right firing temperature may be hard to achieve, but our next step is to make a primitive kiln in the backyard.
I’m really inspired by the maker of the primitive technology videos on youtube, and he has a beautiful homemade rocket stove kiln. Temperatures in that won’t be exact either way, so it’ll be a learning curve regardless of the type of clay used.
I’ve read that inconsistencies in homemade clay can make it liable to crack during firing and that some potters actually mix in stones to their pottery vessels to help stabilize them. Soon enough I’ll find out when we go to make primitive pottery.
I can pull an unlimited amount of clay out of our soil without much trouble, so even if it takes a while to get the pottery process down it doesn’t much matter. It’s all part of the journey.
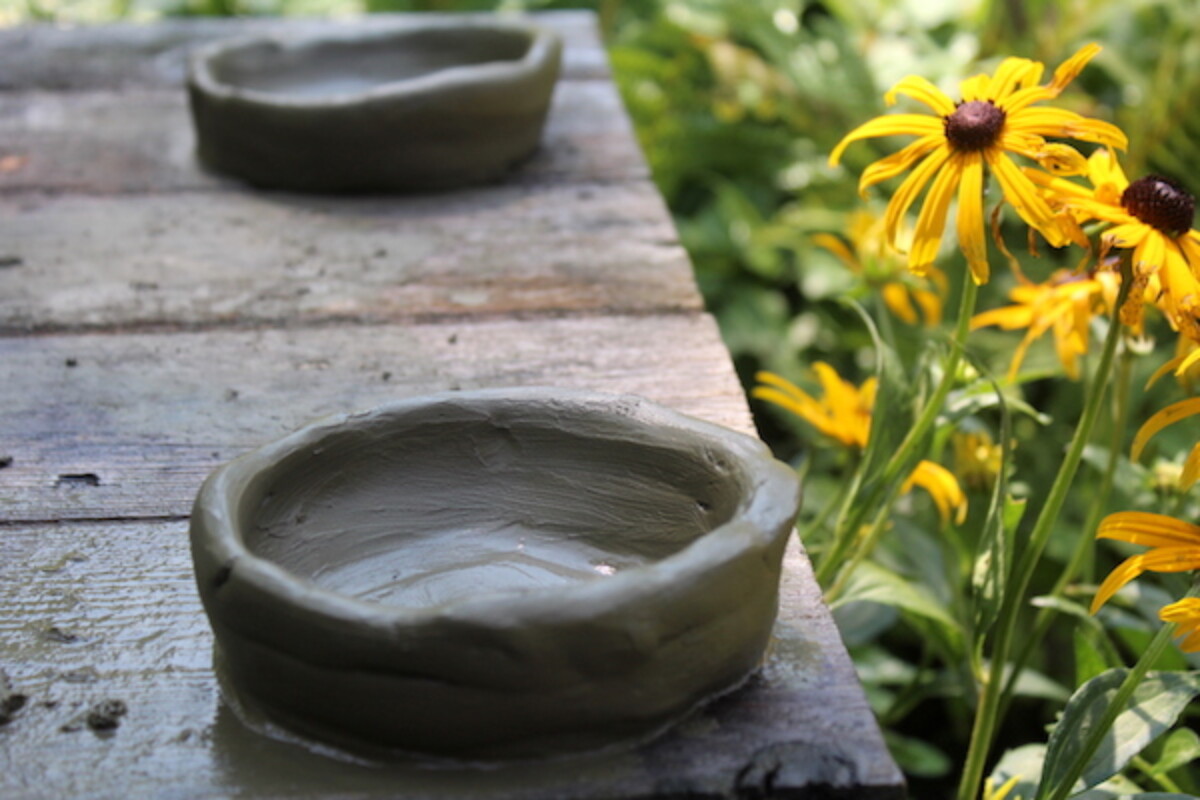
We worked our first lumps of clay into very primitive bowls, and thus far I’ve found that it’s much easier to make clay than it is to make attractive pottery.
It’ll take a lot more practice to make something worth firing, but in the meantime, we’ll try firing these practice bowls to refine our technique.
Overall, the process was almost effortless. Though I haven’t tried the dry method, there’s no way it could be this easy.
By description, it’s pretty grueling and it seems like you’d be inhaling a lot of clay dust in the process.
I’ll stick with the wet method and mud splashing with the kids.











Great post! Thank you! We recently moved onto a property with what looks like a large amount of almost pure clay. I was trying to figure out how to purify it to play around with the kids. Will give it a go – thanks!
We have huge chunks of clay all over our beach. I processed some one time but when I was all done. Washed, dried, crushed, strained, and rewet, it wouldn’t stick together. I was told it didn’t have enough “plastic” to actually make anything. What do you do about that? I’d love to process my own. We have an over abundance lying around in giant chunks.
You either don’t have clay, or didn’t do it properly. There’s no such thing as clay that isn’t plastic. Clay is inherently plastic. Plastic means it’s ability to be kneaded and worked, not plastic as in petrochemicals btw.
Clay that is less plastic is called short clay. You can make it useable by purchasing powdered ball clay to add in. Work a small amount at a time until a small test piece of clay, when rolled into a coil and bent over your finger doesn’t crack.
Very informative article. One question. I have a creek near my home. Does the soil In the marsh area is considered clay? Or does it have higher content if clay?
Hail!!!
I be Anglo-Saxon Norse Viking, I produce clay old fashioned tobacco pipes.
Question, by pulling the clay from the ground would be as the ancients did it however, would I mix with anything else?
ˈkräkən Víkingurinn
To be strong enough, especially when exposed to heat again, you need to add a temper of some kind, like ground shell or mica. Mix it into the clay before forming. Look up “clay temper suitable for clay pipes” and you should find instructions. I have seen it done but I was little. I don’t have details. I do remember being told it was important for strength in general, to avoid breakage, and especially for cooking vessels, clay pipes, or incense burners. I have a Native friend who makes clay ceremonial pipes and I know he uses mica or shell, ground into powder and added from the beginning, to clay powder or kneaded into wet clay. You do not want pipes exploding & if they crack it can be like that with embers flying, and they are held near the face. He points out that would not make for a peaceful peace pipe at all. Many cultures have used tempered fired clay for cooking, baking, or pipes. There is a lot written on tempering pottery, and probably local materials used are line too!
I have some red rock from Utah canyon lands. It has been sitting in my back yard for almost 20 years. It has been crumbling over the years as it is soft in nature. Is it possible to turn it into clay…? Thanks, Teresa Antosyn
That’s a good question that I don’t have the answer to. I have no idea what that would be made out of. Limestone that we have out here crumbles too, but it wouldn’t make clay.
I’m originally from Oklahoma a state rich in red clay..as a child in Native American Heritage class we did the dry method using flour sifters. We made coil bowls. They are easy and we used smooth rocks to rub the inside and outside of the vessel before we had it fired. My grandmother had that little bowl for over 40 years.
You have brought back great memories. I’ve also harvestedclau with the wet method. It is easier.
Hi. That sounds very much like decomposed sandstone. People indigenous to the area are not using the local rocks for red clay, though it has a similar to terra cotta color that can remind us of clay. It is simply stained by the same mineral particles as the clay in the earth below it is, that they do dig up and use. I have several friends who are Native potters, & my mom had already had the “yes, but, can’t I…?” conversation with a couple of them. It is unfortunately what, once fully eroded, is filtered out to get just clay – or sometimes a little is used as temper. It can be ground up and used in a sand painting, though, if it is really falling apart Grind with a rock on a large flat rock on top of a tarp, old school. (It will dull any metal grinder, so I don’t recommend that.) Winnie it through a screen type strainer. Paint glue in a desired shape on a board, sift on sand, let dry and shake off excess, then do another part of the pattern with regular sand if you like. That’s one way to save it and do something creative. You can draw lines with an Elmer’s bottle, even, or put down painter’s tape, paint on glue, and get precise lines or edges by removing the tape before the glue dries. I suspect there are sand painting videos… “everything is online these days” applies especially to creative things. Hope that helps.
This post is PERFECT for my needs, THANK YOU!
I’m not actually wanting to make pottery, I just want some natural (and cheap) clay for bonsai landscapes.
I’ve asked various people and websites, and here at last is the answer!
Very impressed with your project, good luck with it! I see the post is over a year old, how are things progressing?
Blessings, regards. Martin – Joburg, South Africa.
Im going to give you a protip: If you want to mix and match the “drying method” vs wet method then you can dig up a long, thin section of earth. Use what you dug up to process ina bucket of water. Swirl and separate clay from soil. Wait 5 minutes, then pour the water out into that same trench. Hold a few fingers in the water as you slowly pour it out from the side of the bucket. When you start feeling thicker, muddy consistency through your fingers, stop, fill the bucket some more with earth, and repeat this process. Once the bucket is half full of silt and sand, flip it over and pound the bottom so it drops out. Then do this again. Since the clay is in the ground, and since it is an open, long pit, it will dry within 1 to 2 days depending on heat, sunlight, etc.
Really great idea, and saves needing a cloth to filter. Excellent!
I came from a google search and the article was so fun to read. I never expected it to be this good. Thanks for the effort.
I come from people who love outdoors but sadly imwent into fister care and my dad who took me into the forest is now dead and the people who are going to adopt me hate outdoors and finding this gives me something to do.
Hi Mady, I’m sorry to hear that but happy you’ll have a new project. I hope you find the outdoor time you need, best wishes. -Ashley
Hi Mady, Just saw this over a year after your post.
Exploring your creativity in any way, shape, or form will help to keep you centered, and also connected with your pops.
Best wishes, GG
Years ago I read a book about people who recreated an iron Age village in England. They were lucky: before the year-long project started, they had a pickup truck load of commercial clay dumped for their use, so they did not have to use natural clay. But they found their pots kept on bursting asunder when fired, or they would fire well but then burst during use.
Turned out, the clay was actually TOO pure. Their pots improved when they added bits of stone or gravel. But either way it took a lot of practice and experience to get the firing process right.
I have long wanted to play around with clay, but it never occurred to me you could make your own from non-clay soil, until I saw the process described on the web!
can you also use this to make clay to make sculptures with?
Yup! Or at least my little ones did. I couldn’t speak to high-quality art though…since I’m not super familiar with that type of clay and how it may differ from what we pulled out of the ground.
Wow! You are most refreshing and informative. I appreciate your good works. Sincerely Yours – Lisa, Choctaw Nation of Oklahoma residing in California
Thanks Lisa!
Thanks for a fantastic post! I was looking into this the other day, since I now live in an area where the soil pretty much is only clay! Do you have any insight intousing self-made clay that could – I have no idea whether this is even possible – somehow airdry, i.e. eliminating the need for a kiln? I’d love to give it a go and see if I like it before the incurring the costs associated with buying or building one. We have no such resources close-by so firing up in someone else’s sadly isn’t an option.
We tried air drying ours and it looked great…then I handed it to my 1-year-old and he snapped it in half with his hands in under 3 seconds. It would have been nice if that worked, but at least for ours, it didn’t. I have seen primitive techniques that just bury them in a fire pit, which might be an option if you have a charcoal bbq grill.
Ashley,
It’s been awhile since you posed, so perhaps you’ve already figured this out. When clay air-dries, it’s not fused into pottery (and not actually 100% dry). This ‘greenware’ is quite fragile (as you discovered). Even a relatively low-temperature firing (e.g. a campfire) will cause some of the particles to melt and fuse together, making the pot much stronger. Before you try to raise the temperature much, you have to drive out the moisture that is adhering to these particles (otherwise it will turn to steam and crack your pottery before it has a chance to fuse).
I hope that helps.
Thank you so much for sharing your tips!
I love this blog, well done, i too am an off-grid homesteader, mother in the middle of nowhere in Portugal…. I too love primitive tech, i watch all his video’s, i hope to aspire to be primitive one day, love your work, keep posting, hope to see more.. one love <3
This is awesome. I cant wait to give it a try!
This is fascinating! My last garden had almost solid clay soil, I’m regretful that I didn’t try this! There are also spots along the coast of CA where there are ‘veins’ of straight clay.
I recently attended a women’s retreat and we did primitive pottery, but from store-bought clay, and fired them in a trash can. It was packed with sawdust, woodchips and the pottery bits, and then lit and slowly burned.
That is an awesome blog note. I spend a summer in Kenai Alaska back in the 80’s, and a then young art student named Brian Bolden showed me that the silt at the mouth of the Kenai River going into Cooks inlet was pure enough clay and had a low enough firing temperature that it could go through a minor quartz inversion in a hot campfire. If I recall (and understood correctly), it had to do with the sulfur content in the clay due to the amount of coal in the area that caused it to do this. We built a kiln on the beach with rocks, clay and a scrap piece of culvert, then used low grade coal that was in the hill side to fire it. What a memory.
I grew up in kenai ak and spent my summers on that beach. I now live not far away and have my own kiln. I will have to try it this summer. great idea.
I just have to say how much I LOVE your site! I always learn something new and unique! We’re building a home right now so there’s LOTS of almost solid clay laying around… time to get busy 😀
Thanks Quinn =) You write one of my very favorite blogs, and I see you’re just getting another site off the ground too. Congrats!!!
The clay in my Connecticut stream bed is 18 in thick…A very handsome light grey…very silky smooth.no grit…Does anyone know what this clay holds as far as mineral deposits? I read about a 14,000 year old glacial lake deposit from Vermont to Long Island NY…
But I am curious if this clay can be used as a fertilizer or watering tea for plants.
Look upstream, both upstream in that creek (could be any direction) and the “general upstream for your area (usually north.) Keep looking upstream, on a map if you have to, as the land goes higher. When you get to the top, stop.
You asked “Does anyone know what this clay holds as far as mineral deposits?”
That is what the clay in your stream bed contains. One hundred percent of it is made up of stuff upstream from where you gathered it.
This sounds like the perfect project to do with my kids. I thought clay extraction would be difficult but this sounds so easy!
I absolutely love this post, and I’m going to try your wet method for harvesting clay as soon as I can get a bucket filled with some of our clay-y soil and some water. I’ll let you know how it turns out.
I know that this reply is several years overdue, but hopefully it can be of some use to others, if not for you yourself.
In order to make stronger, longer lasting pottery, ancient people almost ubiquitously mixed in other things to their clay. Even now, it’s a good idea to do so. Below I have a few things that could be re-mixed back into the harvested clay for additional strength;
Fine sand was a popular choice throughout the bronze and iron ages;
Paper pulp is a very common additive today, and could be made at home by soaking old newspapers in water and blending them in the water to make a slurry;
Plant matter, such as straw, can be mixed in to the soil used to build the kiln or other such “industrial” objects, like an oven;
And finally, grog. Grog is a little bit more adventurous, as it is more labour intensive to make, but it is a good test for your clay, as it essentially is the process of firing raw clay, breaking it up into a powder, and mixing it back into the clay.
None of these are necessary to make beautiful pottery, but it does make it last longer, and makes it easier to work with while building.
It might also be interesting to experiment with pressing a coating of sand onto the pots, in order to see if the silica content of your local sand is high enough to make glass.
I’m wondering after reading this if it’s necessary to pull out the very small few pebbles I have or the very few grass roots? My clay comes out of the ground looking almost like pottery’s clay that was cut off a slab. I can’t find anyone to show or talk to about this! Your post is the closest I’ve found to good information for the kind of clay I am starting with! I’d love to show you what I’m working with if you have time to look! 🙂 Thanks!
A good rule of thumb is the more yellow the clay looks the higher the alumina content. And the less likely it will shrink a lot when you dry and Fire. You should be able to find records of the types of Clay and other minerals in your area through the local universities. I have a nearly pure seam of kaolinite running underneath my topsoil