Affiliate disclosure: This post may contain affiliate links. Please see our Privacy Policy.
Pickled Garlic is incredible in eaten right out of the jar, but it’s also easily at home on a charcuterie plate or incorporated into home-cooked meals.
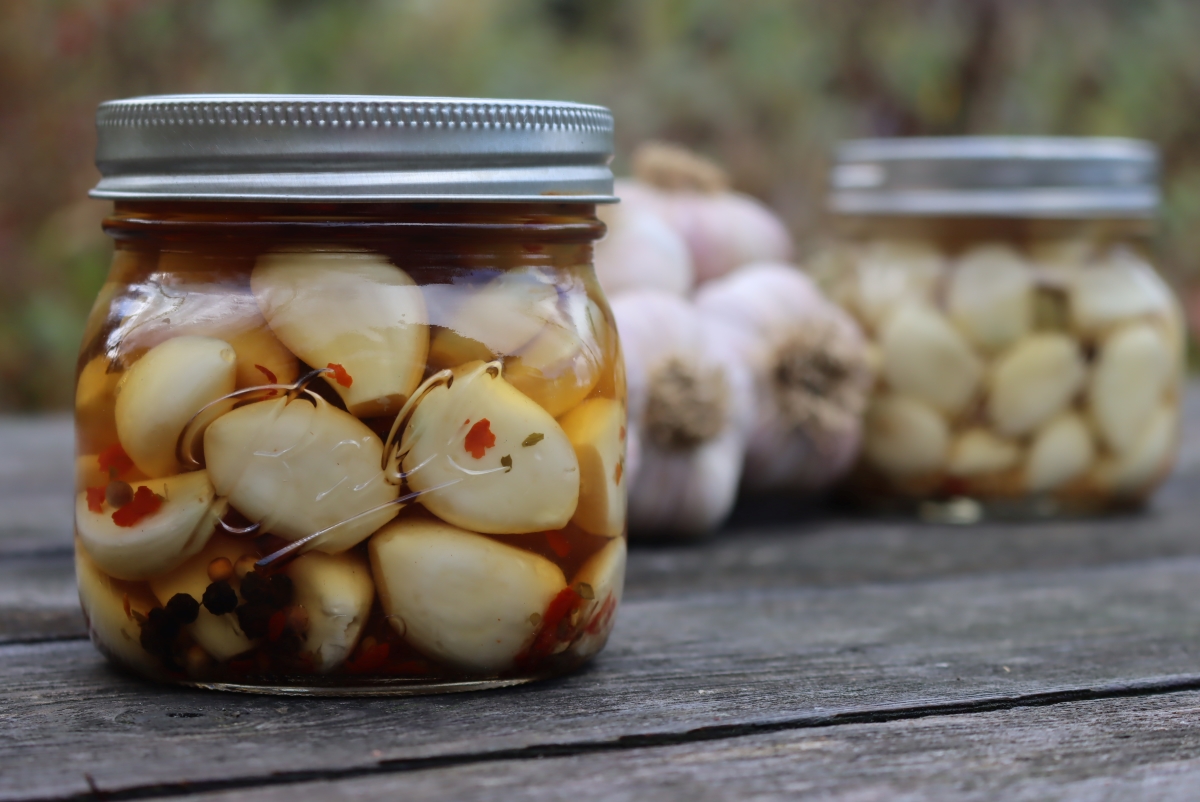
Table of Contents
In Vermont, garlic growing is almost a religion, and even suburbanites often find room in the side yard for a row or two of this pungent pantry staple.
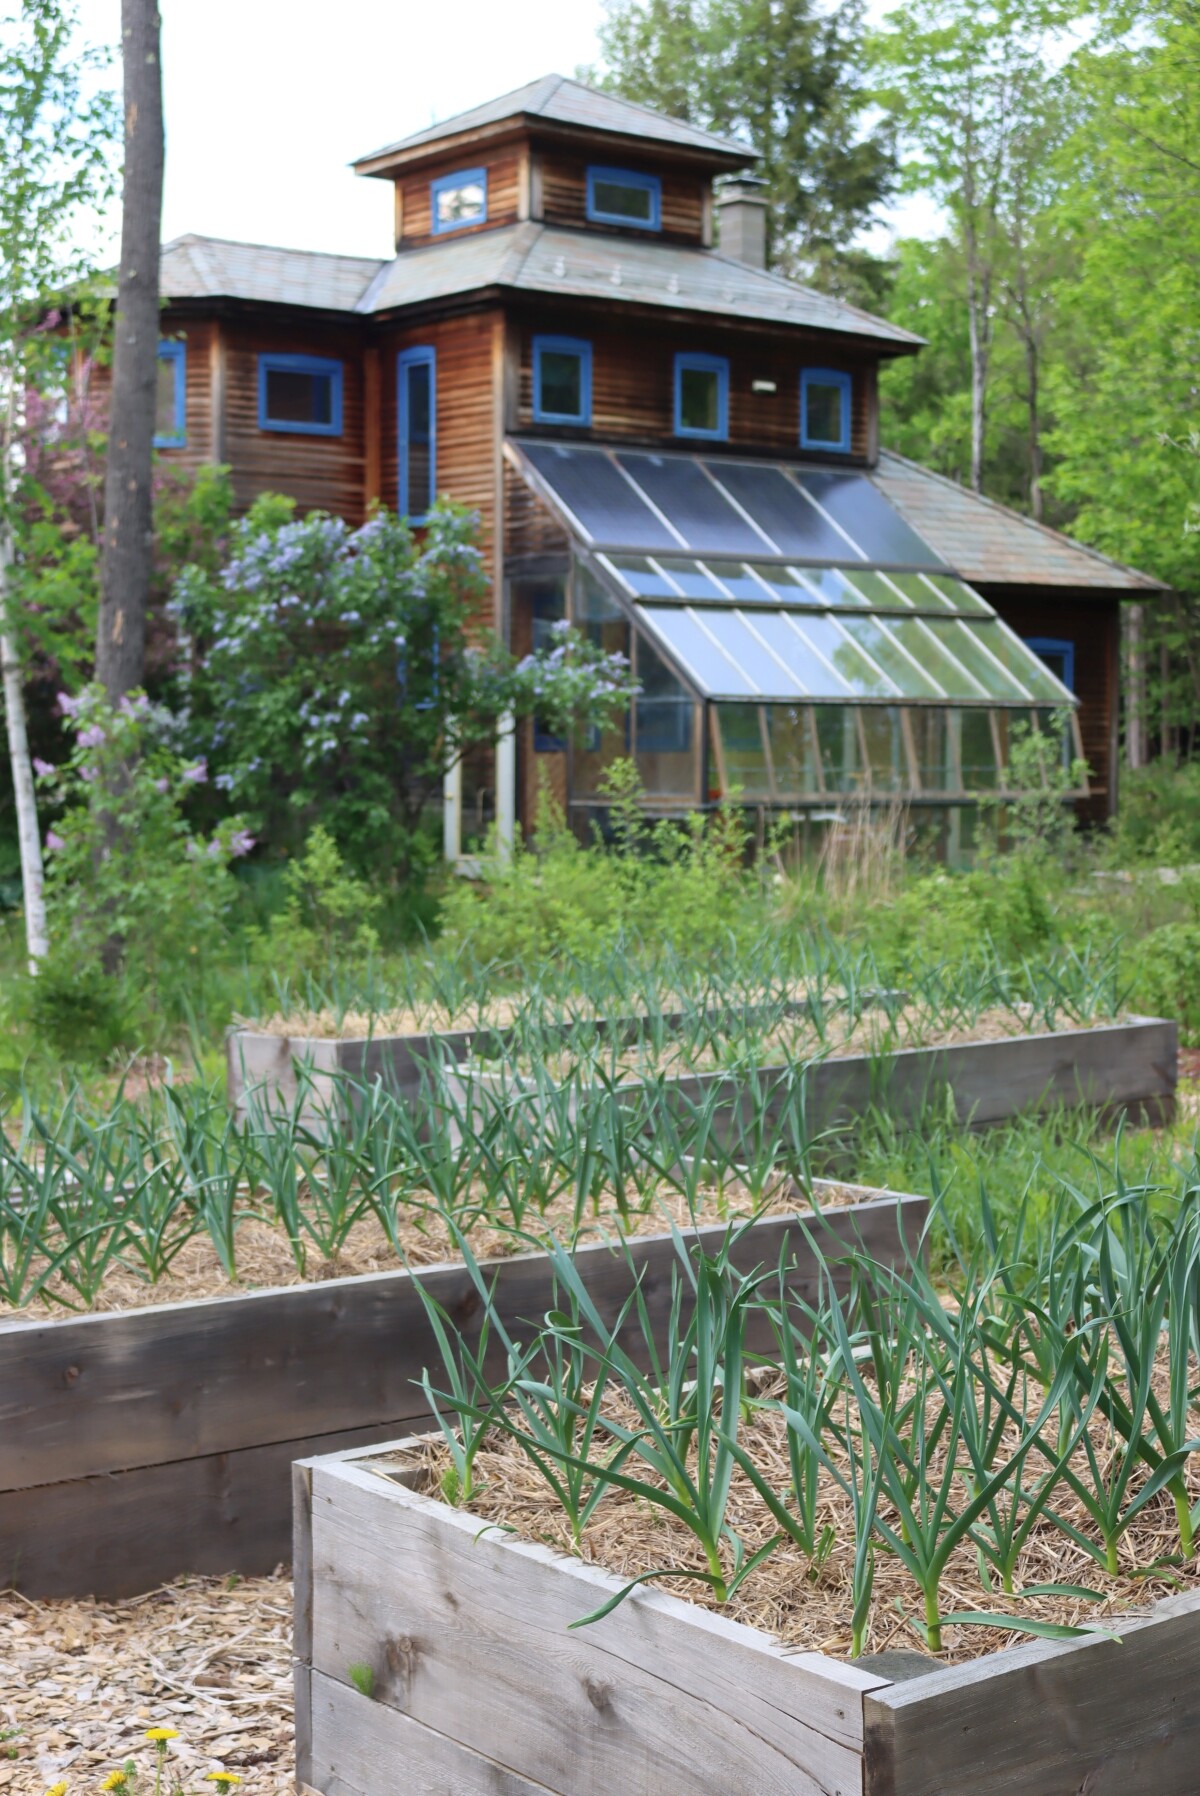
On our homestead, we take growing garlic pretty seriously, growing somewhere between 400 and 600 garlic bulbs each year.
That’s enough for a bulb per day on average in our home cooking, plus plenty to season my favorite bread and butter pickles, home-canned pasta sauce, and saving seed to plant garlic in the fall, starting the cycle all over again.
This year, we added a few more raised beds to grow even more so that I could add another tasty preserve to our pantry ~ Pickled Garlic!
How to Use Pickled Garlic
Garlic is a common ingredient in pickles and works incredibly well in all manner of pickling recipes. I’ve found that when I get to the bottom of a jar of home-canned dill pickles, the remaining pickled garlic and onions are some of my favorite parts.
I regularly make 3 or 4 different types of pickled onions each year, and now I’ve made a habit of a few types of pickled garlic.
The pickled cloves can be eaten right out of the jar, and they are delicious that way, but I actually use them in my cooking more often than not.
There are plenty of recipes that incorporate both garlic and vinegar during cooking, and pickled garlic preserved with flavorful spices allows you to incorporate a lot of flavors all at once.
I dice up the cloves into lamb vindaloo, a pungent Indian dish inspired by Portuguese colonists who use a heavy dose of vinegar in their meat dishes. They also work wonderfully chopped into fresh salsa, or pulsed into a quick food processor pesto or hummus.
I’ll put them on top of winter soups as a garnish, or add them to tomato or avocado toast right from the jar too.
Use your imagination, the possibilities are endless!
How Much Garlic Do You Need for Pickled Garlic?
One of the tricky parts about making pickled garlic is just how much garlic you need to fill a jar. It’s a surprising amount, and peeling garlic can be incredibly time-consuming.
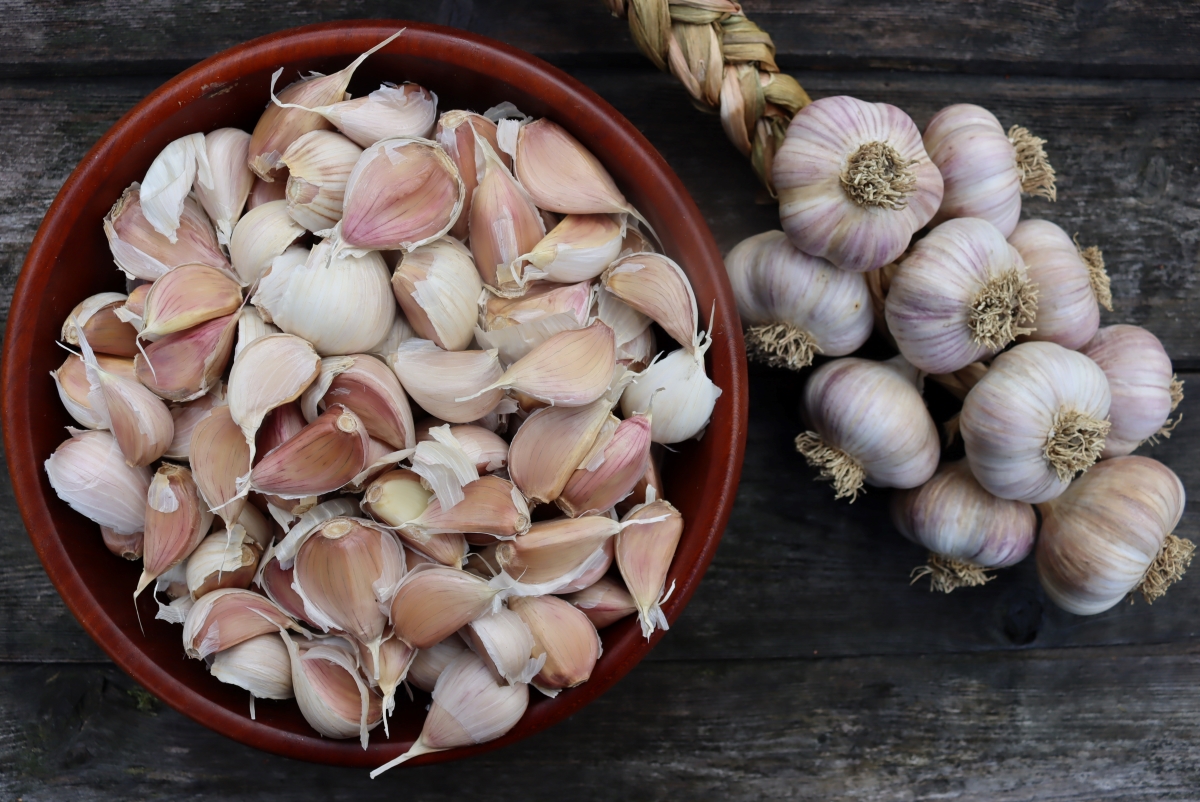
For each pint jar, you’ll need about 10 ounces of garlic by weight peeled or 2 cups whole. That’s about 3/4 lb fresh garlic, not yet peeled or trimmed.
This can vary somewhat, as the size of the garlic clove determines how well they pack into the jar. Hardneck garlic varieties, which are most common here in the northeast, tend to have much larger cloves than soft neck garlic.
Hardneck garlic also produces tasty garlic scapes, which are absolutely delicious in early summer garlic scape recipes.
(You’ll also need about 1 cup of liquid brine per jar or about 1/2 cup per pint jar, but more on the pickling brine later.)
I’ll settle down at the picnic table in the yard and watch the kids play during the last warm days of summer, and really it’s as much about canning up that memory of those final warm sunny days as anything else.
I say the same thing about canning peas. It’s a lot of time, but time well spent.
Not everyone agrees with this sentiment, even die-hard canners. I get it, especially if you’re living in the city. It’s not exactly like you’re enjoying cool summer breezes on your porch, it’s just drudge work in your kitchen.
The book Canning for a New Generation captures this sentiment perfectly:
“Pickled garlic is so good–and, many folks would claim, good for you — that I thought it worth including this recipe even though I can’t imagine peeling (much less planting and harvesting) enough fresh garlic for three pounds of cloves. By all means, if you have the garlic and the time–and a proclivity for drudge work–peel the garlic yourself, but I cheat and get peeled garlic five pounds at a time from the huge Korean grocery store where the turnover is good and the garlic is clearly very fresh.”
While I disagree with the “I can’t Imagine planting that much” part…I do understand not wanting to peel it all.
It’s totally ok to just go down and buy a sack of peeled garlic from the store. Places like Costco sell them, as do Korean Groceries and sometimes even farm markets in heavy garlic growing areas.
How to Make Pickled Garlic
Making pickled garlic isn’t all that different from any other homemade pickle, and there are a lot of possible variations.
The main thing is that the pickling brine needs to be at least 50% vinegar at 5% acidity. The vinegar is what’s responsible for preservation in pickled garlic recipes, and just about all the other ingredients are flexible.
The type of vinegar is up to you, so long as it’s standardized to at least 5% acidity. Popular choices include:
- Cider Vinegar
- Distilled White Vinegar
- Wine Vinegar
Be careful with specialty vinegar like rice vinegar, which is often standardized to a lower acidity (for example, mine’s at 4.3% acidity). Those can still be used, but you’ll need to use more than 50% vinegar, and calculations get tricky.
Salt, sugar, and spices are all just for flavor and can all be adjusted to your tastes.
The other half of the liquid in the brine is also somewhat flexible.
Though it’s usually water, it can be wine or even light fruit juice (like apple juice). White wine is a good choice, but I’ve seen red wine used successfully in pickled garlic with Italian spices.
Recipes for Pickled Garlic
Your choice of recipe for pickled garlic depends on how you use it. I make a number of different types of pickled garlic since we use it in all manner of dinner, snack, and appetizer recipes, as well as straight from the jar.
I’ll share some of my favorite pickled garlic recipes, but know that this is only the beginning.
Feel free to adapt any pickling recipe that uses at least 50% vinegar at 5% acidity.
Most pickled garlic recipes use a good bit more than 50% vinegar since garlic has a pretty intense flavor. Extra vinegar helps balance out the pickles so that they have enough acidity to stand up to the pungent flavor of whole garlic cloves.
In each of these pickled garlic recipes, you’ll need enough peeled garlic to fill the jars. They’re all standardized to 3 pints of finished pickles, and each pint needs roughly 3/4 lb unpeeled garlic as harvested (or 10 ounces peeled garlic as purchased).
That means you’ll need about 2 1/4 lbs garlic for each recipe, but I’d have at least 2 1/2 pounds on hand just in case. The clove size varies, as does how much you need to trim.
For purchasing peeled garlic, a 2 lb bag should just about perfect.
Basic Pickled Garlic
This simple recipe for pickled garlic is adapted from the Ball Complete Book of Home Preserving, which has more tested canning recipes than any other canning book I’ve seen to date.
It’s just shy of 3/4 vinegar, and the remainder of the liquid is made up with either water or dry white wine if that suits your tastes.
There’s just enough salt and sugar to bring out the flavor of the garlic without being overwhelming.
Makes enough brine for about 6 half-pint jars or 3 one-pint jars.
- 2 1/2 cups white vinegar
- 1 cup dry white wine (or water)
- 1 Tbsp canning salt
- 1 Tbsp sugar
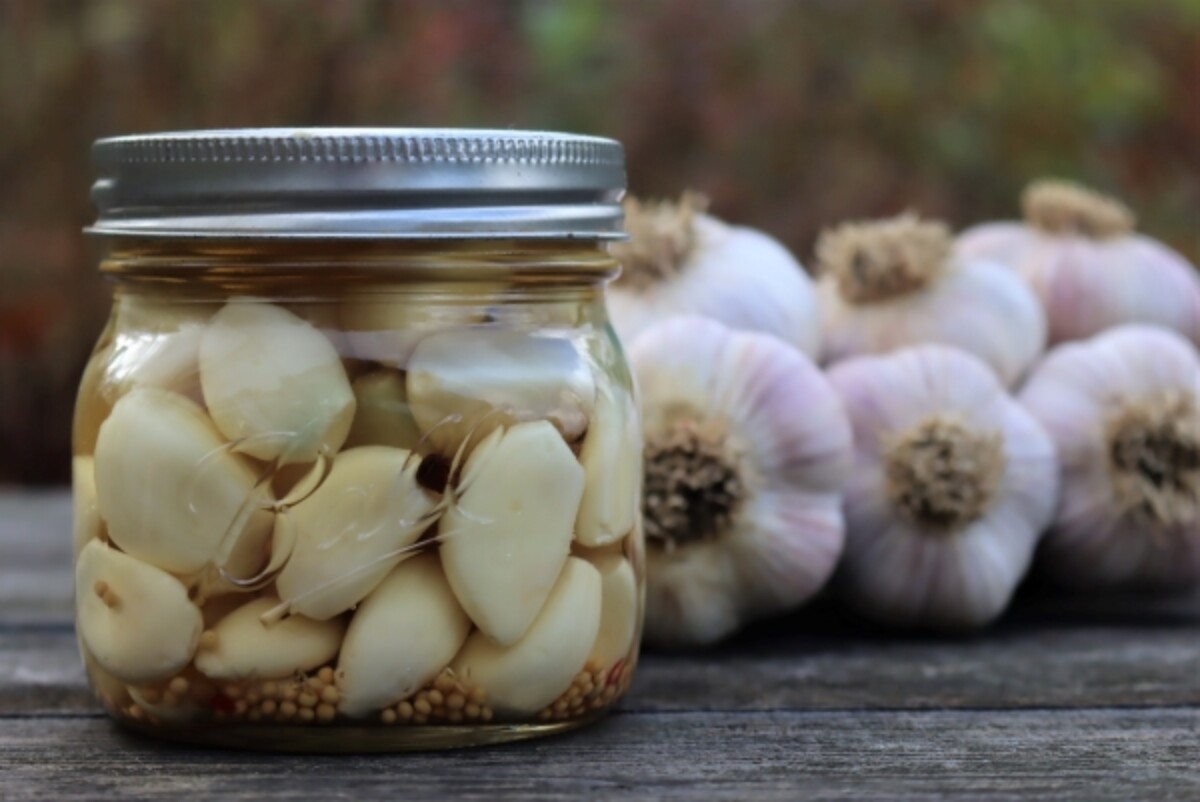
- 1 Tbsp whole mustard seed (3 tsp, one tsp added to each pint jar)
Instead of whole mustard seed, the Ball Canning Book suggests adding a teaspoon of dried oregano and red pepper flakes to each jar. I think that takes the recipe into more of a mildly spicy Italian flavor direction, and the mustard seeds are more neutral.
But as I said, the seasonings are up to you.
Spicy Pickled Garlic
For spicy pickled garlic, I actually just slightly adapt the same simple pickled garlic recipe. Instead of whole mustard seed, I add in black peppercorns and red pepper flakes.
It’s easy enough to make both at the same time, since the spices are added to the jar and the brine is exactly the same.
That works well since my husband is the only one who really loves spicy pickled garlic. I’ll use it in Indian and Spanish recipes, but I don’t tend to eat it right out of the jar.
I can make a few jars of spicy pickled garlic while I’m making a big batch of regular pickled garlic without much fuss.
Makes enough brine for about 6 half-pint jars or 3 one-pint jars.
- 2 1/2 cups white vinegar
- 1 cup dry white wine (or water)
- 1 Tbsp canning salt
- 1 Tbsp sugar
- 1 – 2 Tbsp red pepper flakes (3 to 6 tsp, or 1-2 tsp added to each pint jar)
- 1 Tbsp black peppercorns (3 tsp, one tsp added to each pint jar)
You can adjust the red pepper flakes to your tastes, for more spice or less. You can also add sliced hot peppers, which go really well with pickled garlic.
I’ll actually sometimes do a 50/50 mix of hot peppers and garlic using my pickled peppers recipe, and my husband loves that as a relish on top of hot dogs (whole garlic cloves and everything, right there sticking out of the bun).
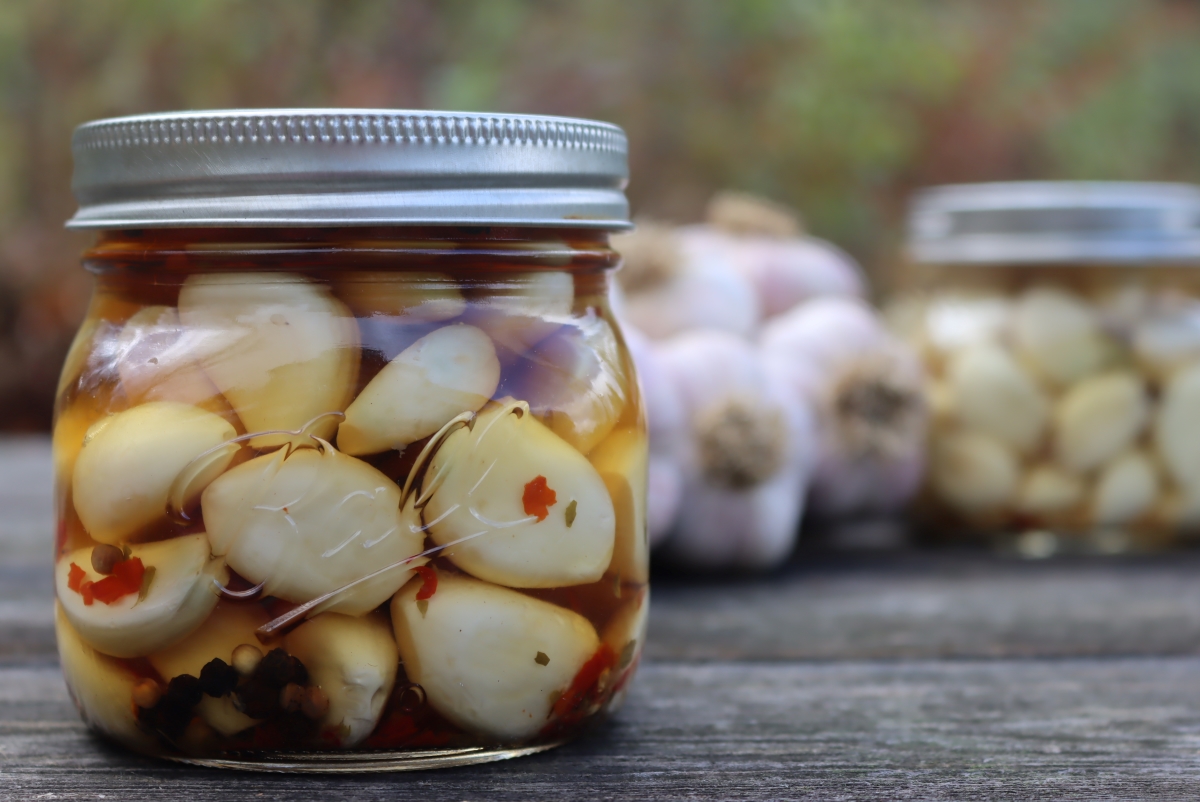
Sweet Pickled Garlic
This recipe for sweet pickled garlic is adapted from the Oregon State Extension Service. It’s very similar to my recipe for bread and butter cucumber pickles, which are quite sweet.
The main difference is it lacks the turmeric and mustard seed that gives bread and butter pickles their characteristic yellow color and warm flavor. They choose mixed pickling spices instead.
Feel free to add a teaspoon of each ground turmeric and whole mustard seeds to each jar if you’d like, in place of the pickling spices.
You can also opt for red pepper flakes instead if you’d like hot and sweet pickled garlic.
Makes enough brine for about 6 half-pint jars or 3 one-pint jars.
- 6 cups peeled garlic cloves
- 3 cups white distilled vinegar (5%) acidity
- 1 cup sugar
- 1 1/2 teaspoon canning salt
- 3 teaspoon pickling spices (optional, 1 tsp to each jar)
Instructions for Making Pickled Garlic
Regardless of the recipe you choose, the process is the same.
Start by placing dry spices into the bottom of each sterile canning jar so that all jars get the same amount. It’s usually around 1/2 to 1 tsp of any given spice per jar.
Heat vinegar, water/wine/juice, sugar, and salt to boiling.
Add garlic cloves and boil for 1-minute. This heats the garlic cloves and causes them to shrink slightly so they pack better into the jars. Skipping this preheating step may result in under-packed jars.
Use a slotted spoon to scoop hot garlic out of the brine and pack it into the prepared canning jars on top of the dry spices. Be sure to leave 1/2 inch headspace.
Pour the boiling brine over the garlic, leaving ½ inch headspace.
For refrigerator pickled garlic, you’re done here. Just let the jars cool on the counter before storing in the refrigerator.
Canning Pickled Garlic
If canning, make sure you remove bubbles and adjust the headspace after pouring the brine over the garlic.
Wipe jar rims and seal with 2 part canning lids before processing in a boiling water canner for 10 minutes.
After processing, turn off the heat and allow the jars to sit in the canning water for 5 more minutes before removing them to cool on a towel on the counter.
(That extra 5 minutes helps prevent liquid loss from siphoning, which can happen if the jars change temperature too rapidly. Allowing them to cool slightly in the canning water before removing them helps prevent this common canning problem.)
If you’re not familiar with canning, I’d suggest reading this beginner’s guide to water bath canning before getting started.
Canning Plain Garlic (Without Pickling)
Since they sell plain canned minced garlic in the store, I get asked all the time how to can plain garlic. Sadly, there’s no tested recipe for canning plain garlic as a home canner.
The minced stuff you buy in the store has a lot of citric acid added, and given that, it’s actually not quite “plain” garlic in any case. It’s partially “pickled” by the acidity from the citric acid, enough that the processing time isn’t nearly as long as it’d need to be for canning truly plain garlic.
The problem with canning plain garlic is that it takes a long time in a pressure canner to can plain garlic, and both the quality and flavor of the garlic cloves really suffer.
I’d suggest instead that you can “plain” garlic as a no salt/sugar pickle made, using a liquid made of half water and half distilled white vinegar (5% acidity). It’ll bring the acidity up enough that you can use a short process time, and the vinegar actually helps maintain and enhance the garlic’s flavor during canning.
If you’re absolutely dead set on trying to can garlic in water for truly plain garlic, know that there’s no tested canning recipe and that you’ll have to do it at your own risk. In that case, the most reasonable thing to do is use garlic in place of onions in this approved recipe for canning onions at home.
Again, know that’s not a tested canning recipe, and proceed at your own risk.
These recipes for pickled garlic, however, are safe tested canning recipes that are easy to put up in a water bath canner. I’d strongly suggest letting go of the desire to can plain garlic, and embracing flavorful pickled garlic instead.
Ways to Preserve Garlic
Looking for more ways to preserve garlic?
- Freezing Garlic
- How to Store Garlic
- Growing Garlic as a Perennial (Preserving it in the Field)
Pickled Garlic
Equipment
Ingredients
Basic Pickled Garlic
- 6 cups peeled garlic cloves, from 2 1/4 to 2 1/2 lbs unpeeled garlic
- 2 1/2 cups white vinegar
- 1 cup dry white wine, or water
- 1 Tbsp canning salt
- 1 Tbsp sugar
- 1 Tbsp whole mustard seed, optional (3 tsp, one tsp added to each pint jar)
Spicy Pickled Garlic
- 2 1/2 cups white vinegar
- 1 cup dry white wine, or water
- 1 Tbsp canning salt
- 1 Tbsp sugar
- 1– 2 Tbsp red pepper flakes, 3 to 6 tsp, or 1-2 tsp added to each pint jar
- 1 Tbsp black peppercorns, 3 tsp, one tsp added to each pint jar
Sweet Pickled Garlic
- 6 cups peeled garlic cloves
- 3 cups white distilled vinegar, 5% acidity
- 1 cup sugar
- 1 1/2 teaspoon canning salt
- 1 Tbsp pickling spices, optional, 1 tsp to each pint jar
Instructions
- The process for making pickled garlic is the same regardless of the recipe you choose. Canning is optional, and refrigerator pickled garlic keeps for quite a long time as well.
- Wash and prepare either 3-pint jars or 6 half-pint jars. Add dry spices to the bottom of each jar (using half as much for half-pint jars).
- Make a brine by heating vinegar, water/wine, sugar, and salt to boiling.
- Add peeled garlic cloves and boil for 1-minute.
- Use a slotted spoon to scoop hot garlic out of the brine and pack it into the prepared canning jars on top of the dry spices. Be sure to leave 1/2 inch headspace.
- Pour the boiling brine over the garlic, still maintaining ½ inch headspace.
- For refrigerator pickled garlic, cap the jars, and you’re done here. Just let the jars cool on the counter before storing them in the refrigerator.
CANNING PICKLED GARLIC
- If canning, make sure you remove bubbles and adjust the headspace after pouring the brine over the garlic.
- Wipe jar rims and seal with 2 part canning lids before processing in a boiling water canner for 10 minutes. After processing, turn off the heat and allow the jars to sit in the canning water for 5 more minutes before removing them to cool on a towel on the counter. (That extra 5 minutes helps prevent liquid loss from siphoning, which can happen if the jars change temperature too rapidly. Allowing them to cool slightly in the canning water before removing them helps prevent this.)
Notes
Nutrition
Nutrition information is automatically calculated, so should only be used as an approximation.
Easy Pickle Recipes
Looking for more simple pickle recipes for your pantry?
Water Bath Canning Recipes
Pickles aren’t the only thing you can preserve at home using a water bath canner:


There is no safe tested recipe for canning garlic, pickled or plain. Pickled garlic must be refrigerated. Canning recipes for garlic are outdated and now considered unsafe.
What’s your source for that? There are tested recipes for canning pickled garlic in the most recent Ball Canning books. I have seen nothing that comes out against canning pickled garlic.
It has been removed from the most recent version for sure. What’s the publish date on yours?
You can also check out various extension websites regarding preserving garlic. For example: https://ucfoodsafety.ucdavis.edu/sites/g/files/dgvnsk7366/files/inline-files/250352.pdf
The link you sent does not mention pickled garlic one way or the other. It does say that there’s no tested method for pressure canning garlic stand alone. Not that it’s safe or unsafe, only that there’s no tested method. But it makes no mention of canning pickled garlic. There are existing resources from extensions that do have recipes for canning pickled garlic. Here are examples of University Extension Websites that provide current recipes for canning pickled garlic:
https://ucanr.edu/sites/camasterfoodpreservers/files/340429.pdf
https://s3.wp.wsu.edu/uploads/sites/2086/2014/05/Pickled-Garlic1.pdf
I have multiple editions of the Ball Book of Canning, including the most recent edition in 2024. They sent pint and electronic copies of that book to me before it was even published, and I specifically asked them if there are any new safety developments, and they said that the only new safety information was about adding lemon juice to apples. They removed A LOT of random recipes from that book, but that doesn’t mean it was for safety reasons. (Oddly, they also forgot to remove multiple recipes that do have safety concerns, including elderberry canning recipes.)
They did, however, leave plenty of pickles containing whole garlic cloves in the jars, as well as a garlic jelly recipe.
I cannot find a single source anywhere on the internet that specifically says that canning pickled garlic is no longer an approved method of preservation.
I saw that recipe as well and reached out to the director of the Washington state extension to ask about it. The recipe posted is from 2004. Here is her reply to my email:
You are correct, it is not safe to home can garlic and or home can pickled garlic. The University of California brochure does a very nice job of the explaining what you can do with garlic.
We had removed the recipe from the website but now I need to check and see what happened. Thanks for letting me know – I appreciate it!
Margaret
Margaret A. Viebrock, Director
WSU Extension – Chelan & Douglas Counties
The Oregon State University publication has also been revised and no longer includes canning pickled garlic.
https://extension.oregonstate.edu/food/preservation/preserving-garlic
Do I let the garlic sit in the jars for a couple months like pickles. Or is it good to eat right away. I did the water bath method.
It will be fine to eat right away but the flavor will probably improve with a little time.
A nice truck I learned for peeling garlic is to put a bunch of cloves in their paper skins between 2 small metal bowls that are the same size (open sides facing each other to make a sphere) and shake hard! It makes a huge racket, but the papery layers fall off nicely.
Great tip!
Help! I love pickled garlic and these are perfect recipes. But, when I made the pickled garlic, the garlic turned blue. After doing some research, I understand that this is natural and it’s just fine to eat (in fact, it’s prized in China), but personally, I can’t get past the color. Is there any method for keeping the garlic from turning blue? Thanks!
I have read that you can blanch them first but you will lose some flavor.
Can you use garlic cloves that are already peeled and sold in containers in the store for pickled garlic?
Yes, that should work just fine. I would just be sure that they haven’t been treated with anything.
Ok, tried the basic recipe, had no wine and love acidic food, so went 100% distilled vinegar for the liquid. Hot water bath canned it, everything sealed, but something odd happened, after a couple of days there are air bubbles forming under the skin of the garlic. Not going to risk eating it, but curious if anyone else has had that happen?
I think you’re supposed to peel the garlic skins off before you can them!
Do you need to cure the garlic after picking before pickling it?
The main purpose for curing the garlic is for long term storage so there is no need to cure it before pickling.
Thank you!
You’re very welcome.
It might be helpful if you stressed the need to keep the pH low (high acidity) to prevent the growth of botulism. This is why they add citric acid. It’s a big danger, but easily managed. Love your site!
Yes, that’s a great point. Thanks for sharing.
The sweet one and the spicy are amazing! Feel free to substitute kosher salt for canning or regular black pepper for peppercorn. Also try it with slice sweet onions!
OMG! We made these over the weekend. I used apple cider vinegar instead because I love it’s healthy benefits. We made both spicy and sweet. We mentally fudged the ratios because I only made an 8 oz jar of each to test. We used kosher salt instead (all I had) and in the spicy we used regular pepper from the shaker cause it’s all I had again lol. We had a bit of both brines left over so we sliced some fine onion up and mixed both brines for the onion. We killed the onion at lunch the next day! Thank you so much for posting this!! That sweet one is going to be my go to.
That’s wonderful. Thanks for sharing. We’re so glad that you enjoyed the recipes.
Hi, do the cloves get soft or do they stay crunchy?
The garlic will stay more crunchy if you put it in the refrigerator rather than canning. The crunchiness may also depend on the variety of garlic.
Thanks for these pickled garlic recipes. Have been looking for a good one. I want to put mine in the refrigerator. How long will they last in the refrigerator?
They should last quite a long time in the refrigerator, how long exactly I can’t say for sure as I’ve never really tried it. Maybe 6-8 weeks? Maybe longer?