Affiliate disclosure: This post may contain affiliate links. Please see our Privacy Policy.
Elderberry plants can be expensive to buy, but it’s easy to grow elderberries from cuttings. All you need is a few hardwood cuttings taken in the late fall or winter and a bit of patience.
When my husband and I first moved to our off-grid homestead, elderberries were one of the very first things we planted. They’re a big part of our winter wellness strategy, and they go into all manner of tasty things like elderberry oxymel as a quick cough syrup, elderberry mead for long winter nights and even elderberry jelly that our little ones love.
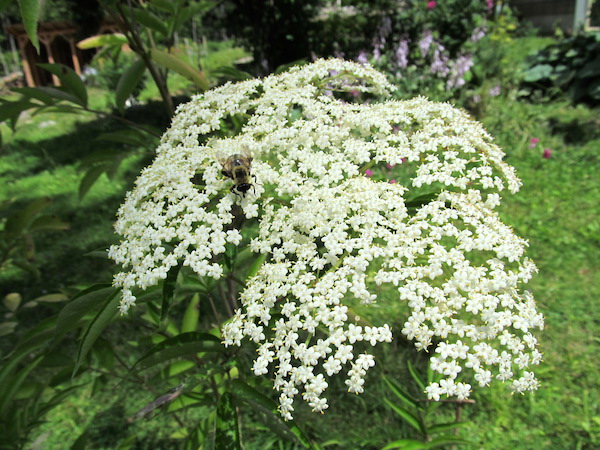
Beyond that, elderflowers make delicious liqueur and they feed the bees, both domestic and native.
We stopped by the nursery and I just couldn’t believe how expensive elderberry plants were. They were $30 each, about the same price as grafted apple trees.
Now, a few years later apple trees are more than $60 each and I don’t even want to look at the price tags on elderberry bushes. Time for a different strategy.
While buying elderberry plants may be expensive, with a little work and patience you can grow elderberries from hardwood cuttings. We’ve had great success propagating grapes with cuttings taken in the winter months, so why not try propagating elderberries?
Our original elderberry plants are still pretty small, as they’re notoriously slow growing for the first few years after transplant. I didn’t want to take many cuttings from them, so instead I ordered elderberry cuttings from Norm’s Farm which ships them out in January each year. I ordered 30 cuttings, and they shipped 45 (Thanks!), so here I am potting up whole trays of elderberry cuttings in our sunny attached greenhouse in early February.
(Elderberries are only one of many fruits you can propagate from cuttings, including blueberries and grapes. They’re one of the easiest, and they sprout easily from hardwood cuttings.)
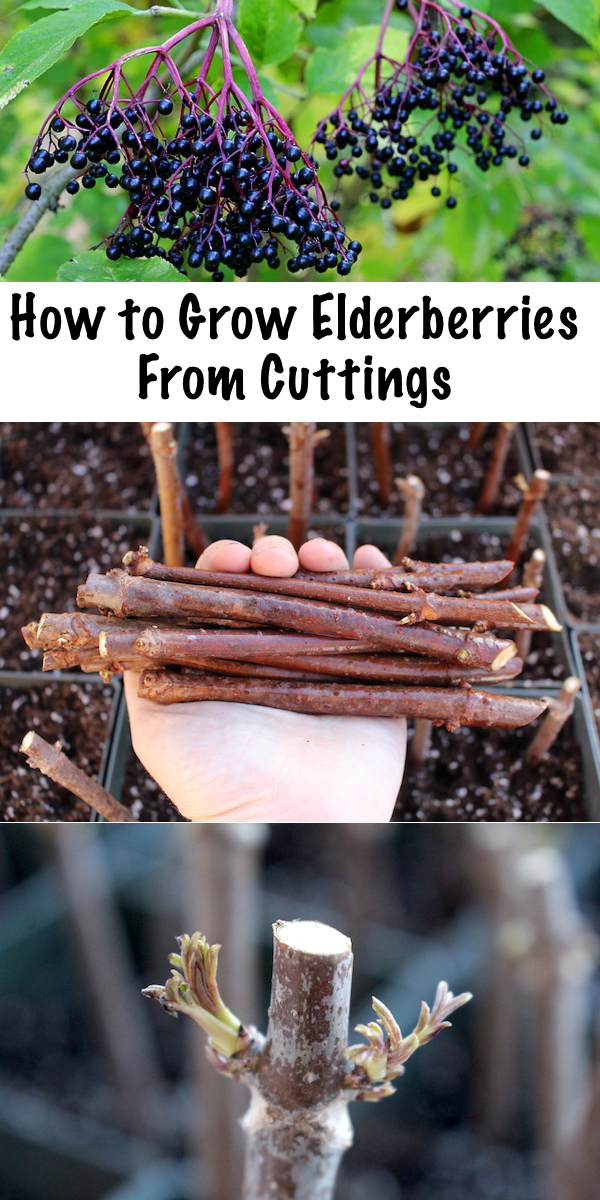
How to Grow Elderberries from Cuttings
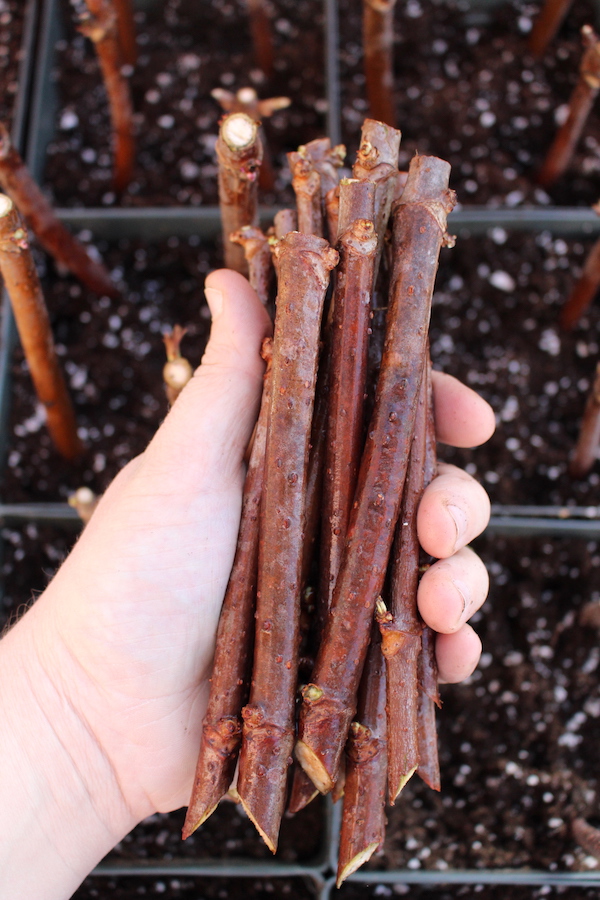
If you’re taking your own cuttings, do it when the plants are dormant for the winter. Make a slanted cut on the “root” side of the cutting so that you plant them in the correct direction. If you forget, you can still look at the buds on the stick and see which direction they’re pointing before planting, but making a slanted cut during harvest saves a lot of time on the potting bench.
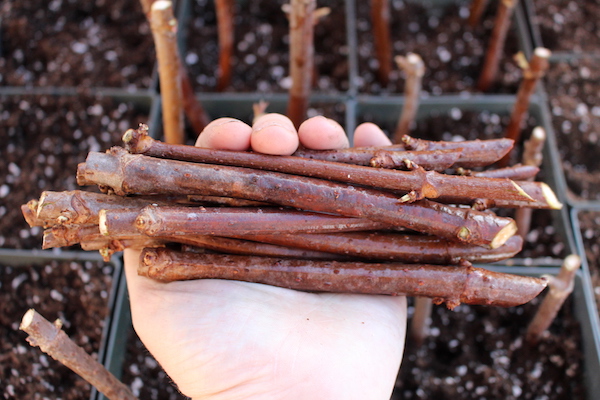
Elderberry cuttings should be about 6 to 8 inches long and include at least 4 buds.
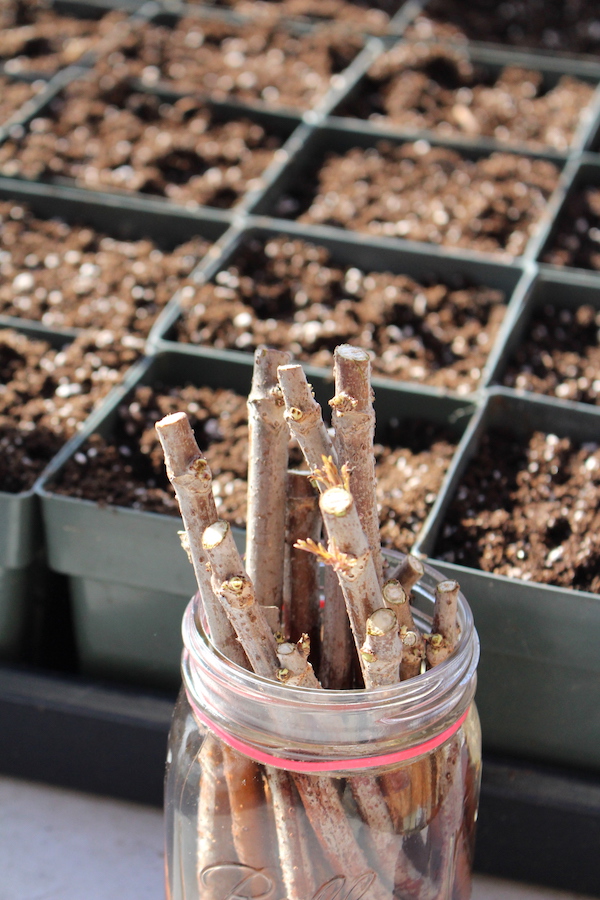
Whether you’ve ordered elderberry cuttings online or cut them fresh from existing plants, the process is the same once they’re in hand. Start by soaking the cuttings in water for 24 hours to thoroughly rehydrate them. Then prepare a tray of pots with moistened potting soil.
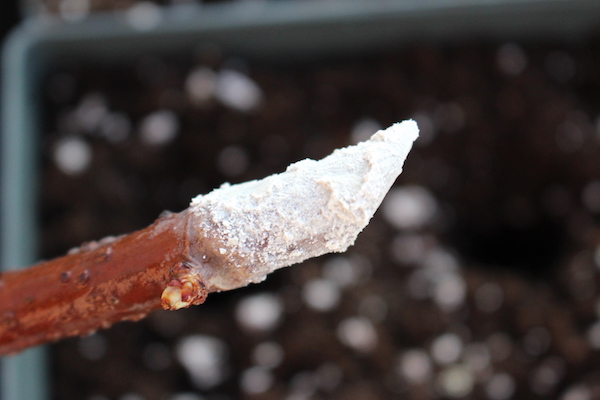
Since the elderberry cuttings have been soaking in water, the “root” end will be wet, which is perfect for dipping into a rooting hormone. I’m using a commercial rooting hormone powder, which is dependable and effective. It’s a synthetic version of the same hormone plants produce naturally.
You can also use willow water as a rooting hormone. Willows have a lot of natural rooting hormone, and soaking a few willow twigs in water helps to extract it for use with other plants. I imagine willow bark powder would also work as a natural alternative.
Dip the slant cut “root” end in the rooting hormone, covering the cutting about an inch up the sides.
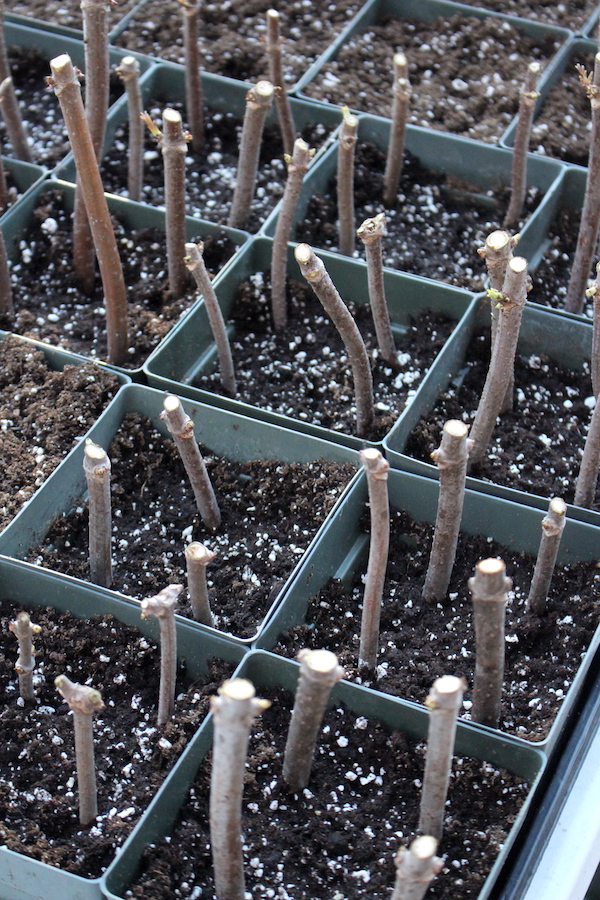
To plant, make a hole in the potting medium with your finger first. The whole is so the powder doesn’t get knocked off the elderberry cutting during planting, so don’t just slide the cutting into the soil. Then push the soil back around the cutting and tamp down.
You can reasonably plant 3-4 cuttings in a 5 to 6” pot. They’ll need to be transplanted to their own pot later in the spring, but this saves on space early on when not all the cuttings will survive.
Once the elderberries are planted, it’s important to keep them cool (but not cold) to encourage root formation. The ideal is about 40 degrees F, out of direct sunlight and wind. Direct sunlight and warm temps encourage quick top growth, at the expense of good roots.
If you live somewhere with a mild winter, a sheltered outdoor location would work well. In our case, I think the high this week is a whopping 3 degrees, with high winds. We won’t see consistent 40-degree temps until April at least. My elderberry cuttings are going into the basement, which is about 50 degrees, but moist and semi-dark.

Keep the soil moist but not soggy and wait. Solid roots and new shoots should be present after 8 to 10 weeks. At that point, the elderberry cuttings (or tiny plants) can be potted up individually or planted out in the garden in spring.
When planting elderberries, be sure to give them plenty of space. They’ll stay small for the first few years, but mature plants can be 8 to 10 feet tall…

I planted a black elderberry bush about 3 years ago. Last year I got some flowers but the plant never produced berries. Someone told me that you need at least 2 bushes to get berries. Is this true?
Elderberry bushes are generally considered self fruitful, but a second bush of a different type usually increases fruit set. That said, we have many types of elderberries, and some years they bloom like crazy but never set fruit. Other years, they’re covered in fruit. I wouldn’t give up hope on your bush, they just have off years sometimes, even with plenty of flowers. (And sometimes the birds or rain knock off the tiny developing fruits right as they get started too).