Affiliate disclosure: This post may contain affiliate links. Please see our Privacy Policy.
Rendering tallow at home is surprisingly easy, and you can put up this versatile cooking fat for almost nothing. Butcher shops often give away suet (un-rendered beef fat), and rendering beef fat at home will save you a lot of money on cooking oil each year.
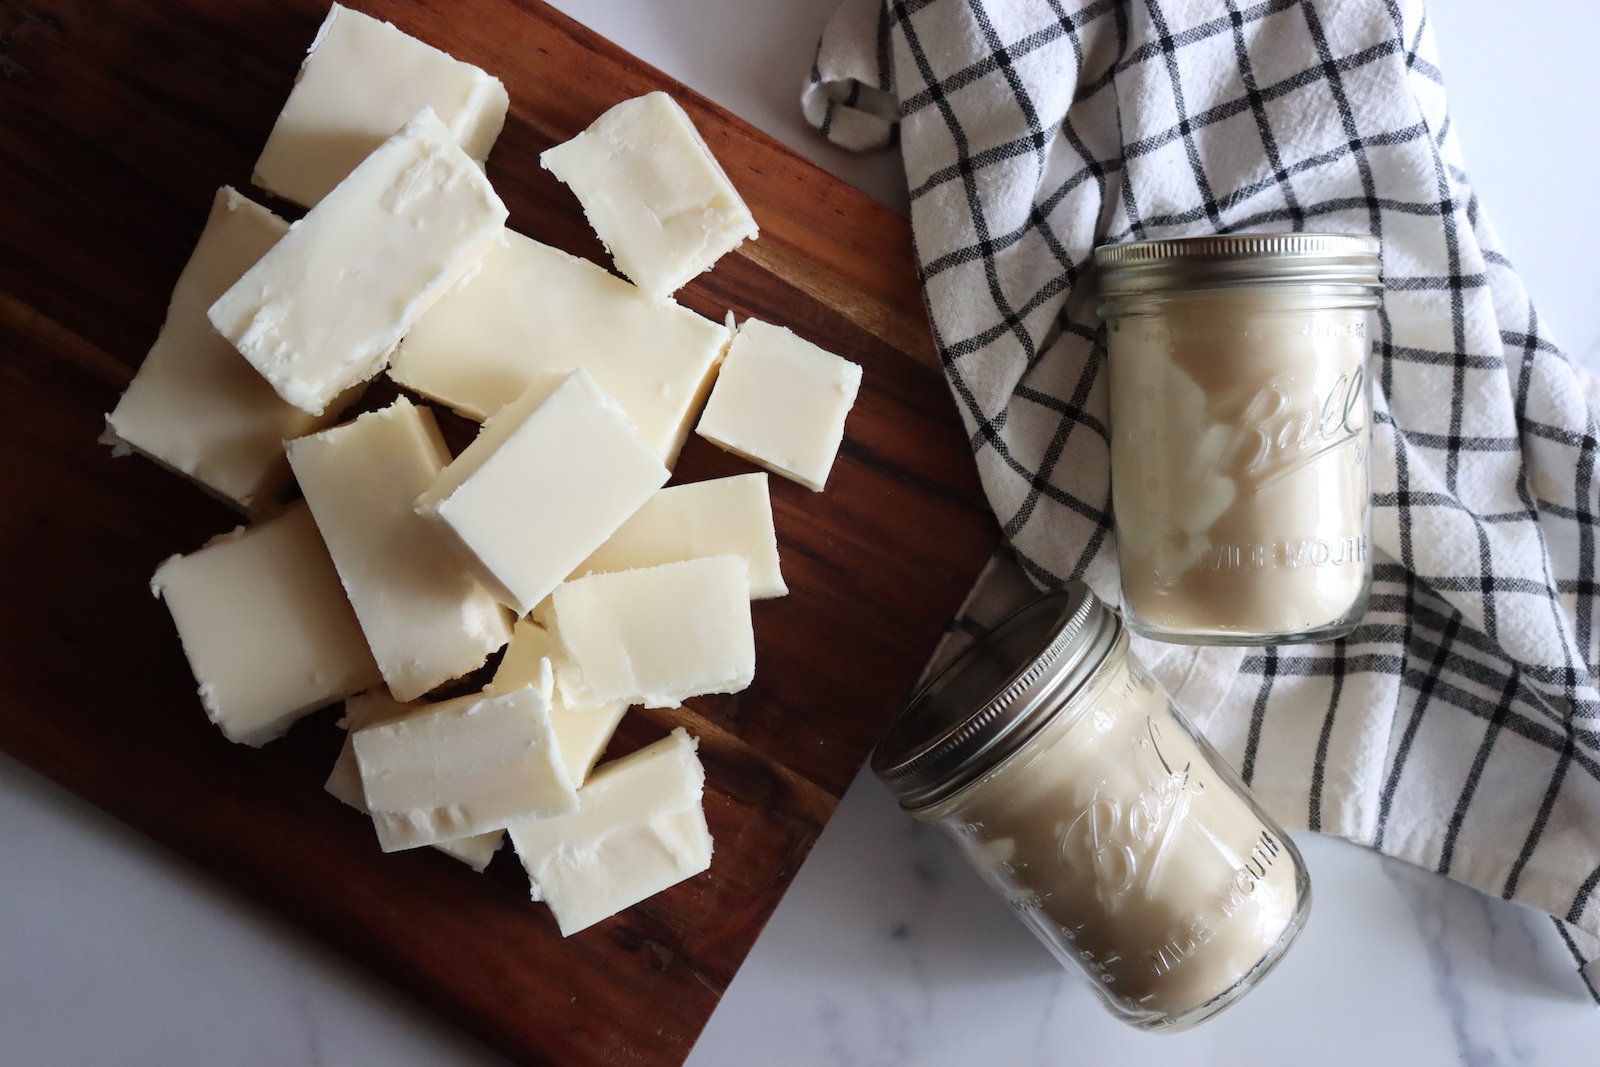
These days, with the rise in ancestral diets and whole foods nutrition, cooking with beef tallow is becoming increasingly popular. It’s a natural, healthy animal fat that was once a huge part of our diet, only to be replaced with unhealthy shortening, soy oil, and trans fats.
Not only is it a healthy cooking oil, that’s naturally high in omega fatty acids, but it’s also wonderful for skin care. I know, that sounds weird, but it is, in fact, a fat that nourishes the body inside and out.
The particular makeup of tallow means it’s readily absorbed by dry skin, and it’s incredibly nourishing.
Whether you’re cooking with tallow, or making homemade tallow lotion, salve, or whipped body butter, the process for rendering tallow is the same.
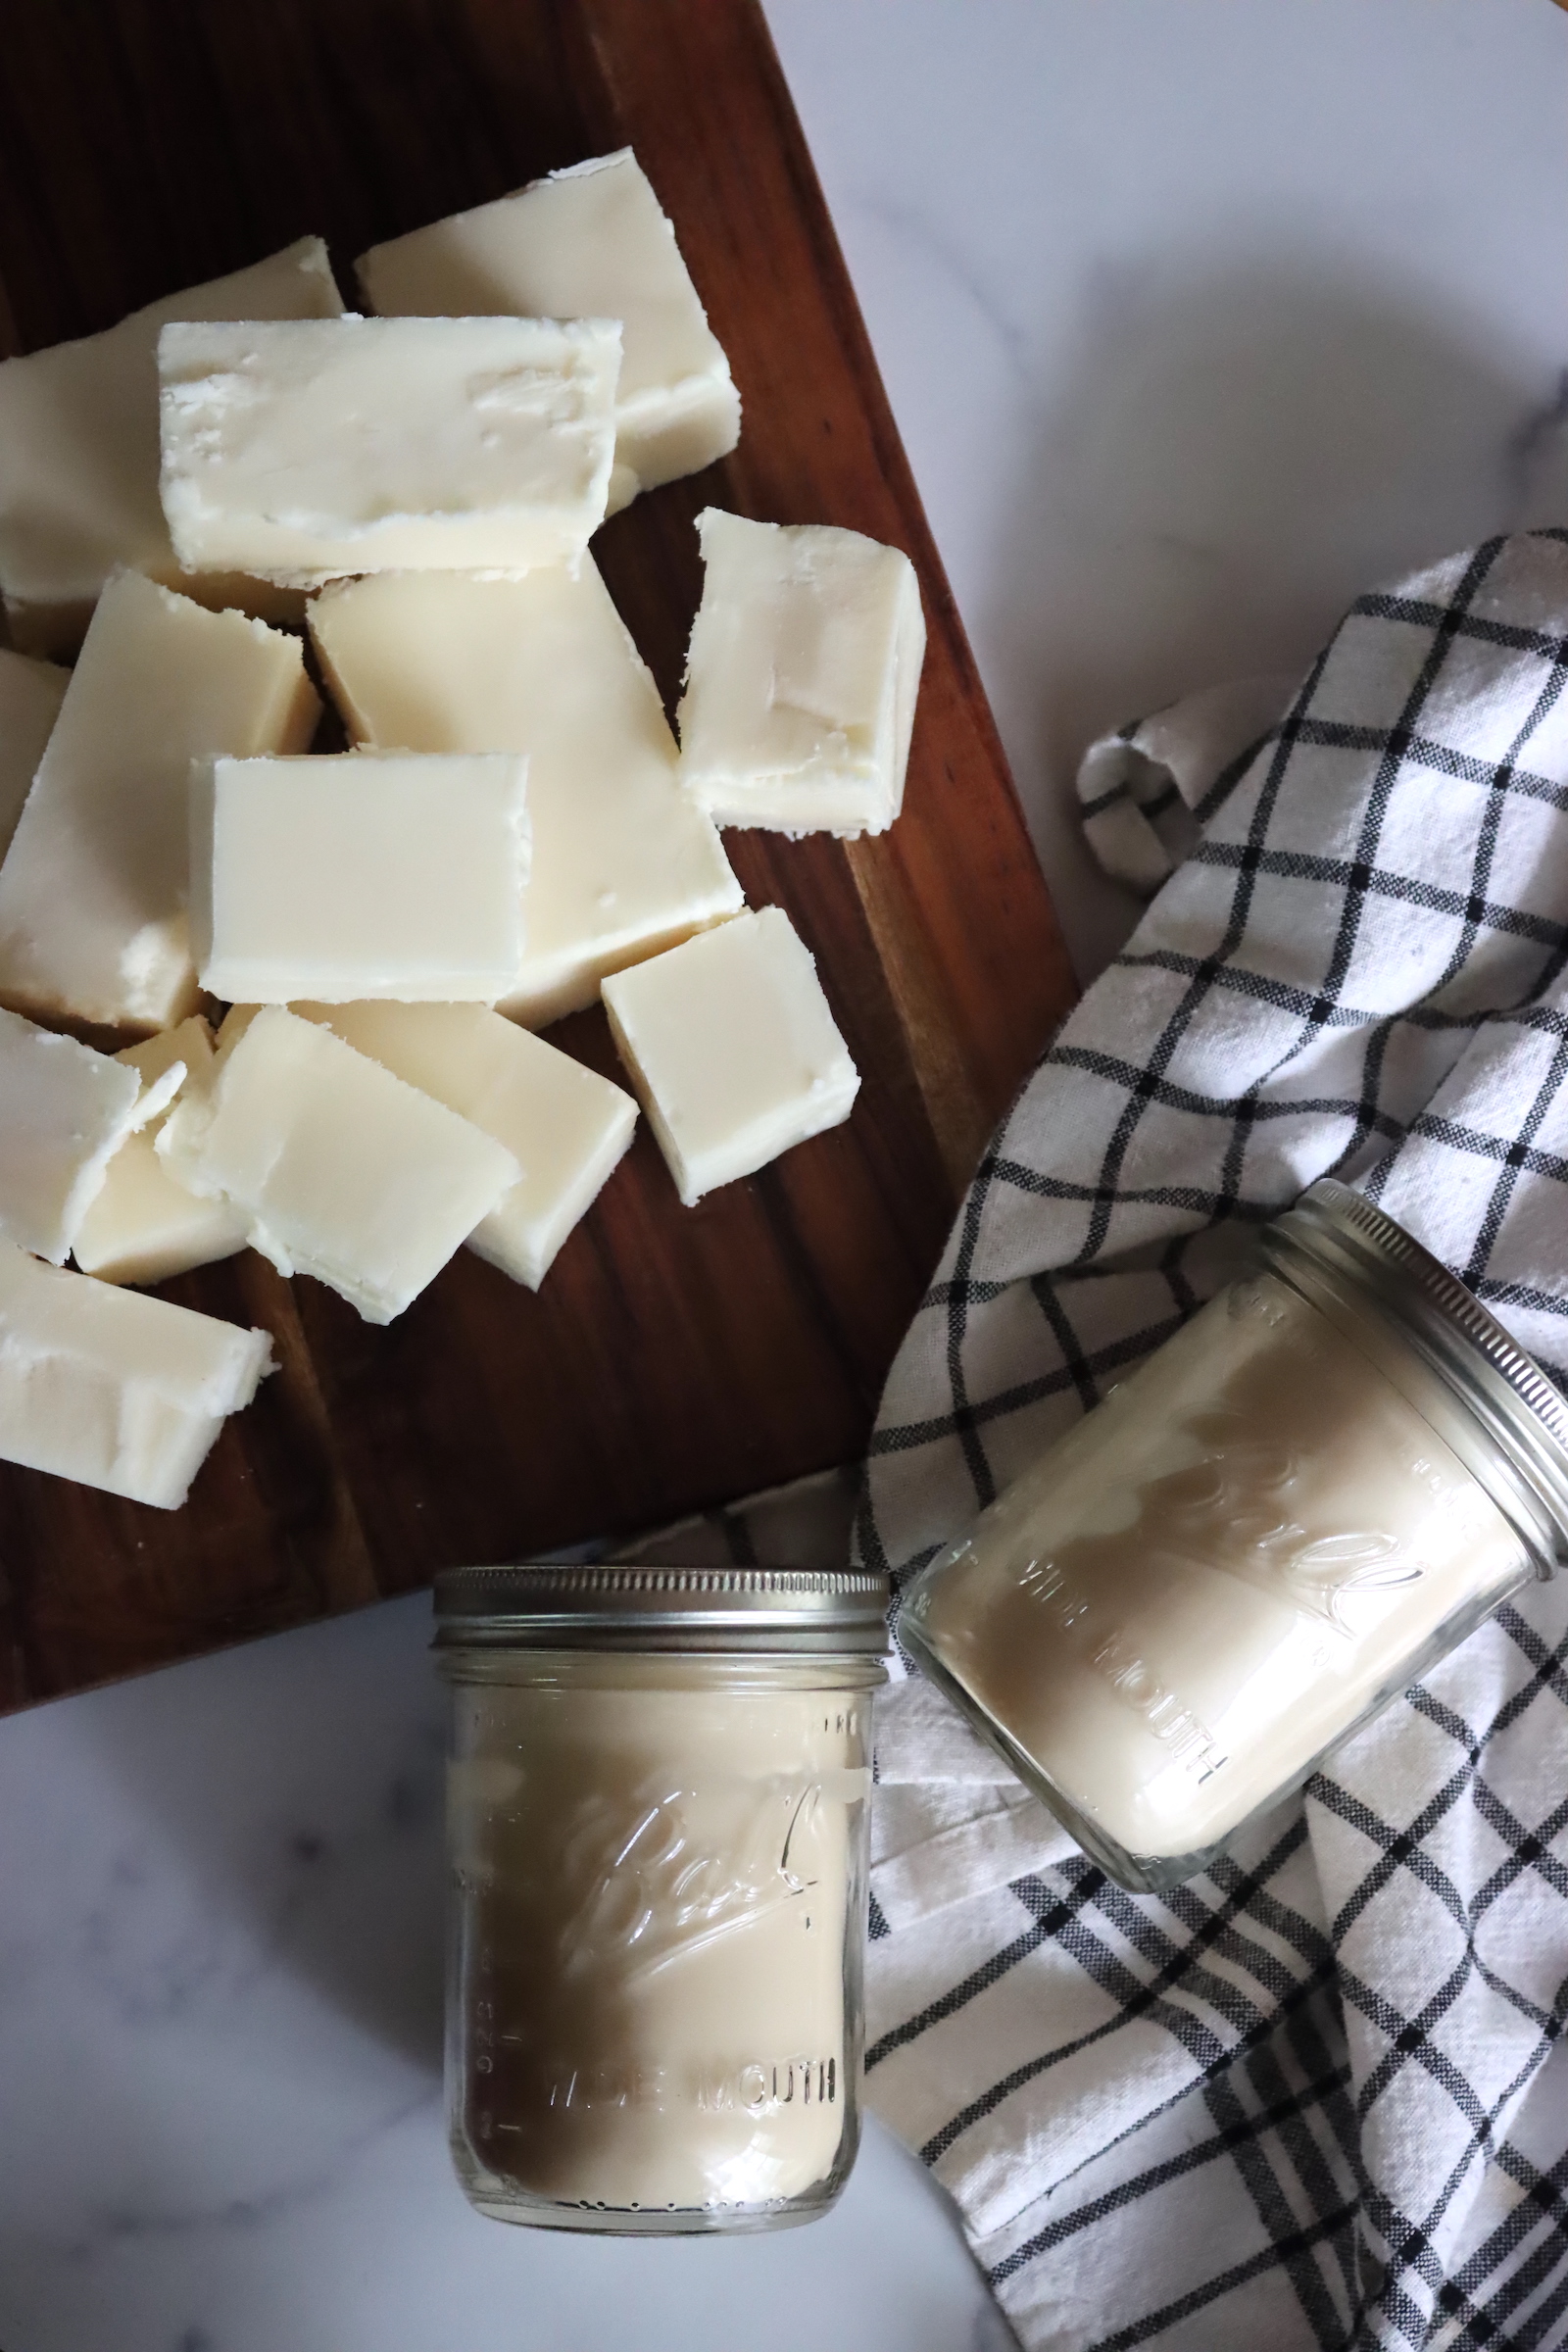
What Is Tallow?
These days, when people say tallow, they usually mean rendered beef fat that’s been made by slow cooking a lobe of fat that surrounds the animal’s kidneys (called suet). At least, that’s true in Western countries.
In many countries, tallow means mutton tallow, as sheep are far more common in some parts of the world than beef. In those places, lamb is a special occasion festival food, but mutton is a staple of the diet…and thus, so is mutton tallow.
In truth, tallow is the rendered fat from any ruminant. Sometimes, it’s confused with the term “suet,” but that refers to the raw, un-rendered fat that still contains other impurities.
What’s the Difference Between Tallow and Suet?
Suet is a hard fatty lobe that surrounds the kidneys inside of the animal, and it has a white, crumbly, dry texture. It’s not greasy, because it has a melting point somewhere between 113 to 122 degrees F, so it doesn’t melt when you touch it.
Since it’s a raw beef cut that contains water, fat, and connective tissue, it will spoil just like any meat and needs to be refrigerated or frozen.
It’s traditionally used in old-fashioned boiled puddings and mincemeat pies, and you can add a piece to a pan to fry your dinner, but it’s not the same as tallow.
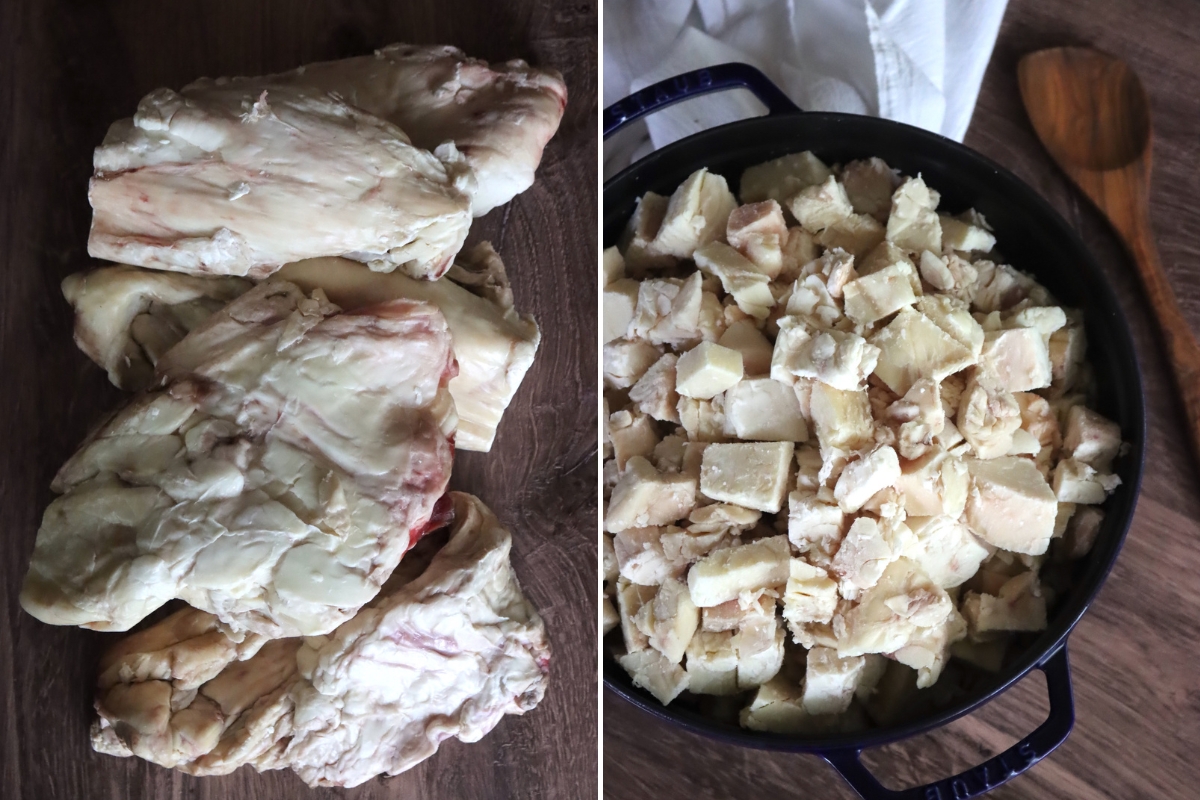
Tallow, on the other hand, is slow-cooked or melted-down suet. The fat is slowly melted out, the water driven off by cooking, and then the connective tissue and other impurities are filtered out with cheesecloth or a fine sieve.
The melting point of tallow is a bit lower than suet, at around 85 to 95 degrees F. That means it will melt at body temperature, but more slowly than vegetable fats like coconut oil, which melt at a warm room temperature (about 78 degrees F).
Since it’s a pure, clean fat, properly rendered tallow will keep on the pantry shelf for years if sealed. It has a high smoke point and neutral flavor, so it’s perfect for frying.
If properly made, tallow has no smell and tastes neutral in cooking.
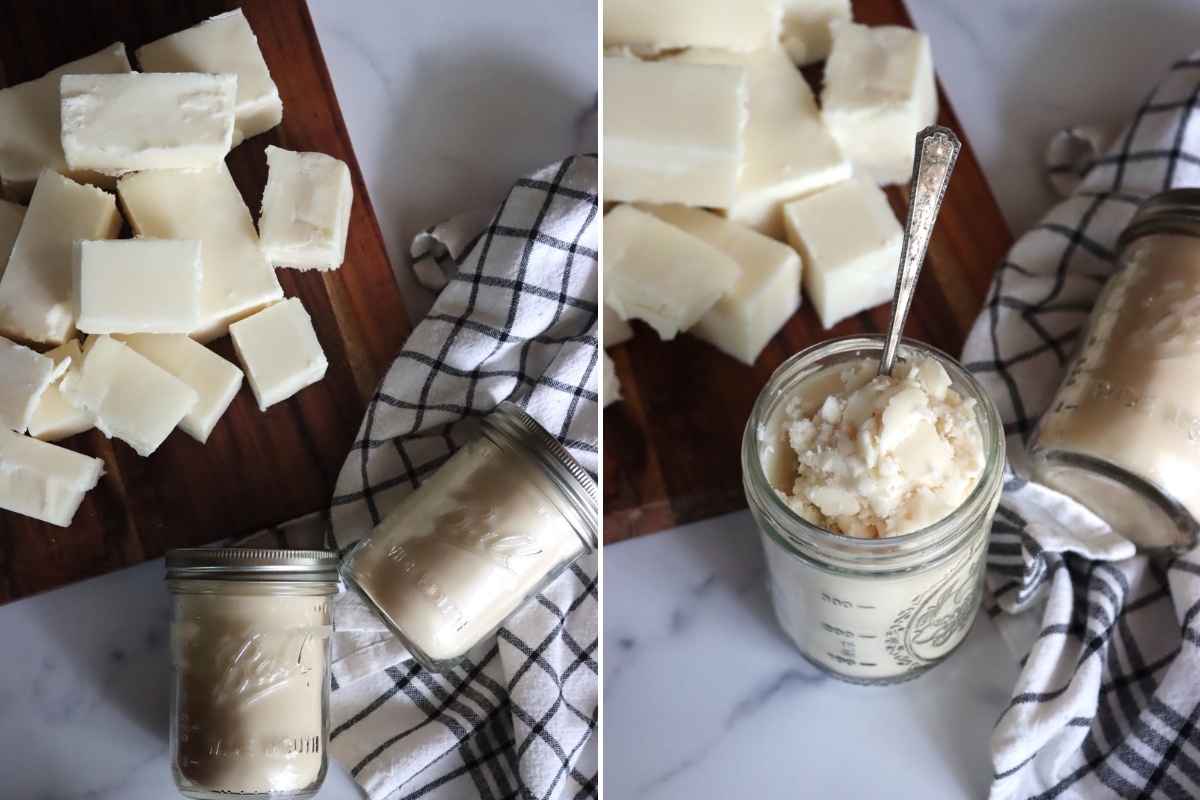
Types of Tallow
In the US, when you say tallow, you almost always mean beef tallow.
In other places, mutton tallow is much more common. There are even types of high-fat sheep specifically raised for tallow production since mutton tallow is in high demand in many countries.
Goat tallow and lamb tallow are also available in some places.
You can also make venison tallow, elk tallow, or bison tallow. Really, most any four-legged ruminant yields tallow when you render fat from the hunk of fat (suet) that develops internally near the kidneys.
If you want to spend a pretty penny, you can even buy Wagyu Beef Tallow, made from coveted Wagyu cattle. Their fat is generally softer and has a lower melting point than regular beef fat…so the tallow is spoon-able and easier to work with when cooking, but it’s expensive.
People also render fat from other animals, but it’s not called tallow unless it’s from a ruminant.
What would be “Pig tallow” is called lard, and more specifically, it’s called leaf lard if it’s made from the same hunk of fat right around the kidneys of the pig. Regular “lard” can also be rendered from back fat, but that’s lower quality than leaf lard.
“Chicken tallow” is called schmaltz, and it’s made from the visceral fat in the chicken’s cavity in much the same way (though it can also be rendered from chicken skin).
Duck fat and goose fat are unique in that they’re just called what they are…fat.
Lastly, camel hump fat is sometimes sold as a healthy cooking fat as well, but since it’s not made with suet, it’s not “tallow” but just rendered fat.
Benefits of Tallow
All types of tallow contain vitamin D and vitamin A, and these fat-soluble vitamins are important for healthy skin, eyes, bones, and teeth.
Grass-fed tallow, or tallow rendered from animals fed grass instead of corn and other grains, contains high levels of CLAs (Conjugated Linoleic Acids), and new studies come out every day hailing the benefits of these healthy fats. They’ve been shown to fight inflammation, reduce blood pressure, help osteoporosis, and help prevent a number of different cancers.
As a skin care product, tallow is highly absorbable by the skin, and helps to nourish and moisturize better than many plant-based lotions. It’s naturally anti-inflammatory and anti-microbial, and it won’t clog your pores. It’s actually been shown to help with acne, rather than cause it.
It contains Vitamin E and K, both of which are helpful in building elasticity in the skin and promoting healthy collagen development.
Where Can I Buy Tallow?
I’m about to walk you through the process of rendering tallow at home, but if you don’t want to mess with rendering it yourself, you can buy high-quality grass-fed tallow…but it’s not cheap.
Obviously, the DIY route is a much more cost-effective option since suet costs almost nothing from your local butcher. But you will be paying for it one way or another, and the DIY method takes time and will require setup and cleanup.
The downside there is while properly rendered tallow doesn’t smell once finished, it does smell quite a bit while you’re making it….so you may want to render it in a crock pot on your porch outdoors.
If you’re just hoping to buy high-quality grass-fed tallow, I’d recommend any of these sources:
If you’re looking for a tallow skincare product, Vintage Tradition is a good brand.
How to Find Suet to Render into Tallow
If you are going to render tallow at home, be sure to source the highest quality suet possible. Ideally, you’re looking for grass-fed, and often, you can get that from a local farmer, depending on where you live. Whenever you can, avoid factory-farmed as antibiotics and hormones bioaccumulate in the suet and will end up in your tallow.
If you’re going to go through the effort of rendering tallow, I’d strongly suggest finding a local farmer at a farmer’s market and talking to them about their farming practices.
Be aware that grain-fed changes the fat profile in the suet, and will reduce the healthy CLAs in the finished tallow. Always choose grass-fed whenever possible.
How to Render Tallow
There are two main methods for rendering tallow: Wet or Dry.
The wet method is easier, more dependable, and results in a cleaner, more neutral-tasting finished product. I’d strongly recommend using that method.
Dry rendering just means not adding water at the start, but that usually results in burned tallow with a scorched taste.
I’m going to walk you through the wet method, which involves slow-cooking the suet until it melts with a bit of water and then continuing to cook it until all the water evaporates. The last step is straining, where the solids (cracklings) are removed, and the tallow is finished.
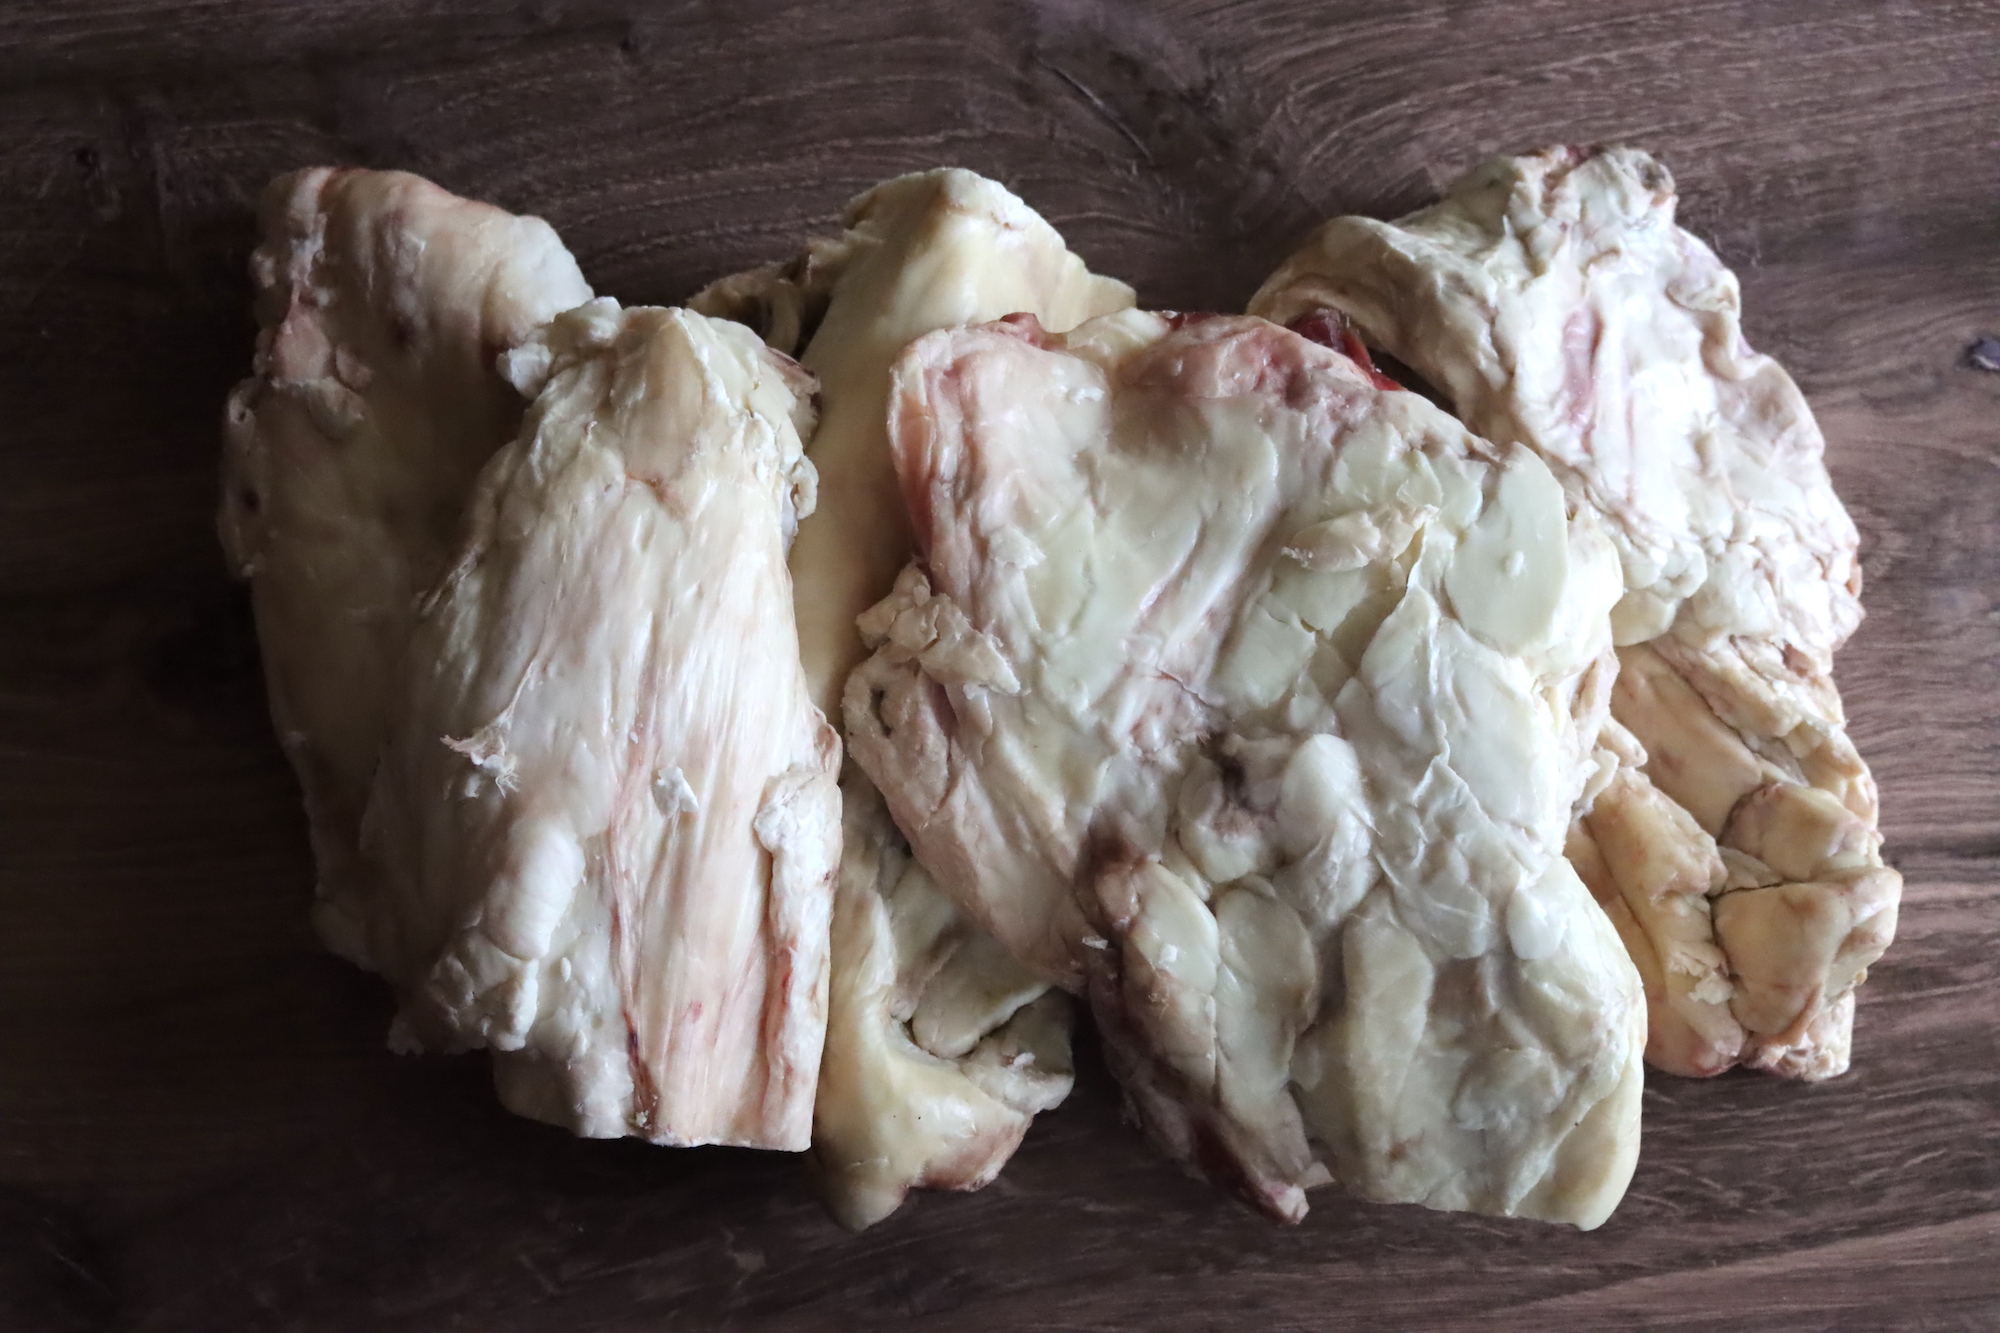
I started with three whole sheaves of suet, which was about 10 pounds in total. They’re each about 2 1/2 to 3 pounds.
The first step is trimming, and you’ll want to remove every little bit of blood, glands, and meat. Really, anything that’s not just plain white or slightly off-white.
This removes a surprising amount of the total, and I lost about 20% of the total weight with careful trimming. I’m now down to 8 pounds from 10 at the start.
Next, chop the suet into small pieces so it renders evenly and completely.
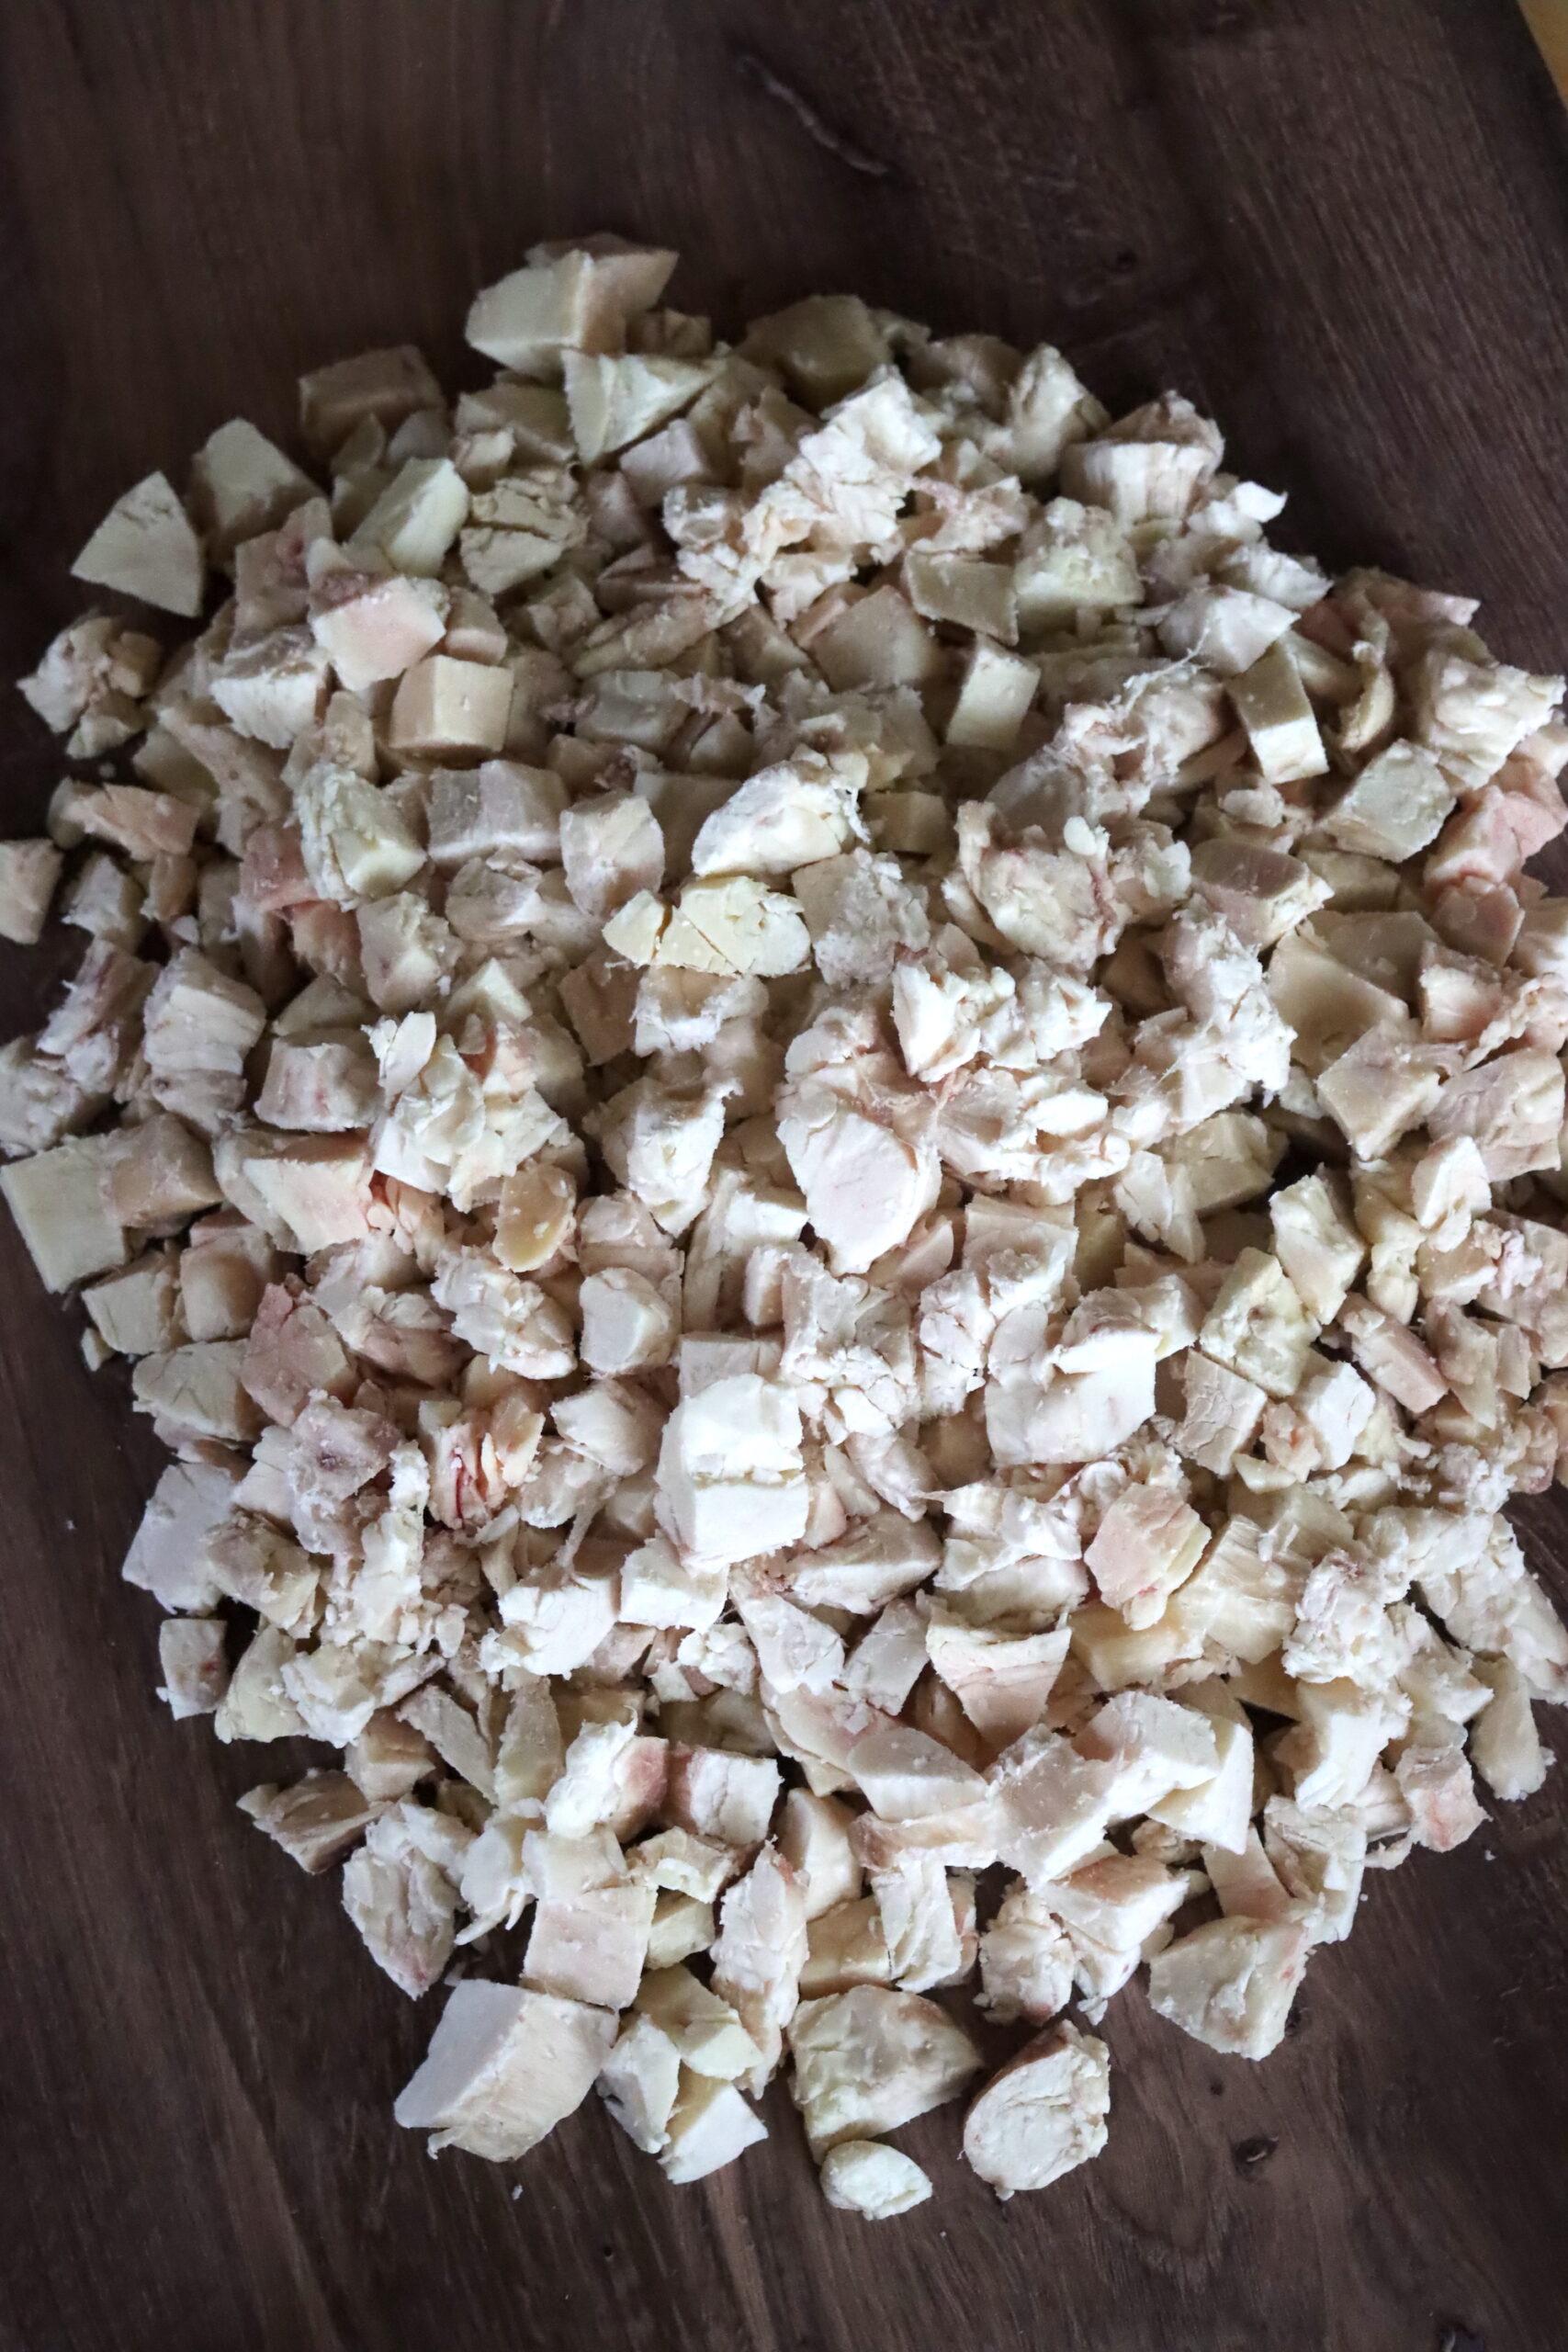
You can also use a food processor here, and that results in small flecks of fat that render easier and faster. The smaller you chop it, the better.
More surface area means easier rendering.
If you’re just working with a knife, as I am here, go for chunks under 1” but ideally under 1/2 inch (1 cm cubes).
Place the suet pieces into a deep, heavy-bottomed Dutch oven (for stovetop rendering) or an electric slow cooker (which works best).
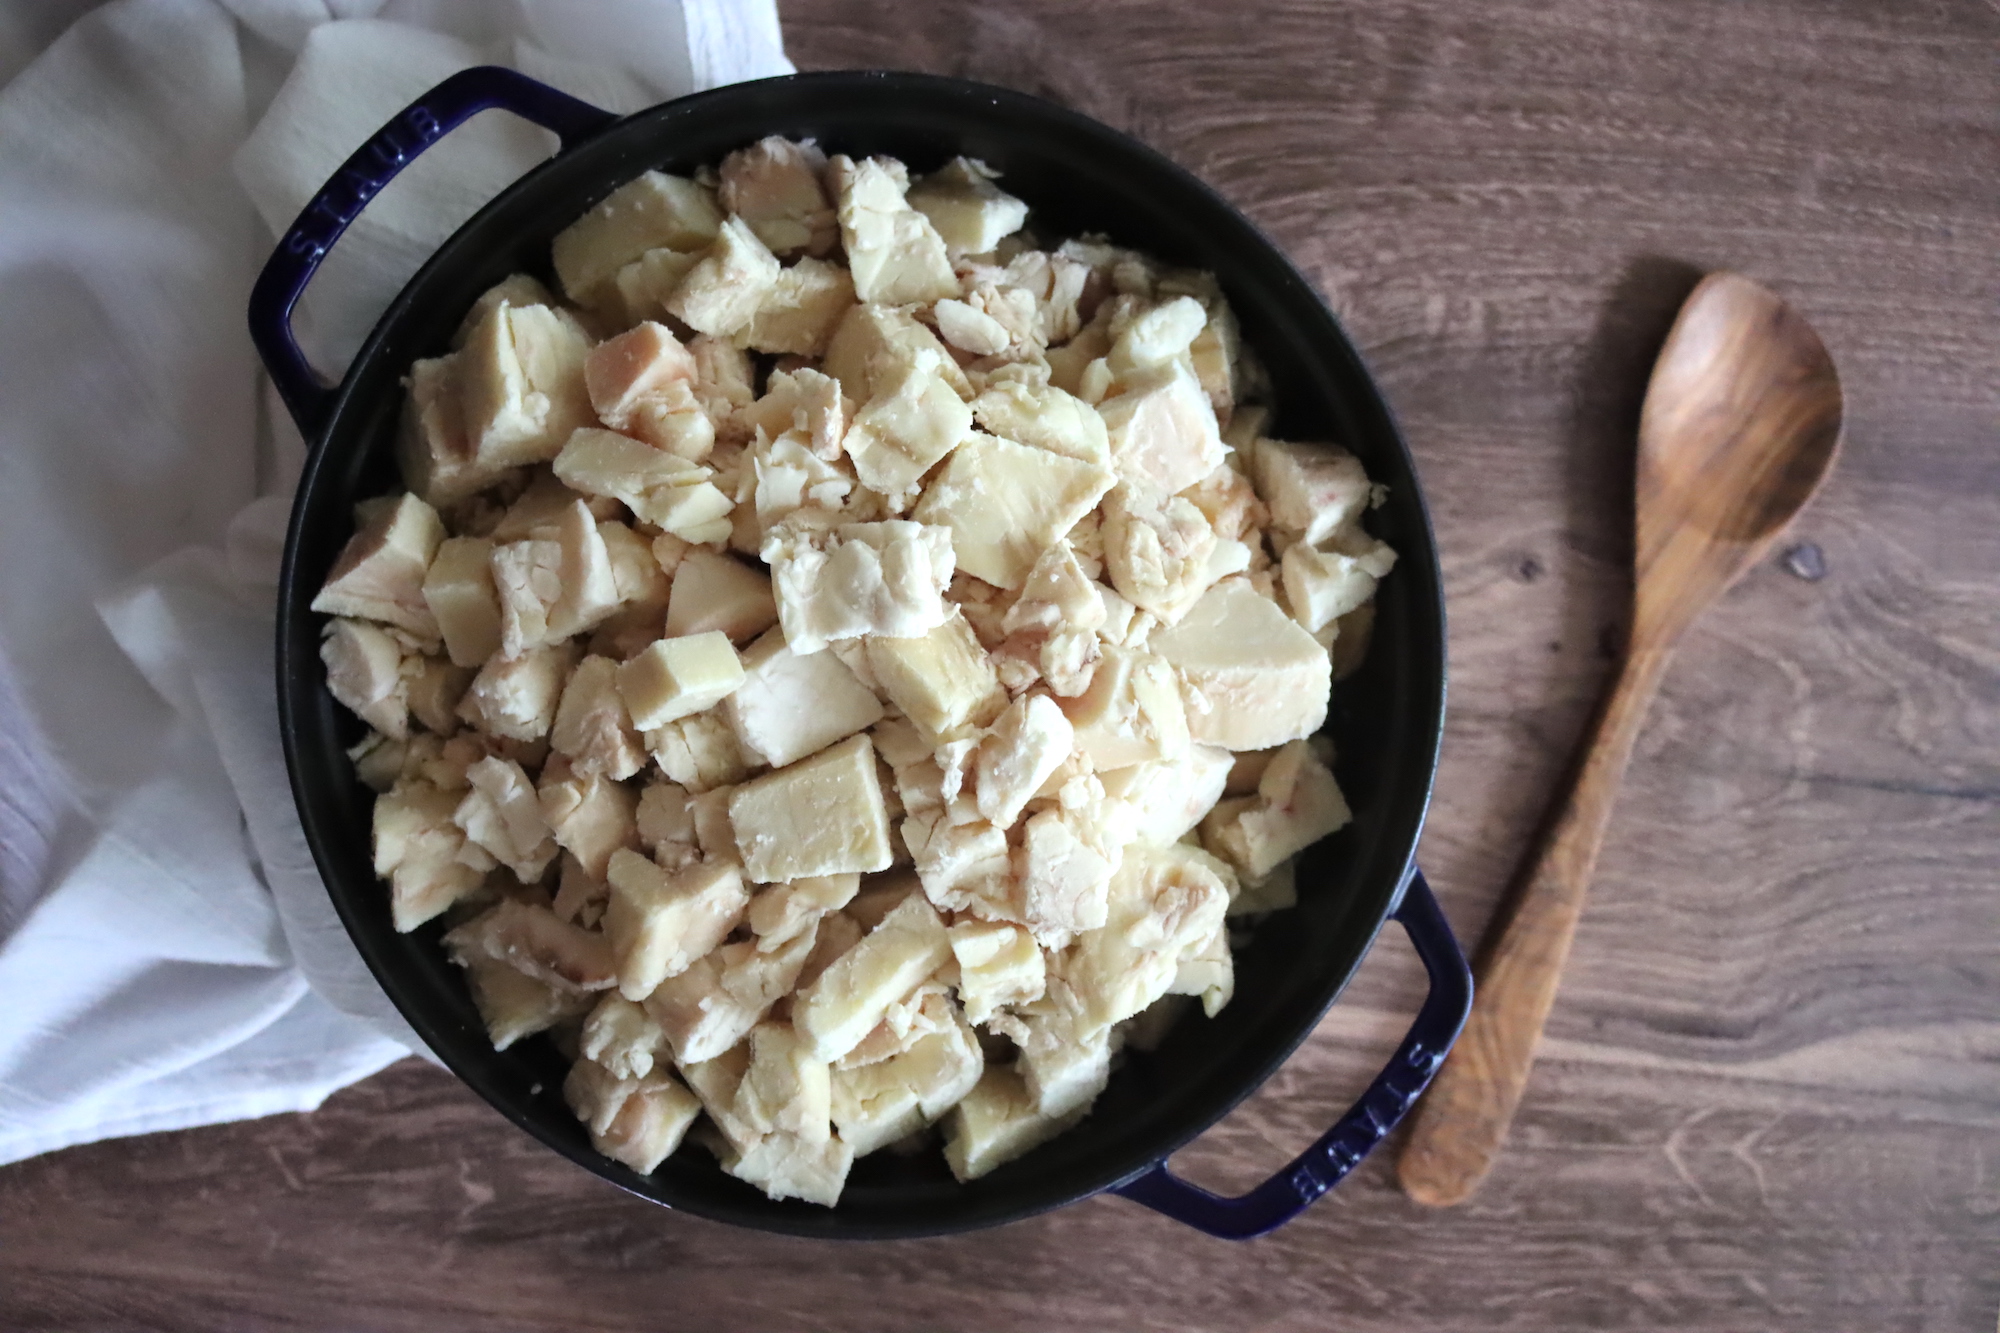
You’ll need at least 1 quart of capacity for each pound of chopped suet, so with 8 pounds of cleaned chopped suet, I started with an 8-quart Dutch oven.
For every pound of chopped suet, add about 1/2 cup of water. With 8 pounds suet, I added 4 cups of water (or 1 quart).
Place a lid on the pan (or crock pot) and turn it to low heat. Cook the mixture gently with the lid on until the fat melts and everything in the pot has a soupy texture.
There will still be small chunks of suet, but they should be floating in melted fat.
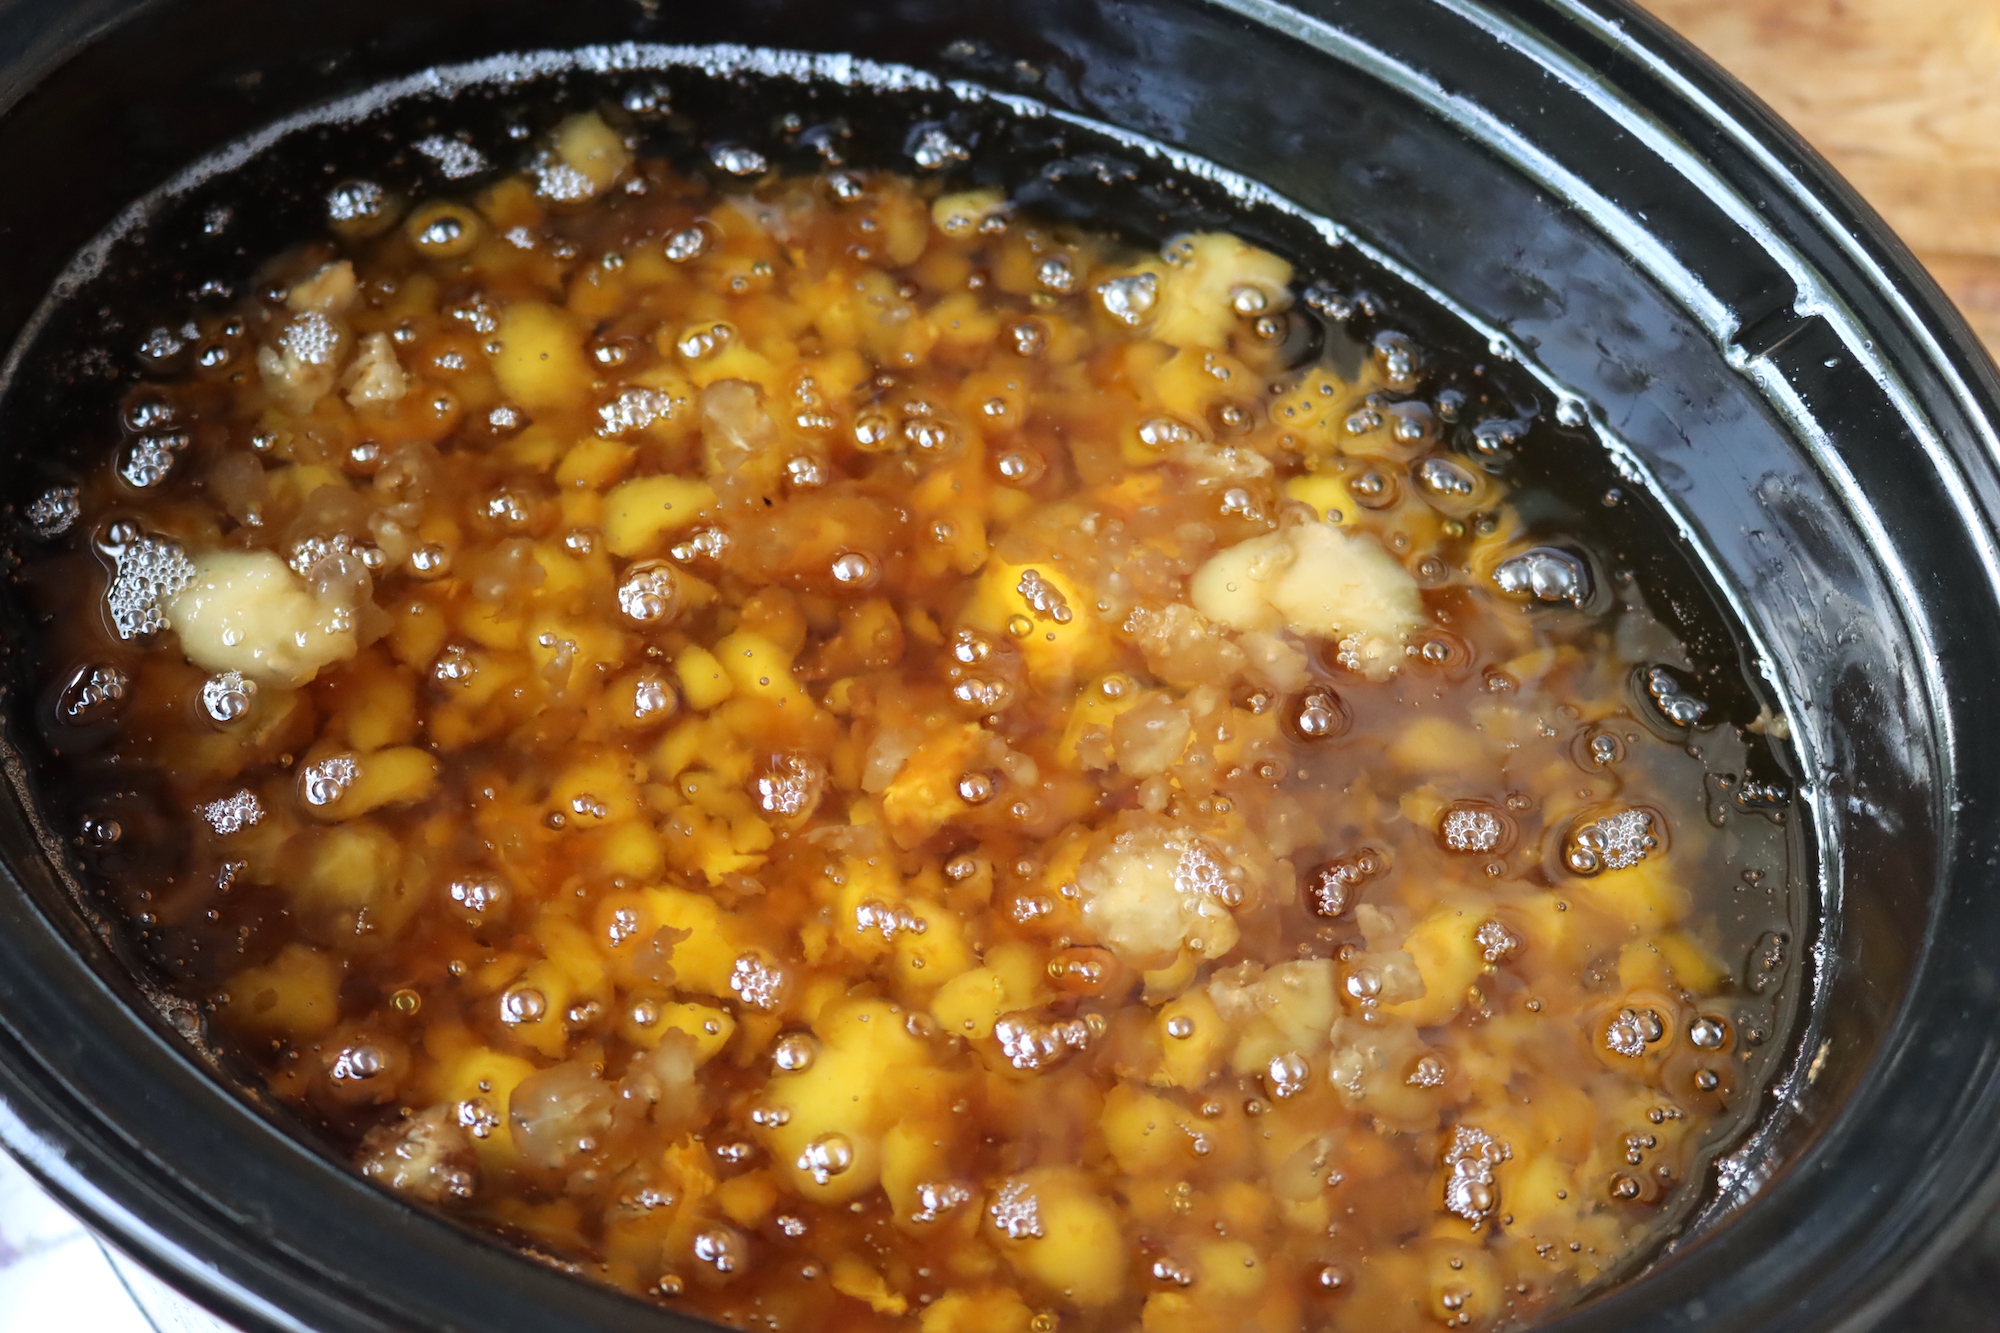
Once the mixture is mostly melted, remove the lid from the pot. Still keep the heat on low.
Early on, you need the lid on the pot to prevent scorching, but once most of the fat is melted, the lid is removed so that the water can begin to cook off.
The mixture will be bubbling continuously, and that’s water/steam bubbles escaping from the suet.
Once the suet has lost all of its fat and it’s all melted, the remaining parts of the original suet will start to turn brown. Those little chunks are called “cracklings,” and they’re the connective tissue and all the other “stuff” in suet that’s not in tallow.
The cracklings are filtered out at this point.
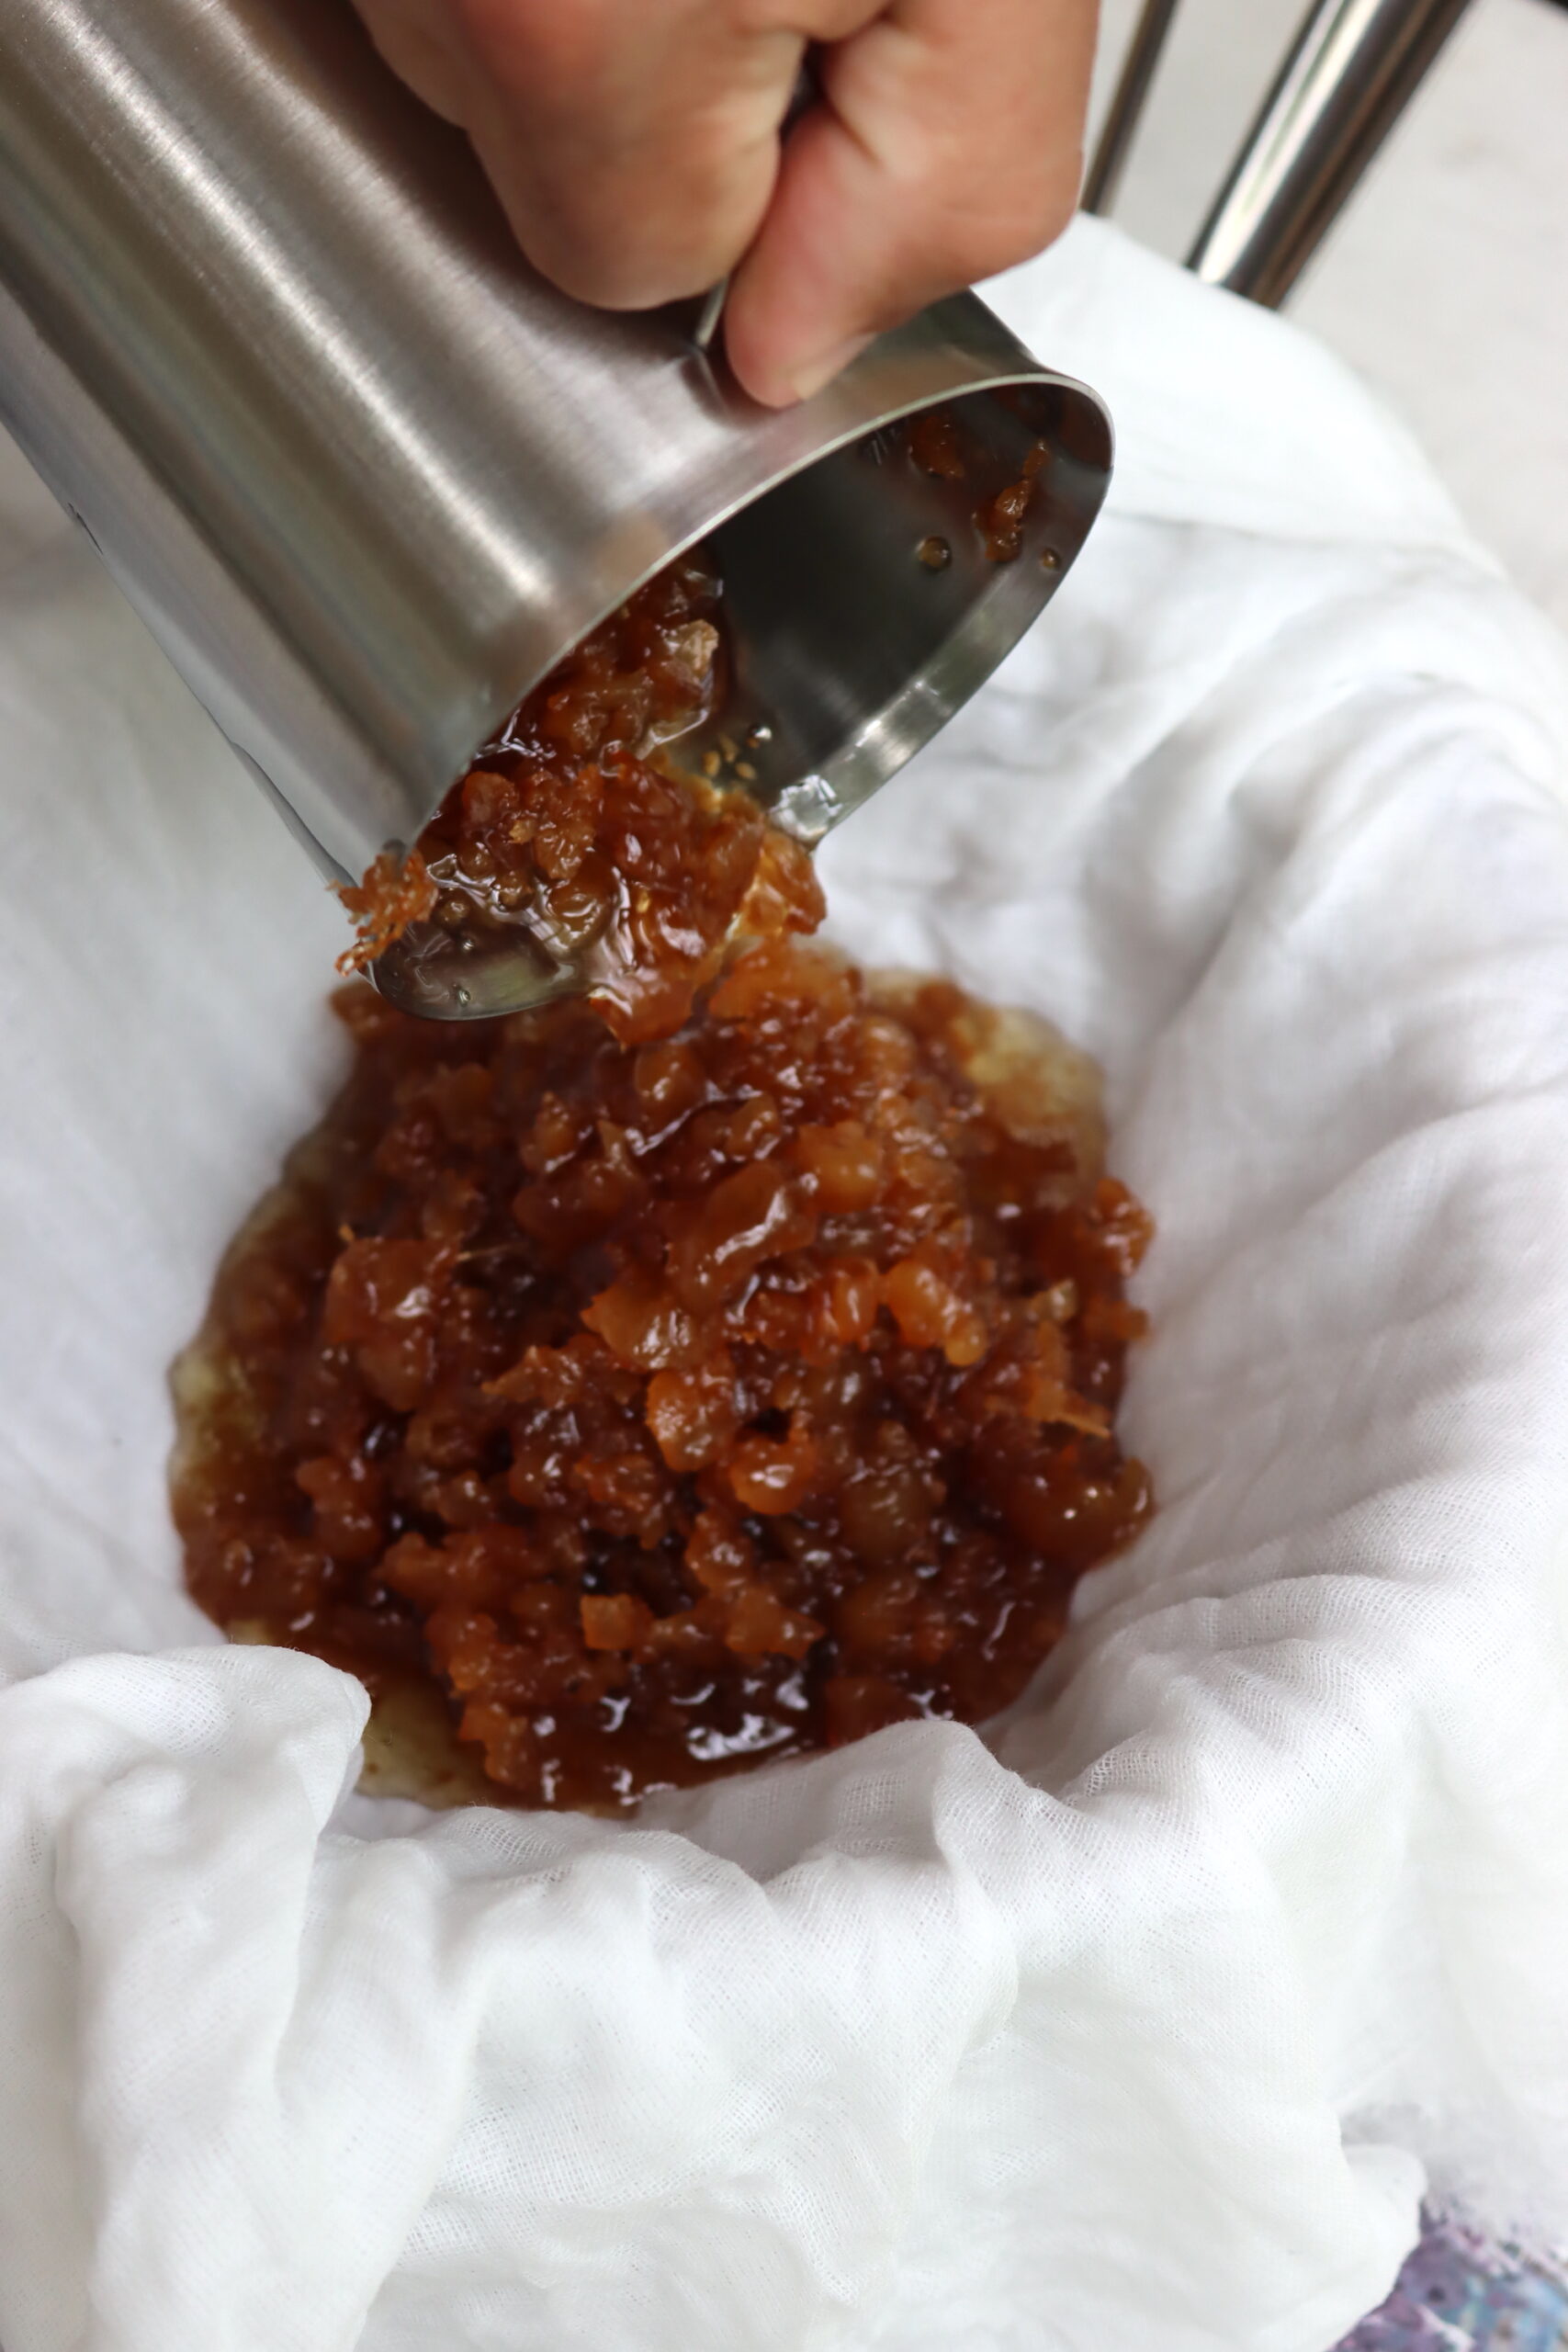
Strain the tallow/crackling mixture through a double layer of cheesecloth, and then return the melted fat to a clean pan or crock pot.
While you have removed the cracklings and other impurities, it’s not quite done rendering. There is likely still a small amount of water left in the melted fat, and that needs to be cooked off, or it will spoil.
Heat the mixture again, bringing it to about 225 to 250 F.
If it’s still bubbling, there is still water in the mixture. Hold that temperature until the liquid tallow stops bubbling.
When it stops bubbling, but it’s still above the boiling point of water, then it’s completely done, and you have rendered tallow.
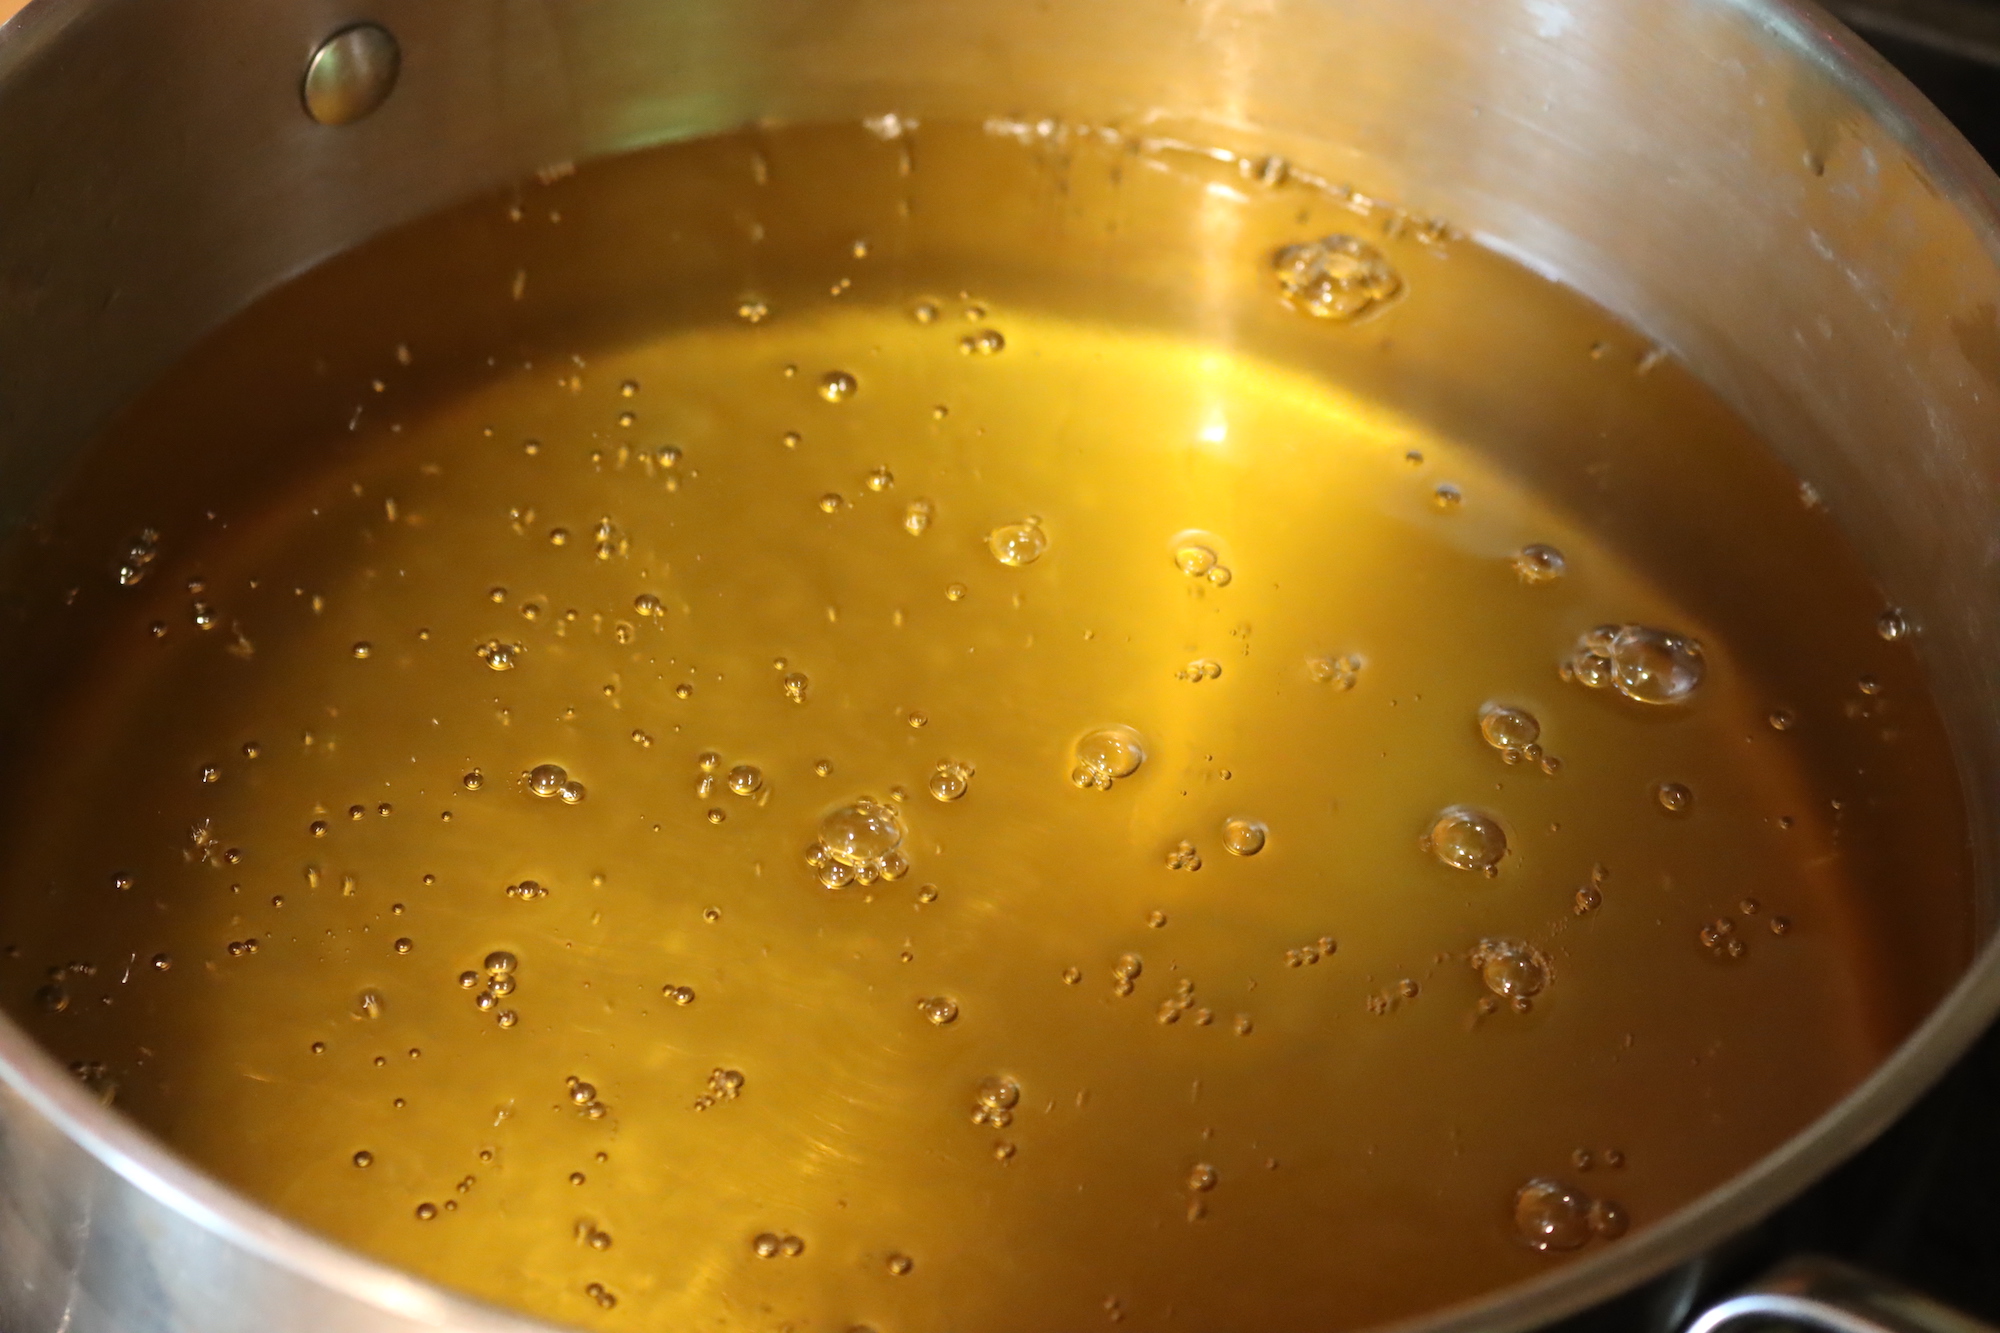
Once the tallow stops bubbling, it should be a clear yellow oil. When it cools, it’ll be a white or slightly off-white solid tallow.
The whitest tallow comes from tallow cooked very slowly, and that’s been very carefully trimmed before cooking. Any tiny piece of meat or gland left in the chopped tallow will flavor the whole batch, and if you want a neutral-flavored white tallow, be sure to trim carefully and cook slowly.
How to Store Tallow
To store tallow, you need to pour the hot rendered tallow liquid into a container to solidify.
There are a number of options for this, and Mason jars work just fine. Some people prefer to pour it into a cake pan or something similar, allowing it to solidify and then slicing it into chunks. The chunks are then stored in ziploc bags, vacuum sealer bags, or butcher paper.
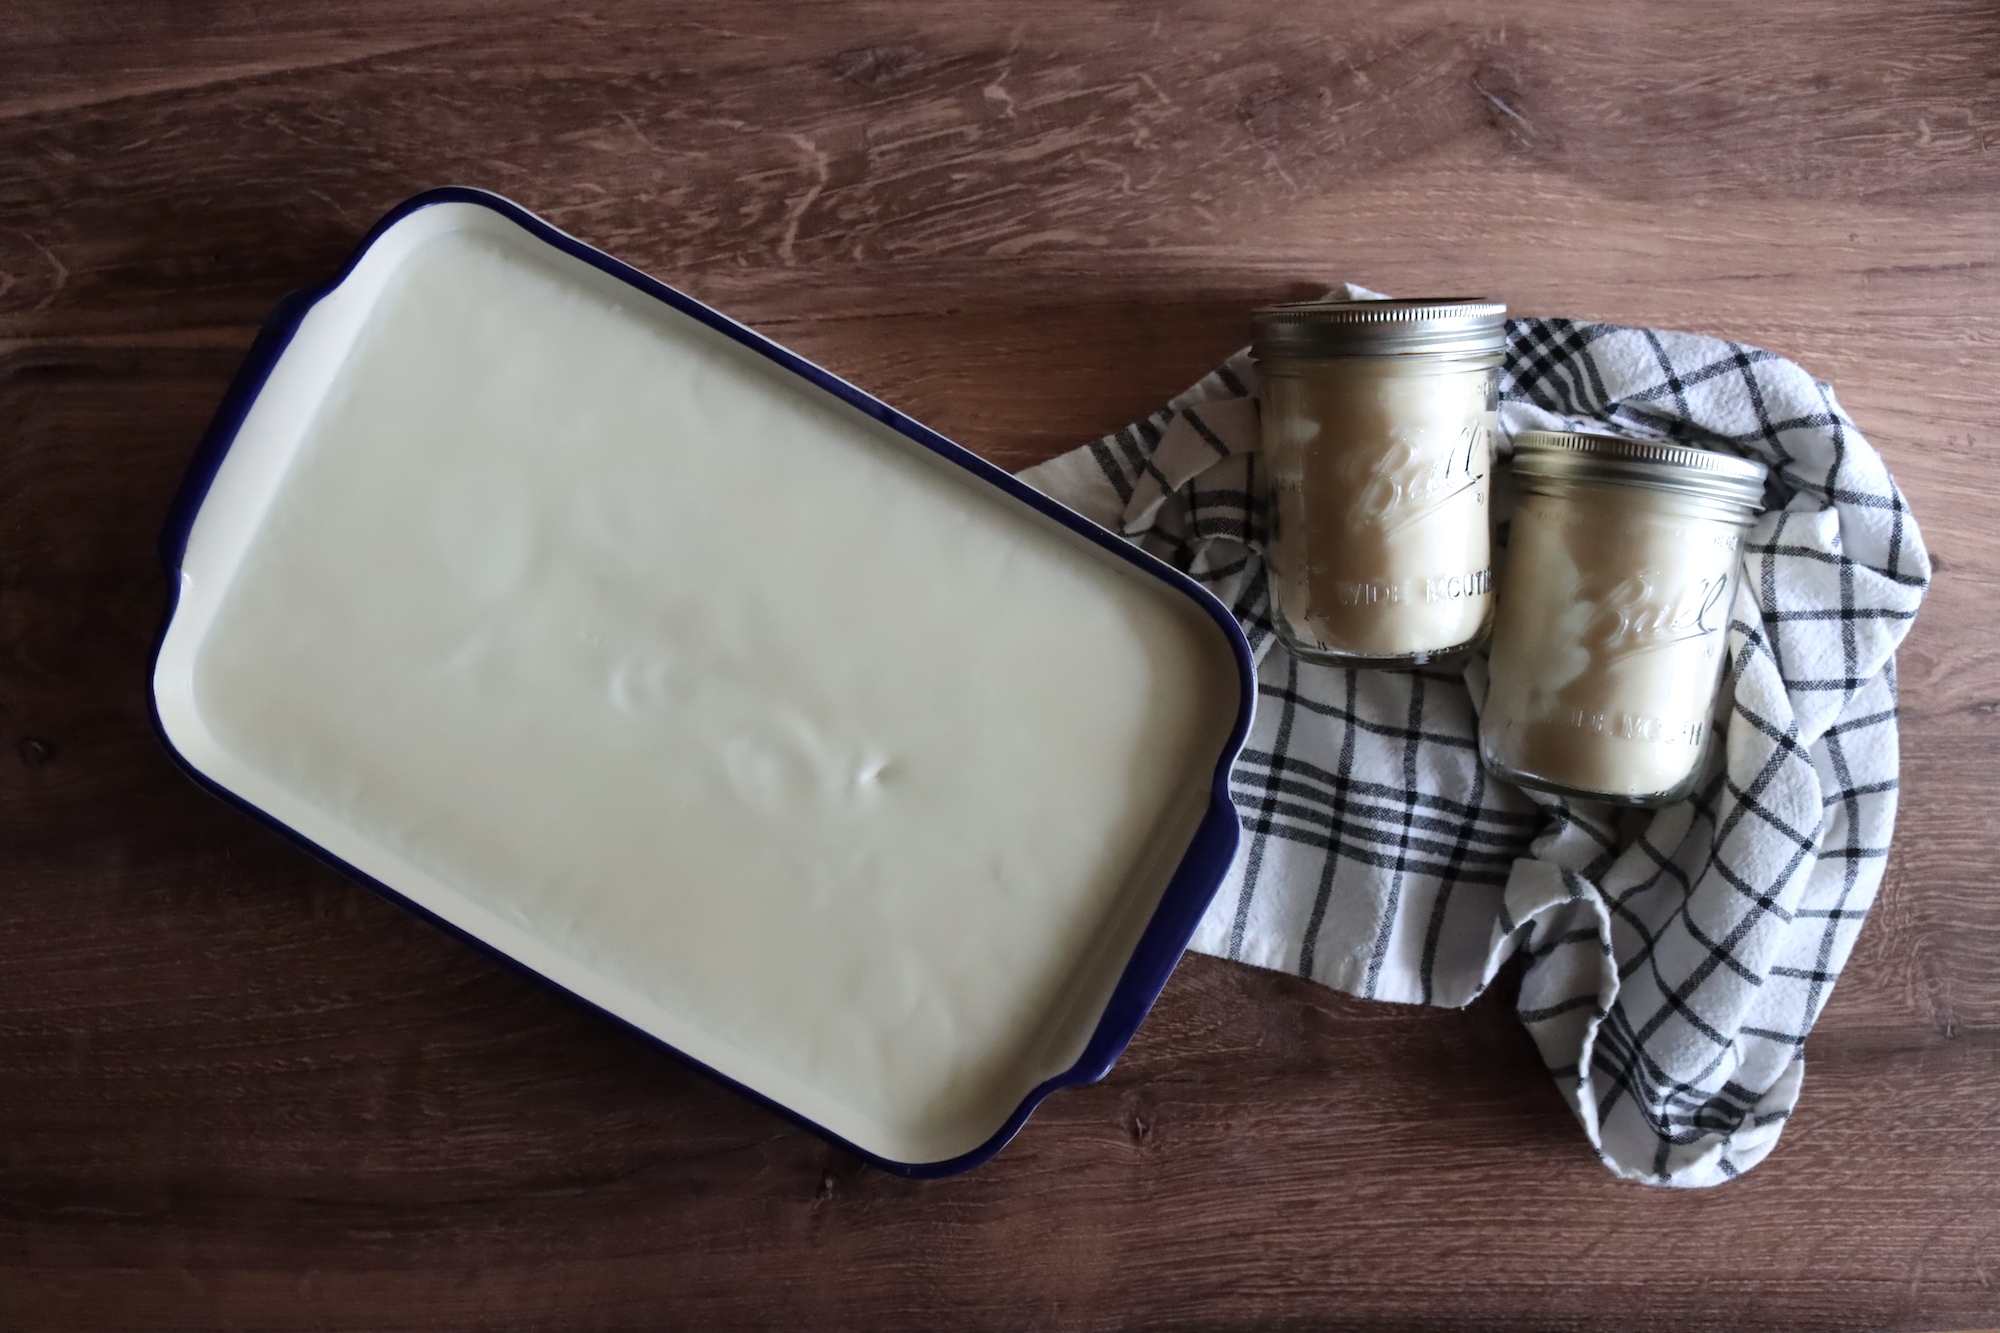
Unlike other types of rendered fat, tallow is completely solid at room temperature. It’s actually quite hard, almost like beeswax, but not quite.
You can make tallow candles out of it without any other ingredients, and it will hold its shape and burn.
That hard texture means it does well in blocks, provided your house doesn’t get too hot. The melting point of tallow is 85 to 95 degrees F, and it will be solid below that temperature range.
Grass-fed tallow tends to melt at the lower end of that range, and corn-fed will have a higher melting point.
I made grass-fed tallow, and it is soft enough to scoop out of a jar mid-summer when my house is around 75 to 78 degrees. In the winter though, when the house is cooler, it can be really tricky to get it out of the jar.
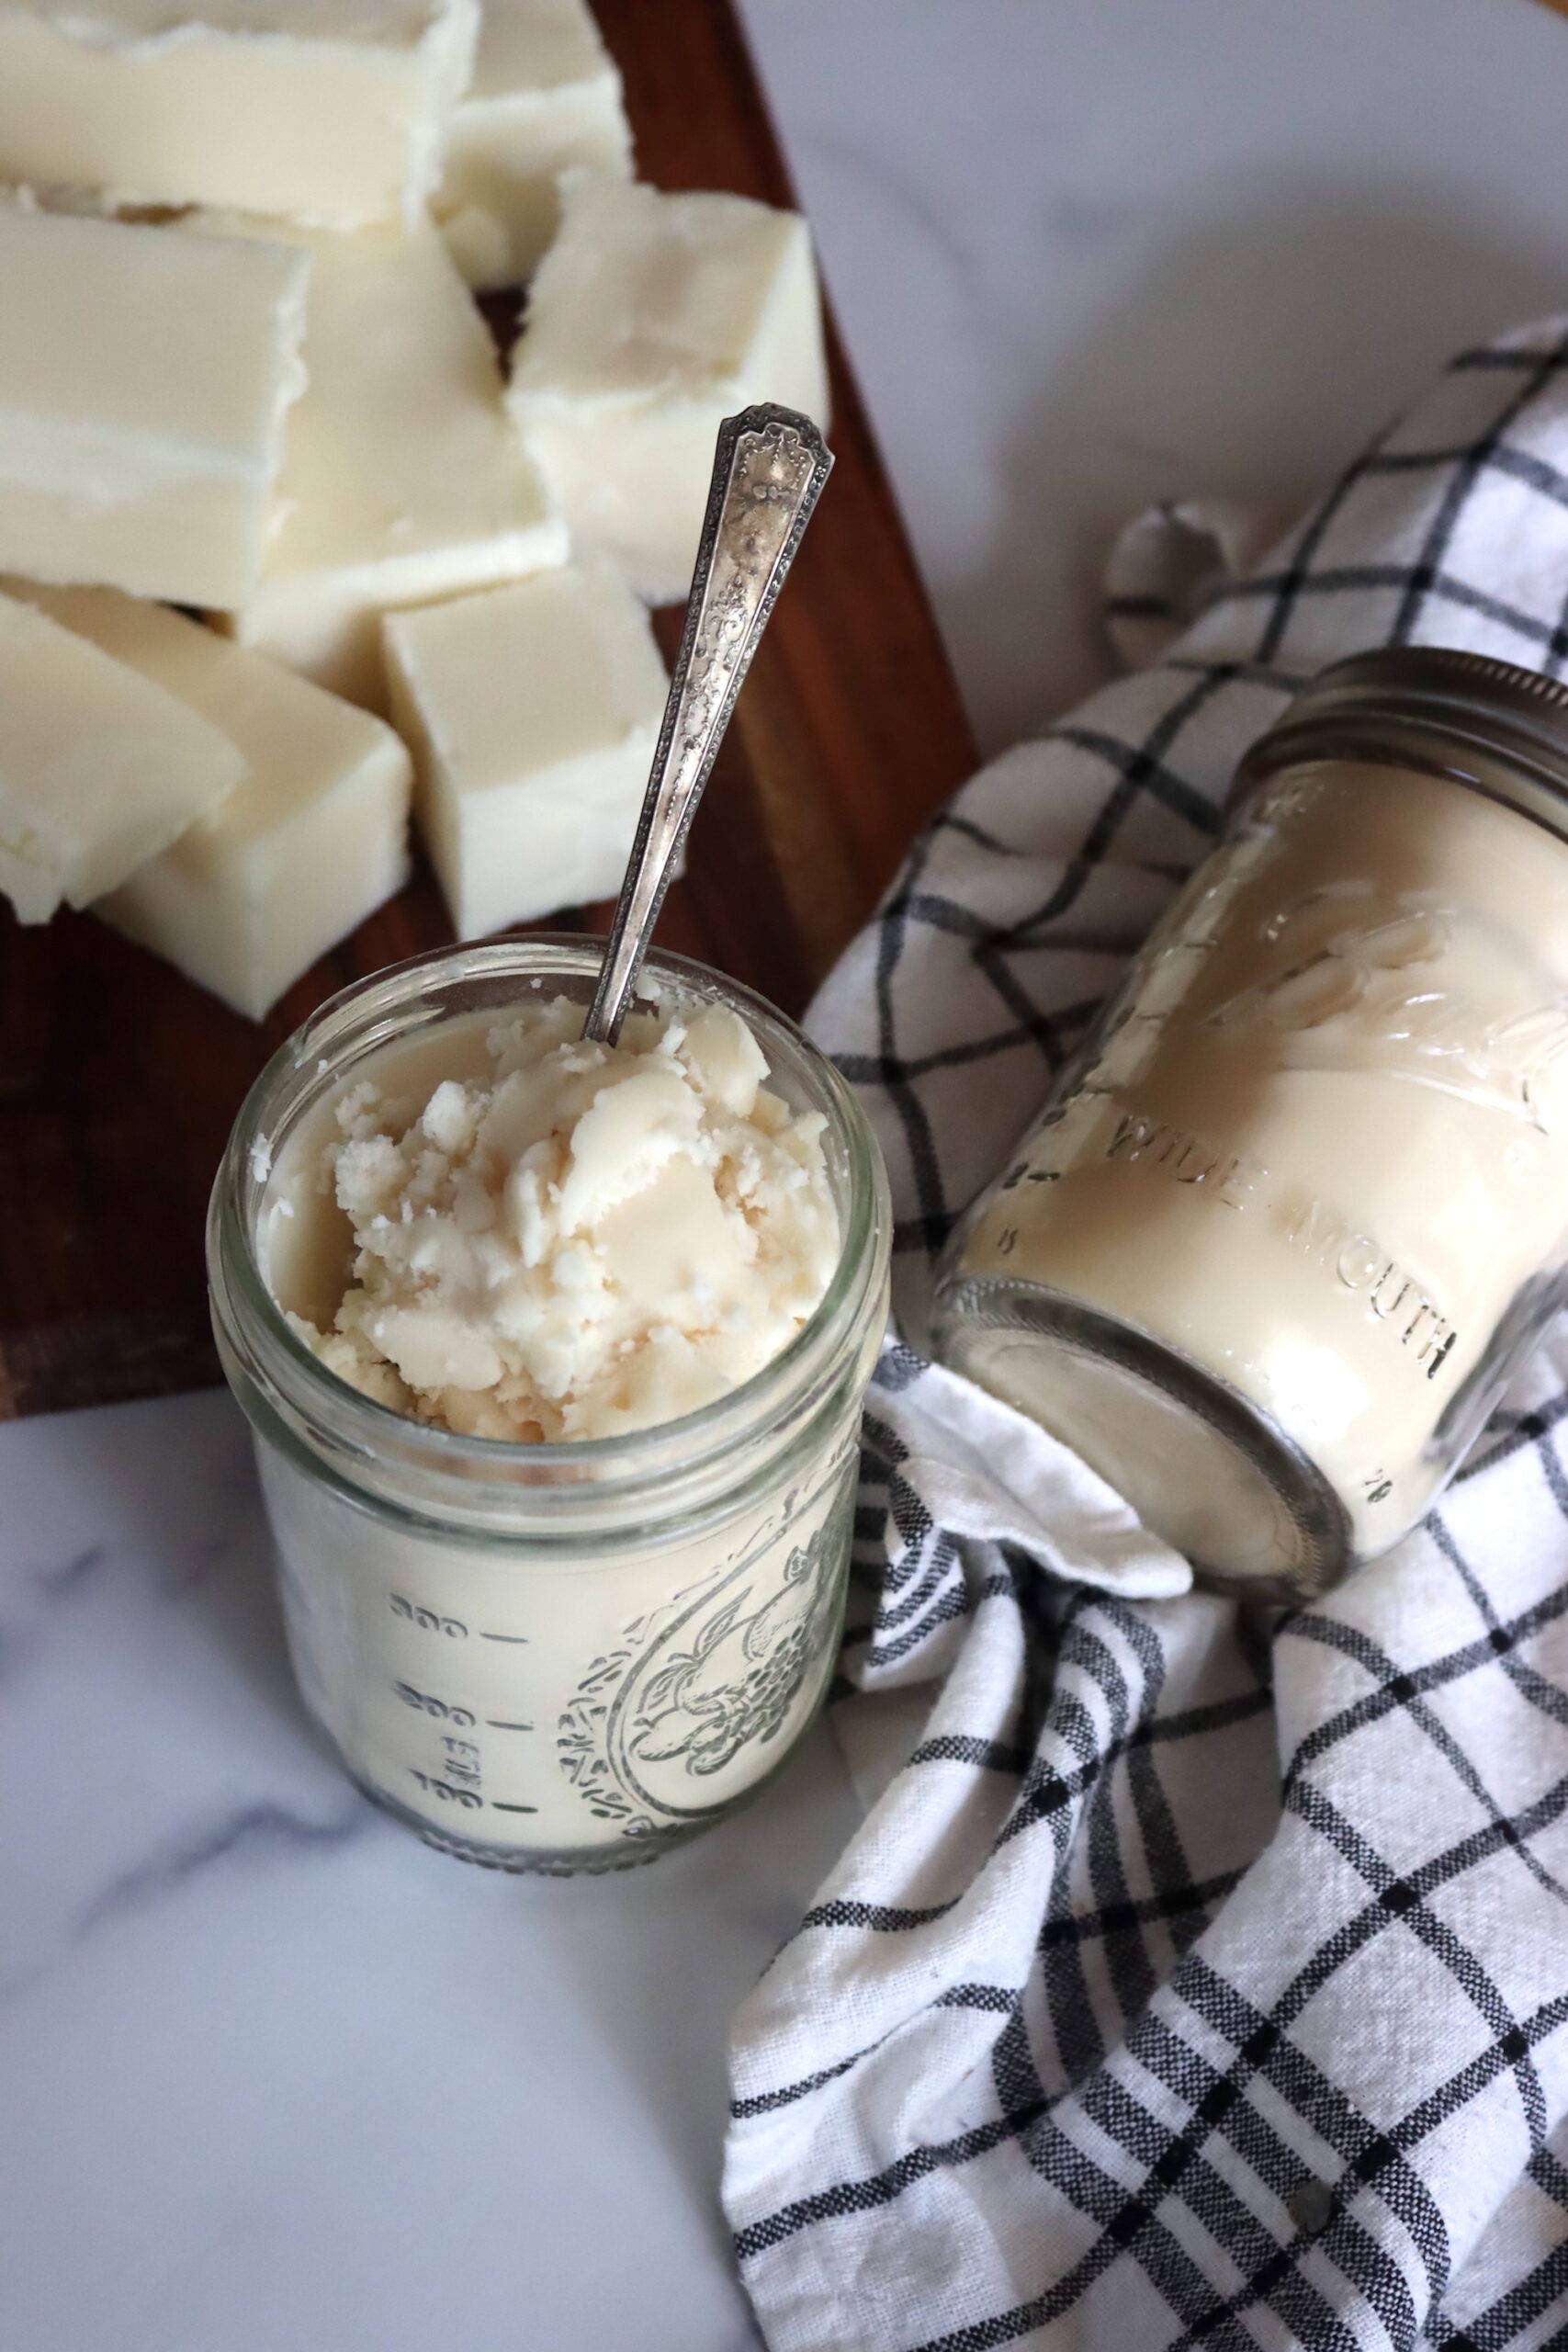
If your house tends to be cooler most the year, opt for storing tallow in blocks.
Or, you can use mason jars, and just place it in a basin of warm water to soften before you want to scoop it out and use it. That’s actually my preference, as I find the blocks kind of unwieldy to store… whereas I have literally hundreds of mason jars around from canning.
How Long Does Tallow Last?
Properly made tallow is completely shelf stable, and it will keep at room temperature for about a year. After that point, the fat will start to go rancid.
That’s not unique to tallow, and other oils like olive oil will also go rancid after about 12-18 months at room temperature.
If you want your tallow to last longer, it should make it about 18 months in the refrigerator or up to 2 years in the freezer.
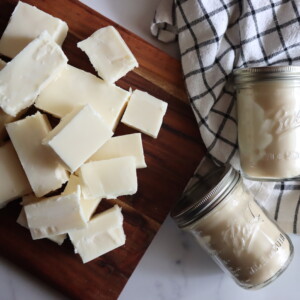
How to Make Beef Tallow
Ingredients
- 4 lbs Suet, Cleaned, trimmed beef fat, ideally grass-fed, from about 5 lbs raw untrimmed suit as purchased
- 2 cups Water, 1/2 cup per pound of suet
Instructions
- Trim the Suet: Begin by removing any blood, meat, or gland material from the suet. These impurities can affect the flavor of your tallow, so trim carefully, leaving only the white fat. Expect to lose about 20% of the weight through trimming.
- Chop the Suet: Chop the suet into small pieces or use a food processor for faster rendering. Smaller pieces or small flecks of fat render more evenly and quickly.
- Add to the Cooker: Place the chopped suet into a Dutch oven or slow cooker. For every pound of suet, add 1/2 cup of water. For 4 pounds of suet, this means 2 cups of water. The water helps prevent burning early on in the process.
- Cook Low and Slow: Set your slow cooker to low or your stovetop to the lowest setting. Cover the pot and let it slowly melt for several hours. You'll start seeing liquid fat, but there will still be small chunks of suet floating. Keep the lid on for the first few hours to avoid scorching.
- Uncover and Let the Water Evaporate: After most of the fat has melted, remove the lid and let the water cook off. You'll see bubbling as the water evaporates. Continue cooking until all the fat is rendered and only small brown "cracklings" remain.
- Strain the Tallow: Once you've rendered the fat, strain the liquid through a double layer of cheesecloth into a clean container. This removes the cracklings and any remaining impurities.
- Cook Off Remaining Water: To ensure no water remains (which could cause spoilage), heat the strained tallow to around 225-250°F (107-121°C). Keep heating until the bubbling stops. Once it does, your tallow is fully rendered and ready.
- Cool and Store: Let the tallow cool slightly before transferring it to Mason jars or other containers. The tallow will solidify at room temperature into a firm, off-white substance. Store it at room temperature for up to a year. For longer storage, refrigerate or freeze.
Notes
Tips for Success:
- Slow and Low: The slower you cook your tallow, the cleaner and more neutral-flavored it will be. Aim for a low temperature throughout the process to prevent any burnt odors.
- Trim Well: Properly trimming your suet is key to making tallow that is neutral in taste and odor. Any leftover bits of meat or blood will infuse the tallow with an off-flavor.
- Storage Options: Tallow is solid at room temperature, so storing it in jars works well. If you prefer, pour it into a cake pan, allow it to solidify, and then cut it into blocks for easier use.
- Batch Size: If you're doing a large batch, you'll need a big enough slow cooker or Dutch oven. Make sure the suet is spread out enough to cook evenly.
- Reuse Tallow: Tallow is excellent for frying and can be reused several times, just be sure to strain out any debris.
Tallow Yield:
When starting with 5 pounds of suet, you’ll likely end up with about 4 pounds of trimmed suet after removing any excess meat, blood, and glands. The suet is then chopped into small pieces to render, and the cooking process will extract the fat, removing water and impurities. After rendering, you can expect a yield of around 2 to 3 pounds of tallow, depending on how well you trim and the efficiency of the rendering process. This is because a portion of the fat is lost in the form of water vapor during the slow cooking and straining process, and the solids left behind (known as "cracklings") are discarded. A pound of tallow is about 2 cups, so you should get about 4 to 6 cups of tallow once fully rendered and strained.Ways to Use Your Rendered Tallow:
- Cooking: Use it for frying, sautéing, or making delicious crispy fries or Brussels sprouts. Tallow has a high smoke point and imparts a rich, savory flavor.
- Skin Care: Tallow is highly nourishing and absorbs easily into skin. Use it as a moisturizer, make body butter, or create healing salves.
- Candles: With its firm texture, tallow makes wonderful homemade candles.
- Soap: Tallow is a fantastic base for making gentle, moisturizing soap.
Storage & Shelf Life:
- Room Temperature: Stored in a cool, dry place, rendered tallow can last for up to a year.
- Refrigerated: Tallow can be kept for up to 18 months in the fridge.
- Frozen: For long-term storage, freeze your tallow, and it will keep for up to 2 years.
Nutrition
Nutrition information is automatically calculated, so should only be used as an approximation.
Ways to Use Tallow
Believe it or not, there are lots of traditional uses for tallow that go way beyond just simply eating it. And modern uses too, which take an old-time ingredient and use it in novel ways.
Cooking with Tallow
Obviously, the simplest way to use this ancestral fat is to cook with it. Tallow is excellent for frying, and it will brown up just about anything beautifully. Try making tallow french fries, or frying meats in tallow.
I’m particularly fond of Brussels sprouts browned in tallow.
It is a bit firm for use in pastry crusts, so stick to pork leaf lard for your pie crusts and biscuits.
I have a guide to cooking with animal fats that explains how to use tallow and other natural animal fats in your cooking.
Tallow for Skin
These days, tallow is actually used in skin care products a lot more than it is in the kitchen. Just quickly search tallow for skincare and you’ll find literally hundreds of beauty products, homemade and otherwise, that reccomend slathering your skin with whipped tallow.
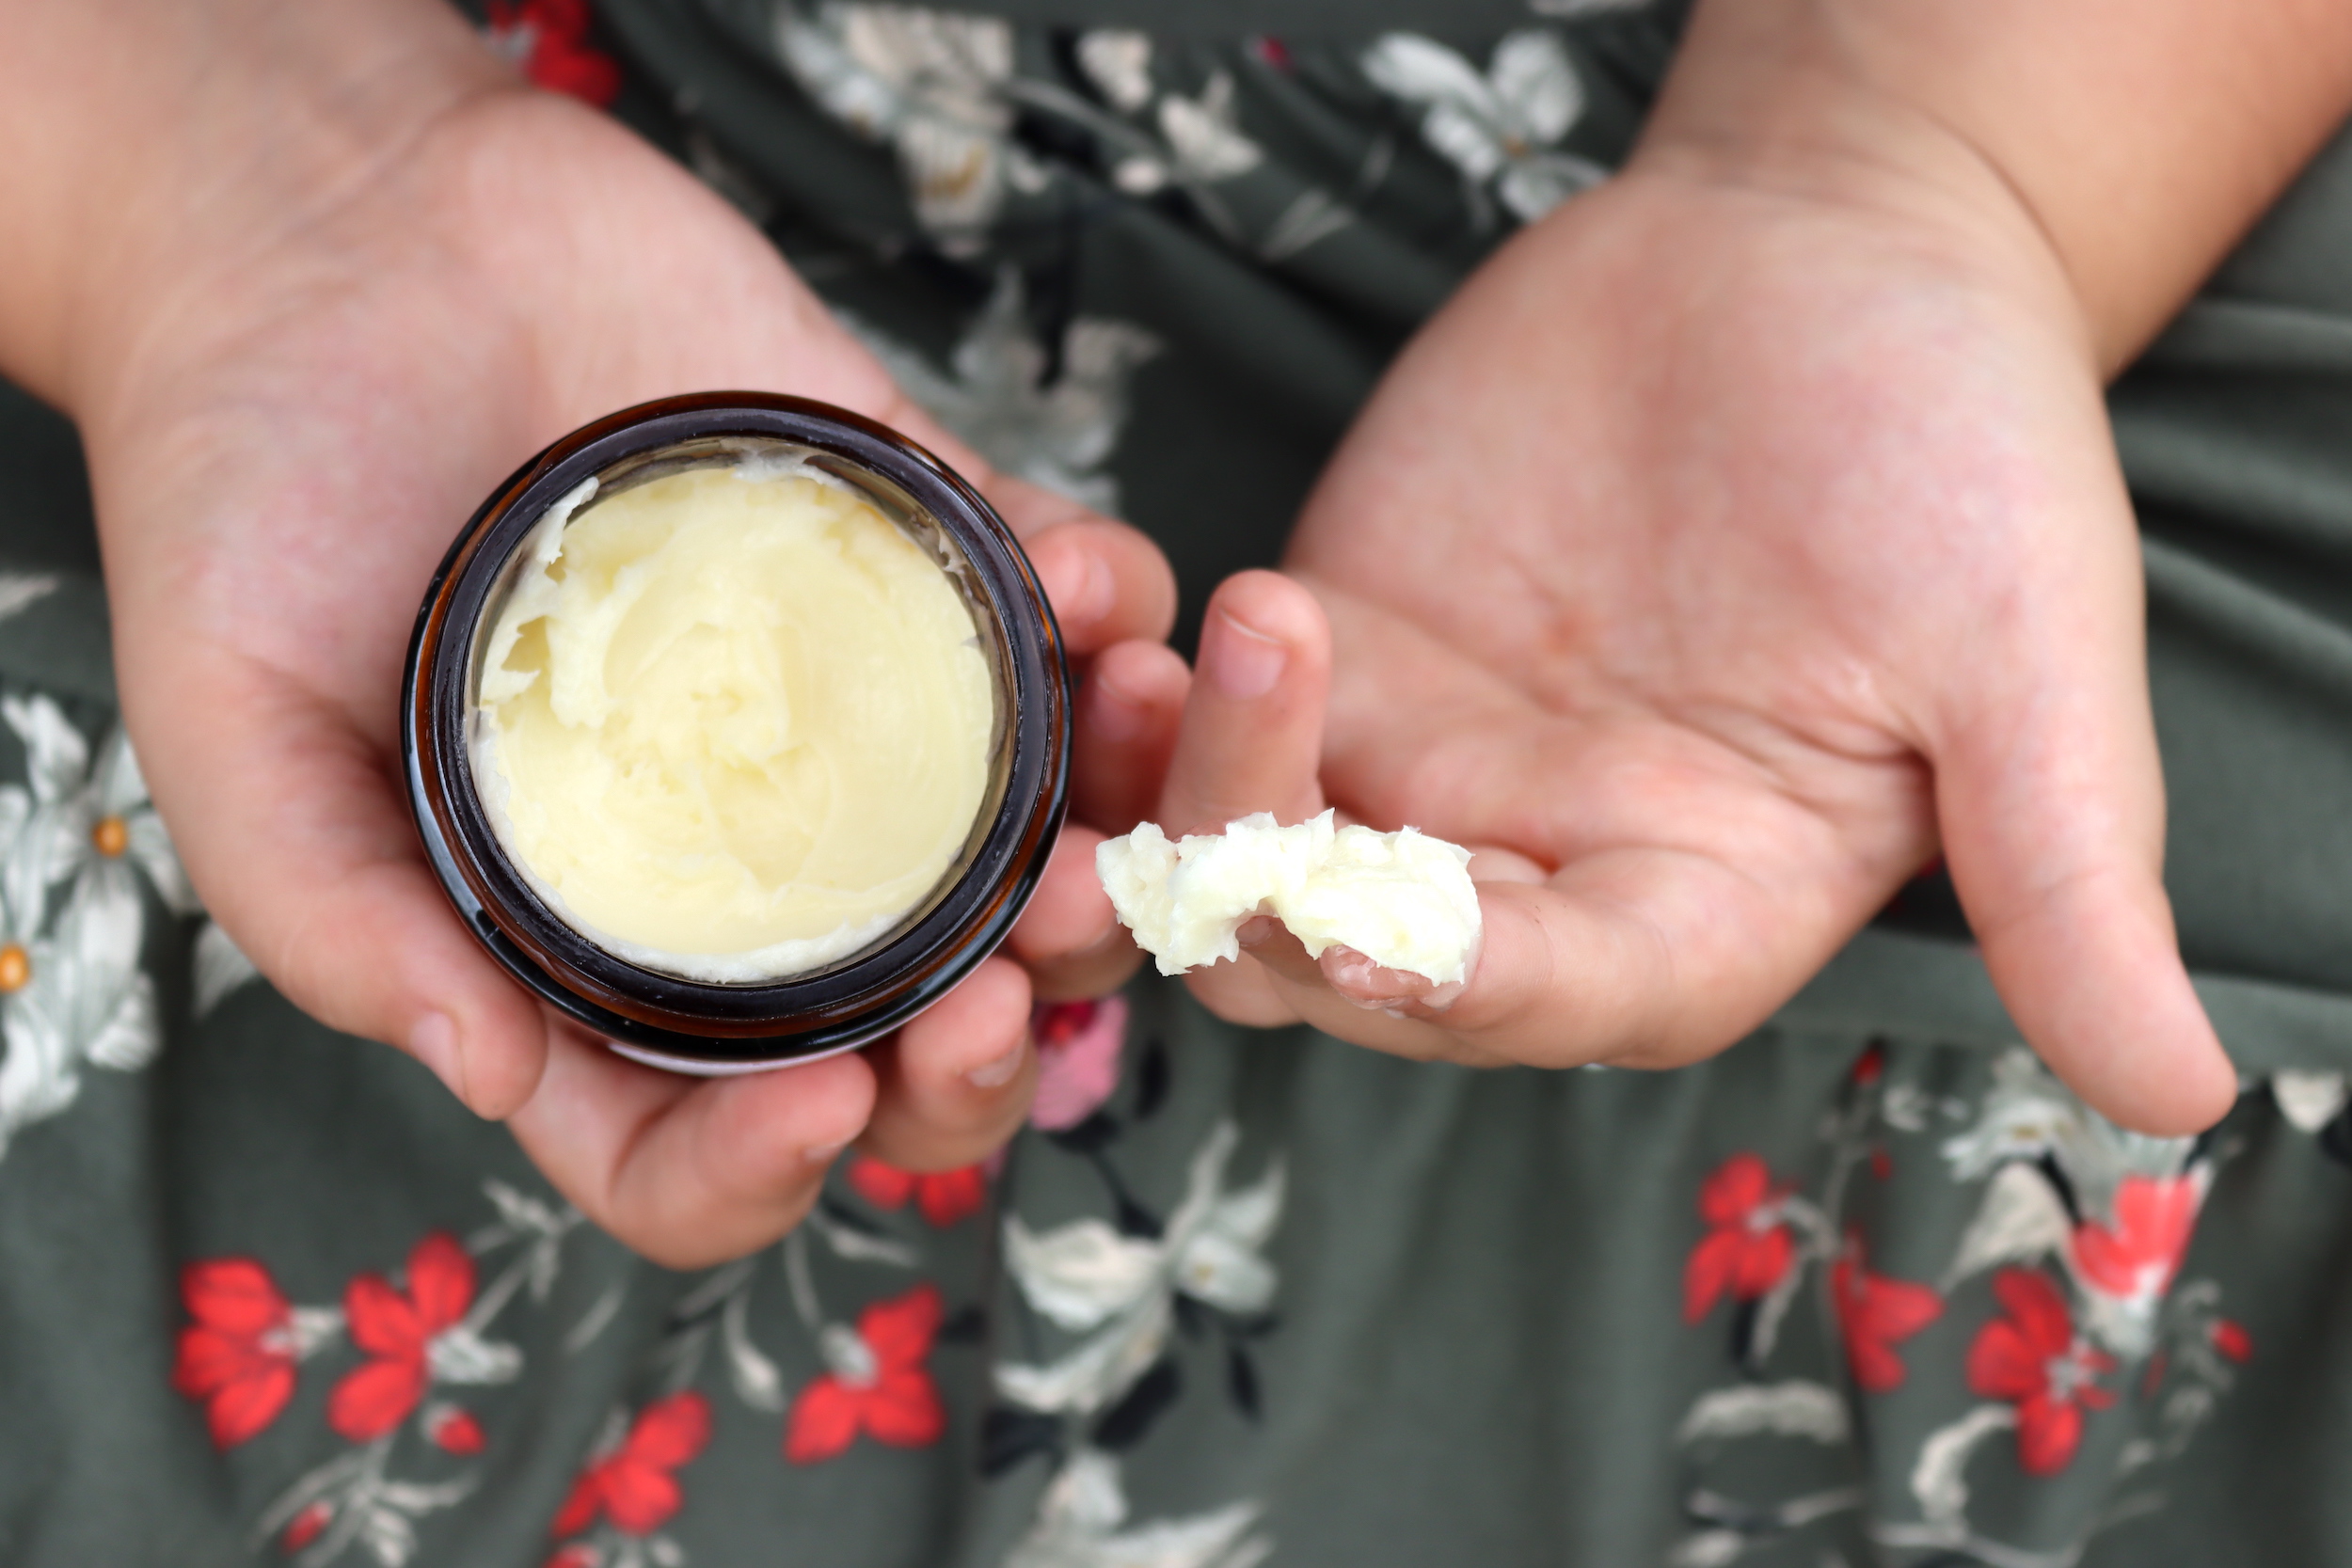
Since tallow is rather firm at room temperature, whipping the tallow as it cools keeps it at a soft, spreadable texture so you can use it like body butter.
If properly made, tallow has no scent, so it’s a neutral lotion that’s easily absorbed by your skin. You can add a few drops of essential oil if you’d like a bit of scent.
Tallow Candles
Since tallow is very hard at room temperature, it actually makes lovely candles. It was commonly used as the candle medium in the old days, as beeswax was prohibitively expensive for most people.
This tutorial shows you how to make tallow candles.
Tallow Soap
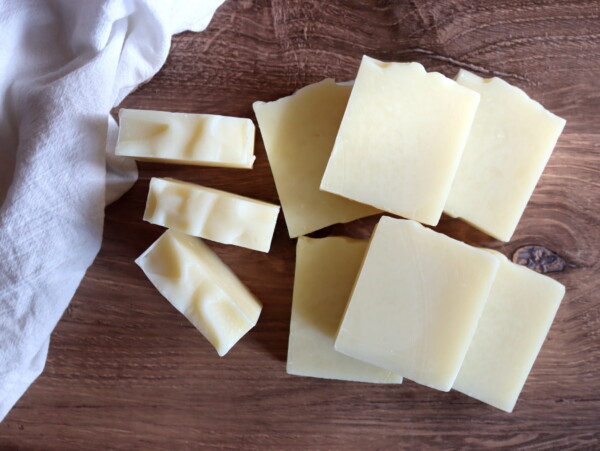
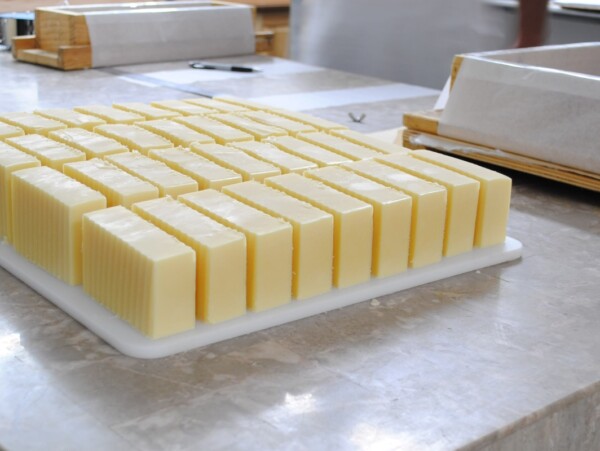
Soap made from tallow, contrary to what you might think, is exceptionally nourishing to the skin. Most people think of old-fashioned “lye and tallow soap” they talk about from the pioneer days to be rough stuff for stripping laundry and ruining your skin…but it’s just the opposite.
These days, tallow soap is so gentle that most recipes use half tallow and half coconut oil. Coconut oil is an intense cleaning oil when made into soap, which is the opposite of what you’d assume.
So a tallow/coconut soap is both cleansing and nourishing. A plain tallow soap is just nourishing and great for dry skin.
This recipe explains both methods for making tallow soap.
Tallow Salves
Like body butters, tallow salves are great for the skin, and you can infuse herbs into them for added benefits.
You can use any herbs, depending on your goals. This basic tallow salve recipe will get you started.
Tallow Crayons
For natural crunchy mamas trying to make homemade food safe crayons, this recipe incorporates tallow into the crayons as a natural alternative.
The crayons are made in a similar way to a salve, using tallow and either beeswax or canuba wax, plus a natural colorant.
This natural homemade crayon tutorial walks you through the process.
Suet Cakes for Birds
Though they’re called suet cakes for birds, these solid blocks of bird food are actually made by embedding bird seed or cornmeal into tallow.
Basically, you pour melted tallow over whatever you’re using for wild bird food, be it bird seed, cornmeal, peanut butter, or really anything that’d please a wild bird. The tallow adds nutrition that’s vitally needed by birds mid-winter and helps keep the feeder area clean by holding it all together.
This tutorial has multiple recipes for homemade suet cakes for birds.
Historical Uses for Tallow
I know many of you are thinking, isn’t any use of tallow a “historical use,” but what I’m talking about here are uses that are really quite obscure.
Historically, tallow was used to manufacture shotgun shell casings, in leatherworking, woodworking and for all manner of weatherization applications.
The main reason here is that tallow dries hard and creates a nice waxy coating on whatever you use it for, unlike other readily available animal fats (ie. lard), which are soft and greasy at room temperature.
Beef Tallow FAQ
Hopefully I’ve already answered all of your questions about rendering tallow, but if not, this should cover the rest.
What is the Best Temperature for Rendering Tallow?
Ideally, tallow should be rendered as low and slow as possible. Suet melts somewhere between 113 to 122 degrees F, so in the beginning stages, the temperautre should be around 130 to 140 F.
Once you’ve completely melted the suet and strained out the cracklings, increase the temperate to 225 to 250 F to drive off the residual water.
Alternatively, you can keep the whole process at around 225 F, and it’ll work just fine, but may not be quite as clean and flavorless as slow-rendered tallow.
How Long Does it Take to Render Tallow?
The total time for rendering tallow depends on your batch size, how finely you chop it, and the rendering temperature.
Finely chopped, tallow will render in about 4 to 5 hours at 225 to 250 degrees F.
Less finely chopped and initially cooked at 130 to 140 F, it can take about 24 hours to fully render.
What Should I Use to Render Tallow
The best method, by far, is a slow cooker on low heat.
You can also render it on the stovetop, provided that you have a burner that goes down very low. A wood stove that’s cooking low would also work.
Lastly, you can render tallow in a dutch oven inside your oven. Start it as low as your oven can be set, which is usually around 170 F in the us. Once you filter out the cracklings, finish driving the water off on the stovetop (or in the oven with the lid off, at 225 to 250 F.
How Do I get Tallow out of the Jar?
Tallow can be really hard to get out of the jar when it’s cool in your house. Keep in mind that tallow melts at 85 to 95 degrees F, so gently warming it in a basin of warm water will help.
If your house tends to run a bit warm, it’ll be much easier to get out of the jar. It tends to be soft enough to scoop (but not melted) at around 78-ish degrees for grass fed tallow, and around 82 F for corn fed.
Again, placing the jars in a basin of warm water, at about 100 to 120 degrees, should do the trick.
Can I Reuse Tallow After Frying?
Yes, you can re-use tallow after frying, just like any other fry oil.
Allow it to cool until it’s cool enough to handle (but not yet solidified) and filter it through cheesecloth before storing.
You can re-use tallow 3 to 5 times, if you keep it clean. Frying fish tends to give a smell to the tallow, but things like french fries will allow the tallow to be re-used multiple times.
Is Tallow Greasy?
Tallow lotion is readily absorbable by the skin, and it absorbs quickly when applied, without leaving a greasy residue. That said, if you apply too much, it’ll take longer to absorb and will feel greasy.
Use tallow lotion in small amounts until you learn how quickly your skin can absorb this nutrient-rich skin conditioner.
Does Tallow Smell?
If tallow is made properly, there is no smell, and it’s completely neutral.
The key here is to trim the tallow really well before cooking, so that there’s no blood, meat or glands included in the mix. All of those will infuse flavor into the finished tallow if left in during rendering.
Second, it’s important to cook the tallow very slowly so that it doesn’t scorch, which will give it a burned smell and flavor.
Very clean suet at the start, followed by slow cooking will yield tallow that does not smell.
Scratch Cooking Guides
Try your hand at whipping up more than just tallow in the kitchen with these guides:
- Beginner’s Guide to Cheesemaking
- How to Render Leaf Lard
- How to Make Apple Cider Vinegar
- How to Make Wine from Grapes
- Homemade Worcestershire Sauce
- How to Make Mead (Honey Wine)
DIY Guides
Looking for more DIY guides?
- How to Process Soil into Clay for Pottery
- How to Make Soap
- How to Make Chocolate from Scratch
- Beginner’s Guide to Candlemaking
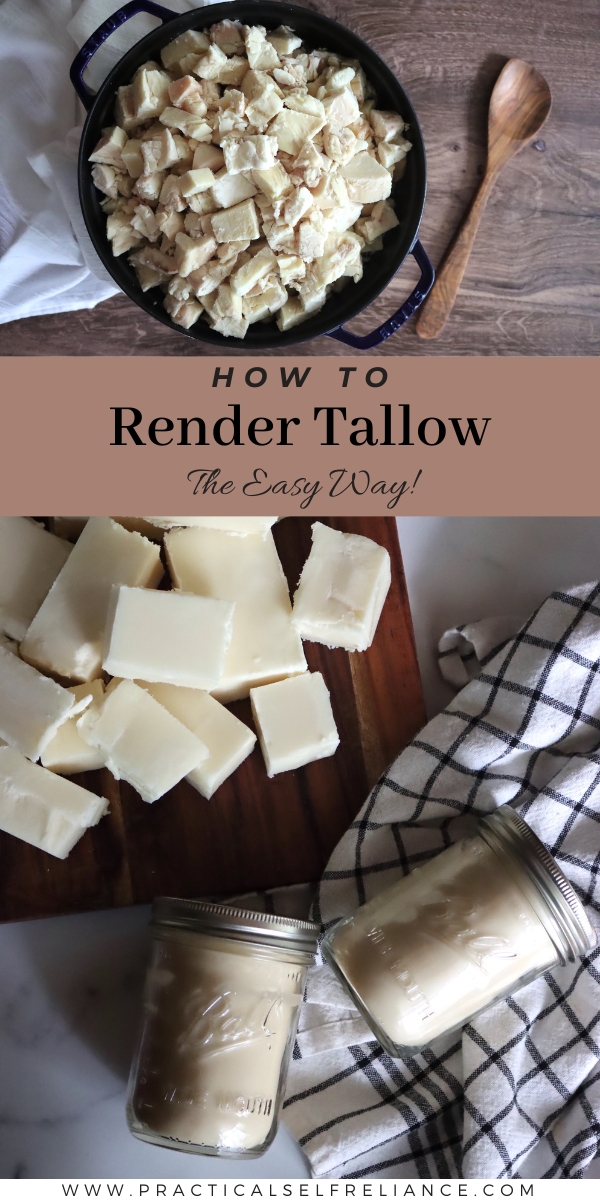


All you need is a bit of patience and you can render your own tallow at home and save A LOT of money. It’s so expensive to buy these days, but easy enough to make.
I am out of jars. I have a home raised beef filling my fridge. I have about 80lbs of fat to render. Can I make cakes or bricks of tallow, Vacuum seal and store in cool pantry? I cook and craft with it. Lotions, sunscreen, soap etc. I just don’t have freezer space
I believe so? I honestly don’t know for certain one way or the other, but I don’t see why not?
I have rendered my grass fed beef tallow a couple of times now but when I cut into the cooled tallow cake it has a sort of powdery texture in spots. Yours look lovely and smooth. What am I doing wrong and how can I fix this?
I haven’t experienced this issue, but looking online, it seems like it’s a common one. The problem is, just about everyone says it’s caused by something different. Some say it’s the quality of the initial fats, but I’m skeptical there, as it seems like people are having the issue with half a batch from the same suet. Others say it’s that the tallow was rendered too hot, which is possible. Others say it was cooled too quickly, or stirred too much during rendering. Honestly, I wish I had a good definitive answer here for you but I don’t. The only thing I do is render it low and slow in a crock pot, ignoring it completely until it’s all the way rendered, maybe stirring once a day to make sure it’s not stuck to the bottom, then filter and let it cool on the counter.
This was so helpful! I’ve looked at several other tallow rendering DIYs and this is the only one I’ve seen that explains the step to boil off all the water. I actually did the rendering via another site but was left with a bunch of water after hardening in a bowl, so found these instructions and am now redoing the final render.
We’re so glad it was helpful for you.
Great tutorial! Thanks!
Your page is my “go to” when I went to learn something new! Thank you. I am currently in the process of rendering suet for tallow. I started with 8 pounds and to be honest it is taking me three days with my crockpot, but I’m not giving up! I’m currently doing the final rendering to make sure I have removed all the water but I think I need to strain my tallow one more time because there is quite a bit of residual in the oil. Have a question though, the temperature of my oil is currently at 200 and it’s bubbling quite a bit in the middle and I am not sure if that’s water or the oil bubbling. I’ve taken a video of it in case there is anyway I can send it to you. I don’t want to screw this up!
It should stop bubbling once all of the water has cooked out. Did you remove the lid?
I did! Obviously I finished it and it ended up turning out great. I will do it again but maybe a smaller batch.
Oh good, I’m so glad it turned out for you.
Thank you so much for this article!
It feels like I am having a mini class every time you write something.
You’re very welcome. We’re so glad you’re enjoying the posts.
I made bone broth a while ago. There was quite a bit of fat, so I removed it from the broth and saved it. I gave some away for cooking, and made soap out of some of it. I assumed it was tallow, but was not made with the fat around the kidneys. It turned out to be off white when cooled with a slight beefy aroma. Since it is beef fat, but not rendered from the suet, what would you call it?
I am not aware of a specific term for the fat that comes from beef broth. I’ve just always heard it referred to as fat. It will have quite a bit of moisture in it from the broth so if you want to save it, it’s a good idea to cook the excess moisture out of it so that it will store longer.