Affiliate disclosure: This post may contain affiliate links. Please see our Privacy Policy.
Wood cookstoves were once a part of every home, long before propane and electricity became options. They allow you the flexibility to harvest your own cooking fuel from the land, rather than relying on fossil fuel or grid-based fuel sources.
The challenge is, there can be a pretty steep learning curve cooking over wood. It’s not as simple as flicking on a button, but with a little practice, you can cook just about anything on a wood cookstove.
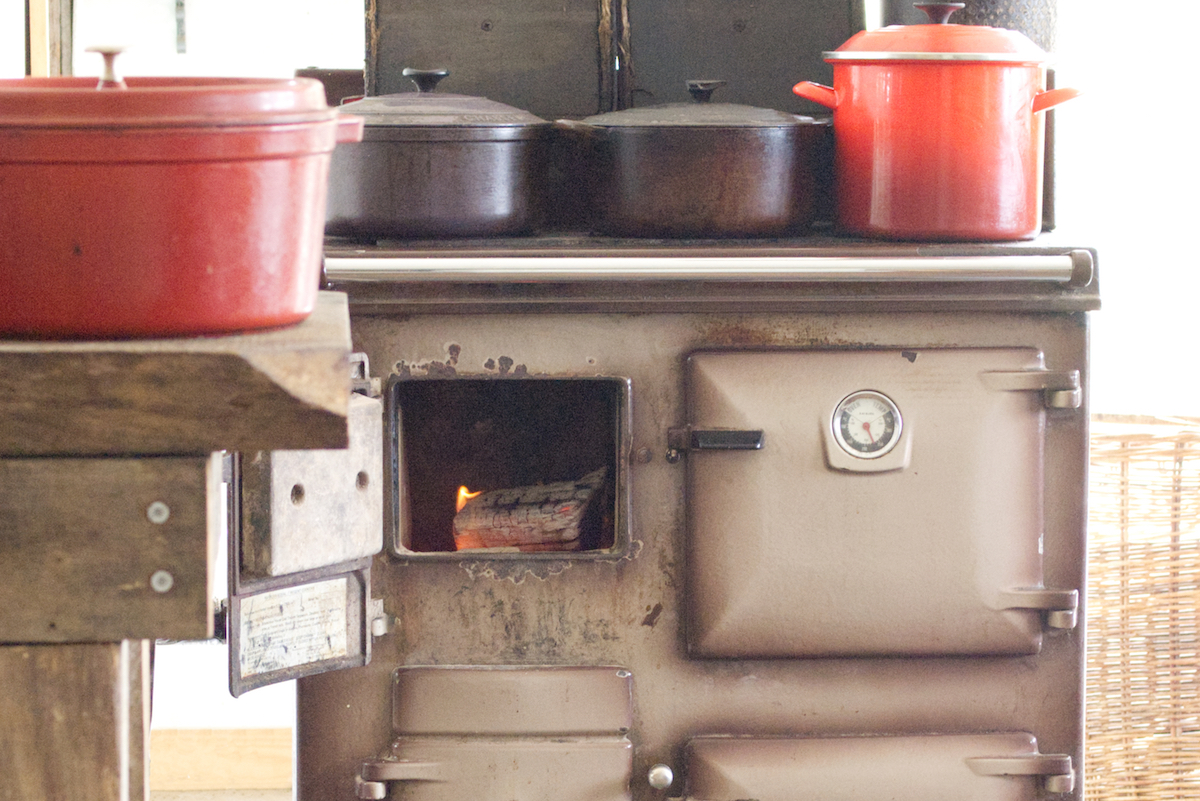
The following is a guest post by Kate Downham, the author of A Year in an Off-Grid Kitchen: Homestead Kitchen Skills and Real Food Recipes for Resilient Health. Kate and her family live Off the Grid on a Permaculture Homestead in Australia. She writes about her life managing a homestead, and cooking just about everything from scratch (including cheese and charcuterie) at The Nourishing Hearthfire.
Kate is also the author of Backyard Dairy Goats: A Natural Approach to Keeping Goats in Any Yard, where she discusses natural goat raising as an Off-Grid Homesteader. Raising Dairy Goats off Grid Without Refrigeration has its own unique challenges, but Kate manages it with skill and grace.
A wood stove can be the heart of an off-grid home, but there is a bit more to it than simply flicking a switch and getting your food cooked.
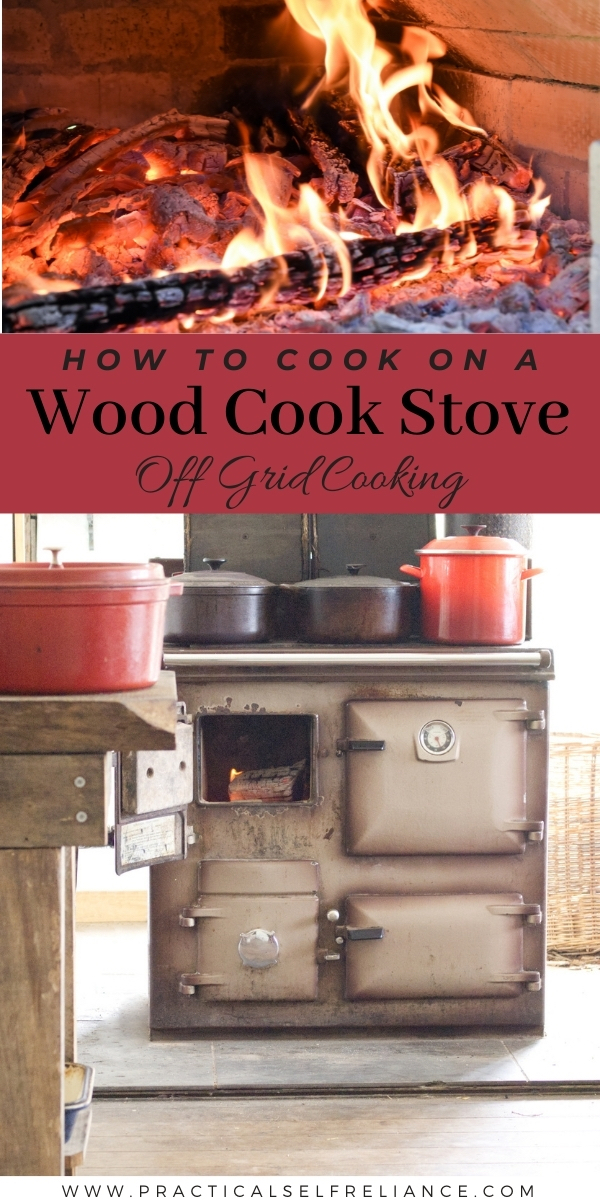
Getting to know your Wood Cookstove
Wood stoves have different baffles to control the airflow. There’s usually one low on the firebox, to blast heat into the fire and get it blazing, and another near the flue, to control the amount of air coming out of the wood cookstove.
When you’re first getting a fire going, having both these baffles open makes sense (we often start our small Rayburn with the bottom ash box door completely open, to allow even more air in).
Once the fire is lit and everything is getting as hot as you’d like it to be, it’s a good idea to close down the baffles slightly to make more efficient use of wood. When people leave their fires going overnight, the baffles are often completely closed, to help the wood smolder as slowly as possible.
Getting to know how your stove behaves when different baffles are open at different levels will help you make the best use of it.
Making pancakes is a great way to observe the effects of opening and closing the baffles, and how you can control the heat to some degree by restricting or opening up the airflow.
When the pancakes seem to be cooking a bit too slowly, you can open up the baffles more to allow the fire to blaze, or if the pancakes are burning at the bottom, it’s possible to lower the temperature slightly by closing the baffles.
The temperature changes aren’t instant, but they are noticeable and can help you to better understand your wood stove.
Getting to know your wood
While different trees have different heating value, and the trees available locally will vary from one place to another, one thing to keep firmly in mind is that with the exception of ash, wet wood is not suitable to cook with.
Wood can be wet either because it’s freshly cut (also called green wood), or by picking up moisture from being in contact with the damp earth or rain.
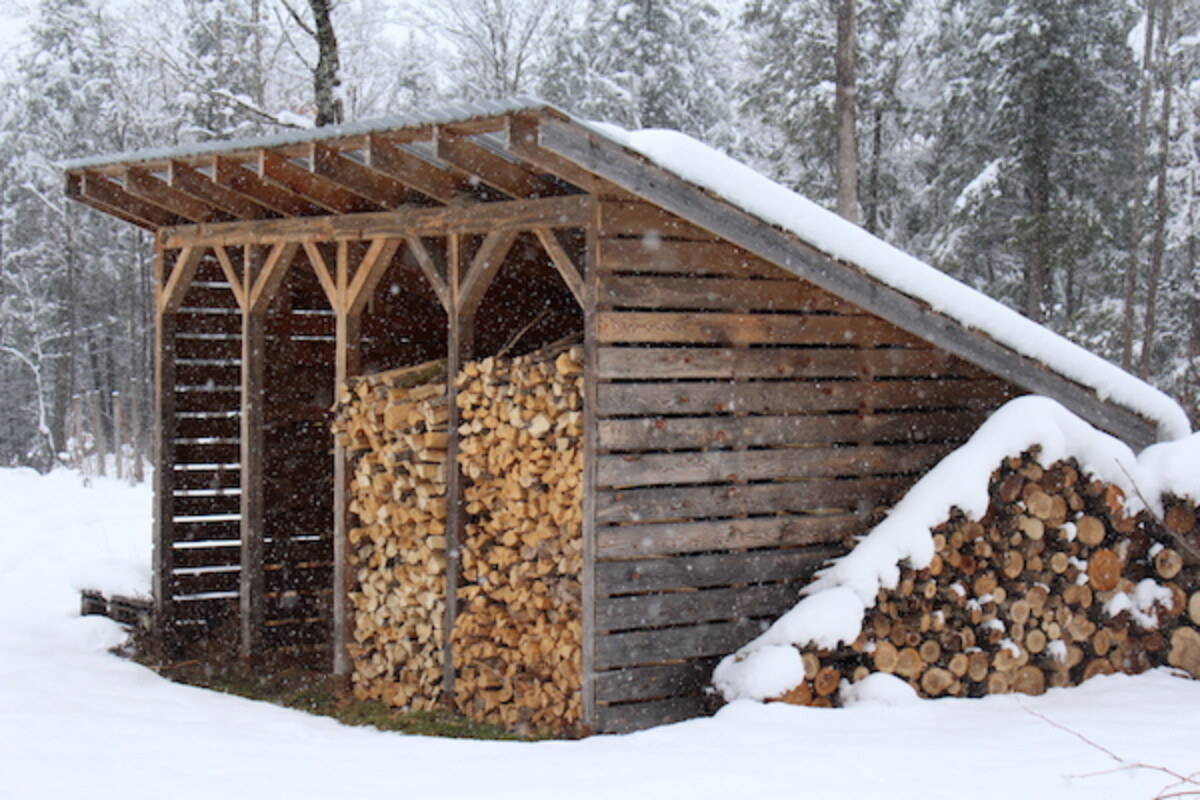
To cook well with a wood stove, it’s a good idea to first dry out your wood after felling it by leaving it to dry over the summer months (or even for a year or more). If you live in a rainy area, it’s best to keep this wood out of the weather as it dries.
Allowing airflow will help the wood to dry out, so an open-sided shed is a good option, or a bit of roofing metal weighted down on the top of a wood stack will also achieve the same thing.
Once the wood is dry enough to burn, it needs to be kept dry by keeping it off the ground, and keeping the rain off it. Pallets do a fine job of keeping the wood off the ground, and if you don’t have a shed, a tarp can easily keep the rain off.
Different ways to cook with Wood
Rather than the flick of a switch, the temperature of a wood stove can be controlled by the size of the wood, the ratio of flames and coals to new wood, and by opening or restricting the airflow.
To get it boiling, searing, or baking, treat it like a train.
If you visualize the way that many people treat their radiant wood heating stoves – they will wait for the logs to almost finish burning down, and then add some more, to let the fire just tinker along slowly, to put out a small amount of warmth while not using much wood.
It’s fine to do this on a cooking stove if you’ve already got something up to temperature, but for quick cooking, and for roasting and baking, you need to imagine a train furnace, which is fed and fed and fed, with as full a firebox as can be full (without being dangerous), with lots of glowing coals all that time, and plenty of flames in the bits of wood already alight to light the new wood without anything cooling down.
If too much new wood is added at once, the stove cools down as the warmth is directed towards lighting the new wood.
To get the stove hot, and keep the temperature rising for bread baking and roasting, we need to add a smaller amount at a time.
It’s good to have different sizes of wood to add to the stove – some small for getting it going (and for getting it going again if you’ve forgotten about it for a while), some medium for treating it as a train furnace, and some large for slow cooking or for keeping the fire going for a few hours while you’re away from it.
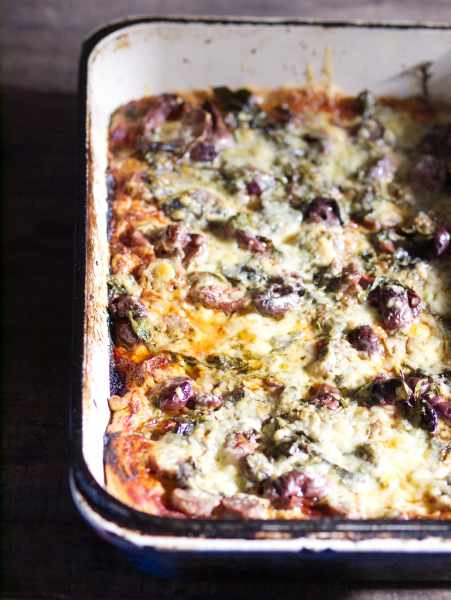
For crispy pizza crust and anything else that needs bottom heat:
To have a decent amount of ‘bottom heat’ for crispy pizza crusts, rather than just the ‘top heat’ that a simple stove provides, it’s best to allow the top heat to heat up something with thermal mass before cooking on it, such as a cast-iron pan or a pizza stone.
If you’re using a slab of heatproof stone, you can just put your tray of cookies or pizza on top of it rather than having to transfer them individually.
Alternatively, you can pre-heat a cast iron pan on the stovetop, put your pizza base in it and then allow it to cook slightly while you add the toppings before finishing it in the oven.
To broil:
Get the fire going really well, like a train furnace.
Test the temperature of the top of the oven by placing your hand near it. Once there is plenty of heat being radiated from the top, put your food on a rack as close to the top as possible.
Check around 5-10 minutes later, checking frequently after that to see if it’s done.
To quickly roast vegetables and meats:
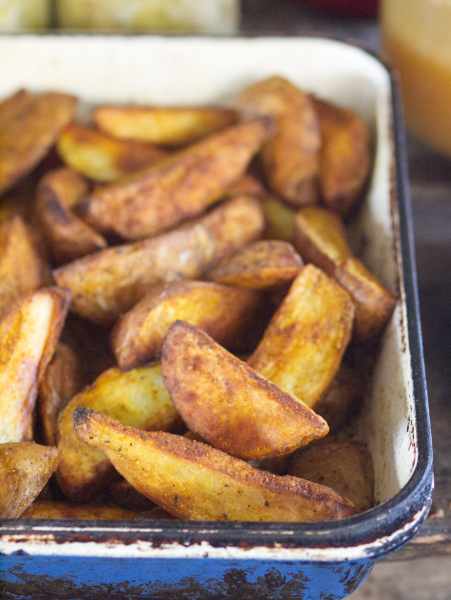
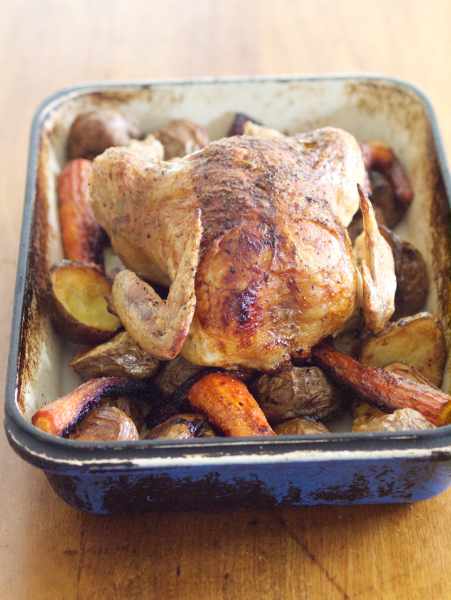
Preheat a cast-iron roasting tin in the oven or on the stovetop until hot. Add your cooking fat, then add the vegetables, and stir them around to coat them in the hot fat, sprinkle with salt and return to the oven.
For meat, just add it to the hot pan along with any seasonings you’re using. Place the rack in the oven at the right distance, depending on how much heat is coming from the top of the oven, and how hot the oven is.
If the oven is at a good roasting temperature, around 1/2 to 2/3 of the way up the oven is a good spot for roasts. You can get your vegetables going more quickly by placing the tray closer to the top of the oven, although you will need to check it more frequently to make sure they aren’t burning.
To follow an electric slow cooker recipe, or to slowly cook beans:
Use a cast-iron pot (preferably enameled) with a tight-fitting lid. Bring to the boil on top of the stove (or in a medium-hot oven), transfer to the bottom of the oven, and continue to cook until finished.
The length of time it will take to cook depends on the oven temperature, generally, if you have the fire dying down or just ticking over and the oven isn’t hot enough for baking then it can slow cook for quite a while.
If the oven is at a good baking or roasting temperature, then the recipe will be faster to cook.
Choose large logs and don’t allow too much airflow into the stove, to help the fire provide a gentle slow heat to the oven.
Baking Cakes in a Wood Cookstove
Don’t completely trust the oven thermometer, especially when baking cakes.
Generally, things will cook hotter and faster when the fire is blazing like a furnace (and shortly afterwards). The oven thermometer (even if it is accurate) takes a while to register the change.
If you put a cake in when the thermometer says 350ºF, you might end up with a burnt cake, as there is a lot of top heat coming down at this stage.
The best stage for baking cakes is after the fire has gone through this initial burst of top heat and is idling by, with the oven staying at a consistent temperature.
I like to bake cakes after the fire has been going for a while because it means the thermal mass in the oven has had a chance to warm up and will radiate heat all around it and cook the cake better than it would using fierce top heat.
The thermometer reading will tend to linger at a higher temperature after the oven has cooled slightly, and opening the door to put your cake in will cool the oven even more, so make sure before baking that some steady heat is still coming into the oven from the fire, and that you’re not relying completely on leftover heat.
To rely on leftover heat as the stove shuts down, start your cake off when the thermometer is higher than your usual cake cooking temperature, and be prepared for it to take a bit longer than the recipe says.
If there is gentle heat coming from the top of the oven, place your cake towards the top. If there is a lot of heat coming in, it’s best to put your cakes towards the middle of the oven. In general, it is always best to bake cakes when there is a bit of fire still going in the firebox.

Wood Fired Hot Water
A wood stove fitted with a hot water jacket can heat all household hot water, as well as heating the home, cooking meals, baking bread, preserving food, and much more.
A wood cooking stove can be the key to living comfortably off the grid with minimal electricity. My home would not be the same without one.
Off Grid Ideas
Looking for more off-grid ideas?
- Maintaining An Off Grid Homestead in Winter
- Living Off Grid in the Arctic Circle
- Off Grid Appliances
- Pedal Powered Off Grid Washing Machine
- 10 Luxuries that We Have Off Grid
- How to Find Off Grid Homes for Sale


What kind of cookware is needed for a woodstove? Does it have to be cast iron cookware or will todays cookware work? I’m brand new to this and would love any helpful hints. Thanks!!!
You can certainly use other cookware but there’s nothing like cast iron. You can often find cast iron very reasonably at yard sales or even antique shops.
Thank you so much for this! I just restored my Grandparent’s 1951 Floyd-welles combination range (wood/coal/propane and I’m using it to heat my cottage and now begins learning to really cook on it. My Grandmother was a fabulous cook, though I will say she took advantage of the propane much of the time and saved the wood for heating. Waiting for that first snowed in day to roast a chicken! This was the most info I’ve found so far…THANK YOU!
You’re very welcome. What a precious treasure you have along with some great memories.
Here is a tip for baking pies, keep them covered with foil until it bubbles through slits, then remove foil and brown top, about 15 minutes for that step, rotate pie periodically .
Hey there Ashley – hope you’re well! I came to this article because I keep finding myself drawn to cast iron cook stoves online and daydreaming about what it would be like to own one. We used to have one in our family camp and we still to this day have a recipe we call “Camp Stove Chicken” that reminds me of cooking on it. Ah, the good old days. I can’t believe one of the relatives sold it… Thanks for these tips! Maybe I’ll get to use them someday.
Thanks Carrie!
I have cooked on a Glenwood wood cookstove for eons and adore “Her”. “She” heats my kitchen, cooks our food, gives us hot water and warms our hearts. This article was right-on. The author covered everything that I have learned, through decades of experience, about cooking with wood. Slow food. My stove top is fabulous, too, in that it has only two round “lids” and the rest of the top is a smooth flat space. It’s easy to just “slide” pots and pans around.
Thank you for sharing. We are so glad you enjoyed the post.
Have you ever tried pressure canning on a wood stove?
While I imagine it’s possible, it’s going to be VERY difficult to maintain correct pressure without the ability to very quickly adjust the temperature. I haven’t tried it honestly because it could be very dangerous. You need very high heat to get the canner up to pressure, then very low heat to gently keep it there. I imagine at that point you’d have to basically scrape out the entire firebox right when it gets up to temp and just use the residual heat of the stove itself to hold the pressure.
I wouldn’t try it with a dial gauge canner, which requires constant micro-adjustments, and I don’t think that’d work well. A weighted gauge might be possible if you were VERY good at working your stove.
I think you’d almost be better off trying to pressure can outdoors on a simple tin can style rocket stove, which does allow you to change the heat very quickly because it doesn’t have thermal mass like a cook stove.
That’s a guess though. I’ve done A LOT of pressure canning, but it’s always been on a regular propane burner stove, so none of this is speaking from experience.
Regarding the pressure canning query: yes, many times. Also boiling water bath canning. The only time I refrained was in the heat of summer.
How did you adjust the tempurature of the wood stove … I saw somewhere a device tnat would raise the preszure canner ,have you or anyone seen anything like that?
To adjust the temperature you have to learn how to use the drafts, open is a quick fire for boiling, shut circulates heat around oven and there is another one on mine that opens it to around water jacket. The type of wood you use is also important, a good hardwood makes a good set of coals that keep a fire and heat for about an hour before anything has to be added. The hardest part for baking is that it takes time to build a baking fire, maybe even two hours before enough wood is burned down enough to give a good base of woodcoals.
Yes, I’ve been pressure canning on mine for over 40 years. Build a fire that keeps an even heat for an hour ,building up wood coals. Stove shut down. You can always move canning pot over to side plates not as hot, I don’t keep directly over fire unless it’s burned down. You have to keep an eye on pressure and move it over if it rises too fast.
Years ago while living in bush Alaska, we used a wood stove for cooking. On a couple of Thanksgivings we got the chore of doing the turkey for our community get together. The reason being I knew how to use the stove. The turkey was moist and because the really hard wood was old growth willow, it had a slightly smoky flavor. That was a great little stove.
Awesome, detailed article! I had a lovely wood cookstove for many years, and it was a pleasure to use, mainly the large top. The oven was touchy, and admittedly I used my gas oven for baking breads and cookies. But it truly was the heart of the home, heating the main part of the house, and always something simmering on the top. I do sorely miss it now.