
Affiliate disclosure: This post may contain affiliate links. Please see our Privacy Policy.
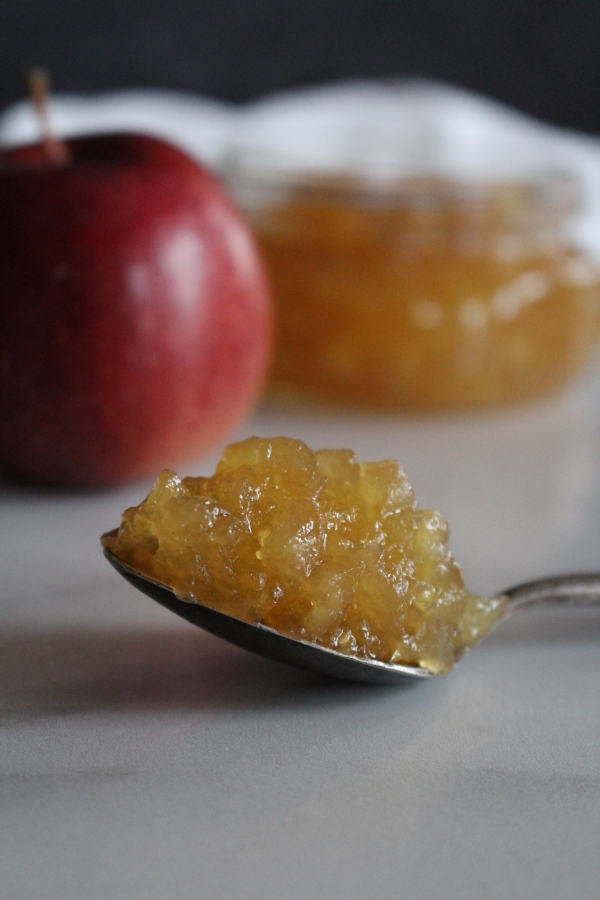
Apple jam turns a bowl of diced fall apples into a chunky golden spread that holds its shape on toast, and it sets up beautifully without any added pectin. The secret is an overnight rest in sugar that firms up the fruit so the pieces stay whole instead of melting down into sauce.
This old-fashioned jam recipe relies on the natural pectin already in apples, so there’s no boxed pectin to buy and no fussy ratios to memorize. Just apples, sugar, and a splash of lemon juice.
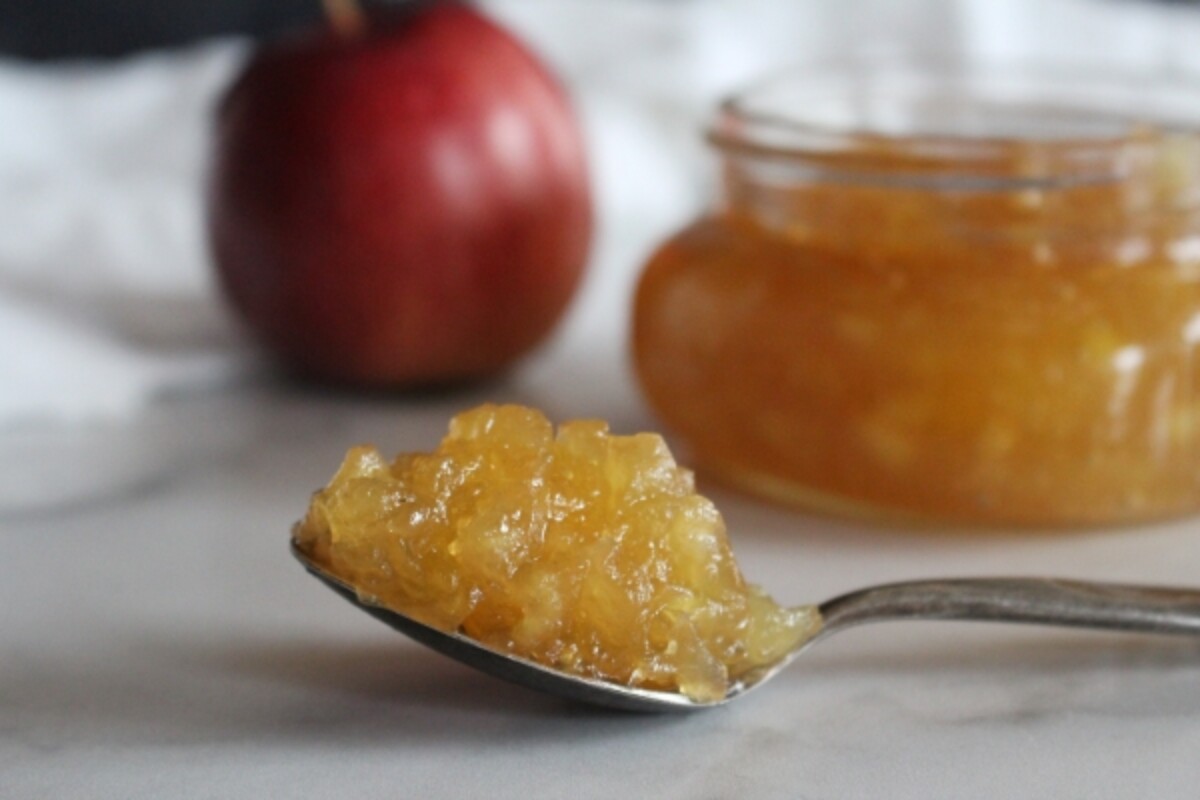
Just about everyone’s made applesauce, and if you have an apple tree in the backyard, you’ve probably cooked up a batch or two. The trouble is, applesauce gets a little boring after the first few jars. Apple jam is a different animal entirely, with concentrated apple flavor and a thick, spreadable texture that’s a long way from sauce.
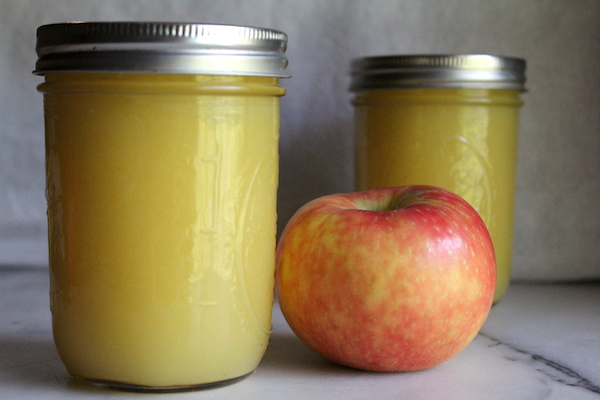
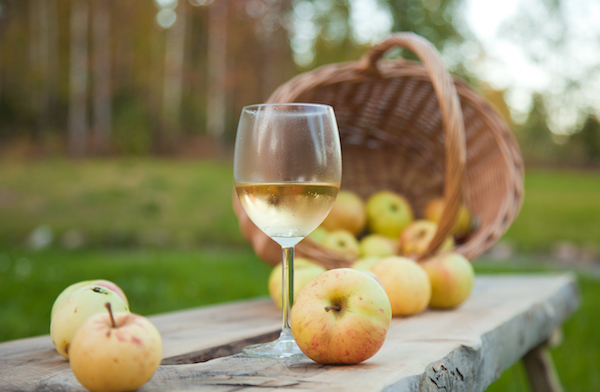
We grow more apples than we know what to do with here in Vermont, so over the years I’ve worked out plenty of ways to preserve apples. Some years I’m canning applesauce by the dozens of jars, other years it’s slow-cooked apple butter or a batch of homemade apple wine. This jam has earned a permanent spot in that rotation because it comes together fast and tastes like fall in a jar.
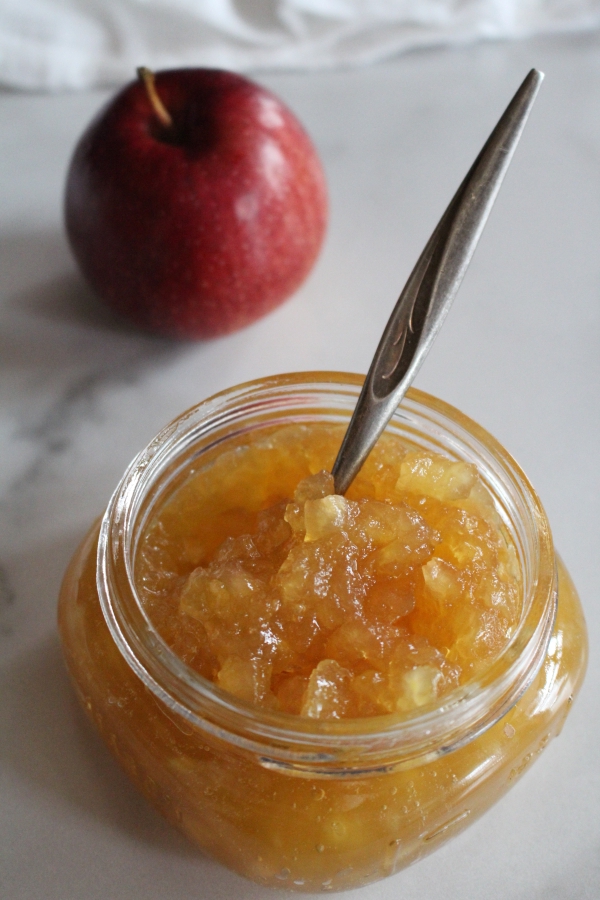
Notes from My Kitchen

The first time I made apple jam, I skipped the overnight maceration because I was impatient, and I ended up with a pot of glorified applesauce. The apple chunks dissolved the second they hit the heat. The next batch I let the diced apples sit in sugar overnight in the fridge, and the difference was night and day. The sugar pulls liquid out of the fruit and firms it up, so the pieces hold together through cooking. Now I never skip that step, and I plan my apple jam a day ahead.
I like a tart apple here, since the finished jam is on the sweet side and a sharp apple keeps it balanced. When I’m picking through the bins, I reach for the same firm, tart varieties that hold up in a pie. If all I have on hand is sweet dessert apples, I add an extra splash of lemon juice to wake the flavor back up.
Ingredients for Apple Jam
Three simple ingredients, and you likely have all of them already. Quantities are in the recipe card below, but here’s what each one is doing and what to look for.
- Apples: Use a firm, tart, crisp variety that holds its shape, like Granny Smith, Empire, or a good crunchy Honeycrisp. The apples that work best for pie are the same ones that work best here, since they hold together instead of breaking down. Soft, mealy apples turn to sauce.
- Granulated Sugar: Sugar does more than sweeten. It draws liquid out of the apples during maceration, firms up the fruit, and helps the jam set and keep its color. This recipe uses a 2 to 1 ratio of prepared apples to sugar by weight.
- Lemon juice (fresh or bottled): The lemon keeps the apples from browning and adds a tart contrast to an otherwise very sweet jam. Apples are naturally high in acid, so the lemon is here for flavor and color, not for canning safety.
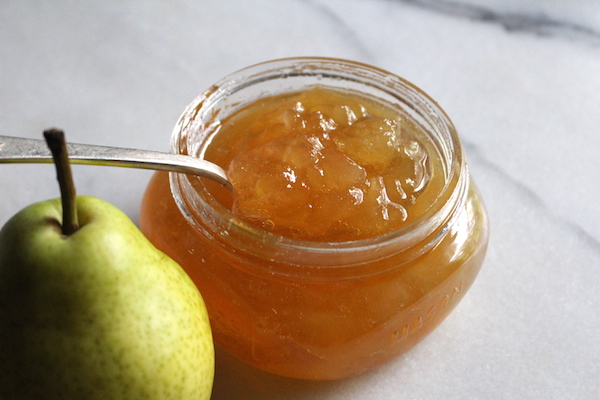
If your apples are sweet, bump the lemon juice up a little. This jam is part of a whole family of no-pectin preserves, so once you’ve made a batch, pear jam and old-fashioned grape jam are easy next projects.
Made this today with excellent results! I found macerating the apples made such a difference to the consistency of the jam, which took just 20 minutes to reach setting point.
How to Make Apple Jam
The active cooking is quick, but you’ll want to start a day ahead so the apples have time to macerate. That overnight rest in sugar is the whole trick to keeping the jam chunky instead of saucy.
Preparing the Apples
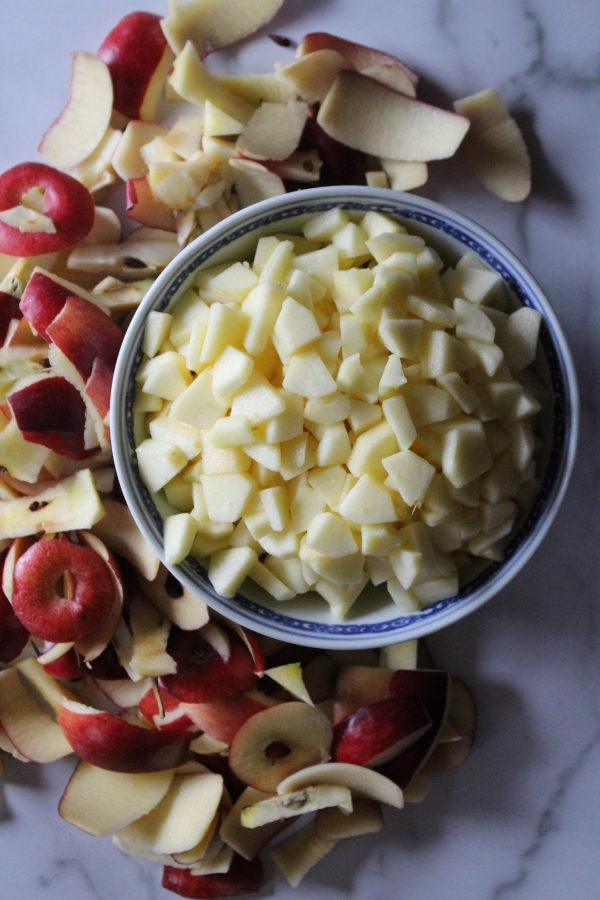
Peel, core, and dice your apples into small chunks, about 1/4 to 1/2 inch cubes. They won’t break down much smaller as they cook, so cut them just a hair bigger than you want them in the finished jam. Toss the diced apples with lemon juice as you go to keep them from browning.
Add the sugar, stir to coat, then cover and refrigerate overnight (12 to 24 hours). In a pinch, 4 hours will work, but the longer rest gives you the firmest chunks. You’ll know it’s ready when the apples have given up a good amount of syrupy liquid and look slightly translucent at the edges.
Cooking the Jam
Pour the entire macerated mixture, apples and all, along with that drawn-out syrup, into a large heavy-bottomed pot. Bring it to a boil over high heat. It will foam up dramatically at first, so make sure your pot is big enough to handle the foam without overflowing.
Cook over medium-high heat for 20 to 30 minutes, stirring occasionally and scraping the bottom so it doesn’t scorch. The jam will thicken visibly as it cooks, and it will firm up more as it cools. If a few apple pieces are larger than you’d like, crush them gently with a potato masher.
Testing for Gel Stage
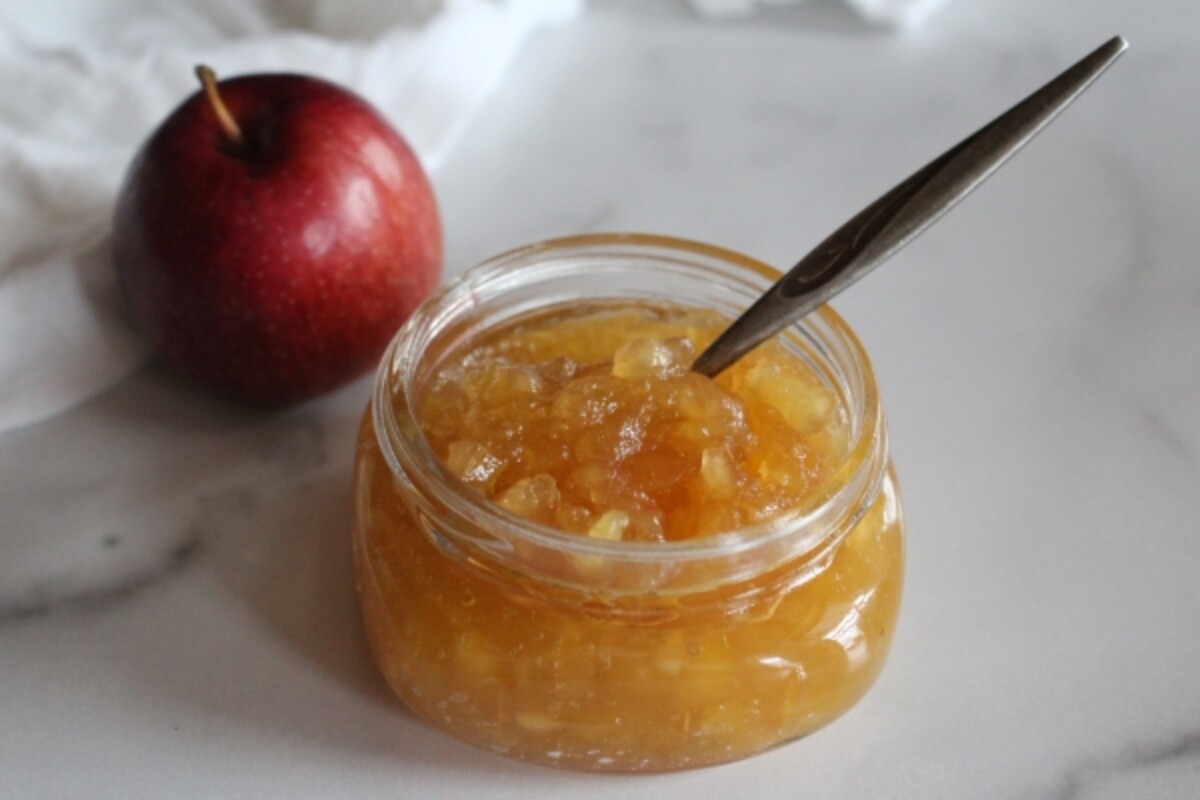
Because there’s no added pectin, you cook this jam to gel stage. There are two reliable ways to test it:
- Freezer plate test: Before you start cooking, put a small plate in the freezer. When you think the jam is ready, drop a spoonful onto the cold plate and wait a few seconds. Push your finger through it. If it wrinkles and holds its shape, it’s done. If it runs back together, keep cooking.
- Temperature test: Use an instant-read thermometer. Apple jam reaches gel stage at 220°F (104°C) at sea level. At higher elevations, subtract about 2°F for every 1,000 feet above sea level.
- Don’t overcook. The jam keeps thickening as it cools, so pull it off the heat the moment it passes the test. Cook it too long and you’ll end up closer to a stiff apple paste than a spreadable jam.
Canning Apple Jam
Canning is optional. You can keep this jam in the fridge for a few weeks or freeze it for up to 6 months instead. But I almost always can mine so I can pull apple jam off the pantry shelf in the middle of winter. If you’re new to it, read through my beginner’s guide to water bath canning first, and use a water bath canner with a rack.
Ladle the hot jam into clean jars, leaving 1/4 inch headspace. This is a thick jam, so run a thin spatula around the inside of each jar to release trapped air, and adjust the headspace afterward. Wipe the rims, apply two-part lids, and process in a boiling water bath for 10 minutes. Turn off the heat and let the jars sit in the canner for an extra 5 minutes before lifting them out to a towel on the counter.
That short rest helps prevent siphoning, which I learned the hard way canning apple pie filling when I pulled the jars too soon and made a sticky mess. Let them cool undisturbed, then check the seals.
Altitude Adjustments
Adjust your processing time based on your elevation:
- 0-6,000 ft: 10 minutes
- Above 6,000 ft: 15 minutes
Yield Notes
Apple jam cooks down a lot, which surprises people the first time. Here’s how the math works out:
- About 6 lbs whole apples = 4 lbs prepared = 16 cups diced (4 cups diced apples is roughly 1 pound)
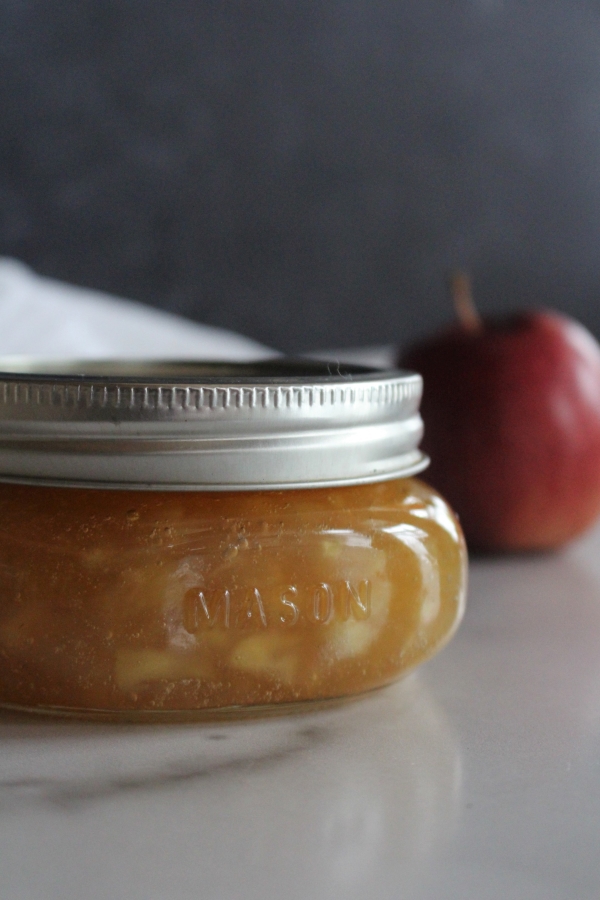
- 16 cups diced apples + 4 cups sugar = about 4 to 5 half-pint (8 oz) jars
- Don’t double the recipe. Larger batches don’t heat evenly and often fail to set. Make two single batches back to back instead.
Storage Options
Not ready to break out the canner? You have a few options:
- Refrigerator jam: Let the jars cool to room temperature, then store in the fridge. Keeps for 3 to 4 weeks.
- Freezer jam: Use freezer-safe containers and leave headspace for expansion. Lasts up to 6 months frozen.
- Canned jam: Water bath processed jars keep for 12 to 18 months in a cool, dark pantry, and stay safe to eat well beyond that. This is my go-to because it means apple jam on toast in January.
Recipe Tips
- Vanilla: Add a split vanilla bean toward the end of cooking for a warm, dessert-like flavor. Readers love this one.
- Spiced apple jam: Add a cinnamon stick or 3 to 4 cardamom pods at the start of cooking, then fish them out before jarring. A cinnamon-and-vanilla version is a reader favorite.
- A splash of spirits: A tablespoon or two of rum or brandy stirred in during cooking gives the jam a grown-up depth.
- Don’t skip the maceration. The overnight rest in sugar is what keeps the apples chunky. Skip it, and you’ll get applesauce.
- Stick with granulated sugar. Honey and maple syrup don’t draw liquid from the fruit the same way, so the maceration step won’t work and the texture suffers.
- Other firm fruit: This sit-in-sugar method also works on dense fruit like quince, though quince needs a much longer cook to turn tender. My quince jam walks through that version.
Ways to Use Apple Jam
The obvious home is a piece of buttered toast, but apple jam does a lot more than that. Spoon it into oatmeal or yogurt, use it as a filling for thumbprint cookies and hand pies, swirl it into muffin batter, or warm it slightly and spoon it over pork chops or a wheel of brie. It’s also lovely layered into a fall spice cake.
If your shelves are filling up faster than you can eat through them, my guide to 100+ ways to use up a jar of jam has plenty more ideas to keep things from going to waste.
Apple Jam FAQs
You’ll need about 6 pounds of whole apples, which comes to roughly 4 pounds prepared, or 16 cups peeled, cored, and diced. Apple jam cooks down significantly, so that large pile of fruit yields about 4 to 5 half-pint (8 oz) jars. A handy rule of thumb is that 4 cups of diced apples weighs about 1 pound.
Process half-pint and pint jars of apple jam in a boiling water bath for 10 minutes at elevations up to 6,000 feet, or 15 minutes above 6,000 feet. Leave 1/4 inch headspace, and once the time is up, turn off the heat and let the jars rest in the canner for an extra 5 minutes before removing them. That short rest helps prevent siphoning in this thick jam.
The most common reason is that it wasn’t cooked long enough to reach gel stage, which is 220°F (104°C) at sea level. Give it a full 24 to 48 hours before deciding it failed, since this jam continues to firm up as it cools and rests. If it’s still too loose, you can return it to the pot and cook it a bit longer, or stir in a little pectin to help it along. Doubling the batch is another frequent cause of a jam that won’t set.
You can cut the sugar somewhat, but reduce it carefully. Sugar is what draws liquid out of the apples during maceration and helps the jam set, so cutting too much can leave you with a loose jam. If you reduce the sugar significantly, you may need to add a little pectin to get a good set. For a reliably low-sugar result, a recipe formulated for special low-sugar pectin is a better bet.
Granulated sugar is the better choice for this recipe. The maceration step relies on sugar to pull liquid out of the apples and firm up the chunks, and honey doesn’t have the same effect, so the fruit is more likely to cook down into sauce. Honey also burns more easily during the long cook. If you want to experiment, expect a softer set and stir frequently to keep it from scorching.
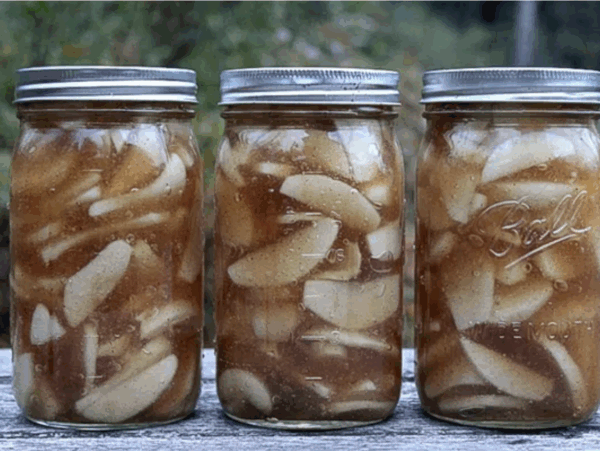
Ways to Preserve Apples
If you tried this Apple Jam Recipe, or any other recipe on Practical Self Reliance, leave a ⭐ star rating and let me know what you think in the 📝 comments below!
And make sure you stay in touch with me by following on social media!
Apple Jam
Equipment
- Canning Jars, Lids, and Rings
Ingredients
- 16 cups diced apple pieces, peeled, cored and finely diced
- 4 cups sugar
- 1/2 cup lemon juice, fresh or bottled
Instructions
- Peel, core, and dice the apples into small chunks, about 1/4 to 1/2 inch cubes. They'll stay close to that size in the finished jam.
- Toss the diced apples with the lemon juice, then stir in the sugar. Cover and refrigerate overnight, 12 to 24 hours (4 hours minimum). This maceration step firms up the fruit so it stays chunky instead of turning to sauce.
- If canning, prepare a water bath canner and wash your jars. Skip this for refrigerator or freezer jam.
- Pour the entire macerated mixture, apples and syrup together, into a large heavy-bottomed pot. Bring to a boil over high heat. It will foam, so use a pot big enough to prevent overflow.
- Cook over medium-high heat for 20 to 30 minutes, stirring occasionally and scraping the bottom to prevent scorching. Crush any oversized pieces gently with a potato masher if you like.
- Cook until the jam reaches gel stage, 220°F (104°C) at sea level, or until it passes the freezer plate test. Subtract about 2°F for every 1,000 feet of elevation.
- Ladle the hot jam into clean jars, leaving 1/4 inch headspace. Run a thin spatula around the inside of each jar to release trapped air, then adjust headspace. Wipe the rims and apply two-part lids.
- For refrigerator or freezer jam, cool and store. To can, process in a water bath for 10 minutes (15 minutes above 6,000 ft). Turn off the heat and let the jars rest in the canner 5 minutes, then remove to a towel. Cool undisturbed and check the seals.
Notes
Nutrition
Nutrition information is automatically calculated, so should only be used as an approximation.
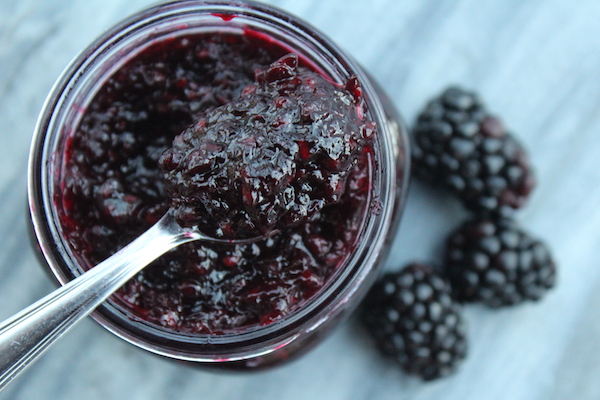
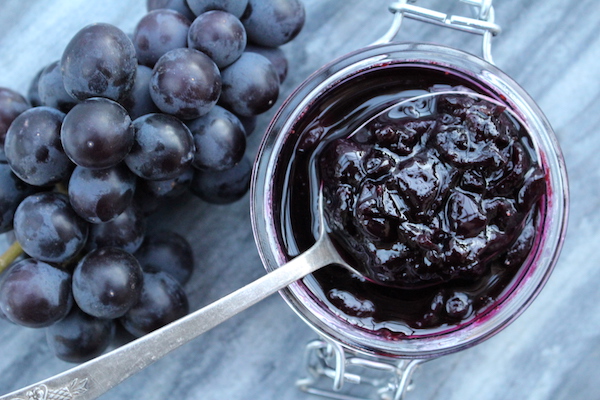
Jam Recipes
Find the perfect recipe
Searching for something else? Enter keywords to find the perfect recipe!










Hello! I just found your blog and am excited to try many of your recipes. I read in a previous post that honey didn’t work well in this recipe, so I’m assuming maple syrup wouldn’t either. My daugter and I both struggle with autoimmune issues and try to avoid cane sugar and syrups such as corn, rice, etc. Could you please tell me if you think the maceration process would work well with coconut or maple sugars since they are both types of granular sugar?
I’m not sure to be honest. If you decide to try it, just let us know how it works.
Looks like a great recipe. I may try it.
Help!! My jam wont set
How long has it been since you made it? Sometimes it will set after it sits for a bit. You can also sometimes put it in the fridge and it will set up a bit.
Could I do this with honey instead of sugar?
Macerating the apples in the sugar is an important step to making this apple jam without it turning into applesauce. Using honey is not going to have the same affect.
Yeah, I found that out when I tried it shortly after I wrote that comment 🤣
Still tastes amazing though! My husband really likes apple butter, and that’s basically what it turned into, so as it was a gift for his birthday, it worked out alright in the end haha. Plus I had a new bucket of honey that I really wanted to try in a recipe, so it was just one big experiment I guess haha.
It sounds like it. So glad it worked out.
Delicious, jammy, and beautiful in the jars! I added a couple of teaspoons of ground cardamom and cut my apples relatively finely. Somewhere I went off the rails, though, because I ended up with 10 half pints in the canner and another several tablespoons for a jar in the fridge! Definitely not complaining; this stuff is great. Bookmarking the recipe to come back to this one.
So glad you enjoyed the recipe. It sounds like that’s a good problem to have.
I had this problem too, I messed up and did 16 cups of the diced apples, which was about double, so the next day I added brown sugar and more lemon juice. Decided to add cinnamon and pie spice and tbsp. vanilla at end.
Isn’t it supposed to be 16 cups??? That’s why I have so much.
You want to start with 6 pounds of whole apples which should end up being about 4 pounds prepared apples.
I made the apple jam but I didn’t really stupid thing I put cinnamon not cinnamon stick in there and I think it’s starting to stick but it taste delicious regardless
Oops. Lesson learned for next time. At least it still tastes good.
I’m planning to try this recipe for the first time–so excited! I didn’t see whether to add a few minutes of boiling time in the water bath canning to adjust for elevation. Is it safe to assume an extra 5 minutes boiling time for 1,000-3,000 ft, 10 for 3,001-6,000 ft, etc.?
Yes, those are the correct altitude adjustments.
I was given loads of eating apple of all different varieties so I thought I would have a go at some apple jam as it’s not something you can get here however there doesn’t appear to be many apple jam recipes as there are chutney here in the UK. I read through many recipes and found yours. I have just finished making the apple jam and putting into jars. My husband thinks it’s really tasty and” a little something different” I don’t have cups so I used your conversion of Ibs and it worked very well.
That’s great! I’m so glad you enjoyed the recipe. Thanks for sharing.
I’m assuming you remove the cardamom pods (if added) before canning the jam?
Yes, that’s correct.
Just made this wonderful apple jam, mine came out a bit chunky too as I cut pieces larger but wanted it to have that texture. It smelled so good we already tried it on warm buttered toast. Soo delicious! And the house smells like it did when my mother was canning many moons ago. Thank you!
So glad you enjoyed it!
I ended up simmering this on low for about 45 minutes and adding about 1.5 cups of additional liquid (part Apple juice, part water); cooked it for about 45 minutes before it became a spreadable jam. Love it!
So glad you enjoyed the recipe. Thanks for sharing.
I JUST finished this jam. It smells wonderful and jarred up beautifully. I left the apples a little on the large size so it came out like a preserve. I will definitely be using this one again and again.
That’s great! We’re so happy that you enjoyed the recipe.
I have always canned apple butter and applesauce with my apples – boy am I glad I came across this recipe! It is fantastic!! My new go to for canning apples.
Thank you. We’re so glad you enjoyed the recipe.
Could you use this method for quince jam at all? Would it work at al?
Probably? I haven’t used this method with quince, but I have made quince jelly, butter, and preserves. In my experience, quince takes a lot longer to cook and become tender. I imagine this would work, but you might need to cook it longer, and as a result, might need to add water/juice to keep it from burning/scorching while the quince cooks to tender. Good luck!
My husband and I loved this! It never became soft and spreadable…but more like a preserve. Had it with some ginger flavours bread…sooo good. Thank you!!!
Hi, my name is Patty and I just found you and so glad I did. I just read how to can apple jam and can’t wait to try it. Canning is the one thing I am wanting to learn. I truly love how you give your directions, very easy to understand. Can’t wait to see more. Thank you
So I made the jam, but I think I boiled it for too long cuz All the liquid evaborated, so I really hope it turns out okay.
I hope so too. Let us know how it turned out.
I made this as well and absolutely love, love it!! All the liquid boiled out of mine also which made it all chunky with apples. Thanks so much for this recipe as it’s so much better than just jelly!!💜
You’re welcome. So glad you enjoyed the recipe.
Do you need to pill the apples
Yes, you should peel the apples.
Neighbors gave us 10 pounds of tart green apples 2 days before this recipe popped up. The jam is super simple and amazingly tasty!
I made this recipe last week and it will now be my go to for apple jam! Absolutely love it!!💜
Awesome, so glad you enjoyed it!
How about some root ginger added to this Apple jam?
I think that sounds lovely Nancy.