
Affiliate disclosure: This post may contain affiliate links. Please see our Privacy Policy.
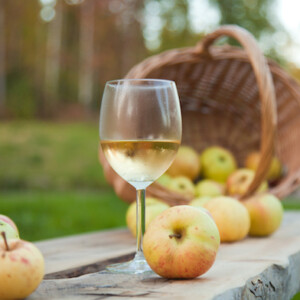
Apple wine turns fresh-pressed cider or store-bought apple juice into a clear golden-amber country wine with bright apple aromatics and a touch of residual sweetness. Unlike hard cider, this 1-gallon recipe doesn’t depend on specialty cider apples and works with any preservative-free juice, even an organic jug from the grocery store.
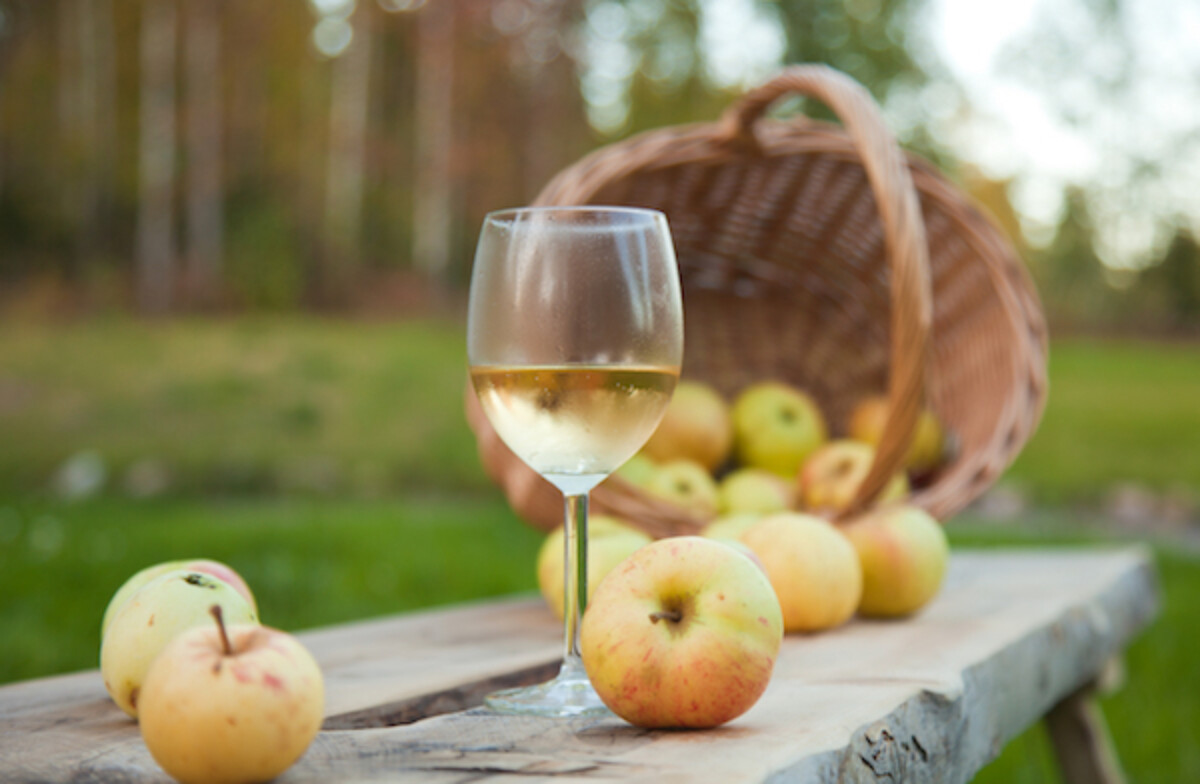
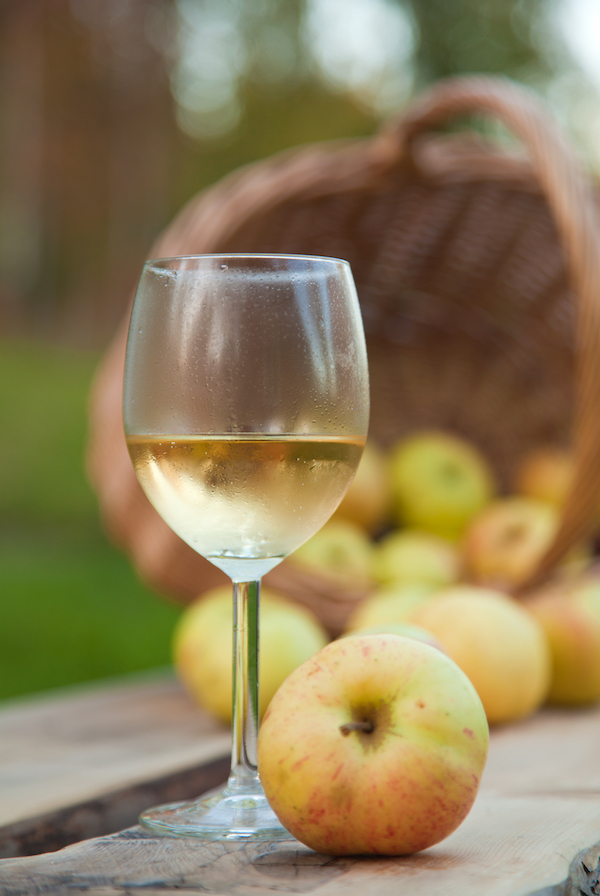
The finished apple wine is a light golden color, with a clean apple aroma and a touch of residual sweetness that makes it easy to drink. Depending on your yeast choice and sugar level, it ranges from semi-dry to a sweet dessert-style wine. The recipe is adapted to work with whatever apple juice you can get your hands on, so you don’t need a cider press or a backyard orchard full of specialty cider apples to make a beautiful batch.
Apple wine is a forgiving entry point into homemade winemaking, since the ingredient list is short and the apple juice does most of the flavor heavy-lifting.
If you have apples on hand and want to try other preservation projects too, the 30+ ways to preserve apples roundup covers everything from apple butter and canning applesauce to apple cider vinegar and cyser (apple mead).
Notes from my Kitchen

We have a small home orchard up here in Vermont and a double-barrel cider press that comes out every fall, so by mid-October our kitchen is usually full of carboys in some stage of fermentation. My first batch of apple wine actually came from the local food coop, not our own apples. I’d grabbed a glass jug of organic juice on a whim because I wanted to try winemaking before our orchard came into production, and that gallon of grocery store juice turned into one of my favorite homemade wines.
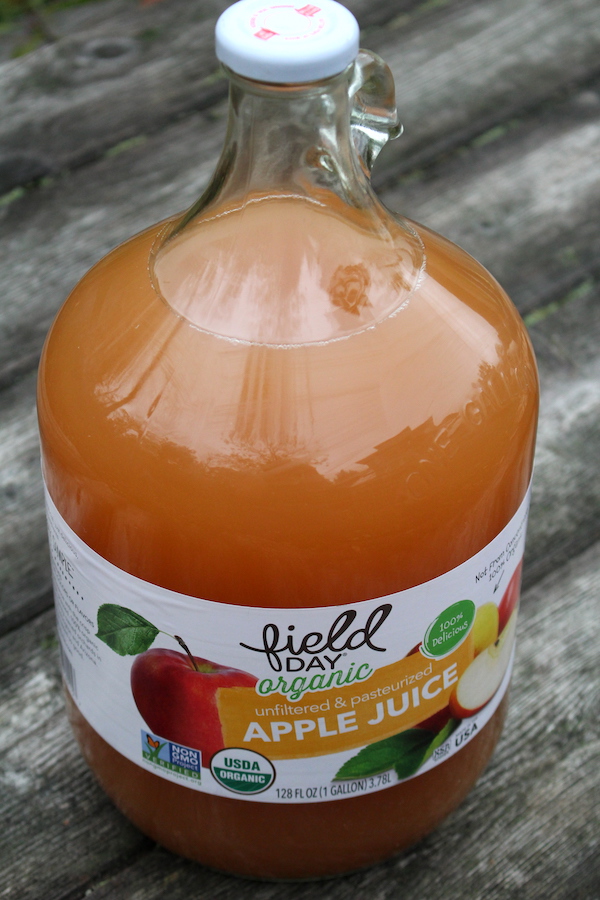
That’s what I love about apple wine. You don’t need fancy cider apples or a press or any special hookup with an orchard. Any preservative-free apple juice will do, even the cheap stuff at the grocery store, as long as you read the label and avoid anything with sodium benzoate or potassium sorbate (those preservatives kill the yeast). Once you’ve got a jug of juice and a few inexpensive winemaking additives, you’re 90% of the way to a beautiful homemade country wine.
Apple Wine vs. Hard Cider
Hard cider is fermented apple juice and yeast, with no other added ingredients. The flavor depends almost entirely on the apple varieties in the cider, which is why good hard cider is hard to make at home without access to dedicated cider apple varieties. You need a blend of tannic apples (sometimes called “spitters”), tart acidic apples, and sweet sugary apples to get a balanced result. Even with the right blend, hard cider tends to ferment dry and thin, since even the sweetest apples have far less sugar than wine grapes.
Apple wine takes a different approach. The apple juice provides the aromatic base and fragrant apple character, and the rest of the balance (acidity, tannin, and residual sweetness) comes from a few simple winemaking additives. That makes apple wine far more forgiving than hard cider, since you can start with any preservative-free apple juice and end up with a balanced, full-bodied wine instead of a thin dry cider.
If you’re after something even more complex, cyser (apple mead) splits the difference between apple wine and hard cider by adding honey to fresh-pressed cider. The result is fuller-bodied than apple wine and more sophisticated than hard cider, but it takes longer to age and costs more to make.
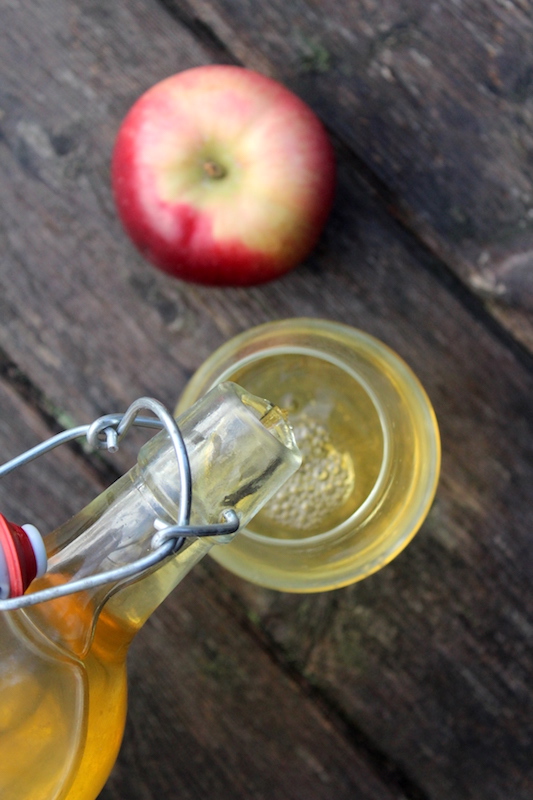
Ingredients for Apple Wine
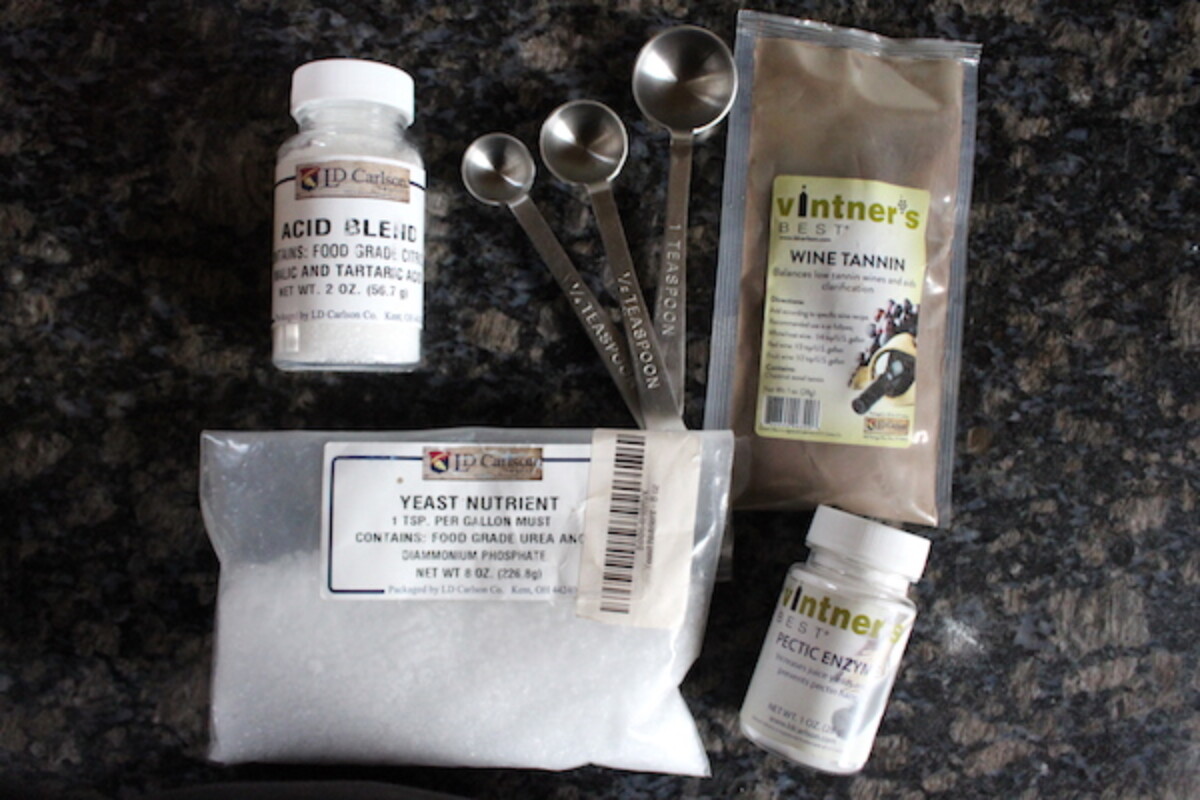
The ingredient list is short. Apple juice provides the flavor and most of the aromatic character, sugar bumps up the alcohol content and residual sweetness, and a handful of inexpensive winemaking additives balance the acid, tannin, and yeast nutrition. The amounts below are a good middle-of-the-road starting point for store-bought juice. If you’re working with fresh-pressed cider from your own apples, you can adjust based on the natural character of your juice.
- 1 gallon apple juice or fresh-pressed cider (no preservatives) ~ Provides the apple flavor, color, and most of the natural acidity. Fresh-pressed cider from a local orchard has the brightest aromatics and produces a more complex finished wine. Pasteurized refrigerated cider works fine too, as does shelf-stable apple juice from the grocery store. The one thing to watch for is preservatives. Avoid any juice that lists sodium benzoate or potassium sorbate, since those will inhibit the yeast and stall the fermentation. Pasteurized juice and juice with added ascorbic acid (vitamin C) are safe to ferment.
- 1 lb cane sugar or brown sugar ~ Apple juice is much less sweet than wine grapes, so the sugar bumps up the alcohol potential and leaves enough residual sugar for a balanced wine. Cane sugar gives a clean sweet finish. Brown sugar adds warm caramel notes and reinforces the apple character (the molasses in brown sugar produces apple-pie esters during fermentation). Bump up to 1½ pounds for a higher alcohol or sweeter finished wine.
- 1 packet wine yeast ~ The yeast strain you choose has a big effect on the finished flavor and sweetness. See the yeast section below for specific recommendations.
- 1 tsp yeast nutrient ~ Apple juice is missing some of the micronutrients yeast need to ferment cleanly, and a yeast nutrient prevents stuck fermentations and off-flavors. A handful of golden raisins works as a backup if you don’t have powdered nutrient.
- 1 tsp acid blend ~ Most sweet ciders and store-bought apple juice are heavy on apple sugars and a little light on acid. The acid blend creates a hospitable pH for the yeast and brightens the finished flavor. One tablespoon of lemon juice substitutes for 1 teaspoon of acid blend.
- ¼ tsp wine tannin ~ Adds body and structure to make up for the lack of tannic apples in standard apple juice. Without it, the finished wine tastes one-dimensionally sweet and feels thin in the mouth. A cup of strongly brewed black tea substitutes for the powdered tannin.
- ½ tsp pectic enzyme ~ Apples are high in pectin, and the enzyme breaks it down so the finished wine ferments to a clear amber instead of staying cloudy. Optional, but the difference in clarity is dramatic.
Yeast for Apple Wine
The yeast strain you choose shapes the flavor and sweetness of the finished wine. Some yeasts add fruity and floral notes, others ferment clean. Higher alcohol-tolerance yeasts ferment drier, so adjust your sugar accordingly:
- Lalvin ICV-D47 ~ My first pick for apple wine. Brings out fruity and floral notes that complement the apple character beautifully. Moderate fermenter, may start slowly. Tops out around 15% ABV.
- Lalvin QA23 ~ A clean-fermenting white wine yeast for a crisp, fruit-forward apple wine. Quick fermenter that helps the wine clarify faster. 16% alcohol tolerance.
- Red Star Premier Cuvée or Lalvin EC-1118 ~ Champagne yeasts with neutral flavor and 18% alcohol tolerance. Reliable and forgiving, but they ferment dry, so bump up the sugar to 1½ pounds if you want any residual sweetness.
One packet treats up to 5 gallons. For a 1-gallon batch, you can use about a quarter to half of the packet (the yeast multiplies quickly), but pitching the whole packet is fine too and produces a more vigorous primary fermentation. Never use bread yeast for wine, since it will give the finished wine a strong yeasty off-flavor and stalls out at low alcohol levels.
Equipment for Apple Wine
Apple wine uses the same basic winemaking equipment as any other small-batch country wine:
- One-gallon glass carboy with airlock for primary and secondary fermentation. You’ll want two carboys total so you can rack from one to the other after primary, but you can also reuse the same carboy by sanitizing it between rackings.
- Auto-siphon or racking cane for transferring wine without disturbing the sediment.
- Wine bottles, corks, and a bottle corker for bottling. As a shortcut, flip-top Grolsch bottles skip the corker step entirely and work well for shorter aging.
- No-rinse brewing sanitizer for cleaning all your equipment before you start. Sanitation is the difference between apple wine and apple cider vinegar, so this isn’t a step to skip.
If this is your first batch of homemade wine, the post on small-batch winemaking walks through every piece of equipment in detail and covers what to use as a substitute if you’re trying to keep startup costs down.
How to Make Apple Wine
The process is the same for any small-batch country wine. You combine the juice, sugar, and additives in a fermenter, pitch the yeast, and let primary fermentation run for a week to ten days. Then rack the wine off the sediment, let it ferment in secondary for a few months, and bottle.
Preparing the Juice
If you’re starting with a glass jug of juice, you can ferment right in the jug, which saves money on a separate carboy. Pour off about 1 quart of juice and reserve it for later (you’ll use 2 cups for dissolving the additives and save the other 2 cups to top off the carboy after racking).
If you want to sterilize the juice before pitching yeast, crush a Campden tablet per gallon and stir it in, then wait 24 hours before adding any other ingredients. Personally I skip the Campden tablet step since the wild yeast in fresh juice gets outcompeted by the commercial yeast strain anyway, but it’s a worthwhile safety step if you’re working with raw unpasteurized cider.
Mixing in the Additives
Pour 2 cups of the reserved juice into a small saucepan and warm it gently over low heat. Whisk in the sugar, yeast nutrient, acid blend, wine tannin, and pectic enzyme until everything is fully dissolved. Don’t bring the juice to a boil, since cooking drives off the bright apple aromatics. Once the additives are dissolved, turn off the heat and let the mixture cool to room temperature.
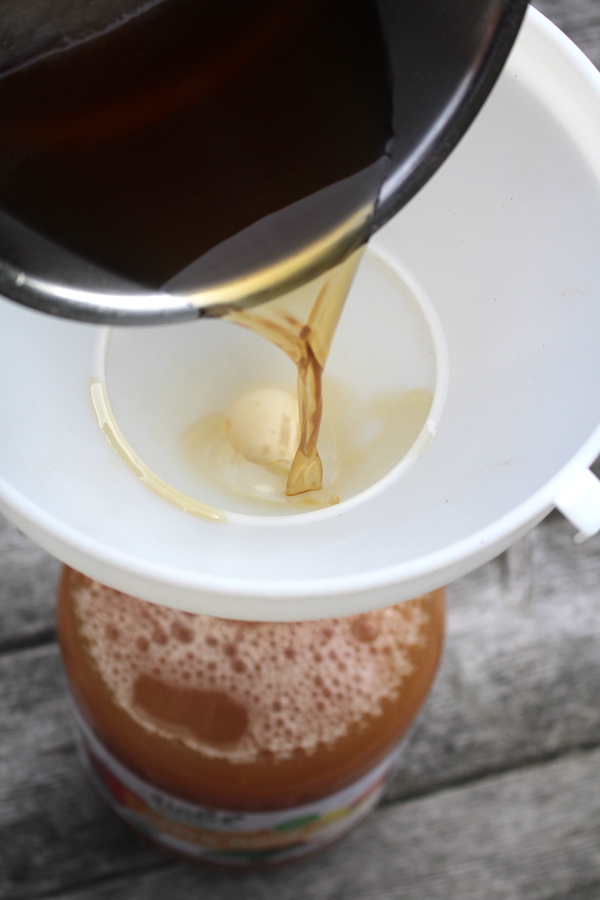
Pour the cooled additive mixture into the carboy with the rest of the apple juice and swirl gently to combine.
Pitching the Yeast
Rehydrate the wine yeast in about ¼ cup of unchlorinated room-temperature water for about 10 minutes. This step matters because dropping dry yeast directly into a sugary juice can shock the cells before they’ve had time to wake up. Once rehydrated, the yeast should look slightly foamy.
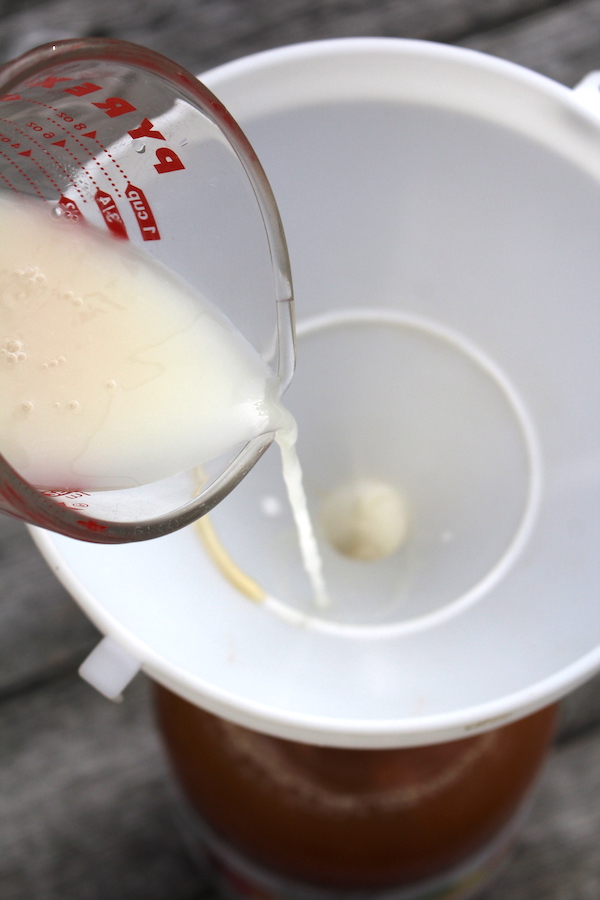
Pour the rehydrated yeast into the carboy and top up with the remaining reserved juice until the level reaches the base of the neck of the carboy, leaving 2 to 3 inches of headspace for active fermentation. Seal the carboy with a water lock filled with water.
Primary Fermentation
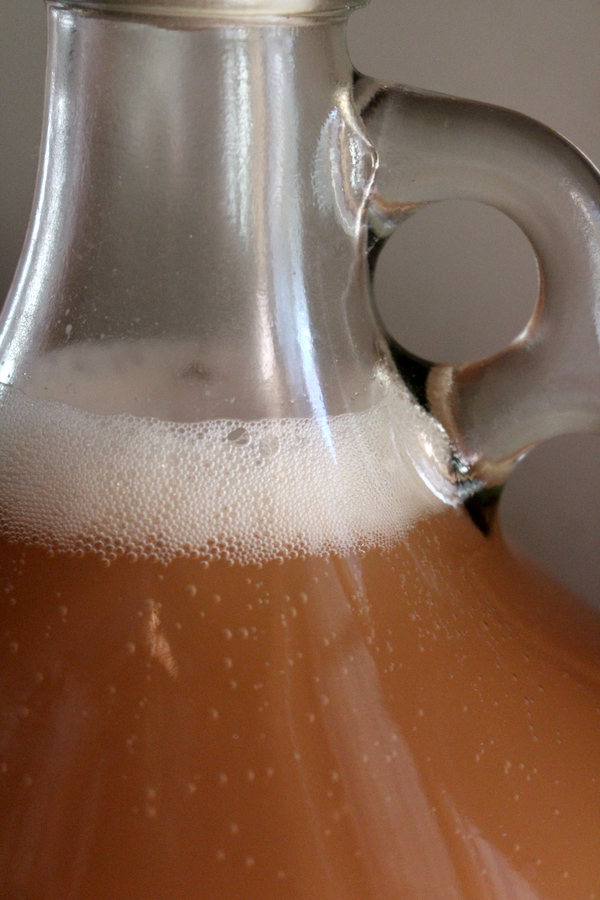
You should see active bubbling within 24 to 48 hours. Apple wine ferments steadily but rarely violently, so a standard airlock handles primary without trouble. Keep an eye on it the first few days, and if the bubbling pushes juice up into the airlock, just clean the airlock out, refill it with fresh water, and reattach.
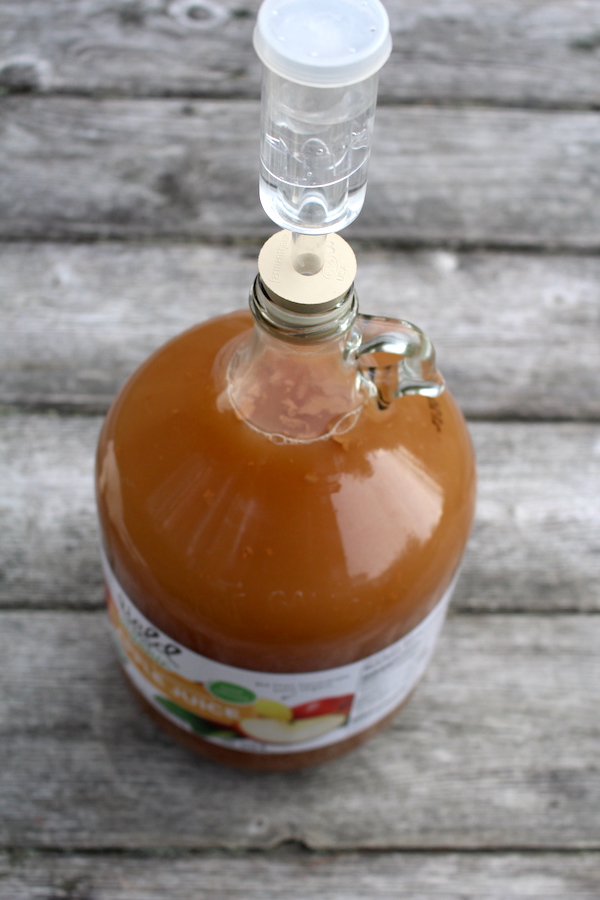
You’ll see chunks of pectin floating in the juice during the first few days. The pectic enzyme breaks down the pectin, which then settles to the bottom of the carboy as the wine ferments and clarifies. Let primary run for 7 to 10 days, until the active bubbling slows noticeably and a layer of sediment settles at the bottom.
Racking to Secondary
Use the auto-siphon to transfer the wine into a clean sanitized carboy, leaving the sediment behind. Stirring up the lees at this stage causes off-flavors in the finished wine, so move slowly and keep the siphon hose above the layer of fines at the bottom.
Top up the secondary vessel with fresh apple juice (or a neutral white wine, or unchlorinated water) until the level reaches the base of the neck. Reseal with the water lock and move the carboy to a cool, dark spot. Let it ferment in secondary for at least 6 weeks, ideally 4 to 6 months. Time in secondary is the difference between a young, harsh wine and a mellow, well-balanced one. Longer secondary produces a noticeably more complex finished wine.
Bottling and Aging
When fermentation has fully stopped (no more bubbling for at least a week or two), siphon the wine into clean wine bottles and cork or cap. If the wine is too dry for your taste at this point, you can backsweeten by stabilizing first with a Campden tablet and ½ teaspoon potassium sorbate, waiting 24 to 48 hours, then stirring in a simple syrup made from equal parts sugar and water. Start with about ½ cup of sugar per gallon and adjust to taste. Let the stabilized wine rest another week before bottling to make sure fermentation doesn’t restart.
Apple wine is drinkable after about a month in the bottle, but it improves significantly with longer aging. Six months produces a noticeably smoother and more complex wine, and a year is even better. Wine bottles with corks are best for long-term aging since they let the wine breathe slightly. Flip-top Grolsch bottles work well for shorter storage of a few months.
Tips for Making Apple Wine
- Read the juice label carefully. The single most common reason apple wine fails to ferment is preservatives in the juice. Avoid anything with sodium benzoate, potassium sorbate, or potassium benzoate. Pasteurized juice and juice with added ascorbic acid (vitamin C) are safe to ferment.
- Use brown sugar for warm apple notes. Substituting brown sugar for some or all of the cane sugar gives the finished wine warm caramel undertones and intensifies the apple character. The molasses in brown sugar produces apple-pie esters during fermentation, which is exactly what you want in a country apple wine.
- Add spices for fall character. A cinnamon stick, a vanilla bean, a piece of fresh ginger, or a few cloves added to the secondary turns this into a spiced apple wine for autumn drinking. Warm spices intensify during fermentation and can turn bitter, so start with smaller amounts than you think you need and taste as you go. Add the spices to secondary, not primary, so the flavor doesn’t blow off with the fermentation gases.
- Adjust acid based on your starting juice. Store-bought juice is usually low in acid, so the full teaspoon of acid blend is appropriate. Tart fresh-pressed cider from heritage apples may already have plenty of acidity, in which case you can cut the acid blend in half or skip it entirely. If you have a pH meter, aim for a starting pH of 3.4 to 3.6.
- Skip Campden tablets if you prefer no preservatives. Campden tablets and potassium sorbate make the finished wine more predictable but add sulfites and chemical stabilizers. I personally don’t use either, since I want to keep my homemade goods preservative-free. The tradeoff is slightly less control over the final sweetness and a small chance of bottle re-fermentation if you backsweeten without stabilizing.
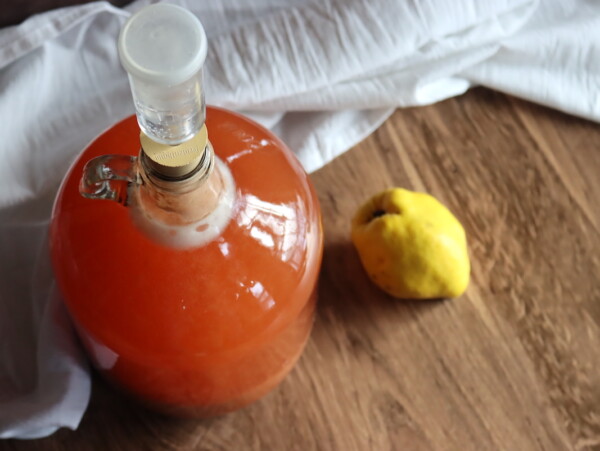
- Add other autumn fruits. A handful of cranberries, a few sliced quinces, or some aronia berries in the primary turns plain apple wine into something more complex. Cranberries add tart brightness, quince adds floral perfume, aronia adds deep color and tannin.
- Age longer than you think. Apple wine at 1 month is good, at 6 months it’s better, and at a year it’s beautifully mellow. Bottle a few extra so you can taste the same batch over time and watch how it develops.
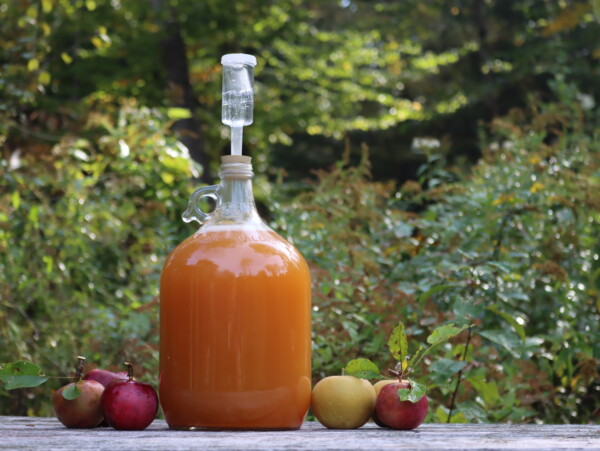
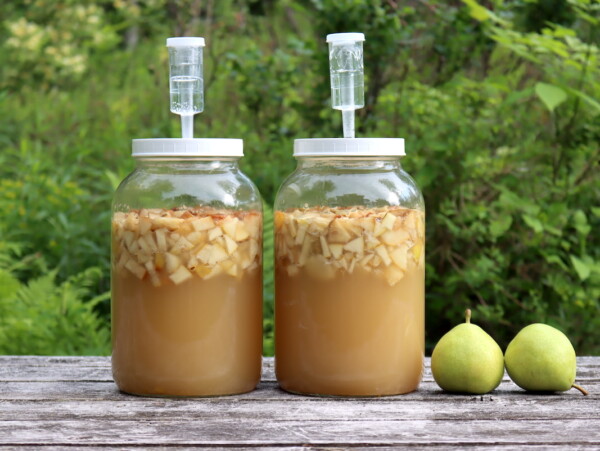
- Try other apple ferments. If you enjoy apple wine, the same orchard harvest can become cyser (apple mead), hard cider, pear cider, or apple cider vinegar. Pear wine uses essentially this same recipe with pear juice in place of apple juice.
Frequently Asked Questions
Yes, store-bought apple juice works perfectly for apple wine, as long as it does not contain preservatives. Avoid any juice that lists sodium benzoate, potassium sorbate, or potassium benzoate, since those preservatives will inhibit your yeast and prevent fermentation. Pasteurized juice and juice with added ascorbic acid (vitamin C) are safe to ferment. Organic apple juice from the grocery store is usually a safe bet, but always read the label.
Apple wine is fermented apple juice with added sugar, acid blend, tannin, and other winemaking additives that produce a balanced, full-bodied wine. Hard cider is just fermented apple juice with no added ingredients, and it depends entirely on the quality and variety of the apples for its flavor. Apple wine is sweeter and fuller-bodied, while hard cider is drier and lighter. Apple wine is also far more forgiving for beginners, since you can make it from any preservative-free apple juice without needing specialty cider apples.
Lalvin ICV-D47 is a good first pick for apple wine. It enhances the fruity and floral character of the apples, ferments cleanly, and tops out around 15 percent alcohol, which leaves enough residual sweetness for a balanced finish. Lalvin QA23 is a clean-fermenting alternative for a crisper, slightly drier finish. Champagne yeasts like Red Star Premier Cuvee or Lalvin EC-1118 work well too, but they ferment dry, so increase the sugar to 1½ pounds per gallon if you want any residual sweetness.
Yes, this same recipe works beautifully with pear juice. Pears have more natural unfermentable sugar than apples, so the finished wine ends up sweeter than apple wine would, but it is delicious. There is also a separate pear wine recipe on the site that uses fresh pears instead of pear juice, which produces a different but equally good country wine. Other juices that work with this recipe include white grape juice and cranberry-apple blends, as long as they contain no preservatives.
Plan on at least 3 to 4 months from start to first taste. The recipe calls for 7 to 10 days in primary fermentation, at least 6 weeks in secondary (4 to 6 months is better), and at least one month of bottle aging. Apple wine improves with age, so the longer you can hold off, the better. A full year of bottle aging produces a noticeably smoother and more complex wine than the 1-month minimum.
Country Winemaking Recipes
If you tried this Apple Wine recipe, or any other recipe on Practical Self Reliance, leave a ⭐ star rating and let me know what you think in the 📝 comments below!
And make sure you stay in touch with me by following on social media!
Apple Wine
Equipment
Ingredients
- 1- gallon apple juice, see note
- 1 lb Sugar, about 2 cups
- 1 tsp yeast nutrient
- 1 tsp acid blend
- 1/2 tsp Pectic Enzyme
- 1/4 tsp tannin powder
- wine yeast, see note
- Optional ~ Campden Tablet and Potassium Sorbate for Stabilizing, I do not use these
Instructions
- Start by removing about 1 quart (4 cups) of juice from the gallon, then pour the remaining 3 quarts into your fermentation vessel.
- Take 2 cups of the juice you removed and place it in a small saucepan, setting aside the other 2 cups for later use. Gently warm the juice in the saucepan over low heat.
- Once warm, add all the other ingredients (except the yeast) to the saucepan and stir until everything dissolves completely. Turn off the heat and allow the mixture to cool to room temperature.
- When the juice mixture has cooled, pour it into the fermentation vessel with the rest of the apple juice.
- In a small container, dissolve the winemaking yeast in about 1/4 cup of unchlorinated water. You’ll only need 1/5 to 1/2 of the yeast packet for this batch, so set aside the rest. Let the yeast sit for about 10 minutes to rehydrate.
- Once the yeast has hydrated, add it to the fermentation vessel with the apple juice mixture.
- Top off the fermentation vessel with the remaining apple juice you set aside earlier, filling it until the juice reaches the base of the neck. Be sure to leave 2-3 inches of headspace to allow for bubbling during fermentation.
- Cap the vessel with a rubber bung and attach a water lock filled with water. Place the fermentation vessel in a cool, dark area and allow it to ferment for 7 to 10 days. You should see active bubbling. If the bubbling pushes juice into the water lock, clean it out and reattach the lock as needed.
- After primary fermentation, use a brewing siphon to transfer the wine into a clean vessel, leaving behind any sediment.
- Re-seal the new vessel with a water lock and let it continue fermenting in a cool, dark place for at least 6 weeks, though it’s better to allow it to ferment for several months, up to 6 months, for a smoother taste.
- Once fermentation has fully finished, carefully bottle the apple wine in clean wine bottles. Store the bottles in a cool, dark place and let them age for at least one month. The wine will improve with age, and if you prefer a sweeter wine, you may need to back-sweeten it at this point (see notes for back-sweetening instructions).
Notes
Nutrition
Nutrition information is automatically calculated, so should only be used as an approximation.
Ways to Preserve Apples
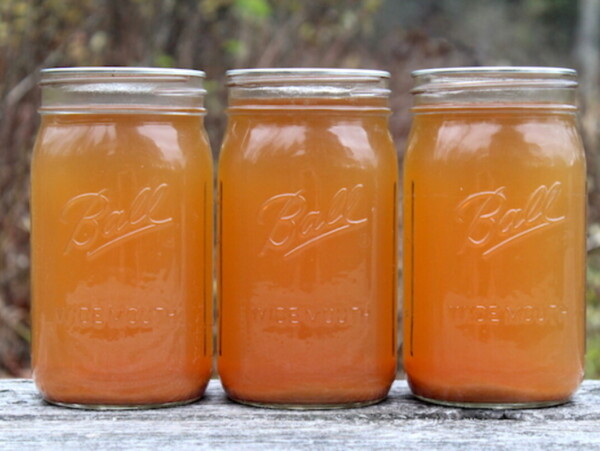
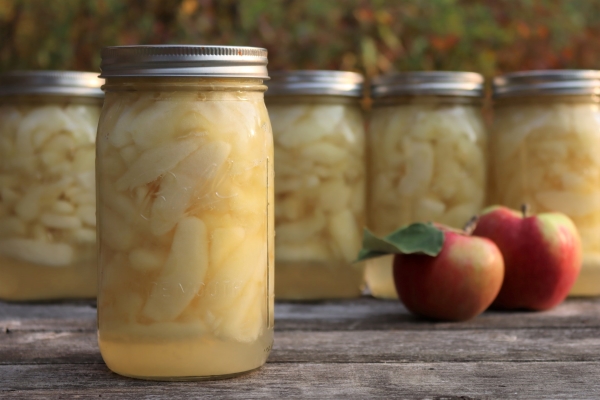
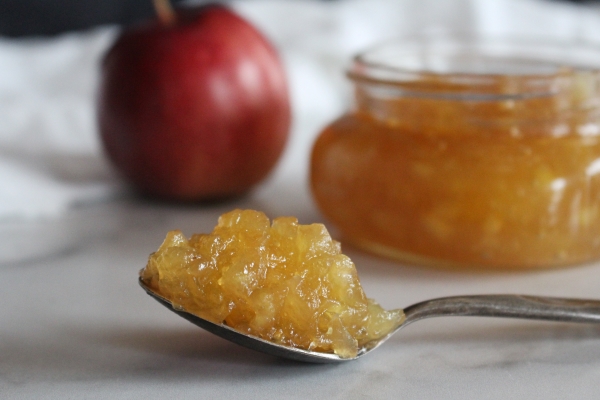
Once your carboy is bubbling away, you have a long wait before the first taste. To fill the time, browse more homemade winemaking recipes or try a faster apple preservation project from the 30+ ways to preserve apples roundup. The apple canning recipes on Creative Canning include reader favorites like canning apple cider and apple jam, both of which are ready to enjoy in a fraction of the time apple wine takes to age.
Find the perfect recipe
Searching for something else? Enter keywords to find the perfect recipe!









Hi, I noted in your commentary a suggestion of molasses to give a “caramel flavor”. How much molasses, do you reduce the amount of cane or brown sugar, and does this change the fermentation process?
If you want that, I’d suggest just using brown sugar in place of cane sugar in the recipe. That has just a bit of molasses, enough to give good flavor there without overwhelming.
I was looking to use this recipe as a mead. If you were to add molasses for a caramel flavor since there wouldn’t be any brown sugar, would you leave out yeast nutrient or still add the normal amount?
Also, how much is too much molasses? I was thinking maybe a teaspoon per gallon, but didn’t know if it would lead to a bitter taste if I add too much.
The molasses may have enough nutrient in it that you wouldn’t have to use the yeast nutrient. I would start off with just a small amount for flavor and then test it out.
I decided to make this for a Christmas gift and ordered everything last night but not I realize I’m a little short on time. You said secondary fermentation needed to be 6 weeks min and 7 days for primary. Do you think there is any way to speed this up? Like would it be ok after 2 1/2 weeks in secondary to move it to the wine bottles and let it finish in the bottles? Just tell everyone to wait a couple months before drinking?
If you allow it to finish fermenting in the bottles. You could have an issue with pressure building up inside the bottles.
I bottled my apple pear wine to early last year & all the bottles exploded. What a mess I had!
Oh no. I’m so sorry that happened.
I have been making apple (and other) wines for years, and one thing that really bugged the frugal (i.e., cheap) side of me was throwing the apple must into the compost bin, or just letting the chickens have it (nothing wrong with these options, but I wanted a more direct route to my stomach for recycling this stuff!). Then one day I had an eptithany..epiffany,… I had a great idea. I searched on line for an apple cake recipe and found one for German apple cake. It called for fresh apples but I figured the apple must would be just as good right? Oh yeah, it was great! Now, for my wine I always core the apples, don’t want the seed in there, and after removing bad spots, worms etc,, then I grate them in a food processor. After fermenting, the must is in a excellent state for incorporation into the cake batter; however, if you don’t peel your apples you might end up with the odd piece of apple skin. But hey, a small inconvenience as far as I’m concerned. So every year, I bag up the must and use it to make delicious German Apple Cake. The recipe I use I found at Allrecipies; it calls for 4 cups of peeled skinned and diced apples, I substitute 2 cups of must.
PS I now have 5 gallons of beet in in primary fermenters, I’m going to try making borscht soup with that must!
What a great way to use up that must. Thanks so much for sharing.
My recipe:
64oz bottle of juice with just over 9oz poured off.
1 1/2 cups of white sugar
1 tsp of Fleischmann’s bread yeast
I brew right in the juice bottles by leaving the cap just loose enough so I can squeeze air out or so I can wiggle the cap up and down just slightly. Too tight and it goes Kaboom. It’s constantly off-gassing and even if it did go to a vacuum, it would just pull the cap down and self seal so there’s no concern for contamination with wild yeast etc.
A batch for me is 6 bottles of juice plus one clean, empty bottle that I fill with what’s poured off of the full ones.
I have no way to measure exact so I estimate the little over 9 fl oz(9.143) poured off and it’s close enough.
9.143 x 7 = 64.001 and my 6 full plus 1 empty is 7 bottles total.
64 – 9.143 = 54.857 (9.143 fl oz poured off of each of the 6 bottles leaving 54.857 fl oz in the new bottles)
6 x 9.143 = 54.858 (9.143 fl oz poured into empty from 6 full bottles gives you 54.858 fl oz in the empty)
Taste will vary by apple juice brand. Welch’s was really bad(to me). The very cheapest no-name brands from discount grocery chains like Aldi, shop & save etc seem to work best, at least for me. Taste is different for everyone. I’m currently testing Old Orchard brand from Menard’s because I had a rebate to spend. Looks about the right color for what I like as far as taste. Also have Tipton Grove from Save-a-lot but it says concentrate from Moldova/China which doesn’t thrill me. Looks a little dull in color too. ALdi didn’t have any apple juice when I went so I haven’t tried that one yet
Works out to about 1/10 of the price of Natural Light beer, based on ABV. I don’t think there is a cheaper buzz.
Alternate batch is three 64 fl oz bottles and what’s poured off is just right to fill a 750 ml wine/liquor bottle. Feeling the looseness of the cap on the 750 ml bottle is a little trickier. I do 1/2 tsp of yeast and just over 1/2 c of sugar.
Head space ends up being about half way up the tapered top of the juice bottles and 2 inches down on the neck of the 750 ml bottles.
I use old 750 ml brandy bottles to rack wine into for the fridge where it cold crashes. I try to brew for 2 weeks but might hit first bottle in 10 days of I’m all out of wine. With this second recipe, that would be the 750 ml bottle. With the top recipe, I would pour off just under 2 1/2 – 750 ml bottles worth and drink the slightly less than half bottle that night. All go in the fridge to cold crash aka stop the brewing process.
64 oz = 1890 ml / 750 ml = 2.52 but you can’t pour it all off because there’s sludge at the bottom so I get about 2 1/3 – 750 ml bottles in reality.
I rack one 64 fl oz bottle at a time so the last bottle might brew for a month which is fine.
Two things I want to get: A lab beaker with straight sides so I can mark off 270 ml exactly. (9.143 fl oz = 270 ml) and a siphon unit for racking as it’s hard to pour off and not get any sludge.
Some 250 ml beakers have 10ml markings but 250 is less than 270 so I’d have to pour off 100 ml and then 170 ml. The 500 ml beakers don’t have 10 ml markings but it would be easy enough to measure and mark 270 with a straight sided beaker.
Can these wines be stored in jars instead of bottles with corks? I realize that metal is probably not good
for them, so if I lined the metal plates with something would that work?? I have TONS of canning jars that
I would love to use. Do the corks let the wine breath a bit?
Mason jars should work just fine. I have seen tips to cover the jar with waxed paper prior to putting the lid on. You could try that if you want but it’s probably not necessary.
Great instructions from start to finish! My wine turned out amazing!
I’m thinking of making this and using brown sugar instead of white and I was wondering when/if I need to backsweeten should I stick with brown sugar to do that or go with white at that time? I’m going to just do a one gallon batch because I would like to add some cinnamon sticks during secondary which I’ve never done so I don’t want to risk that on a bigger batch and ruin it.
To back sweeten you can use either white or brown sugar, either is fine. Brown sugar will obviously give it a different taste, but I think it’d be delicious.
I’m steam juicing 25 pounds of crabapples. I plan to use it to make wine. Will making the juice this way alter the recipe?
Nope, that should be totally fine.
So I made this using store bought apple juice, the raisins, and the black tea. Left it in secondary ferment for 7 months. Just bottled it and it smells like a port. It’s quite dark. I think it will be quite yummy but I am not sure what I did to it to make it so different…
Raisins can sometimes really contribute darker flavors to a wine, though I can’t say I’ve had anything come out like a port. Yeast nutrient is definitely a lot cleaner in flavor, but if you’re avoiding that for any reason try using golden raisins (sultanas) which have a lighter flavor profile.
I have read that crabapples are high in acid and tannins. I have a very productive crabapple tree, and I’m wondering how difficult it would be to substitute crabapples in an apple wine? Would that bee too advanced for a first-timer?
I’d try it and just skip adding the wine tannin to the recipe. Natural tannin is nice, and hard to find in modern apples, I bet it’ll make a really unique wine. Good luck!
Thanks for this.
I am trying a batch with 1/2 gallon of peach juice and there are about two tablespoons of precipitate floating at the top.
It is finished fermenting after 17 days and I filtered it and bottled today, and will let it condition for awhile.
Should i be concerned about the precipitate, there were no off-smells, and the rest of the liquid was clear?
No, floating stuff is totally normal and fine. Just scoop it off so it doesn’t mold from being above the water line, but beyond that, it’s not an issue.
Thank you for that.
I am still alive to tell the tale, I filtered it and as it aged it got better and better.
After about 3-4 weeks it was quite nice (I just made sure to open the cap to relieve the pressure once a day).
What would happen if I threw a cinnamon stick or two in with primary?
Sounds like a good idea. Cinnamon can get bitter/intense if left in too long, but in for just the primary seems like it’d give it flavor without being overwhelming.
You reference apple juice, but I’m wondering if apple cider will work as well.
You can make it with either cider or juice.
I don’t have any yeast nutrients can I use the raisins in this as we did in the peach wine
You sure can.
What is your original gravity for apfelwein?
I’ve currently got a 5G batch of hard cider/juice from my own apples percolating that started at 1.030 that I upped to 1.034 with a few C of morena sugar. I’ve still got a zillion apples and am currently juicing more to get enough to make an actual apple wine. I don’t want to use cane or corn [or other] sugar to get a high enough gravity to make a decent wine from, so I’m juicing these skins on in a steamer and simmering off the water until I get more SG. So what did yours start at?
Excellent recipe 👍 I just made with fresh squeezed apple juice. Used lalvin 1118 yeast and goferm protect with fermaid o nutrient. Wow those yeast were happy. I could of let it sit longer. I drank after 2 months. My next batch; I plan to leave for 6 months. I just got some fresh squeezed honey crisp apple juice. Thanks for starting me on making homemade 🍷
Awesome! I’m so glad you liked it!
I started making wine about a week ago, now my wine smells rotten. what is wrong?
Can you walk me through the process of exactly what you did? How long has the wine been fermenting and what kind of activity do you have? It definitely shouldn’t smell rotten but we can try and help you figure out what happened.
I tossed it out. I started a new batch yesterday. then I put the acid blend in with the campden tablets. will it be ok? Should I just contue?
If you started a new batch and followed the instructions then it should be fine. Let us know how it’s going.
The new batch is great! I also started a banana raspberry wine, it tastes so good!
Sounds yummy.
Hello Ashley,
I noticed you mentioned the ‘lees’ producing off flavours in primary fermentation. I’ve racked my wine into my secondary fermentation vessel….its been a week and wine is clearing nicely but I’ve noticed residue building up again at the bottom of my vessel. Will that produce off flavours? Is it necessary to rack it again during the 6 months?
Many thanks in advance,
Abigail
If you rack it further, it’ll just clarify further. Some people rack it every few weeks until it’s crystal clear, and that’s one option depending on your preferences (and how much you want to fuss with it). I’ve found that after primary the lees don’t really impact flavor if a small amount is in there through secondary, and I’m not too fussy about clarity so long as the wine is tasty. But yes, racking it every month or two during secondary should in theory improve quality at least marginally (assuming everything’s clean, and you don’t accidentally introduce contaminants/vinegar/etc).
Thank you so much Ashley. That’s really helpful to know. Just one more question….I’ve got a batch of strawberry and apple wine on the go. I noticed that the apple is in secondary for 6 months whereas the strawberry only 6 weeks before bottling….is there reason for that? Will the strawberry improve if I leave it as long as the apple?
Thank you for addressing my questions,
All the best
Abigail
So the length of the secondary is pretty flexible. Strawberry is pretty darn good fresh, but yes, it’ll change and mature if you give it more time. For just about any wine, a secondary that lasts at least 4-6 weeks is the minimum. Beyond that, you can leave it to mature for 6 months to a year, for the most part, regardless of fruit variety. It’s really up to your preference. Some wines really improve with age in secondary, others only improve marginally. Generally, the more complex a wine is, the longer it needs to mellow. Things like strawberries are pretty bright, fresh and simple so they finish quick. Other things like damson plums need a year or so, because they’re pretty intense. Everything else is somewhere in the middle.
Thank you very much Ashley, thanks for sharing all your knowledge! Can’t wait until the end result!
Kind regards
Abigail
You’re welcome!
Hi there! Loved your recipe and followed it step by step. I just passed the six week mark and I’m wondering, how long should I wait to rack the wine after adding the stabilizer?
Thank you!
Hi after I rack into my secondary fermentation vessel, should I add some more apple juice to reduce the head space? Will this dilute the final alcohol %.
Thank you
Jill
Yes, you can add apple juice to the secondary to reduce headspace. It won’t substantially dilute your alcohol content, since really you shouldn’t need to add too much to top it off. Another thing people do to adjust the headspace here is add finished wine. Ideally, a past batch of apple wine, or some finished hard cider, or even a very neutral white wine.
Lacking either of those options, water or sugar water also work. Or some people also opt to just leave the headspace. All are options.
Just a question: is there a way to ensure the finished product is not dry and much sweeter? I’d rather not have to use the campden tablets and potassium sorbate as well, but would prefer a sweeter wine. How can I do this without using those products?
Yes. Start by using a low alcohol tolerance wine yeast, so that they’ll die out on their own when you hit 15 or 16%. Then back sweeten after secondary, and rack the wine into a new container. Allow it to sit in this tertiary ferment for several months (or at least a month) so that you’re sure it’s completely done fermenting and all the yeasts have died out. If you want to be 100% sure, you can rack it yet again after that and let it sit for another month before bottling (taste it at this point, and make sure it’s sweet enough for your taste).
With this strategy, you’re allowing the yeasts to die in their own alcohol, which results in pretty strong wine, but it’s naturally stabilized. At that point, you can add as much dissolved sugar as you’d like to reach your desired level of sweetness.