Affiliate disclosure: This post may contain affiliate links. Please see our Privacy Policy.
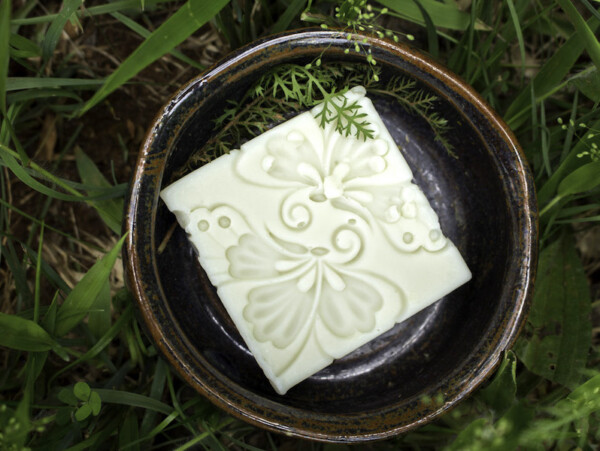
Cold process soap made from scratch produces a gentle, nourishing bar that feels noticeably different from anything you can buy at the store, and once you understand the basic technique, you will find yourself experimenting with new oils and additives for years to come.
This beginner recipe uses just three common oils and requires no fragrance, colorants, or complicated swirl techniques, making it the perfect place to start your soapmaking journey.
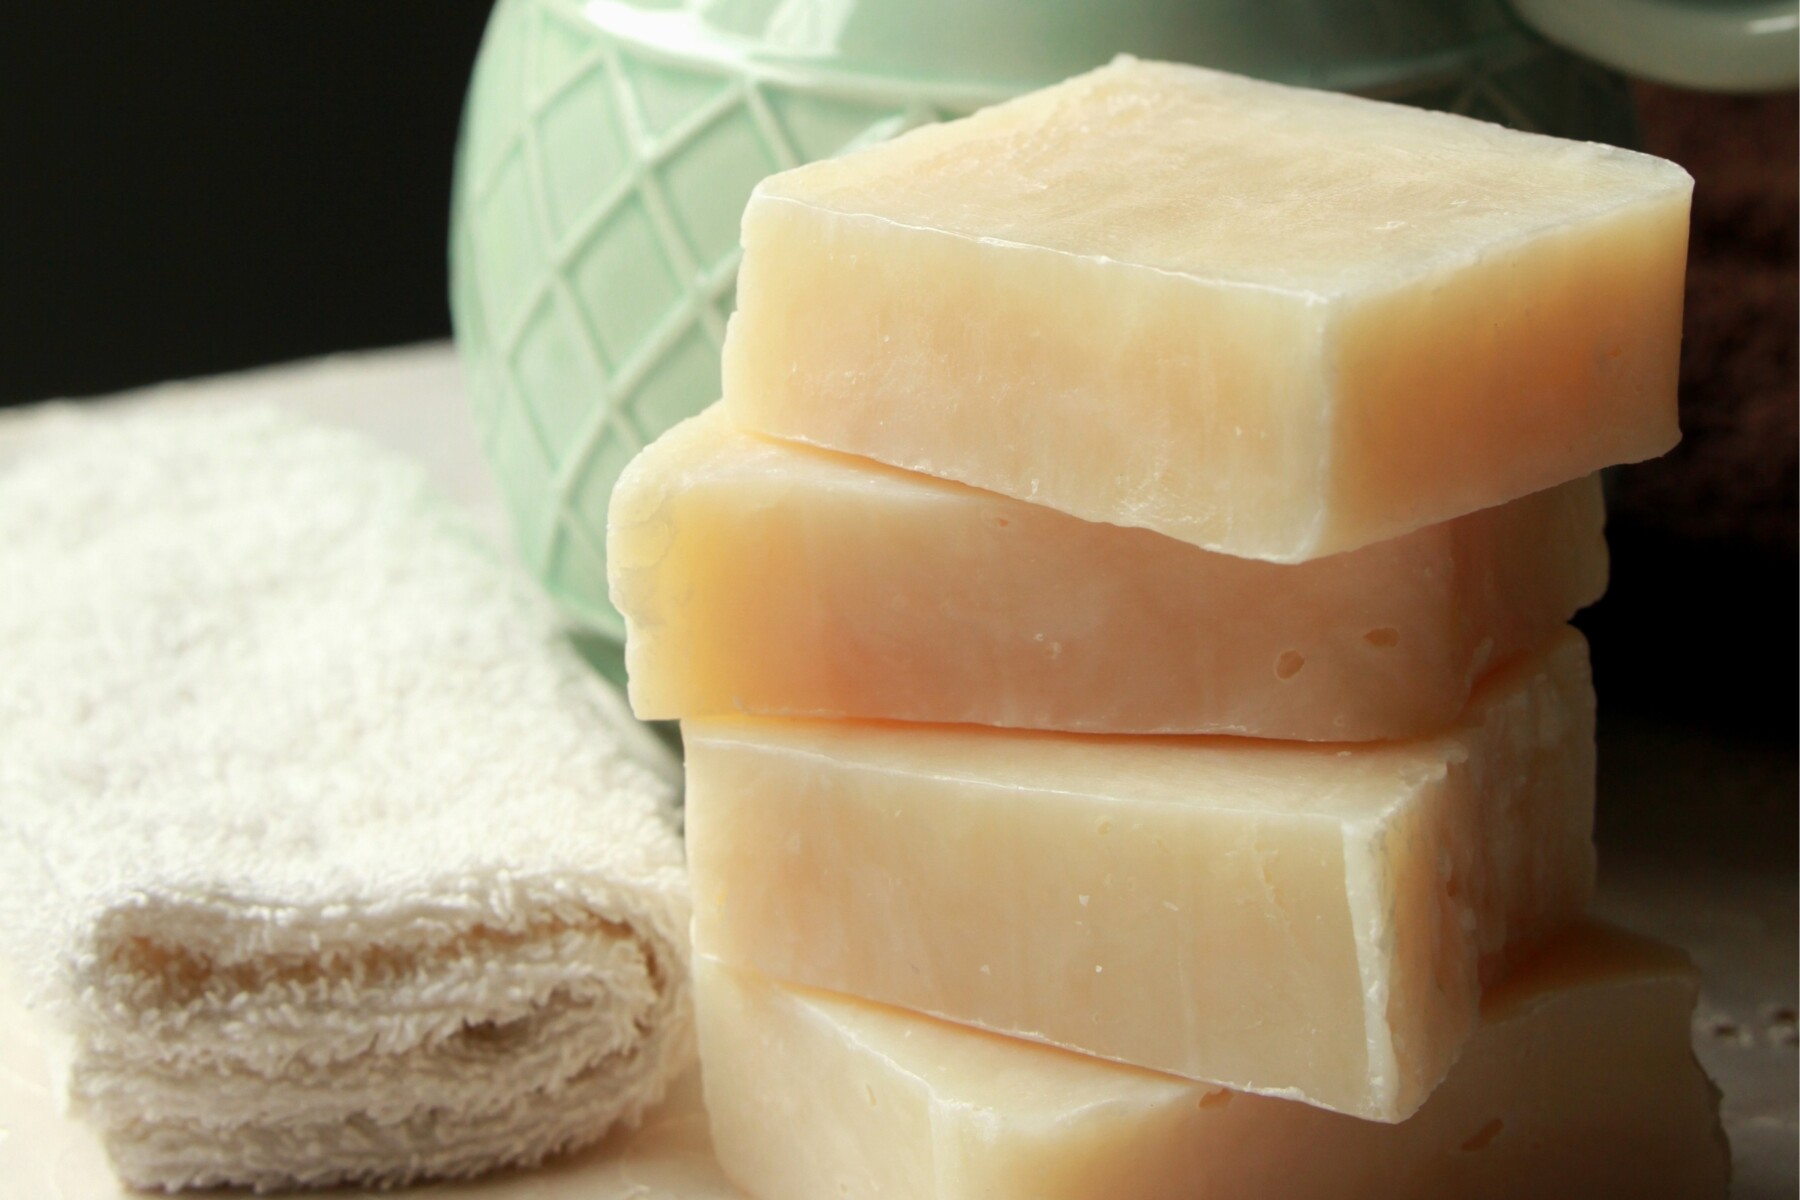
Table of Contents
- Notes from My Kitchen
- Ingredients for Cold Process Soap
- Palm Oil Alternatives
- Equipment for Soapmaking
- Lye Safety
- How to Make Cold Process Soap
- Unmolding and Cutting
- Curing Your Soap
- Storing Handmade Soap
- Troubleshooting Common Problems
- Recipe Tips
- Next Steps for Beginner Soapmakers
- Cold Process Soap FAQs
- Soapmaking Guides
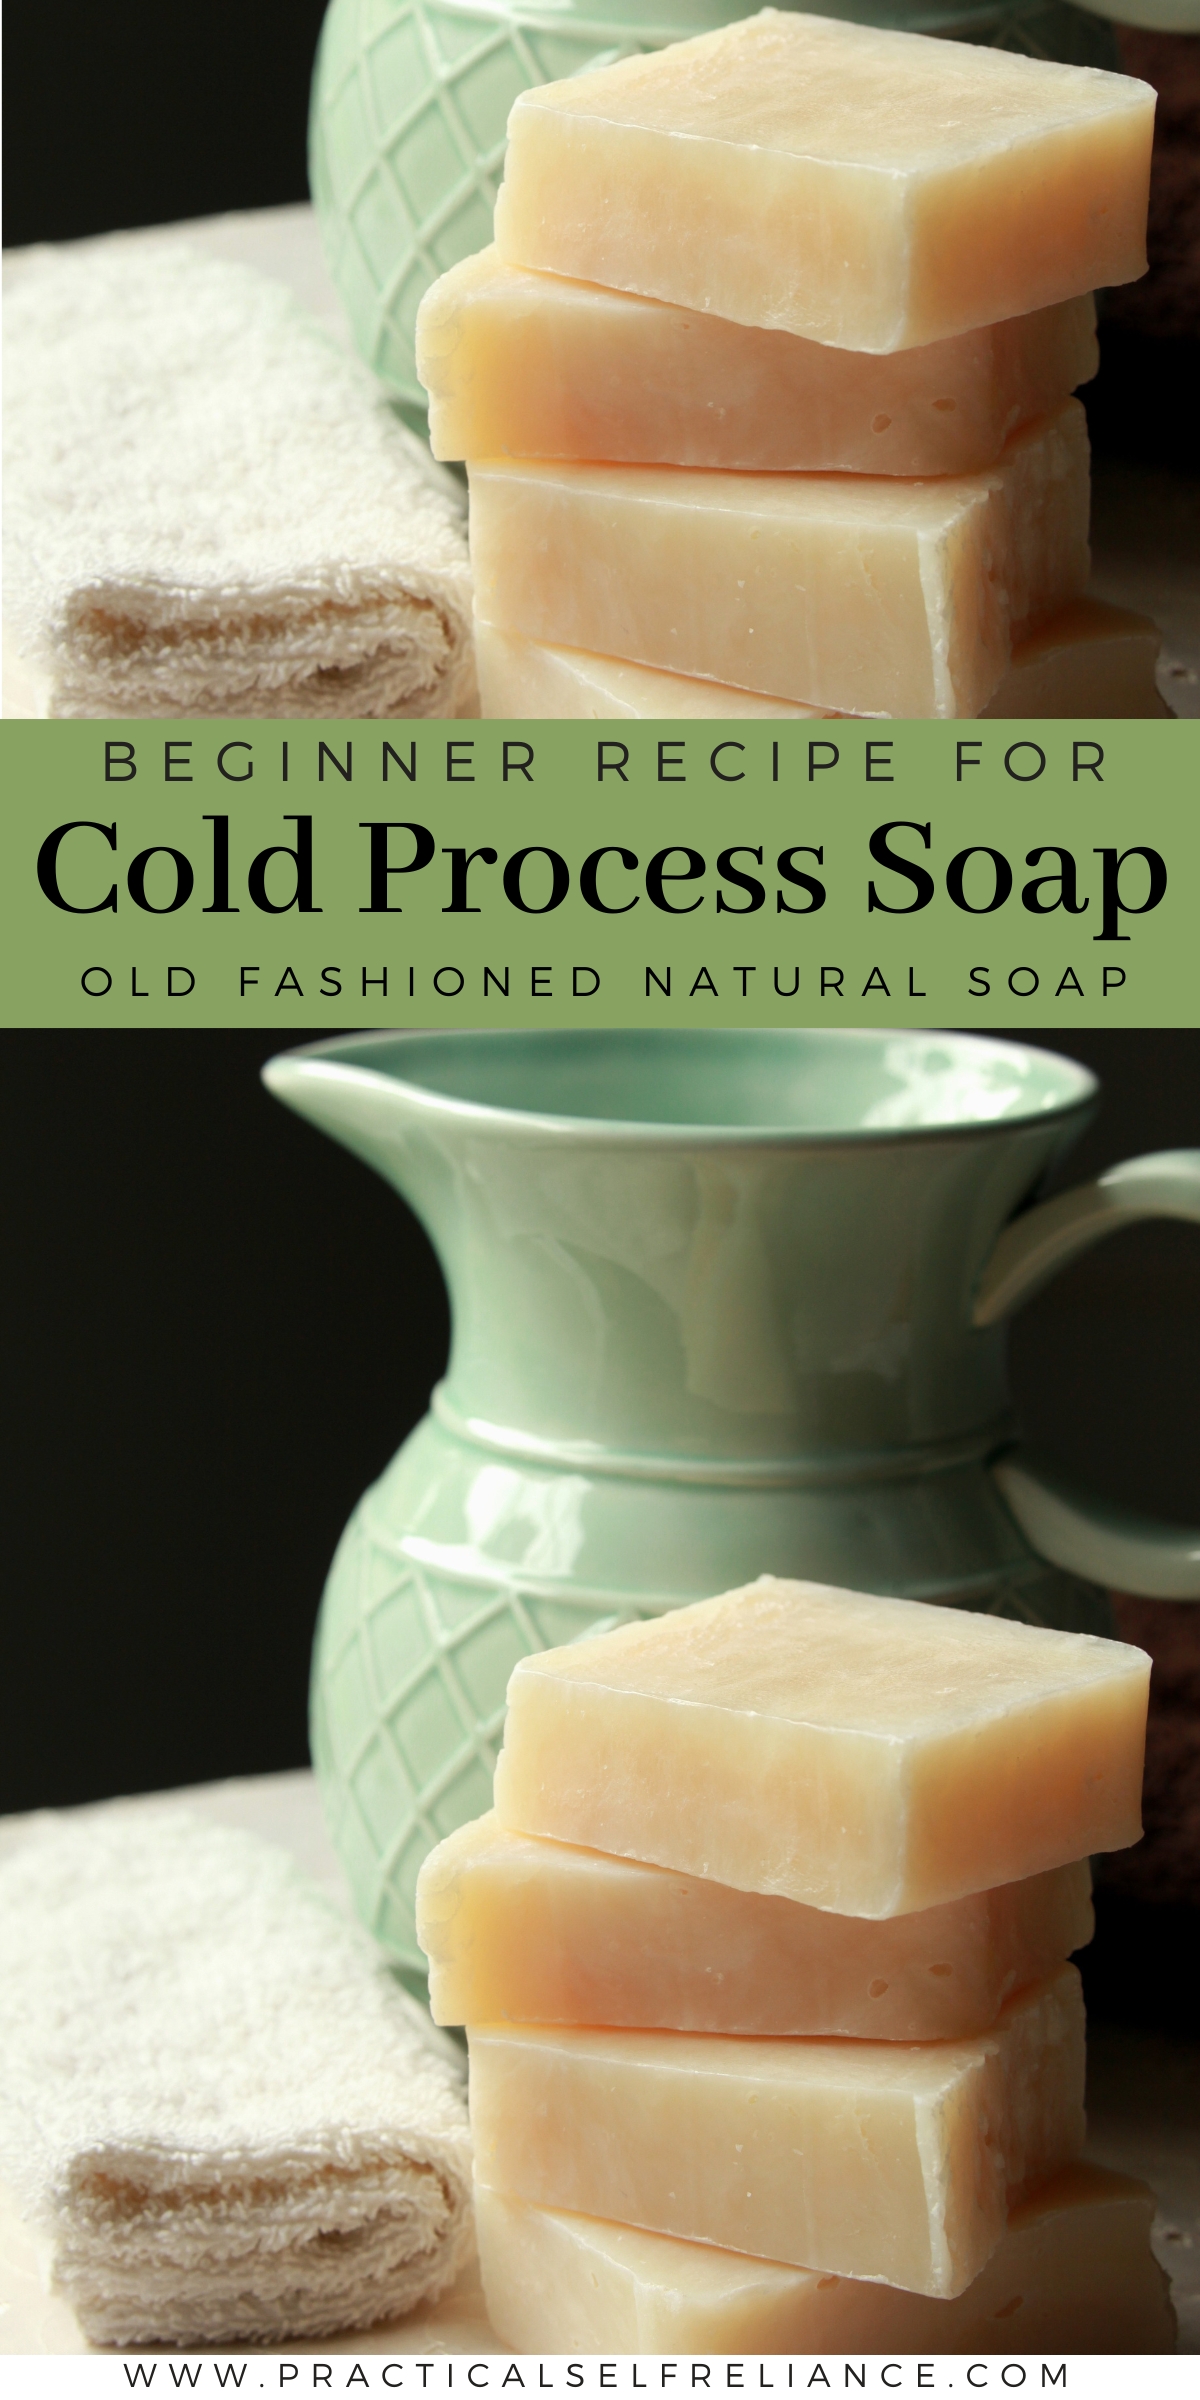
- Beginner’s Cold Process Soap Recipe
- More DIY Projects
When I first started making soap, I wanted to jump straight into rainbow swirls and fancy essential oil blends that I had seen all over Pinterest. That enthusiasm led to a few batches that seized up in the pot, a couple that never hardened properly, and one memorable disaster that had to go straight into the trash. Looking back, I wish someone had encouraged me to slow down and master a simple recipe first before adding complexity.
This three-oil recipe has become my go-to recommendation for anyone new to soapmaking because it is forgiving, affordable, and produces a beautifully balanced bar.
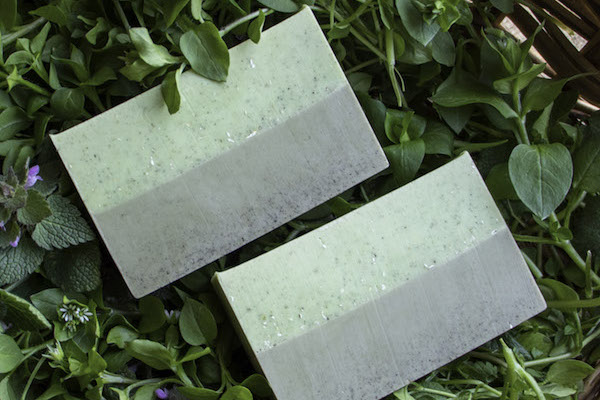
The combination of coconut oil, olive oil, and palm oil creates soap that lathers well, feels moisturizing on your skin, and hardens into a long-lasting bar. Once you have made this recipe a few times and understand how the oils behave at trace, you will have the confidence to start experimenting and creating unique soaps like my recipe for goats milk and honey soap or natural tallow soap, with natural additives like in my herbal yarrow and witch hazel soap.
Notes from My Kitchen

I have been making cold process soap for over a decade now, and I still come back to this basic recipe when I want a reliable, no-fuss batch. The higher proportion of olive oil in this formula makes it gentler than many beginner recipes you will find online, and the 5% superfat ensures your skin never feels stripped or tight after washing. My whole family uses this soap daily, and we have found it works well for everyone from my husband with his dry winter skin to my kids who just need something that actually gets them clean after a day of playing outside.
The biggest tip I can give you is to be patient with trace. This recipe moves slowly because of all that olive oil, so do not panic if your soap batter seems thin for longer than you expected. Keep pulsing with your stick blender, and it will thicken up. Also, resist the urge to unmold too early. Give it the full three to four days, and your bars will release cleanly without denting or crumbling.
If you are completely new to soapmaking and feeling a bit overwhelmed by terms like “trace” and “saponification,” I would strongly recommend reading my beginner’s guide to soap making before you start. That article covers the science behind how soap works, walks you through the entire process with photos, and answers the questions most new soapmakers have. Consider it your soapmaking orientation course.
I also have a roundup of 20+ easy soap making recipes for beginners if you want to see what other options are out there once you have mastered this basic formula.
Ingredients for Cold Process Soap
This recipe keeps things simple with just three oils plus lye and water. While a common beginner ratio uses equal parts of each oil, this recipe uses a higher proportion of olive oil (44%) and less coconut oil (24%) for a gentler bar that will not dry out your skin. Each oil contributes specific properties to the finished soap:
- Coconut Oil: This tropical oil provides strong cleansing power and creates the rich, fluffy lather that makes handmade soap so satisfying to use. It also helps harden the bar so your soap lasts longer in the shower. Because coconut oil can be drying in large amounts, this recipe keeps it at 24% and balances it with more moisturizing oils.
- Olive Oil: The star of this recipe at 44%, olive oil creates a mild, creamy lather that feels luxurious on your skin. It is particularly gentle for sensitive or dry skin types and gives the soap a smooth, almost lotion-like quality. Olive oil also slows down trace, giving beginners more time to work with the soap batter.
- Palm Oil: Added for hardness and longevity, palm oil helps your soap bars hold their shape and last longer without getting soft and mushy in the soap dish. It creates a stable, creamy lather and balances the cleansing power of coconut oil. If you’re avoiding palm oil, you can substitute tallow or lard in place of palm oil for the same characteristics in this recipe, but as always, run any changes through a soap calculator to be sure.
- Lye (Sodium Hydroxide): The essential ingredient that transforms oils into soap through saponification. You cannot make true soap without lye, but do not worry because when the chemical reaction is complete, no lye remains in the finished bar. I buy my lye from hardware stores or online, and I cover lye safety in detail below.
- Distilled Water: Used to dissolve the lye before mixing with oils. Always use distilled water rather than tap water because minerals in tap water can affect the saponification process and leave deposits in your soap.
This recipe has a 5% superfat, which means 5% of the oils remain unsaponified in the finished soap. That extra oil is what makes handmade soap feel so much more moisturizing than commercial bars, which typically have no superfat at all (and often have the natural glycerin removed and sold separately).
Palm Oil Alternatives
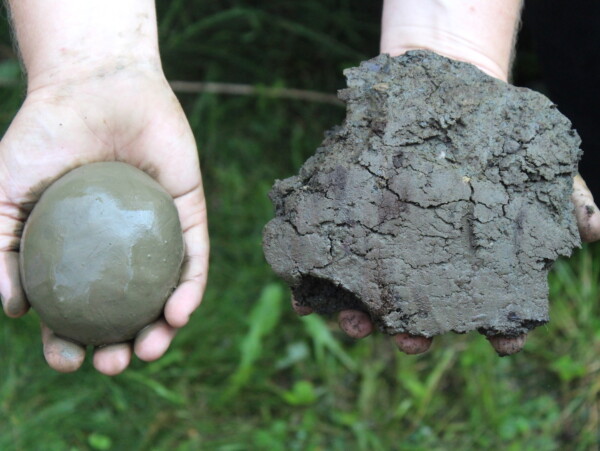
Soaps were originally made with animal fats like beef tallow or pork lard to create a hard, long-lasting bar. Palm oil became popular as a vegan alternative, but it has had devastating environmental consequences in producing countries, including deforestation and habitat destruction. If you prefer to avoid palm oil, you have several good options that work beautifully in this recipe:
- Lard: Rendered pork fat creates a wonderfully creamy, smooth lather and produces a hard bar that lasts well. Lard is rich in oleic acid (the same fatty acid that makes olive oil so moisturizing) and is often more affordable than palm oil. If you render your own lard from pastured pigs, you know exactly where it came from.
- Tallow: Beef tallow creates an exceptionally firm bar with a stable, creamy lather. Contrary to what you might expect, tallow soap is incredibly gentle and conditioning on the skin. I actually prefer tallow to palm oil for most of my recipes now because it balances the cleansing power of coconut oil so well, leaving skin clean but never stripped.
- Shea Butter: For a vegan palm-free option, shea butter provides excellent moisturizing properties and creates a rich, creamy lather. It produces a slightly softer bar than palm oil, but the skin-nourishing benefits are worth it. Shea butter is wonderful for anyone with dry or sensitive skin.
If you substitute lard or tallow for the palm oil, the saponification values are similar enough that you can do a straight 1:1 swap with the same amount of lye (4.8 ounces). However, if you use shea butter instead, you will need to reduce the lye to 4.7 ounces because of its lower saponification value. I always recommend running any modified recipe through a soap calculator like SoapCalc to verify your lye amounts before you start.
Equipment for Soapmaking
Before you start mixing oils and lye, gather all your equipment so everything is within reach. Soapmaking moves quickly once you begin, and you do not want to be searching for a spatula while your soap is reaching trace. Here is what you will need:
- Digital Scale: Soapmaking requires precise measurements by weight, not volume. A kitchen scale that measures in ounces and grams is essential. Do not try to convert to cups because it will not work.
- Immersion Blender (Stick Blender): While you can technically make soap by hand-stirring, an immersion blender cuts the time to trace from potentially hours down to minutes. This is one piece of equipment I consider non-negotiable.
- Heat-Resistant Containers: You need a container for mixing your lye solution and a large bowl or pot for your oils. The lye container must be heat-resistant plastic or stainless steel (never aluminum, which reacts with lye). I use heavy-duty plastic pitchers from the restaurant supply store.
- Soap Mold: A silicone loaf mold is perfect for beginners because soap releases easily without sticking. You can also line a sturdy cardboard box with freezer paper for a simple DIY mold.
- Instant-Read Thermometer: You need to monitor the temperature of both your lye solution and oils. An inexpensive digital kitchen thermometer works fine.
- Safety Gear: Goggles, rubber gloves, and long sleeves are mandatory when working with lye. I keep a dedicated set of safety goggles in my soapmaking supplies.
- Silicone Spatula: For scraping every last bit of soap batter into your mold.
- Soap Cutter: A sharp knife works, but a dedicated soap cutter or miter box makes it easier to cut even bars. You can also use a bench scraper or even a piece of taut wire.
- Isopropyl Alcohol in a Spray Bottle: Optional but helpful for preventing soda ash (that white powdery coating that sometimes forms on soap). Use 99% isopropyl alcohol if you can find it.
Keep in mind that once you use a container or utensil for soapmaking, you should dedicate it to that purpose. While properly made soap is completely safe, the lye can damage certain materials, and it is better to keep your soapmaking supplies separate from your regular kitchen tools.
Lye Safety
Working with lye (sodium hydroxide) requires respect and proper precautions, but it should not scare you away from soapmaking. Thousands of people make soap safely at home every day, and as long as you follow basic safety protocols, you will be fine. Here is what you need to know:
Always add lye to water, never water to lye. This is the most important rule of soapmaking. When lye dissolves in water, it generates intense heat and can cause the solution to boil and splash if done incorrectly. By adding lye crystals slowly to your measured water, you maintain control over the reaction. I remember this with the phrase “snow falls on the lake” because the white lye crystals fall into the water like snow.
Work in a well-ventilated area. The lye solution releases fumes when first mixed that can irritate your nose and throat. I mix my lye solution outside on the porch or next to an open window with a fan blowing the fumes away from me. The fumes dissipate within a few minutes as the solution cools.
Wear protective gear at all times. Safety goggles (not just glasses), rubber gloves, and long sleeves protect you from splashes. Lye can cause serious chemical burns on skin contact, and the danger is highest when working with the raw lye solution before it has been mixed with oils.
Keep children and pets away. Your soapmaking area should be off-limits to kids and animals until everything is cleaned up. I wait until my children are in bed or occupied elsewhere before I start a batch of soap.
Have vinegar nearby. While vinegar will not neutralize a serious lye burn (you should rinse with water and seek medical attention), it can help with minor skin contact. I keep a spray bottle of vinegar on my work surface just in case.
Once the lye has fully reacted with the oils (saponification), it is completely transformed and no longer caustic. Your finished, cured soap bars are perfectly safe to use. The chemistry is complete, and what remains is just soap, glycerin, and a small amount of unreacted oil (the superfat).
For more tips, take a look at my guide to common soapmaking mistakes (and how to avoid them).
How to Make Cold Process Soap
With your ingredients measured, equipment gathered, and safety gear on, you are ready to make soap. The entire active process takes about 30 minutes, though you will need to wait several days before unmolding and then several weeks for curing. Read through all the steps before you begin so you understand the flow of the process.
Prepare Your Workspace and Mold
Set up your soapmaking area with all tools and ingredients within easy reach. If using a silicone loaf mold, simply place it on a flat surface near where you will be working. For a cardboard box mold, line it completely with freezer paper (shiny side up) or parchment paper, taping the seams to prevent leaks. Make sure you have a clear path to wherever the soap will rest undisturbed for the next few days.
Mix the Lye Solution
Put on your safety goggles and gloves before handling the lye. Measure 11 ounces of distilled water into your heat-resistant lye container. Carefully weigh out 4.8 ounces of lye in a separate container. Working in a well-ventilated area, slowly pour the lye into the water while stirring gently with a stainless steel or silicone spoon. Never add water to lye as this can cause a dangerous volcanic reaction.
The solution will immediately heat up to around 200°F and may release fumes. Continue stirring until the lye is completely dissolved and the solution is clear. If it looks cloudy, keep stirring. Set the lye solution aside in a safe place to cool while you prepare the oils. It needs to come down to around 100-120°F before you can use it.
Prepare the Oils
While the lye solution cools, prepare your oils. If your coconut oil or palm oil is solid at room temperature, gently melt them in a pot over low heat or in the microwave. This is especially important for palm oil, which needs to be fully melted and stirred before measuring to ensure the fatty acids are evenly distributed throughout.
Weigh out 8 ounces of coconut oil, 15 ounces of olive oil, and 11 ounces of palm oil into your large mixing container. If you melted the solid oils, let the combined oils cool to around 100-120°F. Ideally, your oils and lye solution should be within 10 degrees of each other before combining. I usually aim for both to be between 100-110°F.
Combine Lye Solution and Oils
Place your immersion blender into the oils and tap it gently against the bottom of the container a few times. This “burps” the blender head and releases any air trapped underneath, which prevents splattering when you turn it on. With the blender head resting at the bottom of your oil container, slowly pour the cooled lye solution down the shaft of the blender and into the oils.
Blend to Trace
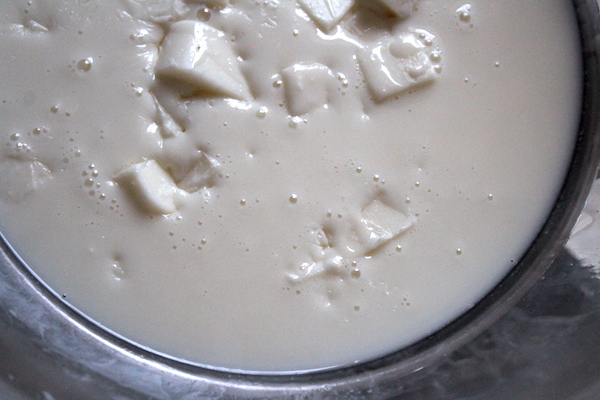
With the blender still at the bottom of the container, turn it on and pulse for a few seconds. You will immediately see the mixture start to change as the lye and oils begin to emulsify, turning from separated liquids into a creamy, opaque mixture. Alternate between pulsing the blender and stirring with it turned off to avoid overheating the motor.
Continue blending and stirring until the soap reaches “trace.” Trace is the point where the mixture has thickened enough that when you drizzle some across the surface, it leaves a visible trail or “trace” before sinking back in. This recipe reaches a light trace relatively quickly but takes longer to reach medium trace because of the high olive oil content. For beginners, I recommend aiming for medium trace, about the consistency of thin pudding, which gives you enough time to pour into the mold without the soap setting up too fast.
Pour into the Mold
Once you have reached medium trace, pour the soap batter into your prepared mold. Use your silicone spatula to scrape every last bit from the container because that is good soap you do not want to waste. Tap the filled mold firmly on the counter several times to release any air bubbles trapped inside. Be careful as sometimes the soap can splash up during this step.
If you want to prevent soda ash (a harmless but unattractive white powdery coating that can form on the top of cold process soap), spray the surface generously with 99% isopropyl alcohol right after pouring. This step is optional since soda ash does not affect the soap’s quality, but it does make for prettier bars.
Insulate and Wait
Cover your mold with a piece of cardboard or a cutting board, then wrap the whole thing in a towel to insulate it. The soap needs to stay warm while it goes through “gel phase,” a process where the center heats up and becomes slightly translucent as saponification completes. Gel phase is not strictly necessary, but it helps the soap cure faster and often results in more vibrant colors if you have added any.
Let the soap sit undisturbed for 24 to 48 hours. Resist the urge to peek too often because letting heat escape can cause uneven gel phase or other cosmetic issues. After 24 hours, you can check by gently pressing the top with a gloved finger. If it feels firm like a block of hard cheese, it is ready to unmold. If it still feels soft, give it another day or two.
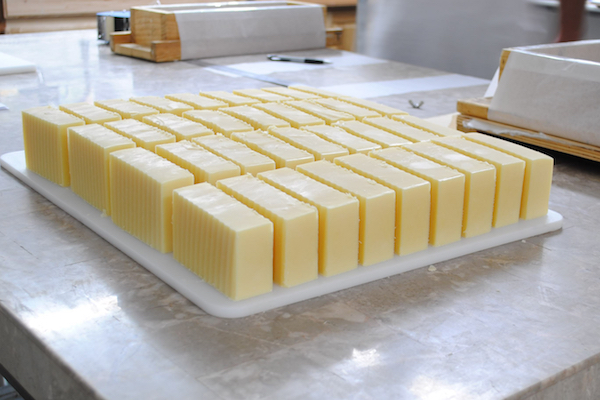
Unmolding and Cutting
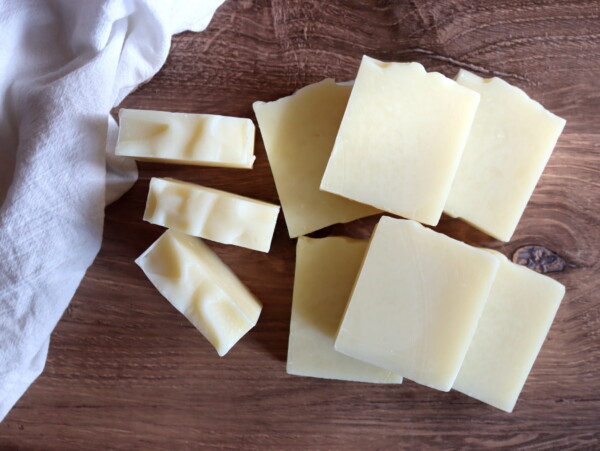
After 3 to 4 days, your soap should be firm enough to unmold. Silicone molds make this easy because you can simply push the soap out from the bottom. For lined cardboard molds, lift the soap out using the paper liner. If the soap sticks, put it in the freezer for an hour because the slight contraction will help it release.
Using a sharp knife or soap cutter, slice the loaf into bars. Most soapmakers cut bars about 1 inch thick, which yields approximately 12 bars from this recipe. You can cut thicker or thinner bars depending on your preference. Work carefully because the soap is still somewhat soft at this stage and can dent if you press too hard.
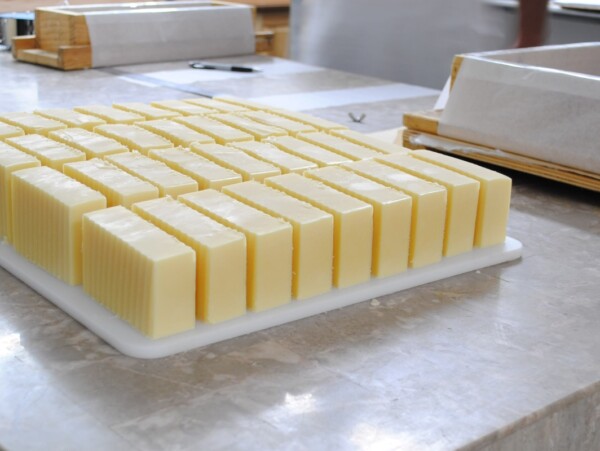
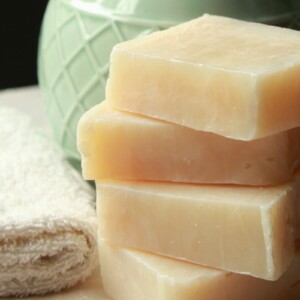
Curing Your Soap
Here is where patience becomes essential. Place your cut bars on a rack or tray lined with parchment paper, spacing them so air can circulate around each bar. Store them in a cool, dry place with good airflow, away from direct sunlight. The soap needs to cure for 4 to 6 weeks before it is ready to use.
During curing, excess water evaporates from the bars, leaving behind harder, longer-lasting soap with a milder lather. Can you use the soap before it fully cures? Technically yes, since saponification is complete within 24-48 hours and the soap is “safe.” However, uncured soap will be softer, will not lather as well, and will dissolve much faster in the shower. The difference between a 2-week-old bar and a 6-week-old bar is dramatic, so I really encourage you to wait.
Turn your bars every week or so during curing to ensure even drying on all sides. By the end of the cure time, your soap will have developed a smooth, almost waxy texture on the outside and will feel noticeably harder and lighter than when you first cut it.
Storing Handmade Soap
Once cured, store your soap in a cool, dry place away from humidity. I wrap my bars individually in wax paper, kraft paper, or fabric and store them in a cardboard box. Avoid plastic wrap or airtight containers because soap needs to breathe and excess moisture can cause glycerin dew (small beads of moisture on the surface). Properly stored handmade soap can last for years, though the fragrance of scented soaps may fade over time.
For soaps in use, a well-draining soap dish makes a significant difference in how long your bars last. Soap that sits in water will dissolve quickly, so choose a dish with slats, bumps, or drainage holes that keep the bar elevated and allow it to dry between uses.
Troubleshooting Common Problems
Even experienced soapmakers occasionally have a batch that does not turn out perfectly. I have a whole article on common soap making mistakes and how to fix them, but here are some quick troubleshooting tips for the most frequent issues:
Soft or mushy soap after 48 hours: This usually means your measurements were off or the soap did not reach a proper trace. Give it more time (up to a week) to see if it hardens. If not, the soap may be lye-heavy (check your recipe calculations) or you may not have blended long enough for complete emulsification.
White powder on the surface (soda ash): This harmless cosmetic issue happens when the soap is exposed to air during saponification. You can wash it off under running water or simply leave it. Prevent it next time by spraying with isopropyl alcohol and insulating well.
Crumbly or brittle texture: Usually indicates too much lye. Unfortunately, lye-heavy soap cannot be fixed and should be discarded. Always double-check your recipe calculations and weigh ingredients carefully.
Oily pools or streaks: This can mean incomplete mixing or separation. If you see oil pooling on top of fresh soap, try to stir it back in while still liquid. If the soap has already hardened with oil pockets, it may not have fully saponified and should be discarded.
Soap will not come out of mold: Put the mold in the freezer for 1-2 hours. The cold will cause the soap to contract slightly and release. For future batches, line molds with freezer paper or use silicone molds which release easily.
If you are unsure whether a problematic batch is safe to use, you can test the pH with pH strips. Properly saponified soap should have a pH around 9-10. Anything above 10 may indicate excess lye and the soap should not be used on skin.
Recipe Tips
- Measure all ingredients by weight, never by volume. Soapmaking requires precision, and cups are too variable.
- Mix your lye solution first since it takes the longest to cool. By the time you have your oils ready, the lye should be close to the right temperature.
- Palm oil separates in the container, so always melt and stir it completely before measuring to ensure an accurate fatty acid profile.
- If you are nervous about temperatures, aim for both oils and lye solution around 100°F. This gives you a comfortable working window.
- Stick blend in short bursts to avoid burning out your motor. Alternate pulsing with hand stirring for the best results.
- Be patient with trace. High olive oil recipes take longer, but the slow trace gives beginners more time to work without rushing.
- The full 4-6 week cure really does make a difference. Set a reminder on your calendar and try to wait.
- Label each batch with the date and recipe. You will want to know what you made once you start experimenting with variations.
Next Steps for Beginner Soapmakers
Once you have successfully made a few batches of this basic recipe and feel comfortable with the cold process technique, you might want to explore some variations. If you are interested in using animal fats, my tallow soap recipe walks you through working with beef fat to create an incredibly nourishing bar. For something quicker and easier that does not require working with lye at all, try melt and pour soapmaking, which is perfect for crafting with kids or making quick gifts.
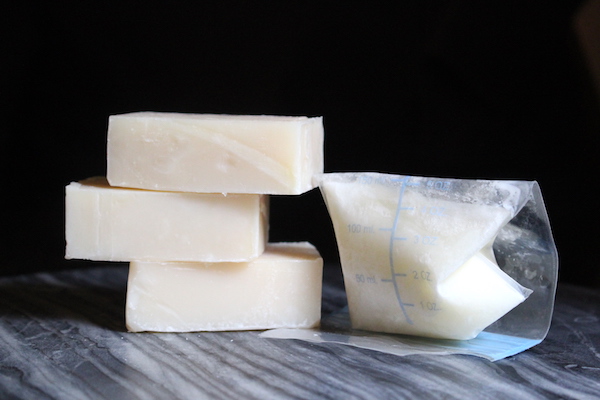
If you have goats or access to fresh goat milk, goat’s milk and honey soap is a beautiful next step that produces an extra-creamy, luxurious bar. There is also an easier melt and pour version if you want to try goat milk soap without the added complexity of working with milk and lye together. And for new mothers looking to preserve and use their breast milk, I even have a recipe for breast milk soap that creates an incredibly gentle bar for baby’s sensitive skin.
Cold Process Soap FAQs
Cold process soap needs to cure for 4 to 6 weeks after cutting. During this time, excess water evaporates from the bars, resulting in harder, longer-lasting soap with better lather. While the saponification reaction completes within 24-48 hours (meaning no lye remains in the soap), using bars before the cure period ends will result in softer soap that dissolves quickly.
Yes, you can substitute palm oil with lard, tallow, or shea butter. Lard and tallow can be swapped 1:1 with no change to the lye amount. If using shea butter, reduce the lye to 4.7 ounces due to its lower saponification value. Each substitute produces slightly different soap properties, but all work well in this recipe.
Soft soap usually results from inaccurate measurements, insufficient mixing, or unmolding too soon. Check that you used a digital scale for all ingredients and blended thoroughly to reach trace. Give the soap additional time in the mold (up to a week) to see if it firms up. If it remains soft after curing, the recipe may have had too much liquid or not enough lye.
Trace is the stage in cold process soapmaking where the lye and oils have emulsified into a stable mixture that will not separate. You can identify trace by drizzling soap batter across the surface, and if it leaves a visible trail before sinking back in, you have reached trace. Light trace resembles thin custard, while medium trace is more like pudding consistency.
Cold process soap can be excellent for sensitive skin because you control exactly what goes into it and can include a superfat for extra moisture. This recipe uses 5% superfat and a high proportion of gentle olive oil, making it milder than many commercial soaps. For very sensitive skin, you can substitute tallow for palm oil, which creates an exceptionally gentle and conditioning bar.
Soapmaking Guides
If you tried this Beginner’s Cold Process Soap recipe, or any other recipe on Practical Self Reliance, leave a ⭐ star rating and let me know what you think in the 📝 comments below!
And make sure you stay in touch with me by following on social media!
Beginner’s Cold Process Soap
Equipment
- Gloves, Safety Goggles, and Long Sleeves For Safety
- Spatula or Wooden Spoon
- Isopropyl Alcohol In a spray bottle, for preventing soda ash, optional
- Heat Heat-resistant plastic Container for Lye Solution
- Large Bowls heat resistant, non reactive
- Parchment Paper or Freezer Paper optional, for lining mold
Ingredients
- 8 oz. Coconut Oil, 24%
- 15 oz. Olive Oil, 44%
- 11 oz. Palm Oil, 32%
- 4.8 oz. Lye
- 11 oz. Distilled Water
Instructions
- Prepare the Mold: Get your soapmaking molds ready. You can use a traditional loaf mold, which is usually a box with a silicone liner. Or, you can make your own mold by taking a sturdy cardboard box and lining it with freezer paper or parchment. And there are also options for shaped silicone soap molds as well. I would recommend starting with a simple loaf mold.
- Set Up Your Work Area: Before starting, make sure your soaping space is organized. Gather your tools and ingredients so you’re not scrambling while the soap mixture is coming together.
- Safety Precautions: When making soap, safety is critical. Ensure you're wearing goggles, gloves, and long sleeves. Also, make sure that children, pets, and any potential distractions are kept away from your soaping area. Always work in a well-ventilated space.
- Mix the Lye Solution: Slowly and carefully add the lye to the distilled water (never the other way around) and stir gently until the lye has completely dissolved. The solution should be clear. Set it aside to cool.
- Prepare the Oils: Combine the coconut oil, olive oil, and palm oil. Make sure the palm oil is fully melted and blended before you measure it out. Allow the lye solution and oils to cool to around 120°F or lower. Ideally, they should be within 10 degrees of each other.
- Mixing Lye and Oils: Once both the oils and lye solution have cooled, place the stick blender into the oils. Tap the blender against the bottom of the bowl a few times to release any air bubbles trapped under the blender head. This step is called “burping” the stick blender. Now, gently pour the cooled lye solution down the shaft of the stick blender and into the oils.
- Blending to Trace: Turn on the stick blender and pulse it a few times. Immediately, you will see the lye and oils begin to emulsify and form a creamy, yellow mixture. Alternate between stirring with the blender and pulsing. After 30 seconds, test for “trace”—the point at which the mixture begins to thicken. Since this recipe has a significant amount of olive oil, it will remain at a thinner trace for a longer period. As you continue to pulse and blend, you’ll notice the soap will begin to lighten in color and thicken. When it reaches medium trace (the consistency of a thinner pudding), you’re ready to pour.
- Pour into Mold: Once you’ve reached medium trace, pour the soap batter into your lined mold. Be sure to scrape every last bit from the bowl using a spatula.
- Settle the Soap: After pouring, tap the mold gently on the counter to release any trapped air bubbles. Be cautious—sometimes soap can bubble up during this process. Once tapped, spray the surface of the soap with 99% isopropyl alcohol to help prevent soda ash from forming on the top. That’s optional, but it makes for a prettier bar.
- Curing: Allow the soap to set in the mold for 3-4 days. Once unmolded, cut the soap into bars. Let the soap cure for 4-6 weeks. During this time, the water content in the soap will evaporate, leaving a firmer, longer-lasting bar. You can use the soap before it fully cures, but it may not last as long. For the best results, allow the soap to cure completely before use.
Notes
- Coconut Oil: Provides strong cleansing properties and creates a rich, bubbly lather. It helps harden the soap, ensuring it lasts longer. While great for lather, it can be drying in large amounts, so it is balanced with other oils for a gentler result.
- Olive Oil: Known for its mild, moisturizing qualities, olive oil produces a soft, creamy lather that’s gentle on the skin. Ideal for sensitive or dry skin, it also contributes to the soap’s smooth, luxurious texture.
- Palm Oil: Adds hardness to the soap, helping it maintain its shape and last longer. It creates a stable lather and balances the drying effects of coconut oil, providing a more moisturizing bar.
Palm Oil Alternatives
If you want to avoid palm oil due to environmental concerns or for other reasons, there are several excellent alternatives:- Lard: A great substitute for palm oil, lard is rich in oleic acid, giving soap a creamy, smooth lather and contributing to a hard, long-lasting bar. It’s environmentally friendly and often more affordable than palm oil.
- Tallow: Derived from beef fat, tallow is another substitute that creates a firm bar and stable lather. It’s particularly mild and conditioning on the skin, making it perfect for sensitive skin types.
- Shea Butter: Known for its moisturizing and skin-softening properties, shea butter provides a creamy lather and helps nourish dry or sensitive skin. While it results in a slightly softer bar compared to palm oil, it’s still an excellent vegan alternative.
More DIY Projects
Find the perfect recipe
Searching for something else? Enter keywords to find the perfect recipe!


This is the perfect beginner recipe! Simple ingredients and dependable results.