Affiliate disclosure: This post may contain affiliate links. Please see our Privacy Policy.
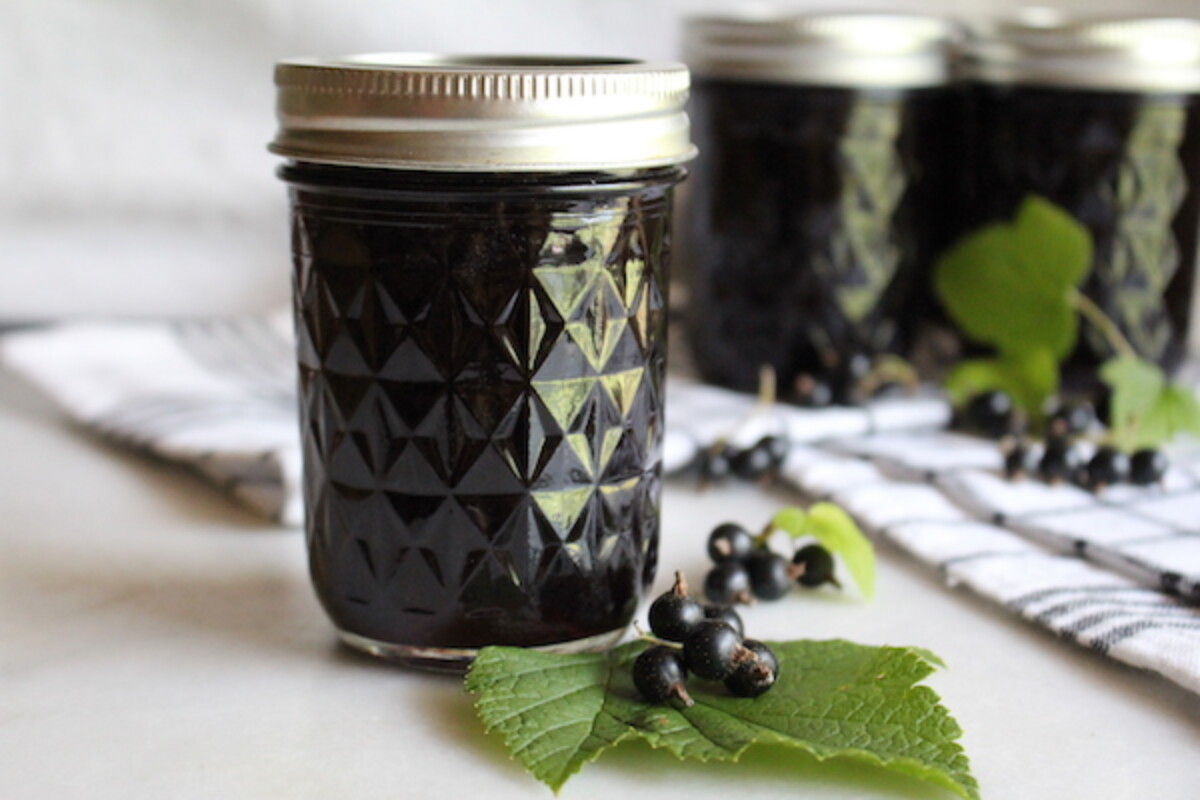
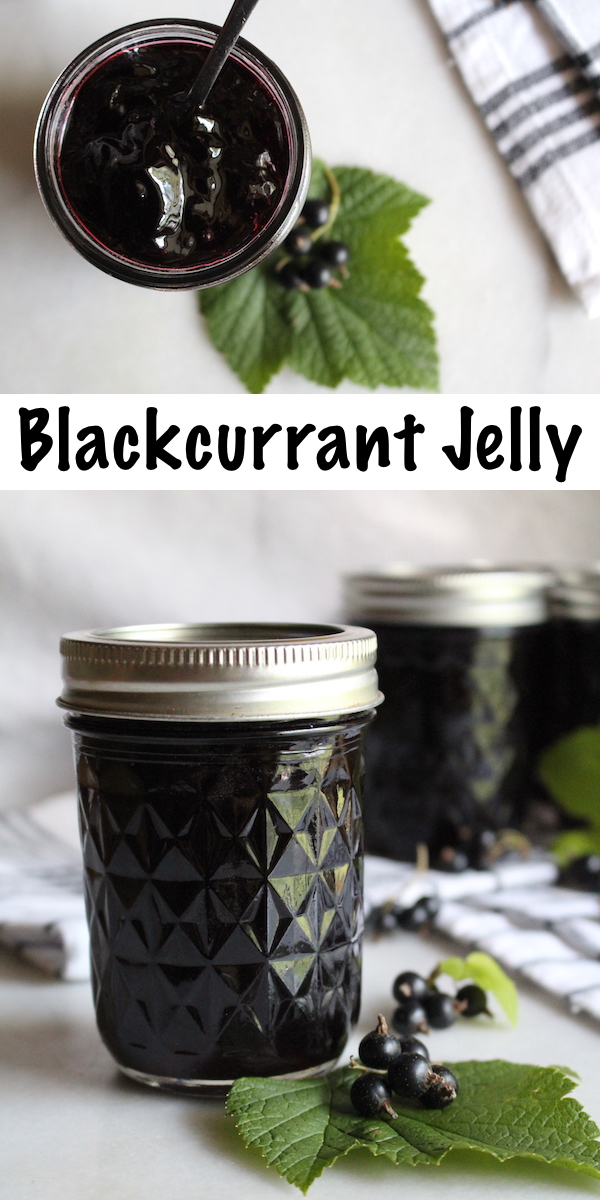
Homemade blackcurrant jelly is easy to make at home with just two ingredients ~ blackcurrants and sugar. The fruit has plenty of natural pectin to help the jelly set, and since you’ll be straining the juice, there’s no need to stem the blackcurrants which saves a lot of time in the busy summer season.
Blackcurrants are prolific plants, and they bear best with wet soils and shady conditions. That’s not common for fruits, most of which require well-drained fertile soil and full sun. They’re one of the few crops that grow well with absolutely no care at the edge of a woodland stream on our Vermont homestead.
When the summer heat peaks in July, you’ll find me in the shade down by the water picking blackcurrants all afternoon. Most years, I make them into several dozen jars of blackcurrant jam, which requires many hours stemming and cleaning the fruits. I’d say for every hour I spend picking them, I spend a bit more than an hour cleaning them.
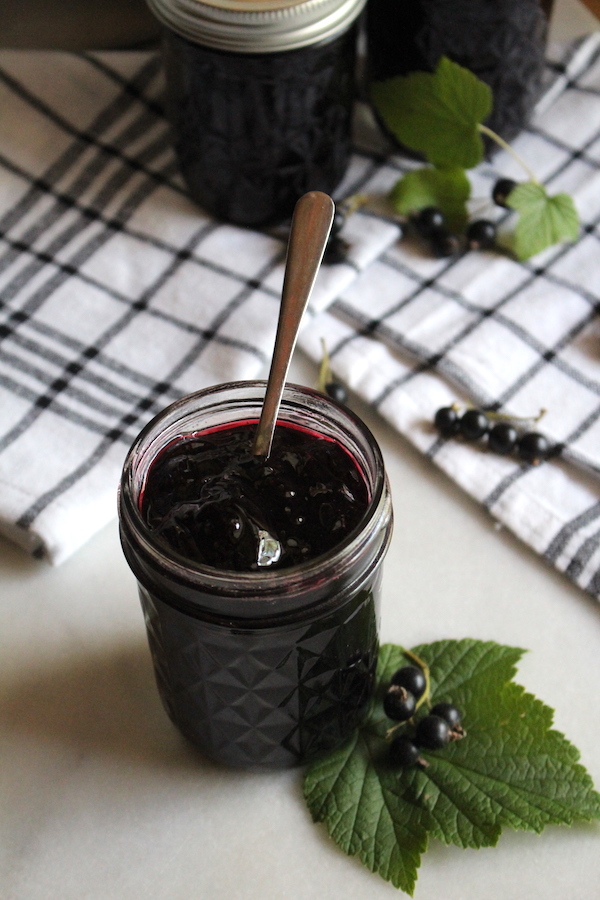
This year, I’m taking it easy on myself and making blackcurrant jelly instead. I’m gardening with the help of my 2 and 4-year-old children, and while that’s rewarding in many ways…it’s also exhausting in others. While eating blackcurrant preserves is high on my priority list, spending all day stemming them just won’t make it into the schedule.
We picked about 10 pounds of fresh blackcurrants in about 2 hours together, which is more than I’ll need for a single batch of blackcurrant jelly.
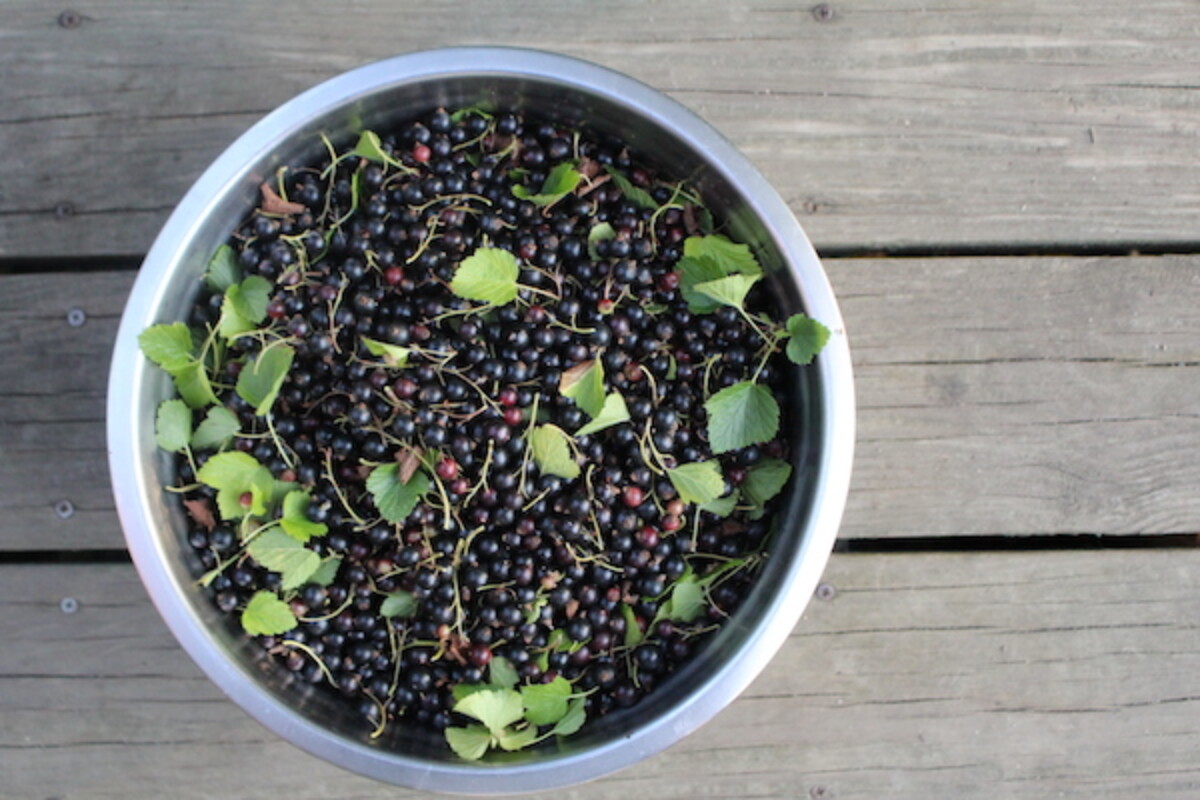
The stems of currants actually contain a good bit of pectin, and they’re often boiled in with the fruits to help the jelly firm up. Blackcurrant leaves are flavorful and edible, and they taste, believe it or not, a lot like the fruit (but without any sweetness).
The most common way to make blackcurrant jelly is to add the fruit to a heavy-bottomed stockpot, along with equal parts water. If you’re measuring, that’s one cup of fruit to one cup of water, or if you’ve just weighed the fruit, add about a pint of water per pound of fruit.
Bring the whole pot to a simmer and cook slowly for about 20-30 minutes until the blackcurrants have completely disintegrated. It takes about 40 minutes (and the help of a good bit of sugar) for blackcurrant jam to gel, so with only 20-30 minutes of cooking the fruit will fall apart but it won’t start to stiffen up yet.
After that, everything goes into a jelly bag or a cheesecloth-lined strainer to drain for at least 3-4 hours (or overnight). In my case, since I’m often working in large batches, the process got very messy.
I’d have a huge mass of blackcurrants wrapped in a sheet of cheesecloth, tied to a wooden spoon suspending it over a 5-gallon bucket. There’d be juice everywhere, and my hands would be stained purple all week from squeezing blackcurrant juice from the strainer bag.
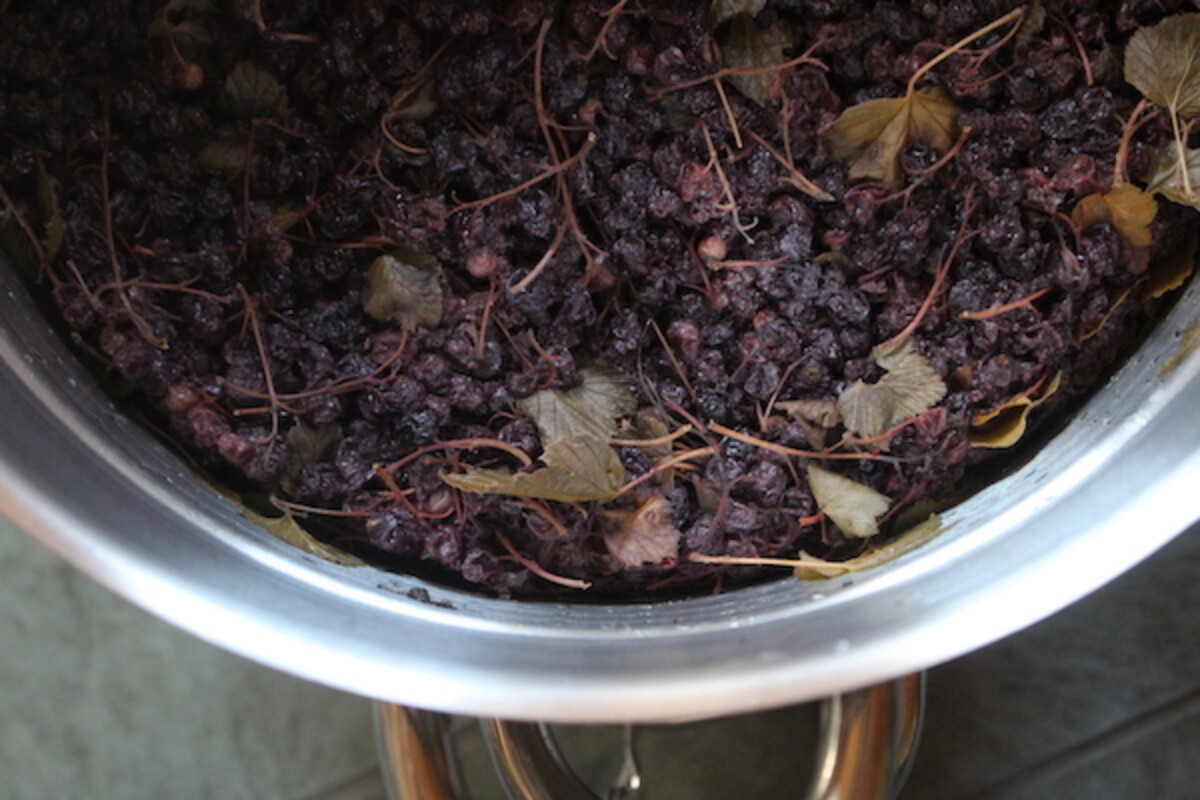
Remember this year I’m taking it easy on myself? The whole mess is going right into my steam juicer ~ fruit, stems, leaves, and all.
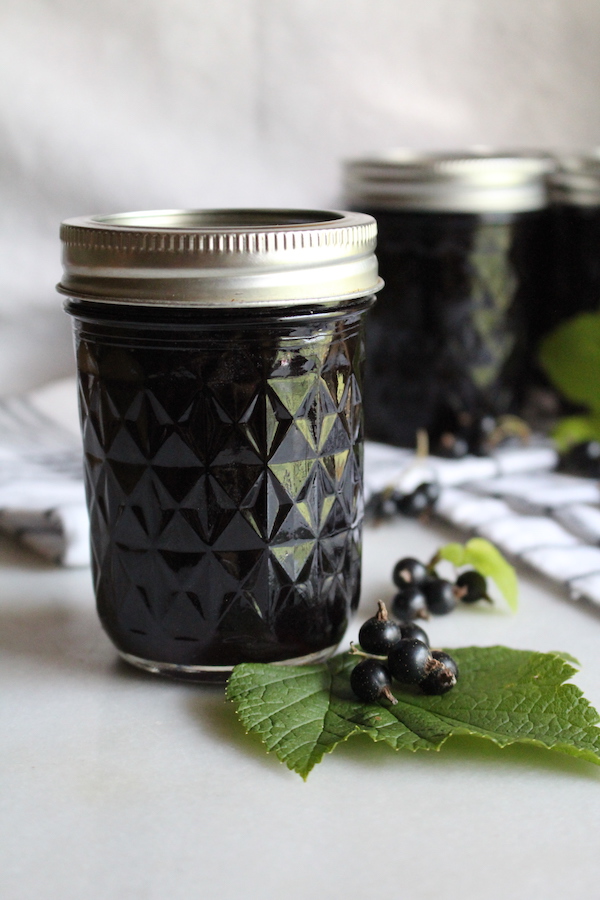
After about an hour of simmering outside on the stove in my outdoor canning kitchen, 10 pounds of fruit is now 3 quarts of super concentrated blackcurrant juice.
When you’re extracting the juice for blackcurrant jelly on the stovetop, you add A LOT of water to the fruit. It’s a 1:1 ratio by volume, which isn’t strictly necessary for a homemade jelly. When I’m making strawberry jelly, for example, I only add about 1/4 cup of water to the whole pot just to keep it from scorching at the beginning.
Why on earth does blackcurrant jelly have SO MUCH water in it? Because even though blackcurrants seem like “soft” fruits, they’re actually remarkably resilient. It takes a lot of cooking to turn fresh blackcurrants into blackcurrant jelly.
With the traditional method, you’re simmering the whole berries for 20-30 minutes before straining the juice. After that, the extracted juice is then cooked for another 30-ish minutes until it reaches the gel stage and turns into blackcurrant jelly.
The nice thing about extracting juice with a steam juicer is the fruits have already been steaming for an hour, and you haven’t really incorporated much water to dilute their pectin. They get broken down in the steam juicer without you having to spend a lot of time at the stovetop tending them. The juice is a bit concentrated, and once you place it back onto the stovetop and add sugar, it’ll go from juice to blackcurrant jelly a bit faster than stovetop extracted blackcurrant juice.
Overall I’m incredibly happy with the steam juicer technique for making blackcurrant jelly. The fruit left in the reservoir is about as dry as raisins, with no extractable juice left after just an hour of cooking. And even better, my kitchen is clean, and unlike the stockpot method, nothing’s stained…not the walls, floor, or my hands…
Variations in Blackcurrant Jelly Recipes
Just about all blackcurrant jelly recipes will tell you to start by juicing the currants. Whether you do it on the stovetop or in a steam juicer is irrelevant, both ways work.
The idea is to extract the pectin-rich juice, and then all you need to do is add a bit of sugar for a homemade blackcurrant jelly. With only two ingredients, how can there be that much variation in blackcurrant jelly recipes?
Well, the trick is…how much sugar do you add?
This, like most homemade preserves, is a matter of personal taste. Obviously the more you add, the sweeter the jelly will be, and it’ll also result in a higher yield. I’m generally a fan of reduced sugar recipes since I want to taste the fruit itself in the finished preserve.
My low-sugar strawberry jam has a 1:4 sugar to fruit ratio (by weight), and it’s just sweet enough for me. I even make a no sugar strawberry jam for my husband, who hates all things sweet.
That said, blackcurrants are really tart, and when I make blackcurrant jam I don’t skimp on the sugar. The fruits are flavorful enough that they can stand a lot of sugar added, and you’ll need it to balance out their astringency and natural tart flavor. I generally add sugar in a 1:1 ratio in blackcurrant preserves.
Most blackcurrant jelly recipes will have you measure the juice, and then add somewhere between 1/2 cup to 1 cup of sugar for every cup of juice. The 1/2 cup recommendation is for a low sugar blackcurrant jelly, which still has a 1:2 sugar to juice ratio.
When I made blackcurrant jelly extracting juice in a jelly bag, I used a 1:1 ratio and it was pretty spectacular. This time though, I have slightly more concentrated juice from a steam juicer so I’m going to add 1/2 a cup sugar to every cup of juice.
In the end, the amount of sugar to add to your blackcurrant jelly is up to you. I’d aim for somewhere between a 1/2 cup to 1 cup of sugar for every cup of juice, adjusting to your family’s tastes.
More sugar means the jelly will reach gel stage a bit faster, and more concentrated juice will also reduce the final cook time. With concentrated juice from the steam juicer, but only 1/2 cup of sugar per cup of juice, mine took exactly 20 minutes of boiling on high heat to reach gel stage.
Using Blackcurrant Jelly
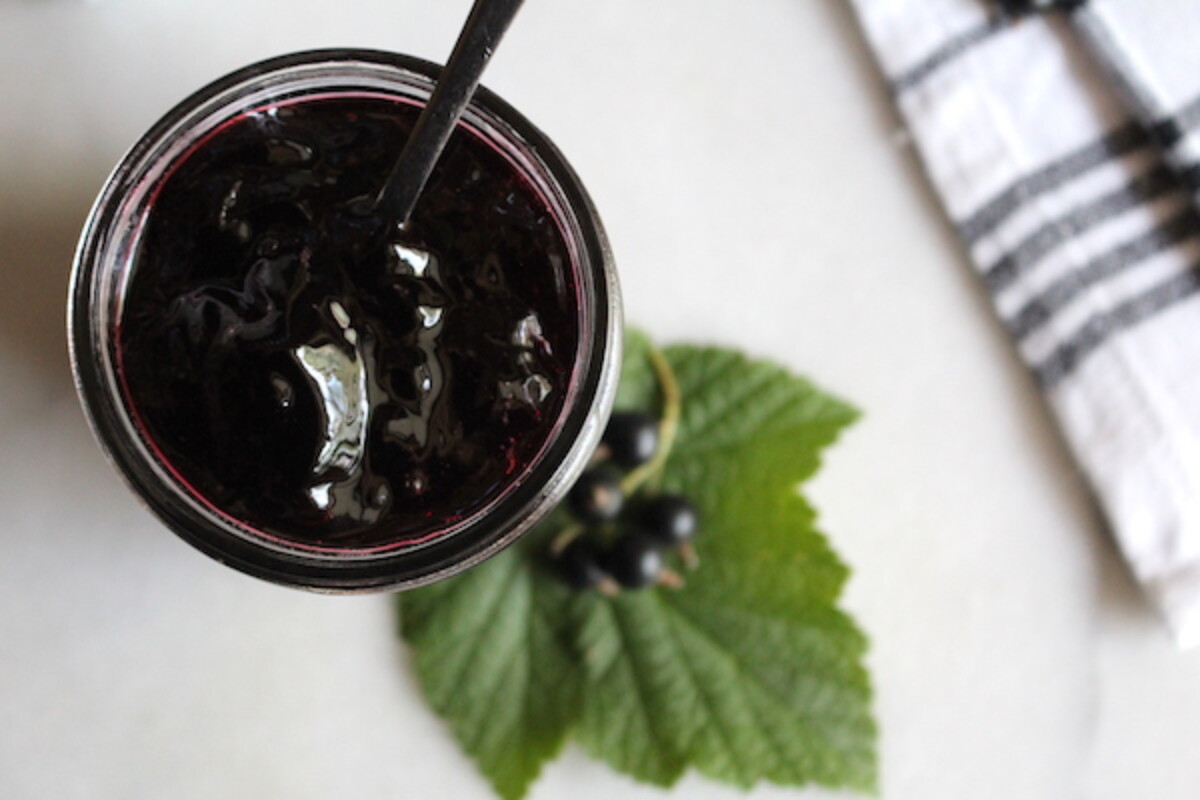
Normally I think of blackcurrants as being a more “mature” flavor, or at least that’s what I tell myself when I make up my super adult almond butter and blackcurrant jelly sandwich. Blackcurrants have a bit of tannin that gives jams and jellies a really unique, complex flavor.
I use it anytime I want to add a bit of sophistication to just about any recipe using jam. Blackcurrant preserves make out of this world jam thumbprint cookies, for example.
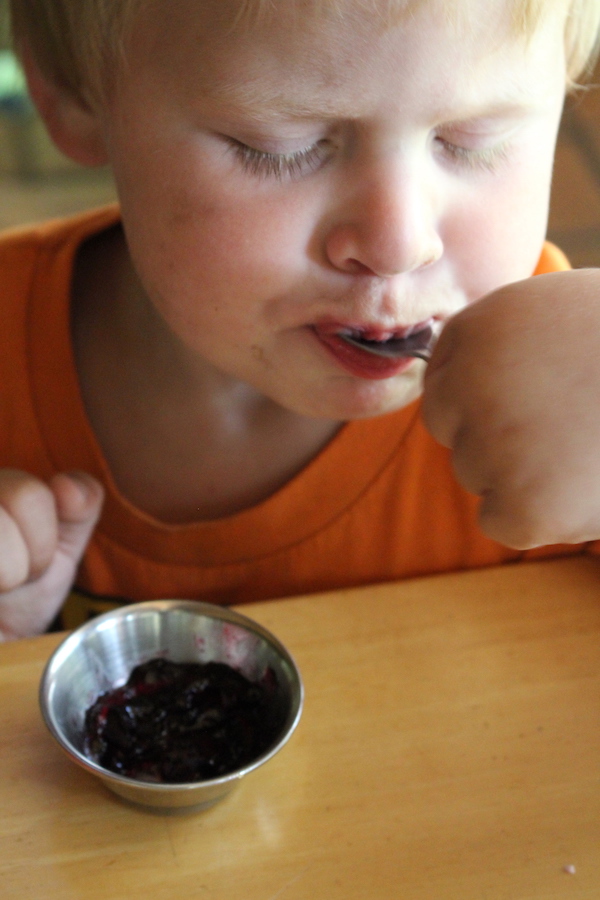
That said, my two-year-old waited eagerly while I shot the pictures for this recipe, bouncing and mumbling, “Want it! Want currant jelly!”
Finally, when the time came and all the pictures were taken, I asked whether he wanted it on toast or as a topping for yogurt, nope…he ran to the kitchen and came back with this tiny bowl. There’s my baby buddy, eating a tiny bowl of low-sugar blackcurrant jelly with a spoon. So much for “mature” flavors…
Blackcurrant Jelly
Equipment
- Ball Regular Mouth Canning Jar 8 oz. 12 pk
Ingredients
- 5 cups blackcurrant juice, from roughly 4-5 lbs blackcurrants
- 2 1/2 to 5 cups sugar, see note
Instructions
- Extract juice from blackcurrants (see note below). Each pound of blackcurrants should yield about 1 to 1 1/4 cup of strained juice.
- Measure the juice and place it in a heavy-bottomed saucepan. For every cup of juice, add somewhere between 1/2 and 1 cup of sugar. Adjust to your tastes, adding sugar at a 1:1 ratio for a full sugar jelly and only using half as much for a low sugar blackcurrant jelly.
- Bring the mixture to a hard boil on the stovetop, and cook over high heat for 20 to 30 minutes until the mixture reaches gel stage (Watch carefully and use a large pot, the mixture may boil over). Test it by placing a bit of the jelly onto a plate that's been placed into the freezer. When it's ready, the jelly should firm up enough on the cold plate that it'll wrinkle back when you push it with a fingertip. (Alternatively, use a food thermometer and cook it to 220 degrees, which is a more reliable measure assuming you have a thermometer handy.)
- Pour the jelly into prepared canning jars, leaving 1/4 inch headspace. Store the blackcurrant jelly in the refrigerator for immediate use, or process in a water bath canner for 10 minutes to seal the jars for long term storage. Either way, the jelly will need at least 24 hours in the jars to set firmly.
Notes
- Jelly Bag Method ~ Place the blackcurrants in a saucepan along with enough water to just cover the fruits. Simmer for about 20 to 30 minutes until the blackcurrants have completely disintegrated, then pour the mixture through a jelly bag or a strainer lined with cheesecloth. Do not squeeze the bag or the jelly will be cloudy.
- Steam Juicer Method ~ The steam juicer method is much cleaner, assuming you have a steam juicer handy. Place the fruits in the top steam basket and fill the bottom reservoir with water. Steam the blackcurrants for 60 to 80 minutes, periodically drawing off extracted blackcurrant juice through the steam juicer tube. Mine holds about 10-12 pounds of blackcurrants at a time, and makes up to 1 gallon of juice at a time mostly mess-free.
More Blackcurrant Recipes
Looking for more creative ways to use blackcurrants? Try any of these:
- Blackcurrant Mead (Honey Wine)
- Blackcurrant Shortbread Bars
- Blackcurrant Gin
- Blackcurrant Curd
- Blackcurrant Liqueur (Creme de Cassis)


I found the post to be highly good. The shared information are greatly appreciated
We’re so glad you found it helpful.
OMG, I love black currant and this jelly looks amazing!
Thank you fellow Vermonter. I am doing this project with my 2.5 year old today–wish me luck. 2 years worth of frozen black currants to process (6.5 lbs! eek)
You’re very welcome. Sounds like you have a job ahead of you but it will be so worth it.
I have found, from making wine out of everything edible including leaves, that freezing the fruit first is a must if you are extracting the juice. Freezing breaks down the cell walls and releases the juices. Just a tip for the next time you want to juice something. Freeze it hard, even if just overnight, first.
Great article. I’m getting a red currant bush soon from a friend and plan to follow your recipe for making red currant jam! Thanks for the info!
You’re welcome and yes, you’re right. Freezing is very helpful when extracting the juice.
I haven’t made the jelly yet, but rather than boiling the berries on the stove top to get the juice, I used a slow cooker. I added enough water to the crock of berries to just cover them and cooked on high heat. I don’t know how long it took – I didn’t keep track, but that’s the nice thing about slow cookers – there’s no reason to worry about how long they have been cooking!
Isn’t it wonderful to make use of modern conveniences like that to make our tasks a bit easier?
Just made blackcurrant jelly using your recipe, it worked out so well! I used 2 parts sugar to 3 parts juice and it turned out lovely and tart. Thanks so much!
Greetings from Ireland ❤︎
You’re welcome! I’m so glad you liked the recipe!
I Mixed red and black currants and used 4 cups of sugar for 5 cups of juice. It is delicious!
Black currant jelly, my first time, recipe a lot like grape jelly from juice. I like the idea of less sugar and no pectin. 220 degs can’t miss