Affiliate disclosure: This post may contain affiliate links. Please see our Privacy Policy.
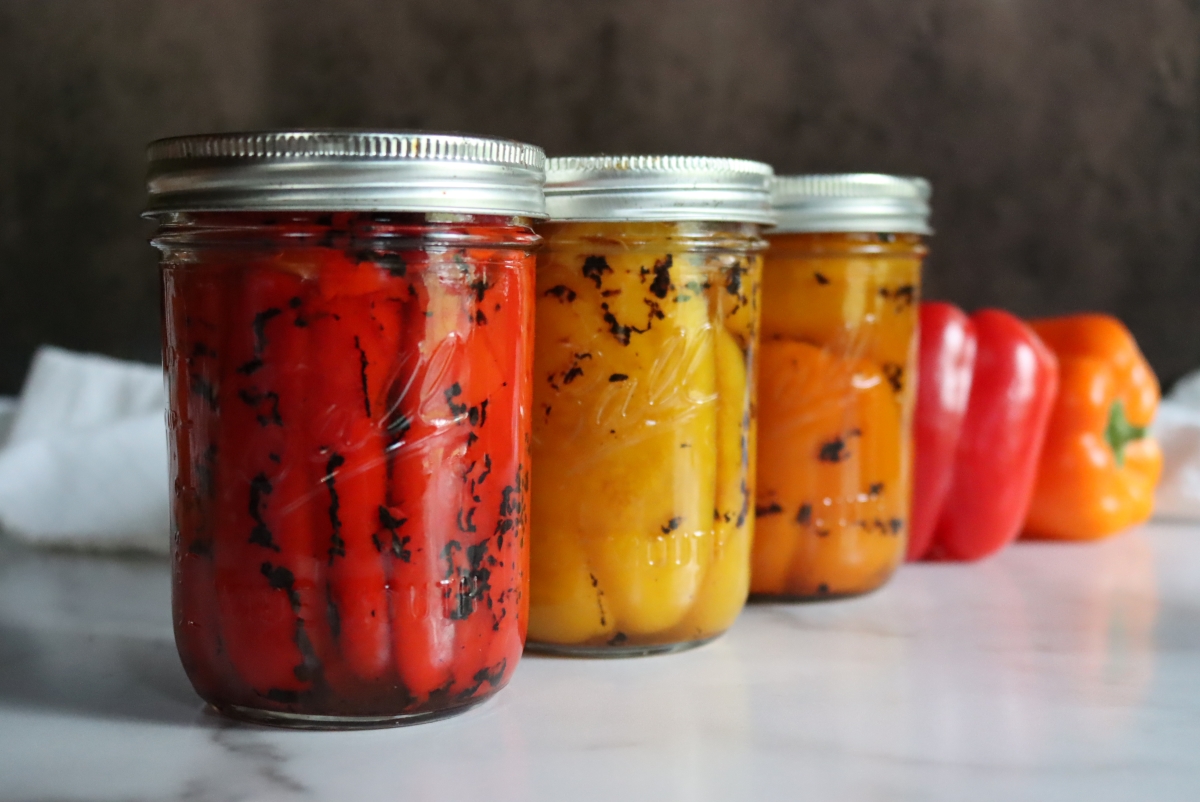
Canning peppers is one of the best ways to preserve peppers. They’re cooked and ready for last-minute weeknight meals from the pantry, and they’re also perfect on sandwiches and salads right out of the jar. Fire roasting really enhances their flavor, but that step is optional, and it’s perfectly fine to can plain peppers in a pressure canner.
I absolutely love crunching on fresh peppers in season, and I’ll bite into sweet red bell peppers right out in the garden, crunching them like fresh apples. The problem is, the season is short.
Peppers, whether hot or sweet, have a short growing season, especially here in Vermont.
While they only thrive during the heat of summer, they’re perfect for adding color, flavor, and in the case of hot peppers, spice to meals year-round.
I’ve tried dehydrating peppers in my Excaliber Dehydrator, and that works wonderfully for soups, stew, and chili. It’s honestly one of my favorite dehydrator recipes, and they’re quick and delicious.
That said, dried peppers don’t work so well for salads, sandwiches, stir-fries, and breakfast potato and egg dishes. Dehydrating has its place, but that technique is not nearly as versatile as canning peppers.
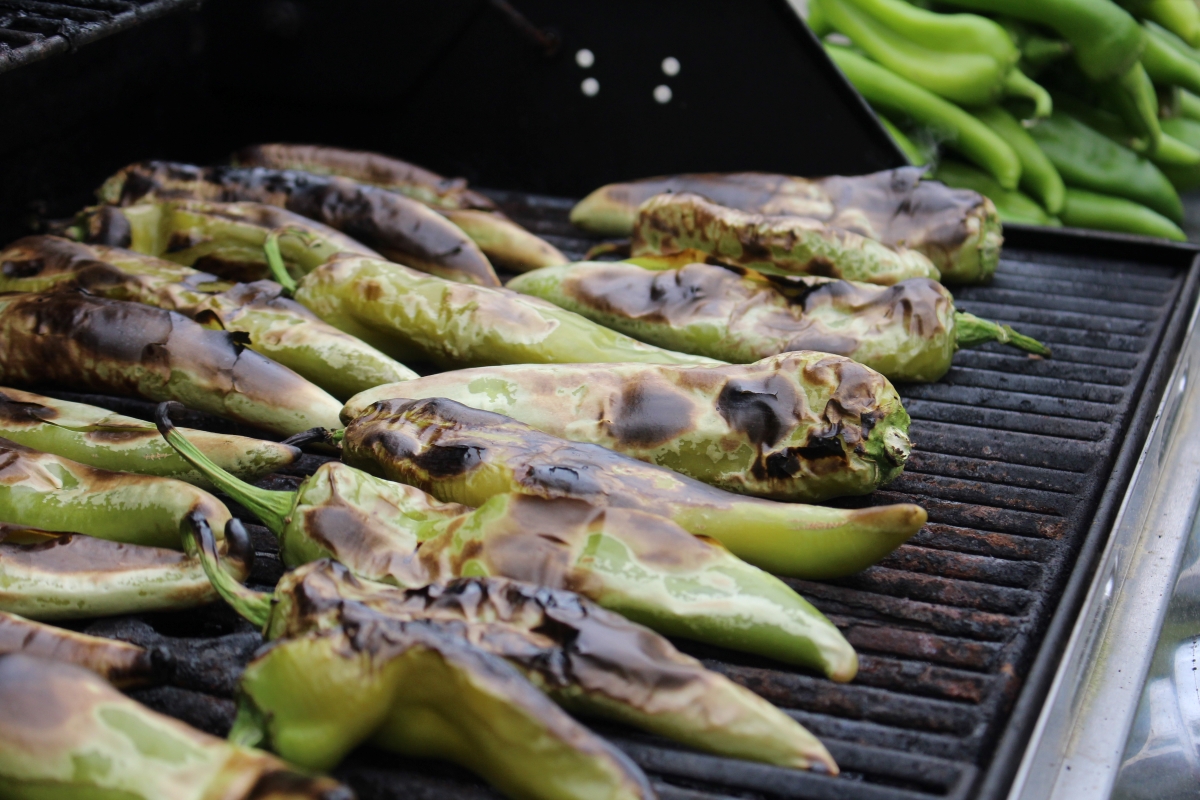
Fire-roasted peppers are perfect for canning, and while roasting is optional from a canning safety perspective, it really enhances their flavor. Pepper skins also tend to get tough during the canning process, and blistering them over a fire beforehand prevents this, resulting in a higher quality finished product.
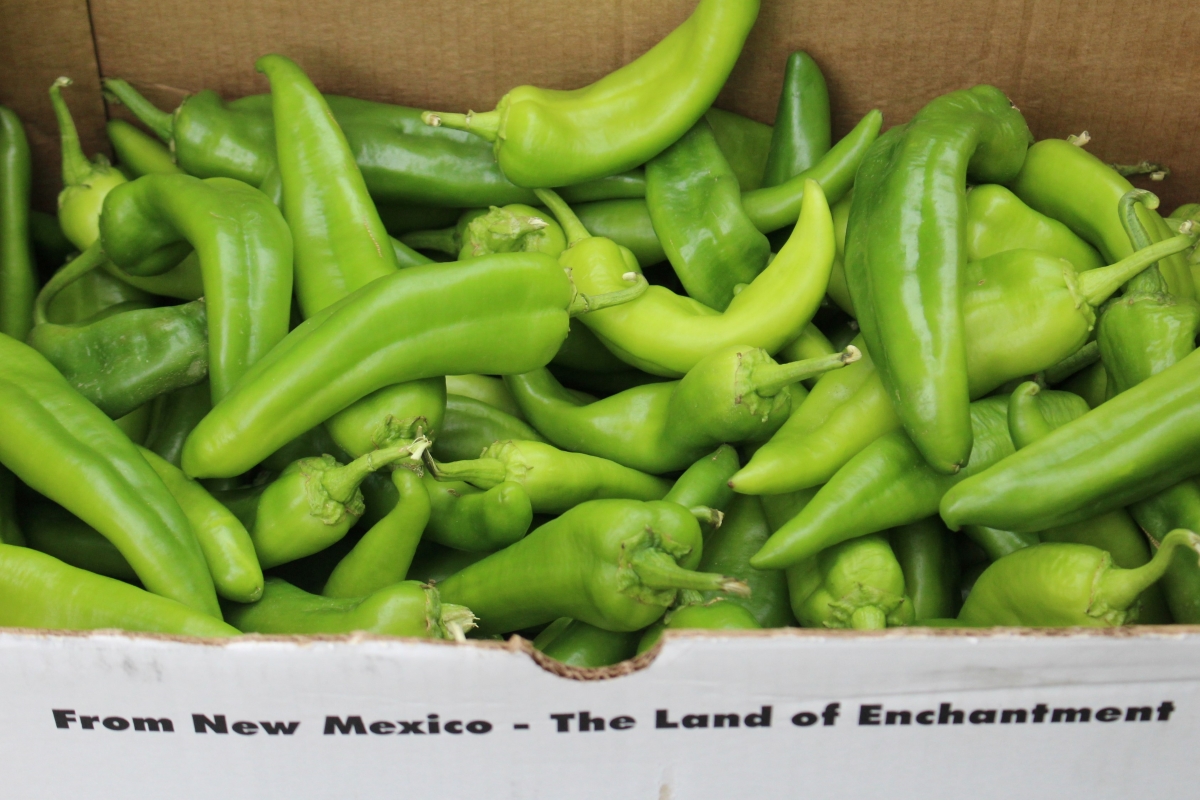
That’s especially true of hot peppers, which have tougher skins. We order in a case or two of hatch green chilis right from New Mexico, and the fire roasting makes all the difference when canning hatch chilis or any other hot pepper.
(We also grow plenty of hot peppers for canning, but Vermont’s a far cry from New Mexico’s climate, and if you want “hatch” chili then it needs to come from New Mexico…)
For sweet peppers, the fire roasting is more about enhancing flavor, since they tend to have tender skins that hold up better to canning.
I’m a particular fan of a sandwich I make right from my larder in the middle of winter, and every ingredient is homemade or homegrown and comes from my pantry or freezer:
- Homemade Sourdough
- Paprika Rubbed Roast Chicken Breast, sliced thin
- Homemade Cheese with a bloomy rind, like brie
- Garlic aioli with homemade mayo
- Fire-roasted red peppers, right out of the canning jar
Pickled peppers, which can be canned using a water bath canner, also work on my favorite sandwich, but just plain canned peppers are a lot better in my opinion. Canning plain peppers require a pressure canner, since there’s no added acidity from the pickling brine.
Plain canned peppers can also go places where pickled peppers just wouldn’t work, like on top of a bowl of fresh handmade pasta…
If you’re not familiar with pressure canning, I’d highly recommend reading my beginner’s guide to pressure canning before getting started.
Pepper Canning Yield
How many peppers do you need for a canner batch?
That depends, to some extent, on the type and size of your peppers and how you pack them.
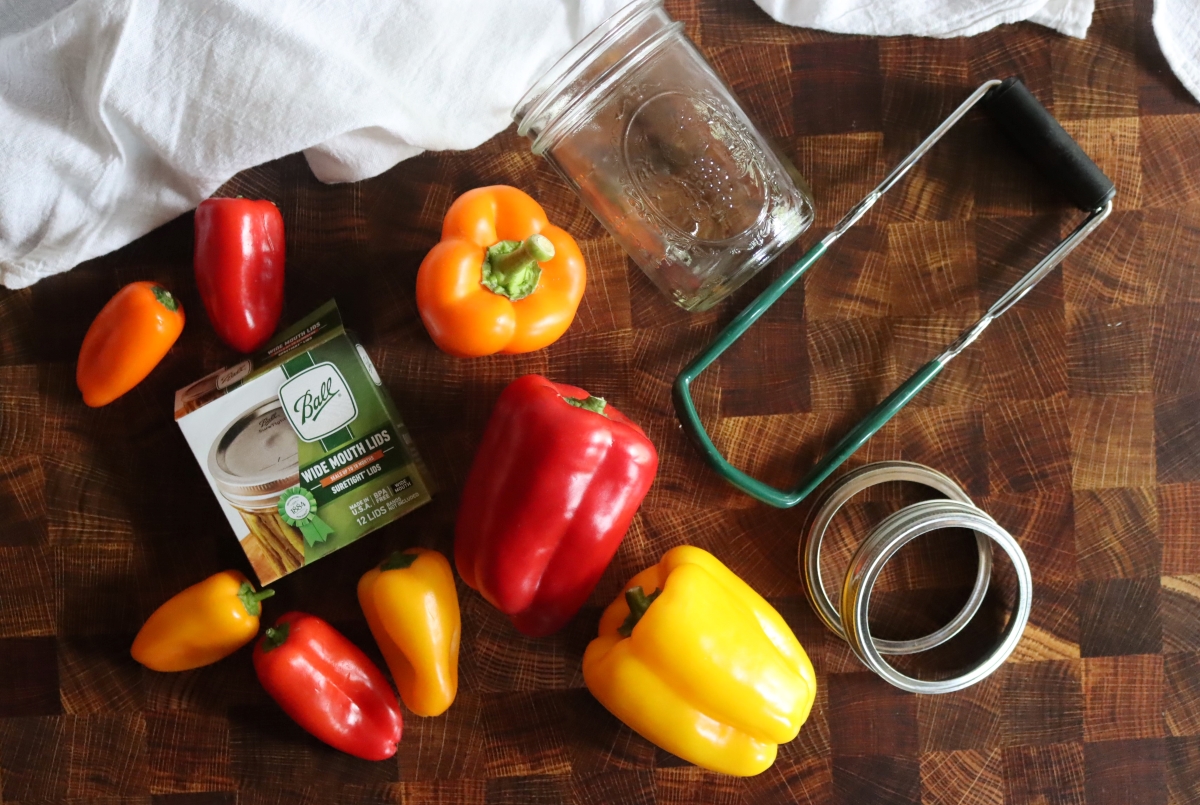
Packing whole peppers, as I often do with bell peppers, is the least efficient method space-wise but the most versatile. After roasting, the peppers are cored and seeded, then flattened. You can fit 3 to 4 average-sized bell peppers in a pint jar that way, which is roughly a pound of fresh peppers (as harvested) per pint.
Diced peppers pack into jars much more efficiently, and you’ll need considerably more per pint.
Hot peppers also tend to lose more volume in roasting and cleaning, as there are more seeds and skins per pound than with larger bell peppers.
When we canned hatch chilis, we needed 2 to 2 1/2 pounds of fresh peppers for each pint of finished yield. That means a 25 lb case of hot peppers makes about 10 to 12 pints, roughly.
Pressure Canning Peppers
Canning peppers starts with washing the peppers. That’s especially true if you’re using purchased peppers, since peppers are one of the “dirty dozen” high spray crops. Buy organic if you can, or opt for growing your own organically instead.
After washing, I fire roast them on my backyard grill. There are other methods, but this is by far the most efficient. You can do a dozen bell peppers at a time on an average-sized gas grill, and many dozen smaller hot peppers.
Lacking a grill, you can broil them in your oven for about 15 minutes until blistered (but that heats up the house a lot in mid-summer, and you’ll need to do a lot of batches of oven-roasted peppers before you have enough for canning). In a pinch, you can roast them over a stovetop burner one at a time too, with tongs to hold each pepper. That’s really time-consuming though.
I’ve also used our high output propane burner outdoors, the one we use for making homemade beer, and that will blister a pepper in seconds. They’re still one at a time with a long pair of tongs, but you’ll be through a batch quick (just be careful with that method).
The same goes for the 3-burner high output propane stove I use in my outdoor canning kitchen.
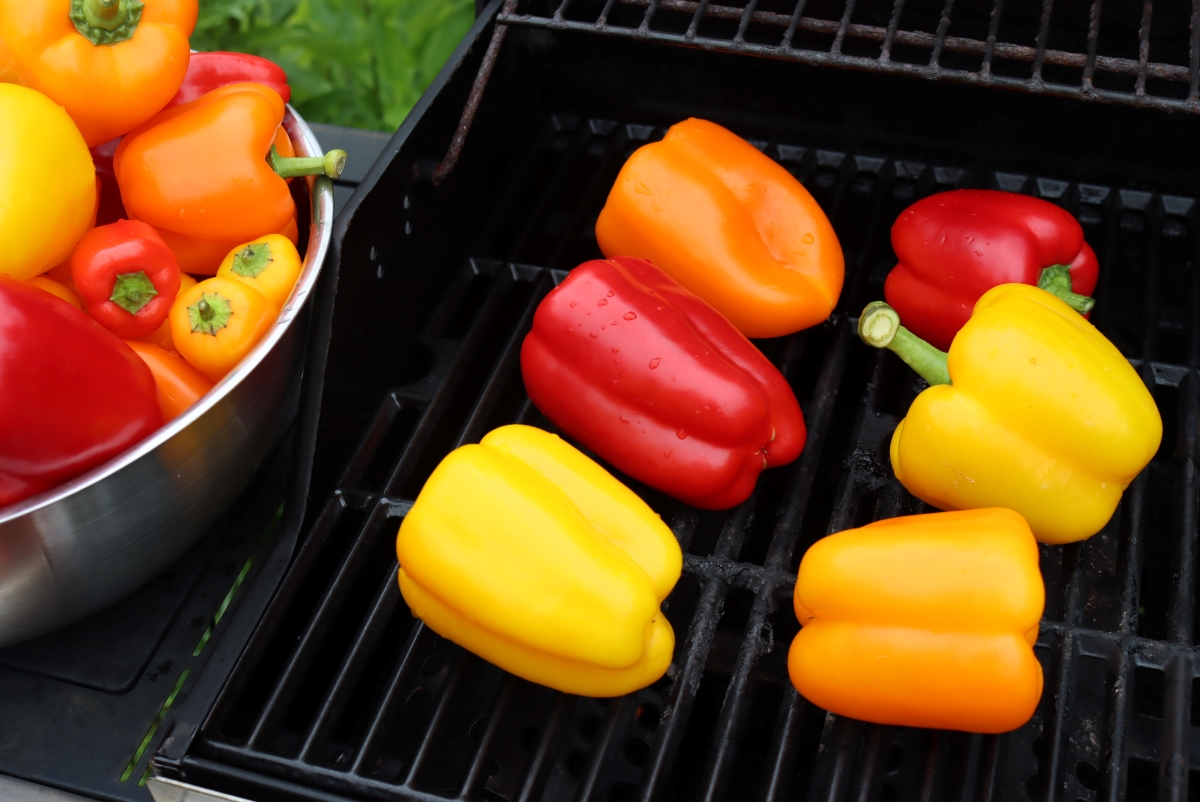
As I’ve said, blistering the skin is optional, but it really does enhance the flavor when canning peppers. It adds a subtle smokiness to the whole pepper and also carmelizes some of the natural sugars in the pepper which really brings out their flavor.
If you skip roasting the peppers, you’ll need to parboil them anyway so they’re partially cooked when they go into the canning jars. This is important for a number of reasons.
First, the peppers must be softened if they’re going to be packed whole as I’m doing with these bell peppers.
Even if you’re going to dice them though, they do need to be partially cooked before going into the canning jars. Peppers have a lot of air in their tissues, and pre-cooking, whether it’s roasting or a quick blanch helps to drive off some of that excess air.
That means they pack better in the canning jar, and it keeps them from floating or shrinking too much during/after canning.
Pre-cooking also helps the peppers hold their shape during canning, believe it or not. These methods remove the air gently before they go into the jar. If they get packed completely raw, the air in their tissues will be forced out rapidly during the pressure canning process which will cause them to fall apart more than a simple roasting or blanching before canning.
If roasting, which I’d highly recommend instead of blanching, your goal is to blister the skin all around the pepper so that it’s just slightly charred (for flavor) and so that it’ll slip off the peppers (for a better texture on the finished peppers when they come out of the canning jar).
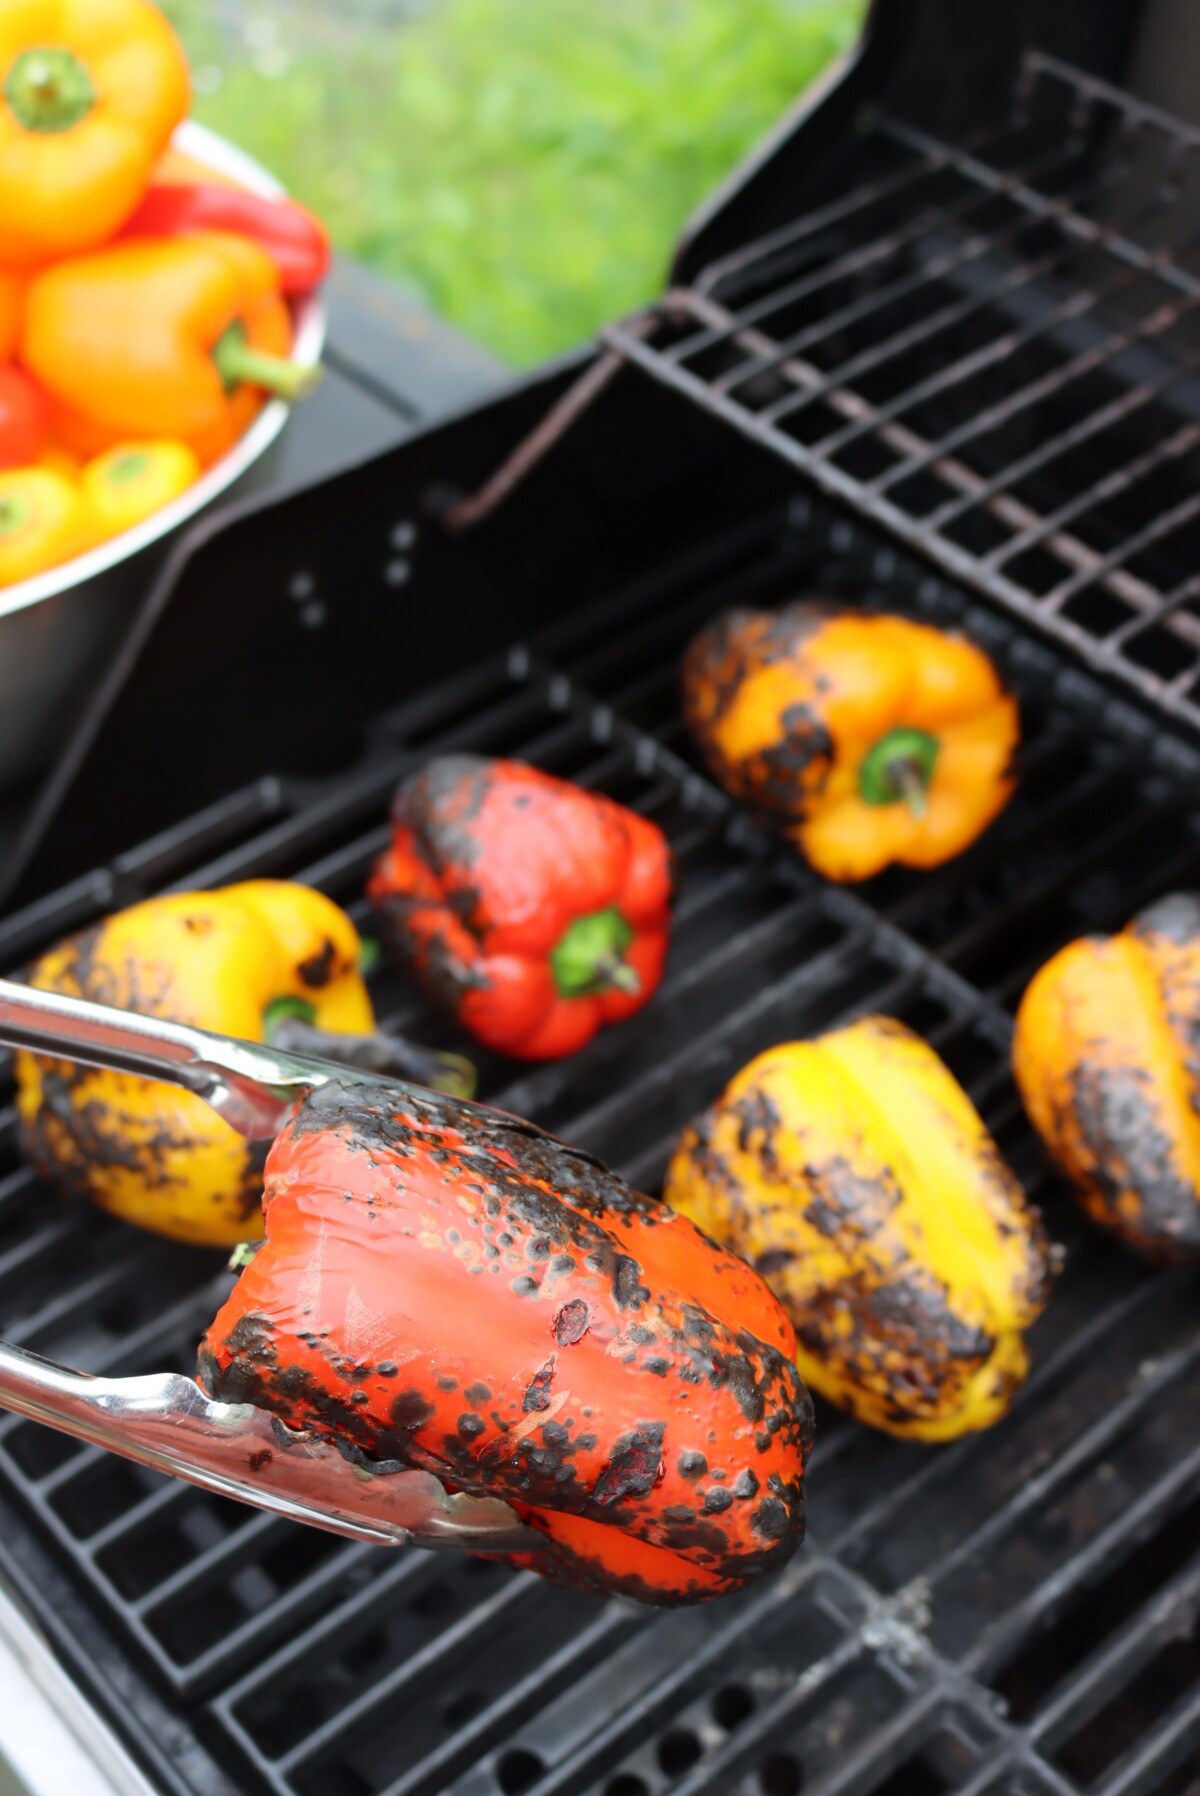
After roasting until the skin is blistered, cover the peppers on a tray with a damp towel. This helps retain their and moisture so the skins soften further, making it easier to slip them off.
About 15 minutes under a damp towel and the pepper skins have softened, and they’re now just cool enough to handle. Use your hands (wearing gloves for hot peppers) to slip the skins off the peppers.
You don’t need to get 100% of the skin off, as the blistering process will prevent them from toughening up in the canning process.
It’s a lot easier to remove the skins if you do it under running water in the kitchen sink, which is what I do for hot peppers. Gloves and running water are both a must for hot peppers, but for sweet peppers, you can just quickly slide off the skins with your fingers.
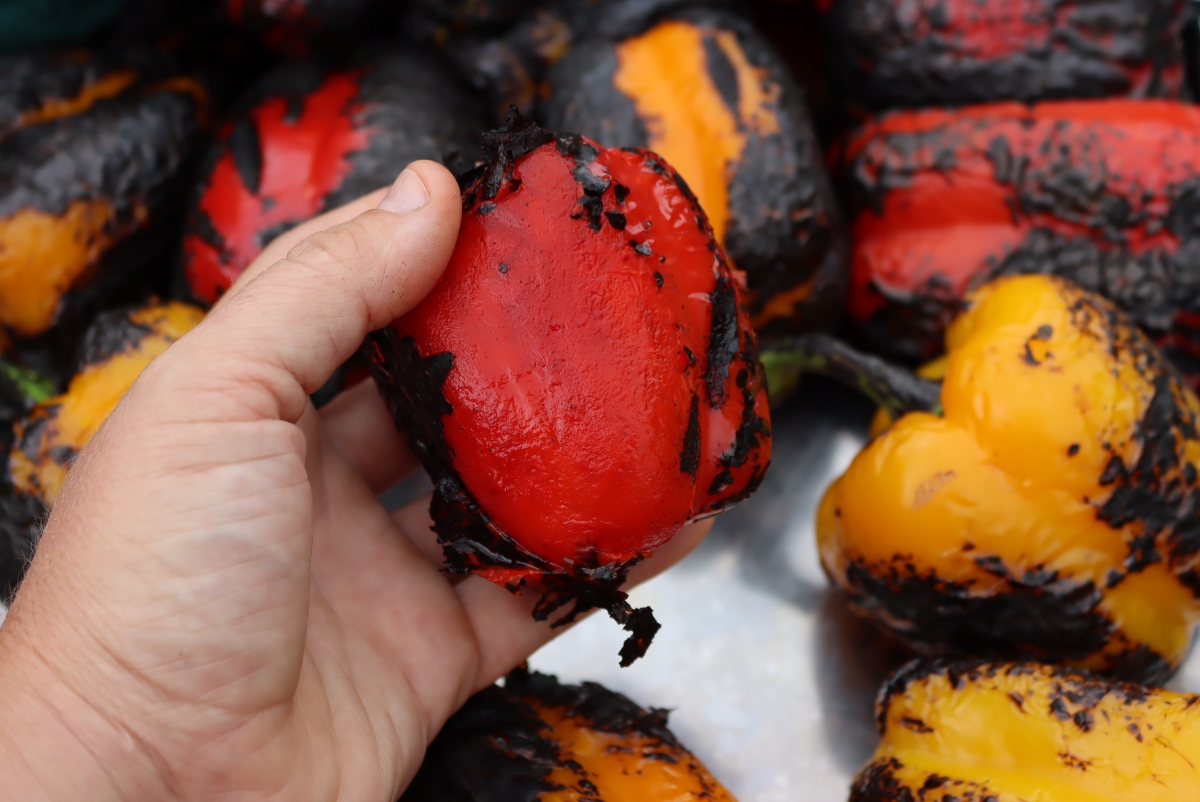
If you missed any spots or you want cleaner pepper skin removal, you can always pop them back on the grill. I like to leave some charred/blistered patches on the finished peppers. Just a few on each pepper, those parts that stubbornly won’t come off anyway, as it helps flavor the whole jar.
Worried about how the roasted peppers are going to look in the jar?
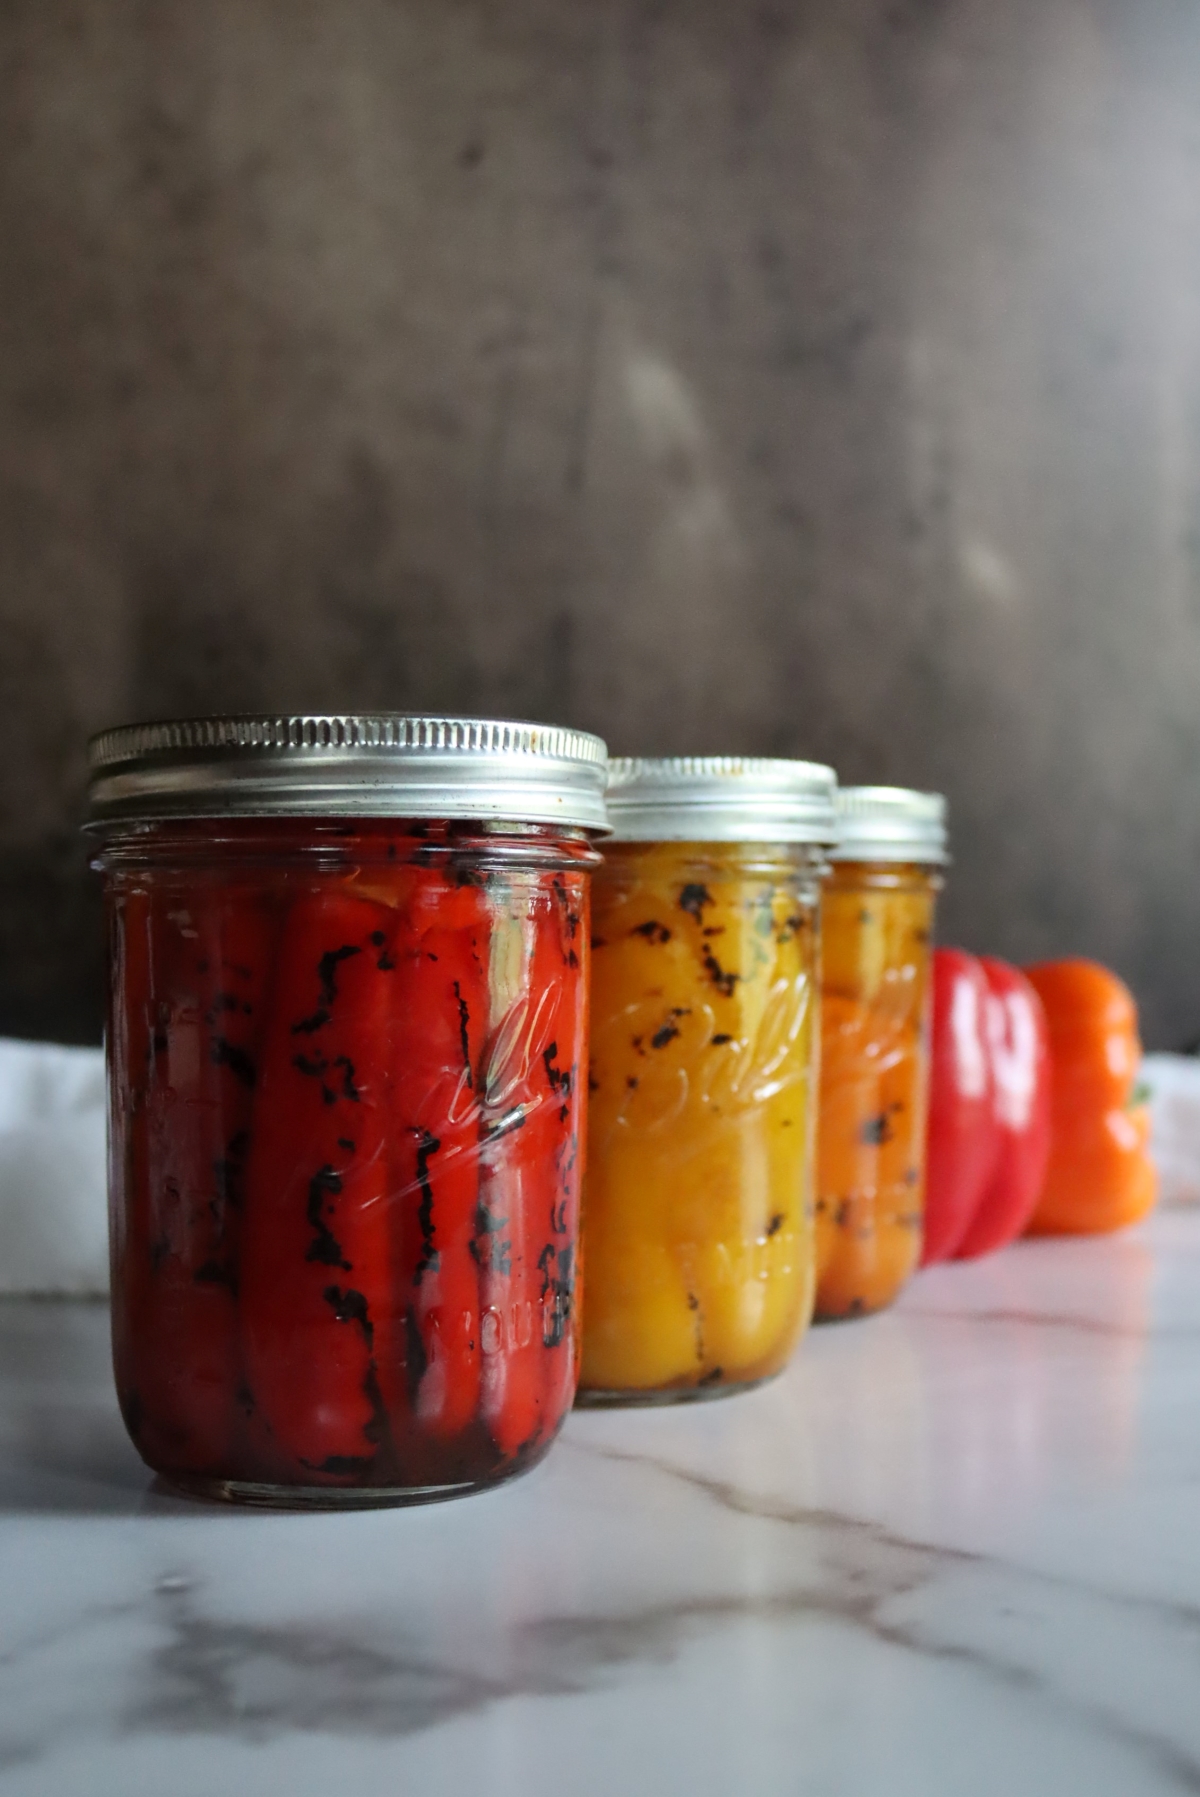
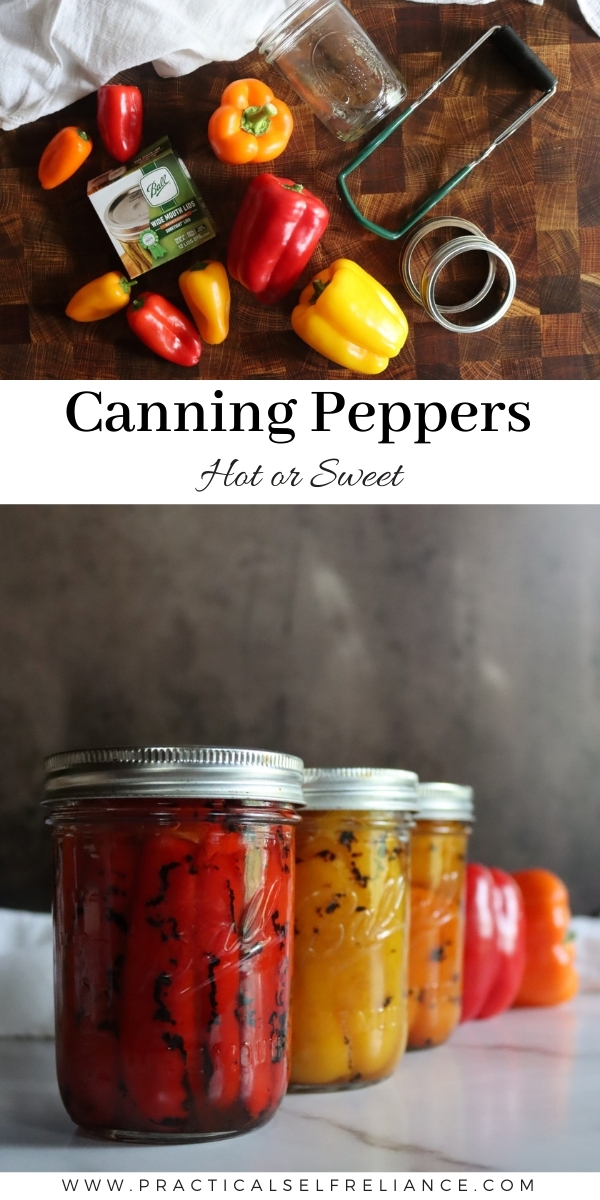
Honestly, I’m not, because I’m more concerned with flavor than pretty jars…but they do come out darn pretty even with plenty of char in the jar!
They still look pretty darn nice (and taste even better).
After slipping the skins, you also need to core and seed the peppers. For most larger peppers, simply run a sharp paring knife around the stem and then pull the stem out. It’ll bring the whole pepper “core” out in one piece, seeds and all.
Since the roasted peppers are soft, it’s easy enough to slip your fingers in there and strip out any remaining pieces of pepper ribs or seeds.
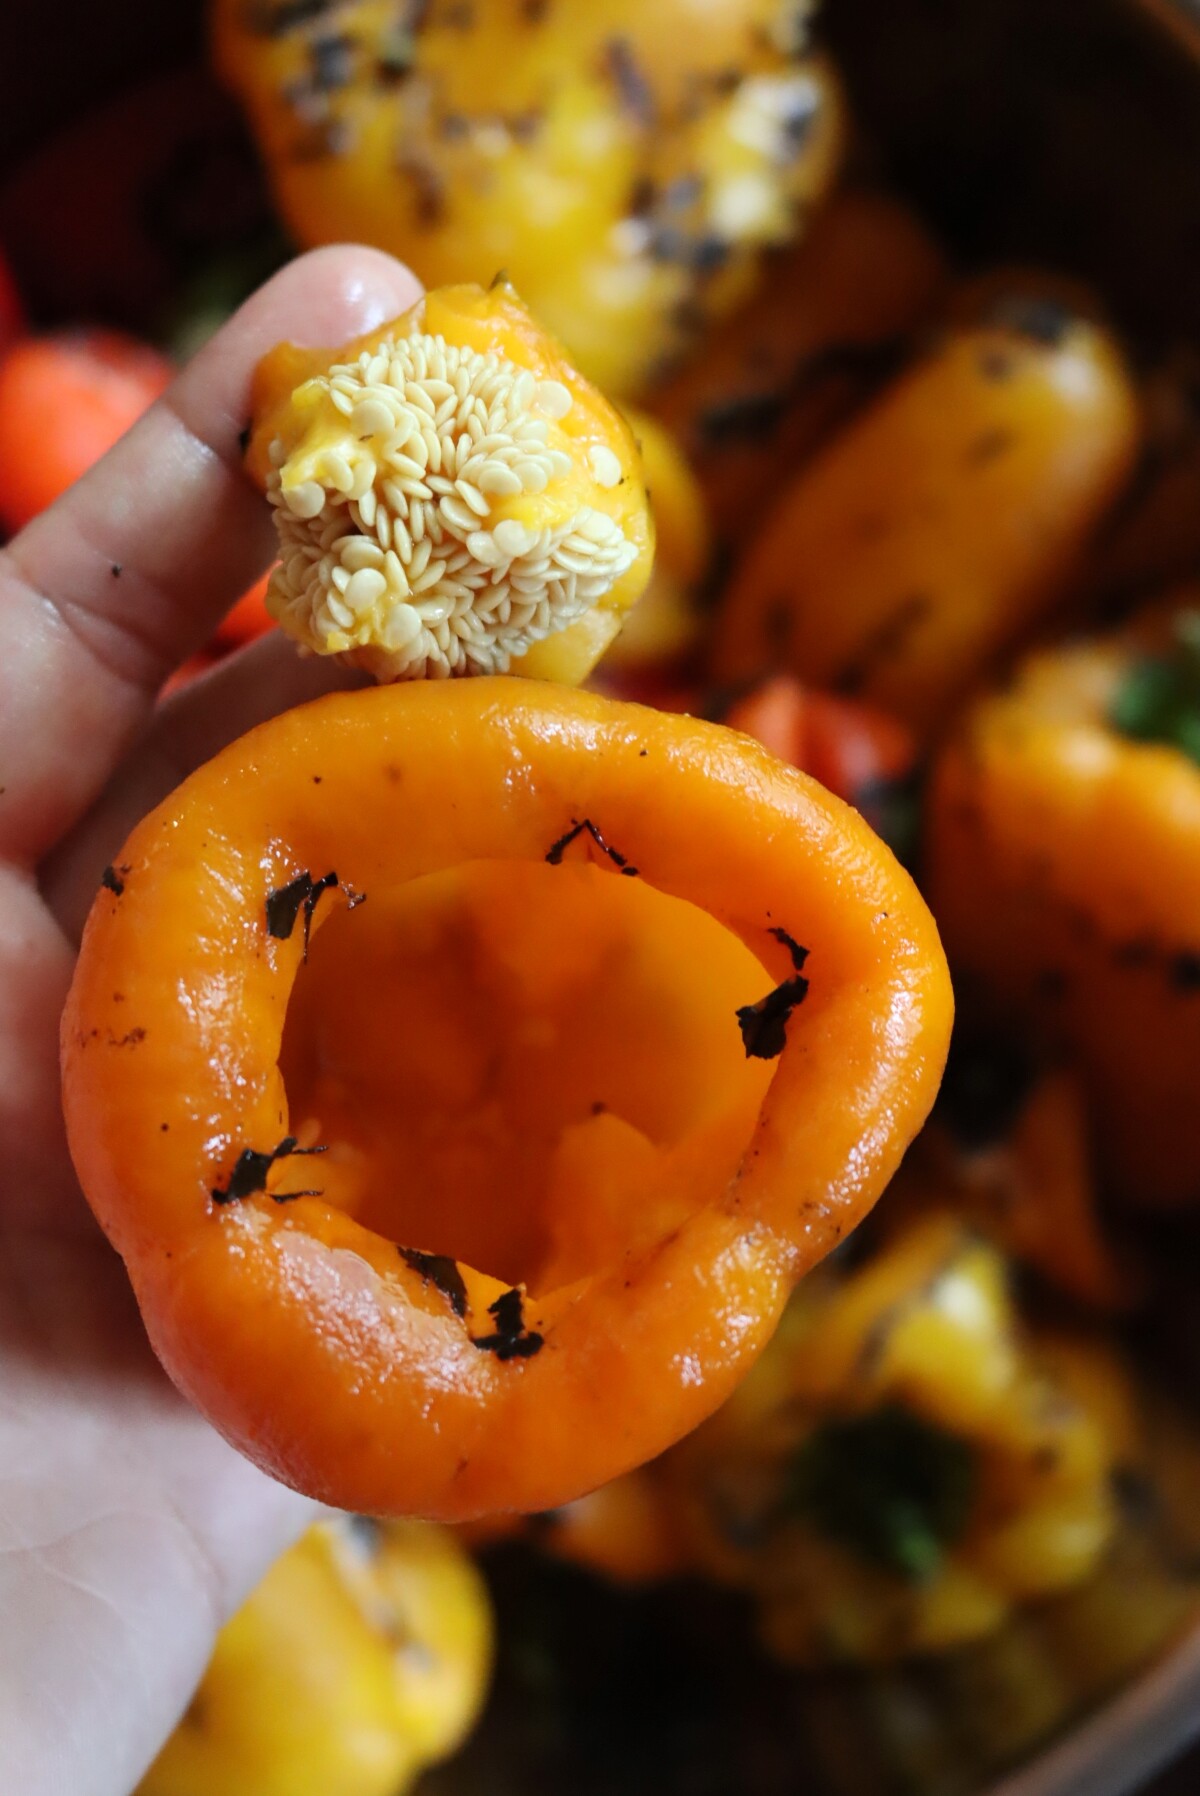
For smaller hot peppers, it’s usually easiest to just chop off the top of the pepper (stem end) and then slip your fingers along the pepper to squeeze out the seeds. It’s like emptying a toothpaste tube. Failing that, you can rinse the seeds out with running water.
Be sure to wear gloves with hot peppers!
I can’t stress that enough with hot peppers. Even if they’re not that hot, after you’ve worked through a whole batch you’re going to have a lot of capsaicin in your hands and it sticks around a long time. Touching your eyes even hours (or days) later could be really painful, and it’s easily avoided with simple precautions.
Food grade powder-free nitrile gloves work well and are usually easy to come by (except for in 2020…). Failing that, clear plastic disposable food prep gloves work too, though they’re a lot less sturdy, and since they don’t fit tightly it’s easier for pieces to get in at the wrist.
Packing Peppers for Canning
Regardless of the type of peppers, packing is a matter of personal choice. They can be packed whole, simply roast or blanch, then core and flatten them so they’re like an envelope. You can slip 3-4 bell peppers into a pint that way, flattened, and then slipped in vertically.
Halves, slices, or dices also work just fine. Dices are my preference for hot peppers since they’ll be ready to add to dishes right out of the jar (without any more chopping, skipping the gloves a second time). I tend to leave sweet peppers as large as possible because they’re simple to chop down later if I need dice, but they’re still perfect for stuffed whole peppers right out of the jar.
Pack the jars, leaving 1-inch headspace above the peppers.
Preheat your pressure canner, and bring a kettle of water to a boil on the stove.
Pour boiling water over the peppers in the jars, maintaining 1-inch headspace. Be sure to de-bubble the jars, so that there’s no air trapped in the jar with the peppers. That’s especially important when canning whole peppers, which can hold air more easily. Piercing or slitting each pepper a few times helps with this.
Seal with 2 part canning lids and load into a pre-heated pressure canner that has 2-3 inches of simmering water at the bottom.
Allow the steam to vent for 10 minutes before bringing the pressure canner up to pressure. Do not start timing until the pressure canner is at the appropriate pressure for your altitude (see recipe card).
Canning Times for Peppers
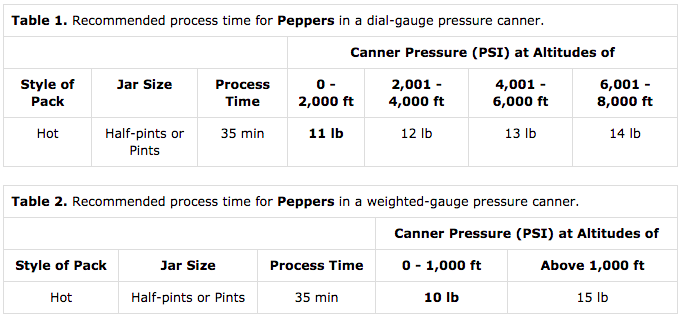
The processing time for canning plain peppers in a pressure canner is always 35 minutes. They can be canned in pints or half-pints, but not quarts.
What does change with altitude is the pressure used. The canning pressure also changes depends on the type of canner you’re using.
I use a weighted gauge 30-quart capacity All-American canner, which can hold 19 narrow mouth pints (of 18 wide mouth). That’s a lot of home-canned peppers!
The downside is that since I’m just above 1,000 feet I must use 15 pounds of pressure. If I had a dial gauge, I could simply use 11 pounds pressure and be a bit gentler on my peppers while still ensuring food safety.
Be sure to adjust the pressure based on your altitude and type of canner, as shown in the table below:
Ways to Preserve Peppers
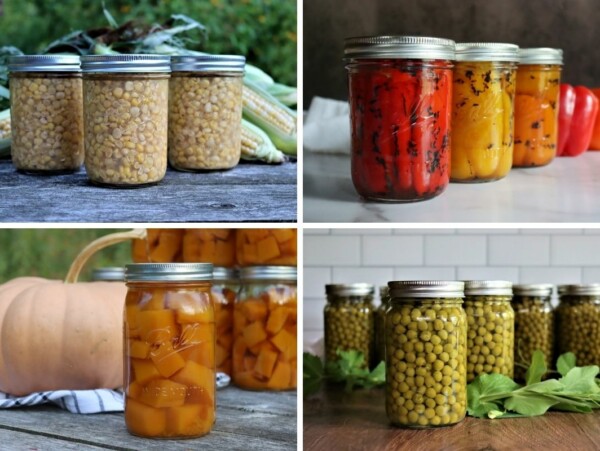
Need a few more ways to put up peppers this season?
Canning Peppers (Hot or Sweet)
Equipment
- Ball Regular Mouth Canning Jar 8 oz. 12 pk
- Pressure Canner
Ingredients
- Peppers, hot or sweet
- water
- salt, optional, 1/2 tsp per pint
Instructions
- Wash peppers before beginning.
- Roast peppers on all sides to blister the skin, using either a grill, stovetop burner or oven broiler for 8-10 minutes. A grill outdoors is my preferred method.
- After roasting, place peppers on a tray under a damp towel for about 15 minutes. This will help the skins slip.
- Remove the towel and slip the skins of the peppers. Be sure to use gloves for hot peppers. Working under running water in the sink helps the skins slip easier.
- Use a sharp paring knife to cut around the stem of each pepper and remove the stem, seed and core of each pepper. For hot peppers, simply cut off the top of each pepper and then remove the seeds. (Again, gloves are important here for hot peppers!)
- Pack the peppers into prepared canning jars, either as whole peppers, slices or dices. For whole peppers, smash the pepper flat before sliding it into the jar (3-4 whole peppers per pint). Be sure to leave 1 inch headspace.
- Prepare a pressure canner according to the manufacturers instructions. This usually means adding 2-3 inches of water to the bottom of the canner and bringing it up to a simmer with the bottom trivet in place.
- Bring a kettle of water to a boil on the stove and fill jars with boiling water, maintaining 1 inch headspace. De-bubble jars, adjust headspace, wipe rims and seal with 2 part canning lids to finger tight. Load into a preheated pressure canner.
- Place the lid on the pressure canner, but do not start bringing it up to pressure. Allow steam to vent for 10 minutes before adding the canning weight and bringing the canner up to pressure (see notes for pressure).
- Once at pressure, process jars for 35 minutes. Canning in pints or half pints is acceptable, but don’t use quarts or larger jars. Be sure to maintain pressure for the entire process time, and if the canner drops below pressure, re-start the timer.
- Once the jars have processed at pressure for 35 minutes, turn off the heat and allow the canner to cool completely before removing the jars. (Don’t ever attempt to rapid cool a pressure canner.)
- When cool, remove the jars and check seals. Store any unsealed jars in the refrigerator for immediate use. Properly processed and sealed jars should maintain quality on the pantry shelf for 12-18 months.
Notes
- 0 to 2,000 Feet Elevation use 11 pounds pressure
- 2,001 to 4,000 Feet Elevation use 12 pounds pressure
- 4,0001 to 6,000 Feet Elevation use 13 pounds pressure
- 6,001 to 8,000 Feet Elevation use 14 pounds pressure
- 0 to 1,000 Feet Elevation use 10 pounds pressure
- 1,001 Feet Elevation and above use 15 pounds pressure
Pressure Canning Recipes
Fill your pressure canner again with these simple pressure canning recipes:
Summer Canning Recipes
Putting up more than peppers this season? I have literally hundreds of canning recipes posted, but here are a few to get you started:


We’ve grown hatch peppers here in northern Illinois for several years, primarily in raised beds. Having never had a true New Mexico hatch pepper (grown in New Mexico) I dont have a basis for comparison, but ours certainly seem flavorful. We always get a very good crop. Roast, skin and freeze, we used them in, we’ll what we call fajitas, all the time, and are very happy with the results. The roasting and skinning process on a charcoal grill was always very time consuming, not to say using quite bit of charcoal. Then I started using a propane tank with a burner wand. I set an old grill grate on a couple of concrete blocks, have some wet towels to throw the charred peppers under, and I can get a bushel done in a fraction of the time compared to a grill. You do have to be carful you don’t roast your tennis shoes though!!! 🙂 This year I had some extra peppers, so instead of roasting, I cleaned and gutted them , and threw them in a crock with some sliced red onions in a brine (basically same process as sauerkraut you just have to add the liquid); have a great ferment going so far, cant wait to try the results!
I want to can in wide mouth half pint jars, My pressure canner is a Presto canner and it is recommend I had 3 quarts of water to the canner. My question is if I am using wide mouth half pint jars they will be covered or almost covered with the water, is this ok? and can I add another insert and double stack the jars? Jen
Yes, that’s totally fine and you can definitely double stack the jars. It’s a good idea to offset the jars when you double stack in order to allow for better steam flow.
Can I make a red pepper sauce? It’s the consistency of spaghetti sauce without the meat. I haven’t found any canning times for it. Right now I freeze it but would like to can it. I roast the peppers then puree them, add the spices like I do for spaghetti sauce. Then I let it cook on the stove until I like the flavor of the sauce.
That does sound amazing, but there’s no tested canning recipe that I’m aware of for anything like that. You can put up the diced roasted peppers with spices as they are, but once they’re pureed into a sauce there’s not a tested method for those. That’s not to say pressure canning them isn’t safe, it’s just that there’s no established time or protocol for it, so I can’t advise you as to specifics. Sorry I’m not more help here.
I bought red, orange, and yellow peppers for roasting to can. I haven’t roasted them yet, but I have already cored and quartered them. (I did that before I found your article.) When I roast the quarters, should I roast both sides or just the skin side? I
I would probably just roast the skin side.
Thank you for taking the time to create the post, was just what I was looking for.
Just a note about wearing gloves. My general attitude is that gloves are for people without calluses, I’m a tough guy and I don’t need no stinking gloves. Plus I was just doing Hungarian peppers, they’re not really that hot. About 15 minutes after cleaning the skins and seeds from the peppers I noticed the skin between my fingers getting hot and red. Within 30 minutes my fingers were swollen and my hands had the same feeling as a very solid 1st degree burn. Fortunately I recovered (mostly) after about 4 hours, and the next day had no serious damage. However, next time I am definitely wearing gloves, calluses or not.
Gloves are definitely not a bad idea.
I went exactly by your recipe and was very pleased. I chopped everything by hand because I like it chunky. After tasting it I found it too mild for us but I can always add stuff to it when serving! We will be serving this with fish and pork mostly so the small 1/2 pint jars will be perfect for the two of us. It made 6 1/2 pints. Thank you for posting !!
You’re very welcome. We’re so glad you enjoyed the post.
Do you have a recipe for the green chilies that you can buy in small tin cans? Maybe this is it ? But they seem to be in a bit more of a saucy liquid than water. Thanks!
Yes, I know what you mean by the saucy liquid. I’m not sure what they do differently but this would be the method for canning peppers. You can search online and see if maybe you can find another recipe. Just make sure that it follows safe canning procedures.
Hi! I am afraid I over cooked my peppers while charring! I broiled them in my oven, but had to rotate them. I used three different types of sweet and they are all really soft now. I think I am just going to freeze them for soup. How soft should they be after charring? feel cooked?
Yes, they should be fairly soft and cooked. How long did you broil them for?
My oven only broils right in hte center of the top rack. They were only inder there about 3-4 mins per side, but since I just rotated them on the pan, they stayed in the oven while the rest broiled. Does that make sense? I will wait a couple days for our next harvest and try again. And, by the way… New “mini-homesteader” here… I have loved so many of your canning recipes! Ive made the best lime curd, Apple pie filling and a number of other things from your site! I have loved them! I have recently pulled a number of meal recipes from your collection of 30 meals and I can’t wait to try them!
Yes, that makes sense. Let us know how it works if you try again. We’re so glad you’re enjoying the blog.
Could you use a water bath method rather than a pressure cooker?
Peppers are a low acid food and must be processed in a pressure canner for safety, not a pressure cooker or water bath canner.
After canning hot peppers using this method, would they would retain their flavor and heat to turn into hot sauce later?
Yes, they should retain their flavor just fine.
Are you sure that 2 tablespoons for salt is correct, maybe it should have been 2 teaspoons? Did this recipe today, but I did a big batch, we jarred up 35 pints after reducing. I took your 7 pint recipe and multiplied it by 5 and went for it. I think it turned out good, but after adding 8 tablespoons of salt to my nearly full 22 quart stock pot, I thought that was enough. I think it turned out a little salty that most people would prefer, but I really do not mind it myself. Anyway, I like the consistency, it did take me over 2 hours to reduce down to a consistency that I like, but with 35 pints on the shelf, we will be good for a couple years. Thanks for the tip.
The recipe calls for 1/2 tsp per pint.
Can this be done without a pressure canner? If so how?
The only way to preserve peppers without a pressure canner is to pickle them. All low acid foods need to be pressure canned in order to be safe.
Why can’t you use quart jars? New to canning so I am quite confused by this!
I am not aware of a tested canning time for peppers in quart jars.
I am glad that my Husband found your website. It is very interesting. We used to live off grid for about 7 years. We now have electric.
I’m so glad that you’re enjoying the site.
Is it safe to add any onion, garlic, or spices to the peppers?
For onions, the time and instructions for canning onions is rather specific, and the process times are longer. I wouldn’t add those.
I believe it’s considered safe to add a small amount of dried spices to a canning recipe. There’s guidance on that here: https://www.healthycanning.com/safe-tweaking-of-home-canning-recipes/