Affiliate disclosure: This post may contain affiliate links. Please see our Privacy Policy.
Drop spindles are a handy way to keep your hands busy, and an inexpensive (and portable) way to produce homemade yarn. They’re perfect for relaxing with family or spending quality evenings by the fire in wintertime.
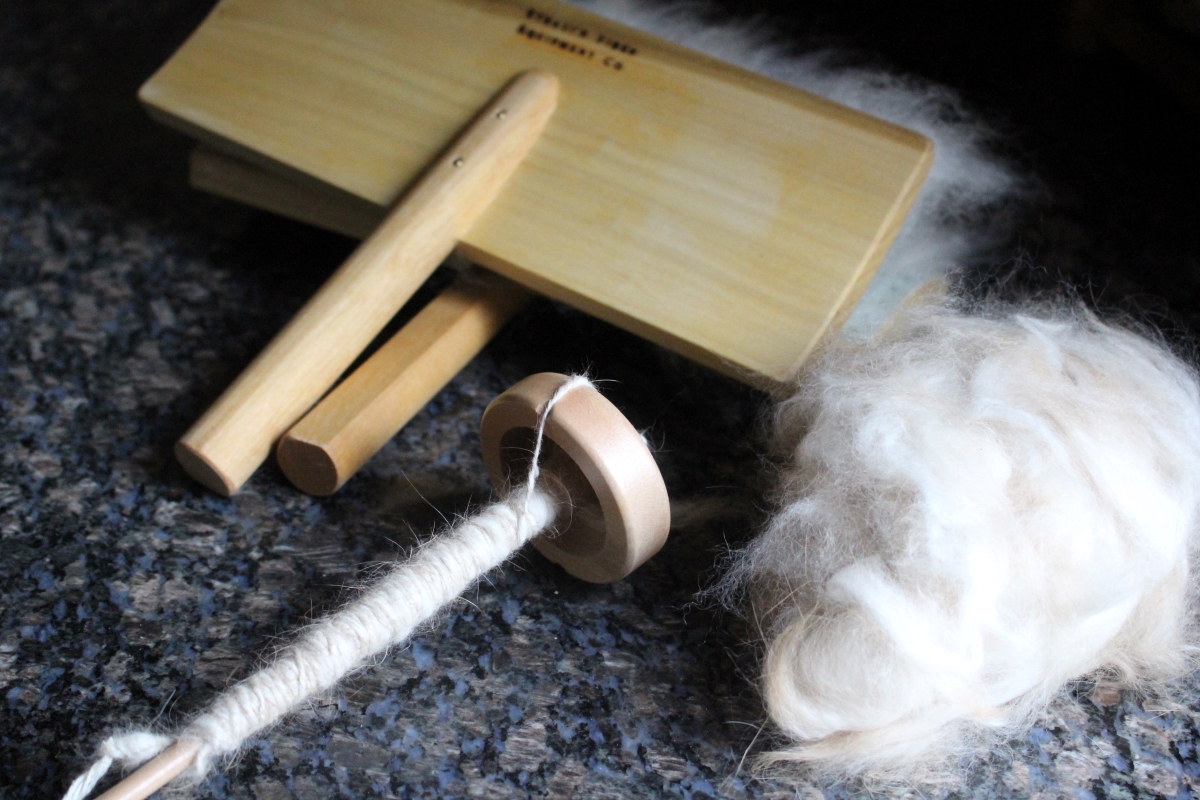
Though we raised fiber animals for years, I’ll admit the thought of actually spinning it into wool was incredibly intimidating. Raw fiber from our angora rabbits piled up, and I stored it all away in totes for that “someday” when I’d have time and patience to learn the art of hand-spinning.
After my children were born, “someday” seemed to stretch further into the future, at least until my 4-year-old daughter became incredibly interested in making her own clothing.
We started with basic sewing tutorials, and she loved every minute, but sewing wasn’t quite enough. She wanted to “make” clothes from scratch, rather than just sewing together purchased fabric. (A child after my own heart…)
Earlier we’d explained that the more things we could produce ourselves, the less time her mom and dad would have to spend at work. The more produce we grew in the garden, the less we’d have to buy at the grocery store.
She hates it when we have to work and is incredibly committed to helping the family save money (at least as far as a 4-year-old can be). She helps in the garden as much as she can, but still wanted to do more, since somehow that didn’t stop us from having to go to work…
Outside of the garden, clothing seemed like the next logical thing to make ourselves, at least to a 4-year-old. I didn’t have the heart to explain that weaving fabric by hand is a lot more involved than planting tomato seeds, and I did still have literally buckets of raw angora…
Suddenly “someday” had arrived, and the two of us spent a few days learning to use a drop spindle together. In the end, it was a lot easier than I’d imagined. Our work is far from perfect, but within the first hour of practice, we each had several feet of passable angora yarn spun.
After that, things got a lot easier and faster as muscle memory quickly takes over. With a bit of practice, it’s something even my preschooler could learn to do (especially with the help of a few good youtube videos).
Before I go into the technical aspects, this handy video shows all the basic steps of using a drop spindle. If you’ve never seen one in action, I’d highly recommend watching this video before you continue reading:
What is a Drop Spindle?
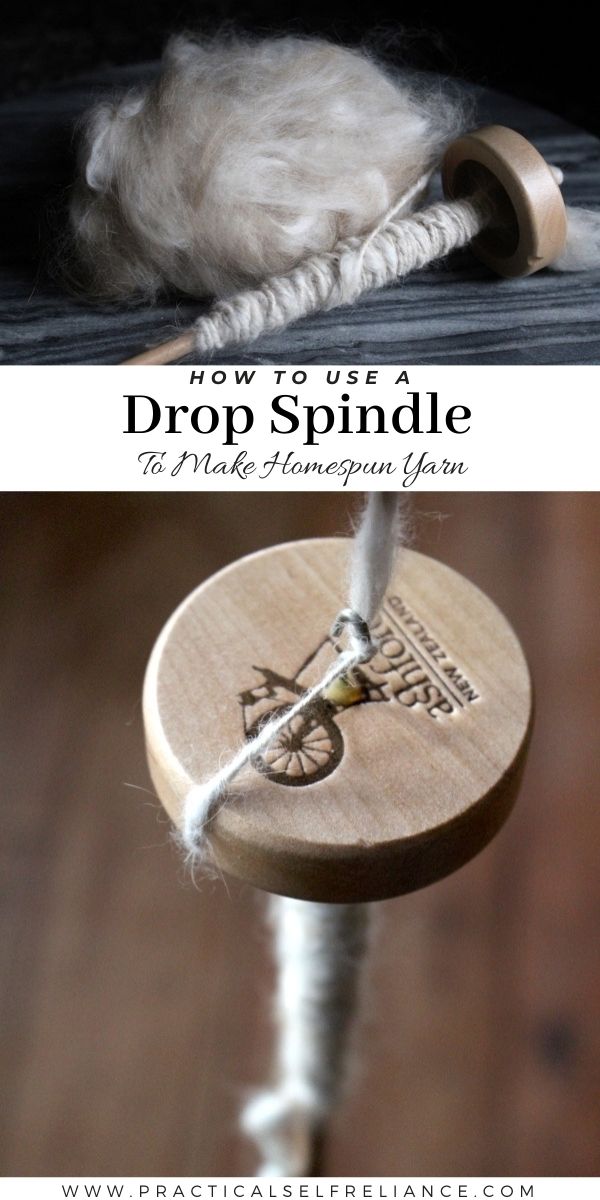
Drop spindles are suspended spindles used to twist fibers into a workable thread or yarn. Drop spindles come in a range of sizes and weights and are typically chosen to match the needs of the fiber being spun.
Top whorl drop spindles (the type of spindle we’ll be looking at in this article) have been used to make yarn and thread for many thousands of years, in many different cultures around the world.
While spinning wheels are handy tools, they’re big, bulky, and expensive. A drop spindle can fit neatly into a pocket, and nomadic herders have been using them for millennia to make use of wool from their animals. This tiny tool can turn an evening by the fire (or by the TV) into a productive session, keeping your hands busy and making something beautiful (and functional) at the same time.
How Does a Drop Spindle Work?
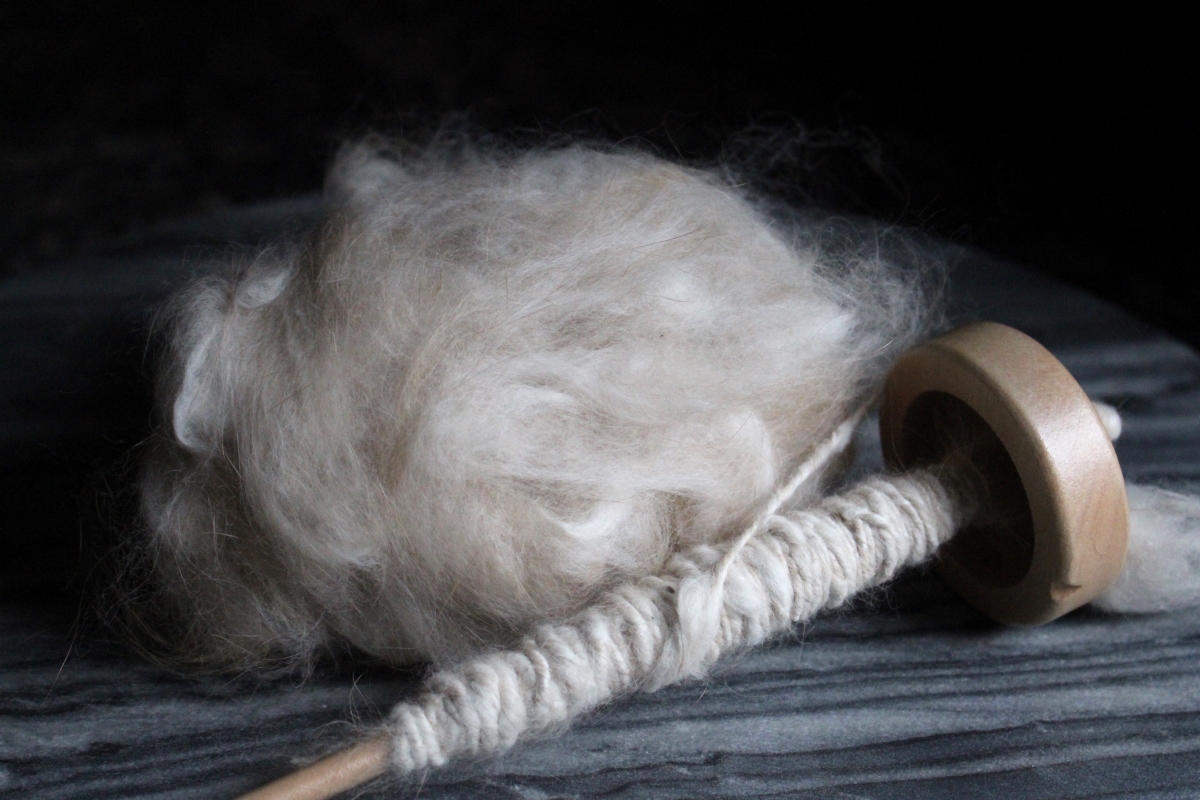
True to its name, a drop spindle is meant to drop down and spin as the thread or yarn is twisted and formed. Depending on your skill level, you can let the spindle hang freely or hold it against your leg.
A hook at the top holds the wool, and the weighted wheel (either at the top or bottom) provides inertia to keep the spindle moving. Above the spindle, the raw fiber is “drafted” by the spinner, and fed into the spinning thread as it forms. The drop spindle will slowly work towards the ground as more yarn is spun.
Once the yarn is long enough, the spinner stops and winds it on the dowel below the weighted wheel. Hook it back on the top and then “drop” the spinning spindle to keep spinning more wool.
Until you get the spinning mechanism down, which isn’t difficult but requires some dexterity and muscle memory, beginner spinners might find it easier to hold a drop spindle in a static hold while getting the hang of it.
Types of Drop Spindles
For such a seemingly simple apparatus, there are as many drop spindles to choose from as there are fibers! Let’s take a closer look at some of the more popular spindle options, and what you should be considering when making your choice.
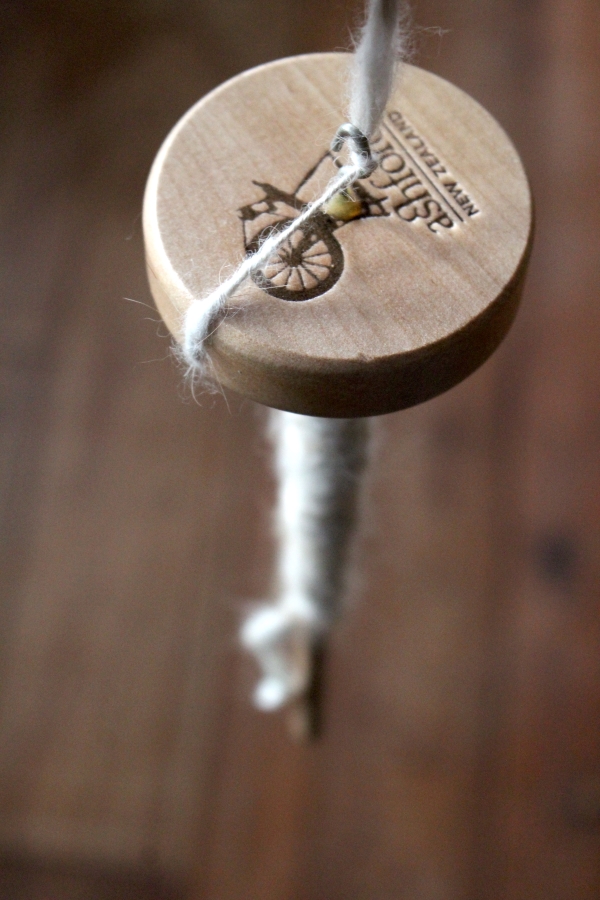
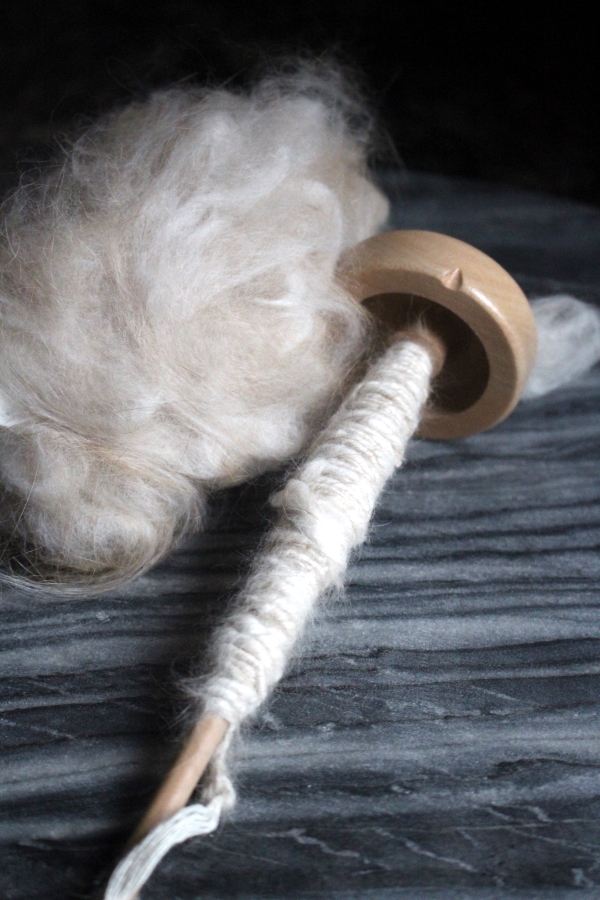
Top whorl drop spindles, also called top-weighted or high-whorl drop spindles, are what my family uses and you can see what they look like in these photos. The thread or yarn is collected at the top of the spindle which means the spindle is naturally weighted at the top.
When made with light materials, top whorl spindles tend to spin better and more easily than other kinds of spindles. Some amateur spinners find top whorl drop spindles more difficult to learn on, although I haven’t found the learning curve to be particularly tricky (again, using a drop spindle correctly is largely dependant on muscle memory).
Bottom whorl drop spindles, also known as bottom-weighted or low-whirl spindles, have the weight of the yarn distributed at the bottom of the spindle. Bottom whorl drop spindles are sometimes preferred to top spindles because they have a low center of gravity, which results in a spin with more stability.
If you’re making your own drop spindle, you’ll probably find that bottom whorl spindles need less precision in their construction in order for the spin to work properly.
Making your own drop spindle, whether top or bottom weighted, is easy (and you can give them away as gifts, if you have crafty friends). You can make a drop spindle using wooden toy car wheels and a dowel, polymer clay, or even a pair of old CDs!
Though making a spindle is easy, matching the weight of a homemade spindle to your fiber can be tricky. I’m spinning angora fiber that we harvested from our own angora rabbits, which requires an extremely light drop spindle. Heavier fibers, like coarse wools, want a much heavier spindle.
Choosing a Drop Spindle
When choosing a spindle, there are a couple of factors to consider. Most importantly? You want a well-balanced spindle. If your drop spindle has an uneven spin it makes the spinning process especially frustrating, whether you’re an experienced spinner or just beginning.
You can test the spin by tying on a piece of yarn and spinning the spindle clockwise — the spin should be smooth and balanced.
Generally speaking, larger, heavier drop spindles are used to spin heavier fibers to make bulkier yarn. Small, light drop spindles are used for spinning delicate fibers — the smallest drop spindles can even spin fine thread for lacemaking!
If your chosen fiber is lightweight, such as with cotton, cashmere, angora, alpaca, and merino wool, then a lighter, faster-spinning drop spindle is the way to go. Spinning heavier sheep wool into thicker, heavily-weighted yarn requires a heavier drop spindle to match.
Remember that learning how to use a drop spindle requires patience, and the more time you spend with it the likelier you are to develop an intuitive approach to choosing the correct spindle for the job.
Preparing Yarn for Spinning
The truly fun part of using a drop spindle to create your own wool or thread is choosing and preparing the fiber for spinning.
Buying pre-carded yarn is always an option, and there are so many choices available in terms of color and texture. Here are some terms to be aware of when making your decision:
Wool roving is a term that is used to describe wool that has been processed and carded, but that has not yet been spun. Wool roving maintains the natural crimp of the wool, adding a textured effect to the finished yarn. Available in a rainbow of colors and thicknesses, there are lots of options to choose from when it comes to buying wool roving.
Batting, also called batts or fleece, is a type of wool that’s similar in production to wool roving. Unlike wool roving, batting is formed into thin sheets which are then stacked on top of one another, resulting in textured, dense wool that is ideal for spinning and felting.
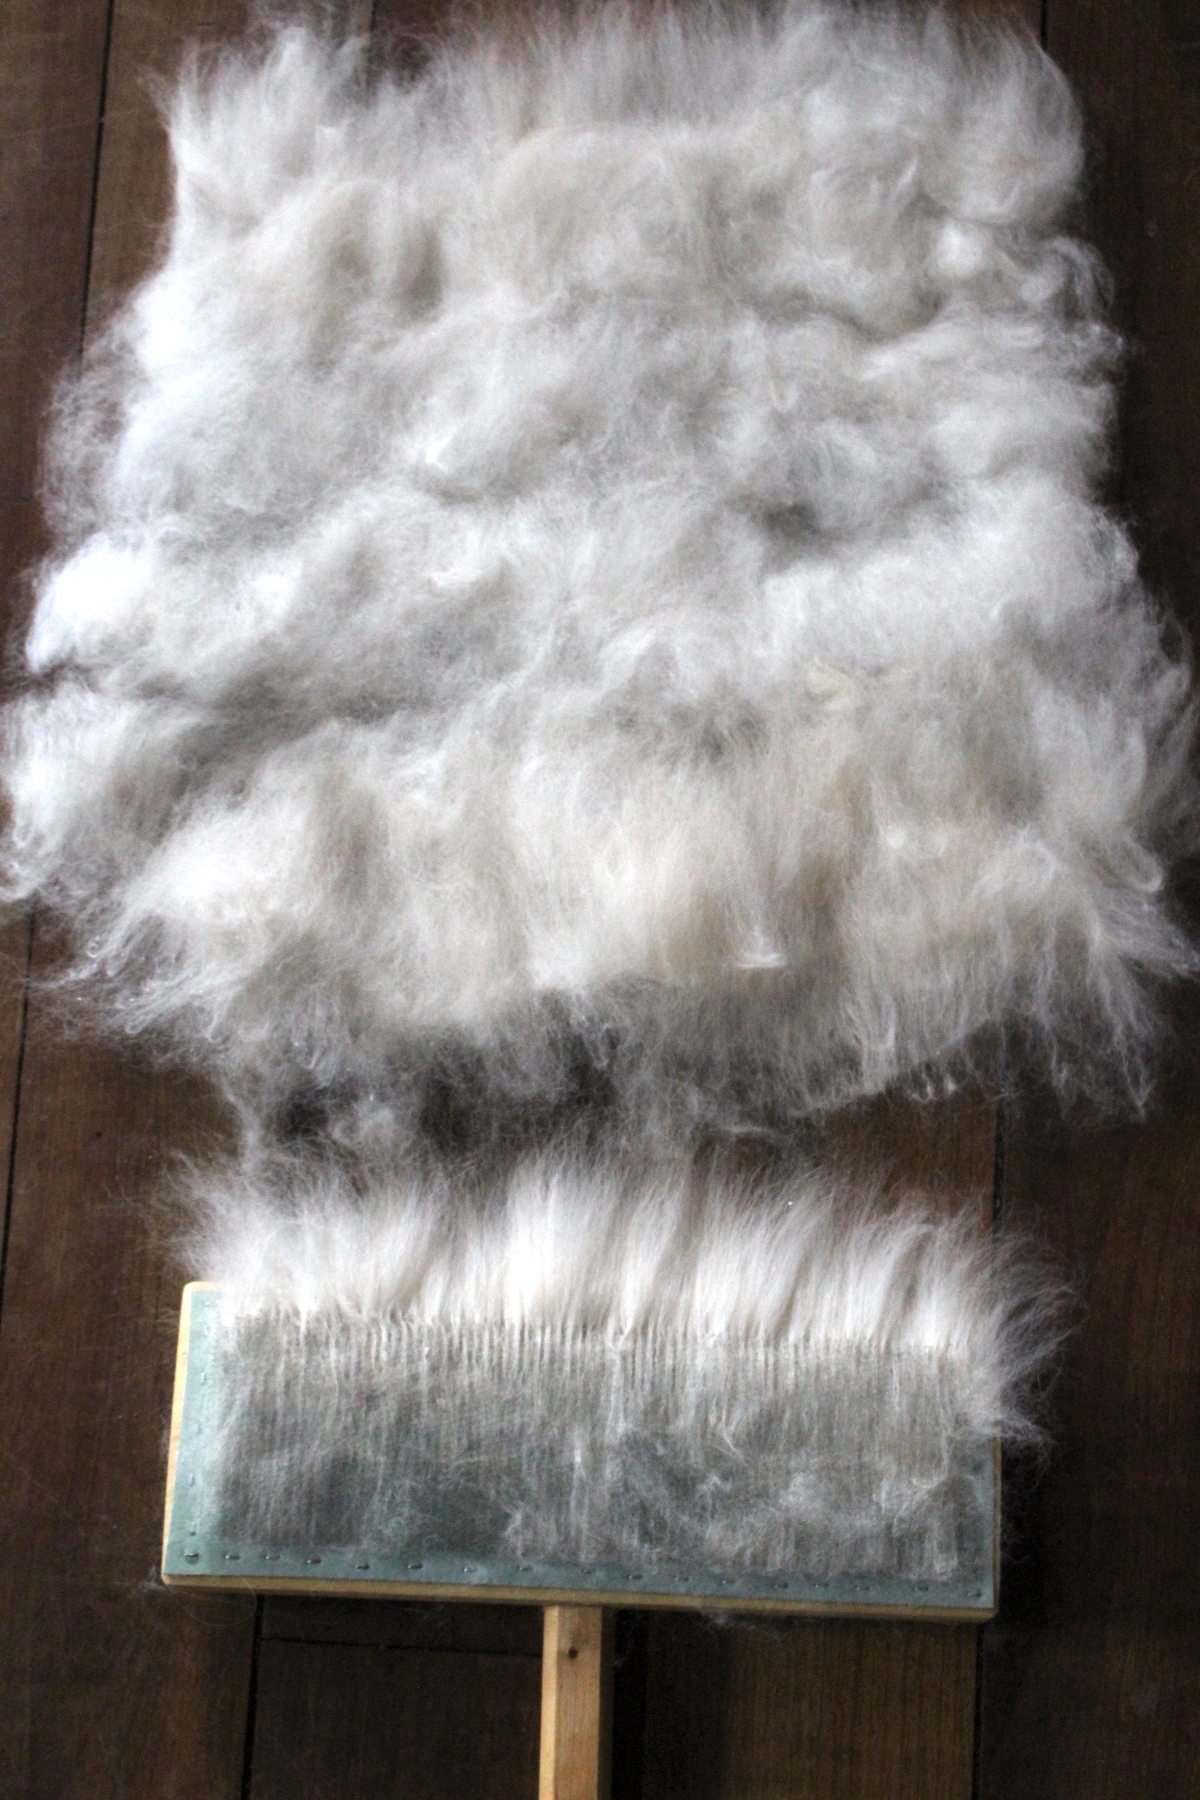
Here I’ve used hand carders to comb our angora wool into “batts,” or sheets of fibers cleaned, combed, and lined up for spinning.
Raw wool is, essentially, wool directly from the animal and it must be processed before it can be spun into yarn. Cleaning your own wool isn’t difficult, it just requires some extra labor (this article does a great job of explaining the process).
While sheep are usually what comes to mind when you hear ‘fiber animal’, they aren’t the only animal with hair that can be used for spinning!
If you have a particularly hairy pet cat or dog that loves to shed, you can actually clean their fur and use it for future spinning projects. Even some plants, like flax or hemp, can be processed and spun into thin yarn or thread.
If you’re preparing wool from scratch it needs to be hand carded first. Hand carders are simple to use, the goal is to remove tangles and line up the natural threads in the wool by brushing the fiber back and forth. This helpful guide has photos to show you the exact steps, but it’s a super-simple task from start-to-finish.
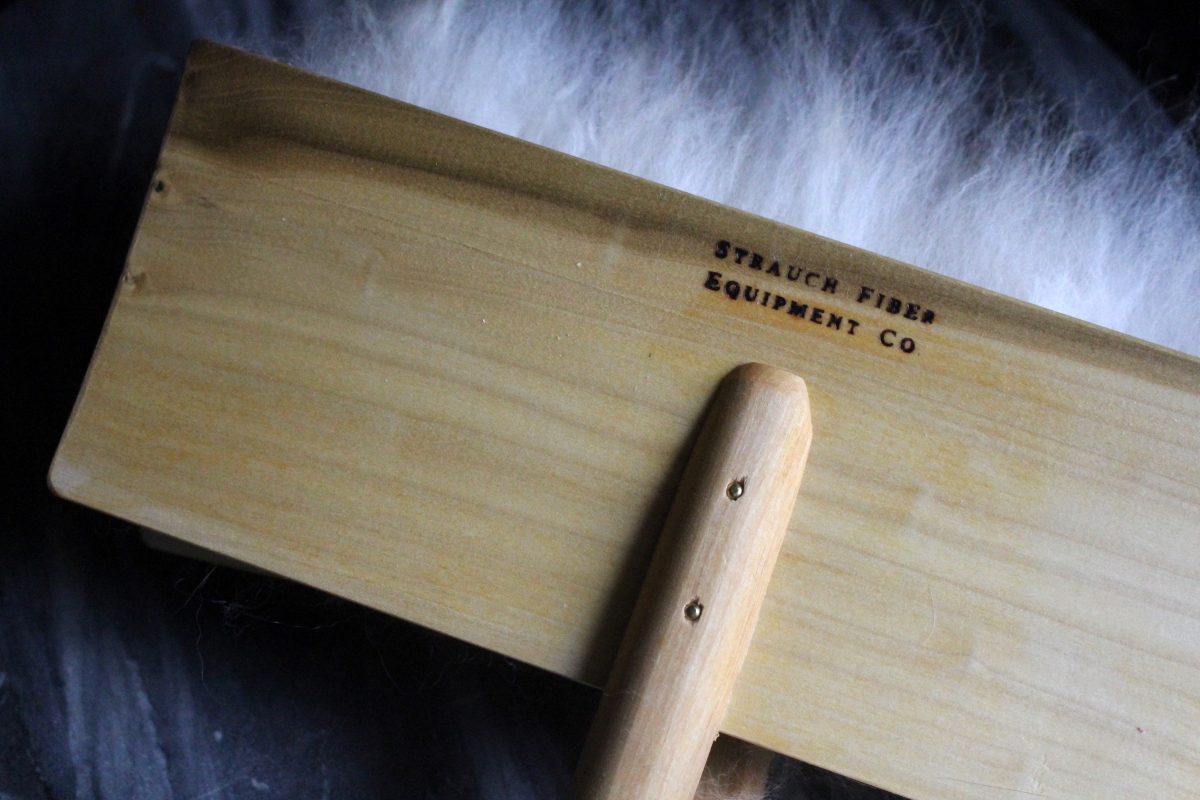
Since I’m carding angora, I’m using very fine hand cards made for carding cotton, which have over 100 points per square inch (PSI). Carders are measured by PSI, or basically the number of teeth they have per inch, which determines how fine a wool they’re meant to card.
Coarse wool is carded with coarse carders, or combs, which is just an efficient way to clean the wool and line up the fibers before spinning.
How to Use a Drop Spindle
When I found decided to finally learn to spin our angora wool, I started by watching this video on the basics of spinning angora yarn. It’s a good foundation, and even if you don’t understand the terminology she uses, I’d still recommend you start by watching this video before you continue reading this article so we’re all on the same page.
Go ahead, watch it, I’ll wait…
(Don’t worry if you’re not spinning angora, it’s all quite similar and this is a good introduction and about halfway through the video she switches to spinning Romney wool to show you the differences between fibers.)
After watching that, you might be thinking, I’m ready to do this! It’s actually pretty tricky to do it anywhere near as smoothly as she does, especially if you’re a beginner.
I’d suggest you start with the “park and draft” method, which after a lot of trial and error, I learned is just about the best way for a beginner to start hand spinning. My daughter, even at 4 years old, was able to park and draft and make a few feet of yarn all on her own after watching mama do a few rounds.
First thing’s first, you’ll need to attach your fiber to the spindle using what is called a “leader.” A leader is just a piece of yarn that is used to facilitate joining the wool to the spindle. You can make one by taking a length of yarn (it doesn’t matter what kind), tying it into a loop, and then wrapping the yarn into another loop around the spindle shaft.
Now you need to connect your chosen fiber to the leader. Take a small piece of the fiber and slip it through the knot of the leader, fold it back upwards on itself, and gently twist to create a secure hold/loop.
Once the fiber is connected to the leader, you’ll need to get the twist going. If you are working with a drop spindle that has a long shaft, you can twist it against the inside of your thigh to get it started. Keep an eye on the spinning direction, I usually stick to a clockwise direction for most fibers. Some people find it helpful to think of a clockwise twist as a “Z” twist and a counter-clockwise twist as an “S” twist. If you forget the direction you were twisting, you run the risk of unwinding your spun yarn.
Now, the next step is when the “park and draft” method comes into play.
With the leader twisted and connected to the fiber, “park” the spindle between your legs before the yarn starts the twist the other way. You’ll be able to see the twist move all the way up the fiber, which is where the spinning takes place.
The “draft” component is next, which is the action needed to create yarn or thread. Pinch the connected fiber to keep it spun relatively tightly, and move your finger upwards as the fiber continues to spin. Move slowly, releasing only small amounts of fiber at a time — don’t let the twist move further than your fingers into the non-drafted fiber.
When you have a length of yarn finished, wrap it carefully around the spindle shaft. Begin at the top of the spindle (closest to the whorl) and keep the yarn wrapped near the top to keep the spindle evenly balanced. If the yarn is slipping, you can use an elastic hair tie to keep it close to the top.
Leave a couple of inches of yarn unwrapped so that you can bring it through and up around the hook. You’ll use the end of the yarn to attach and twist the next piece, just as you did with the wool and the leader.
This video taught me the park and draft method, and she has a lot of closeup shots so you can see exactly what’s happening:
Marrying Yarn
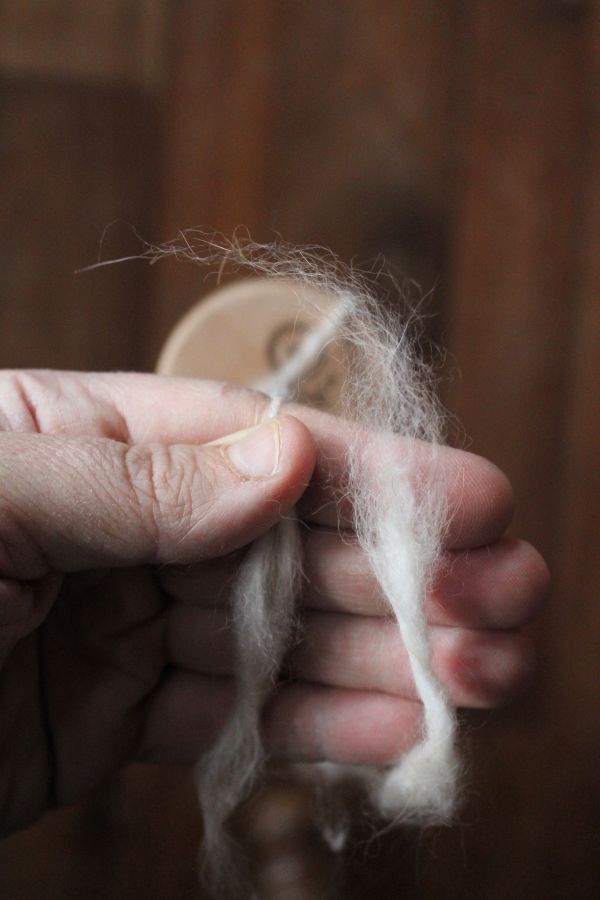
Fixing a broken strand, or marrying broken yarn as it’s also called, isn’t difficult. Overlap both broken pieces by a couple of inches and gently hand-twist them together, rubbing them together with your fingers, before continuing to spin.
Thick wool is fairly forgiving and can usually be repaired using this method; fibers that have been made into single threads are much more difficult to fix this way.
Plying Homespun Yarn
The term “plying” refers to the process of taking two (or more) strands of yarn and twisting them together to make a stronger yarn. When you’re comfortable spinning a single piece of yarn, plying or combining yarn is a fairly straightforward endeavor, just keep in mind that you’ll need to spin the strands of yarn together in the opposite direction that it was originally spun.
Check out this tutorial for plying homespun yarn to see how the process works.
Working with Different Materials
Unless you’re an experienced spinner, it’s best to stick with materials that have long, sturdy hairs as this helps prevents breakage while creating a stronger yarn. Some fibers, such as those from alpacas or Angora rabbits, are very short and therefore difficult to work with. While it’s possible to spin these fibers into yarn, they’re often mixed with yarn made from long-haired animals (or combined with a synthetic yarn) to bolster the strength of the finished item.
Across the board, wool fibers are easier to spin with a drop spindle than any other fibers. I like to use wool from Shetland sheep because it has a slight stickiness, which is truly helpful when you’re learning how to spin at home. Merino wool is also an excellent, albeit somewhat slippery, choice for beginner spinning projects.
If you’re curious about animal-free fibers, you can also choose one of the many plant-based options available. The one drawback of using plant-based fibers is their lack of elasticity, which is why spinners often ply them together.
Common examples of plant-based fibers include linen, milkweed, cotton, hemp, and even coconut husks!
Beyond Drop Spindles
A spinning wheel might seem like a big leap, but the mechanism is still the same (you’ll just need to make room for it).
Learning how to spin, whether that’s using a drop spindle or a spinning wheel, is incredibly satisfying and it’s something you can get your whole family involved with. Spinning is an activity that can be done for the sheer pleasure of creating your very own, very unique yarns, but it can also be done to create fine yarns and threads to sell.
For tips and suggestions on choosing the right spinning wheel for your needs, I’d suggest beginning your research with this informative article.
(I actually just picked up an antique but fully functional spinning wheel for $50 from a fiber artist that’s retiring after 50 years of work. They’re out there second hand, so don’t feel like you need to drop hundreds of dollars for a new one.)
Homemade Crafts
Looking for more homemade craft tutorials?
