
Affiliate disclosure: This post may contain affiliate links. Please see our Privacy Policy.
I remember the first time I saw a ground cherry. They’re not something I’d seen, or even heard of, growing up on the west coast.
I was selling baked goods at a small rural farmers market and a young girl came up to my table and asked if I wanted to trade. She didn’t say what, but all she wanted was a cupcake. Sure, why not?
She ran home and came back with a pint of freshly picked ground cherries that completely blew my mind. How on earth did she grow something that tastes like a cross between a strawberry and a pineapple in her backyard in Vermont?
Since then, I’ve made a point of growing husk cherries every year. They’re productive, and take almost no tending to produce huge crops of ridiculously tasty fruit.
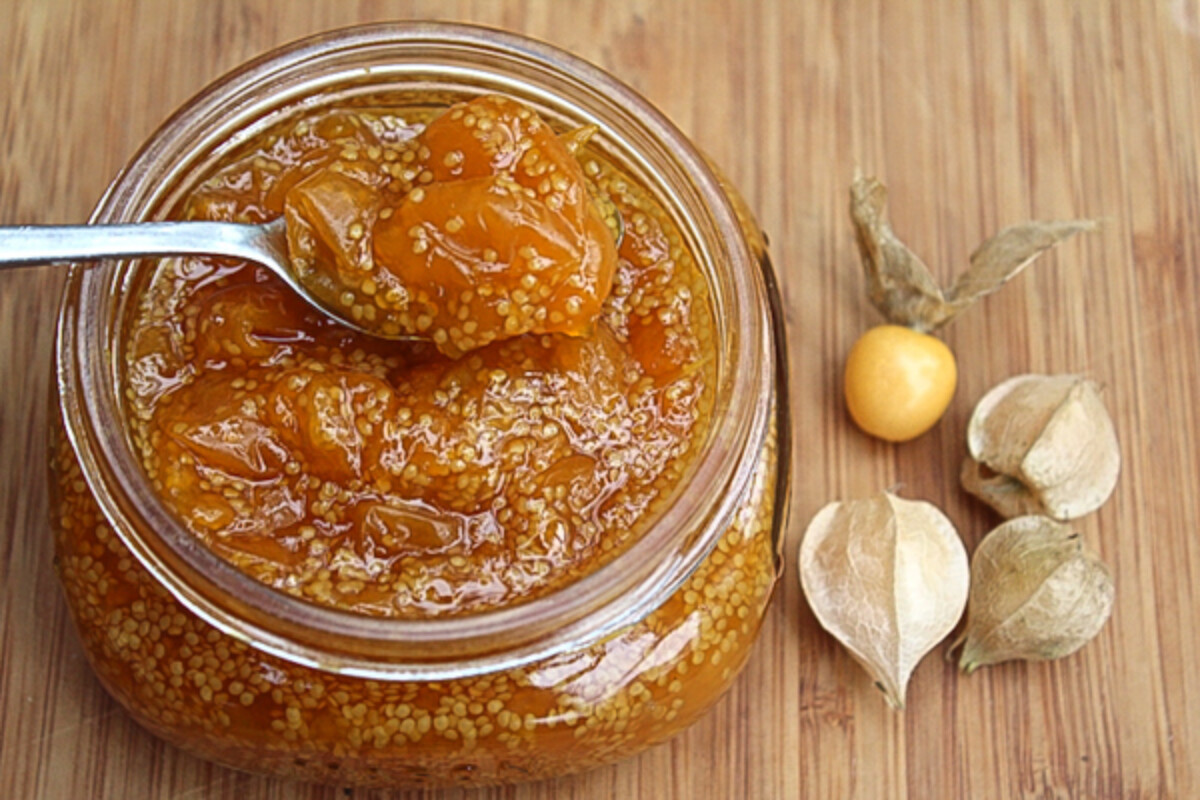
You can find ground cherries at farmer’s markets, especially on the east coast. Because of their novelty, they tend to be a bit expensive.
A single plant can produce as much as a gallon of fruit, so growing your own ground cherries is a much better bet. Ground cherry seed is available here.
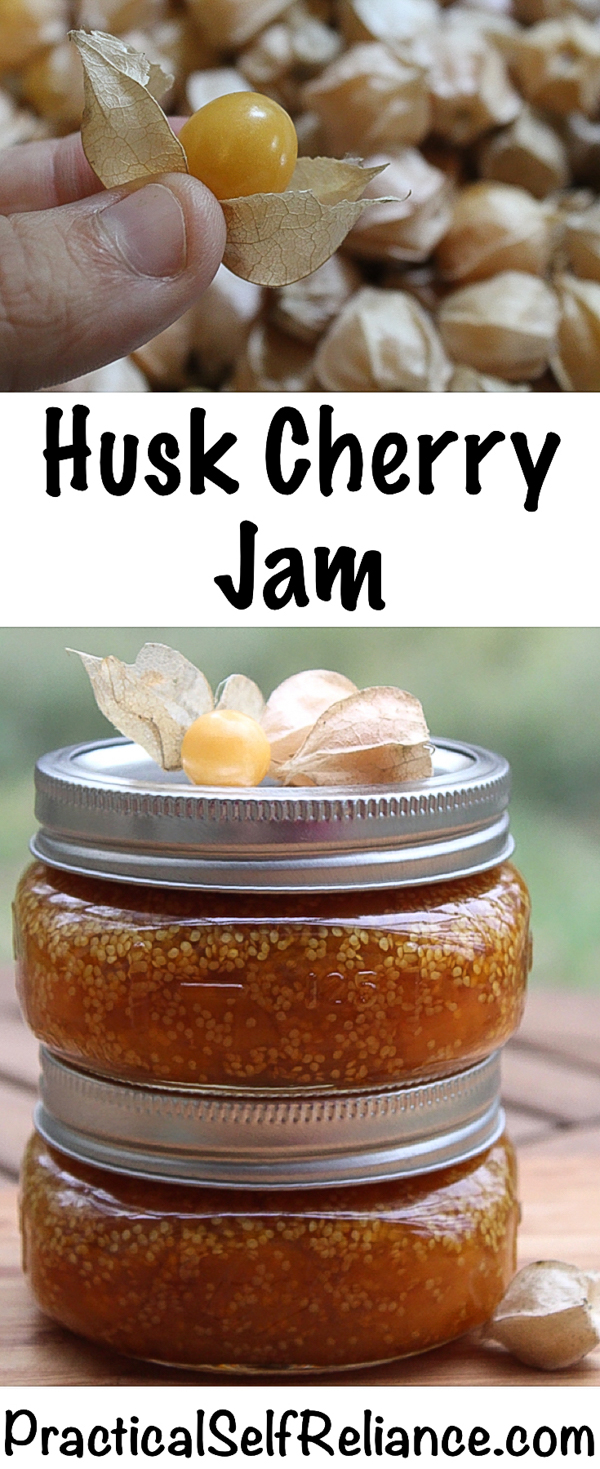
Ground cherries are often called husk cherries because they grow inside a papery husk, like tomatillos. Once picked, they’ll keep on the counter in the husk for months if you pick carefully and don’t bruise them. They’re magic that way.
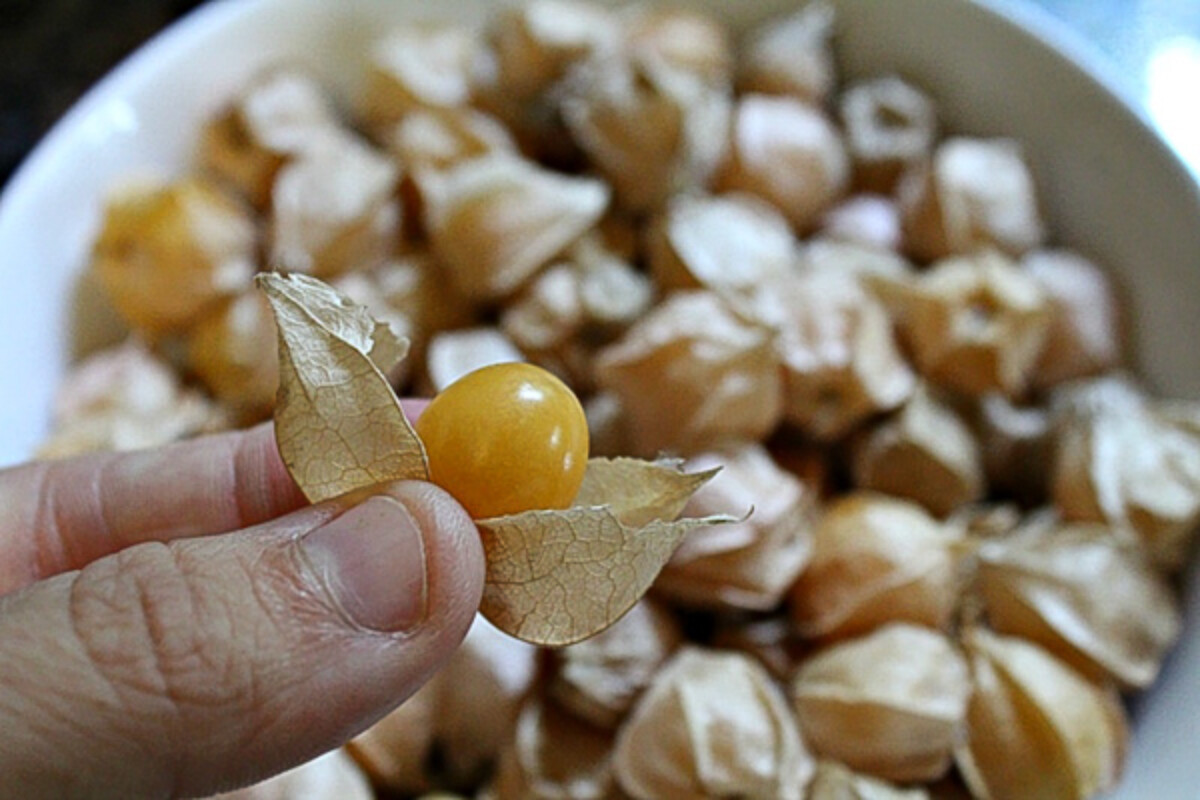
Even though they keep well in the husk, I still like to make homemade ground cherry preserves. Not for the preservation, but for the flavor. Recipes vary in sugar, but as a rule, I try to add as little sugar as possible. I want to taste the fruit.
Some recipes have you add as much as 1 cup of sugar to 1 cup of fruit. I prefer a much lower ratio, using somewhere between 1/2 and 1 cup of sugar to 3 cups of fruit. It’s still very sweet, don’t worry.
Honestly, a full cup of sugar makes it too sweet for my tastes, so I stick to 1/2 cup. If you like tart jam as I do, go with a half a cup, otherwise, add a full cup to 3 cups of fruit. With a full cup, the tartness of the fruit just barely comes through.
With ground cherries, in particular, I like to use turbinado or demerara sugar because the molasses in the sugar adds a caramel richness to the finished jam. With a short cook time, ground cherries will thicken into a nice jam without the need for any additional pectin.
Since there’s so much water in husk cherries, it takes a surprisingly long time to cook them into jam. Add the sugar and lemon juice to the fruit and start it simmering. It’ll take between 35 and 45 minutes to reach jam consistency or gel stage.
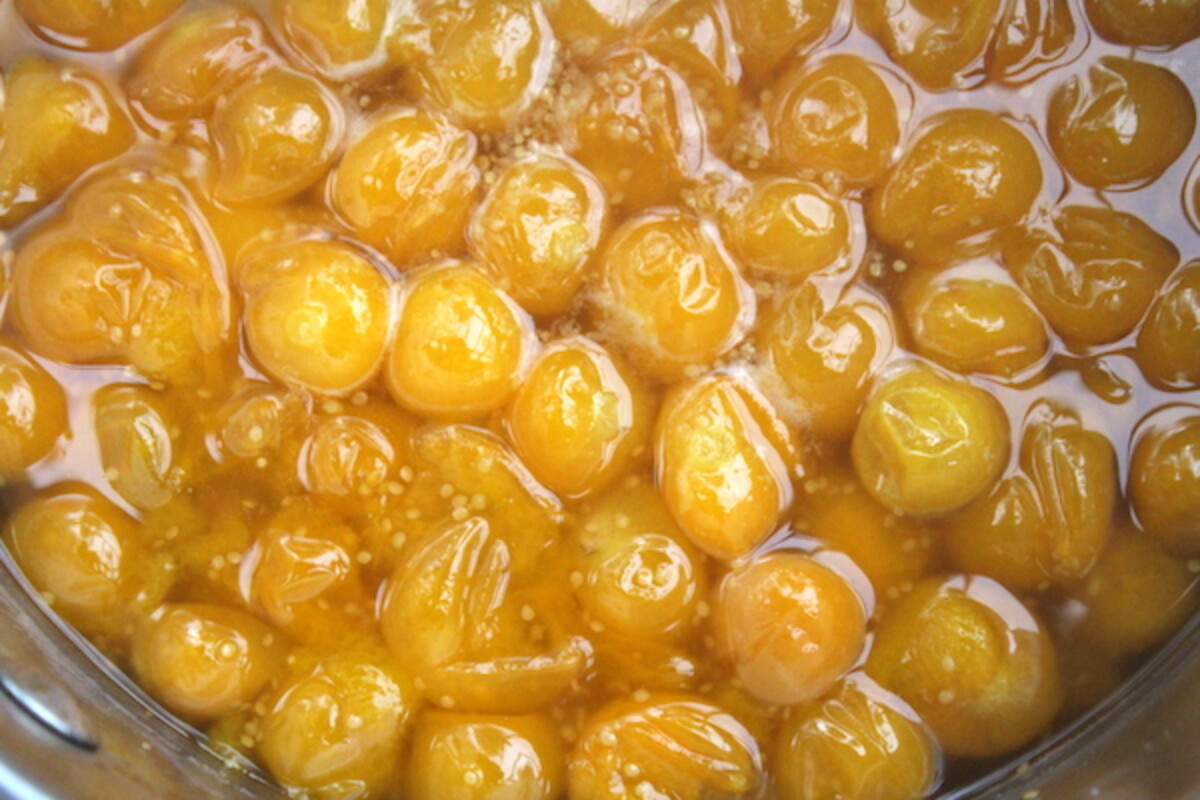
If you’re an experienced jam-maker, you know what gel stage looks like. The consistency will change rather suddenly, and it’ll thicken to where it takes a moment for it to fill back in if you part the jam in the pan with a spoon. Generally, this happens at 220 degrees at sea level.
Since I’m at 1000 feet of elevation, gel stage is at roughly 218 degrees. Adjust down about 1 degree F for every 500 feet of elevation gain.
For husk cherry jam though, I like the finished product to be a bit looser, and I finish it at about 216 degrees. It’s all up to you, finish your jam however you like, thick or thin.
This year I’m hoping to branch out beyond ground cherry jam, and I’ve put together a collection of other ground cherry recipes as well, check them out if you have extra fruit.
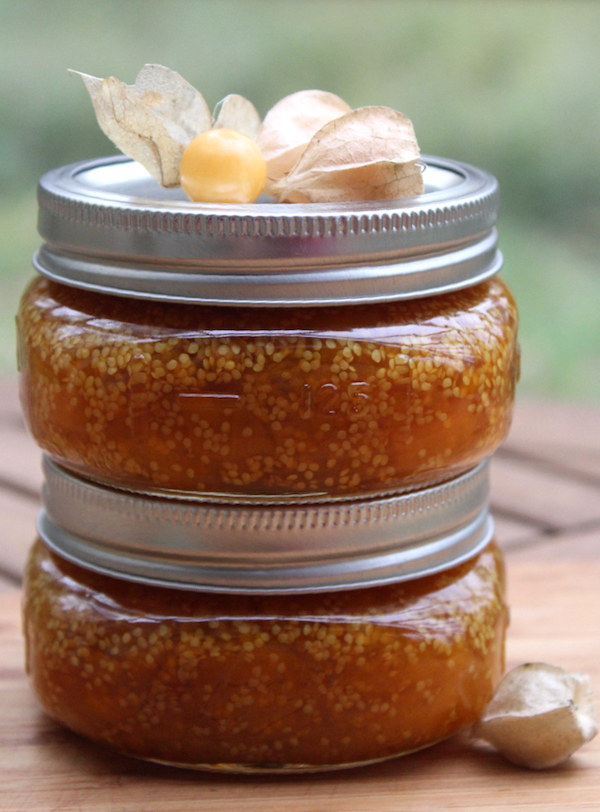
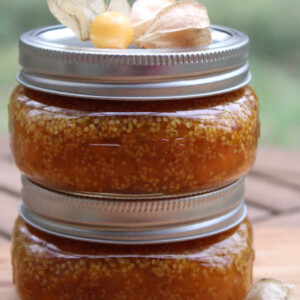
Ground Cherry Jam Recipe
Equipment
Ingredients
- 3 cups Ground Cherries, husked, about 5 pints in husks, or 2 pounds
- 1 cup Sugar
- 2 Tbsp Lemon Juice, bottled
Instructions
- Husk the ground cherries and add them to a saucepan.
- Add the lemon juice and cook over low heat until the ground cherries have popped and released their juices. Give it a stir to break them up a bit.
- Add the sugar and cook over medium heat until the jam thickens, about 15 minutes.
- Pour into clean quarter pint mason jars, leaving 1/4 inch headspace and store in the refrigerator or process in a water bath canner for 5 minutes.
Notes
Nutrition
Nutrition information is automatically calculated, so should only be used as an approximation.
More Fall Canning Recipes
Looking for more fun harvest time canning recipes? Read on my friends…

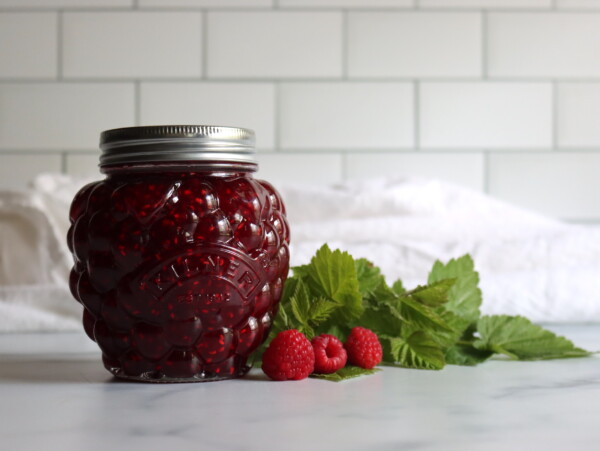
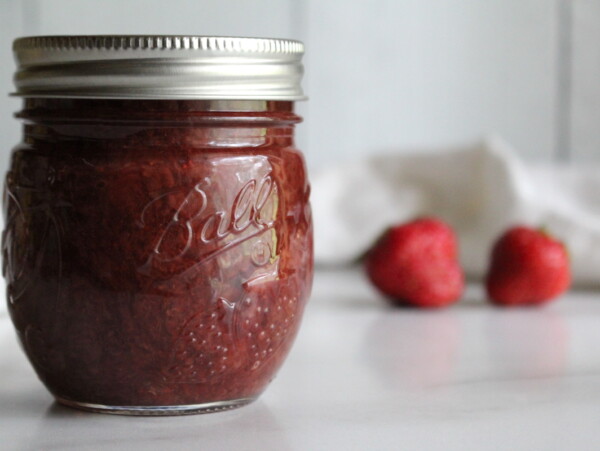









Do you ever double the recipe?
It’s a small batch, so it doubles fine. Use a wide pot and expect it to take a little longer to reach gel stage. I wouldn’t go past a double batch though, since bigger batches cook unevenly and have trouble setting. Happy canning!
Do you think putting it through a foodmill after cooking would matter? Just thinking about skins and seeds
I haven’t tried it that way, so I can’t promise how it’ll set. If you do, run them through after they’ve popped and softened but before adding the sugar, since finished jam is too thick to push through a mill. The seeds are tiny, so use your finest screen, and expect a softer set because the skins help it thicken. Hope this helps!
Haven’t tried the recipe yet but I’m curious about your instructions to can at the end. Do in you have to can these to preserve them? Or can I just keep them in the fridge for a while?
You don’t have to can it. The last step of the recipe gives you the option to store it in the refrigerator instead, and it’ll keep there for a few weeks. If you want it to last longer than that, freeze it or water bath can it. Enjoy!
Do you think you could add rhubarb to the recipe? I have both in the freezer that I would love to use and I think it would be a fun combo. Not sure if it messes with the canning process at all?
Adding rhubarb to this particular recipe would be just fine. Enjoy!