Affiliate disclosure: This post may contain affiliate links. Please see our Privacy Policy.
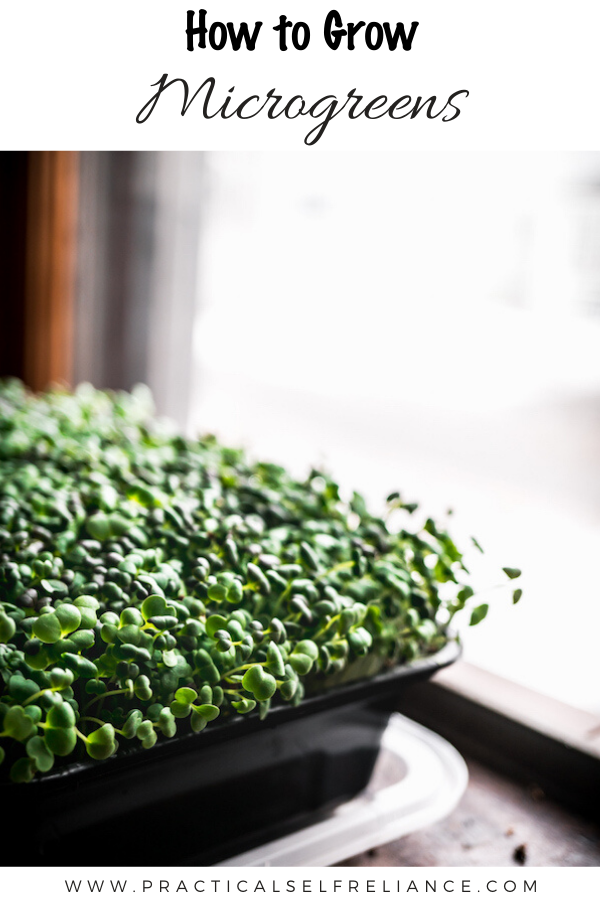
Growing microgreens is an easy, and affordable, way to have fresh greens year-round.

This article is written by Melissa Keyser, a professional organizer, and homesteader based in Maine.
This is my first winter in Maine, and coming from California, it has been an adjustment. Not the shoveling snow, multiple layers, or the colder temperatures- those I actually love. It’s the ability to go out into the garden to snip some lettuce or kale that I miss the most.
While there are a lot of cold hardy vegetables that tolerate freezing temperatures, at some point there’s just too much snow on the ground to make outdoor gardening practical.
I’m not about to give up eating something fresh and green over winter, so I thought I’d try something new to lessen my grocery store dependency- growing microgreens!
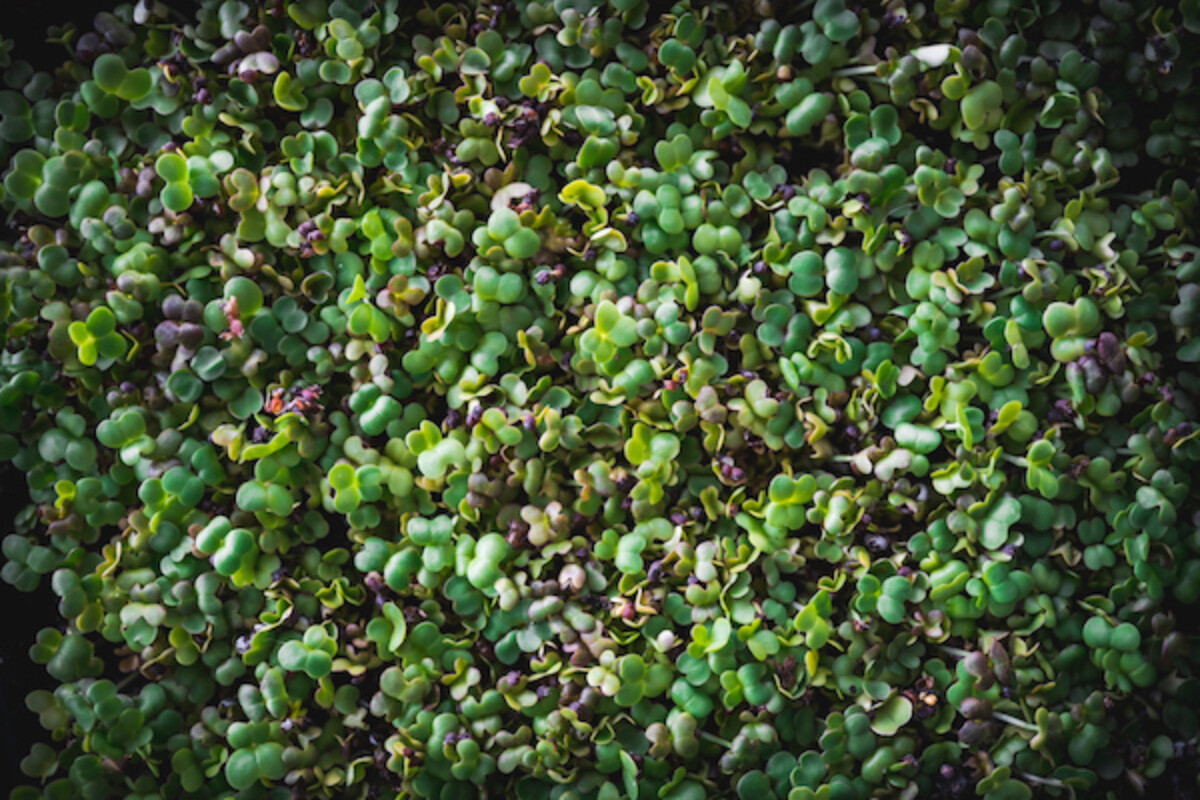
It doesn’t take much space to grow microgreens, so they are perfect for urban homesteaders. For those in a cold winter climate like me, when little other fresh produce or greenery is available, they are a welcome bit of freshness! But, they are also perfect to grow at any time of year!
You can now find microgreens at well-stocked markets, but just like any food, microgreens are better if homegrown. They don’t require wasteful packaging, long-distance travel, and you know exactly what you’re eating.
It is said that microgreens are incredibly nutritious, and they contain higher levels of the active compounds, vitamins, and nutrients than found in the mature plant. And, there is the added bonus of health of the soul- having something green growing during a blustery and cold winter and the delight to the tastebuds to have something besides potatoes or squash from the root cellar storage.
Because the plants are so small, they quickly lose vibrancy after being cut, so for the most flavor and nutritional value, harvesting and eating immediately at the source is best. Yet another reason to grow your own for the freshest possible microgreens.
And, they are much more affordable! Microgreens are fast-growing, so they are also a good project for kids.

What are Microgreens?
Microgreens are baby versions of many of the common greens and herbs we grow in the garden. You eat them as immature plants, grown only for a week or two. They’re quick to grow, and you don’t have to tend them for a whole season like their garden grown equivalents.
A shorter time from planting to harvest means they’re perfect for indoor growing, and they don’t need much sunlight or tending. Since they’re only growing for a short period, there’s just no time for pests or other problems. Just plant, and in about a fortnight it’s time to harvest.
Are Microgreens the Same As Sprouts?
Microgreens are different from sprouts.
Sprouts are germinated seeds, grown without soil, usually in a jar with a screen for a lid. You eat the seed, root, stem, cotyledons and any undeveloped leaves. They are usually grown in dark and damp conditions, and they have a tendency to develop mold or other problems if not well tended.
Microgreens, by comparison, are grown in soil and need at least a few days of good light and air circulation. You eat just part of the stem and the leaves, leaving the roots in the soil. They taste more like full grown plants or vegetables, but just more tender and delicate.
How Long Does it Take to Grow Microgreens?
Depending on the variety grown, microgreens are usually ready in about a week to three weeks. They are usually 3/4” to 2” tall.
Some people harvest shortly after the cotyledons (part of the seed embryo, and are the first “leaves” that sprout up from the soil) have emerged. Some wait until after the first set of true leaves has developed.
Slower growing microgreens, like chives, can take up to 6 weeks to fully develop. Those are an exception, and just about every other type is ready in no more than 2 weeks.
Do You Need a Kit to Grow Microgreens?
There are many kits you can buy for growing your own microgreens. They come with seeds already pressed into trays and you simply water and wait.
The best-known brands are Urban Leaf and Hamama, both of which sell really elegant self-contained microgreens kits that look a lot nicer than random upcycled food containers. They also contain seeds and growing medium ready to go.
A kit is not required, and you can easily get all the equipment for a DIY microgreens setup. That said, I know many people are just more comfortable working with a ready-made option, especially when it includes everything along with detailed instructions.
If you’re more into DIY, the equipment needed for growing microgreens is pretty minimal.
All you really need is:
- Potting Soil
- Plastic Trays (upcycled food containers work great)
- Microgreen Seeds
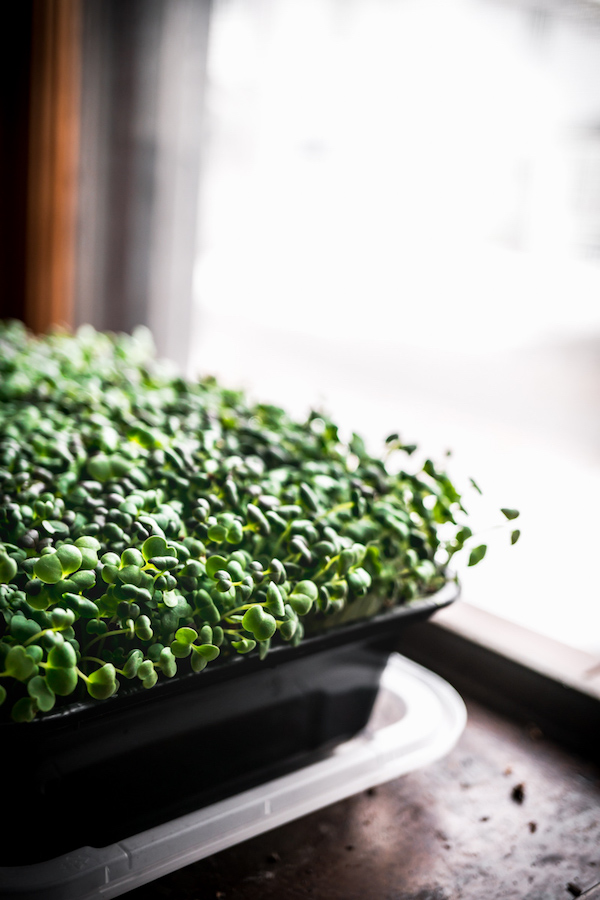
Supplies for Growing Microgreens
Here’s what you need to grow your own microgreens:
Seeds
Look for sprouting seeds in catalogs or natural food stores. You’ll want to purchase organic seeds or seeds that are labeled as commercially untreated. These are seeds that may be grown using conventional methods, but the seeds themselves have not been treated or a chemical fumigant used.
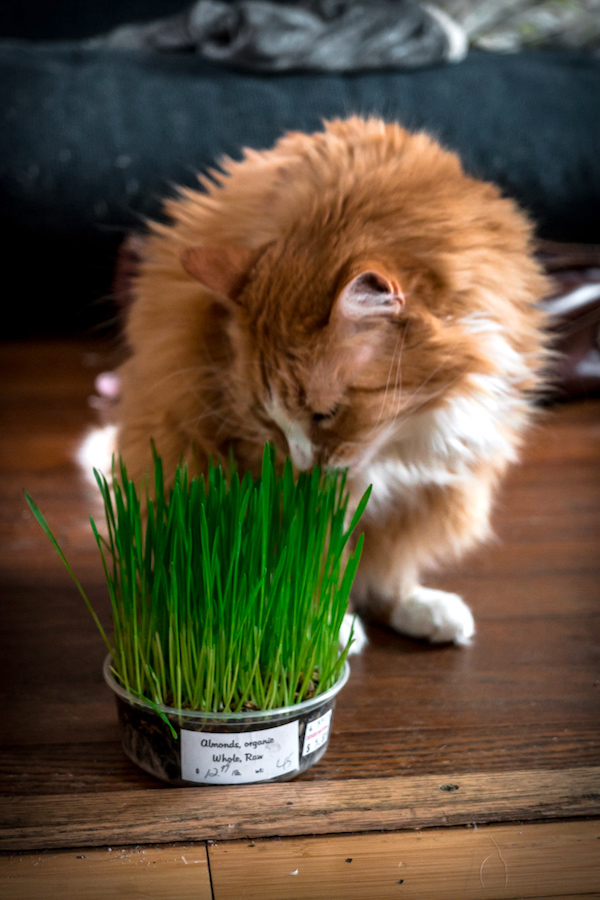
The type of seeds you choose depends on personal preference. If you hate kale, you probably won’t like kale microgreens. I purchased a spicy mix from High Mowing Seeds and wheatgrass for my kitty.
I tend to buy organic microgreen seeds whenever possible. Unlike vegetables, where the finished product is harvested a long time after the seed is planted, microgreens are simply the stored energy and nutrition inside the seed…and then released in the form of a tiny young plant.
Whatever has accumulated inside the seed will be in the microgreens, at least that’s my logic.
While I buy organic seeds for my garden crops whenever possible, I think it’s especially important with microgreens.
Microgreen Growing Trays
The best microgreen growing trays are things you already have around the house. They simply need to be shallow, portable, and have drainage. Because microgreens are harvested so small, they do not have long root systems, so there is no need for deep pots. Roughly 1 1/2” deep is enough.
You can use recycled food cans or containers, egg cartons, vintage colanders, eggs shells with holes in the bottom, or plastic scoops from laundry soaps. Use your imagination!
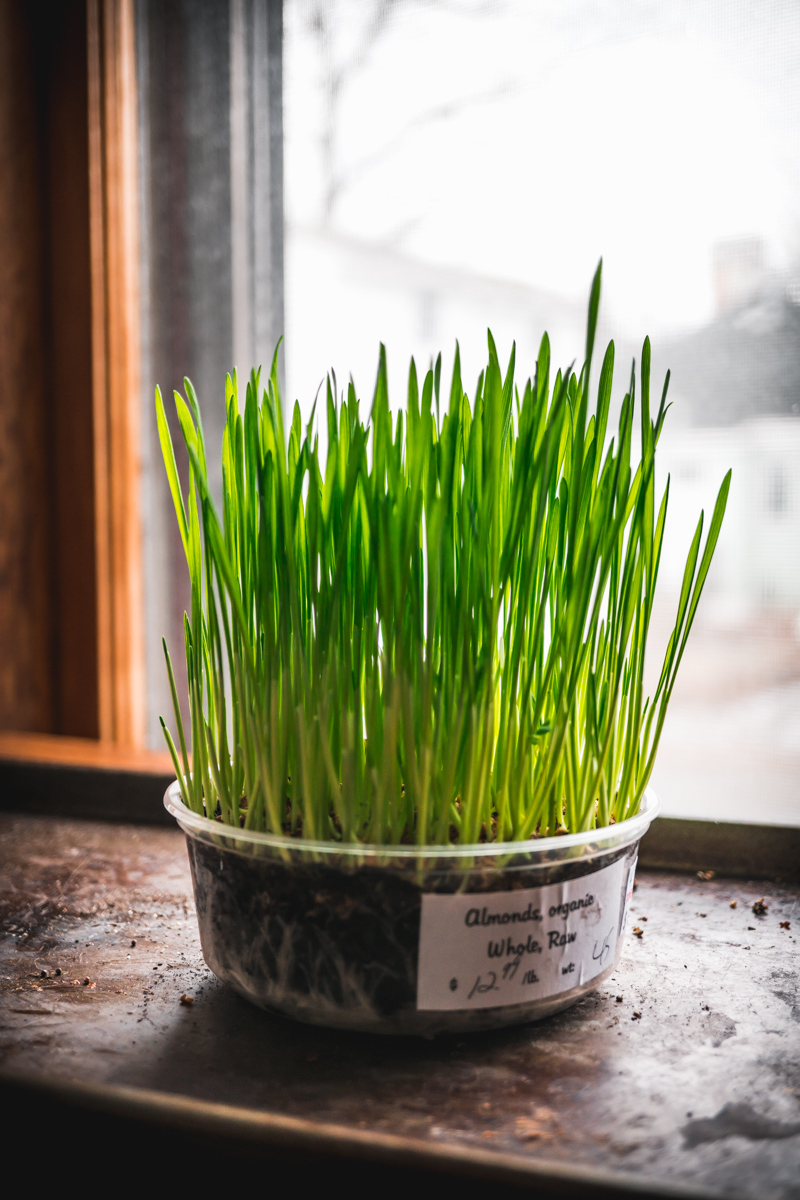
To grow my spicy mustard mix, I used a container from takeout Thai foot and a container from a natural food store that held some almonds for the wheatgrass.

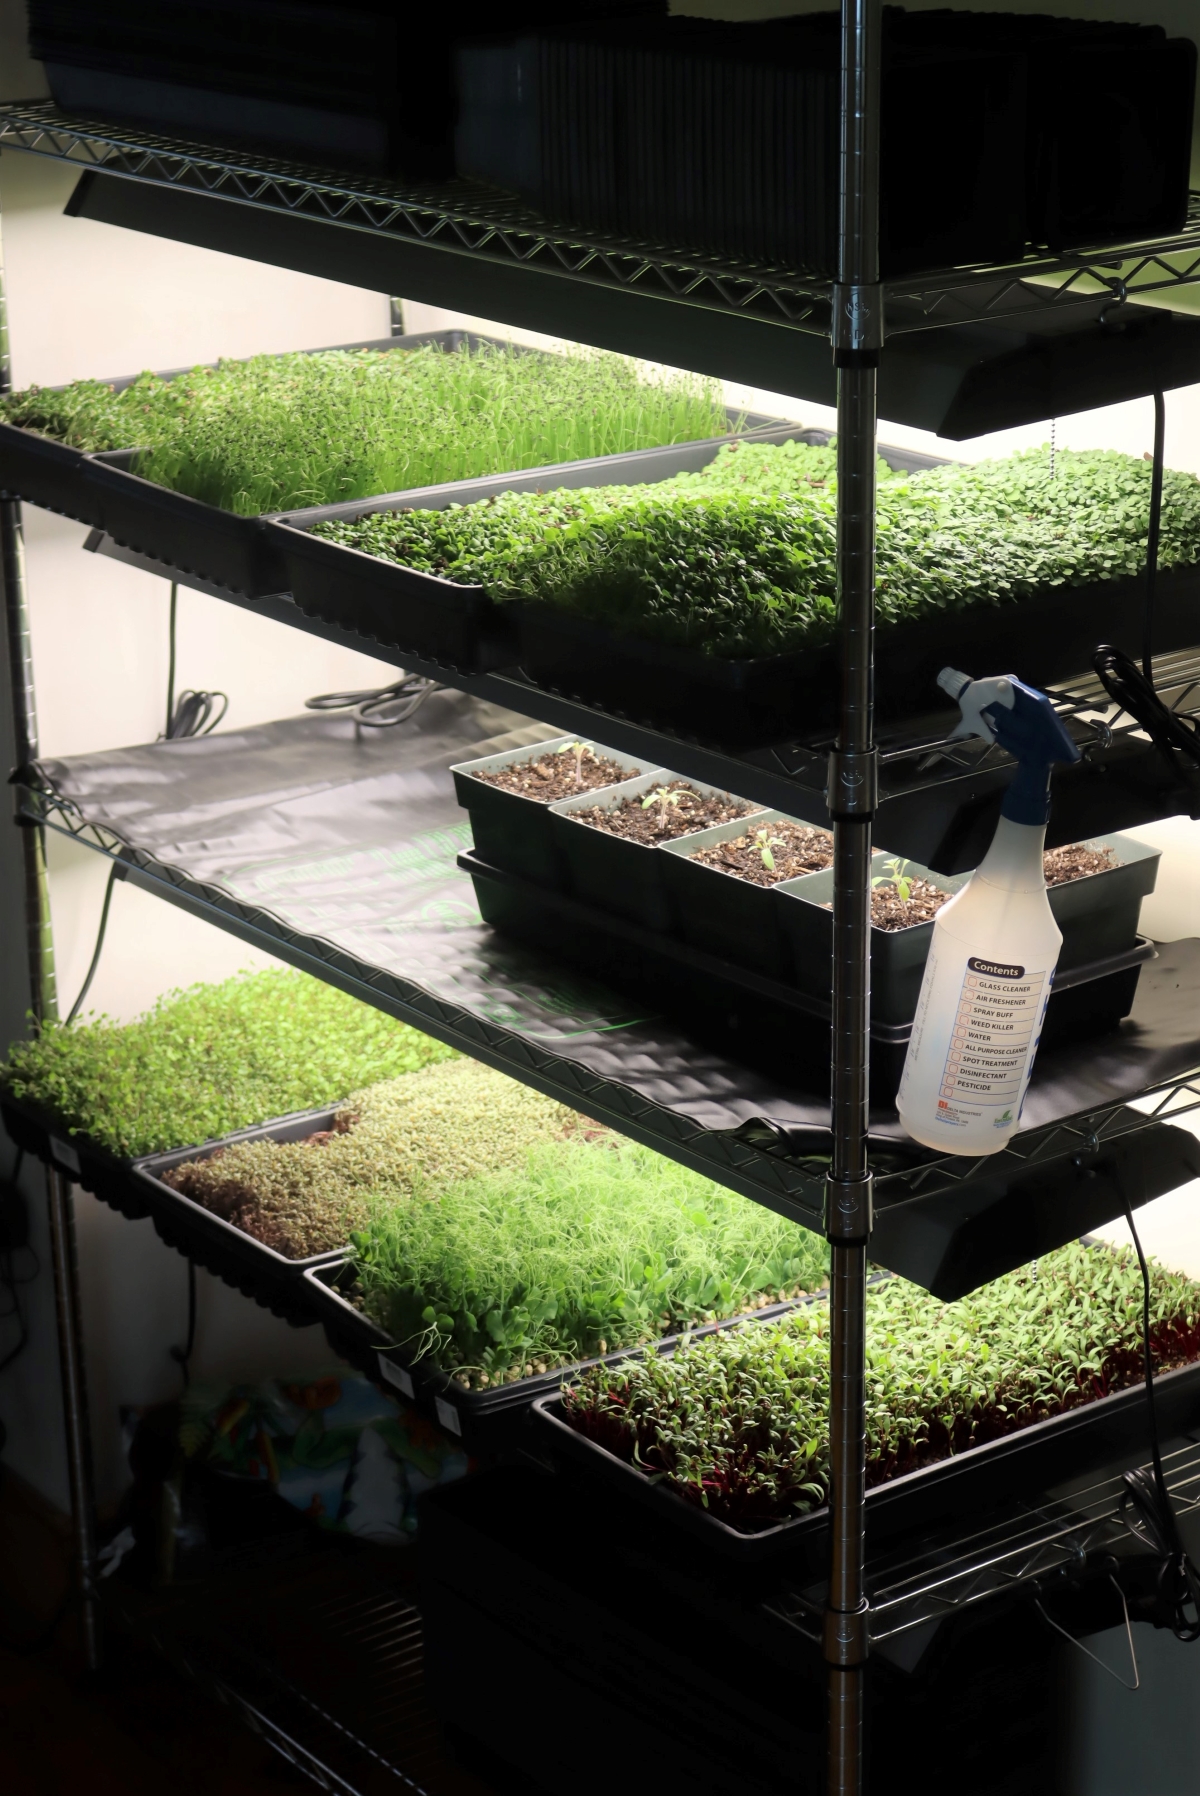
If you intend to grow large amounts of microgreens, it can be helpful to use seed starting trays to grow them in big batches.
We set up a DIY Seed Starting Light Rack for our spring garden seedlings, but the rest of the year we use those trays and shelves for growing microgreens.
There are two types of trays, flats with holes and nursery flats without holes. You place one with holes inside one without, and it acts as a drip tray. The dirt goes in the one with holes, like a giant flat garden pot.
Microgreen Growing Medium
Remember, unlike sprouts, these are baby plants that grow in soil. But, just like when sprouting seeds for the farm, you don’t use garden soil. Look for sterilized soil for starting seeds or good-quality potting soil.
Seed starting soil usually has enough nutrients for the few weeks of growth, or you can mix in compost or dry kelp meal.
Growing and eating organic is important to me and my family, and I didn’t want to go with the bag of chemically-laden soil from the big orange box store.
I ended up visiting a grow shop and purchased a small bag of Fox Farm soil. Since this soil already had nutrients in it, I did not add any additional compost.
How to Grow Microgreens
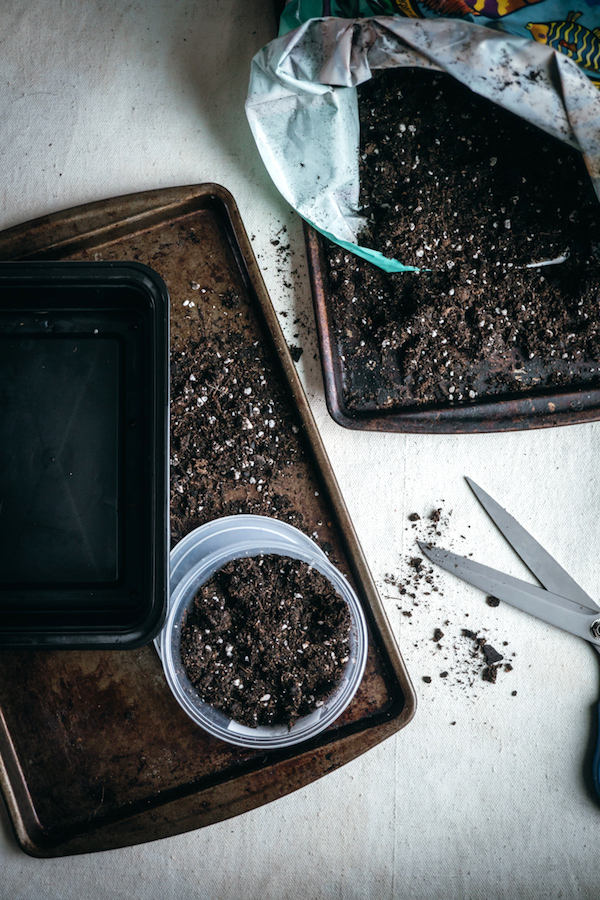
Growing microgreens starts with preparing the growing trays. They’ll need good drainage, so depending on your tray choice you may need to add drainage holes.
I used scissors to punch some holes in the bottom of my growing trays. The size of your container can vary, but use larger containers for larger seeds and smaller containers for smaller seeds. Be aware that they’ll need a drip tray or plate underneath to catch the water that drains through the bottom.
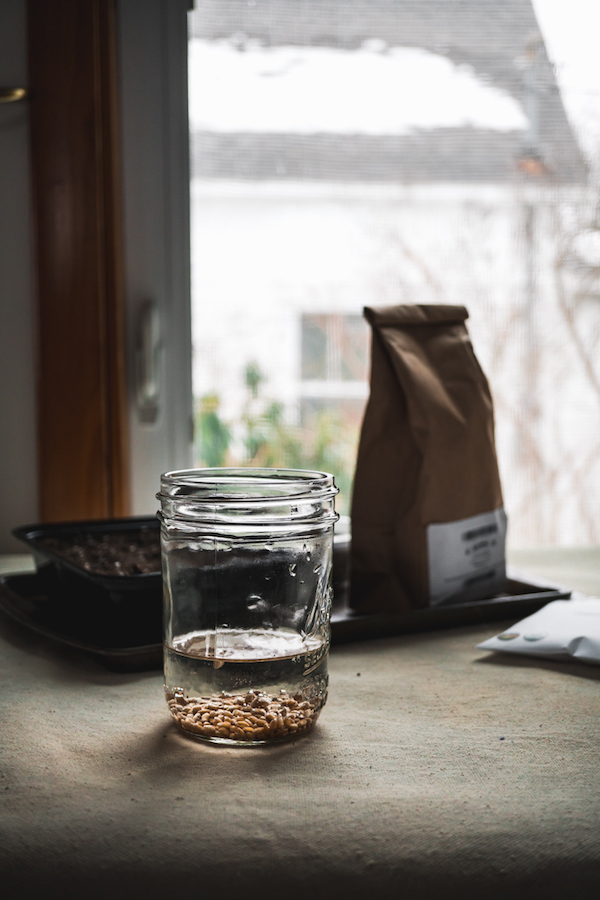
Larger seeds, like peas, corn, or wheatgrass will benefit from soaking in warm water for 24 hours before planting but is not required. I soaked my wheatgrass seeds and they sprouted very quickly.
Amount of Seeds Needed for Microgreens
Once your trays are prepped, it’s time to get planting…but here comes the million-dollar question…
How many seeds do you need?
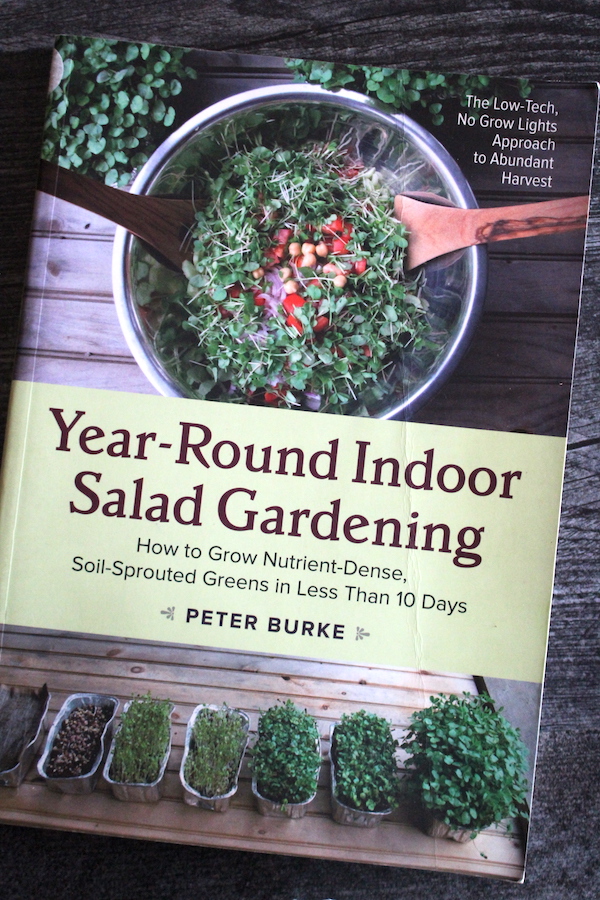
Peter Burke, in his great book Year-round Salad Gardening, provides us with these handy measurement guidelines based on container size:
- 3×6” ~ 1 Tablespoon of seeds
- 4×8” ~ 2 Tablespoon of seeds
- 6×8” ~ 3 Tablespoon of seeds
- 4” round ~ 2 teaspoons of seeds
- 6” round ~ 2 Tablespoon of seeds
- 10” round ~ 4 Tablespoon of seeds
Fill your containers with the soil and gently pack it down. Water the soil until it’s saturated, but make sure to let drain so there is no standing water.
Set your growing trays on a tray to catch any draining water. I used an old cookie sheet, but plates, Tupperware lids or other containers without holes work great too.
Planting Microgreen Seeds
Unlike garden seeds that are planted at specific depths, microgreens aren’t in it for the long haul. They’re not exactly planted but gently scattered instead.
Sprinkle seeds evenly over the surface, and lightly press into the soil. I found there was no need to cover the seeds with soil, the roots find their way down into the soil all on their own.
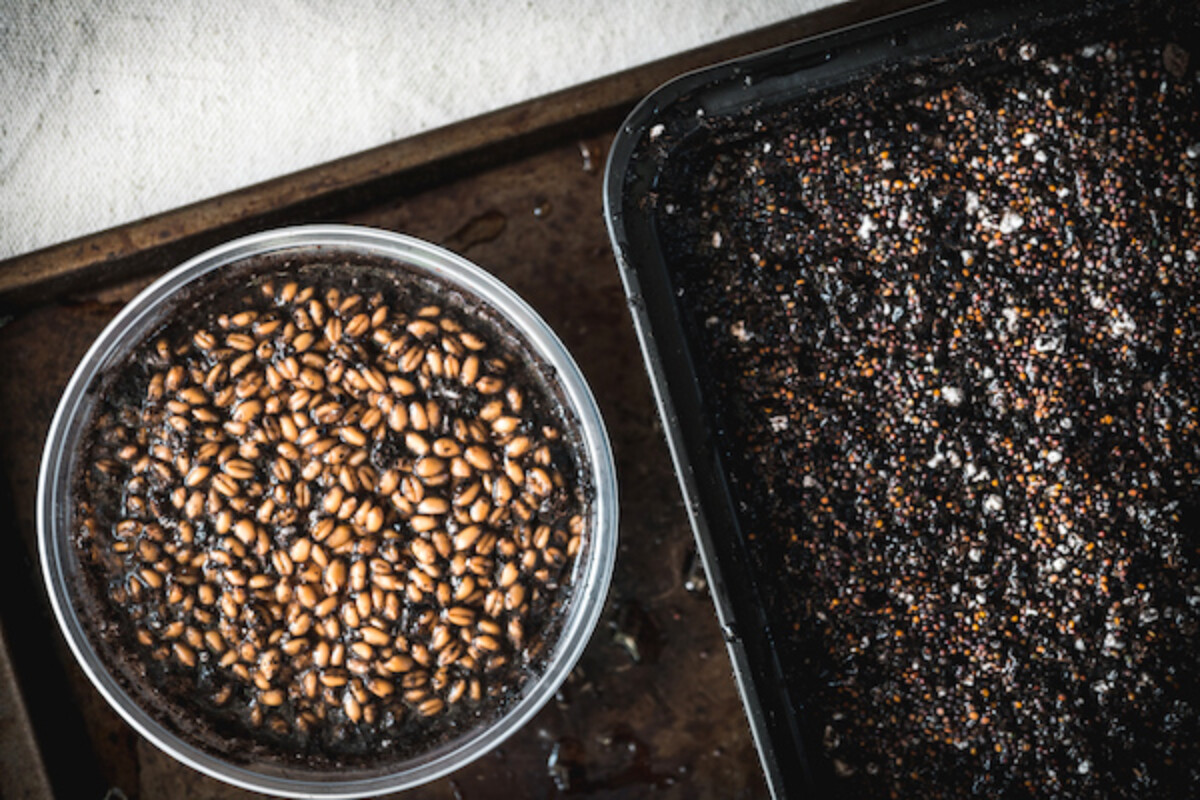
Light is not required for germination, so at this point, they can be in a cabinet or shelf.
Loosely cover your growing tray with clear plastic, a shower cap, an overturned glass bowl, or a milk jug. This helps maintain steady moisture and warmth.
If it’s a takeout container like I used, simply use the lid the container came with! Covering helps keep the seeds from drying out and increasing the humidity. Alternatively, you could also cover the seeds with a damp cloth, soaked newspaper, or paper towel.
Growing Microgreens
Check daily for sprouts, they come up fast! My wheatgrass showed signs of life after just one day. The spicy mix had tiny root hairs on the second day.
Once you see sprouts, you’ll need to remove the cover.
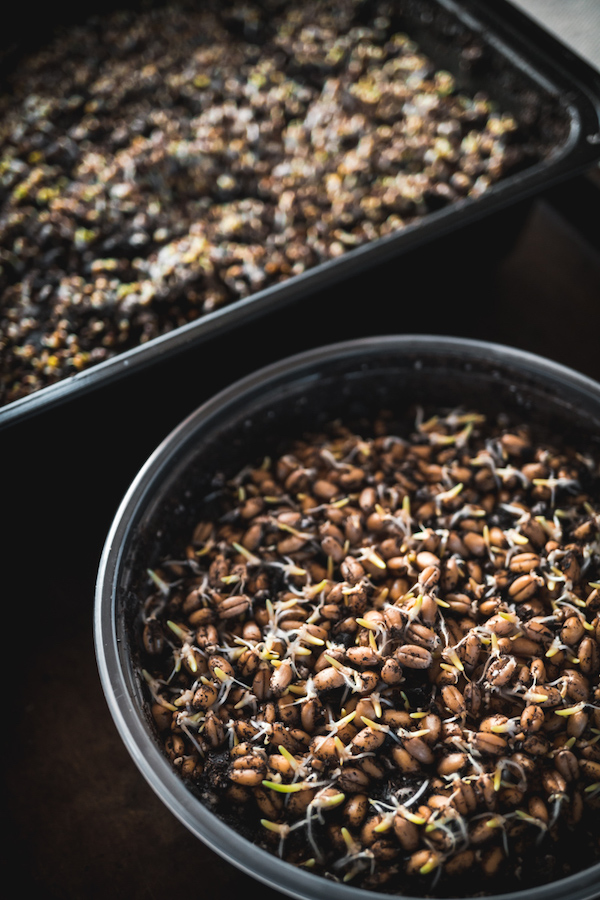
At this point, microgreens need light to grow. They don’t need as much light as a mature plant, and a windowsill is usually enough, even a north-facing window.
The ideal germination temperature is 55-75, so the average house is fine without a plant heat mat, at least for most varieties. Basil is an exception, and really needs higher temperatures for germination.
Strong sun can burn leaves, and hot temperatures can cause them to wilt, so keep them away from wood stoves or radiators or very bright windows. My seeds sat on my kitchen table with a west-facing window.
Keep an eye on the soil, and if it drys out, use a watering can with a spout or take your try over to the sink. Water the soil, not the plants, and make sure not to overflow the soil. This keeps your greens cleaner, making future harvest easier.
Harvesting Microgreens
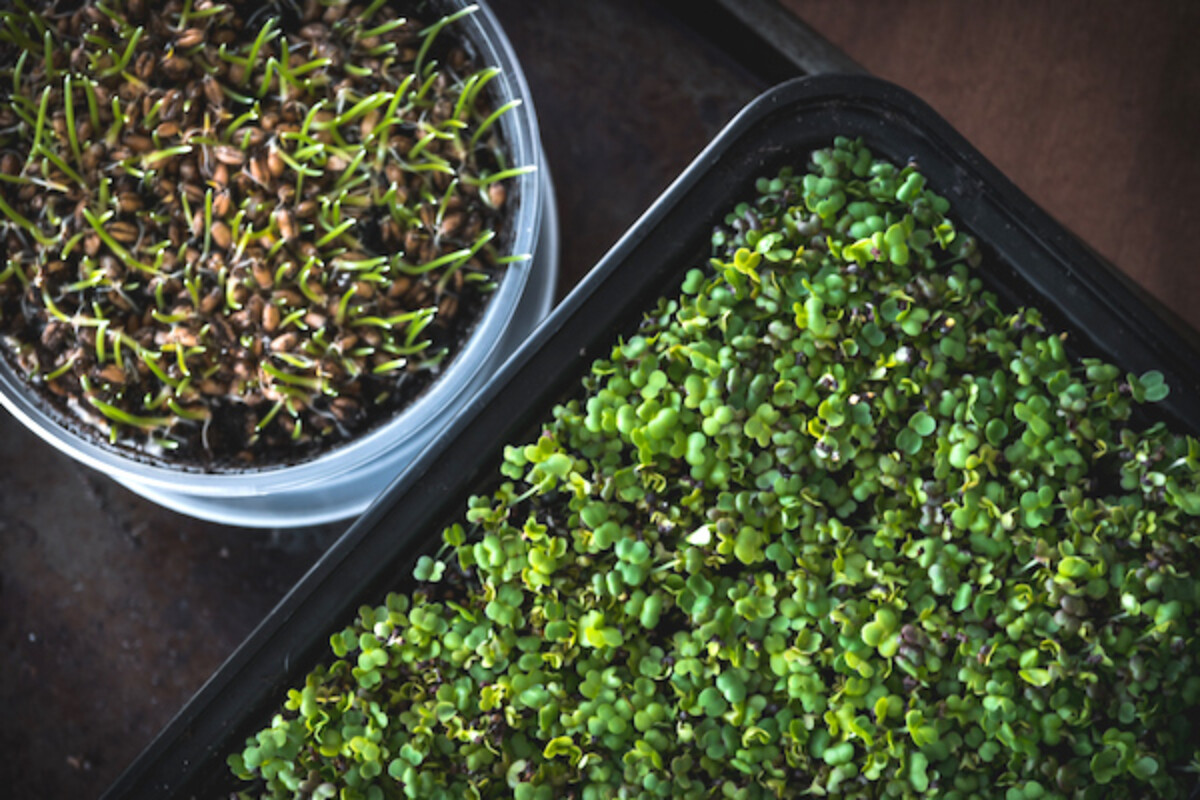
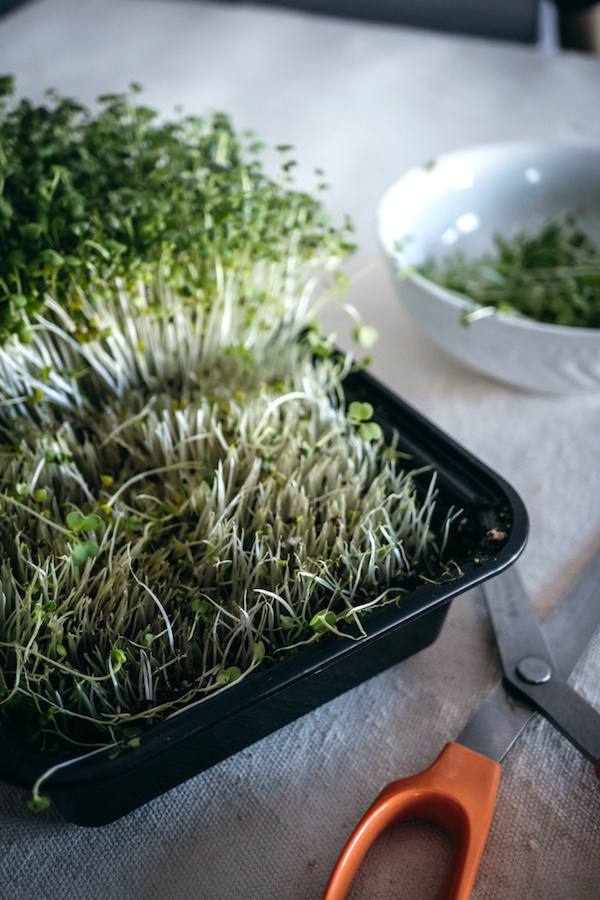
I chose to harvest my greens when they only had the seed leaves, at about a week. Long-bladed scissors are the best tool for harvesting.
Simply use one hand to hold the greens, and the other to cut them at the base about a half-inch above the soil. They are best harvested right before eating, but if you must, store the microgreens in a container with a fitted lid or a sealable bag, for about 3-4 days.
If there is soil on the greens, give them a quick rinse in cool water and drain on a towel. There may be possible seed hulls stuck to the tops of the greens, like on my spicy mix. These can be easily cleaned away by submerging the greens so the seed hulls float to the top and can be drained away.
The plant will not grow again, so you can dump your soil and the roots into the compost, and start over again.
Best Microgreens to Grow
There are A LOT of types of microgreens. Literally hundreds of different types, all with their own characteristics.
If you only grow one or two varieties, I’d recommend starting with radish microgreens because they’re almost impossible to kill (and delicious). Microgreen blends are also a good option because they give you a mix of flavors, colors and textures. They often come in mild blends or spicy blends, but you’ll also sometimes see salad or sandwich blend seed mixes.
Here’s a place to start:
- Amaranth ~ Doesn’t need as much water, traditionally a dry climate crop. This is a good one to grow if your house is very warm or you might forget to water it.
- Arugula ~ Easy, fast and germinates in cooler temps. Mildly spicy flavor makes it an ideal winter microgreen.
- Basil ~ Likes steady, warm temperatures and doesn’t like when the temperatures drop at night. The best germination is at 75-85, so a good microgreen in summer. Mildly spicy, with a unique flavor that goes well in sandwiches. The leaf shape is rounded and glossy, making it especially beautiful as garnish.
- Beet ~ Soak 24 hours for best germination. Beet microgreens have a mildly sweet flavor and lovely red color.
- Broccoli ~ One of the easiest to grow and possibly the most nutritious.
- Cabbage ~ In the same family as broccoli, and just as tasty.
- Chives (& Garlic Chive) ~ These are slower to germinate than other greens and sow at very high density. Harvest at 4-6 weeks, when 2” high. They’re wonderfully green flavor, with just a hint of garlic works well in spreads (like chive microgreen cream cheese, or compound butter). It’s sometimes hard to find chive microgreens seeds, but regular seeds are usually inexpensive and often come in bulk packs. I particularly love this one, and think it’s worth the extra time and effort to grow, especially if you live in an apartment and can’t grow chives in the garden.
- Fennel ~ Tastes like fully grown fennel flavor. I think fennel is a bit of an aquired taste, and it doesn’t go good with everything, so I don’t often grow this one unless I have a special project in mind.
- Kale ~ Easy to grow and tastes like a very tender version of the mature plant. Like broccoli and cabbage, these are very easy to grow. These often come in multiple varieites, including red and green kale, as well as lacinato (aka. dinosaur kale).
- Mizuna ~ Another cold hardy winter green, these are ideal for winter microgreens alongside arugula and kale.
- Mustard ~ Easy to grow, have a hot and spicy flavor. They usually come in red and green varieties, but I tend to grow red because they make a much more visually striking homegrown microgreen.
- Parsley ~ A slow grower, soaking may help germination. Not for beginners, thought they are tasty.
- Peas ~ Pre-soak and grow at high density to produce tall, straight shoots. Best when about 2” tall. These need cooler temperatures. Will regrow if not cut too low. Snow peas are most common for pea shoots.
- Radish ~ Hands down the easiest to grow, I dare you to try to kill this one. They come in multiple varieties, each with a slightly different color and flavor. I like diakon microgreens, but the red varieties are beautiful and flavorful as well.
- Sunflower ~ The black oil type works best for sprouts, but any sunflower seed will work.
- Wheatgrass ~ Any variety of wheat can be grown. Presoak the seeds, sow thickly, and keep well watered. This benefits from added nutrients in the soil. Growing in strong natural light boots nutrients. For human consumption, harvest when 8-10” and juice. For the kitties, set the tray down when the grass is a few inches tall. A heavier pot would be best because nibbling makes lightweight plastic containers tip over!
How to Eat Microgreens
My favorite way to eat microgreens is on top of good crusty bread smeared with hummus. Or, add to salads for a bit of color, flavor, and texture, mix into soup, dressings, dips, stir-fries, wrap into spring rolls, mix into savory fritters, top on toast, pizza or frittatas.
Really the possibilities are endless, and microgreens are great for adding crunch and nutrition to just about anything.
Gardening Tutorials
Looking for more ways to get growing indoors?
- DIY Seed Starting Lights for Seedlings (and microgreens too!)
- Growing Asparagus from Seed
- Growing Strawberries from Seed
- Growing Lemon Trees from Seed
- Growing Lemongrass (indoors or out)
- Growing Ginger (indoors or out)
- Growing Turmeric (indoors or out)



If you allow the microgreen leaves to advance to the second or third set of leaves, would you be able to cut & grow or do you still need to toss the soil & roots?
No, microgreens are specifically designed for a one time harvest.
There is so much info here. Is there any way to recover seeds yourself to allow you to not have to buy seed? thanks!
Sure, you can just let the plants grow to maturity and produce seed. Then collect the seed and use them to grow your microgreens.
I’m not that much of an internet reader to be honest but your blogs really nice, keep it up! I’ll go ahead and bookmark your website to come back down the road.
Thank you so much. That’s very kind.
Great post!! I’ve done sprouts many times, and very excited to try the greens. Thanks for the info! 🙂