Affiliate disclosure: This post may contain affiliate links. Please see our Privacy Policy.
Strawberries are a quintessential summertime snack, but the fresh berries don’t last as long as other types of fruits. You have to preserve strawberries within a week after harvesting, or they’ll start to mold and rot, even in your refrigerator.
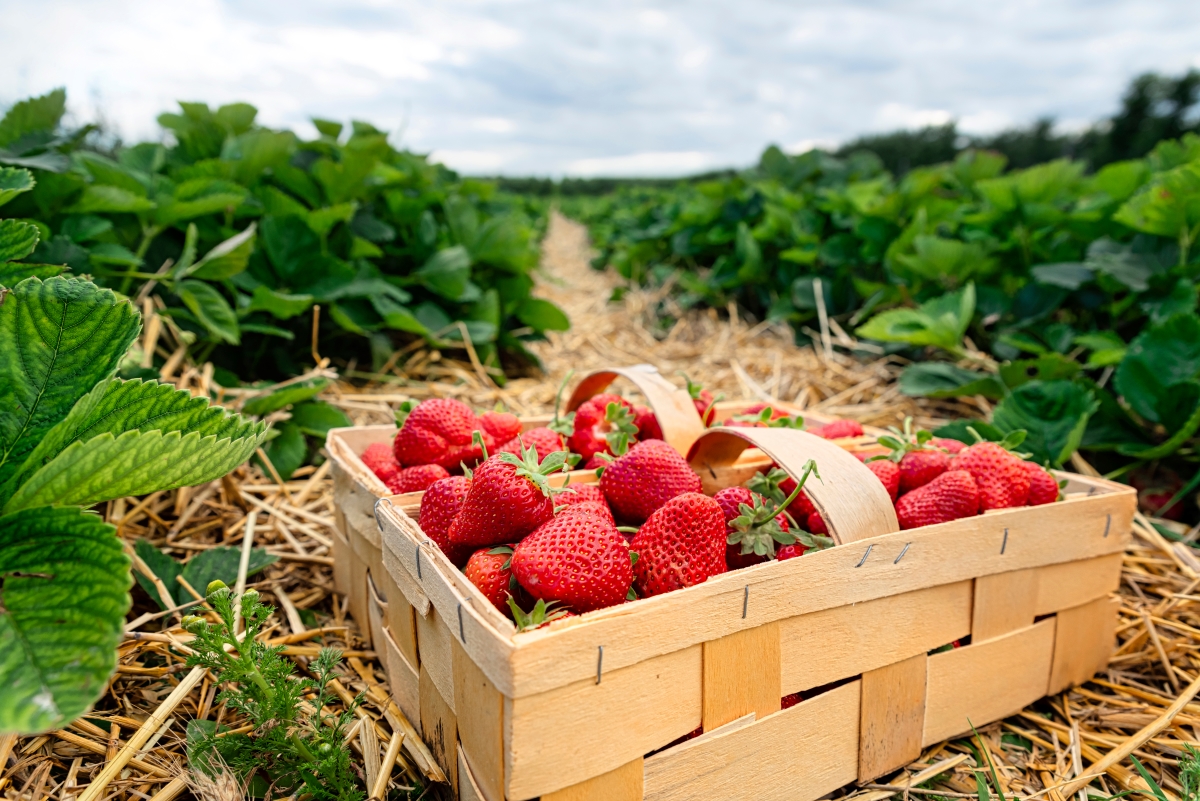
Our family loves strawberries, especially our kids. Kids clamor to eat homegrown, fresh strawberries. I’m lucky if I manage to preserve any before the little hands eat them, but I love finding new ways to preserve strawberries when I do.
My go-to is making strawberry jam, but once I make enough jars of jam, I have to find other ways to use up the multiple quarts of strawberries our garden produces each year.
How to Store Fresh Strawberries
Fresh strawberries last five to seven days in the refrigerator if stored properly. Whether you buy berries at the store or harvest them in your garden, proper storing techniques extend the life of your strawberries.
Remove the strawberries from the containers as soon as you get them home if you don’t plan to eat them that day. Some people think that you should wash them when you bring them inside, but the best-recommended practice is to wash berries when ready to eat them. Strawberries should only be washed in cold water and never soak strawberries; they’ll absorb too much of the water.
The best place to keep strawberries in the refrigerator is in the crisper drawer. It helps the berries keep moisture and not become dry and nasty. They should be stored whole with the stems and in a partially closed container lined with paper towels to absorb more water.
If possible, try to keep the berries in a single layer to prevent crushing or bruising. A single lay also prevents mold from spreading from berry to berry.
Ways to Preserve Strawberries
If you can’t eat all of the strawberries immediately, preserving them lengthens their shelf life. It takes extra steps to preserve them, but it’s better than letting them go to waste. Plus, preserving strawberries gives you different snack and food options.
Before you preserve strawberries, make sure you take a close look at each berry. Look for mold, fuzzy development, or mushiness. Mold spreads rapidly from strawberry to strawberry. If you find mold, look closely at all of the strawberries that were near.
After that, give your strawberries a quick wash to get off any dirt and grime. Now, it’s time to start preserving.
Freezing Fresh Strawberries
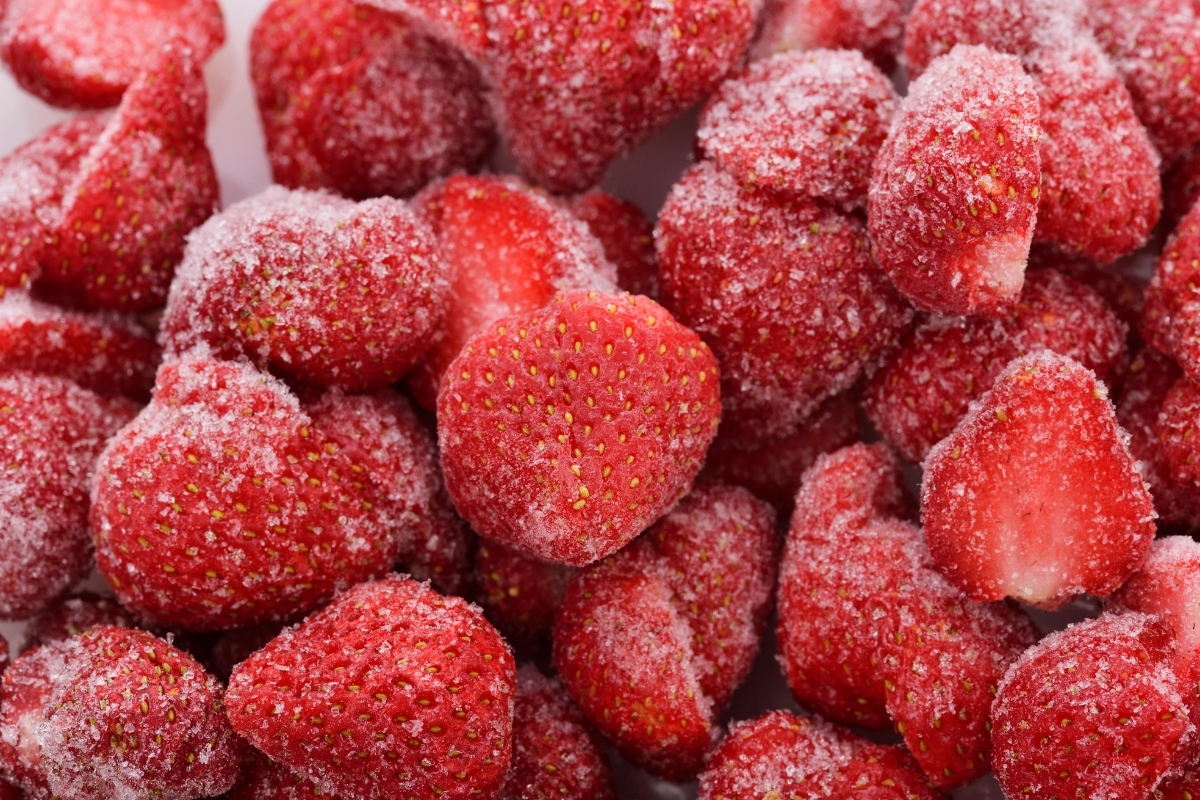
If I have a surplus of fresh strawberries, I always add them to the freezer. It requires some prep work to ensure the berries retain as much of their flavor as possible, but freezing is the most versatile way to preserve strawberries.
If my kids want strawberry smoothies, I take a few handfuls out of the freezer bag. If we run out of homemade strawberry jam, I use the frozen strawberries to make another batch, even if it’s in the middle of the winter.
The best time to freeze strawberries is two to three days after harvesting. Go through your harvest and check for any mushy berries. You want firm, ripe strawberries for the best flavor.
After you go through all of the berries and take out the good ones, wash them under running water, but don’t soak them. Soaking berries causes a loss of flavor because they absorb the water too quickly.
Next, hull the strawberries, remove the leaves, and cut at an angle to remove as much of the white interior as possible. Then, you have to decide how you want them to be frozen. If you want them sliced, do so before you freeze them. Strawberries freeze well whole, sliced, diced, or pureed.
After getting your berries in the shape you want, spread them out on a baking sheet lined with parchment paper. Put them into the freezer for three to four hours, flash freezing them. Once they’re frozen, transfer them into a freezer-safe container, removing as much air as possible to avoid freezer burn.
Frozen strawberries last up to one year.
Strawberry Compote (& Strawberry-Rhubarb Compote)
Strawberries and rhubarb go together hand in hand, and a strawberry rhubarb compote is a great way to combine these flavors.
A compote is a simple fruit sauce made with fresh pieces of fruit (frozen works as well) and some sugar. Then, everything is cooked together on the stove. It creates a textured fruit sauce, and it’s delicious, without a doubt.
Compote is really in the middle. It’s not as thick as a jam or preserves, but it’s thicker than a sauce. Eat it over a bowl of oatmeal in the morning, or mix it into a bowl of yogurt. It works on top of ice cream or poured over a piece of warm bread.
Making strawberry rhubarb compote is simple. First, make sure you clean and dice all of the fresh fruit into manageable sizes. All of the ingredients must be combined in a saucepan and brought to a boil. After boiling, turn the heat down to medium-low or low and let it simmer for up to 35 minutes.
You’ll see the compote start to thicken. Remove the pot from heat and let it cool. Compote can be served warm or at room temperature. It stores well in the refrigerator for up to two weeks, or try freezing it so that you have some in the winter.
Strawberry dehydrator recipes
There are a number of ways to preserve strawberries in a food dehydrator, ranging from just simple dried fruits to powder and fruit leather. They’re all delicious easy dehydrator recipes that take just minutes to set up, and then the dehydrator does the rest.
Dehydrating Strawberries
We love dehydrated fruits; they’re yummy snacks that don’t require any special storage beyond a spot on the pantry shelf. We take them on hikes and long car rides, and there’s something magic about popping a dried strawberry in your mouth right in the middle of our long Vermont winter.
Dehydrated strawberries are straight yummy. They’re a delicious, sweet, crunchy snack that also tastes delicious crumbled on top of ice cream. Trust me; you need to try it.
Preserving strawberries by dehydrating is simple; it’s perfect for someone new at dehydrating. It preserves the berries for months and lets you use them in a multitude of ways.
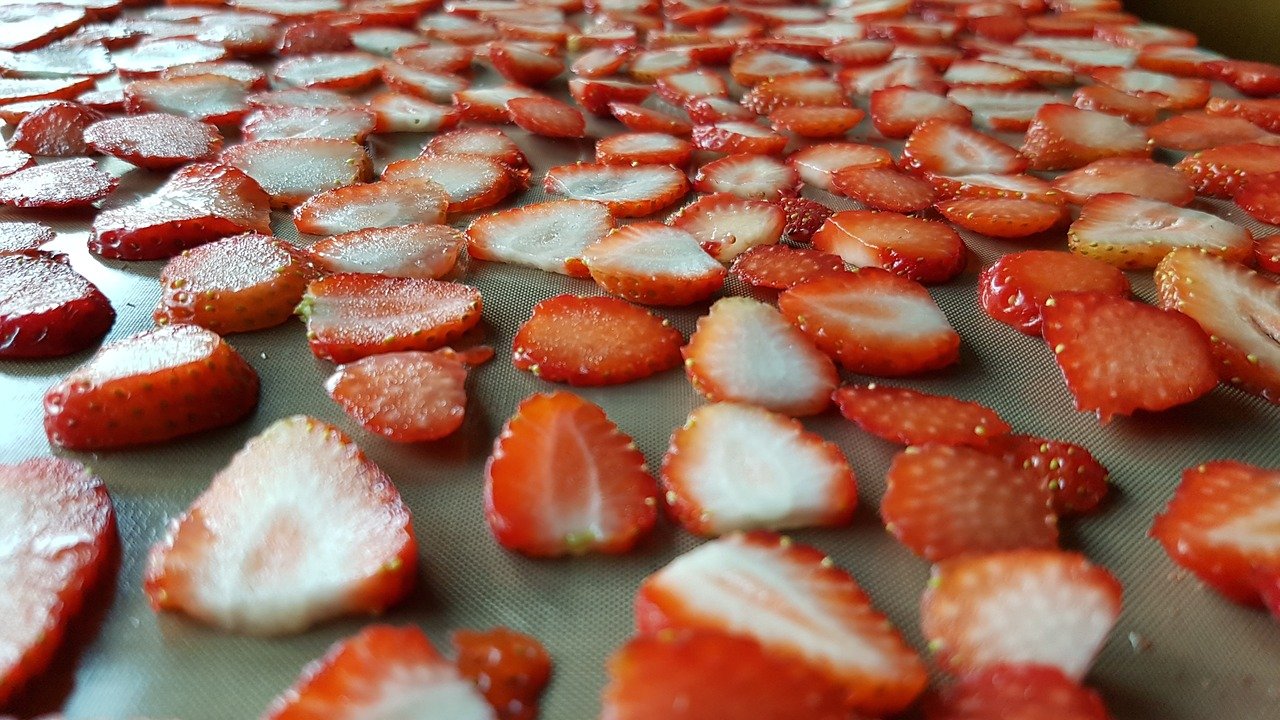
The first step to dehydrating strawberries is to clean and hull them. Slice them into ⅛ to ¼ inch slices. Try your best to make sure each slice is the same thickness because it helps them dehydrate evenly, but no one is perfect. Don’t stress too much.
Spread the sliced strawberries out over your dehydrating tray, leaving at least a half-inch of space between each slice. Don’t let them touch. When you dehydrate, air needs to be able to flow and circulate around the fruits.
Strawberries need to dehydrate for 8-14 hours, depending on how thick they are and how pliable or crispy you want them to be. If you want crispy dehydrated strawberries, leave them in there longer. After they’re done, let them cool for about 30 minutes and check to make sure they break easily. You don’t want any moisture in the berries still because moisture leads to mold.
The best way to store dehydrated foods is in glass jars. Fill the jar up two-thirds of the way and use it when needed. If you don’t plan to use them soon, you might want to add oxygen absorbers.
Strawberry Powder
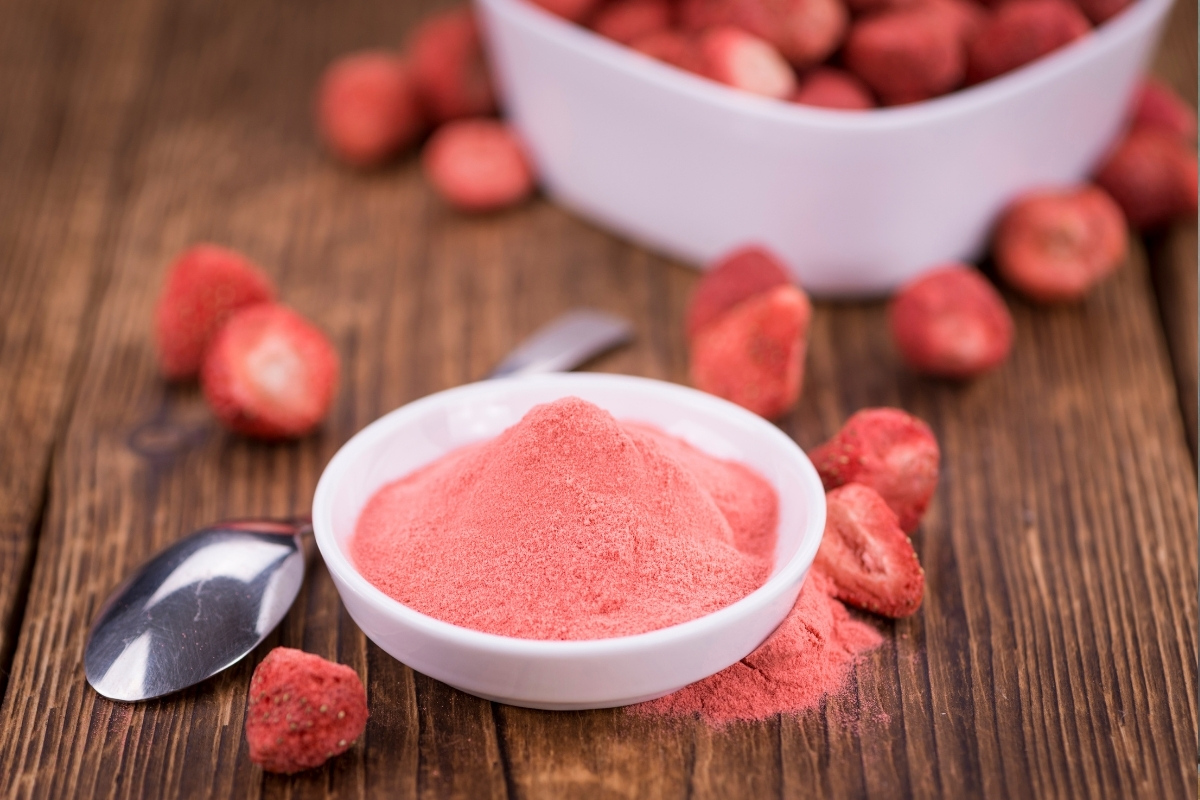
After you dehydrate strawberries, making strawberry powder allows you to store them in a more compact way, and easily incorporate them into frosting and flavorings. Once you go through all of the steps and confirm that your strawberries are correctly dehydrated, making a fruit powder is a versatile way to preserve your harvest.
All you have to do is put the strawberry slices into a blender or grinder and pulse until thoroughly powdered. Then, spread the fruit powder on a tray in the dehydrator (make sure you use lipped dehydrator sheets) or use a cookie sheet in your oven.
Dry the fruit powder for another hour or two. It pulls any residual moisture that might be in the fruit powder. After it’s done, store it in an airtight container.
Strawberry powder is a versatile way to preserve strawberries. Mix it into your frosting recipe or add to your favorite yogurt. When it’s available, you’ll find ways to use your strawberry fruit powder.
Strawberry Fruit Leather
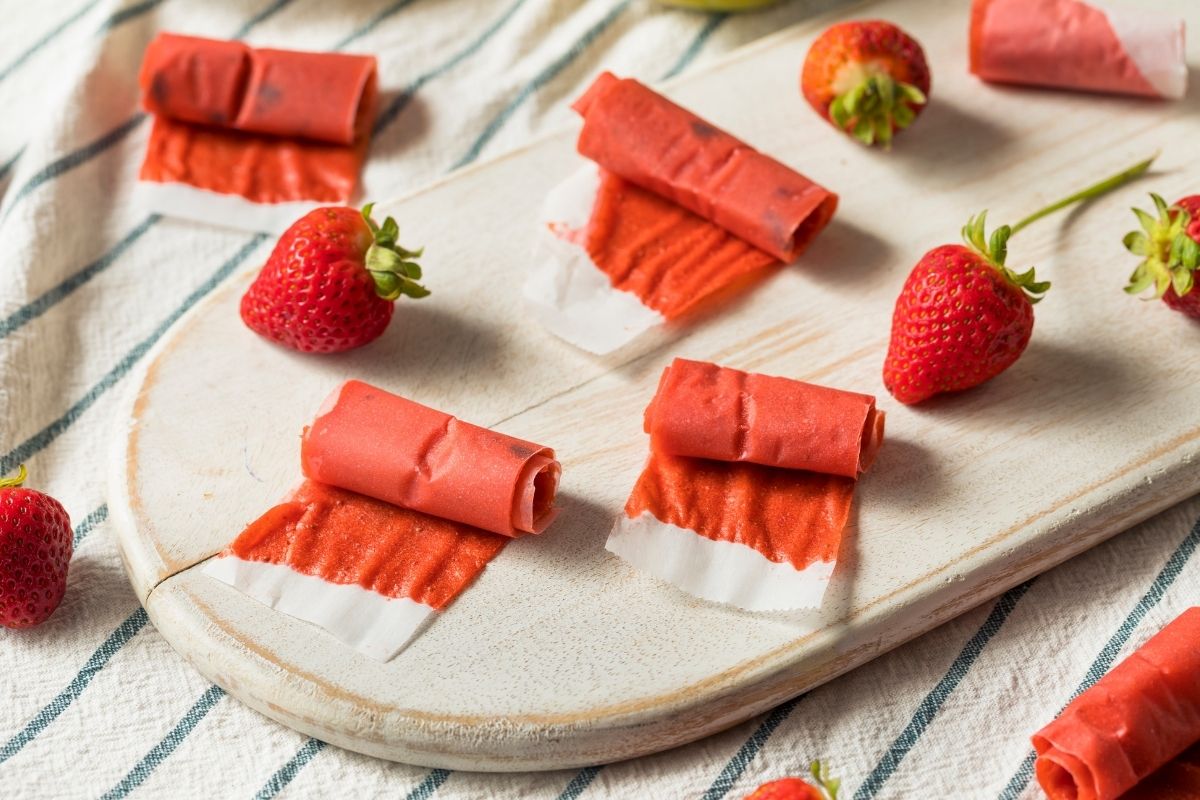
Here’s another easy way to preserve strawberries while giving your family a delicious snack that everyone enjoys, including adults. Once you make your first batch of strawberry fruit leather, you’ll be dying to make more. Before you know it, you’ll come up with new recipes to try because making fruit leather is a great way to preserve all types of fruit.
Start by preparing your strawberries; make sure to wash, hull, and crush them into a fine consistency. Then, mix them with lemon juice and sugar. Let this mixture sit for up to an hour; the sugar pulls out the liquid from the berries.
Then, spread this mixture onto a baking sheet, and use a silicone spatula to spread it out as evenly as possible. You want the fruit leather to be the same thickness.
Set your oven on the lowest heat possible and let the fruit leather dry out until it feels dry without any residual stickiness. This takes hours, so you want to start it as soon as you wake up in the morning.
After the strawberry fruit leather is done, put it onto parchment paper, slice into strips, and roll it up.
Freeze Drying Strawberries
If you are lucky enough to have a home freeze dryer, that opens another way to preserve strawberries at home. Freezing drying is a fantastic way to preserve foods for the long term, and they make delicious snacks.
Freeze drying preserves the flavor and texture of fruit better than regular dehydrating, and creates a fruit that just about melts in your mouth (though it’s room temperature, and stored in the pantry). We don’t have a freeze dryer (yet), but we do purchase freeze-dried strawberries from Valley Food Storage because they’re so darn good. They’re expensive though, and investing in a freeze dryer means you’ll be able to preserve strawberries (and other foods) for a fraction of the price.
To freeze dry strawberries at home, start by washing your strawberries and dry them thoroughly. Remove the stems and slice the berries as thinly as possible. Spread them on the tray inside your freezer drier, and refer to the manual to determine the proper length of time needed to remove the moisture.
After completion, freeze-dried strawberries store well in an airtight container, if they last that long!
Strawberry Canning Recipes
Spring is when most canners pull out their equipment and get to work putting up the harvest. There are so many strawberry canning recipes, from syrups and shrubs to jams and butters. Don’t limit yourself to just a few simple recipes, when there are dozens of ways to bottle strawberries for year-round use.
Canning Whole Strawberries
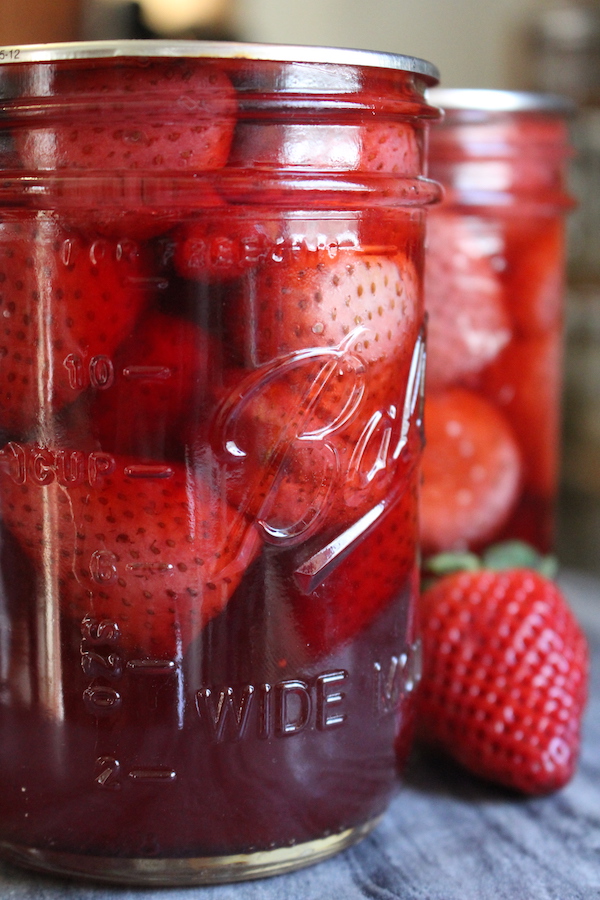
I like to can whole strawberries because they’re versatile. Use them for pies, jams, or other dishes, and the process is simple. It takes only two ingredients: strawberries and sugar.
The first thing you need to do is clean and hull out the whole strawberries. Sprinkle a bit of sugar over the top of these strawberries; think of a light dusting. Now, let them sit for six hours while they release their juices.
Once they’ve made a bit of juice, you actually can them right in their own juices. This tutorial on canning whole strawberries has specific measurements if you’d like to try it.
Strawberry Jam ( & Variations)
Everyone loves strawberry jam. It tastes delicious with breakfast or on a peanut butter sandwich. Strawberry jam is one of the easiest jams to make, so if you don’t have any experience canning, this is a great recipe to try.
Wash and hull the strawberries, and then slice and dice them. Put them into a stockpot and heat them, crushing them with the spoon as you stir them. Add sugar, pectin, and lemon juice, letting it dissolve and mix. Then, increase the heat until it boils for one minute, stirring continuously.
Remove from the heat and ladle the jam into waiting hot jars. Process the jam in a boiling water canner for 10 minutes.
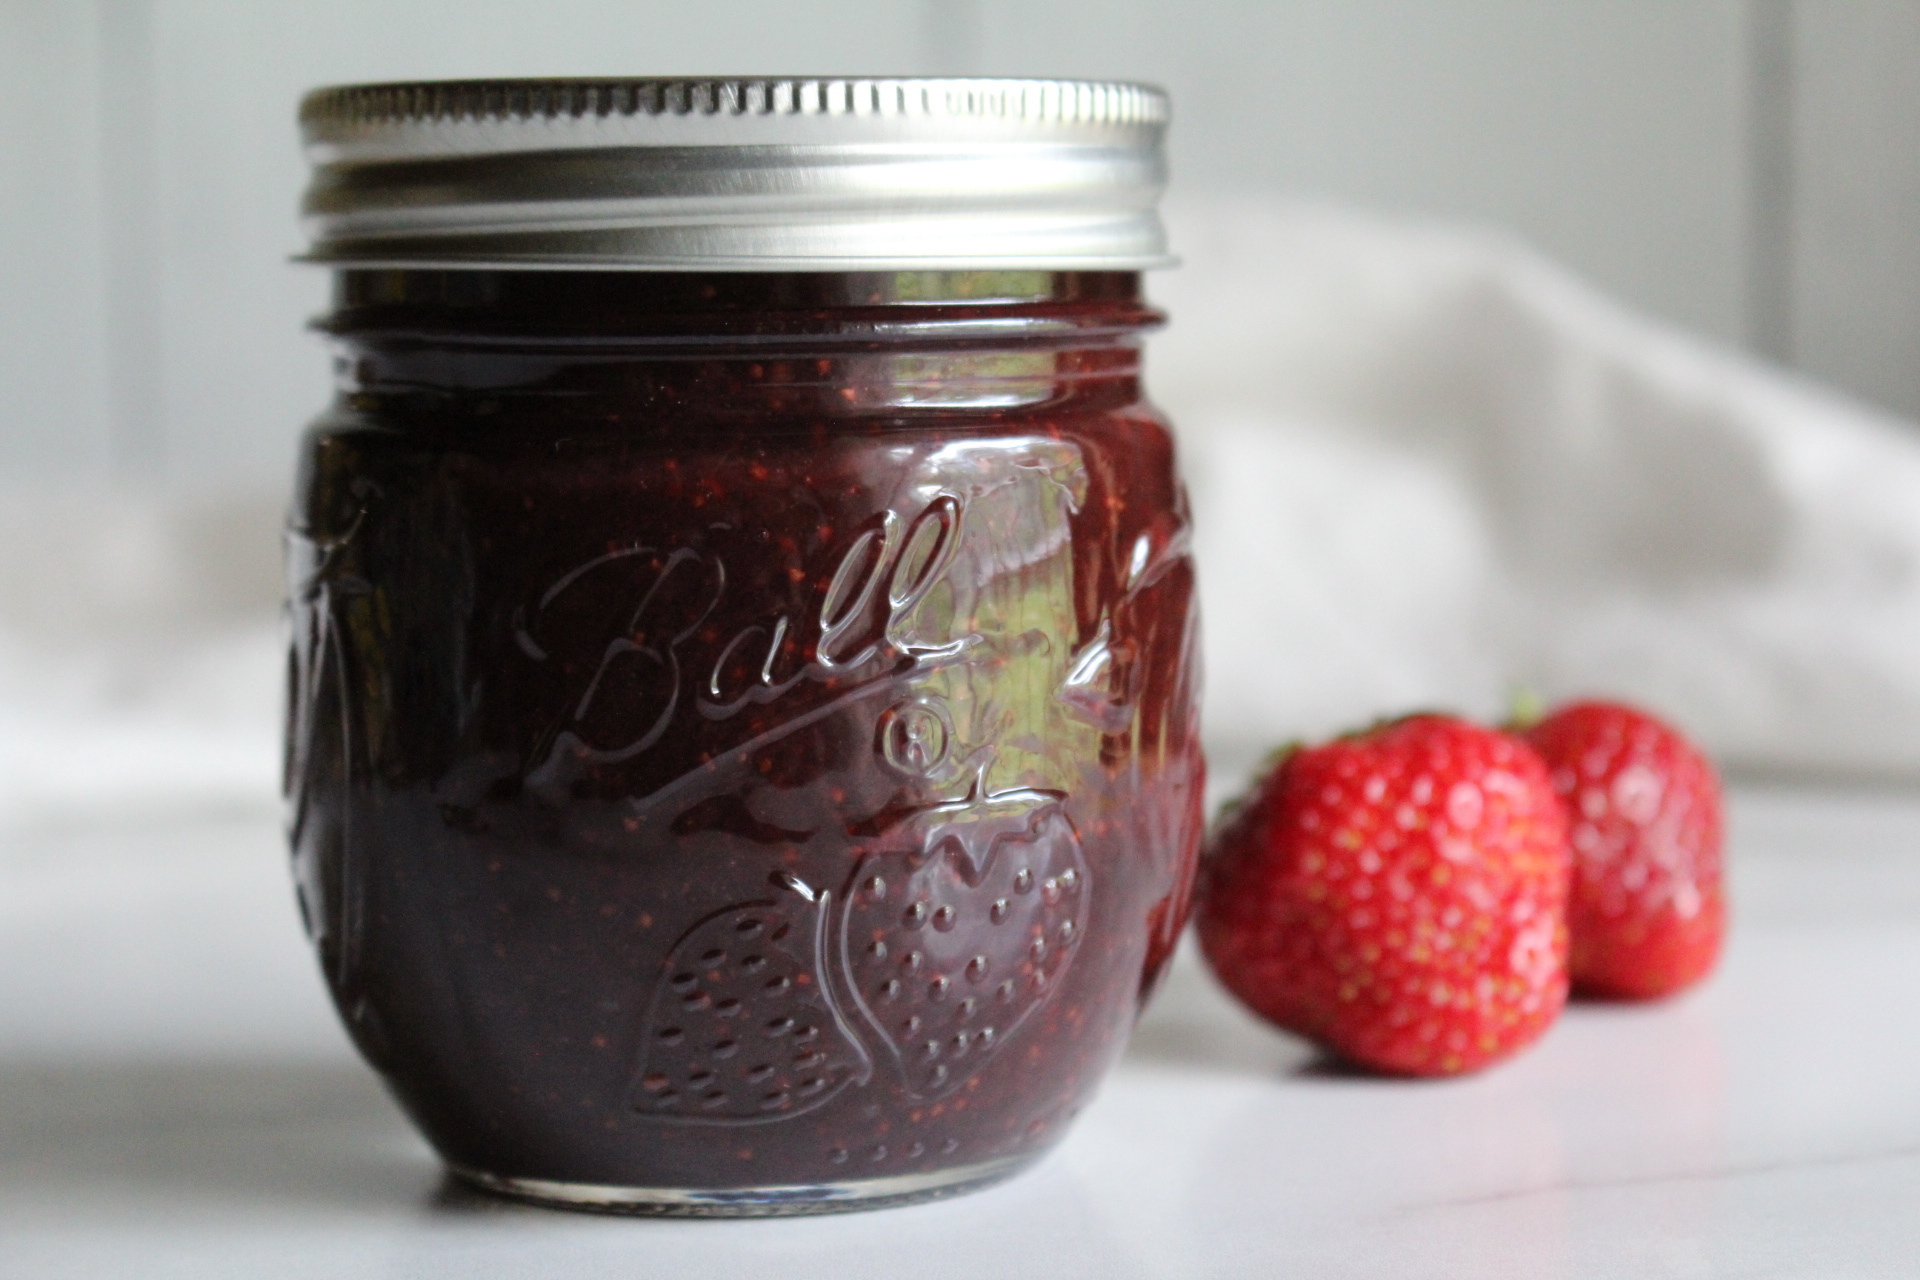
While classic strawberry jam is absolutely delicious, but sometimes it’s nice to switch it up. There are so many variations and all of them work wonderfully to both preserve strawberries and compliment their flavor.
Strawberry Jelly
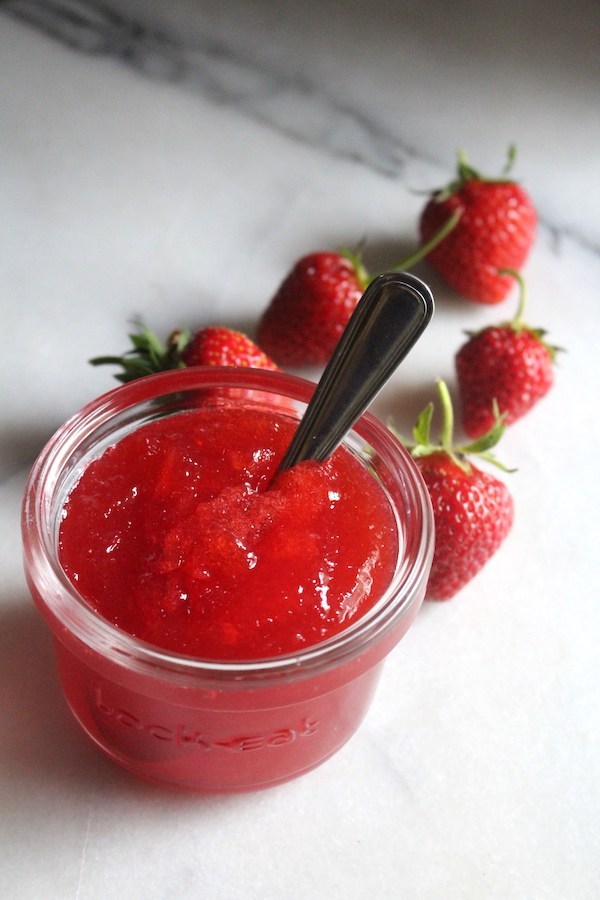
Though I love the big chunks of fruit in strawberry jam, my kids are all about silky smooth jellies. I started making strawberry jelly for them, and even I have to admit it’s pretty darn spectacular.
Without the seeds and fiber from the fruits, there’s nothing to distract from the pure strawberry flavor. It spreads beautifully that way too!
Strawberry Rhubarb Jam
Strawberries and rhubarb come into season simultaneously, so it makes sense that they go together so well. The berries balance out the rhubarb’s tartness, so you don’t feel like you’re biting into a sour rhubarb stock.
Making strawberry rhubarb jam is as easy as making traditional strawberry jam. I don’t make tons of these, but they’re a fantastic addition to your homemade jam stockpile.
The steps for making this jam are close to the same as making strawberry jam. The strawberries must be washed and hulled, and chop the rhubarb into even, small pieces. Cook the fruits together in a stockpot, mixing the sugar and lemon juice.
After making strawberry rhubarb jam, store it in the freezer or move forward with canning it.
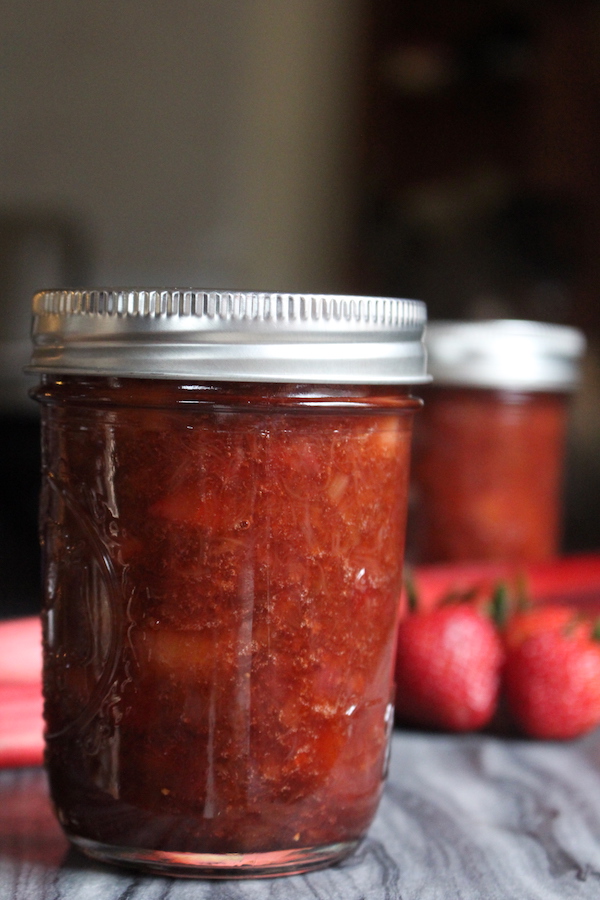
Strawberry Red Currant Jam
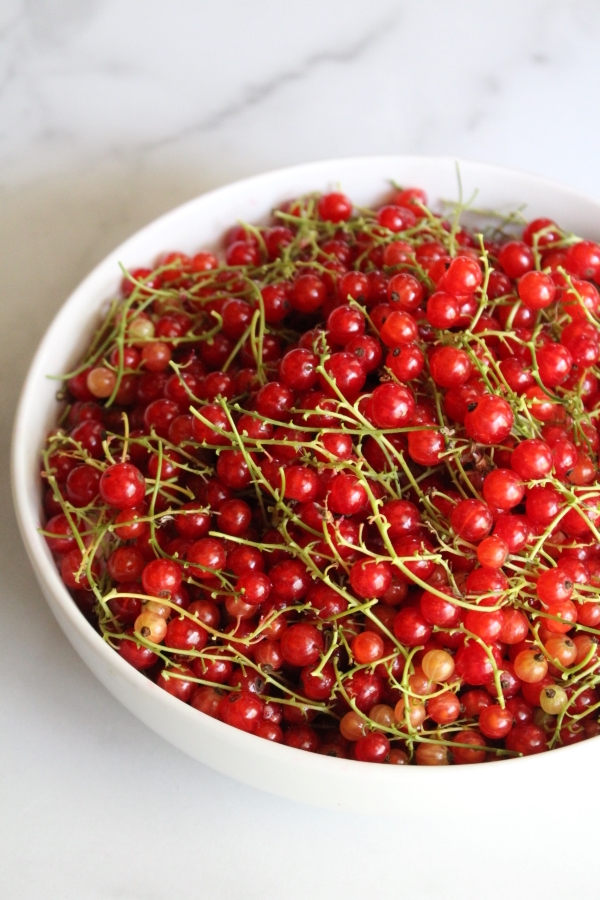
Both of these fruits are ruby red, tart yet sweet, the perfect combination for making preserves that your family will love. Try combining strawberries and red currants for a delicious pairing.
I never thought of combining strawberries and red currants until I realized that both come in season simultaneously. Red currants are high in pectin and making up for the low pectin in strawberries. I make a no pectin redcurrant jelly each year, and it’d easy enough to add in strawberries. Chances are, you won’t need to add any pectin to create this preserve.
All you need to make strawberry red currant preserves are strawberries, red currants, lemon juice, and sugar. That’s as simple as it gets.
Strawberry Sauce or Simple Syrup
Homemade strawberry sauce is better than anything you’d buy in the grocery store. We love spreading it over ice cream or making strawberry milk; kids love it. Try spreading it over pancakes and waffles instead of syrup. It’s a versatile and delicious topping even for savory dishes. Try adding it to a salad dressing or marinade.
Wash and hull the strawberries, removing as much of the white interior as possible. Slice or chop them up. The smaller you dice them, the more sauce-like you can make the syrup. Try crushing them up with a spoon for better consistency.
Put all of these strawberries into a bowl and sprinkle sugar over them, which pulls the moisture out of the berries, making a sauce. The longer it sits, the more sauce-like it becomes.
Leave this easy strawberry sauce in the refrigerator for up to three days, but if you actually want to use it to preserve strawberries, either freeze or can it.
Strawberry Butter with Honey
Most people have heard of apple butter, but strawberry butter is another excellent way to use up the extra strawberries you harvest. It’s perfect for spread-over toast in the morning.
Strawberry honey butter is a canning recipe, but you can store it in your freezer if you don’t want to can. Once you taste how good this recipe is, you’ll be hooked!
Start by hulling your strawberries and put them into a blender, pureeing until the fruits are smooth. After you puree your strawberries, combine all of the ingredients into a large pot, including honey and vanilla extract.
Let these ingredients simmer on the stove for 60-90 minutes, remembering to stir frequently. If you see foam, don’t panic; it disappears after cooking for an extended time.
If you want to can this recipe, the jars need to be processed for 10 minutes.
Strawberry Pie Filling
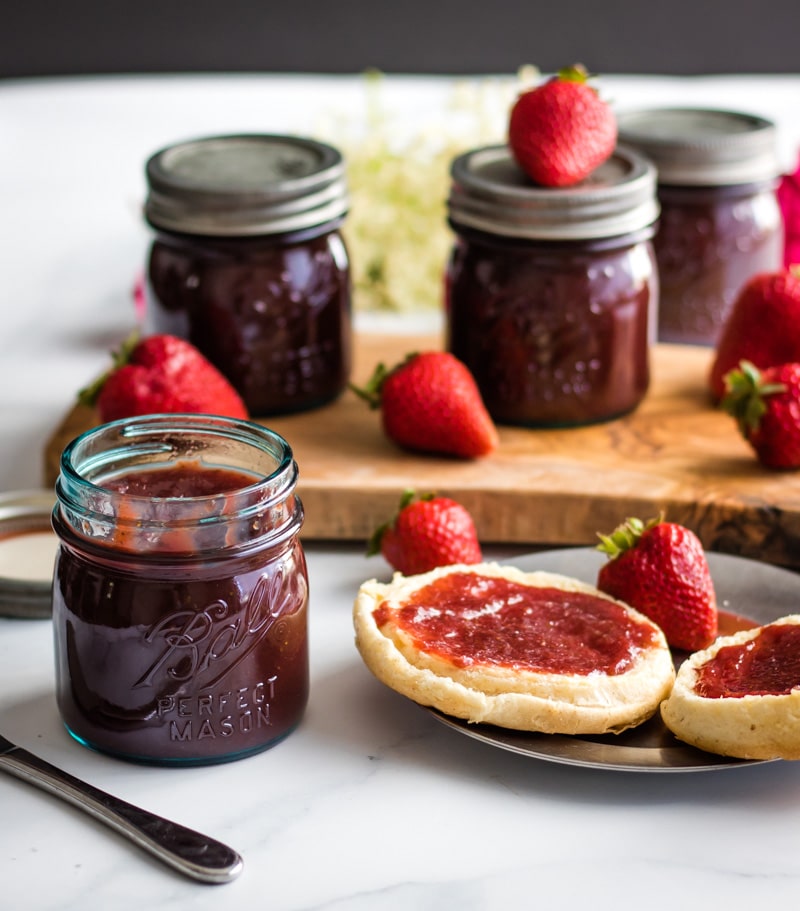
I like to have a variety of home-canned pie fillings in my pantry. We put up apple pie filling, peach pie filling, and cherry pie filling in a water bath canner as each fruit comes into season. Strawberry pie filling is one of my family’s favorite treats, especially with some homemade whipped cream. It’s so good, even if you never bake it into an actual pie.
Wash all of the strawberries and slice them into reasonable sizes. Don’t make them too small because pie filling needs to have chunks of fruit.
Put the fruits, sugar, and Clear Jel into a large pot and add some water. Cook this mixture on medium-high heat until it starts to thicken and bubble. Use a whisk to help the sugar dissolve. Then, add lemon juice and let it boil for one more minute.
Strawberry pie filling needs to be processed in a water bath canner for 30 minutes. This is one of the best ways to preserve strawberries; homemade strawberry pie tastes so good when it’s snowing outside.
Fermented & Cultured Strawberries
I know that these days the word “fermented” often brings to mind spoilage, but there are plenty of tasty ways to direct that fermentation. Namely strawberry wine! Beyond that, there’s kombucha, as well as cultured spreads like fermented chutney and fruit vinegar.
Strawberry Wine
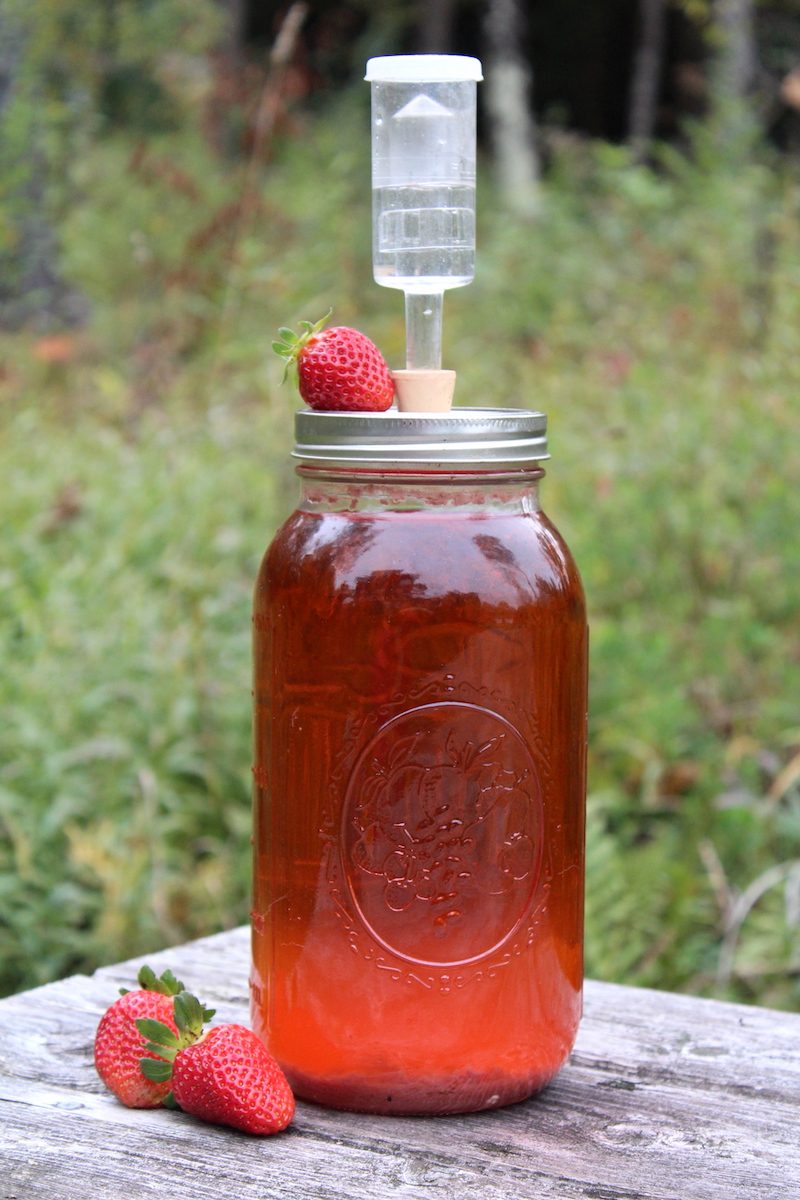
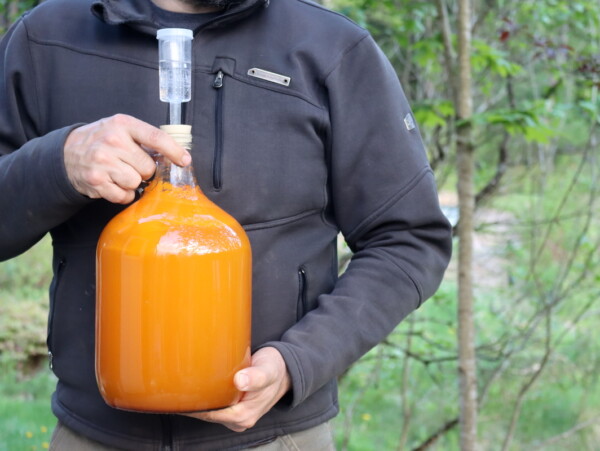
Making homemade wine is an excellent way to use up a harvest. You technically aren’t preserving the entire strawberries, but you use them to make strawberry wine, which is delicious.
Strawberry wine requires one year of aging before it’s ready to drink. Using homegrown or wild strawberries means you won’t need extra wine yeast because these have wild yeast on them, naturally fermenting the wine.
While you wait for it to age, store your bottles of strawberry wine in a cool, dark place during the fermentation process. This is a great first wine to try making for newbies, but you need to have patience.
If you’re new to winemaking, I’d suggest starting by reading this primer on making small-batch wine.
Strawberry Kombucha
Kombucha is another tasty homemade ferment that uses a community of yeast and bacteria to create a fizzy cultured drink. It’s usually less than 1/2 percent alcohol and has more of a tang to it than regular soda. Strawberry is one of the easiest flavors to create, perfect for beginners.
You need SCOBY from your first fermentation, or you can create a seed culture by buying a bottle of raw kombucha from a health food store. A scoby will just grow naturally as you make the kombucha the first time if you add a cup of raw kombucha to the mix.
After that, you can use fresh or frozen strawberries to make strawberry kombucha. If you use frozen, you must thaw them first before adding them to your kombucha recipe. Puree the strawberries because the more surface area of that fruit exposed, the more flavor you have in the end. If you don’t have time to puree the berries, use finely diced strawberries.
Transfer the kombucha from a first fermentation to bottles and add the strawberry puree that you just made. Let it ferment for 3-10 days until it reaches the right carbonation that you love. After that, you can strain out the strawberries if you want and chill before drinking.
Fermented Strawberry Soda
If you have strawberries that are too mushy to eat, this recipe is a perfect way to use them up. Mushy strawberries don’t mean that they’re unusable. Making fermented strawberry soda requires little time and minimal ingredients.
Put all of the strawberries, sugar, and water into a large pot and bring it to a boil. Let it simmer for 20 minutes, squishing the strawberries with a masher. Then, strain the strawberry sugar water through a fine-mesh strainer. Add a bit of whey from fresh yogurt and stir well.
Now, transfer this into flip-top bottles and store it in a warm area of your home. Fermentation takes anywhere from 3-14 days, so be prepared to wait. Start checking the flavor after a few days and store the bottles in the fridge when you find the taste that you love.
Strawberry Vinegar
If you need a change from your standard salad dressing, strawberry-flavored vinegar reminds you of summertime in a bottle. Infusing vinegar is a simple process, so I like to involve my kids in the process.
There are a few variations of strawberry vinegar you can try, like strawberry basil and strawberry mint. All variations are made using the same steps.
Heat your jars in the oven or a hot water bath. While the jars are heating, wash the strawberries (and herbs, if using them) and remove any damaged parts. Dry the strawberries thoroughly and cut the berries into quarters.
Take the jars out of the oven and put the sliced strawberries into them. Heat white vinegar in a pot until it starts to steam, and then spoon it in the jars. Leave at least ½ inch headspace at the top of the vinegar.
Keep the jar in a cool area away from sunlight. It should infuse for up to two weeks. At that point, strain out the berries and refrigerate them until you want to use them.
Though making an infused vinegar is simple, you can also actually culture strawberries into fresh vinegar (rather than just infusing vinegar with strawberry flavor). To do that, follow the directions for making fruit vinegar.
Fermented Strawberries with Honey and Whey
My family loves this recipe. Honey and strawberries make a delicious pairing, and if they spend time together, they ferment into a tasty, probiotic treat. We spoon this over bread, yogurt, oatmeal, and even ice cream.
The easiest way to make fermented strawberries with honey and whey is to add two tablespoons of fresh whey from a tub of yogurt into a pint of fermented strawberries, along with honey and salt.
Strawberries don’t need much time to ferment. It only takes up to one week, and they need to be in the fridge to preserve them. This way of preserving strawberries isn’t meant for the long-term, but they’re delicious.
Fermented Strawberry Rhubarb Chutney
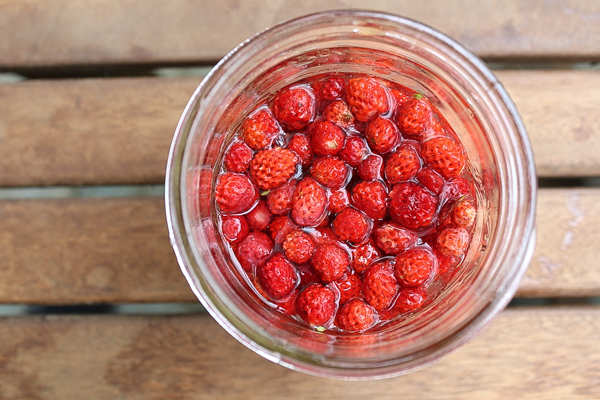
If you love fermenting, give this way to preserve strawberries a try. Fermented strawberry rhubarb chutney tastes fantastic on top of crackers or crostini. Put a spoonful on top of some spreadable cheese, and you’ll be amazed at how delicious this is.
Combine chopped strawberries, diced rhubarb, lemon juice, whey or kefir, salt, and sugar. Keep it in a fermentation vessel, and make sure to pound the chutney mixture until it’s well-combined.
Put the jar aside in a cool, dark place to ferment for one week or until bubbles form, and the chutney has a fermented taste. Then, store it in the refrigerator for up to three weeks.
Strawberry Infused Liqueur
Though you’re not likely making your own rum at home given the legal restrictions, you can infuse rum or vodka with strawberry flavor instead.
Strawberry Rum
Berries and rum work well together, so why not try making a batch of strawberry-infused rum? The hardest part of the process is being patient and waiting for the results. It takes between two weeks and one month for the rum to develop a strawberry-like flavor.
All you need is three cups of fresh strawberries and rum. Make sure you wash the strawberries well and slice them into chunks. A light rum works best, like Bacardi, but you can use whatever you want.
Put the strawberries into a large, clean glass jar and cover the strawberries with the rum plus an extra inch. Seal the jar and store it in a dry, cool, dark location, and make sure to remember to shake the jar once per day gently.
After two weeks, taste the infused rum to see if the flavor is what you want. If not, seal it again and wait another week before checking once more. When you like what you taste, it’s time to start using the strawberry-infused rum in your favorite cocktails.
Strawberry Infused Vodka
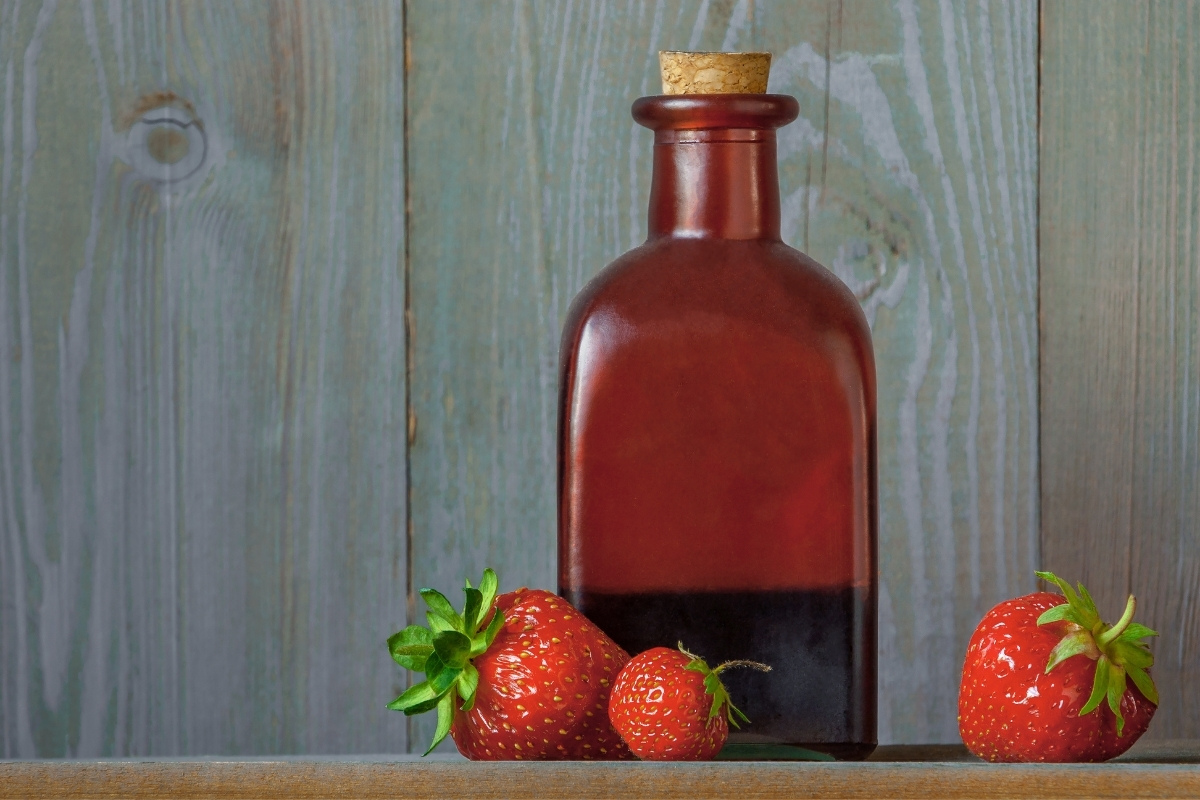
Infusing vodka is easier and takes less time than infusing other alcohol. Strawberry-infused vodka tastes great in different cocktail recipes, and it also makes an excellent gift for the holiday season.
Wash the berries and slice them into even chunks. Put them into a clean glass jar and pour the vodka over the top of the berries. Seal the jar and store this in a cool, dark place – a pantry works perfectly. Make sure to shake and turn the jar over once per day.
Taste the strawberry-infused vodka after one week to decide if the flavor is what you want. If not, let it infuse for another week, shaking daily, and test again. When it has the taste that you like, strain out the strawberries and start making delicious cocktails.
Food Preservation Ideas
Looking for more ideas to preserve the harvest?
- 20+ Ways to Preserve Pumpkin
- 30+ Ways to Preserve Apples
- 30+ Ways to Preserve Eggs
- 20+ Ways to Preserve Lemons
How long will the infused alcohol last on the shelf? Just as indefinitely long as normal alcohol?
Yes it should last as long as the shelf life of the alcohol.
Alcohol has no shelf life. It needs to be consumed as quickly as possible. 😉