Affiliate disclosure: This post may contain affiliate links. Please see our Privacy Policy.
Homemade sauerkraut is incredibly easy, and it only takes a few ingredients to make this tasty probiotic veggie ferment.
Fermentation is an ancient method of food preservation that’s making a comeback as more people recognize the importance of nourishing probiotic foods.
(This article is written by Melissa Keyser, a professional organizer, and homesteader based in Maine.)
Before refrigeration, making sauerkraut was a popular way to preserve fresh an abundance of fresh produce. Turning cabbage into kraut was a way to ensure there were vegetables to eat during the long winter months or hunger gaps of the growing season.
With our modern grocery stores, refrigerators and freezers, and a food system that makes fresh produce available year-round, it’s hard to think about how important this task was. While we no longer face that challenge, fermentation is a valuable skill to have for any time of the year.
Before we get started on how to make sauerkraut, let’s talk about fermentation.
How Fermentation Works
Fermentation is the process of turning a raw vegetable into a different form of itself – one that can be stored longer, is rich in beneficial probiotic bacteria, and has different flavors.
Vegetables are able to ferment because of naturally occurring microbes and sugars found in, and on, the vegetables. When placed in the right conditions, this probiotic bacteria (also known as lactic-acid bacteria), starts eating the sugars found in the veggie.
This produces lactic acid, which then transforms the veggie into your fermented pickle.
In very simplified terms, you put a vegetable in a jar, and cover with a saltwater brine or it’s own juice. Then, you use some kind of weight to push the veggie below the liquid level, creating an oxygen-free area for the veggie to transform.
Keeping the vegetable below the liquid also keeps them safe from any bad bacteria that might be floating around the air.
Given time, the lacto-bacteria eats the sugar in the vegetables, and transforms your plain veggie into a probiotic-rich pickle or kraut!
What is a Fermented Sauerkraut?
Not all sauerkraut is probiotic, and much of it is actually canned and heat treated. The same goes for pickles these days, while historically “pickling” often meant making Lacto-fermented pickles, these days it’s more often home-canned dill pickles or ever-popular bread and butter pickles.
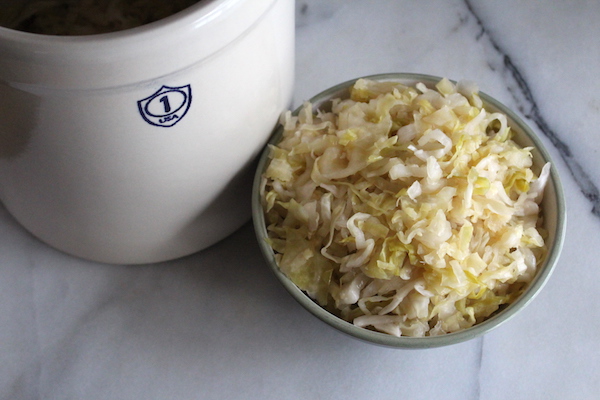
Fermented sauerkraut is cabbage that has undergone the Lacto-fermentation process. This leaves you with a sauerkraut that is rich in probiotic bacteria.
Canned sauerkraut, however, is preserved using vinegar or heat, or both. This type of treatment kills any bacteria present. They might make for a delicious tasting kraut alongside some spaetzle or a Ruben sandwich, but it does not have any probiotic benefit.
There are many types of fermented vegetables, as well as ways to describe them. Traditionally, sauerkraut is made with cabbage. Depending on the recipe, you can add seasonings, or you can also make a kraut with other vegetables like carrots or beets.
Sauerkraut Ingredients
Generally, making sauerkraut requires few ingredients. Cabbage and salt are all that’s strictly required, and even salt is optional in some more advanced techniques. Traditional spices vary by region, and they’re completely optional.
Cabbage
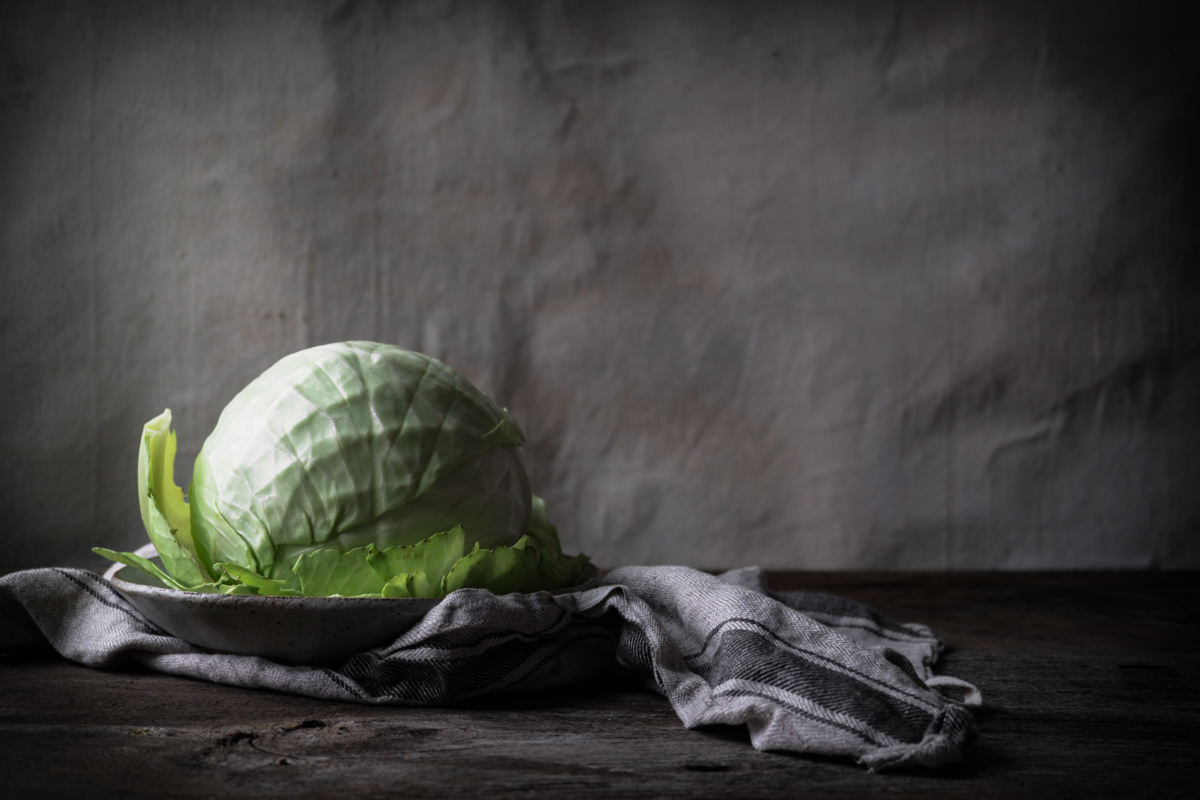
You can use either red or green, although green is more traditional. The fresher the cabbage is the better, so if you don’t have your own garden to harvest from, seek out heads at your local farm, farmers market, or grocery store that has a high turnover on produce.
Look for those that seem dense and heavy, but some blemishes on outer leaves are OK, you can peel them off. Avoid using that half a head you forgot about in the back of the fridge that’s sad, dried out, and floppy.
Salt
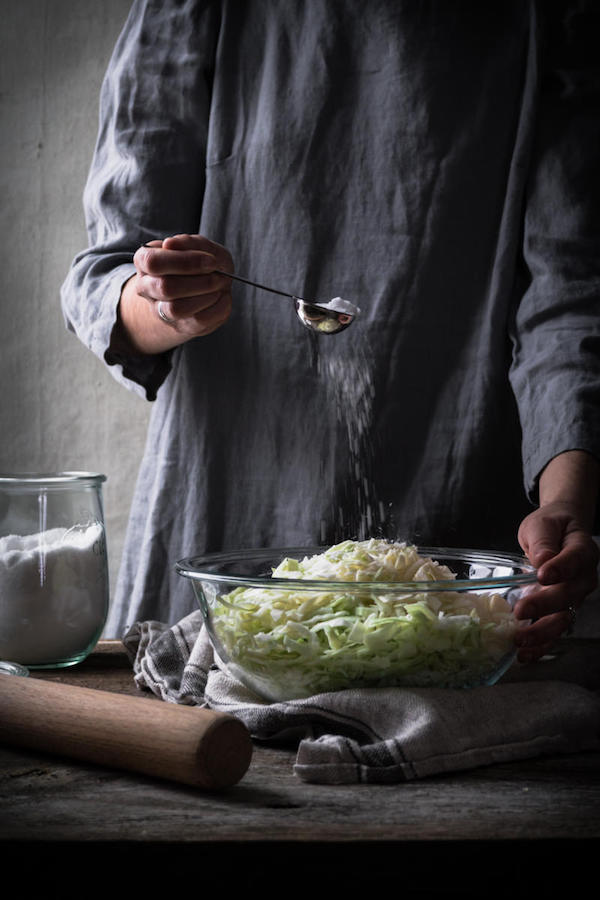
While it is possible to make low or no salt sauerkraut, salt has an important role to play. It helps keep the cabbage crisp, making more enjoyable kraut, but it also helps draw the water which acts as the brine.
While it may seem like a lot of salt to use in one recipe, remember that you won’t be eating the whole jar at once, and it’s still likely to be less than the average commercially prepared food.
Salt also helps make ferments even safer to eat by aiding in the preservation, it makes minerals more absorbable, and, it helps with flavor.
Any salt can be used, so long as it’s pure salt. Generic iodized salt contains other additives and anti-caking agents, sometimes even sugars to round out the flavor. Look at the ingredients label sometime, you’d be surprised what’s hiding in a generic 50 cent tin of salt.
I usually use kosher or sea salt, which is just salt without other additives. Himalayan salt and canning salt are also good options since they’re likewise without non-salt additives.
Optional Spices for Sauerkraut
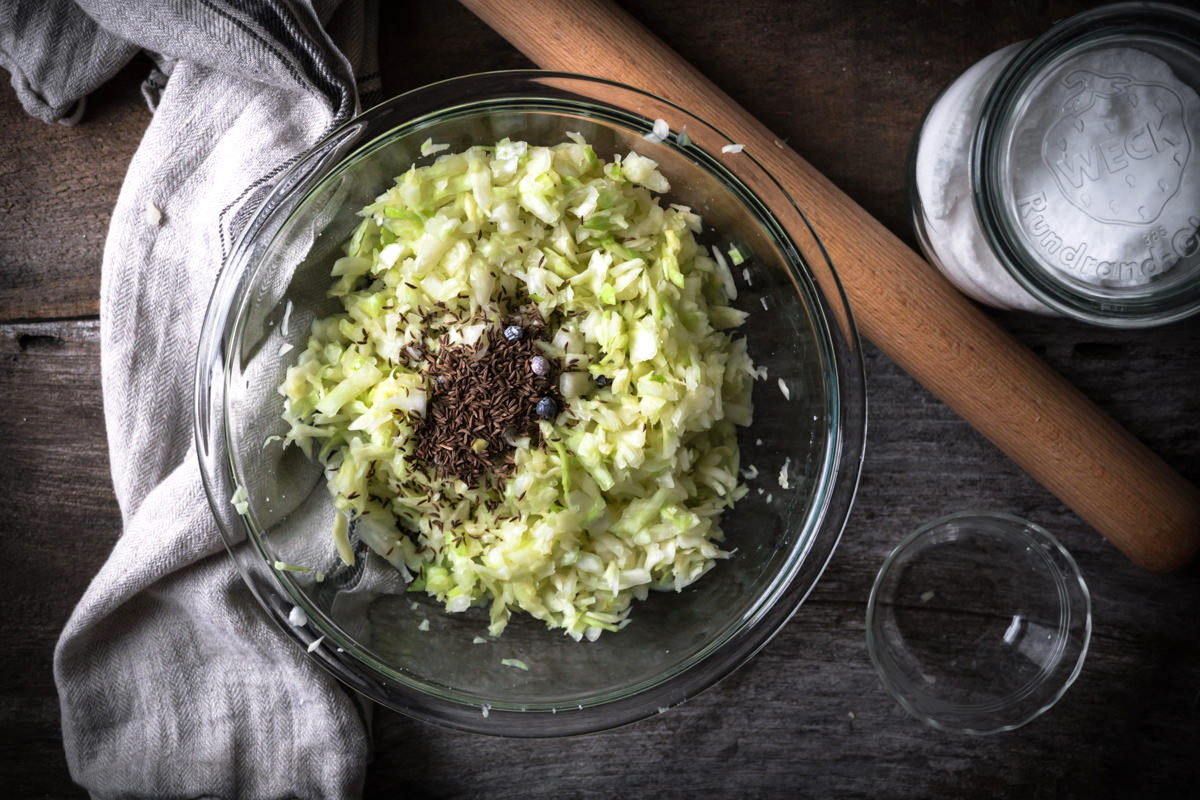
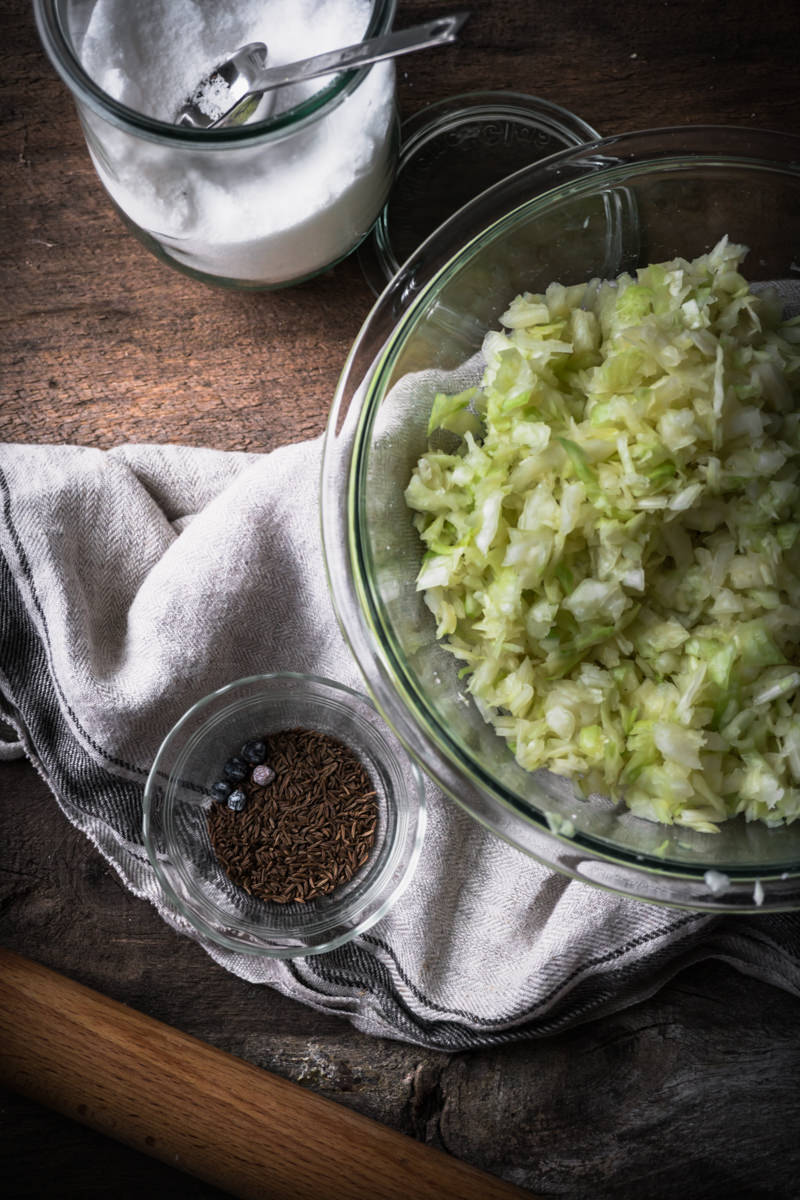
Caraway and juniper are the “classic” seasonings used to make sauerkraut. They’re completely optional, and many homemade sauerkraut recipes these days just stick with cabbage and salt.
Adding spices to your taste generally won’t affect the ferment, and really the sky’s the limit.
Equipment Needed to Make Sauerkraut
Remember that fermentation is an ancient way of preserving food, so you can get by without fancy stuff! However, in addition to the normal kitchen equipment, there are a few things that will make your fermentation process go easier and get you better success.
A Fermentation Vessel
Wide mouth mason jars are easy to pack full of cabbage, but I also use the regular mouth and use the shoulders to aid in keeping the veggies under the brine. Any size jar or brand will work!
It takes some trial and error to figure out what size jar you need for the amount of kraut you’re making. You want there to be at least a few inches of space. I usually use a pound and a half of cabbage and fit it into a quart-sized jar.
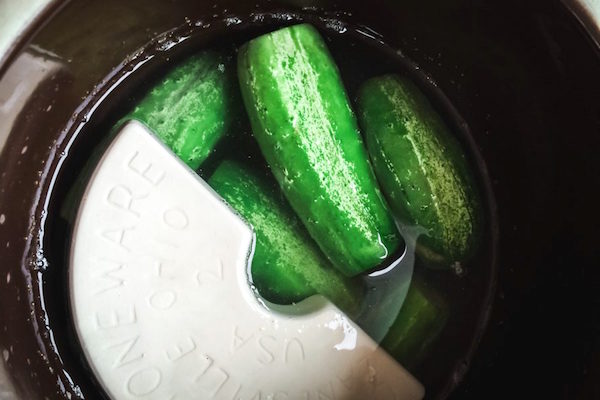
While not necessary, a specialized fermenting crock can be a great investment if you are fermenting large amounts. Making sauerkraut in a crock is the traditional way of fermenting sauerkraut, and you can find crocks with a lid and a water seal, or open crocks.
Sauerkraut Pounding Tool
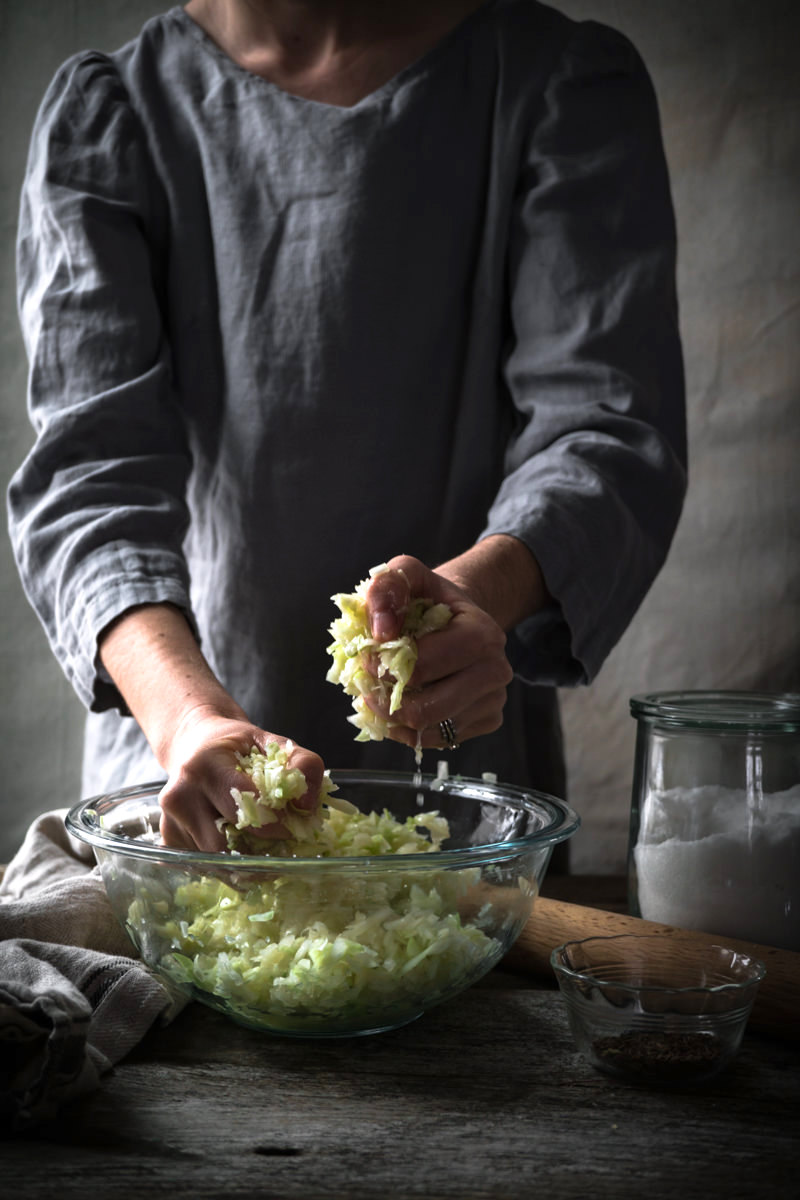
In order to make sauerkraut, you have to coax the liquid out of the cabbage to create its own brine. You can use your hands to do this, but if massaging cabbage isn’t something you’re into (or your hands get tired), you can also pound it.
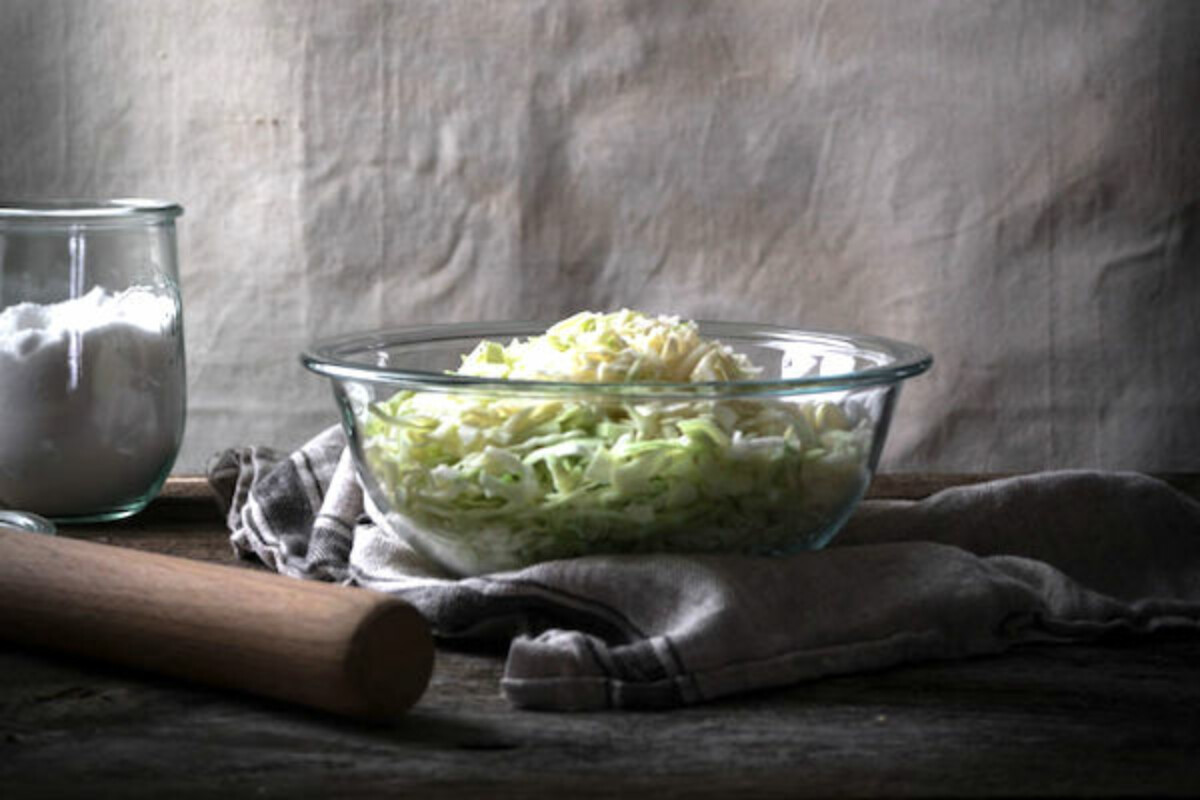
You can buy special pounders, but I use the end of my French rolling pin.

Fermentation Weights
You’ll need something to push the veggies down under the brine. There are many different ways to do this, many of which you probably already have a home.
Here are some ideas:
- Smaller Jars ~ You can use a smaller jar, that fits inside your main fermenting jar. When filled with water, it will act as a weight on top of the veggies.
- Ceramic Weights: You can purchase (or if you’re a potter, make your own), ceramic disks that fit inside your vessel.
- Glass Weights ~ Similar to ceramic weights, there are a number of companies making glass fermentation weights specifically designed to fit into mason jars. They’re easy to clean, affordable and widely available.
- Clean Rocks ~ Find a stone that fits inside your vessel, and boil for 20 minutes, then let cool before using as a weight. You can also use a stone on top of a plate to act as a wider weight if you have a large vessel.
- Zip-lock bag ~ When placed in the jar, unsealed, on top of the veggies, and then filled with water, will act as a weight. Bonus points if you use brine, in case it leaks, it won’t mess up your ferment.
Optional Fermentation Airlock
You can safely and successfully ferment by leaving your jar open to the air, simply covered with a cloth to prevent dust from getting in. This is how sauerkraut is made when you use an open crock.
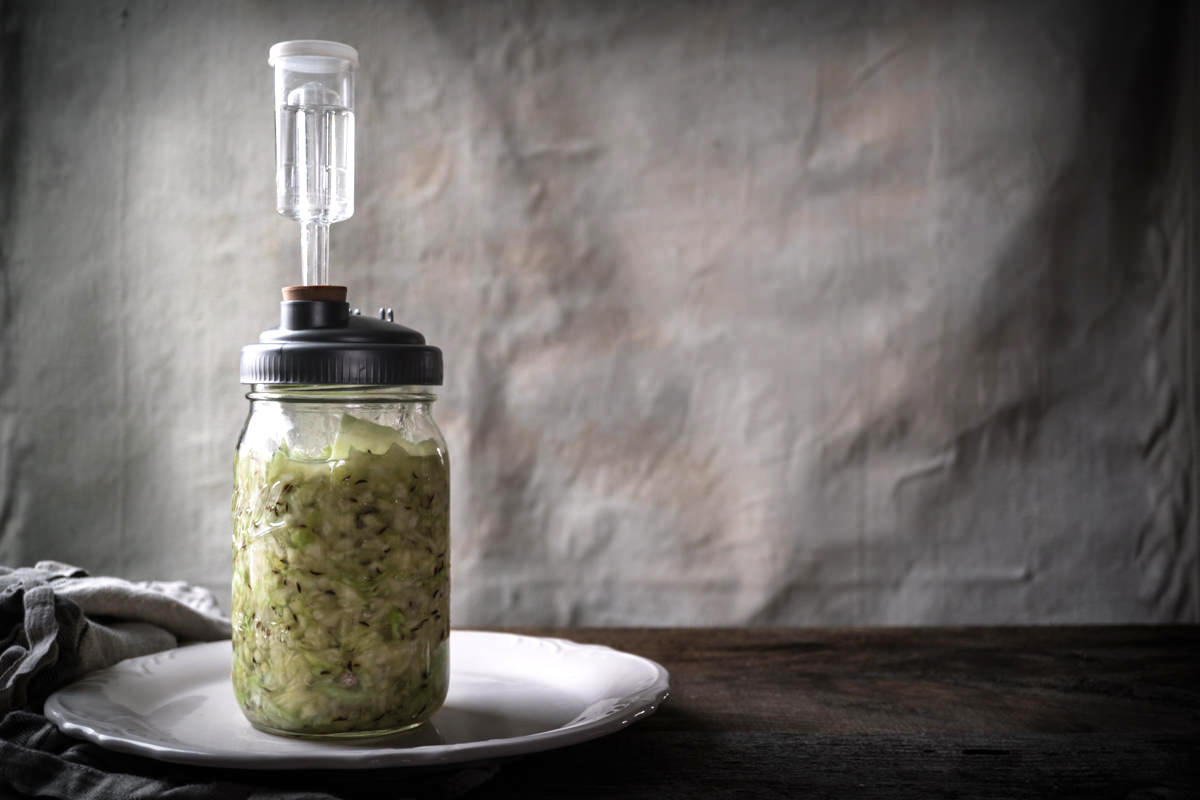
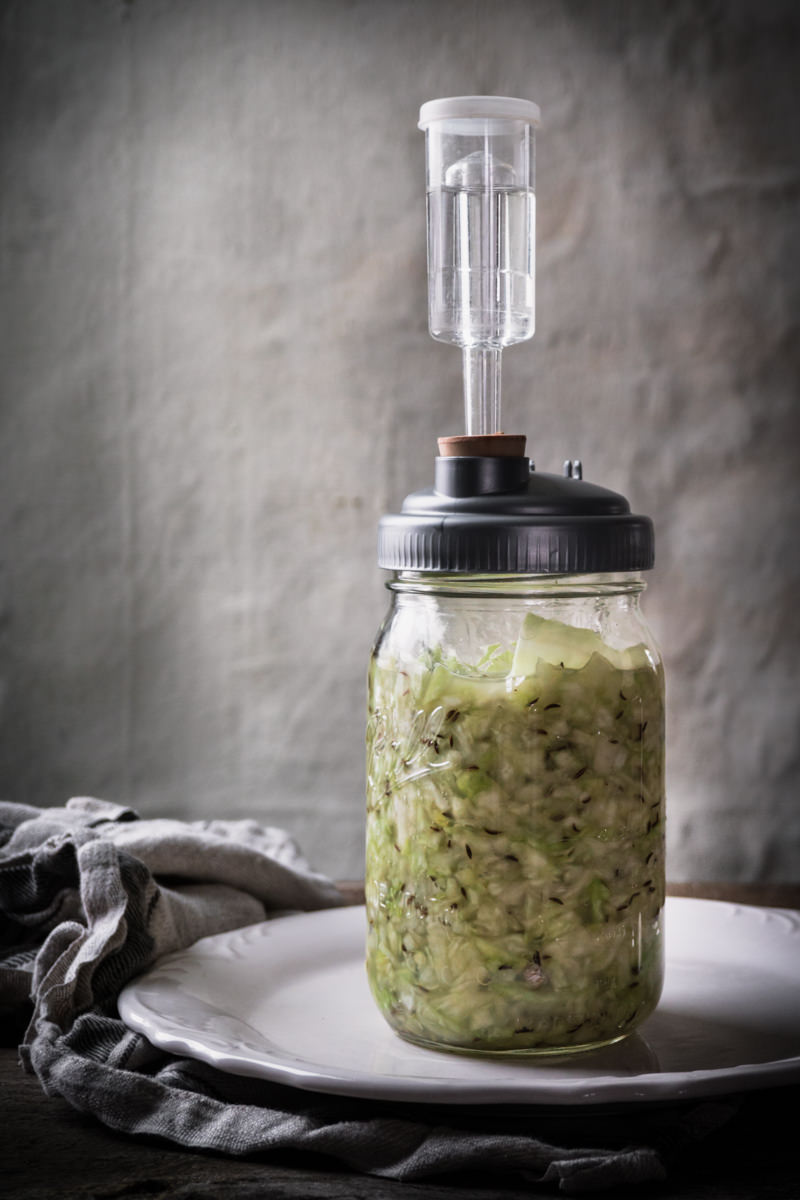
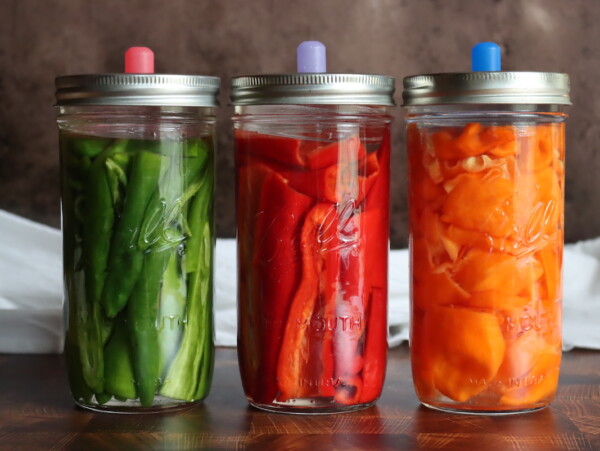
Or, you can use an airlock, which allows gases to escape, but not enter.
I personally prefer using an airlock. Many fermenting crocks have a built-in airlock called a water-seal. This style crock has a lip that’s like a moat. When filled, and a lid is placed in the moat of water, it acts as an airlock.
You can also find inexpensive 3-part plastic airlock systems, the same type you’d use for making homemade wine. That generic airlock system then goes into a specialized fermentation lid designed for a mason jar.
There are also silicone airlock systems, and those are durable and easy to clean.
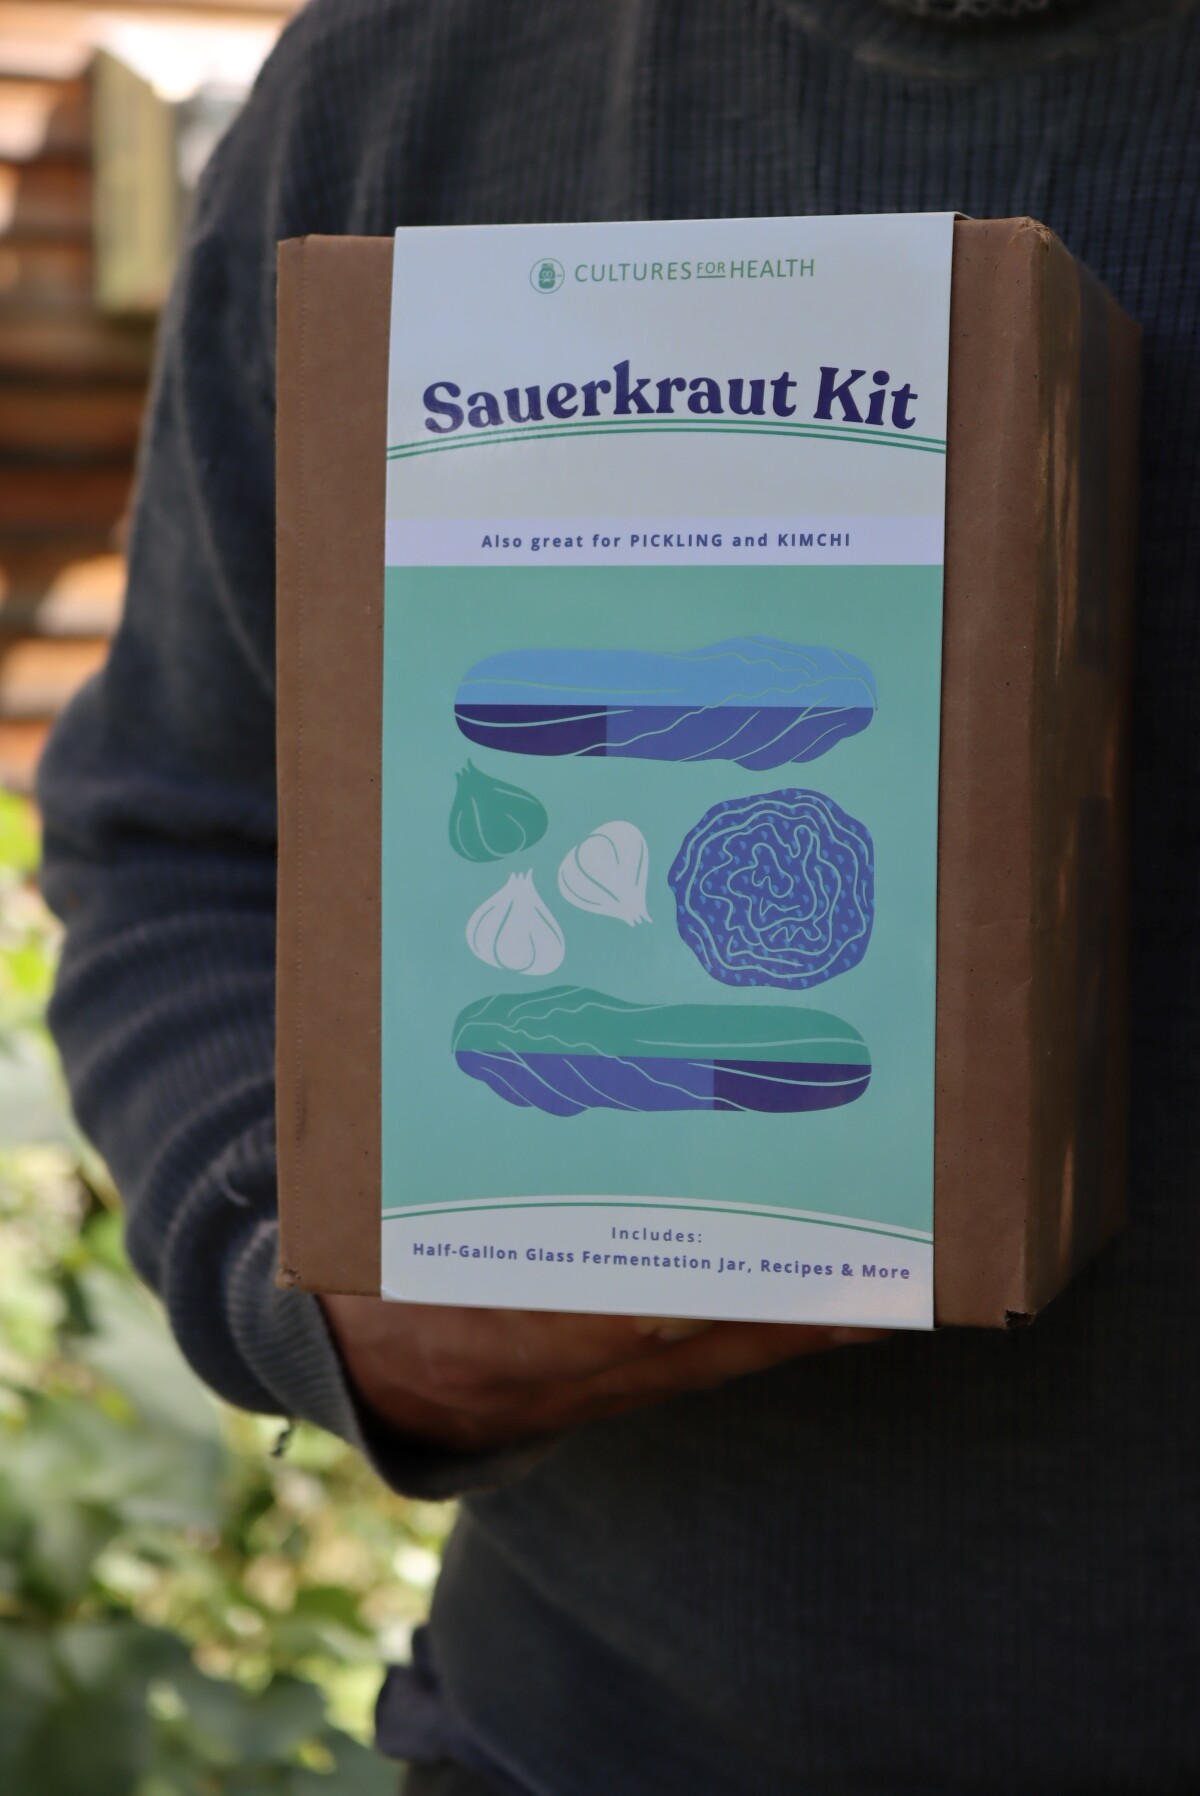
If you’re the kind of person that works well from a kit with instructions, there are a number of sauerkraut-making kits that include everything you need to make homemade sauerkraut (except the cabbage, of course).
Many kits also come with recipe cards not only for sauerkraut but also for kimchi, fermented hot sauce, fermented cucumber pickles, and other fermented vegetables.
How to Make Sauerkraut
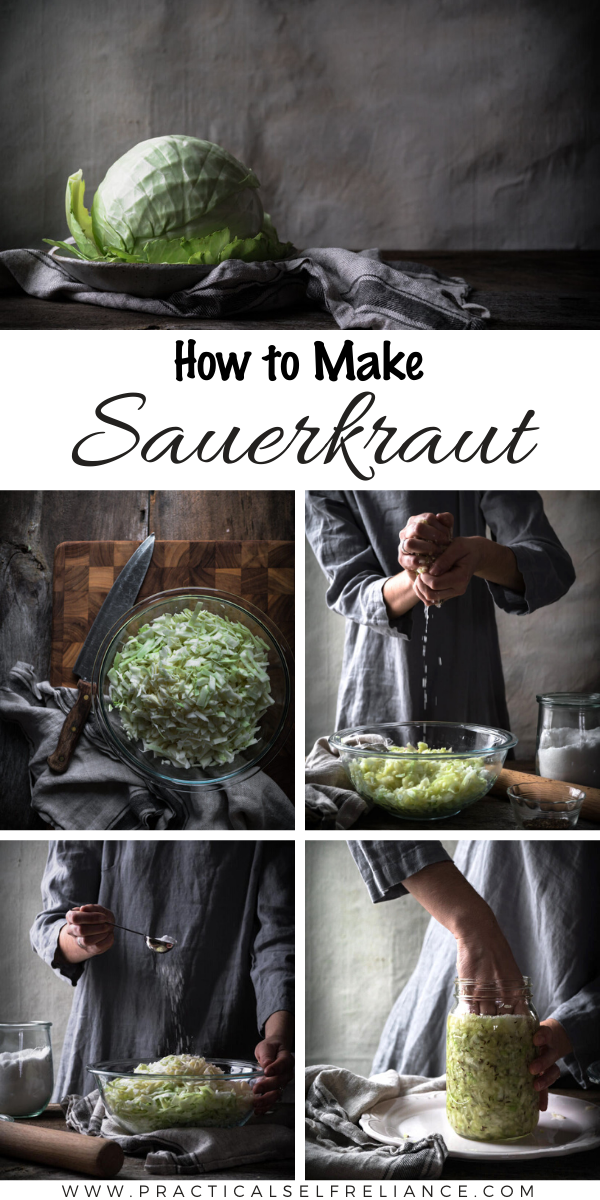
Making sauerkraut at home starts by preparing the cabbage.
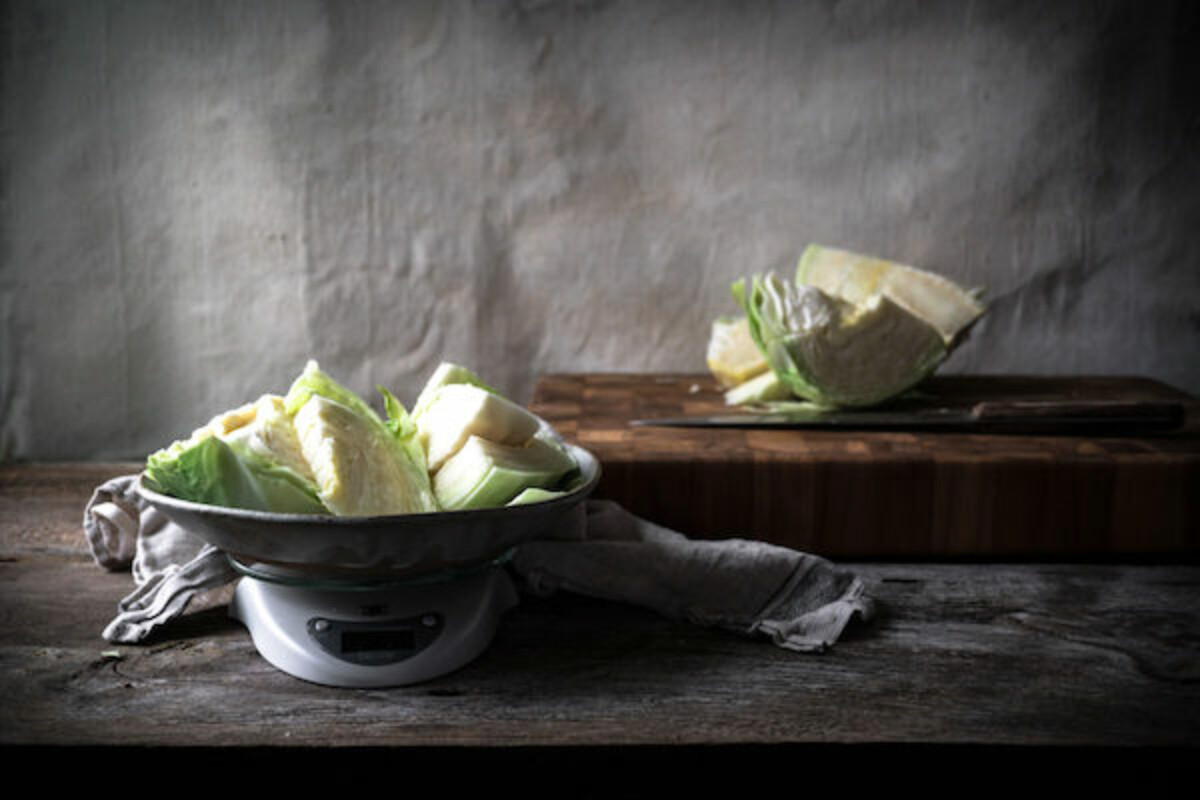
I’m using a pound and a half of cabbage for this batch, which is about a half of an average- to- large-sized head (usually around 3lbs). That’s about the right amount for a quart-sized jar.
If you’re one to wash your veggies, you’ll want to use cold water to just rinse. Avoid veggie washes, soap, or really hot water. Remove any damaged exterior leaves of the cabbage, and cut out the stiff core.
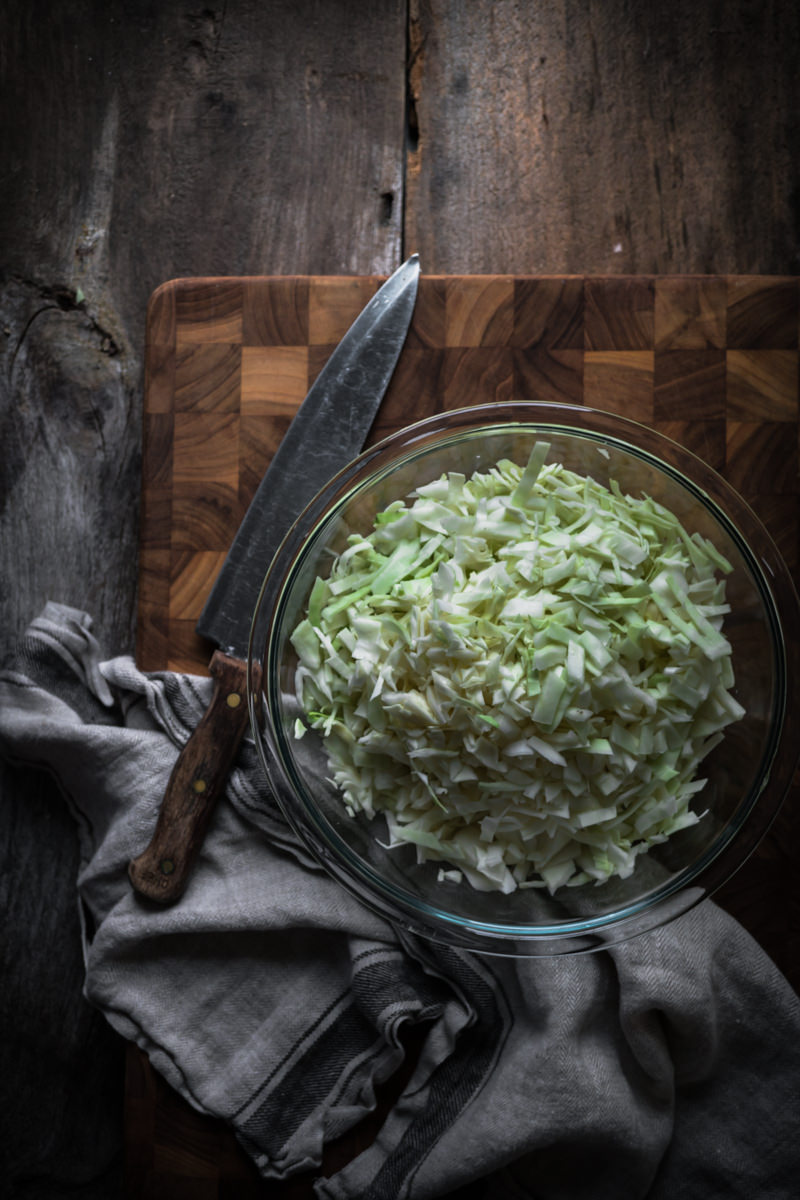
Grate or slice your cabbage. I personally find grating to produce too fine of cabbage, so use a knife to cut the cabbage into wedges, and then thin slices, but experiment with what works for you.
After the cabbage is prepared, mix in the salt. Meticulous recipes will have you weigh the salt, instructing that you add 1.5 to 3% salt, based on the weight of the cabbage. That’s a pretty broad range, and for a 1 1/2 pound cabbage that amounts to somewhere between 1/2 tablespoon and a full tablespoon.
For a quart jar, I’d suggest adding one tablespoon of salt, which errs on the side of caution and is perfect for beginning fermenters. As you lower the salt, there’s a greater risk that spoilage bacteria could dominate the container before the salt-loving lactic acid bacteria take over.
Once the cabbage and salt are thoroughly mixed, pound or massage the cabbage to encourage it to release juice. This juice will be the brine for the sauerkraut, and there’s no need to add water.
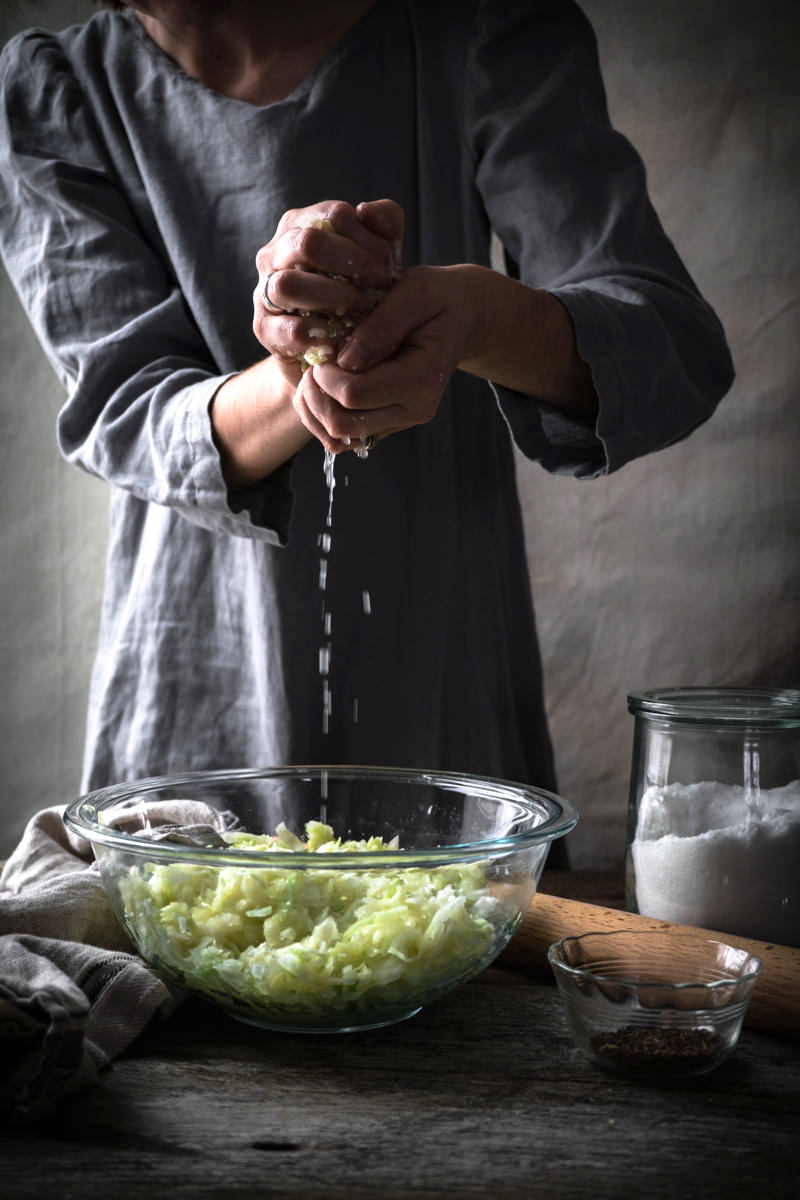
Keep pounding or massaging the cabbage until it releases a substantial amount of liquid, which will ensure that the sauerkraut is submerged in the fermentation vessel.
If you’re choosing to add spices, add them now. I’m using 1 Tablespoon of caraway seeds and 5 whole juniper berries.
Sauerkraut is just a few ingredients, and once you’ve added salt and any spices, it’s time to get it into the fermentation vessel.
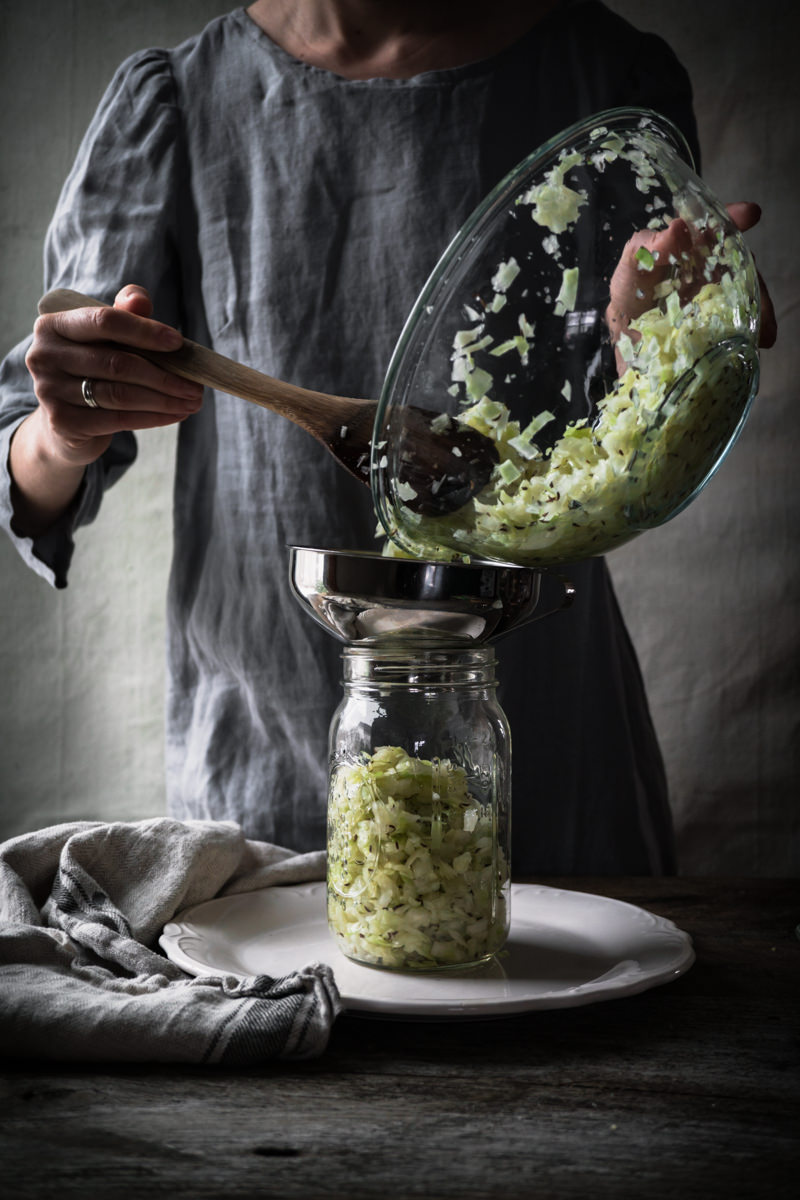
Add your cabbage into your vessel or jar, and press down with your hands, a spoon, or the pounding mallet. There should be at least a few inches of room from the top. I’m using a wide-mouthed quart jar, which works perfectly for the half head of cabbage (1 1/2 lbs) I’m using.
Cabbage tends to dry out as it ages, which is why it’s best to use fresh cabbage for sauerkraut. If your cabbage just doesn’t seem to be producing enough of its own liquid to cover itself, set it aside for a few hours and see if it releases more if it’s given some time.
Usually, cabbage will release plenty of liquid to completely submerge the sauerkraut within 4 to 6 hours. If not, you might need to make a brine to help it out. Mix 1 cup of water to 1 teaspoon salt, then pour it into your vessel until the cabbage is submerged.
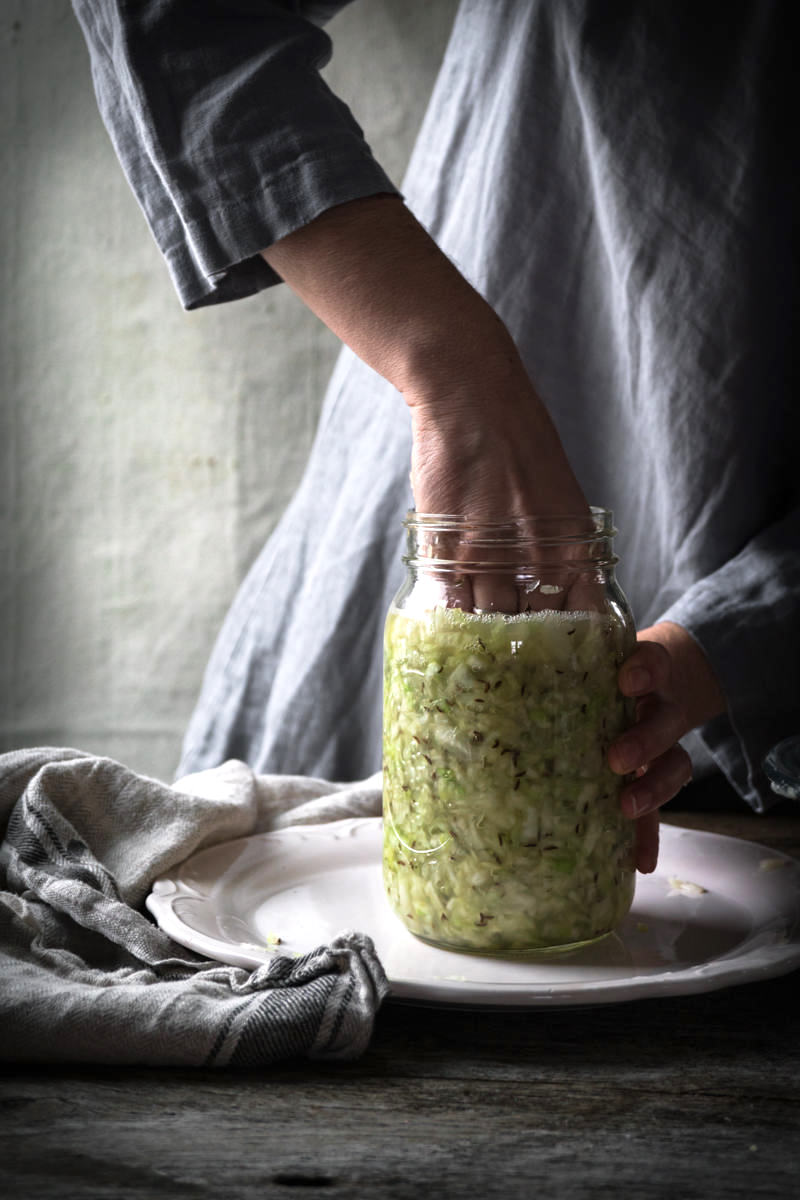
Add your choice of fermentation weight (described above). This helps push the cabbage below the brine, which should be covering the cabbage by at least 1” of liquid.
Any veggie above the water is subject to molding, just like if you were to leave that veggie on the counter, so keep your ferment safe by keeping it totally submerged.
Low Tech Tip: When I use a wide mouth quart jar, like I am doing for this batch, I like to first lay down a leaf of cabbage, to act as a “lid” for the smaller cutup bits of my sauerkraut. I then use a 4oz jelly jar. It sits just below the main jar’s rim, and along with the wider base of the cabbage leaf, it adds enough weight to keep the cabbage submerged. I remove this cabbage “lid” when the sauerkraut is done fermenting and discard.
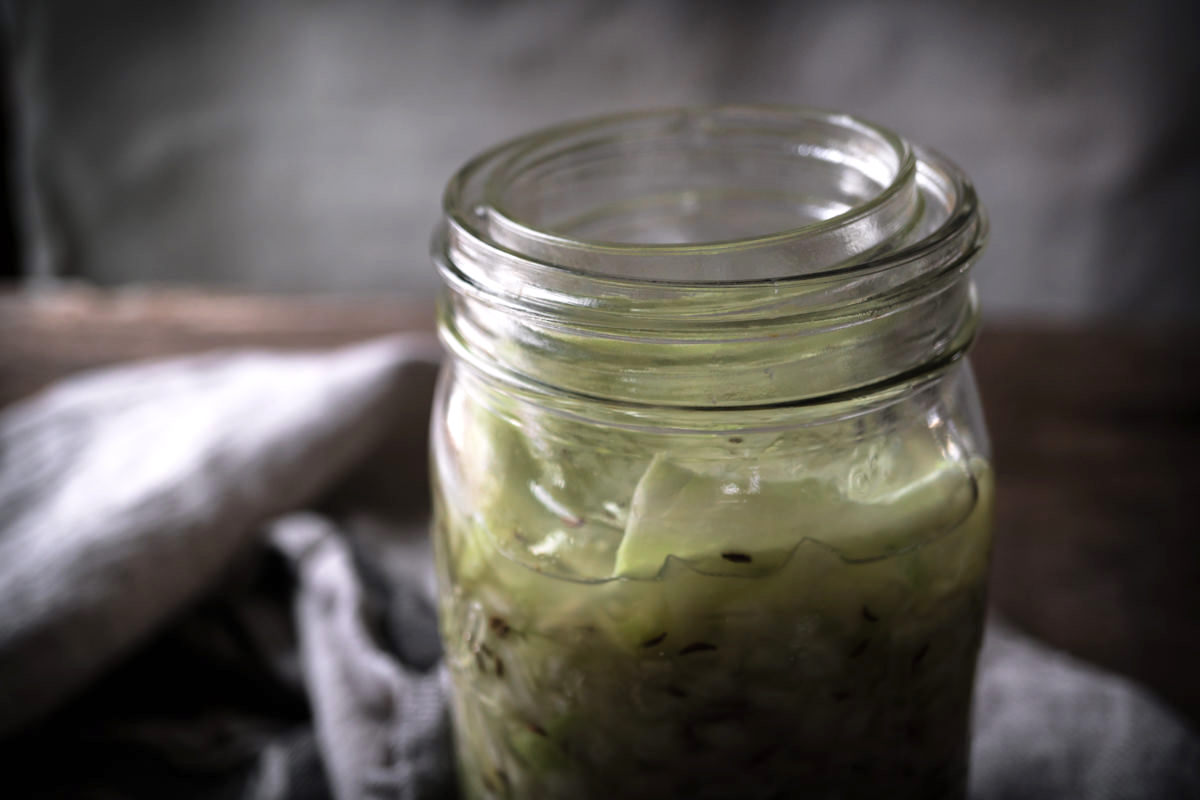
The cabbage and salt are now in the jar, held below the liquid line by some type of fermentation weight. Airlocks are optional, but if you’re using an airlock, add that now.
Otherwise, drape a clean tea towel or cheesecloth over the open container. It’s always a good idea to set your jar on a towel or a plate, in case the brine bubbles over.
Now comes the hard part…patience.
A sauerkraut fermentation recipe will give you a suggested time, and it’s almost always a window. The ideal temperature to ferment at is 64 -75 degrees. Warmer houses will make the fermentation go quicker while fermenting in cooler spaces will take longer.
I usually wait a week to 10 days, and then taste a sample. At this point, it’ll taste rather mild, and many people prefer sauerkraut at about 3-ish weeks.
Taste is an individual preference, but your kraut should taste slightly sour and pickled. If you are new to fermented foods, it might be a new flavor for you. A good ferment should be salty, sour and complex.
A slightly funky smell (think a good, smelly cheese) doesn’t mean it’s bad, but they should not taste or smell musty or moldy.
Storing Sauerkraut
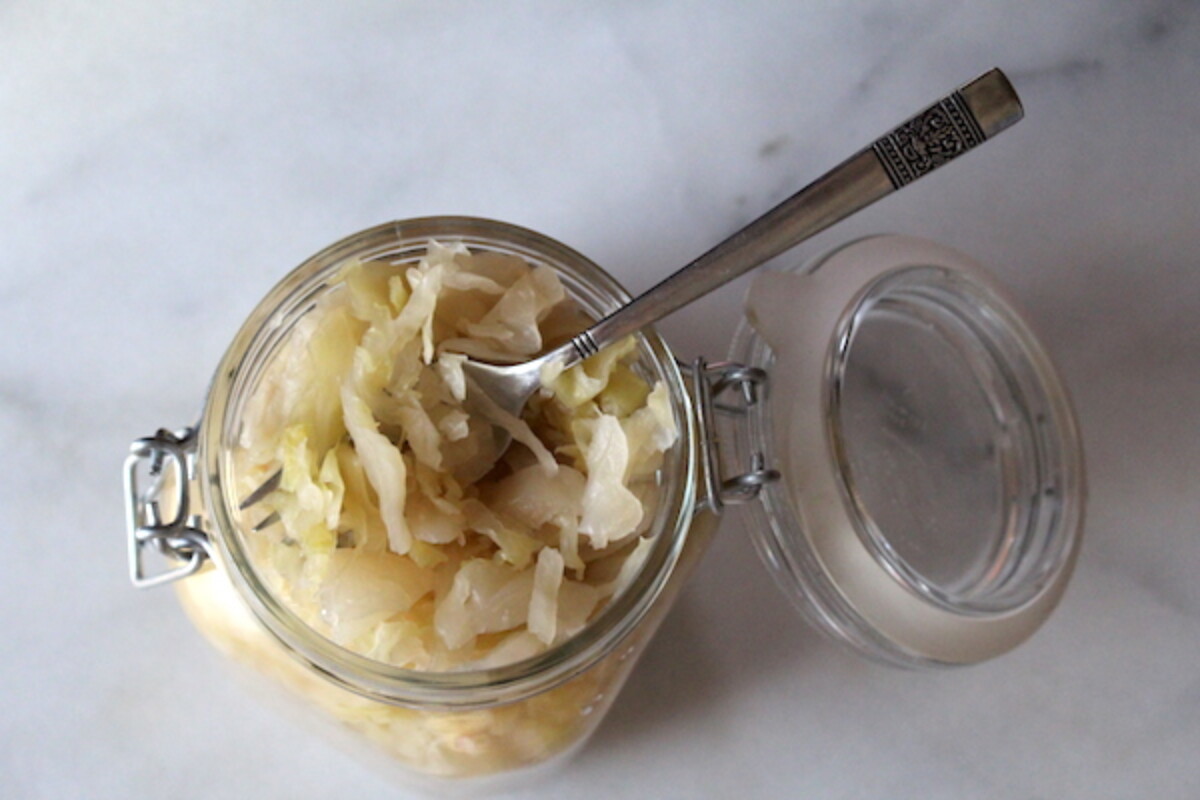
Once it’s fermented to your desired level of doneness, remove the airlock or cloth, screw on a lid, and store in the fridge.
The cold helps slow down the process but doesn’t completely stop it. The probiotic lactic acid bacteria in there are still working even in the fridge, and the sauerkraut will continue to ferment and change slowly over time.
If you have a cold cellar, you can also keep your kraut under the airlock, and use as needed. Make sure to press the kraut under the brine.
Normal Parts of Sauerkraut Fermentation
If you’re new to fermentation, it’s good to be familiar with things that are normal during any ferment. (As well as what’s not…)
Bubbles
As the fermentation magic is happening, gases are being produced, mostly carbon dioxide. You’ll see bubbles forming in the jar, like champagne bubbles, or foam on the top of the brine.
If are using an airlock, you might see the gas bubbles move through, or the occasional burb as it moves through the water seal.
Brine Changes
The brine will likely become cloudy and sediment may form on the bottom of the jar. Some vegetables, like radishes or red cabbage, will also change the brine colors.
Smell
Your ferments are a magical jar of bacteria eating and farting. As the cabbage transforms, it might smell. Think dirty socks or stinky cheese. If you’re sensitive to the scent, try using an airlock.
Mold
If you see mold on the top, it means there are vegetables above the brine, and exposed to air, causing it to go moldy. This doesn’t necessarily mean your ferment has gone bad.
You can scrape this mold and the top layer of cabbage off, add more brine, and let continue to ferment or move to the fridge if they are ready.
If the mold extends into the vegetable mass, or if there is an abundance of dark mold, you should toss it.
Sauerkraut Variations
Once you’ve made a few successful batches of sauerkraut, feel free to experiment with variations. You’re making your own ferment, which means you get to customize the flavors, colors, and textures to suit your families’ tastes.
Consider adding any of the following:
- Spices ~ Juniper and caraway are traditional, but black pepper can add a nice subtle warmth. If you’re fond of making sauerkraut with apples and sausages, warm spices like cinnamon and allspices complement the dish as well.
- Vegetables ~ Other leafy vegetables work wonderfully in sauerkraut, and they can add both color and flavor to the finished kraut. Finely diced root vegetables like carrots, beets, and radishes are common additions as well.
- Fruits ~ While soft fruits aren’t all that common, diced apples and pears add incredible flavor to sauerkraut. Add them in moderation, as too much fruit will kick off a bit of alcoholic fermentation from the added sugars (as opposed to the desired lactic acid bacterial fermentation).
Other Easy Homemade Probiotic Foods
Interested in fermenting? Try any of these easy fermentation recipes:
- Apple Scrap Vinegar
- Fermented Strawberries
- Tepache (Fermented Pineapple Beverage)
- Traditional Kvass
- Fromage Blanc
- Salt Cured Egg Yolks


Have you ever tried using zucchini strips or Zoodles instead of cabbage? I make lots of zoodles to use instead of pasts due to having to limit my carb intake. So I’m asking an expert. Thank you.
You can definitely ferment zucchini strips using this same method.
Hi Again Ashley,
Can you use the water bath canning process to can Sauerkraut ? What is the process to do it? Enjoying your emails. I canned tomatoes last night and canned 5 pints of dill pickles tonight. I finally was successful in making Sauerkraut from using your recipes and methods. 😃
I am eventually going to get brave and use a pressure canner!
Oleeta
Sure can. Here are the instructions from the National Center for Home Food Preservation. https://nchfp.uga.edu/how/can_06/sauerkraut.html
if i were in a situation where i didnt have salt could i still attempt to make Kraut successfully? or is the salt crucial, also i love what your doing here keep up the good work!
I have never heard of this before but apparently, you can. I did a quick internet search for making sauerkraut without salt and came up with several different recipes. I would recommend doing a quick search yourself and then picking whichever recipe sounds good to you. Let us know if you decide to try it out.
Can I use fresh garlic cloves mixed in with the cabbage, when I’m making kraut?
Of course!
Have been making kraut for year in a large crock and use bags as a water seal. Made it a week ago Sunday and u=yesterday found the bags leaked into the cabbage .Normally use a brine in the bags but this year did not. I took everything back out of crock and drained water and put back in and used new bags .Now wondering if cabbage is ruined and should start over or should I add a salt brine to the cabbage or leave as it and see what happens .Looking for any experience or thoughts
Honestly, it’s probably fine. You can make kraut without salt at all, there are processes for that, the salt just ensures selection for the right bacteria at the early stages until everything gets acidic enough. Especially since you caught it and switched it up I personally wouldn’t worry about it, but you’ll have to use your own best judgment as the ferment progresses.
Here’s a primer on salt-free fermentation, which I understand is not what you’re doing, I’m just sending it because when you realize that the salt isn’t strictly required then it makes you feel less bad if dilution accidentally happens: https://joybileefarm.com/fermented-vegetables-no-salt/
Hope it turns out for you!
Thanks for reply . It turned out ok . Our main issue year to year is ending up with a results that assures a sour kraut . Our group prefer the dour taste as you can always sweeten in us. I realize that the bacteria gives the sour taste and that the temperature and length of time in fermentation . Wish I understood this part better
Can i use any cabbage, does it have to be nappa, or sweetheart? In Portugal we grow GALEGA cabbage, the tall growing ones with dark leaves… maybe if i choose the younger smaller leaves it might taste better? Any advice would be awesome. Cheers
You can use any cabbage, and it will still work. Know that it may affect flavor in the end, but not necessarily. Most will likely taste the same unless they’re really distinctively flavored to start with.
Some veggies in the cabbage family (kale, for example) have an off flavor when fermented that some people really don’t like. I’d suggest starting with the mildest cabbage you can find locally.
Best of luck!