Affiliate disclosure: This post may contain affiliate links. Please see our Privacy Policy.
Equipment for winemaking can get complicated fast, and many would be winemakers stop before they get started because they’re not able to decode all the technical jargon in the recipe. Don’t worry, I’ll break it all down for you and ensure you have everything you need to make your first batch of homemade wine.
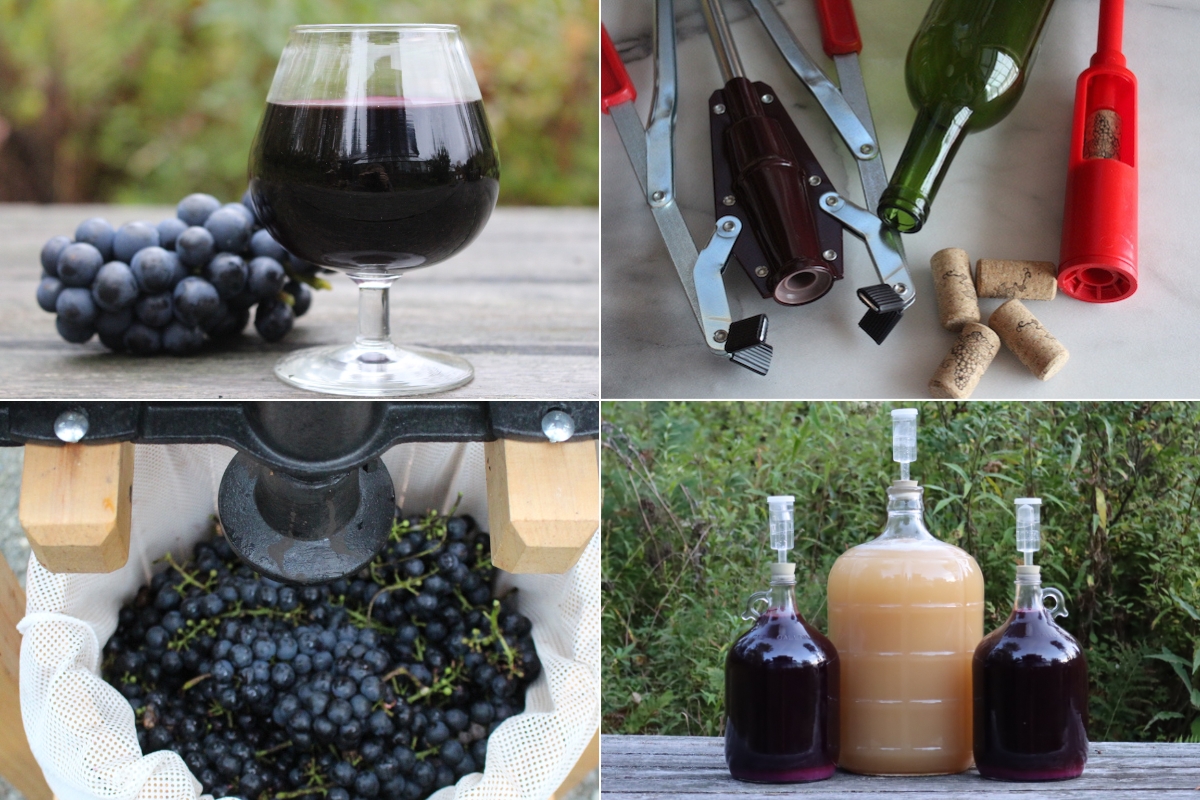
This discussion of equipment for winemaking is part of a series on home winemaking for beginners. If you’re new to winemaking, I’d suggest you also read the other posts in this series, including:
- Beginners Guide to Making Fruit Wines, where I take you through all the steps in the winemaking process.
- Small Batch Winemaking can be done for micro-batches, making as little as 1 bottle of wine at a time, and the process and equipment are a bit different with super tiny batches.
- How to Make Mead (Honey Wine) is mostly the same, but there are some particularities when working with honey.
- Ingredients for Winemaking, which covers all the other things you’ll need (besides yeast).
- Yeast for Winemaking can get complicated quickly, and there are dozens of common strains (and hundreds of obscure ones). Picking the right one is actually pretty important, but I’ve broken them all down for you.
- How to Make Wine from Grapes, though not necessarily for beginners, but everyone always asks about this one first!
- Winemaking Recipes can be hard to find, but I’ve put together a list of more than 50 to get you started.
- Meadmaking Recipes are even more obscure, but I’ve got you covered there too.
I also have instructions for making hard cider, pear cider (perry), and homemade beer, if you’re into other types of homemade drinks.
Equipment for Winemaking
To make wine at home, you’ll need a few things, but that doesn’t necessarily mean you need to buy anything or spend a lot of money. There are ways to use what’s already likely in your home to get the job done at the beginning. If you really get into winemaking, investing in high-quality winemaking equipment will make the job easier and cleaner.
I’m going to give you both options.
Ways you can hack together a solution with common kitchen items, and what you can just purchase if you want a more professional setup that’s a bit easier to use.
To make wine, you’ll need the following things:
- Fermentation Vessel ~ Something to hold the wine, that doesn’t leak and is easy to clean. Having multiple is helpful, as you’ll need to move the wine out of 1 container into another periodically, to leave the sediment (or lees) behind.
- Air Lock ~ A way to keep outside air out of the fermentation vessel, that also allows the CO2 produced by the yeast to escape. It’s basically just a one-way valve, and there are quite a few ways to accomplish that.
- Siphon ~ To move the wine from one container to another, and for bottling. Really helpful for peak quality, but not strictly necessary. I’ll explain why.
- Fruit Press ~ Possibly helpful if you need to juice fruit, but not always required. There are other options too.
- Bottles ~ Something to store your finished wine in, be it wine bottles, Grolsch bottles or even just mason jars.
- Brewing Sanitizer ~ Used to clean all equipment to prevent contamination.
Beyond that, various pots, pans, bowls, and strainers might be helpful, depending on the type of wine you’re making. Most of that is already likely in your kitchen, or you can make do with what you have.
I’ll take you through the equipment (and other options) one by one.
Fermentation Vessel
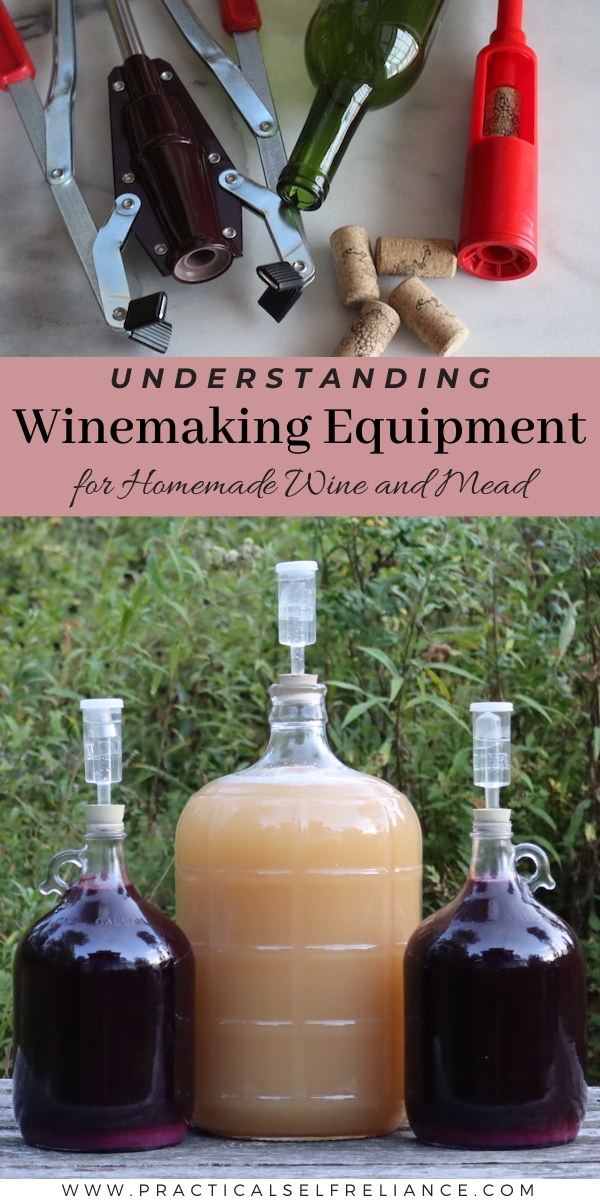
The most common type of fermentation vessel is a simple narrow neck One Gallon Glass Carboy or Five Gallon Glass Carboy.
The narrow neck makes it easy to use an airlock (also known as a water lock) to keep air out of the container. It also reduces the surface area a the top of your wine that’s exposed to air. The more surface area exposed to air, the more likely the wine can turn to vinegar, so these are usually filled to the base of the narrow neck when used.
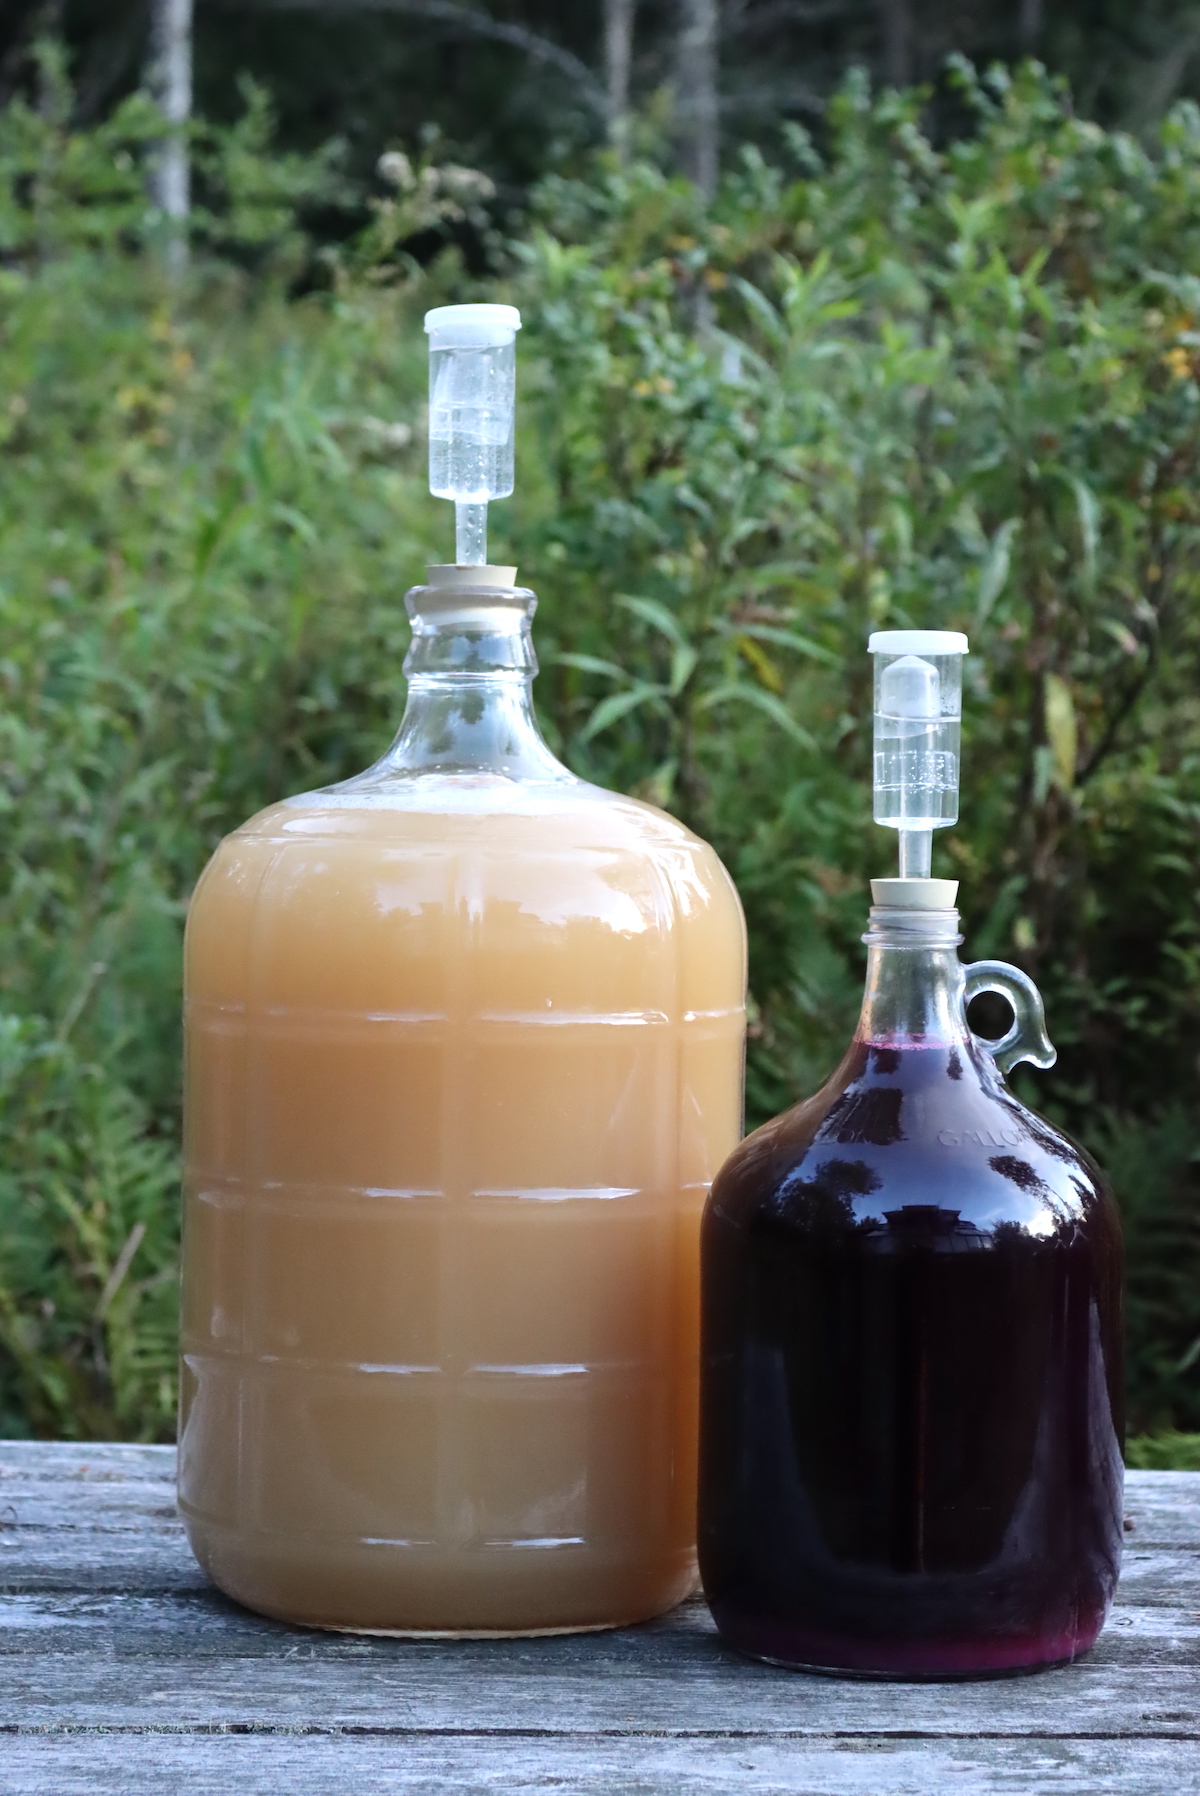
These days, they also come in other sizes (2-gallon, 3-gallon, etc.) and they’re not always made of glass as durable plastics are more readily available.
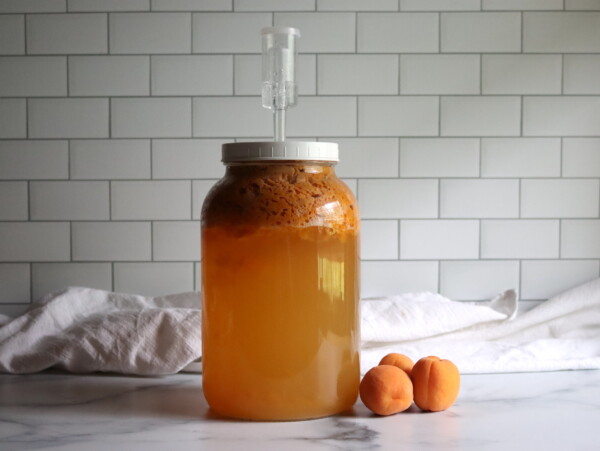
The problem with narrow-neck carboys is that they’re hard to clean, especially if you’re working with solids in your wine. That’s often the case when making floral wines (like dandelion wine) or wine with fruit chunks rather than juice, as I did when making peach wine.
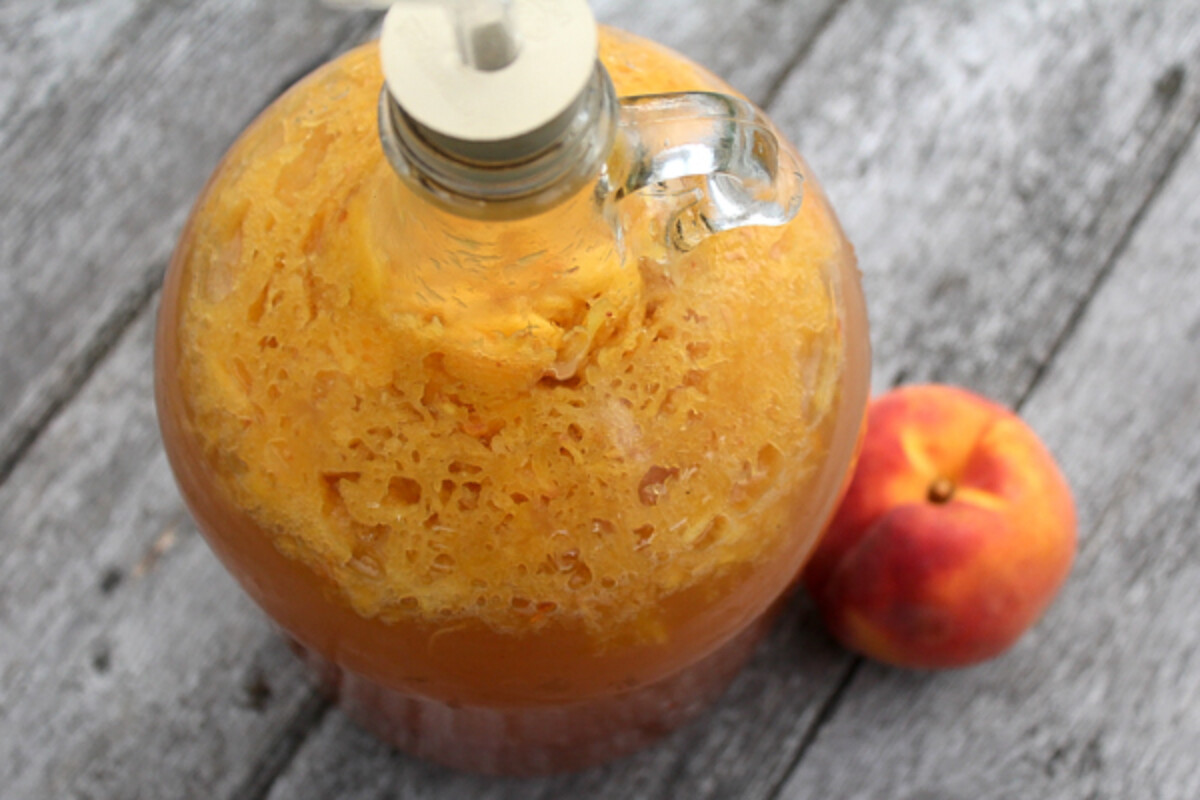
In that case, the “primary” ferment is usually done in either a simple plastic brewing bucket, usually 2-gallon or 6-gallon, to allow for extra headspace. Since there’s minimal alcohol in the primary fermentation step, a water lock isn’t strictly required. If there’s no alcohol yet, it can’t turn to vinegar, you see.
It’s only required once you move to secondary and there’s a measurable amount of alcohol present.
A simple brewing bucket like this, covered with a towel, will get the job done in primary. That’s generally what’s used for making homemade beer anyway, as the fermentation times are so short before bottling.
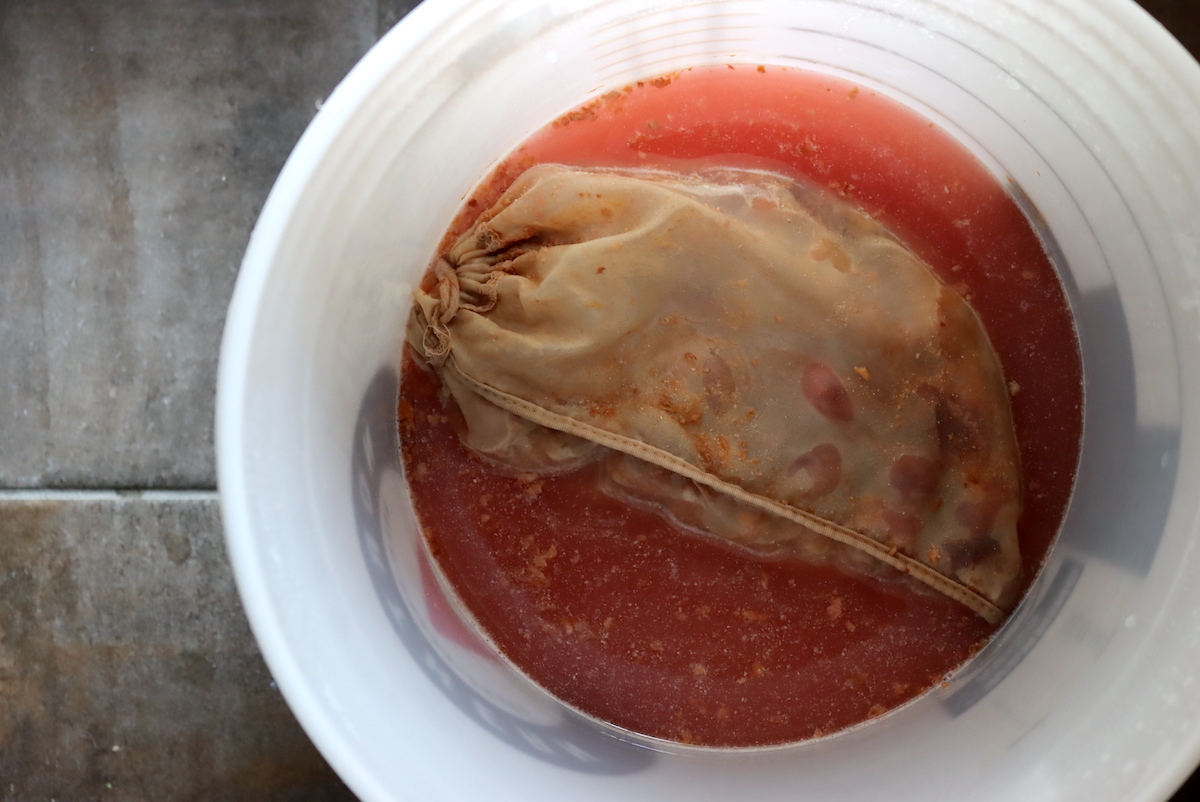
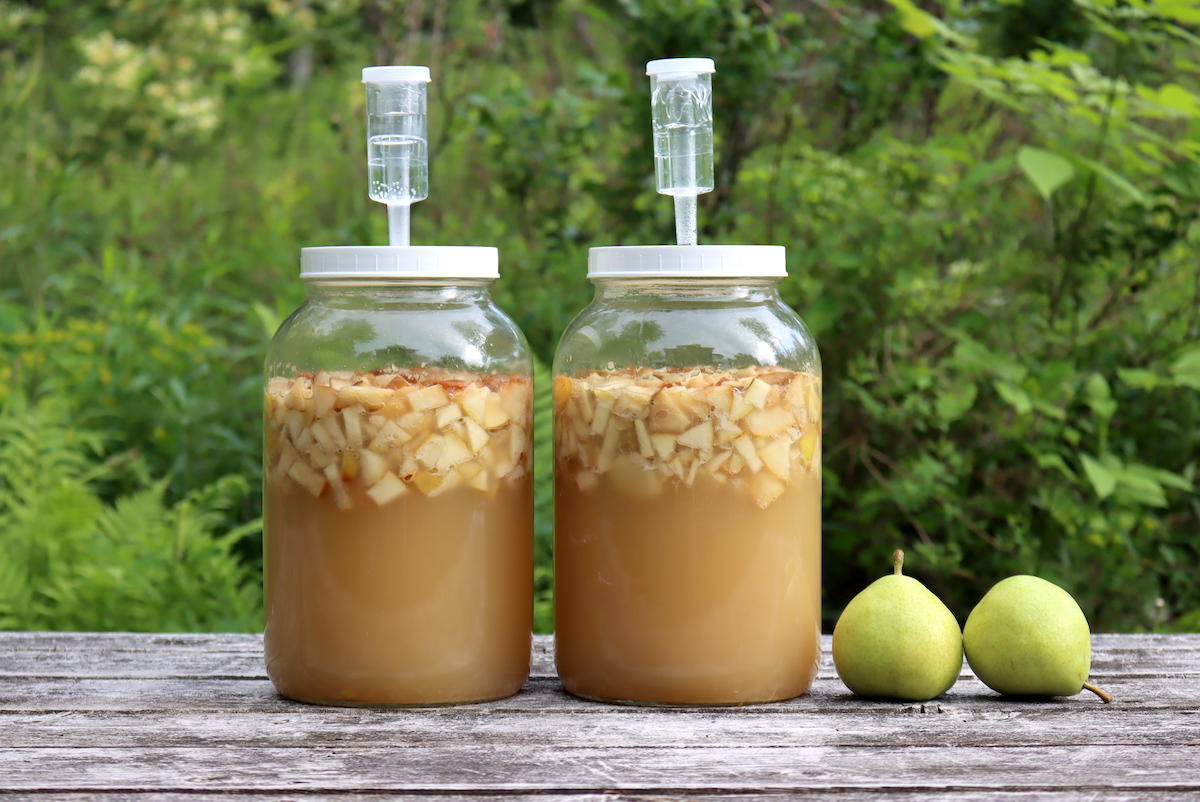
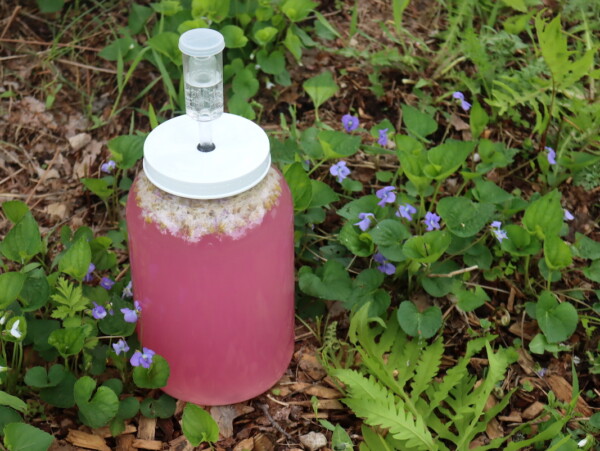
For small batches, I have these really nifty one-gallon wide-mouth glass carboys that are easy to clean and still have an airlock to keep things clean. That’s nice, given that I have kids and pets at home, and a bucket covered with a towel isn’t the best idea. I need a real lid, but one that can allow CO2 to escape.
I move them to a narrow-neck carboy after the primary, once the solids are filtered out.
So how do you get the job done with what’s already in your kitchen?
Well, primary fermentation just needs a container with a towel over it. That can be a big jar, crock or even just a big kitchen bowl.
Once primary fermentation is over, the wine needs to go into something with a narrow neck and some type of airlock, but you can hack something up without investing in equipment.
A soda bottle works, and you can cap it with a balloon with a pinhole in it. That’ll allow air to slowly escape from the ferment, but none will come in due to the positive pressure inside. Lacking a balloon, you can just burp it regularly, or not screw the cap on quite all the way to let the CO2 escape.
That’s not ideal obviously, but it will get the job done for your first batches if you’re interested in making wine without specialty equipment.
Air Lock
The fermentation vessels discussed above are sealed with a one-way valve, known as a Water Lock (or Air Lock). It prevents air from getting inside the vessel, but still allows the CO2 produced in fermentation to escape.
Usually, they do this with water, thus the name “water lock,” which some people use (others call it an Air lock because it locks out air, so it’s a matter of personal preference).
There are a couple of different styles, but in general, it’s a small plastic contraption that fits into a rubber bung at the top of your narrow-neck fermenter. You put in a bit of water (or vodka for sterilization), and air can bubble out, but none comes in.
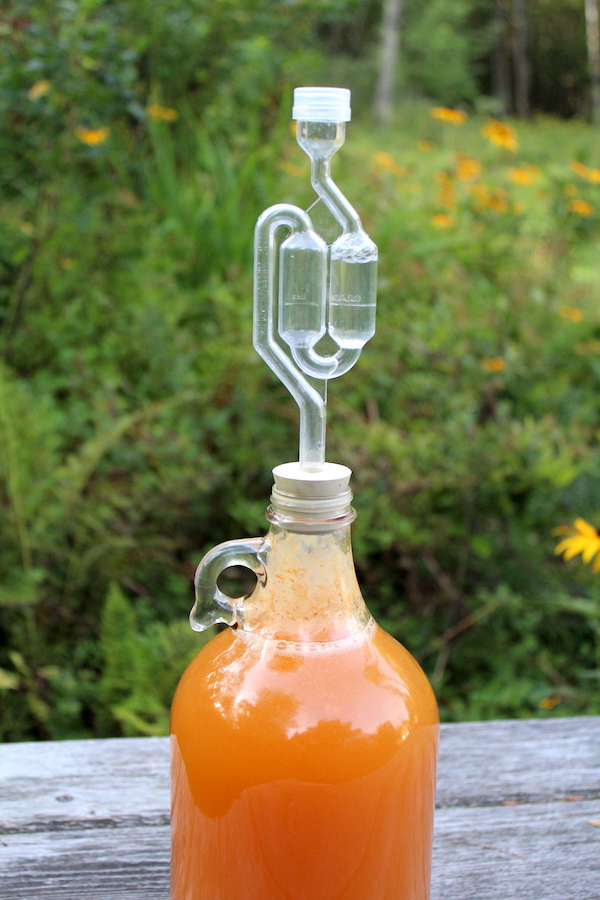
There are other ways to accomplish the same thing, and the lowest investnment option is what I described above. A bottle capped with a balloon that has a pin hole in it.
You can also just burp your container periodically, but that’s tricky with very active ferments. Sometimes, on very active ferments, a water lock will get all clogged up and it’s better to use what’s known as a “blow off tube.”
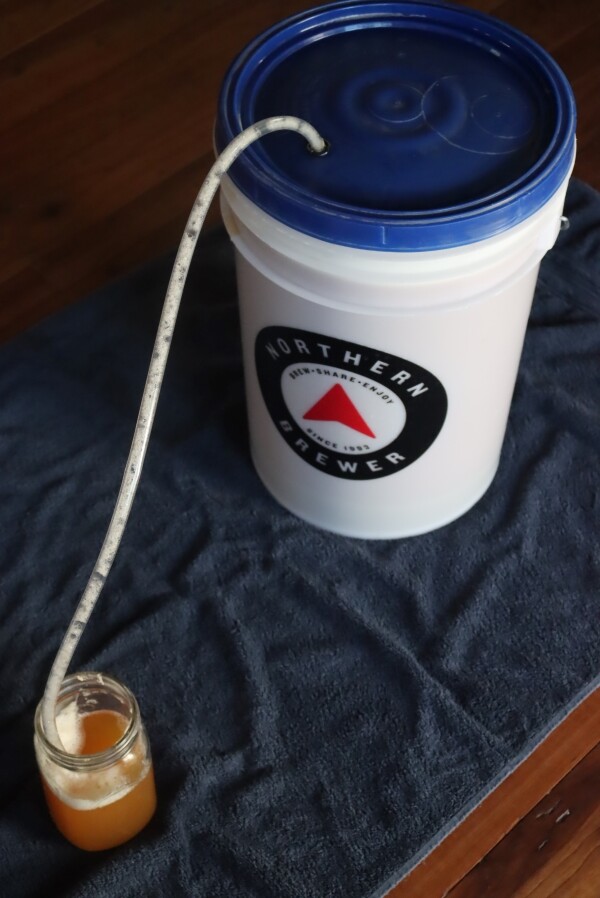
A blow-off tube will allow more CO2 to escape, along with bubbles and solids, and anything else that’s coming up in the foam at the top of a very active ferment.
It’s basically just a piece of flexible tubing (often from your brewing siphon) inserted into the top of the fermentation vessel on one end, and then the other end is placed in a jar of water. This creates a seal, same as a water lock, but it allows more debris to escape without getting plugged.
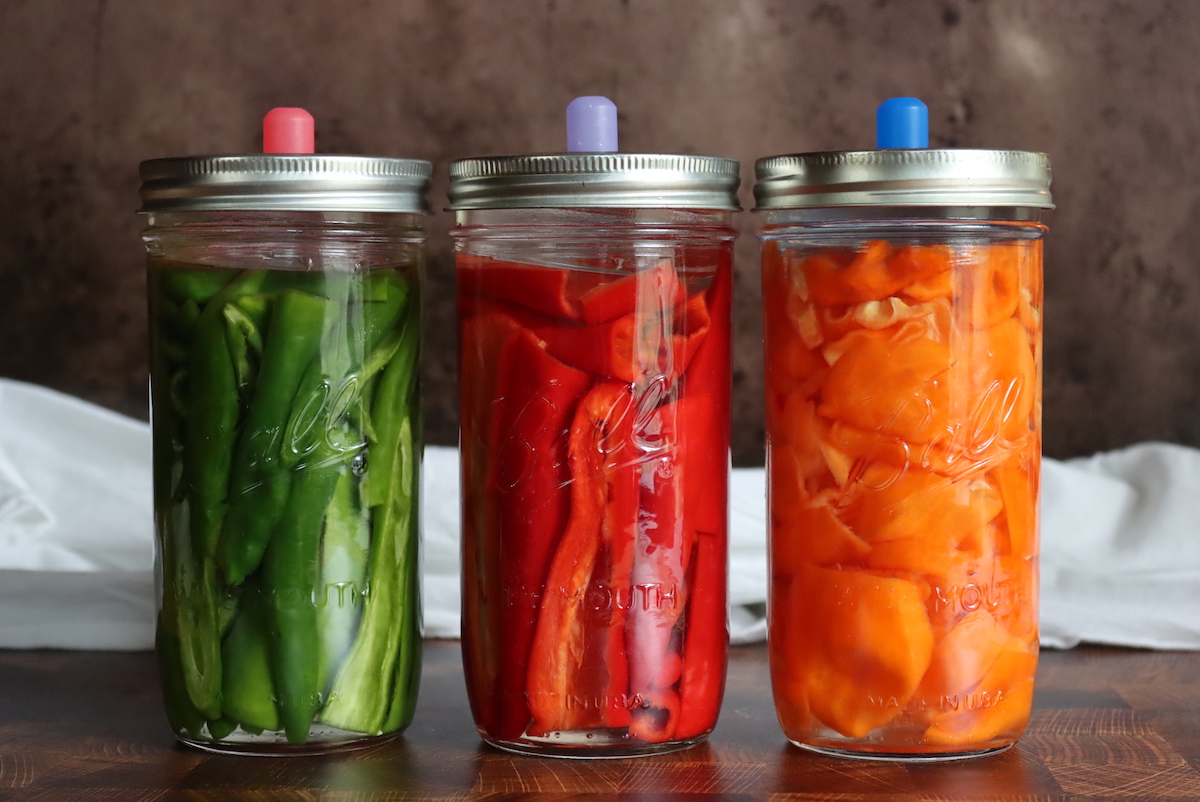
Other options are things like silicone fermentation lids, which are used in ferments like homemade sauerkraut, fermented pickles, or fermented hot sauce.
They’re usually made to fit on top of wide-mouth mason jars, and they’re basically a silicone version of a balloon with a hole in it. There’s a tiny hole in the top of the “pipe” in the center, and as air pressure comes up from the container, it opens to release pressure.
Whatever you use, your goal is to allow pressure to escape without allowing fresh oxygen in.
Oxygen in your fermentation vessel promotes vinegar development, which isn’t our goal here when making wine.
Ideally, you should also try to limit the surface area of your wine that’s in contact with the air, thus the narrow neck carboys for fermentation vessels in secondary. That’s a nice to have, and not strictly required, but it is really lovely if you’re going to have your wine in the fermenter for extended periods.
Siphon
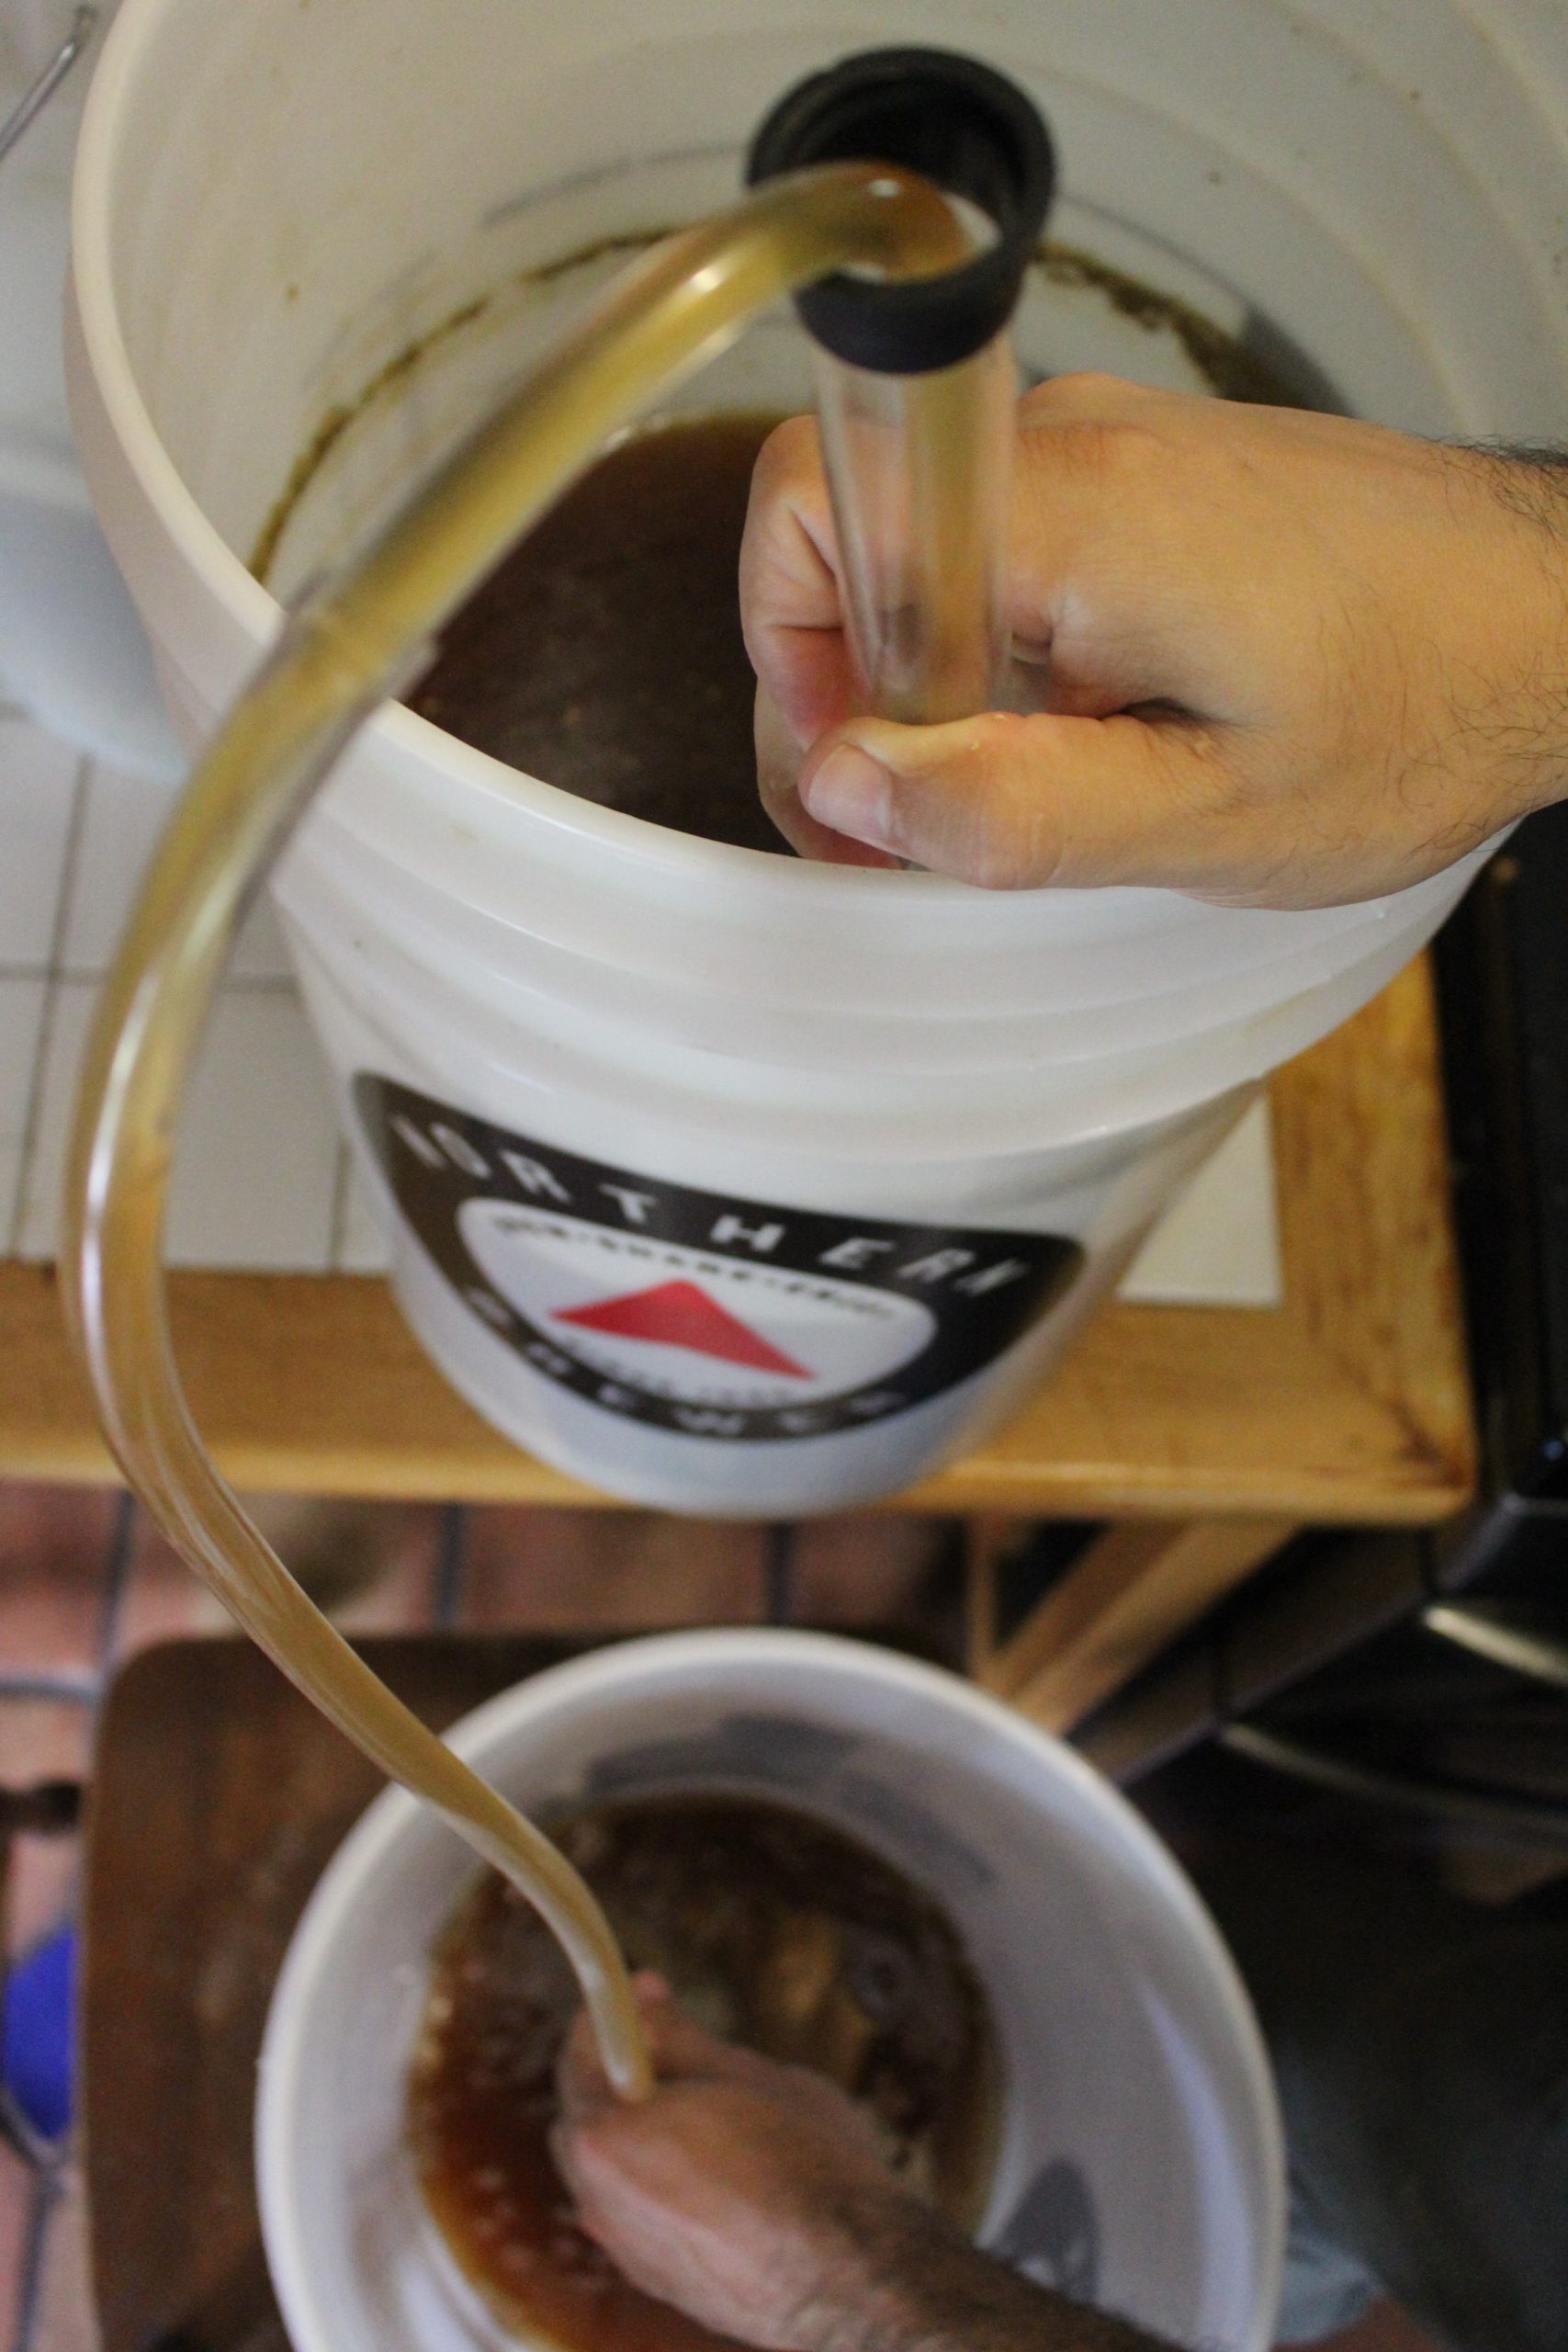
A Brewing Siphon is used to move your ferment from one container to another, and for bottling.
Using a siphon allows you to move the ferment without disturbing the sediment on the bottom by simply pouring it from one container to another. Pouring carefully, you can technically get away without one, but it’s a lot easier to use a siphon, and it’ll result in a finished wine with more clarity.
Pouring wine from one container to another can introduce a lot of extra oxygen into the mix, which can add more risk of your wine going to vinegar, whereas a siphon helps prevent that.
Generally, wines are fermented first in a “primary fermenter” for 7 to 14 days, and then moved to a clean container for “secondary.” That’s when your siphon is needed, as well as during bottling.
Fruit Press
Everyone assumes that a fruit press is essential for winemaking, but I honestly made wines for at least a decade before I ever laid my hands on one.
They’re nice to have for things like grape wines, but really, you can even press grapes the old-fashioned way with your feet.
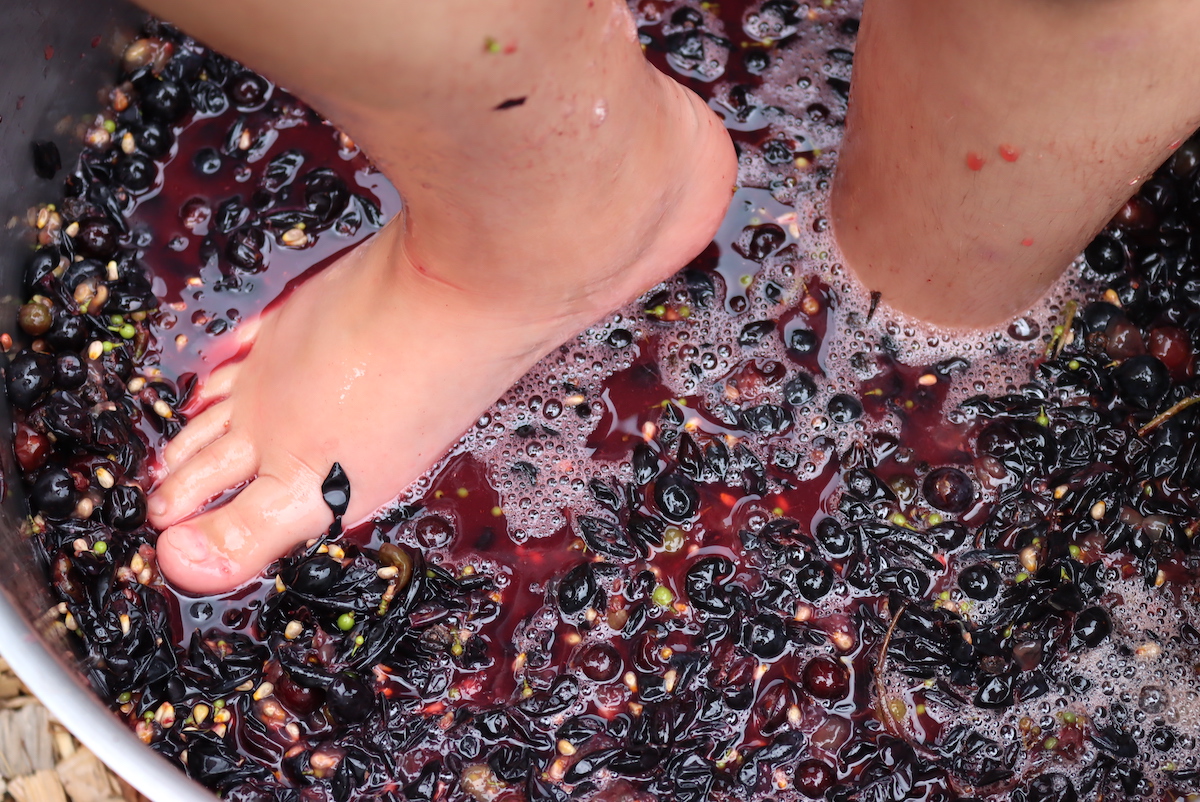
For most fruits, just freezing them is sufficient to break down their cells enough to allow the juice to come out. You can then just chop them and add them to the primary whole.
Beyond that, a food processor of countertop electric juicer also work.
If you’re working with purchased fruit, there are specific winemaking juices you can get that are already processed too.
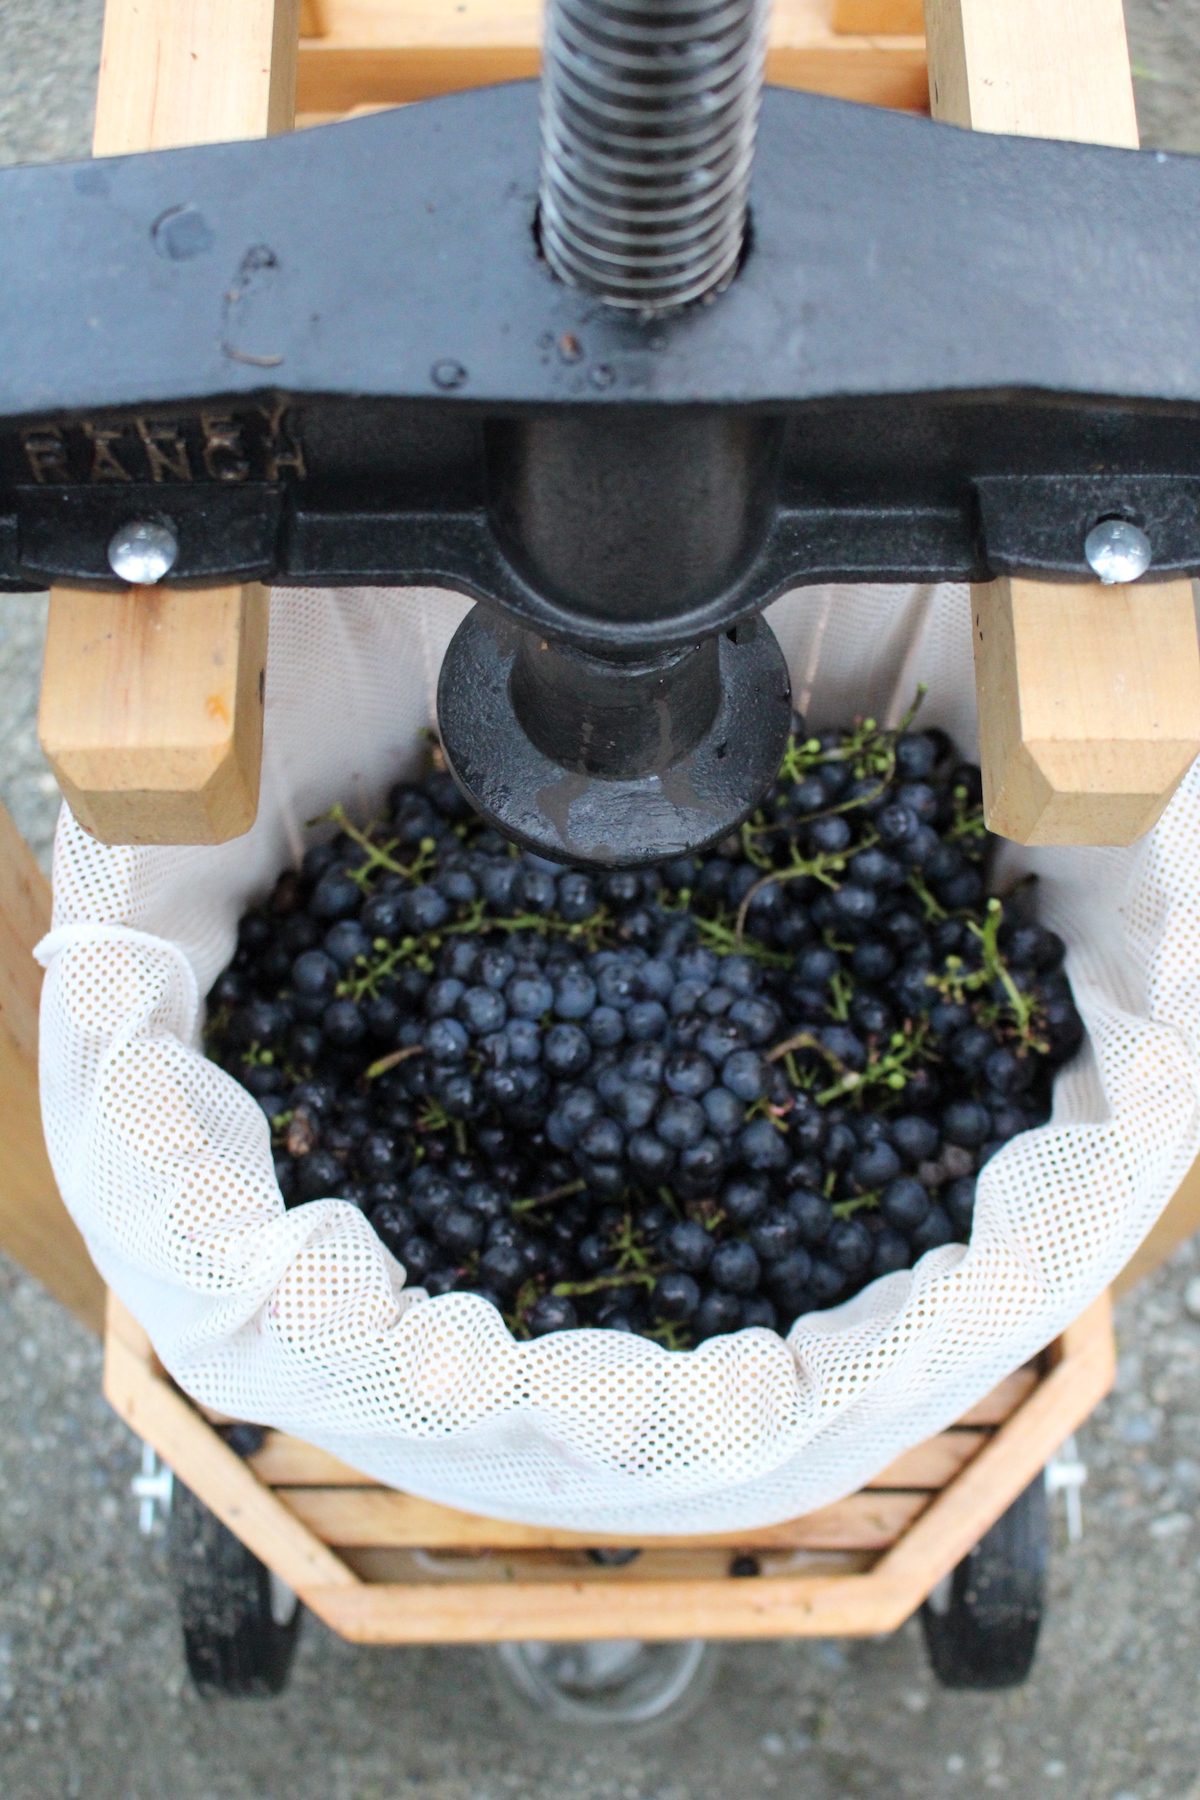
The main benefit of a press is it cold extracts the juice and leaves most of the pectin behind. That’s a nice to have, but they’re expensive.
We have a double barrel cider press that we use to make hard cider, apple wine, perry, and grape wine. It’s convenient, as we’re working with a lot of homegrown fruit. We harvest 50+ pounds of grapes, even in our cold zone 4 climate, and countless pounds of apples.
Bottles
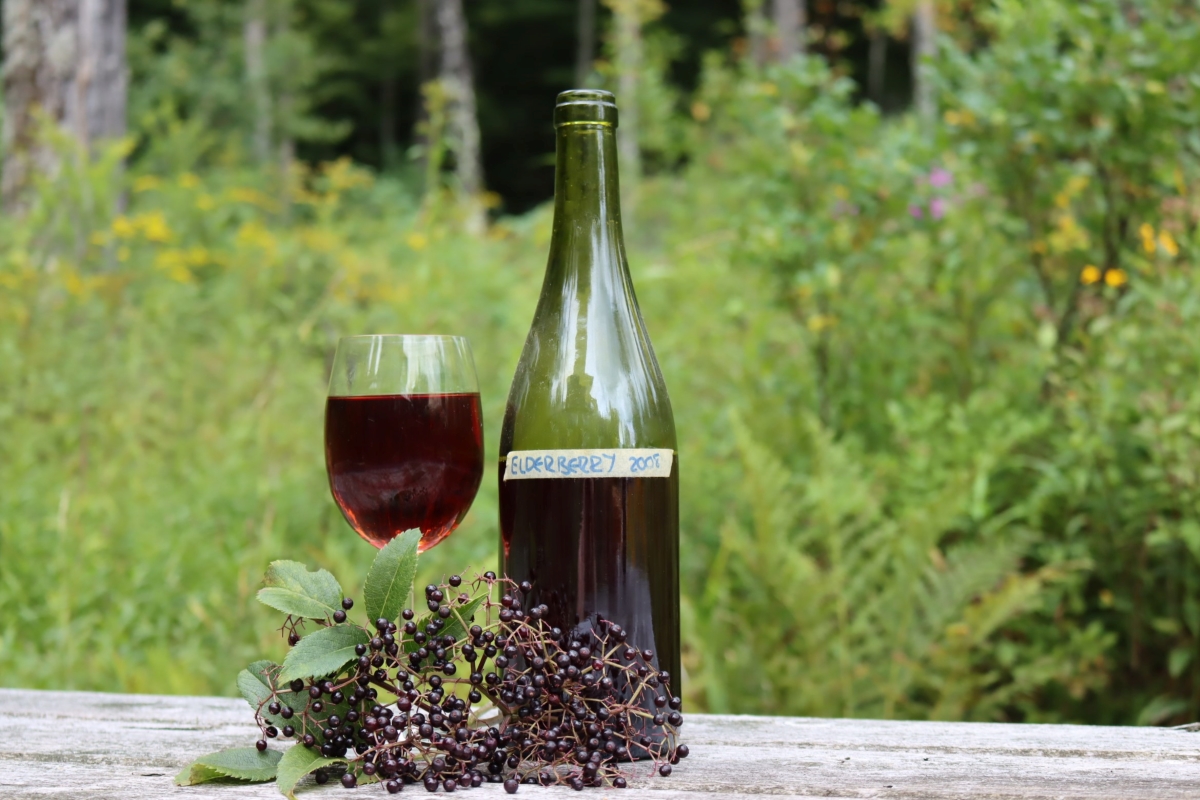
When your wine is done, you’ll need some kind of bottles to store the wine.
Wine bottles are he best option for bottling, as wine bottles will allow the finished wine to be stored for longer periods. Corks naturally breathe, and apple wine in a wine bottle will improve over time with bottle aging.
Beer bottles are also an option, but better for short-term storage.
Flip-top Grolsch bottles work as well, and they’re really convenient because they’re reusable and come with the cap attached for quick bottling without additional equipment. Wine bottles can be reused, provided you wash them and clean them with brewing sanitizer between uses.
If you are using wine bottles, then you’ll also need a Bottle Corker. Be sure to use clean, new corks for bottling the wine. (If using Grolsch bottles, corks and a corker are unnecessary.)
In a pinch, you can also “bottle” your wine in mason jars or soda bottles, but that’s not ideal for long-term storage. (It’s a fine place to start if you’re making wine without spending money on equipment though.)
Brewing Sanitizer
It’s important to keep everything clean with Brewing Sanitizer or some type of food-safe sanitizer. A one-step, no-rinse brewing sanitizer cleans and sanitizes all equipment before use, preventing contamination and resulting in a more predictable winemaking experience. Without it, there’s a greater chance of infection by acetic acid bacteria (that will turn the wine into vinegar).
One-step sanitizers are oxygen-based, and they sanitize instantly on contact with surfaces…but then quickly degrade. That means you don’t even have to rinse them after, and you can go right to brewing.
Some people use a weak (10%) bleach solution, which does work, but you’ll want to rinse that off very thoroughly before using your equipment.
Winemaking Books
Lastly, though it’s not strictly necessary, I’d strongly suggest investing in a few good winemaking books. If you’re just going to make a batch or two on a whim, then don’t go crazy…but if you’re really getting into this hobby, you should read up!
Here are my favorite winemaking books:
- The Home Winemakers Companion by Ed Halloran ~ The best all-around manual I’ve found for making fruit wines. He covers techniques for grape wines as well as country wine with other fruits, and many of my winemaking recipes are adapted from this book (including this recipe for blueberry wine).
- The Joy of Home Winemaking by Terry Garey ~ A bit more conversational and less technical than The Home Winemakers Companion, this one might be more accessible to the casual winemaker. It has hundreds of recipes, far more than any other winemaking book I’ve seen. It also has some of the most creative recipes by far.
- The Compleat Meadmaker by Ken Schramm ~ The definitive guide to making homemade mead using modern methods.
Fruit Winemaking Recipes
Here are a few fruit wine recipes to get you started. All of them follow this same basic process and use the equipment discussed above.
- Blackberry Wine
- Blueberry Wine
- Raspberry Wine
- Strawberry Wine
- Lemon wine
- Banana Wine
- Pineapple Wine
- Cranberry Wine
- Elderberry Wine
- Persimmon Wine
- Pomegranate Wine
- Rhubarb Wine
- Watermelon Wine
Flower and Vegetable Wines
While fruit wines are certainly more common, the process is also the same for flower and vegetable wines. Here are a few more recipes to keep your carboy bubbling:
Flower Wines
Vegetable Wines
Mead Recipes
These are also technically “wines,” but they’re called mead when made with honey. The process is nearly the same, but honey takes longer for the yeast to consume so you’ll need to be patient during these ferments. Otherwise, the process is pretty much the same.


Such an informative post! Your detailed breakdown of essential wine-making equipment will definitely help beginners. Great insights, thank you.
You’re very welcome. So glad it was helpful.
With the grolsch bottles and making wine do you need to burp the wine everyday? or can they be left alone until you’re ready to drink it?
Are you planning to use the bottles during the entire fermentation process from start to finish or are you just referring to the bottling once the fermentation is complete?