Affiliate disclosure: This post may contain affiliate links. Please see our Privacy Policy.
Canning pineapple is one of the easiest water bath canning projects—and once you taste home-canned pineapple, you’ll never go back to the store-bought stuff. Pineapple is naturally high in sugar and acid, which makes it ideal for safe home canning without added preservatives.
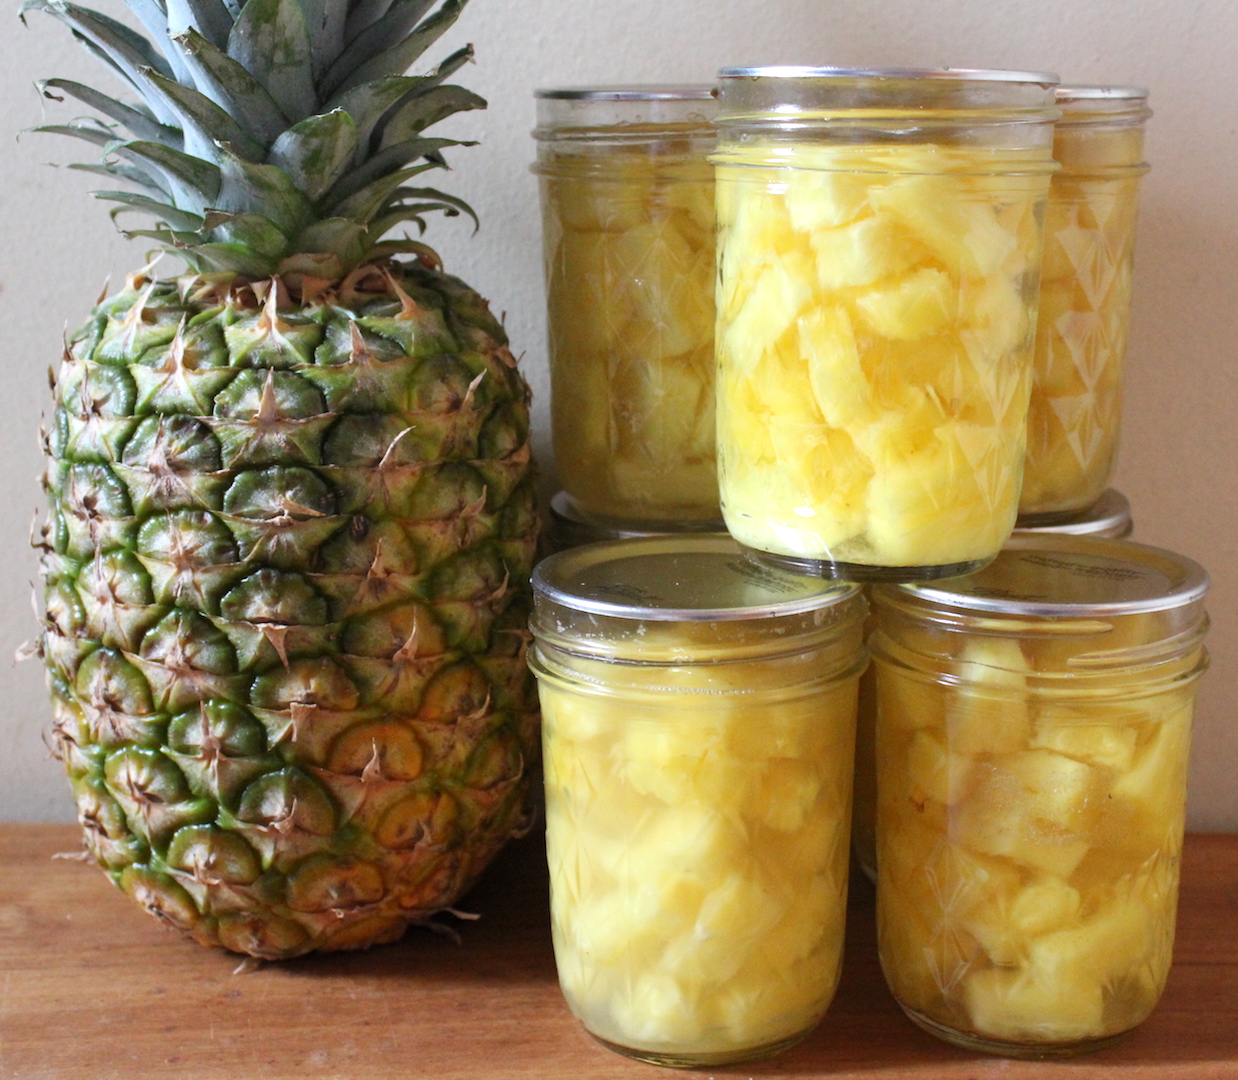
You might be wondering why you’d can pineapple in the first place. Most of us aren’t growing it in the backyard, and it’s easy to buy year-round. But there’s one word that makes it worth the effort: taste. Home-canned pineapple is juicy, flavorful, and never watery or metallic like the canned versions from the store.
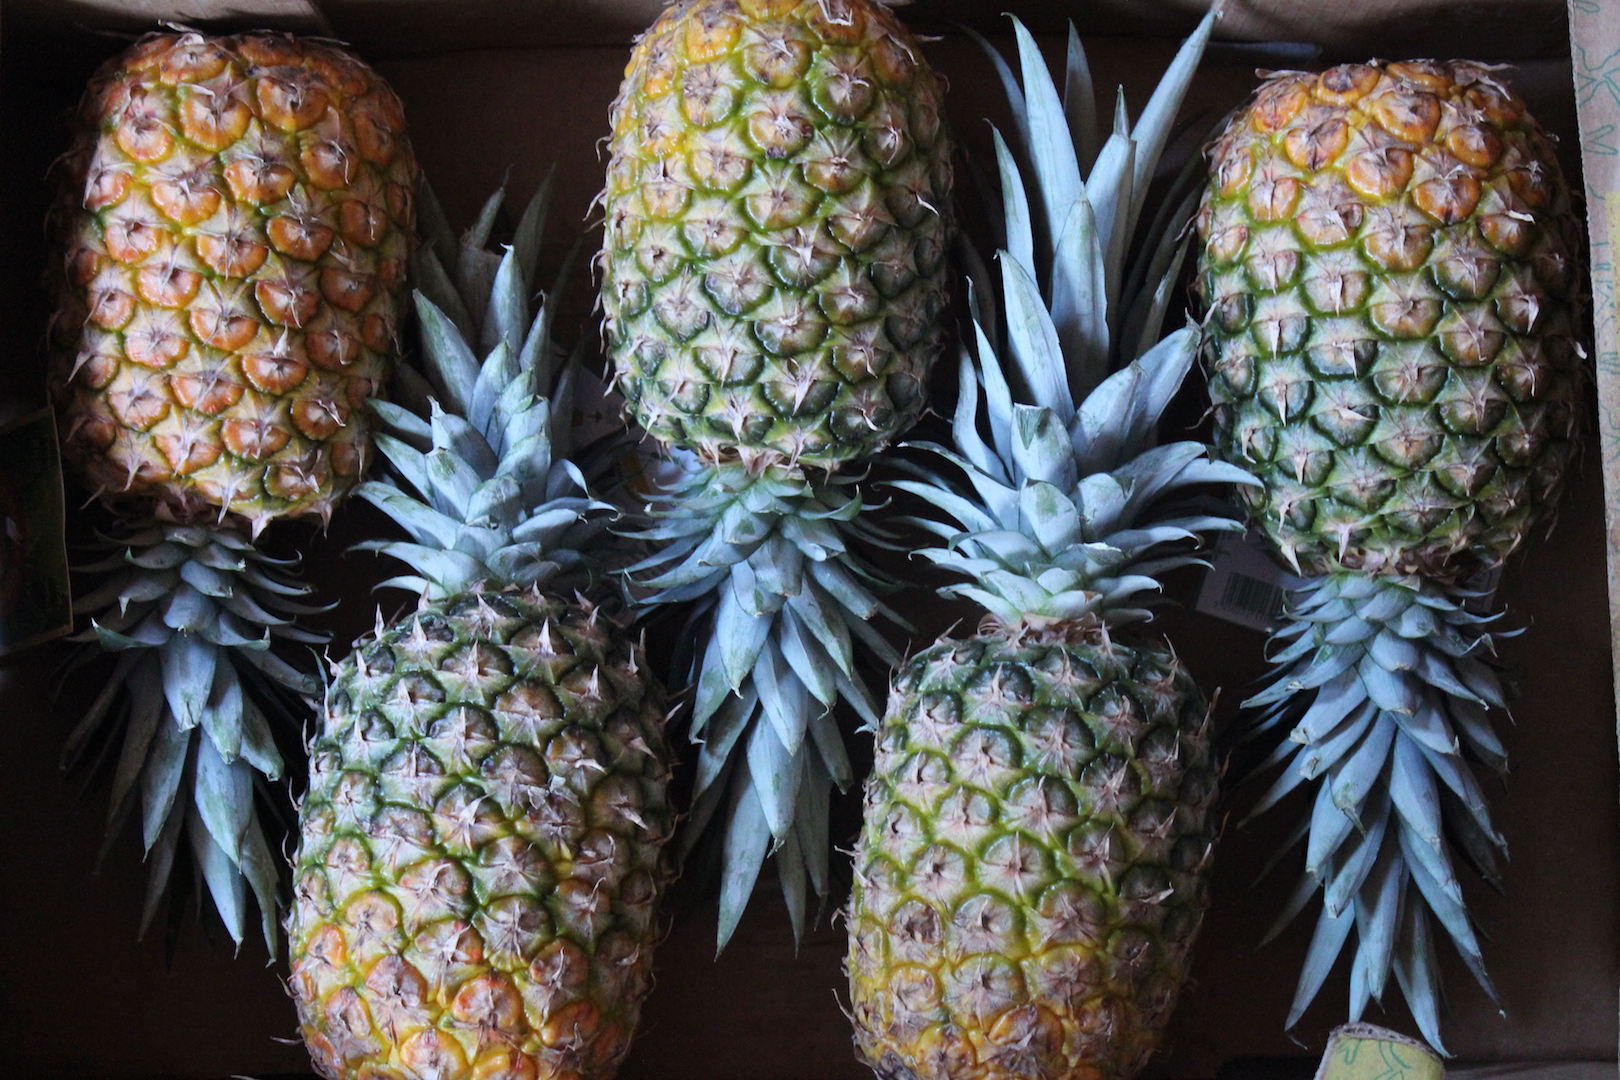
Beyond the incredible taste, canning pineapple is a great way to stock your pantry with peak-season fruit at a bargain price. In midwinter, pineapples are often dirt cheap—even here in Vermont, they can drop from $5 each to $1.50 or less in January. That’s the perfect time to buy a case and preserve them for the months ahead.
How to Prepare Pineapple for Canning
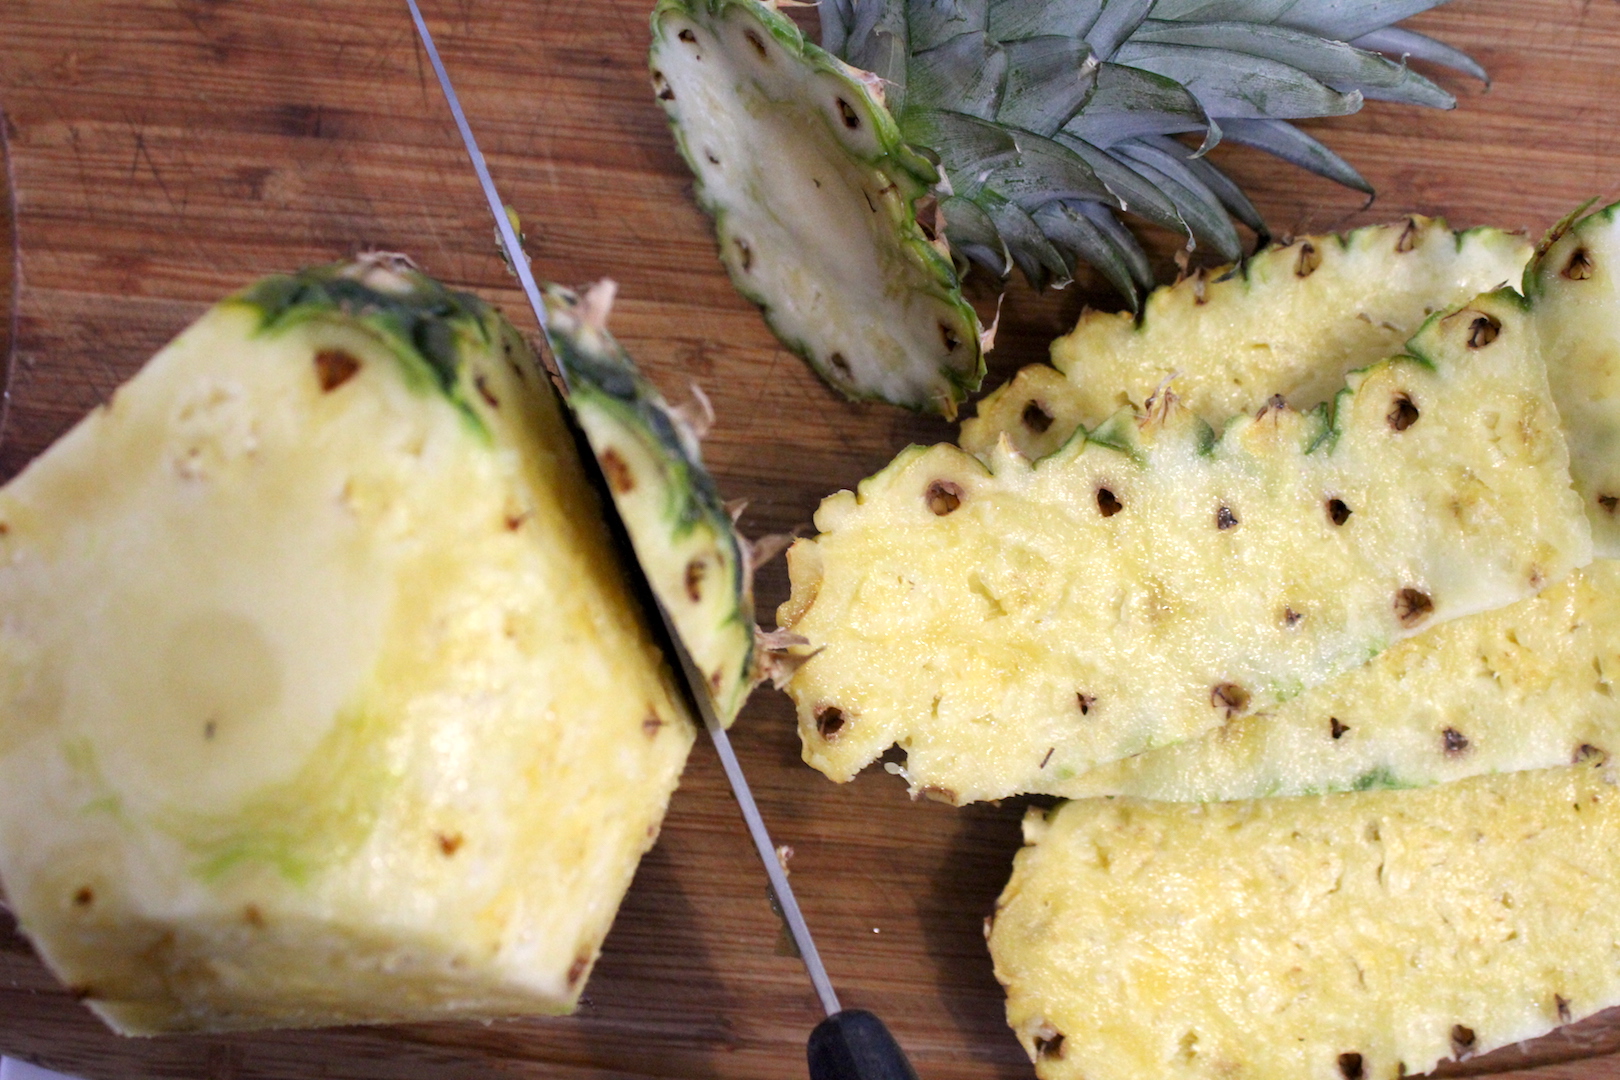
Start by cutting off the top and bottom of the pineapple. Slice vertically down the sides to remove the peel and eyes. Save those peels!
You can use them to make homemade tepache or pineapple scrap vinegar—perfect zero-waste projects for winter.
Next, cut out the tough core from the center of each slice.
Don’t toss it—you’ll use the cores to make pineapple juice for canning liquid.
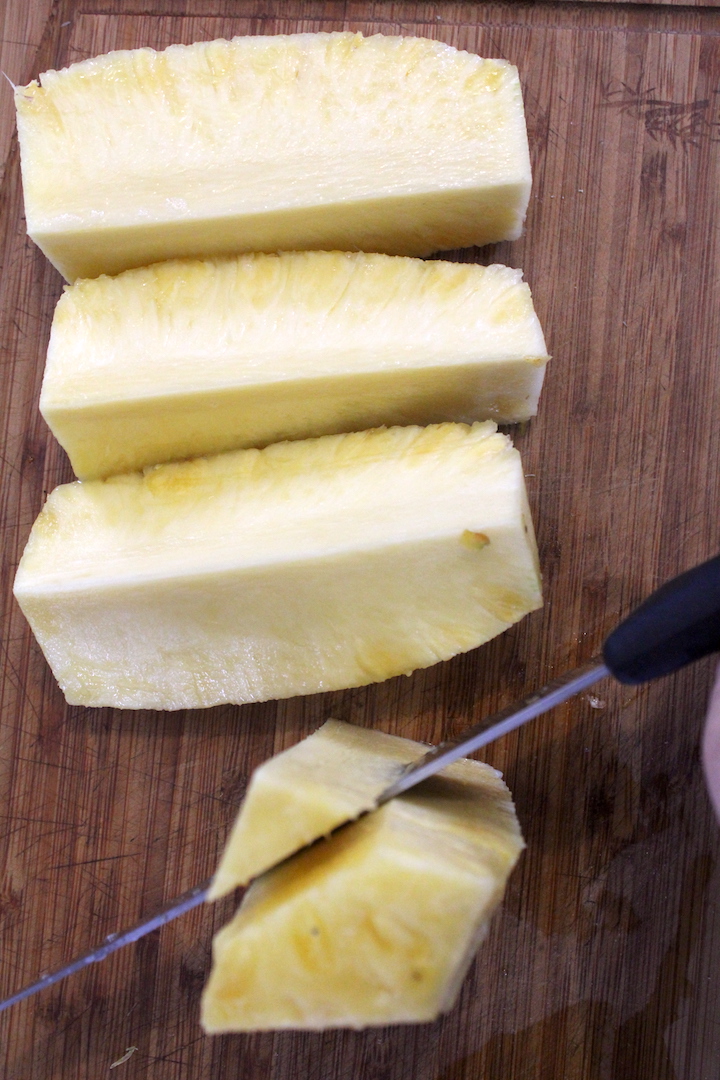
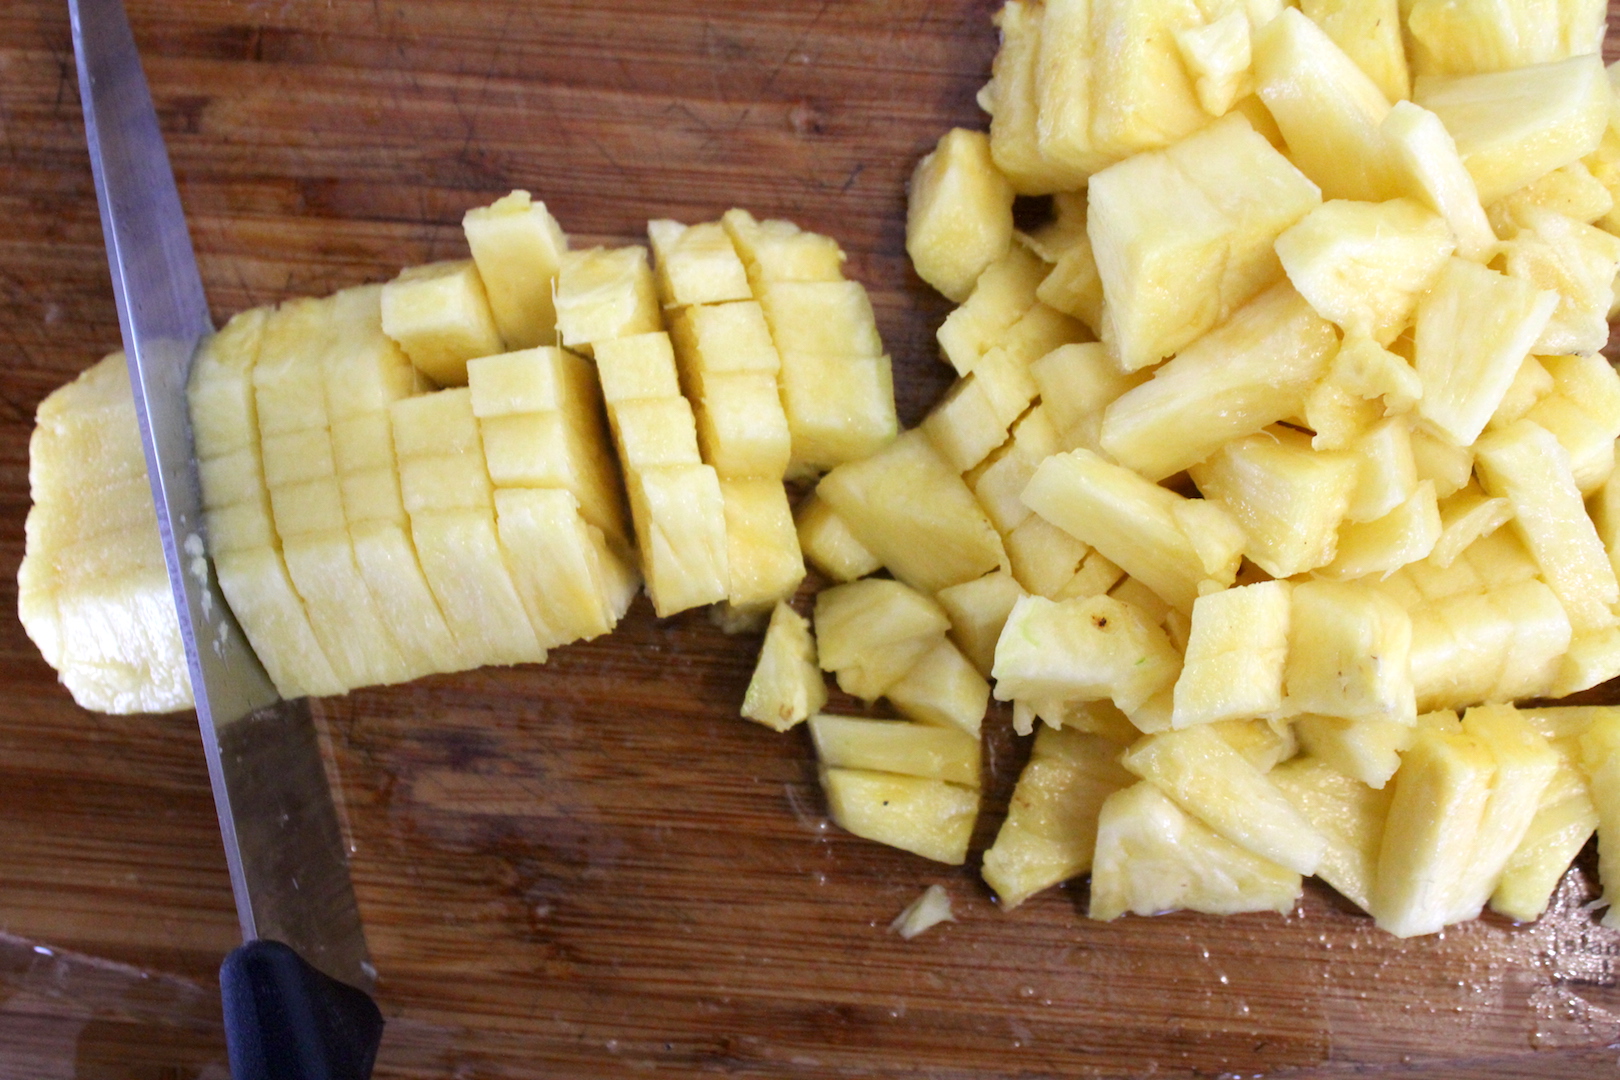
Chop the peeled pineapple into chunks, tidbits, or crushed pieces depending on how you plan to use it.
I prefer small chunks—they’re the right size for pizza, stir-fry, or baking.
Hot Pack vs. Raw Pack Pineapple
Pineapple can be hot packed or raw packed into jars:
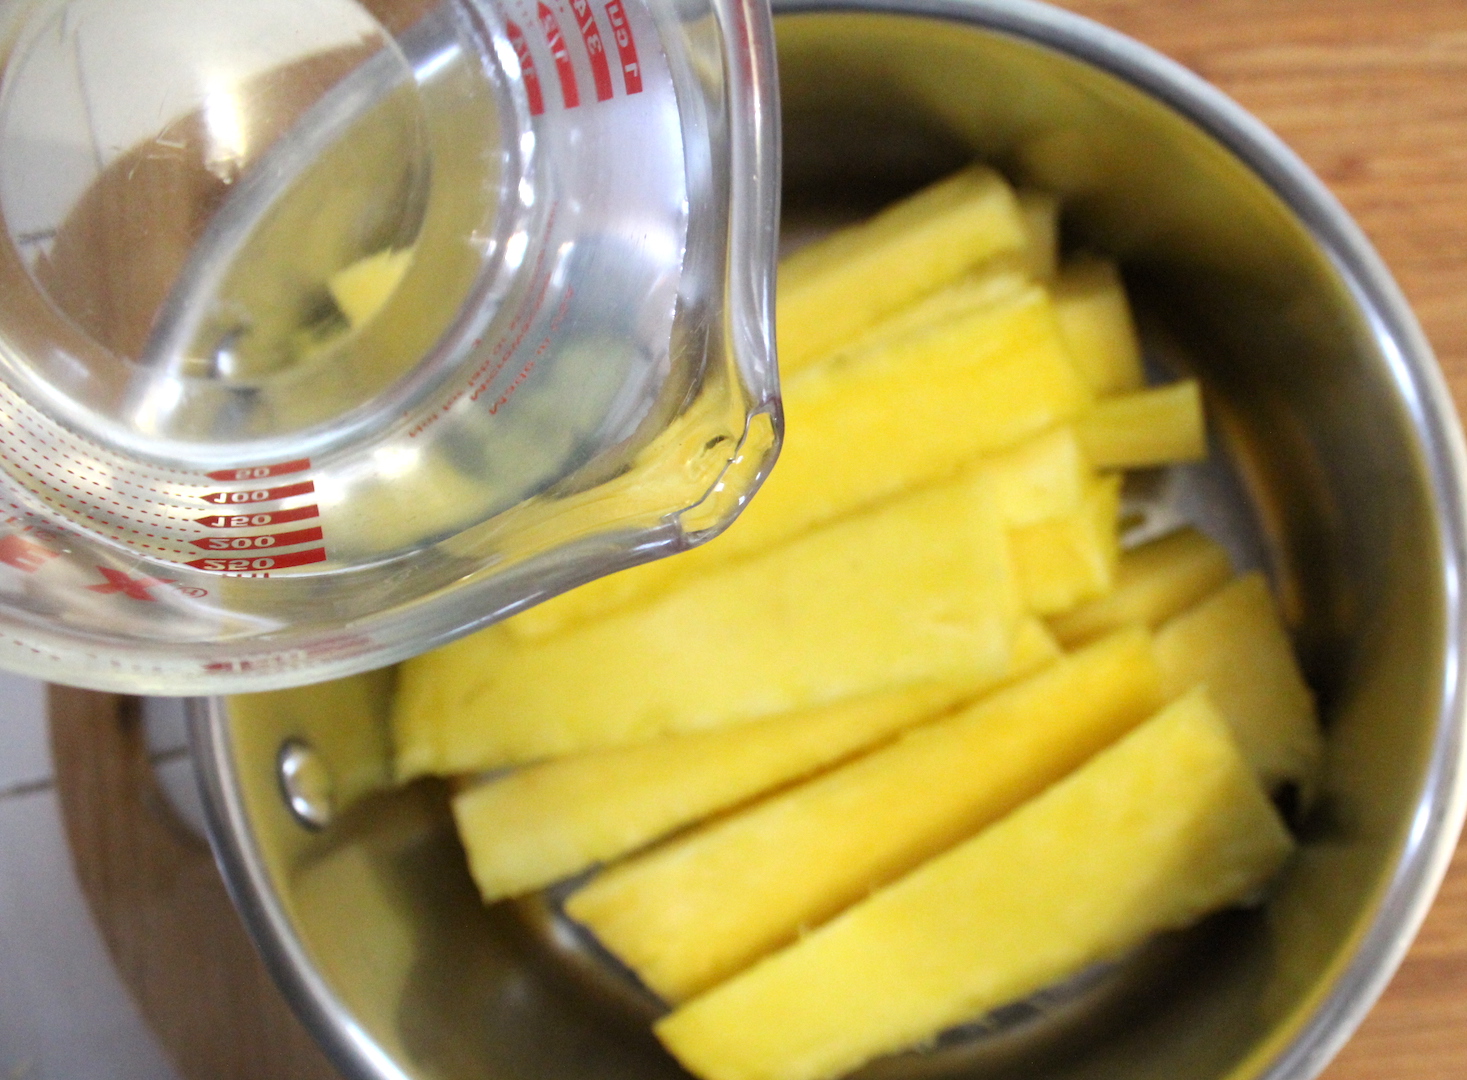
- Raw Pack: Fill jars with fresh pineapple chunks and top with boiling water, juice, or syrup. It’s fast and easy, but the fruit may discolor over time due to trapped air.
- Hot Pack: Simmer pineapple in the canning liquid for 10 minutes before packing. This drives off excess air and helps preserve flavor and color for long-term storage.
According to the University of Alaska Cooperative Extension, hot packing is recommended for pineapple. It yields better color and shelf life, especially if you’re planning to store the jars more than a few months.
That said, I’ve had good luck with raw packing too, and though I’ve made it both ways, you really can’t tell the difference.
Choosing a Canning Liquid
You have several options when choosing a liquid to can pineapple:
- Water – Works, but can leach flavor from the fruit.
- Juice – Pineapple juice, apple juice, or white grape juice all work well.
- Light Syrup – If you want a sweeter result, you can use extra-light, light, or medium syrup.
Personally, I prefer to avoid syrup since pineapple is already so sweet. Canning in juice gives the best balance of flavor and simplicity.
Making Pineapple Juice from Scraps
To save money, use the reserved cores to make your own pineapple juice. Just simmer chopped cores in water for 10–15 minutes, then strain. One pineapple core yields enough liquid for about 4 pint jars. On average, you’ll need about 2 to 2½ cups of hot canning liquid per whole pineapple.
How to Can Pineapple
Start by preparing your pineapple. Slice off the top and bottom, then stand it upright and cut vertically down the sides to remove the peel and eyes. Cut out the tough core from each section and set those aside—they’re full of flavor and can be simmered to make pineapple juice for your canning liquid.
Chop the remaining pineapple flesh into your desired size: large chunks, small tidbits, or finely crushed pieces. Keep in mind how you plan to use it—larger pieces are great for snacking or stir-fries, while smaller chunks or crushed pineapple work well in baking and sauces.
Next, prepare your canning liquid. You can use water, juice, or a light syrup, but for the best flavor, I recommend pineapple juice made from the cores. Simply chop the cores and simmer them in water for 10 to 15 minutes. Strain the liquid and keep it hot until you’re ready to can. Plan for about 2 to 2½ cups of liquid per whole pineapple, and always prepare extra to avoid running out mid-batch.
Decide whether you’re doing a hot pack or raw pack.
For a hot pack, combine the chopped pineapple and canning liquid in a stockpot and simmer for 10 minutes. Then pack the hot fruit into warm jars, leaving ½ inch of headspace, and ladle the hot liquid over the top to cover.
For a raw pack, fill hot jars with raw pineapple pieces and top with boiling liquid—again leaving ½ inch of headspace. Raw packing is faster, but hot packing results in better color and shelf life, especially for long-term storage.
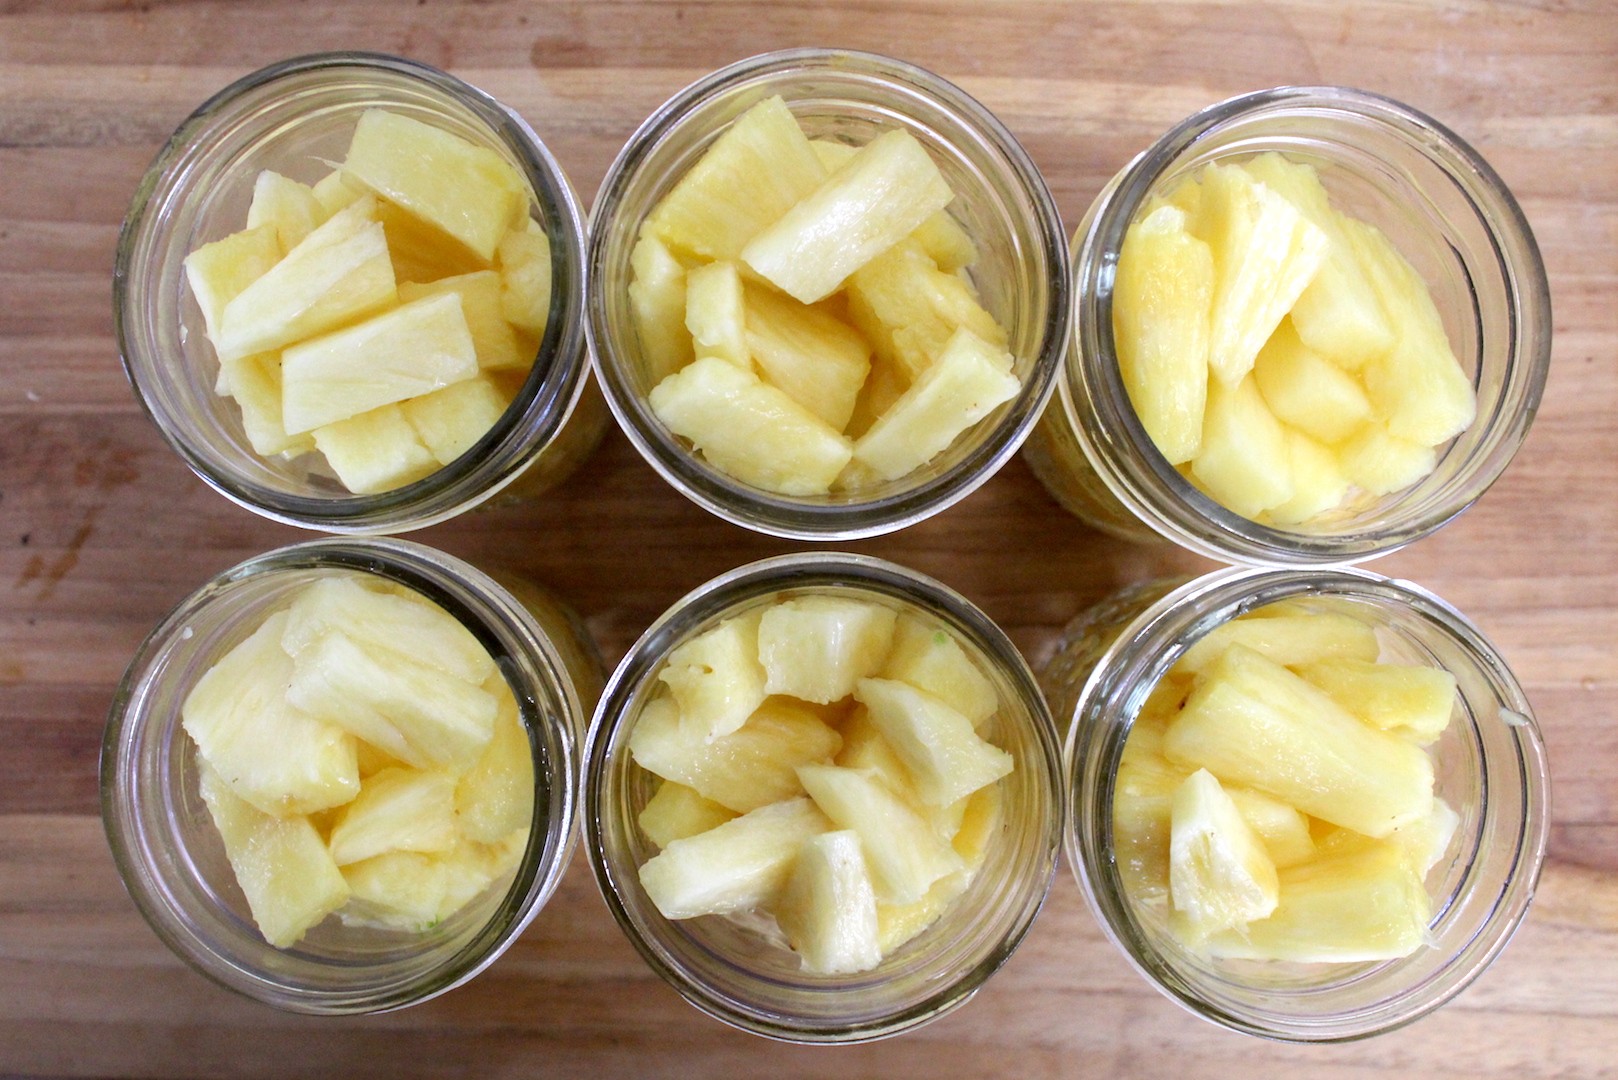
Remove any trapped air bubbles, adjust the headspace if needed, and wipe the jar rims clean. Apply lids and rings until fingertip-tight. Process the jars in a boiling water bath canner—15 minutes for pints and half-pints, or 20 minutes for quarts. Be sure to adjust processing time for altitude. Once the time is up, turn off the heat and let the jars rest in the canner for 5 minutes before removing them to cool.
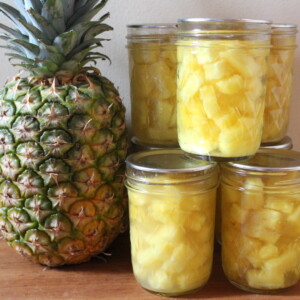
Let the jars cool undisturbed for 12 to 24 hours. Check seals, remove rings, and store your canned pineapple in a cool, dark place. Properly sealed jars will keep for at least 12 to 18 months, and often much longer.
Altitude Adjustments
Increase processing time based on your elevation:
- 1,001–3,000 ft: 20 minutes for pints and 25 minutes for quarts
- 3,001–6,000 ft: 20 minutes for pints and 30 minutes for quarts
- 6,001–8,000 ft: 25 minutes for pints and 35 minutes for quarts
Canning Pineapple
Equipment
Ingredients
- Whole Pineapples, Each pineapple yields about 2-3 pints
- Water, Juice or Syrup (roughly 2 to 2.5 cups per pineapple)
Instructions
- Prepare a boiling water bath canner, jars, lids, and rings. Keep jars warm until ready to fill.
- Peel and core the pineapples, reserving the cores. Chop fruit into desired size. To make canning liquid, simmer the cores in water for 10–15 minutes, then strain.
- Hot Pack: Simmer pineapple chunks in canning liquid for 10 minutes, then pack into hot jars and cover with the hot liquid, leaving ½ inch headspace.
- Raw Pack: Pack raw pineapple into hot jars, then pour boiling water or juice over top, leaving ½ inch headspace.
- Remove air bubbles, adjust headspace, and wipe jar rims. Apply lids and rings until fingertip-tight.
- Process half-pints and pints for 15 minutes or quarts for 20 minutes in a boiling water bath canner. Adjust for altitude (see below).
- When time is up, turn off the heat and let jars rest in the canner for 5 minutes. Remove jars and cool undisturbed for 12–24 hours. Check seals, label, and store in a cool, dark place.
Notes
Altitude Adjustments
Increase processing time based on your elevation:- Under 1,000 feet in elevation: 15 minutes for pints and 20 minutes for quarts
- 1,001–3,000 ft: 20 minutes for pints and 25 minutes for quarts
- 3,001–6,000 ft: 20 minutes for pints and 30 minutes for quarts
- 6,001–8,000 ft: 25 minutes for pints and 35 minutes for quarts
Nutrition
Nutrition information is automatically calculated, so should only be used as an approximation.
More Fruit Canning Recipes
Looking for more canning recipes? Here are a few more fruits to can at home:


Hi Ashley! I’m very new to canning and have found that your page has been very informative. I love all of the ideas and suggestions you have, and can’t wait to get started.
My toddler LOVES Pineapple Sauce (literally just pureed pineapple). I add the chunks to my blender, and then put the puree in his little reusable squeeze pouches.
My question is – would I be able to can the pureed pineapple so that I can take advantage of the seasonal sales? If so, would I follow the same guidelines as pineapple chunks? Would you recommend that I still mix with water or juice?
Hi Brittany, The USDA actually has guidelines for doing just what you mention, canning pineapple puree (and other fruit purees). Here’s where you can find the guidelines: https://nchfp.uga.edu/how/can/canning-fruits-and-fruit-products/fruit-purees/
Making juice with the cores is simply genius!!!!!
It’s not difficult to cut a pineapple once you know how. But when you’re doing several at a time like this for canning, a pineapple corer/slicer would come in very handy! Then you just cut the spiraled slices into whatever size chunks you want to can. Thanks for the canning instructions!!
You’re very welcome.
Who knew you could home can pineapple?! Bought 18 pineapples at a super deal from our local Smiths Foods. Canned 32 half pints, 7 pints ( ran out of those size jars) and have enough for about 5-6 more half pints of crushed pineapple. Wishing I had more lids!
Love your method of boiling up the cores for the canning liquid. My sweetheart tasted it and thinks it’s pure pineapple juice. 🍍 if you use a pineapple corer, don’t forget all the wonderfulness left on the rind. Just use a surraded knife to carefully cut that away, and you have crushed pineapple.
Thank you for your hard work and for your post!
You’re very welcome. Thanks so much for sharing. We’re so glad you enjoyed the post.
I am going to try this tomorrow. I just found beautiful pineapples for twenty-five cents each – yup, $.25 each! Unheard of here in the North East.
That’s a great deal! Enjoy your pineapple!
I canned fresh pineapple yesterday. Love doing it and they were on sale. Saved my scraps and boiled them up this morning. Strained it good and I’m now making pineapple jam. Saved a little of the fresh pineapple to add to the jam. Made some a couple of weeks ago pineapple wasn’t on sale but it turned out so good when they went on sale this week I grabbed a bunch and now we’ll have enough to last a while!
You gotta love a good sale! I’m so glad you’re enjoying the recipe.
What ratio did you use water to core for the making of juice?
You will need about 2-2.5 cups of liquid for each pineapple.
Thanks so much for this recipe! I bought 10 pineapples that were $1 each. I think I got 15 pints out of them. Delicious! My husband and I have been eating pineapple and cottage cheese so much! So delicious. I added more sugar to mine due to them not being as ripe. But they ended up so good. I’m praying they will go on sale soon again. I’m doubling the amount next time I can them. They are so much better the. Buying them from the store.
That’s wonderful. So glad you enjoyed the recipe.
I did the hot packing method. The amount of liquid of 2 cups of water per pineapple was perfect, however my yield wasn’t what I expected. You mentioned 2 to 3 pints per pineapple. I did 6 pineapples and only wound up with 9 pints. Is that because I hot packed? I also noticed from another comment you mention don’t use pineapples overly ripe. Some of mine were pretty ripe. The chucks did not fall apart but like I said I expected more pints. Just trying to figure out if I did something wrong.
As long as you followed the canning directions then they should be fine. Maybe your pineapples were quite a bit smaller. Depending on how you cut the pineapple, it’s possible that there could have been more waste as well.
Does cooking time make then soft
Not really, they’re still very firm…but they are cooked. They’re a lot like commercially canned pineapple, but a bit firmer, and with a much better flavor (not tinn-y from the tin can, since they’re in glass, and with more pineapple flavor since you’re choosing the best pineapples instead of the rejects as they do in canneries).
You mentioned color change possible have you tried fruit fresh on the fruit to stop this
We try to stay away from as many food additives as possible.
Thank you for the great instructions! I might have missed this in the original post, but could you please confirm the ratio of cores to water for the pineapple water method?
You need 2 to 2.5 cups of boiling liquid for each pineapple that you can.
Never thought about canning fresh pineapple! Although I can’t imagine why not as I can or freeze many other fresh fruits and vegetables. I am very enthusiastically looking forward to canning pineapple in the near future! I’ve read all of the instructions and comments, everyone enjoyed the recipe, it seems to have turned out wonderfully and tastes fantastic! Thank you for bringing this to my attention. May God’s blessings be upon you, now and always.
Thanks so much, Paula
You’re very welcome. So glad you enjoyed the recipe.
Home canned pineapple was not on my radar, but this recipe is super easy! I will definitely be trying this! Thank you!
You’re very welcome. We hope you enjoy the recipe.
Hi, thanks for your content – I’ve been following your canning instructions with each new product I can. I have an idea for your pineapple recipe: in addition to boiling the core for juice for the canning liquid, what I also did was do a shallow cut just to remove the green outer layer. Then, I did a deeper cut to remove the eyes from the flesh. I boiled the deeper cuts along with the cores to get more juice out of it.
That’s a really great idea!
I did the raw pack with my own garden grown pineapple but didn’t see the asterisks for using boiling water until after when sharing the recipe with someone else. Will it be safe? Do I need to throw them out? It’s already been a couple of weeks. I used the pineapple water method.
Its easy to can pineapple. We need only mason jar, water .
Great recipe. I used the hot pack method. I bought seven pineapples and got sixteen pints and three 1.5 pints. I chopped the cores and put them in water to make the syrup. I also squeezed the juice from the skin pieces into the pot. After cooking for about 30 minutes, I took the time to strain the syrup water using cheese cloth over a colander placed over a pot and let the chucks cool a bit then squeezed them. The juice was perfect and tasted great, no added sugar. I had some left over for a great glass of pineapple juice. Thank you for sharing the recipe!
You’re very welcome. So glad you enjoyed the recipe.
Hi Ashley…love your site! thank you! Wanted to tell you about how I prepare the pineapple. Easy, fast and reduces waste.
Cut off top and bottom of pineapple.
take a thin slice off one side of the standing pineapple (to keep it from rolling) lay the pineapple down with that small cut on the cutting board.
slice rounds 1/2 inch or less on the whole pineapple. (hang on to the pineapple with a tea towel if it rolls)
I have a biscuit cutter set with several sizes. The smallest size is perfect for removing the core from each slice.
Then I use a thin bladed knife to trim around the outside of that 1/2 circle of pineapple
So easy and finished in no time. Boil the cores and leave the circles of pineapple whole, or cut into chunks.
Nothing tastes better than a warm pineapple upside down cake when the snow is flying outside…Thank you again for your site. Keep up the great work. Mary
You’re very welcome. So glad you’re enjoying the site and thank you for sharing your pineapple tips.
This recipe turned out so very well!! We boiled the cores to make our juice and even had a little left over that we chilled and drank. So very good. And this recipe was so easy to follow. Can’t thank you enough!
You’re welcome. So glad you enjoyed the recipe.