Affiliate disclosure: This post may contain affiliate links. Please see our Privacy Policy.
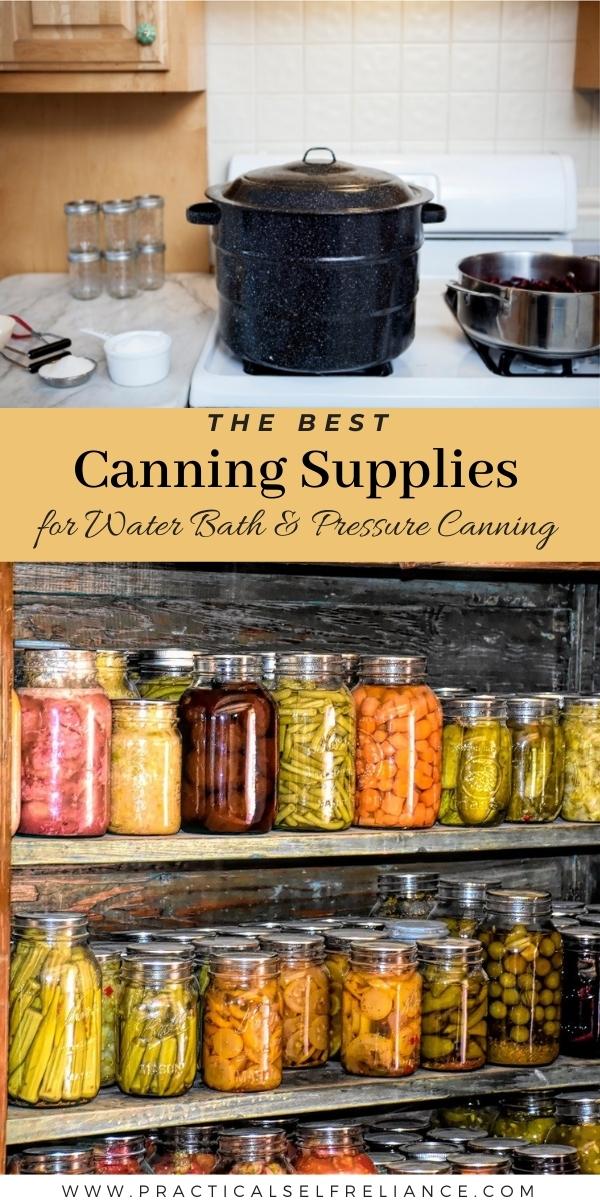
Canning supplies are incredibly useful for home preservation, whether you’re using them for water bath canning, steam canning or pressure canning.

Canning is one of those hobbies, that believe it or not, doesn’t really require all that much equipment. In truth, you can put up jar of homemade jam with little more than deep stock pot and a few heat proof canning jars.
Most canning supplies are there to make the job easier, and you can get by without most of it. That said, there are some things that are strictly required, especially if you’re pressure canning vegetables or meat.
I’ll walk you through all the canning supplies you need to get the job done, and explain what’s optional (and what’s not).
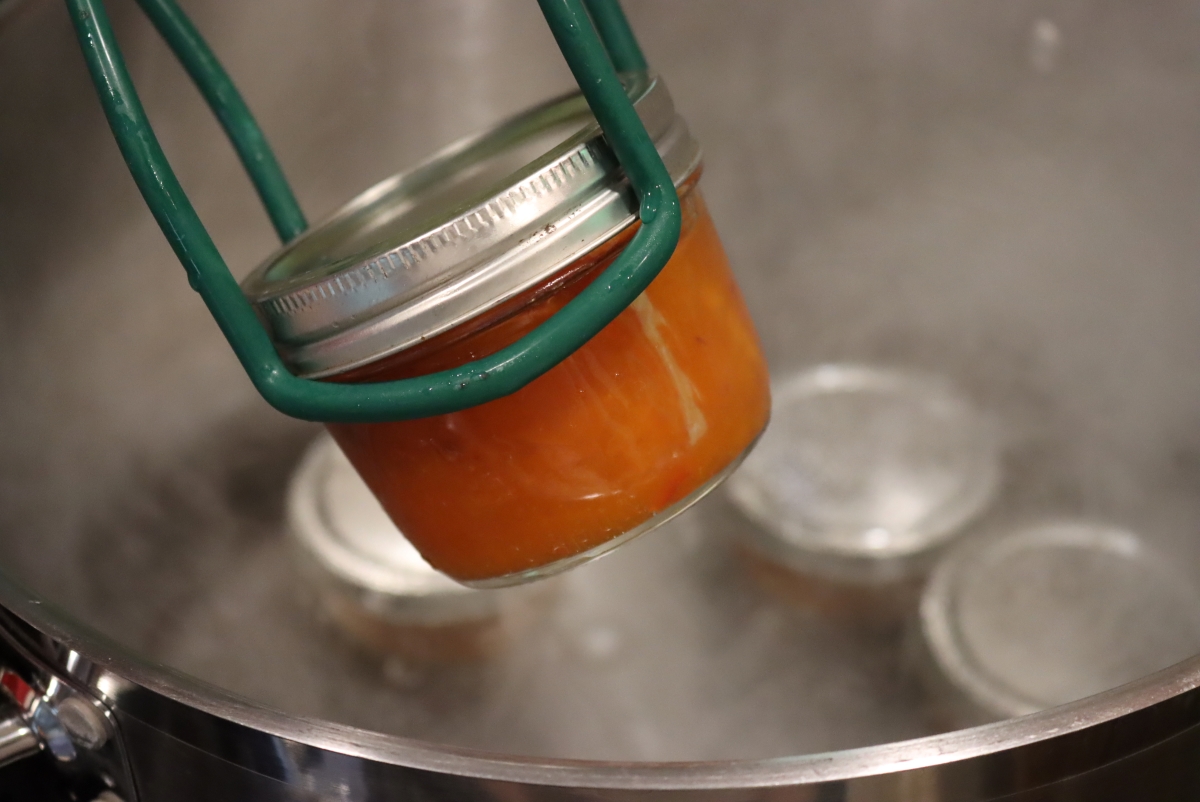
Canning Jars
I’m going to start with home canning jars, as they’re the same no matter what type of canning you’re doing.
Most people use mason jars from Ball Canning, and they have more or less a near monopoly on the whole whole industry.
They’re owned by the same company that makes Kerr Jars, which are the 2nd most common in the US, and they also own Bernardin, which is popular in Canada.
One of the few US companies making canning jars that’s not owned by Ball Canning is Anchor Hocking, and they make fantastic jars as well.
Smaller manufacturers, mostly made in in Europe include:
- Weck ~ Some of the best known European style canning jars, these have glass lids and rubber gaskets. The lids are held on by metal clips while the jars are in the canner.
- Kliener ~ Flip top European style canning jars.
- Le Parfait ~ A French brand of flip top canning jars with rubber gaskets.
- Luigi Bormioli ~ A removable lid (not flip top) gasketed canning jars with glass lids. Also goes by the brand name “lock-eat.” They also sell really stunning juice carafes for canning, which make for a really stunning presentation.
Most canning jars come in a few common sizes, including:
- Quarter Pint (4 oz)
- Half Pint (8 oz)
- Pint (16 oz)
- Quart (32 oz)
There are many other specialty jar sizes, especially made by European companies that deal in liters instead of ounces. I’m particularly fond of extra tall pint and a half canning jars, and I use them for canning asparagus and other tall things, like garlic scapes and pickled carrots.

Supplies for Water Bath Canning
There are a lot of supplies for water bath canning out there, and honestly I think the sheer quantity of options makes things seem a lot more complicated than they really are.
This basic water bath canning starter kit from granite ware has everything you could possible need for water bath canning. It is a really good deal, though it does include plenty that you don’t strictly need.
At bare minimum you need:
- a large, deep stock pot (or water bath canning pot)
- jar lifter
- canning jars
- canning lids/rings
A canning funnel is incredibly helpful too, though optional if you’re just canning a few jars occasionally.
Beyond that, here are all the options for water bath canning supplies. Some are absolutely required, while others are just nice to have.
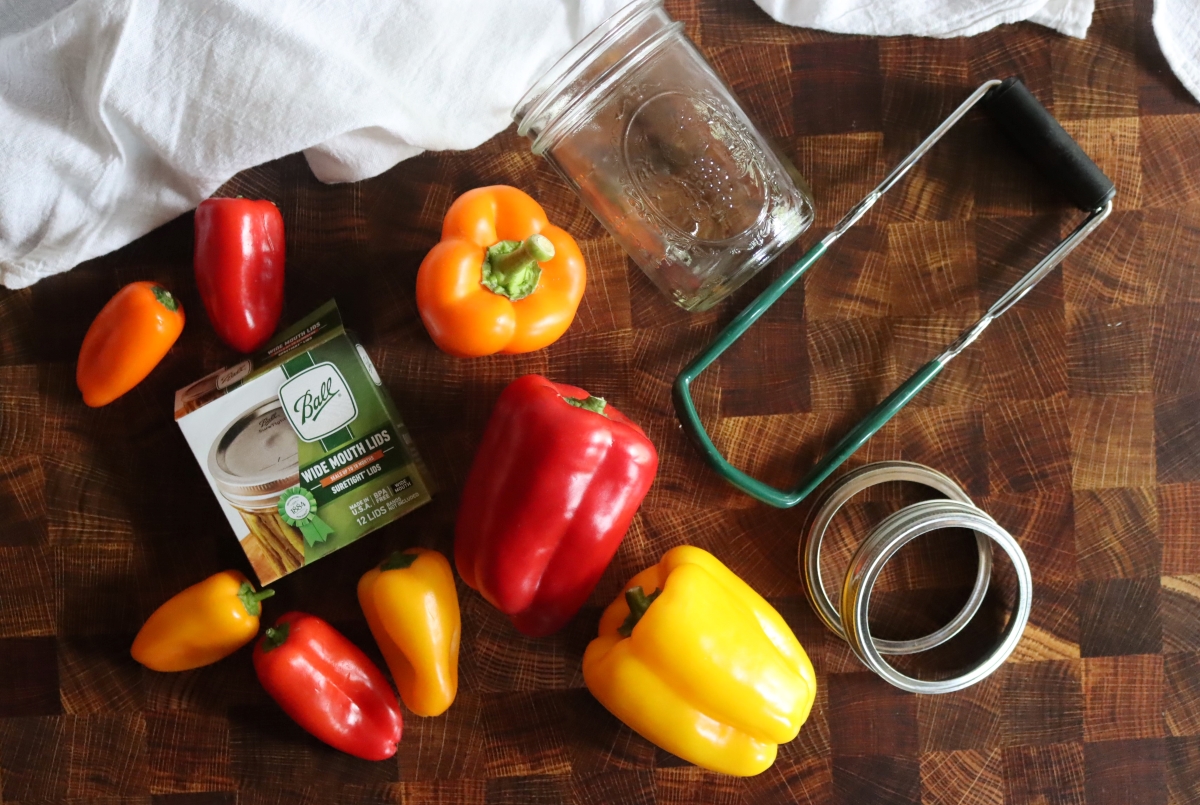
Water Bath Canner
In truth, a water bath canner is just a deep pot that can accommodate tall canning jars while still having plenty of headspace so it doesn’t boil over. The water must be at least 1” above the top of the canning jar lids, so you’ll need a pretty deep pot if you’re going to can in quarts.
The main advantage of buying an actual “water bath canner” is that it comes with a canning trivet on the bottom, which keeps the jars from coming into contact with the bottom of the pot and also helps you lift the whole batch in and out at once.
You can make your own improvised canning trivet out of canning rings, or simply put down a cottom towel at the bottom of the pot to keep the jars away from the extreme heat when in contact with the bottom of the pot. You could also use something like these silicone trivets.
The lifter is nice, and does allow you to insert and remove the jars all at once, but you can also use a jar lifter (which I’d recommend having on hand anyway, as sometimes you don’t want to remove all the jars at once).
I actually use a heavy bottomed pot that we also use to make bone broth and homemade beer.
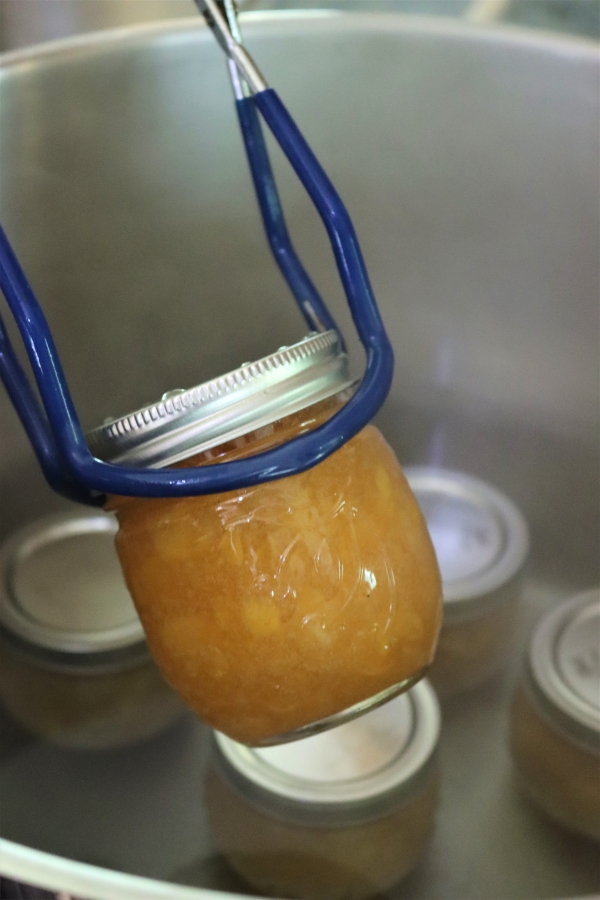
Jar Lifter
This is simply a grabber that allows you to remove the hot jars from boiling water without burning yourself. It’s inexpensive, and I think they’re absolutely necessary.
There are economy models for just a few bucks, but I’d recommend spending slightly more for this one for a better grip.
If you have a canner that has a jar lifting basket included inside, you can technically get away without one, but it’s still good to have.
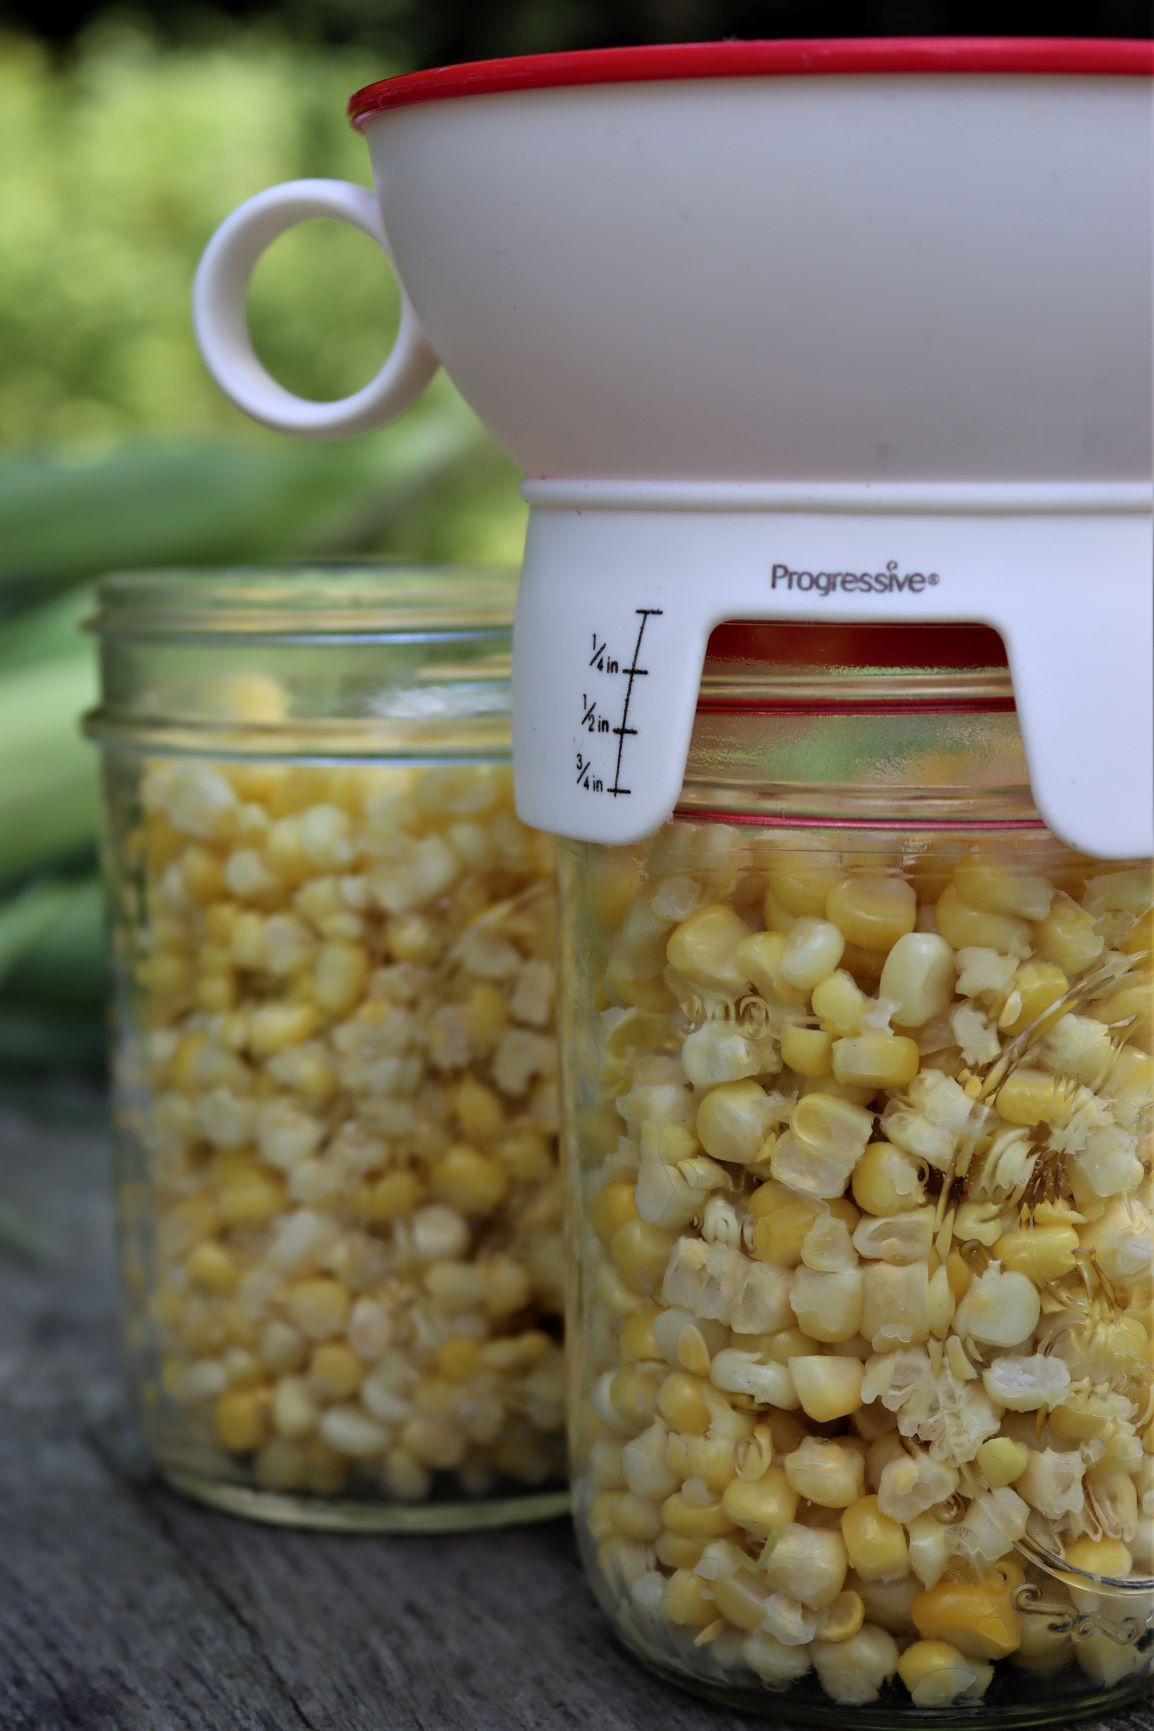
Canning Funnel
There are lots of different canning funnels that will get the job done. The most common is a simple blue plastic funnel that comes in many canning kits. My favorite is this one that has headspace measurements right on the funnel.
I actually really like stainless steel funnels too, and I use them often in my kitchen. Since I like to avoid plastic whenever I cook, I use them with most food. The problem is, metal implements can cause thermal shock when used with canning jars so these aren’t safe for canning.
If you’re concerned about plastic, there are ceramic canning funnels which are really lovely. There’s no longer a commercial producer, but you can still buy them from pottery studios on etsy.
Headspace Measure (& De-Bubbler)
I’ll be honest, I don’t have one of these and I don’t use them. They’re cheap plastic and they warp with heat, and I can only imagine what they’re leaching into canned goods when you use them as a de-bubbler.
To de-bubble my canning jars, I use a wooden chopstick or Popsicle stick for small jars. I use this canning funnel with measurements as a headspace measure, and it takes care of two jobs at once. I’m not constantly taking off the funnel to check headspace.
Lid Magnet
Years ago, canning requirements said that you had to simmer your canning lids in boiling water before actually canning. As a result, there’s this handy little tool that’s basically a magnet on a plastic stick to get them out of the boiling water.
Modern canning recommendations state that it’s unnecessary to sterilize lids (or jars) with any canning recipe that processes the jars for at least 10 minutes. As a result, just about every modern canning book says to process everything for more than 10 minutes (and skip sterilizing the lids).
Old canning books still have 5 minute canning times for jams and fruit juices, at least in small jars. Those are the only approved canning times under 10 minutes, and if you do choose to can them for that short time you will need to sterilize the lids.
That said, just about everyone skips that step now (since it’s a pain) and just processes everything for a minimum of 10 minutes. The quality is the same, and both labor and mess are a lot less.
A canning lid magnet is optional, and I don’t even have one anymore (though we put up literally hundreds of jars a year).
Specialty Water Bath Canning Supplies
There are a few modern, specialty ways to water bath can these days, and they’re ever so slightly more high tech.
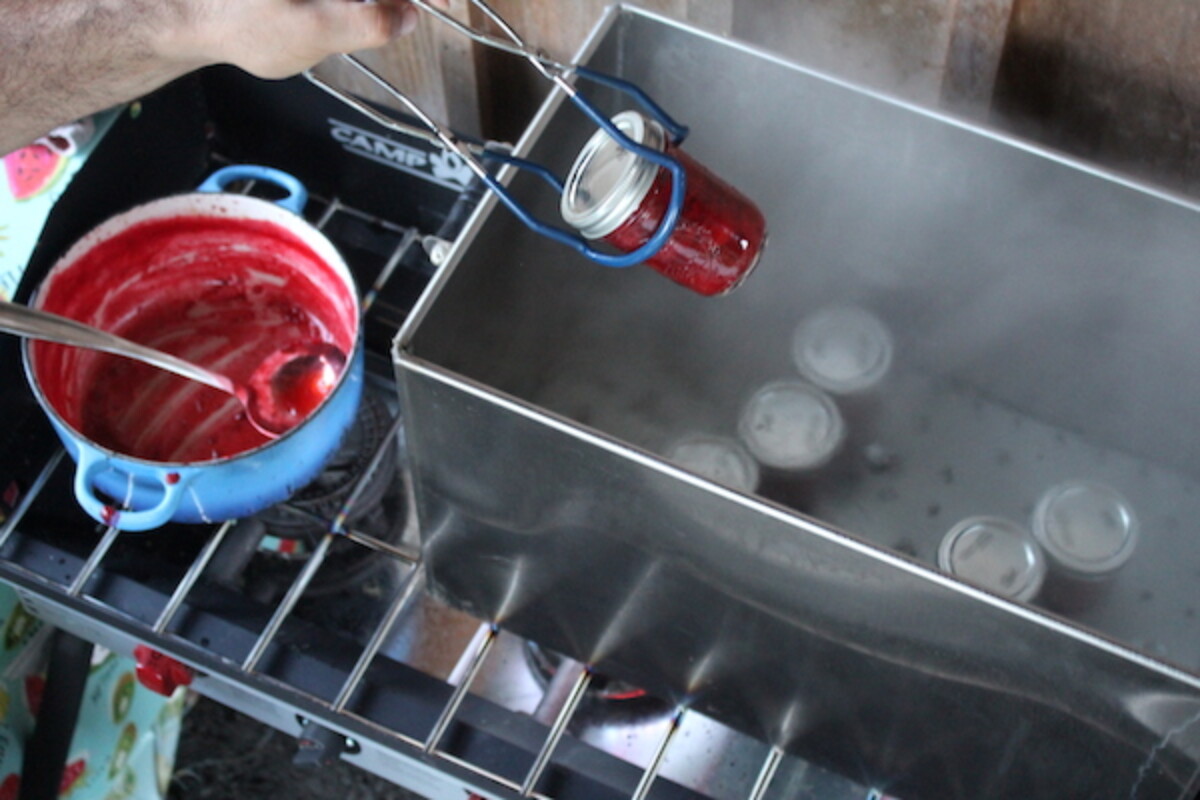
Steam canning uses the principles of water bath canning, but you don’t have to bring a big pot of water to a boil. That makes it more efficient and quicker, but you do need a specialized steam canner.
Electric water bath canning appliances are popular these days too, and really all they are is an electric burner with a pot attached. (Think high powered crock pot, or low powered instant pot, either way.)
They’re great if you’re into gadgets, or you have a tiny stove that can’t accommodate preparing the ingredients and hold a water bath canner.
Both steam canners and electric water bath canners are only approved for high acid foods like jams, jellies, fruits and pickles. Anything where you’d regularly can it in a normal water bath.
Beyond that, if you’re looking for something extra high capacity you can use a extra large Amish Canner. It goes over two burners on the stove, and you can process 36 pint jars at a time.
Supplies for Pressure Canning
Pressure canning isn’t for everyone, and I know many people are intimidated by the though of preserving low acid meats and vegetables at home. Still, if you’re able to take the leap it’ll open up a whole world of food preservation options, and allow you to put up just about everything in the garden.
The supplies for pressure canning are a bit more specialized than water bath canning, and they cannot be substituted.
While you can water bath can in just any old pot, pressure canning can only be done in specific pressure canners that are tested to maintain consistent safe pressures. (No, you cannot pressure can in an instant pot.)

Pressure Canners
There are two main types of pressure canners, dial gauge and weighted gauge. I cover all the differences between the two types of pressure canners in exhaustive detail in my beginners guide to pressure canning, but here’s the short version:
Weighted Gauge Pressure Canners
Weighted Gauge Pressure Canners are more expensive, but easier to use without constant tending.
They hold a steady pressure automatically, and they don’t have any gaskets or parts that need to be replaced. Though it’s an investment, once you buy it it’ll still be in use 100 years from now. Someday, your grandchildren will be canning in it.
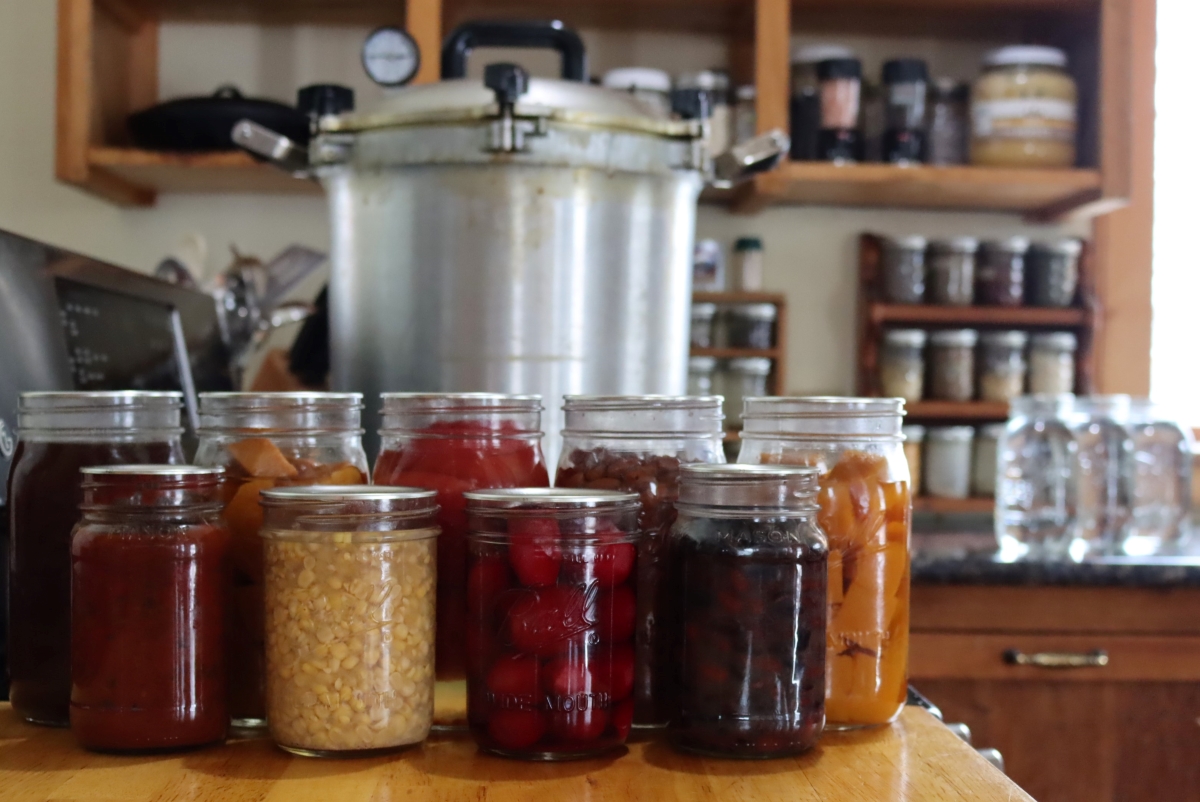
The most common brand of weighted gauge canner is the All American Pressure Canner, and that’s what I have.
It comes in a number of sizes from the smallest 10.5 quart model that holds either 7 pints or 4 quarts, all the way up to the largest 41.5 quart model that holds 32 pints or 19 quarts.
I have the 30 quart model, and it’s a good middle ground. It holds 19 pints or 14 quarts. I specifically got it because it allows you to stack two levels of jars for canning, but it’s not so absurdly large (or heavy) as the 41.5 quart model.
Dial Gauge Pressure Canners
Dial Gauge Pressure Canners are much less expensive, but they require constant tending to maintain proper pressure. Allow the pot to go below pressure and you have to start all over again!
They also have gaskets which have to be replaced on a regular basis, and the sealing mechanism is made of plastic.
While they’re an incredibly economical way to get into pressure canning, they’re not built to last a lifetime. Make sure you have extra gaskets on hand at all times. That said, they cost less than half as much as weighted gauge pressure canners.
They’re much smaller (though less heavy) than weighted gauge pressure canners, and capacity is more limited.
The most common brand is presto pressure canners, and their 16 quart and 23 quart sizes are the best for pressure canning.
Other Pressure Canning Supplies
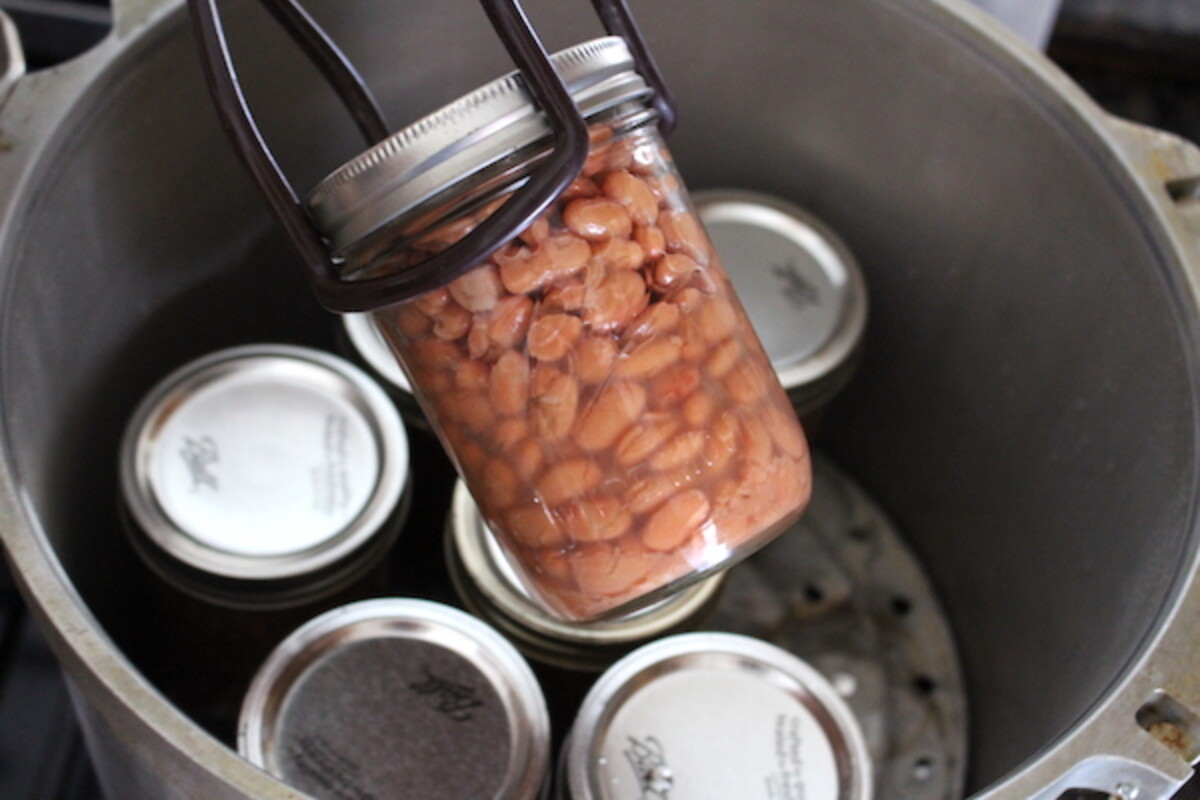
Beyond the pressure canner itself the supplies for pressure canning are mostly the same as for water bath canning. You’ll need:
- Jar Lifter
- Canning Funnel
- Canning Jars
- Canning Lids & Rings
Once you’re all setup for water bath canning, really all you have to do is invest in a pressure canner to expand your horizons beyond jam and pickles.
Useful Canning Tools
These aren’t specifically canning supplies, but if you’re into home canning they can make preparing the food a lot easier.
Depending on your choice of canning recipe, it may be helpful to have any of the these useful tools on hand.
Steam Juicer
Juicing fruit for homemade jellies, or simply canning as homemade fruit juice, can actually be quite tricky. It’s difficult to extract fruit juice without activating the pectin inside the tissues of the fruit, and cooking fruit on the stove will often result in a quick jam (rather than extracted juice).
When you’re just getting started canning, a jelly bag works really well for straining fruit, but it’s not ideal in many cases. High pectin fruits don’t tend to work well, and it only works for small batches.
A steam juicer can be an incredible time saver, especially in the busy summer season. We use our steam juice to extract fruit juice when we’re canning grape juice, apple juice, cranberry juice and other homemade juices.
It’s also incredibly useful for making jellies, like my blackcurrant jelly and raspberry jelly, which we make in big batches each year.
We also use it to extract juice for home winemaking, and it was essential when we made this cherry wine recipe. That’s not for canning, obviously, but it does keep nicely in a bottle right on the pantry shelf.
Outdoor Canning Burners
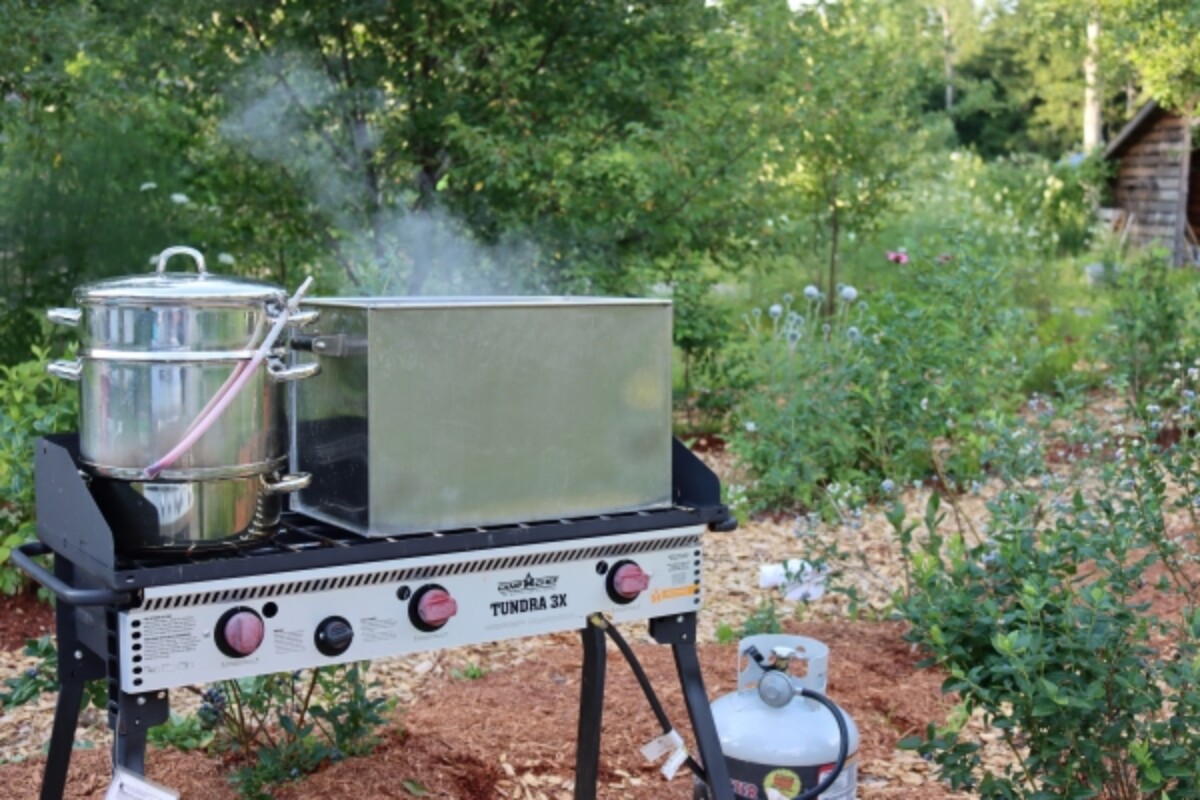
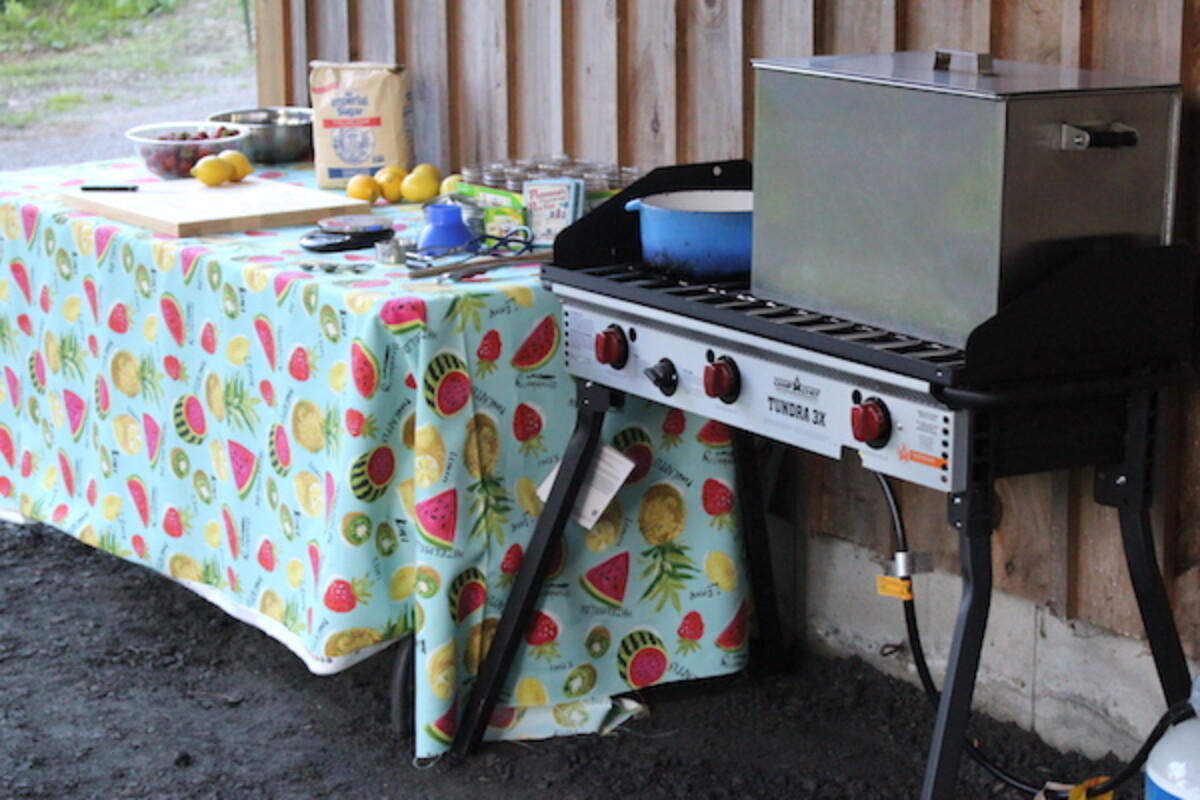
Beyond a steam juicer, it can be helpful to have a burner for outdoor canning in the summer months. We use a three burner camp chef stove, which fits my extra large amish water bath canner, as well as my steam juicer.
I can also make jam on this setup by removing the steam juicer and setting up a heavy bottomed enameled dutch oven in it’s place.
During rain, or the really hot part of the year, I move the whole setup under an overhang so I can process produce regardless of the weather without heating up the house.
Sharp Knives
You’d be amazed how much of a difference a well made, high quality knife can make when you’re preparing food for preserving. I’m a huge fan of Victorinox knives, and that’s all we have in our kitchen.
Their simple paring knife is the perfect size, sharpens easily and maintains a great edge. I also have their butcher knives for meat and filet knife for fish.
Vegetable Peeler (A Good One!)
In most cases, peeling vegetables is absolutely required for canning. When canning potatoes or canning carrots, or really any other root vegetable. It means higher quality canned produce, but the reasoning is more about safety than quality.
Root vegetable peels tend to be contaminated with botulism spores from the soil, so it’s really important to remove those before canning. Proper pressure canning should kill botulism spores, but as an added safety precaution it’s best to remove anything that might have high levels of spores (just in case).
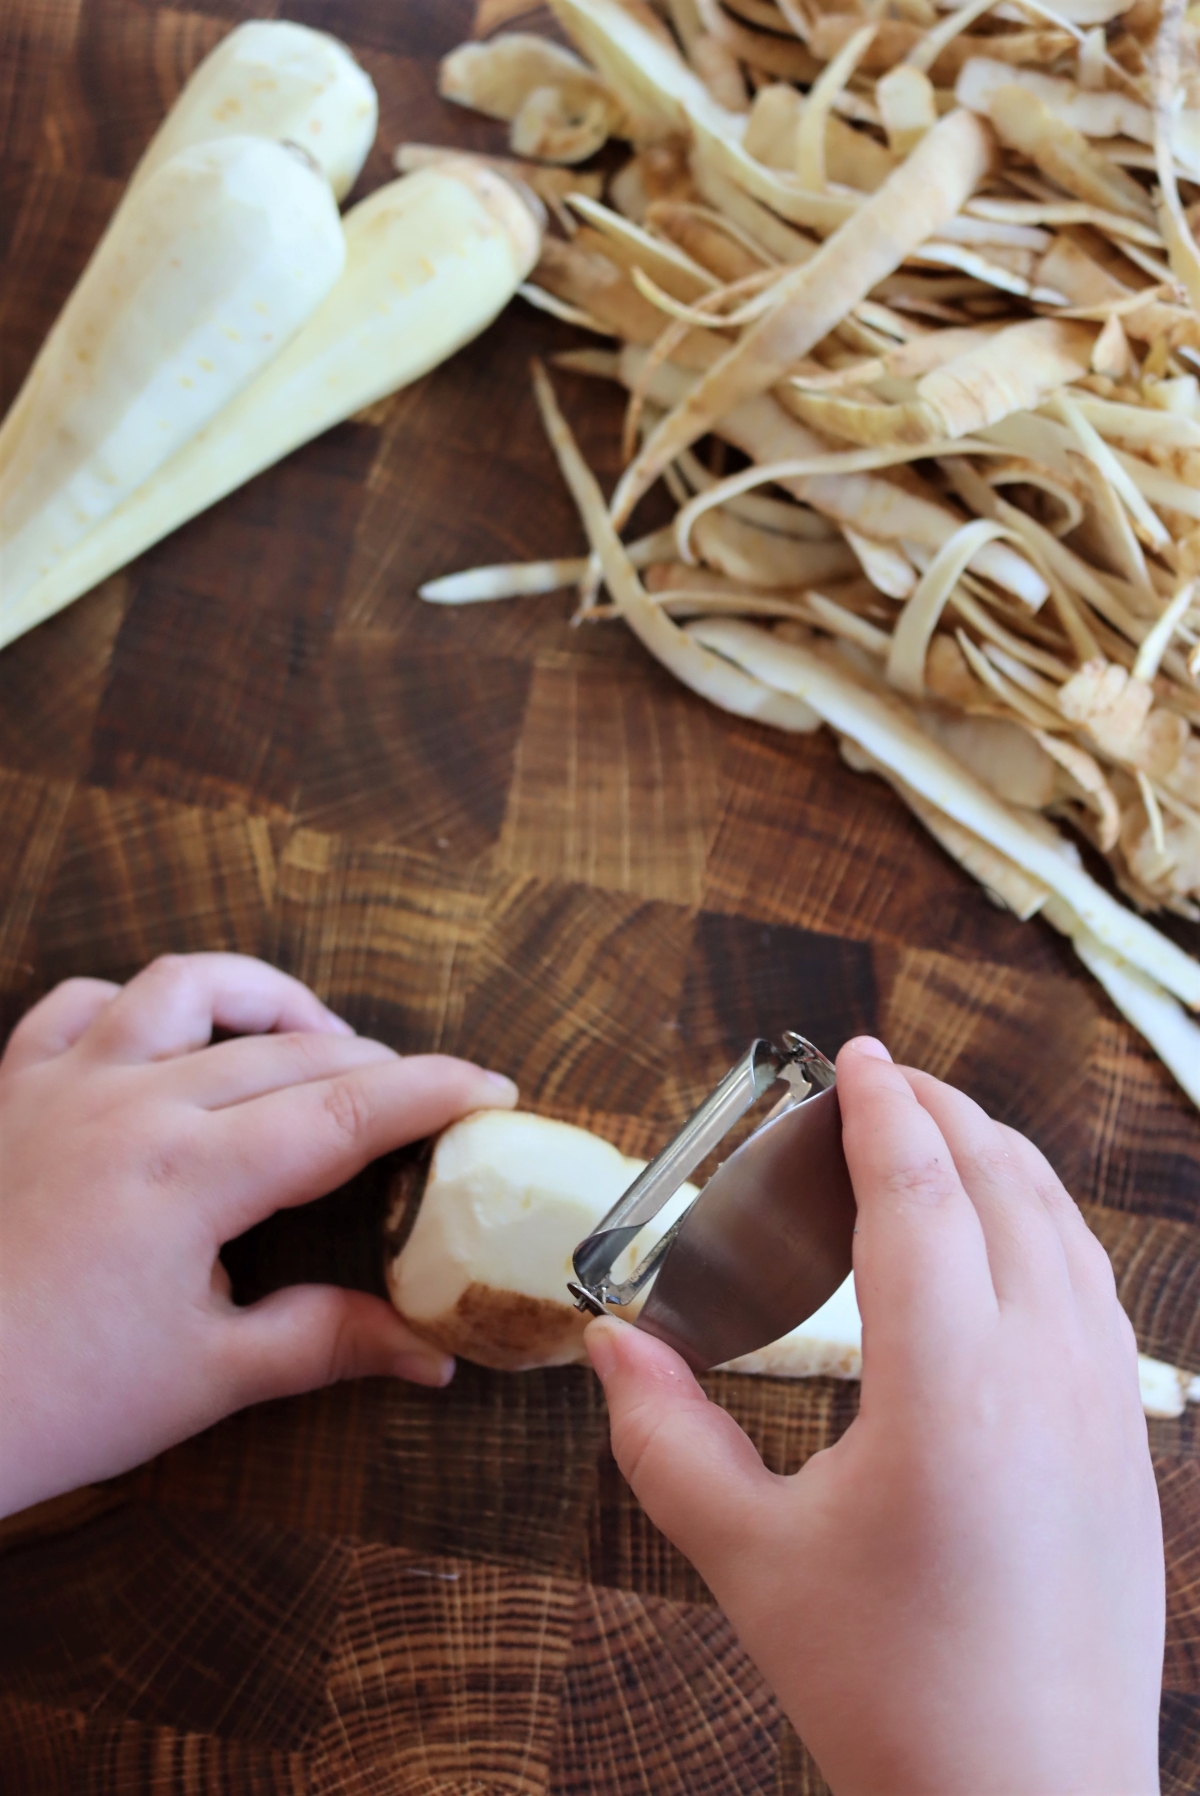
Peeling vegetables works just fine with a sharp paring knife, but you tend to remove a lot of the flesh of the vegetable in the process. I have a really amazing vegetable peeler from Victorinox, the same place that makes all those high quality Swiss Army Knives.
It’s unbelievably sharp, and it peels off tiny ribbons from everything from potatoes to butternut squash, leaving all the vegetable behind and just taking the peel.
Canning Recipes
Once you have all your canning supplies, the last thing you need is canning books (and/or safe canning recipes from online sources). Here are my favorite canning books, but in the meantime these beginner canning recipes will get you off to a great start!
- 12+ Apple Canning Recipes
- 30+ Tomato Canning Recipes
- 30+ Strawberry Canning Recipes
- 12+ Cranberry Canning Recipes
- Zucchini Canning Recipes
If you’re looking for pressure canning recipes, look no further!
- 30+ Meat Canning Recipes
- 50+ Vegetable Canning Recipes
- 50+ Soup Canning Recipes (coming soon)
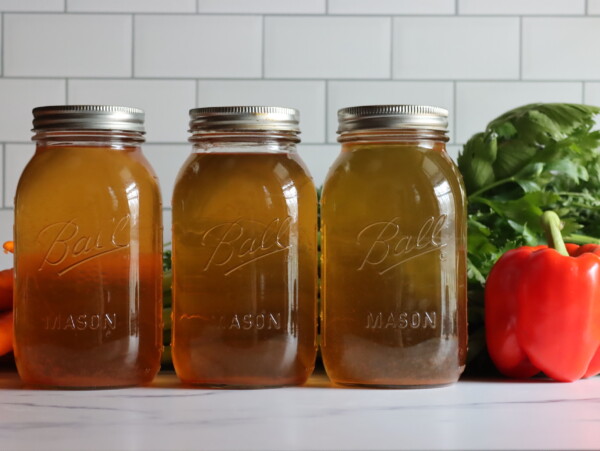
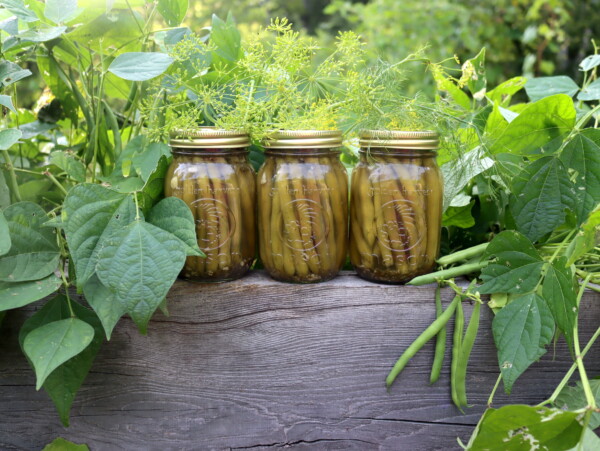
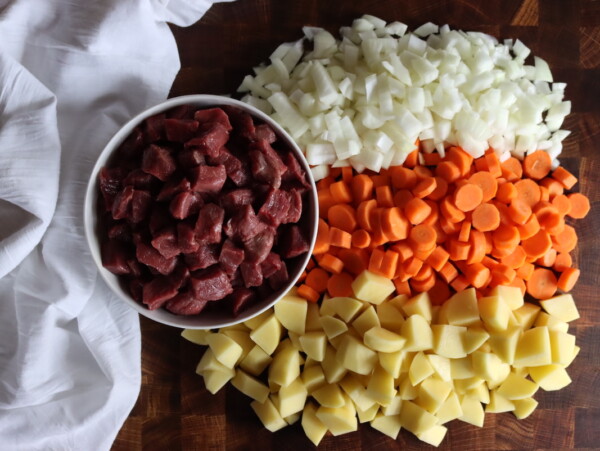


This blog post provides a comprehensive guide to essential canning supplies. It’s a valuable resource for anyone interested in home canning.
I use an All American 941-1/2 Aluminum Pressure canner and often use it for Water bath jar canning. When I use the wire frames to allow for layers of jars, I have trouble reaching the lowest level using standard sized (approx. 8-1/2 Inch long) tongs. Are you aware of a company that might sell longer tongs. I have not been able to find them anywhere online. Thank you!
Here is a pair that I found that might work. https://www.grainger.com/product/5ZPT8?gucid=N:N:PS:Paid:GGL:CSM-2295:4P7A1P:20501231&gclid=Cj0KCQiA37KbBhDgARIsAIzce14UkZQNsZTOLZfFiNFCImxwLeTupxTCJQGbh8uB4LpYCvO5O0yljiEaAtnfEALw_wcB&gclsrc=aw.ds
Thank you for the suggestion! I am not sure that the lifting ends of the tongs will safely grip mason jars, but they are worth exploring.
I have never personally used those but they were the only ones that I was able to find. You would think they would make a longer pair specifically for canning. You’re not the only person with this issue.
FYI- Ball recipe change: FWD: This is balls reply “The 40 minutes was an error that has been corrected for the Roasted Garlic Roma Tomato Sauce. The 1 hour 25 minutes is the corrected time.” How the heck do they mess up on something like this?
Edit: I know I used the exact correct recipe on the ball website. If you look up roasted garlic roma tomato sauce on google, there are so many other websites following this exact recipe and stating it was 40 mins for quarts. Ball changed their process time within the last 2 months (at least on their website) and they really should have a revised date on these. I’ve already ate some of my sauce and I’m not really concerned about it, just more annoyed. I emailed ball directly, as I’d like to know why it was changed.
On Sept 18 I posted a question about the Roasted Garlic Roma Tomato Sauce. The process time was 40 minutes and now it says 1 hour and 25 minutes. Why it is different now? I canned this around Sept 18 with a process time of 40 mins and I’m canning more today. I know it 100 percent said 40 mins, not 1 hour and 25 mins!!
It looks like there are two recipes on the Ball website. One is Basil-Garlic Tomato Sauce which has a processing time of 40 minutes and the Roasted Garlic Roma Tomato Sauce which has a processing time of 1 hour and 25 minutes.