Affiliate disclosure: This post may contain affiliate links. Please see our Privacy Policy.
Canning tomato paste is an easy way to preserve tomatoes using a boiling water canner. Homemade tomato paste is like tomato sauce, but it’s cooked down so it’s far more concentrated. That means it takes up less space in the pantry, but also adds more flavor per spoonful to home cooked meals.
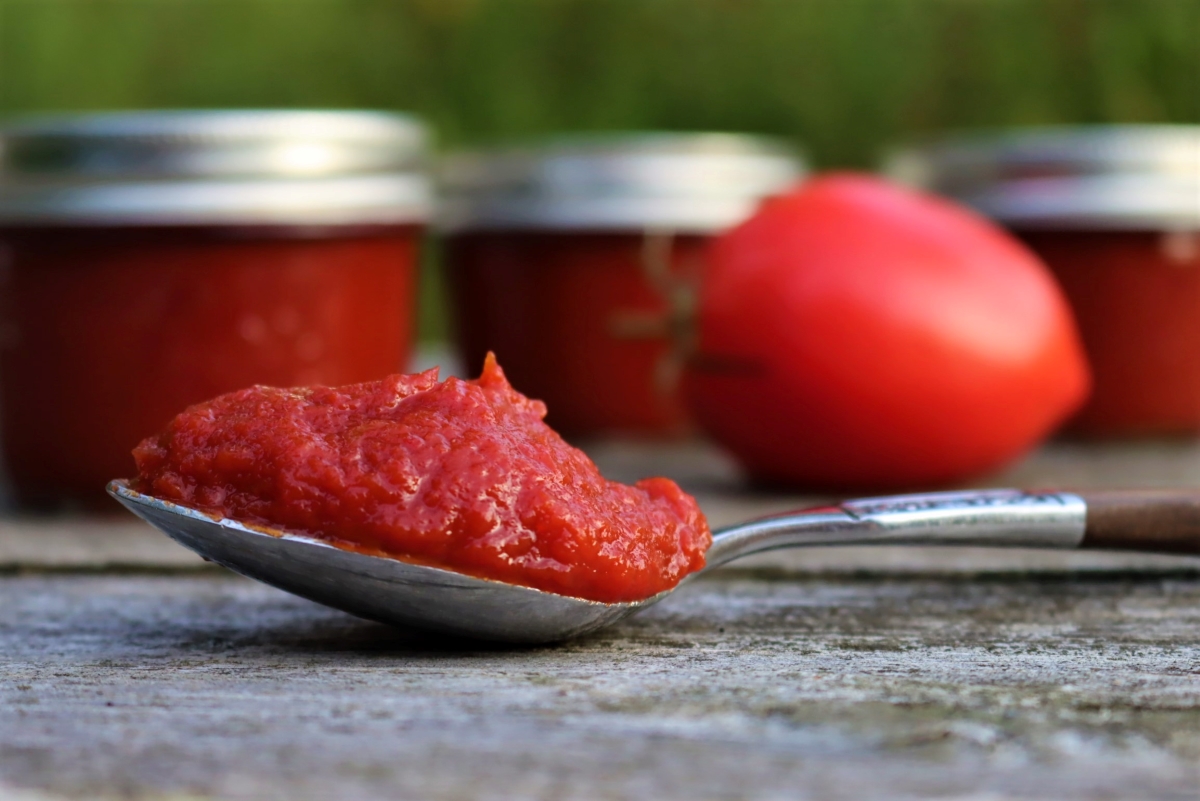
Every year we grow literally hundreds of pounds of tomatoes, and while we eat plenty fresh in season, we’re always looking for efficient ways to preserve tomatoes for winter use.
I’ll can whole tomatoes because they’re easy to put up quickly, but they take up a lot of space on the pantry shelf. Canning tomato sauce is even easier, since you can use a food mill to peel/seed the tomatoes before canning, but you’re still storing a lot of water in each jar.
Tomato paste, on the other hand, is cooked down concentrated tomato flavor and nutrients. A single tablespoon goes a long way to adding rich flavor to just about anything. Since most of the liquid has been removed, it mean’s your adding just flavor (rather than more water you’ll need to cook off later).
It does take a bit more patience and prep work to make tomato paste, but it means quicker meals later on.
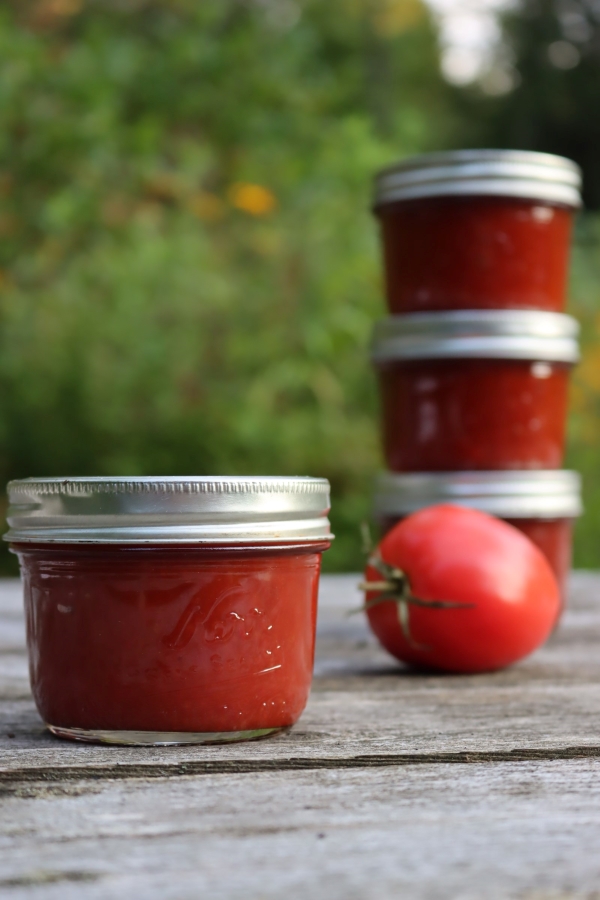
Selecting Tomatoes for Paste
When it comes to making tomato paste, Roma-style tomatoes, which are low moisture and low seed, are best-suited for the job in almost every way. Roma tomatoes have a dense, meaty flesh that melts down into a velvety paste better than any other tomato variety.
The variety of Roma sold in grocery stores are almost always of the Heinz variety, a not-that-flavorful tomato developed by the ketchup company of the same name. That being said, if all you have access to are Heinz tomatoes, by all means use them. You’ll still have a flavorful tomato paste when you’re finished, as the prolonged exposure to heat during the cooking and canning process will bring out any of the fruit’s more subtle sweet notes.
If you have the space to grow your own tomatoes I’d suggest planting a couple of heirloom varieties (there are plenty to choose from, more than you might think!). Once they’ve been harvested, you can have fun playing around with all of their unique flavors and textures. There are many types of Roma tomatoes you can grow, but my all-time favorite varieties are Amish Paste, Hogs Heart and Opalka.
How to Make Tomato Paste
To make tomato paste, you’ll need 14 pounds of Roma- or paste-type tomatoes as well as one teaspoon of citric acid, two bay leaves, one teaspoon of canning or pickling salt, and one whole clove of garlic (the garlic and bay leaves are optional, but give the finished tomato paste some added zest and depth of flavor).
This quantity will yield approximately 8 to 9 half-pint jars, which is the size best-suited for making homemade canned tomato paste. If you use a larger jar, there’s an increased risk that the heat might not permeate the thick paste during the processing stage.
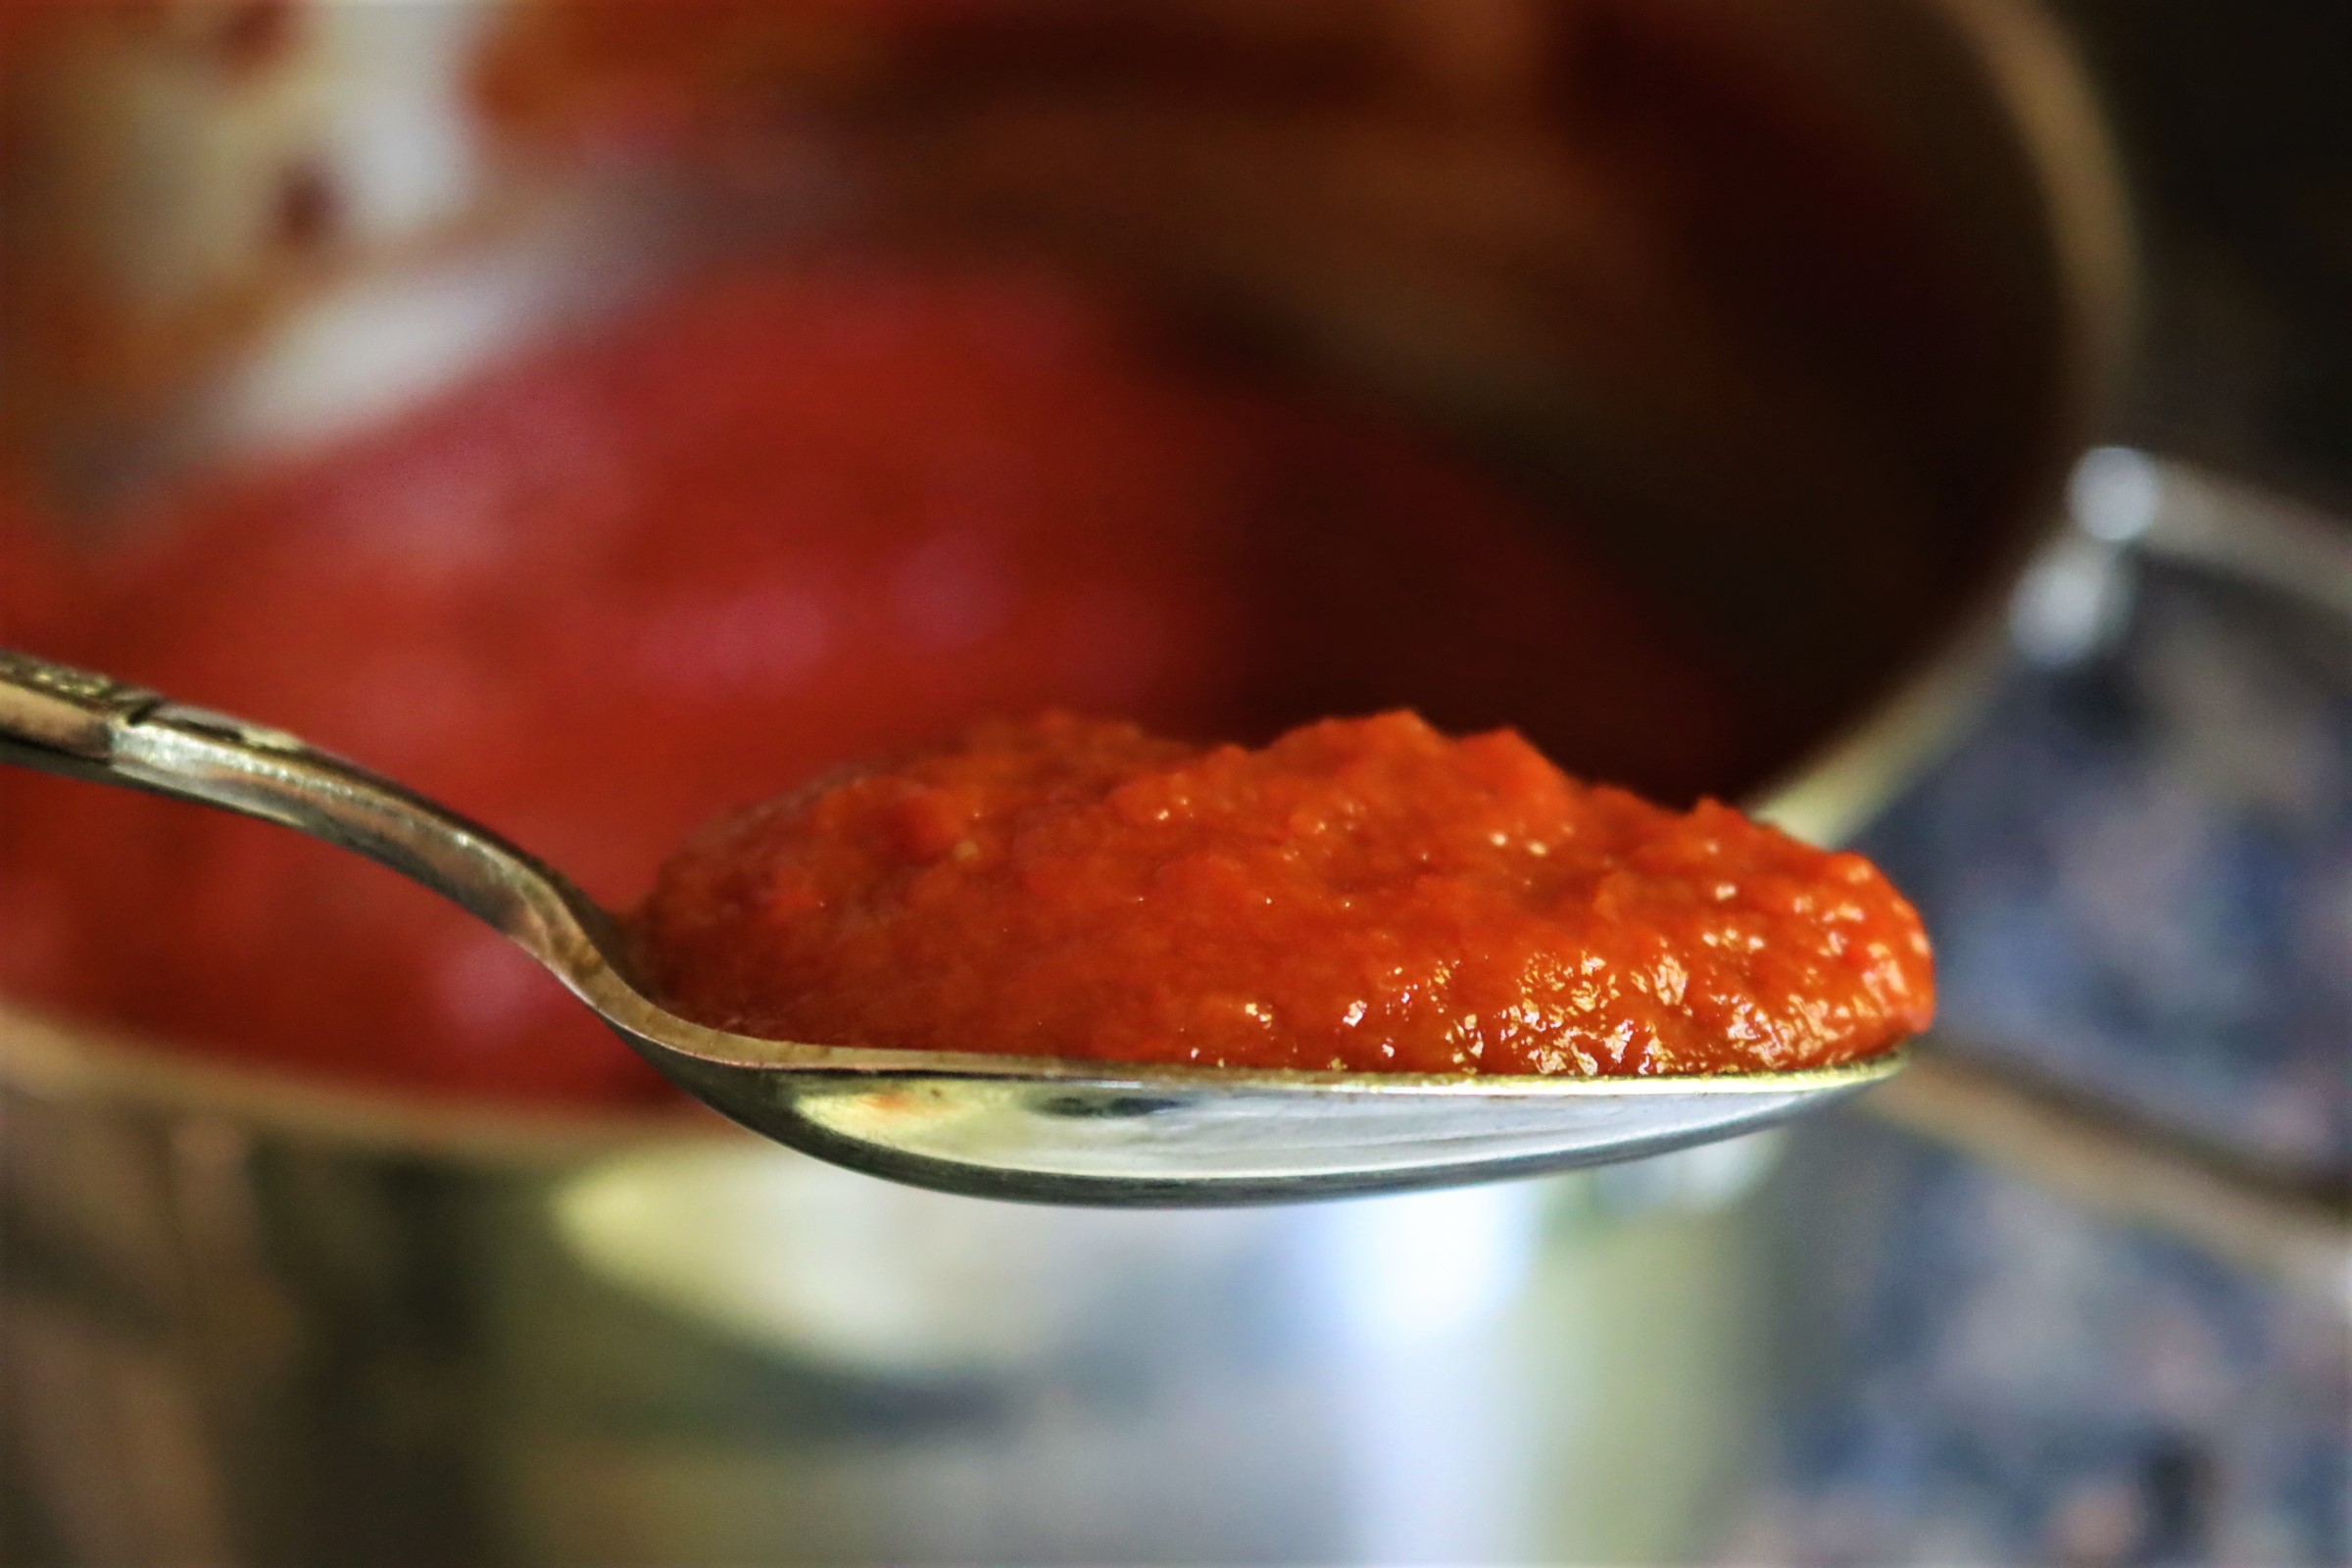
The process for making tomato paste is exactly the same as making tomato sauce, but the sauce is just cooked down further until it is much thicker. A think tomato sauce cooks until it’s been reduced by 1/3, a thick sauce is reduced by 1/2 and tomato paste is reduced by 3/4 or more of the original volume. It’s just cooked until it stands up on a spoon, indicating it’s no longer a sauce and has transitioned to a tomato paste.
Prep the tomatoes by giving them a good wash, removing the stems as you work and trimming away any parts that are bruised or discolored. Don’t worry about removing the skin or seeds at this point if you have access to a large sieve/chinois or food mill.
If you don’t have either piece of equipment, you can peel and seed the tomatoes prior to their being cooked in the sauce by hand. I’ve given detailed instructions on how to go about this as efficiently as possible in my post about canning diced or crushed tomatoes.
Tomato juices separate quickly once a tomato has been cut up, but a technique involving high heat and continuous crushing or mashing prevents this from happening. This next step isn’t strictly necessary, as separated tomato juices are perfectly fine to eat (and are harder to avoid if you’re peeling and seeding by hand), but it does produce a smoother and more cohesive result when you’re making canned tomato paste, sauce, or juice.
Working with about one pound of prepped tomatoes at a time, cut the washed and stemmed fruit into quarters. Add the cut tomatoes directly to the saucepan, crushing the quarters with a potato masher or large spoon over high heat until the tomatoes are boiling. Resist the urge to cut up all the tomatoes ahead of time as the juices will begin to separate almost instantaneously.
Keep repeating this step, boiling and mashing until all of the tomatoes have been incorporated. Stir frequently to avoid burning the tomatoes and the bottom of your saucepan.
Once all of the tomatoes have been added, reduce heat to low and simmer the tomatoes uncovered for one hour or until the volume has reduced by half.
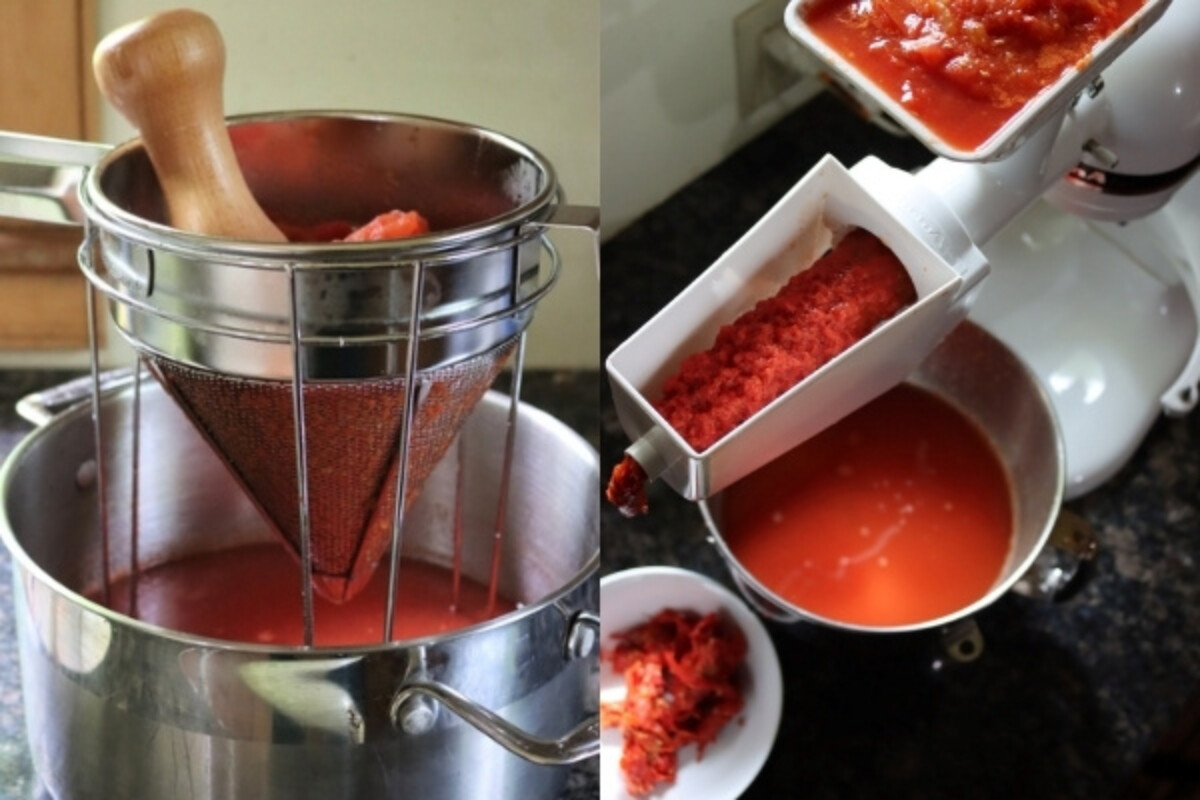
When the crushed tomato mixture has reduced by half its original volume, it’s time to make use of your food mill or large sieve/chinois (if you cored, peeled, and seeded the tomatoes by hand you can skip this next step, continuing to cook for the time outlined below).
I like using the food mill attachment on my Kitchen Aid stand mixer, which makes the process both quick and easy. Whichever piece of equipment you’re using, you’ll want to run the cooked tomatoes through the sieve or food mill to remove the peels and seeds.
While it might be convenient to use a blender or food processor in order to create a smooth paste, resist the urge to go this route. The blades of these appliances create a silky texture, but they’ll also whip unwanted air into the tomato paste, which isn’t something you want when you’re planning on canning the paste later on.
Return the reduced tomato mixture back to the saucepan, adding the citric acid* and stirring until completely incorporated. Stir in the bay leaves, salt, and whole garlic clove if using.
*Adding citric acid to tomatoes prior to canning is an important step, so don’t skip this essential ingredient. While many people assume tomatoes are highly acidic, they’re actually quite close to having a neutral pH. This means that citric acid, needs to be added so the tomatoes are acidic enough to be processed in a boiling water canner. White vinegar is also a last-minute possibility but I’d strongly advise not using it for tomato acidification as it will make the tomato paste taste pickled and vinegary.
I usually recommend adding the citric acid directly to the unfilled jars before filling with sauce, but because tomato paste is so much thicker it’s advisable to add it directly to the paste as it cooks so it becomes fully incorporated.
According to the NCHFP, “The citric acid in this recipe needs to be added into the sieved tomatoes before they are cooked down into paste. Adding it to the jars, as with other canned tomato products, does not allow for adequate distribution of the acid throughout the product. The ratio of citric acid to pounds of tomatoes must be kept consistent.”
Most tomato products have the option of adding lemon juice for added acidity, but tomato paste has only been tested with citric acid. In general, 1 teaspoon of citric acid is equal to 1/4 cup of bottled lemon juice and that’s often an acceptable substitute in canning recipes. This particular one makes no mention of using lemon juice, and only provides instructions using citric acid.
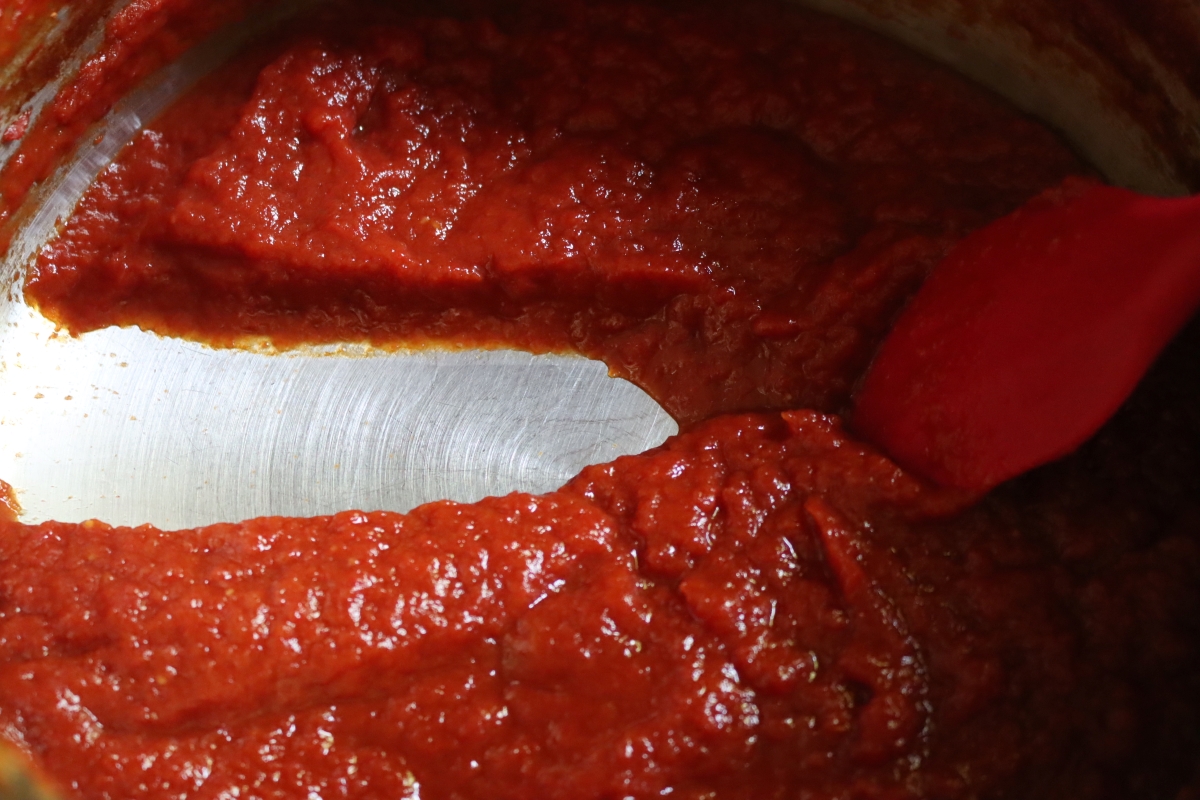
Continue to cook the tomato paste over medium heat, uncovered, until the paste is thick enough to round up on a spoon. Look for telltale signs that the tomatoes are almost finished cooking; the boiling hot paste should “trace” or part like the Red Sea when a spoon is dragged though it, not filling in even when the spoon is removed.
The paste usually takes about 2 and 1/2 hours to fully reduce, just make sure to stir it frequently (and more often towards the end) to prevent the paste from burning or sticking to the bottom of the saucepan. Be careful of accidental burns from spattering tomato paste (and definitely avoid wearing white or light-colored clothing to avoid spatter-related stains).
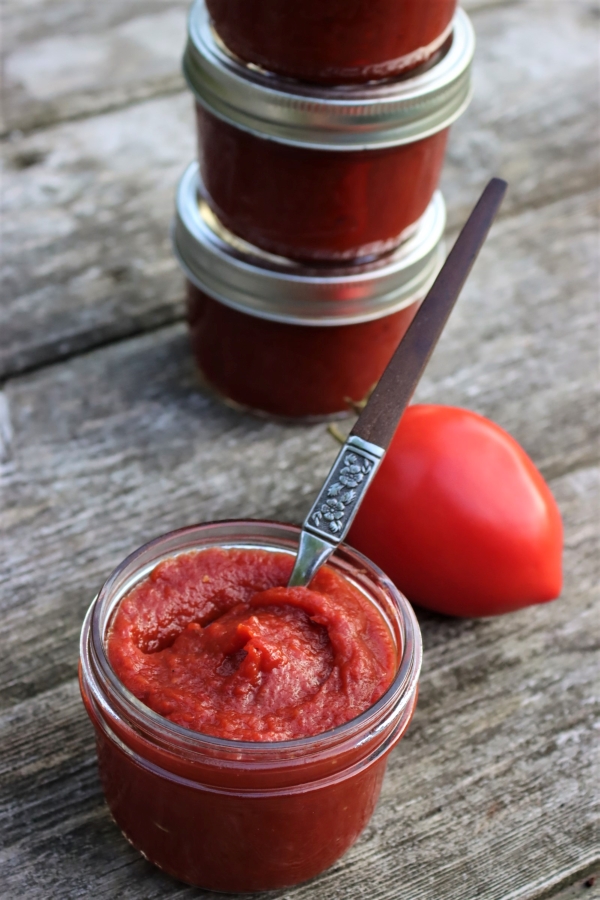
When the tomato paste has finished reducing, and while it’s still hot, the next step is to get it ready for canning in a boiling water canner.
Canning Tomato Paste
Prepare a boiling water canner, 8 or 9 half-pint canning jars, and two-part lids. If you’re new to water bath canning, you can learn everything you need to know about the process over on my post, the Beginner’s Guide to Water Bath Canning.
This tomato paste recipe hasn’t been tested for processing in a pressure canner, so I strongly suggest sticking to the boiling water canner method outlined in this section.
Tomato paste is very thick, which makes it more difficult for heat to penetrate the contents of the entire jar. For this reason, I always use half-pint jars, which have been repeatedly tested for their efficacy when it comes to producing consistent food-safe results.
Before the tomato paste is distributed among the jars, remove the bay leaves and whole garlic clove.
Carefully distribute the hot tomato paste among the jars, leaving 1/2-inch of headspace.
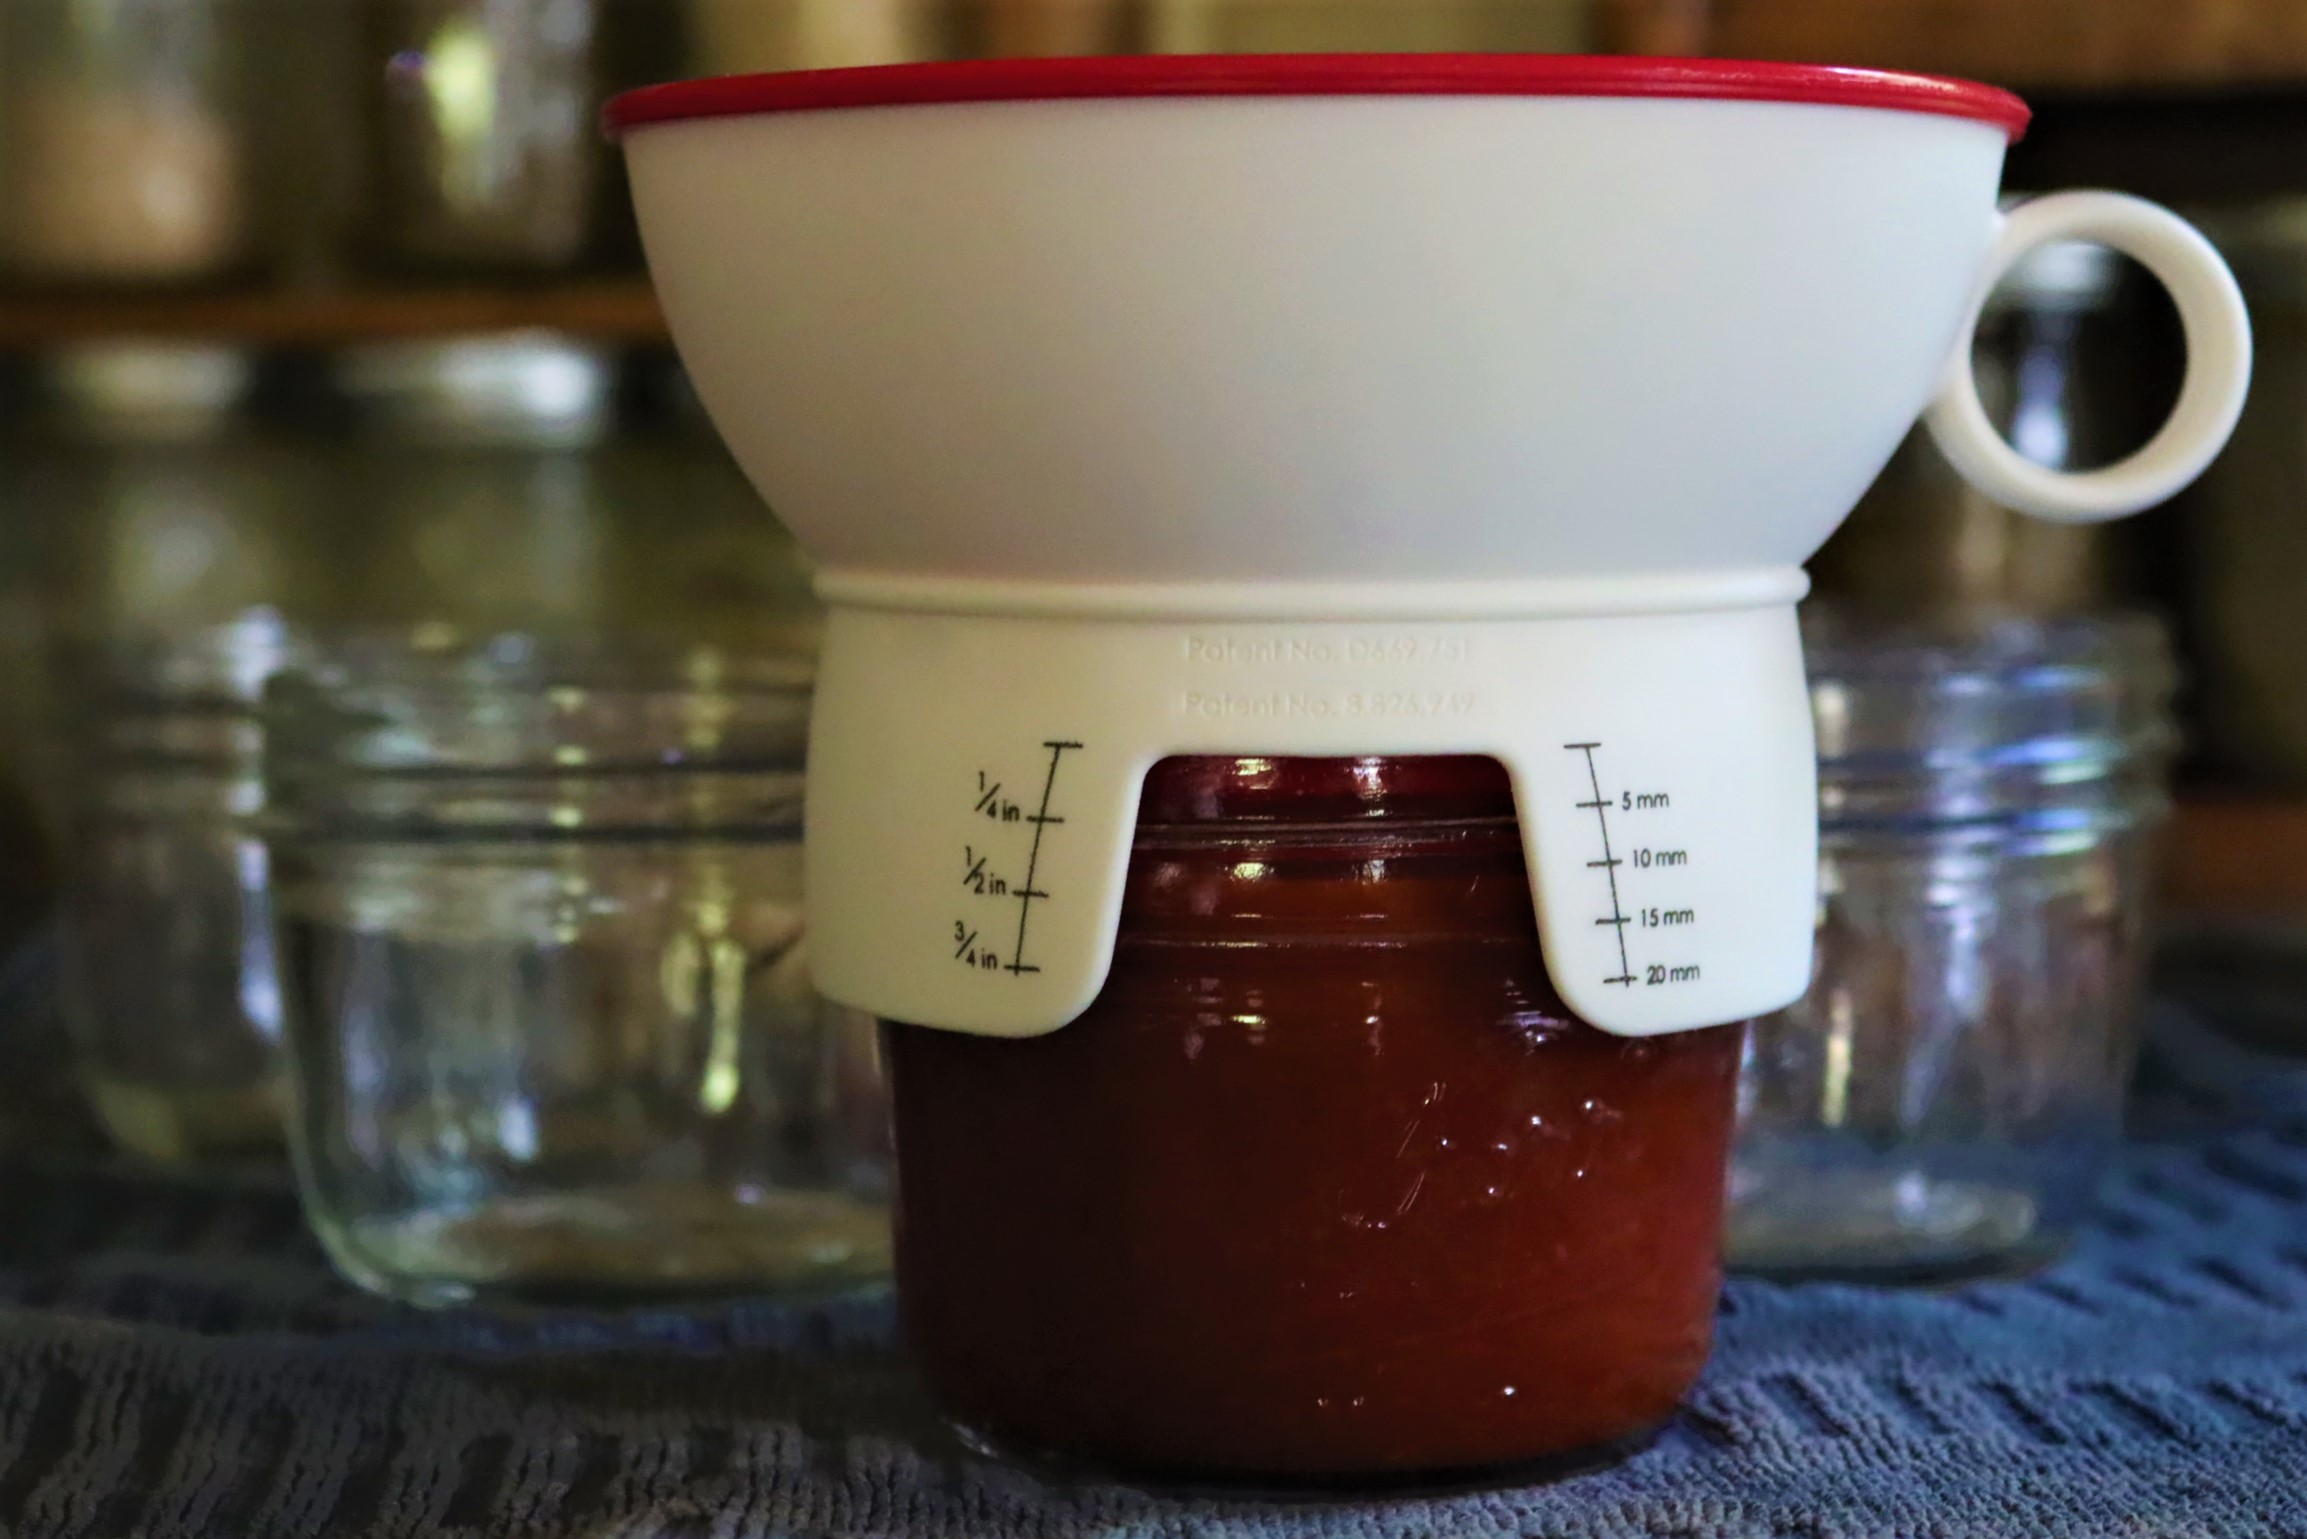
As with any kind of canning project, the jars should also be hot in order to prevent accidental thermal shock.
Remove any remaining air bubbles by sliding a nonmetallic spatula, plastic knife, or wooden chopstick inside the jar between the tomato paste and the side of the jar. Wipe the jars carefully with a dampened, clean paper towel and apply the prepared canning lids.
The lids should be tightened until they’re fingertip tight (which means that once the ring stops turning easily, it’s tight enough). Don’t screw on the rings tightly, and don’t adjust them after the tomato paste has been processed.
Process the filled jars in a boiling water canner for the time indicated below, anywhere from 45 to 60 minutes depending on altitude. I’ve included a chart with canning times below for reference:

Turn off the heat and let the processed jars sit in the hot water for another 5 minutes before carefully removing with a jar lifter. Place the jars on a cooling rack or a clean towel, leaving at least 1 inch of space around each jar. Avoid cold surfaces and cool drafts to prevent glass breakage due to thermal shock.
Give the jars at least 12 hours and up to 24 hours to reach room temperature and then test to make sure the jars are properly sealed.
To test the seal, gently press down on the lid: if it pops downward and then back up the jar isn’t sealed properly sealed. Unsealed jars of tomato paste should be moved to the refrigerator and used first.
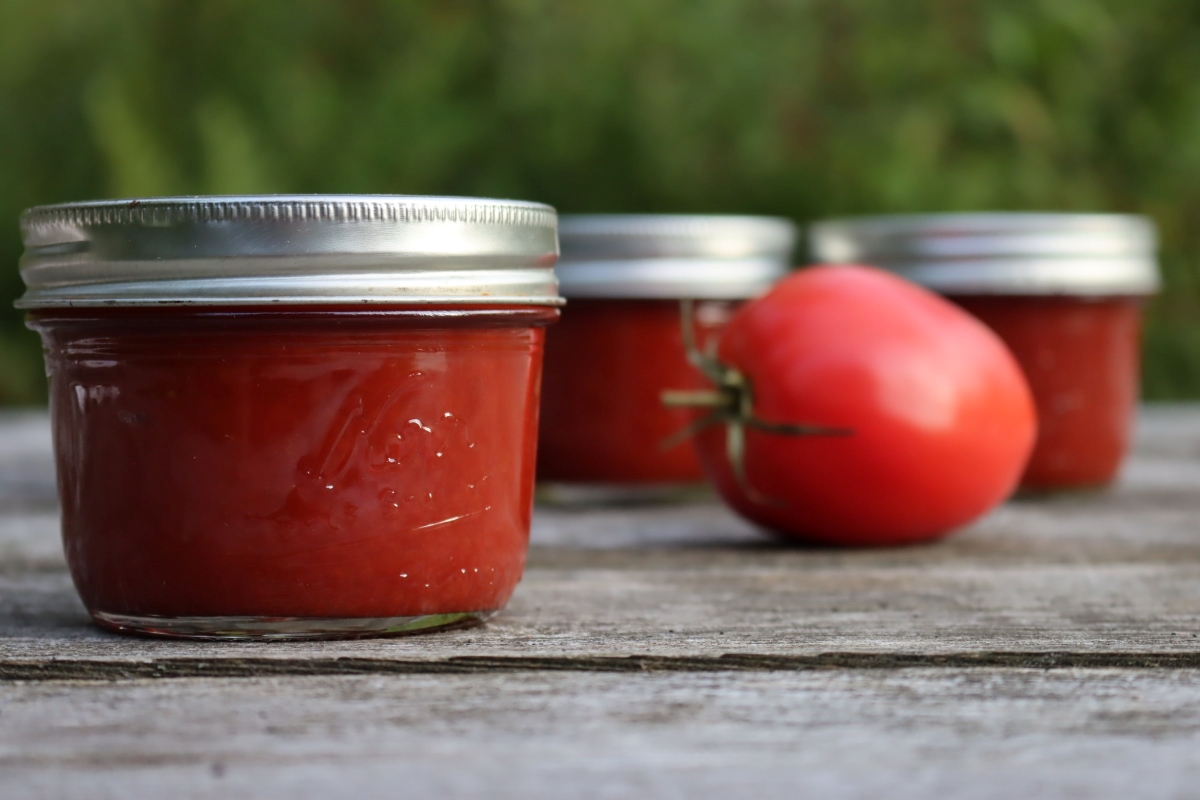
If the lid doesn’t budge, the canning process has worked and the jars are properly sealed. Remove the rings, label the jars with the contents and processing date, and store canned tomato paste in a cool, dark, and dry place.
Tomato Canning Recipes
Need a few more tomato canning recipes?
- Canning Tomato Sauce (Plain or Seasoned)
- Canning Tomatoes (Whole or Halves)
- Canning Diced or Crushed Tomatoes
Canning Tomato Paste
Equipment
Ingredients
- 14 lbs. Tomatoes, Roma or Paste Type
- 1 tsp. citric acid, mandatory
- 2 large bay leaves
- 1 tsp. canning salt
- 1 clove garlic, optional
Instructions
- Wash, remove stems, and trim tomatoes of any bruised or discoloured parts.
- Working quickly and with 1 lb. of tomatoes at a time, quarter the tomatoes and place in a large saucepan.
- Bring the tomatoes to a boil as you crush them with a potato masher or large spoon.
- Continue adding the quartered tomatoes, cutting them up as you work.
- Keep mashing the tomatoes over high heat until all pieces have been added.
- Let the tomatoes simmer for 1 hour, stirring as needed to prevent the tomatoes from burning or sticking to the bottom of the saucepan.
- Transfer the thickened, crushed tomatoes to a food mill or sieve and remove skins and seeds.
- Return the tomatoes back to the saucepan. Add the citric acid and stir until completely combined with the crushed tomatoes.
- Add up to 1 teaspoon of pickling salt, the bay leaves, and garlic clove (if using).
- Continue to cook the tomatoes over medium heat, stirring frequently, for another 2 1/2 hours (or until the tomato mixture has been reduced by half).
- As the tomato paste thickens, prepare a boiling water canner, 2-part lids, and half-pint jars.
- When the tomato paste has reduced by half, distribute the hot tomato paste among the heated jars, leaving 1/2-inch headspace.
- Seal each jar with 2-part lids and process in a water bath canner for 45 minutes, adjusting the time as needed depending on the altitude.
- Turn off the heat and give the processed jars 5 minutes to acclimatize before transferring them to a clean towel (use a jar lifter if you one). This extra 5 minutes allows them to cool slightly before they're removed from the canner, and helps prevent siphoning.
- Arrange the jars lid-side up, without touching, and let them sit for 12 to 24 hours at room temperature.
- Remove the rings and check to make sure the lids are sealed. Move any unsealed jars to the fridge.
- Label jars with the date and contents. Properly canned and sealed jars should maintain quality on the pantry shelf for 12-18 months. Store in the refrigerator once opened.
Notes
Altitude Adjustments
Processing times for higher altitudes are as follows:- 45 minutes for altitudes below 1,000 feet
- 50 minutes for altitudes of 1,001 to 3,000 feet
- 55 minutes for altitudes of 3,001 to 6,000 feet
- 60 minutes for altitudes of 6,001 feet and higher
Acidifying Tomato Paste for Canning
According to the NCHFP, “The citric acid in this recipe needs to be added into the sieved tomatoes before they are cooked down into paste. Adding it to the jars, as with other canned tomato products, does not allow for adequate distribution of the acid throughout the product. The ratio of citric acid to pounds of tomatoes must be kept consistent.” Most tomato products have the option of adding lemon juice for added acidity, but tomato paste has only been tested with citric acid. In general, 1 teaspoon of citric acid is equal to 1/4 cup of bottled lemon juice and that’s often an acceptable substitute in canning recipes. This particular one makes no mention of using lemon juice, and only provides instructions using citric acid.Nutrition
Nutrition information is automatically calculated, so should only be used as an approximation.
Summer Canning Recipes
Want to keep that canner running all summer long?
Water Bath Canning Recipes
Need a few more easy water bath canning recipes to fill your canner all year round?
- Canning Whole Blackberries
- How to Can Apricots (from Melissa K Norris)
- Canning Tomatillos


You can absolutely use lemon juice. 1 1/2 tsp. for 250 ml jar. This comes for Bernardin’s website.
I’m really interested in trying this recipe. I was gifted a lot of tomatoes and already separated the skins and seeds from the juice. I can only measure the tomatoes by cups (not pounds like your original recipe). Could you help me determine a safe cup of tomato juice to citric acid ratio? Thank you!
That’s a tricky one! At least according to the national center for food preservation’s recipe for tomato juice, here’s the conversion of pounds fresh to juice:
“An average of 23 pounds is needed per canner load of 7 quarts, or an average of 14 pounds per canner load of 9 pints. A bushel weighs 53 pounds and yields 15 to 18 quarts of juice – an average of 3¼ pounds per quart.”
To add lemon juice to the pot, how do u know how much to add unless u add to each jar?
This particular recipe isn’t tested for use with lemon juice, only citric acid crystals.
According to the NCHFP, “The citric acid in this recipe needs to be added into the sieved tomatoes before they are cooked down into paste. Adding it to the jars, as with other canned tomato products, does not allow for adequate distribution of the acid throughout the product. The ratio of citric acid to pounds of tomatoes must be kept consistent.”
You’re acidifying the whole pot rather than individual jars, simply because tomato paste is so thick that it won’t incorporate into the paste during canning. It has to be added before it gets thick.
Most tomato products have the option of adding lemon juice for added acidity, but tomato paste has only been tested with citric acid. In general, 1 teaspoon of citric acid is equal to 1/4 cup of bottled lemon juice and that’s often an acceptable substitute in canning recipes. This particular one makes no mention of using lemon juice, and only provides instructions using citric acid.
This is a great recipe. I’ve used it in prior years with Roma or San Marzano tomatoes. This year I am growing cherry tomatoes and have a lot of them. Could I use cherry tomatoes to make paste? If not what is the best way you have found to use them? Thank you.
Yes, you can definitely use cherry tomatoes to make paste, it’ll just take more cooking to get them down to the right consistency. Your yield will be lower than working with the meaty tomato types, but it still works. We harvest cherry tomatoes by the 5 gallon bucket full in the summer when they really get going, and usually I start by roasting them all on a tray to dry them out a bit. After that, I put them through a food mill to get out the skins and seeds and I usually can them up as a sauce at that point, but there’s no reason you can’t do a paste. Enjoy!
Would love to try your recipe! since I don’t use tomato paste often. Can I safely can in 4oz jars instead of 8oz.?
Yes, you can always safely can a recipe using the same processing time with smaller jars but you just don’t want to go bigger without a tested recipe.
If adding lemon juice do you still add at the same spot in the recipe as the citric acid, or into each jar…?
It’s a good idea to add it to the paste as it cooks because of the thickness of the paste.
Hi,
I freeze all my tomatoes until I’m ready to can them.
Just wondering if using the tomatoes from the freezer would work for this?
Or will it just take longer to process them for them to reduce down for the thickness, because they will have more juice.
Cathy
Yes, frozen tomatoes will work just fine.
Making this as I type! The garlic clove fell apart, I am trying to pick out the pieces. OK to jar with pieces of the garlic in the paste? Will be using 1/4 pints. Love your site! Just made your peach jam yesterday, next up is your tomato jam!
If it’s just a small amount then it should be fine.
How long does an opened jar after canning last in the refrigerator? A half pint is still a lot for just the two of us.
It won’t last a super long time. I usually portion it out and freeze any leftover amount that I won’t use in the next few weeks.
I will usually freeze the rest in an ice cube tray as the cubes equal 1 tbsp each.
Inot sure what I did wrong, but when I was done putting it through the seive it was very watery. What can I do to correct this
Did you return the tomatoes back to the pan to continue cooking after putting it through the sieve?
I thought that as long as the ingredients that you are canning is above 212° and the canning jars are sterile. No water bath is needed is this true?
Many people do can things this way and you will get a sealed jar but the recommended method is water bath canning.