Affiliate disclosure: This post may contain affiliate links. Please see our Privacy Policy.
Lacto-Fermentation is a centuries-old technique for both preserving food, and increasing its nutritional value and digestibility. Learn how to make your own fermented vegetables at home with just a few simple ingredients.
You’re probably aware of the many health benefits of eating fermented foods, but did you know how easy it is to make your own fermented vegetables at home?
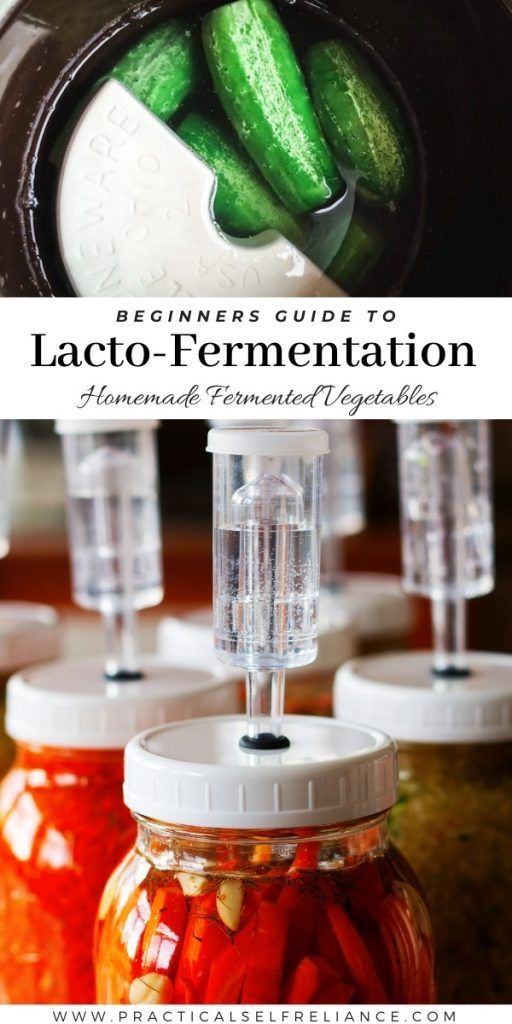
To make fermented vegetables, the only pieces of equipment you’ll need are a mason jar and a container for making a two-ingredient brine (water plus salt, that’s it!).
The hard part is choosing which vegetable to ferment, but fortunately, the method is so forgiving you’ll have room to experiment with as many veggies as you’d like.
What is lacto-fermentation and how does it preserve food?
At its core, lacto-fermentation is a process where certain types of bacteria (lacto-bacillus) are intentionally promoted through careful stewardship. The addition of salt to raw vegetables, which already have natural lactobacillus on their surfaces, prevents spoilage while promoting salt-loving lactic acid bacteria.
This bacteria, called Lactobacillus, turn the naturally-occurring sugars within vegetables into lactic acid which then helps to preserve vegetables (while also giving them their signature funky, fermented flavor).
When the fermentation process is complete, the foods are both salty and acidic, which is basically a one-two punch for preventing food spoilage.
Many different foods are lacto-fermented, including coffee, chocolate, soy sauce, sauerkraut, and salami. The easiest lacto-fermented foods to make at home are fermented vegetables, and that’s where we’ll focus.
Best vegetables for fermenting
Almost any type of vegetable is well-suited to the fermentation process, but the following vegetables truly shine when they’ve been fermented:
- Whole Pickling Cucumbers
- Green Beans
- Carrots
- Peppers
- Asparagus
- Cauliflower
- Beets
When it comes to fermenting vegetables, almost any type is fair game.
Be aware that some veggies that have a high water content, such as sliced cucumber and summer squash, will still taste good but the texture will be much softer.
To counteract this effect, you can steep black tea bags, grape leaves, or other tannin-rich ingredients with the vegetables (or check out this helpful list of natural tannin sources for more options).
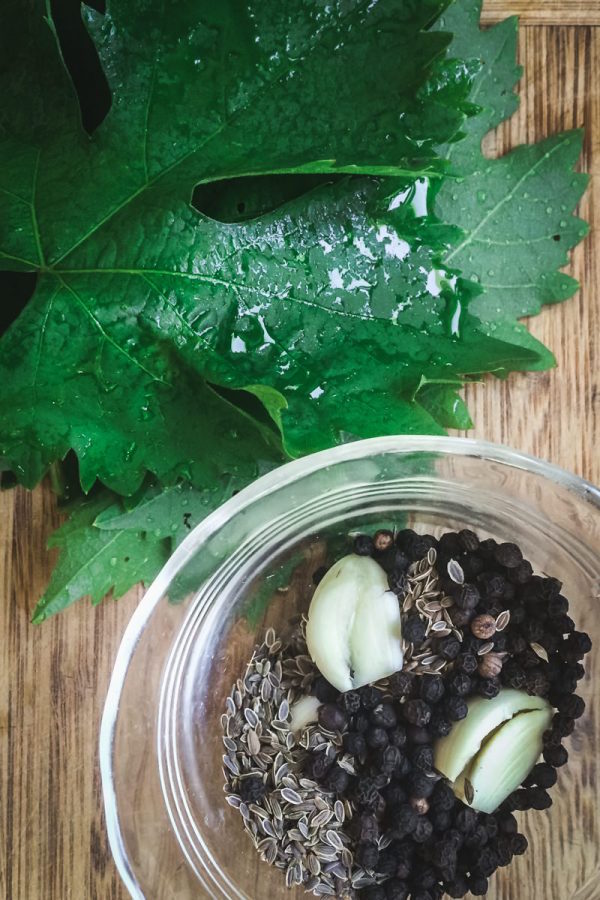
Omitting this step will still produce a tasty end result, but I’ve found that even naturally crispy vegetables benefit in terms of bite and texture when it’s included.
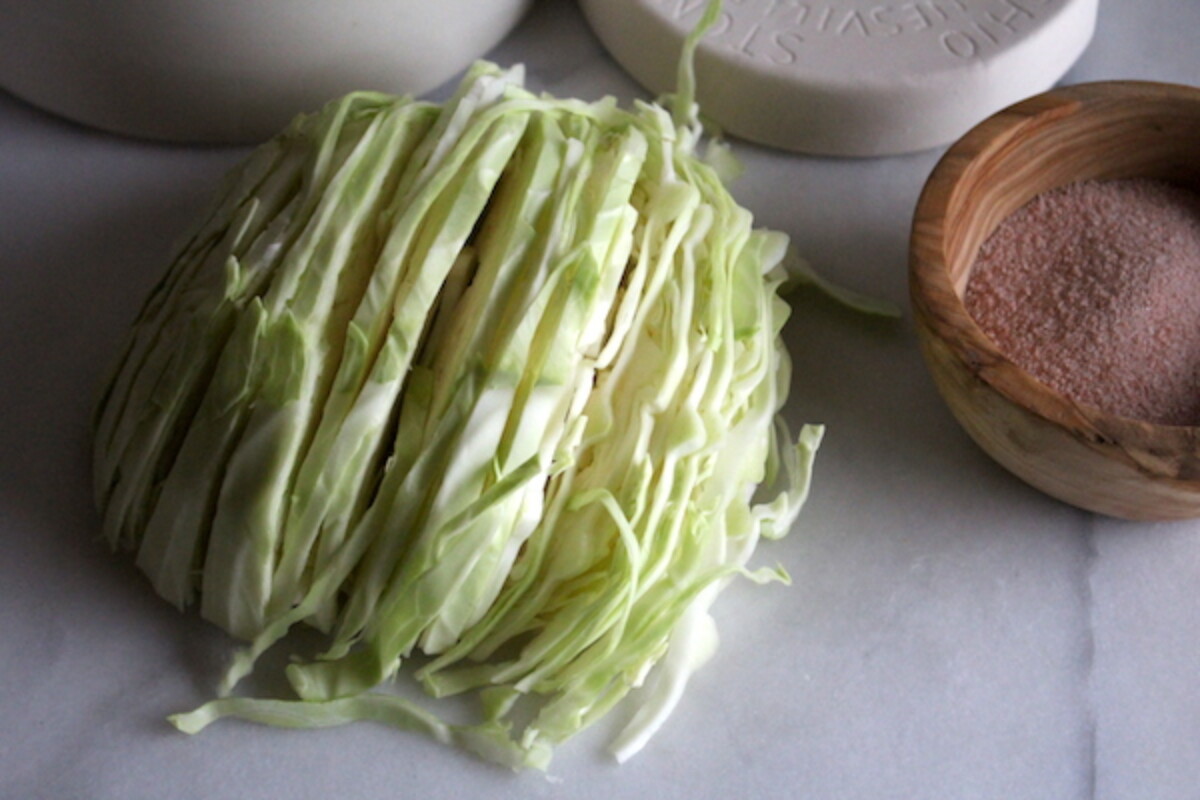
Shredded cabbage, the main ingredient in classic fermented recipes for homemade sauerkraut and kimchi, is already so high in moisture that it doesn’t need to be covered in brine. Instead, cabbage and other hardy greens are able to generate their own brine after a liberal application of salt, which helps to draw out moisture.

Equipment for making fermented vegetables
The list of necessary equipment for making fermented vegetables is short, but there’s plenty of optional equipment that can make the process easier and more dependable.
Keep in mind, humans have been fermenting vegetables for millennia to both preserve them and increase their nutritional content, long before the advent of stainless steel, mason jars, and fermentation kits.
Fermentation Vessel
This can be any non-reactive container that’s used to hold the ferment. These days, it’s often a mason jar because they’re readily available and easy to clean. Historically, it would have been something like a glazed fermentation crock, and those are still available for purchase today as well.
Using a fermenting crock has its own specific process, and you can read about it in this tutorial on making sauerkraut in a crock. The process is similar for just about any vegetable.
Fermentation Weight
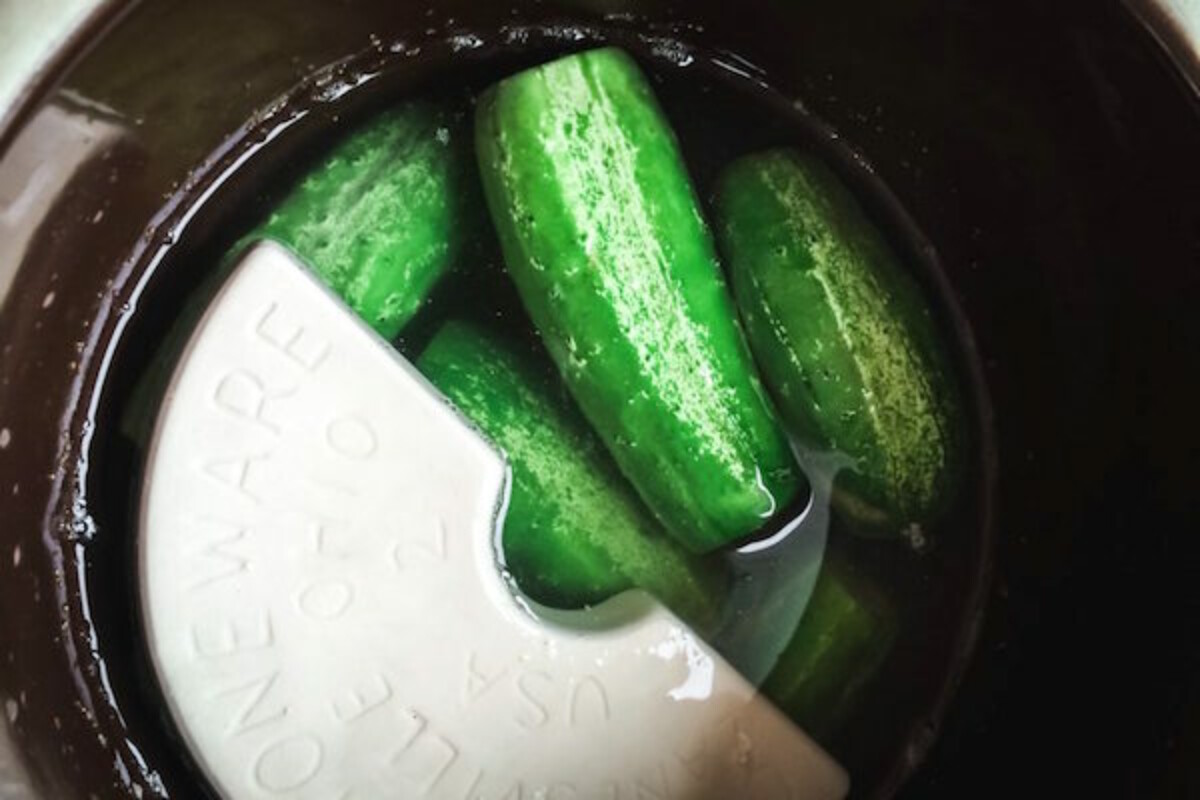
More or less anything can be used as a fermentation weight, provided it’s clean, not absorbent, and not reactive. It’s just simply a weight used to press the vegetables down and keep them below the water line during the fermentation process.
Historically, it would have been something like a rock or pottery plate. These days, there are a number of commercial options including:
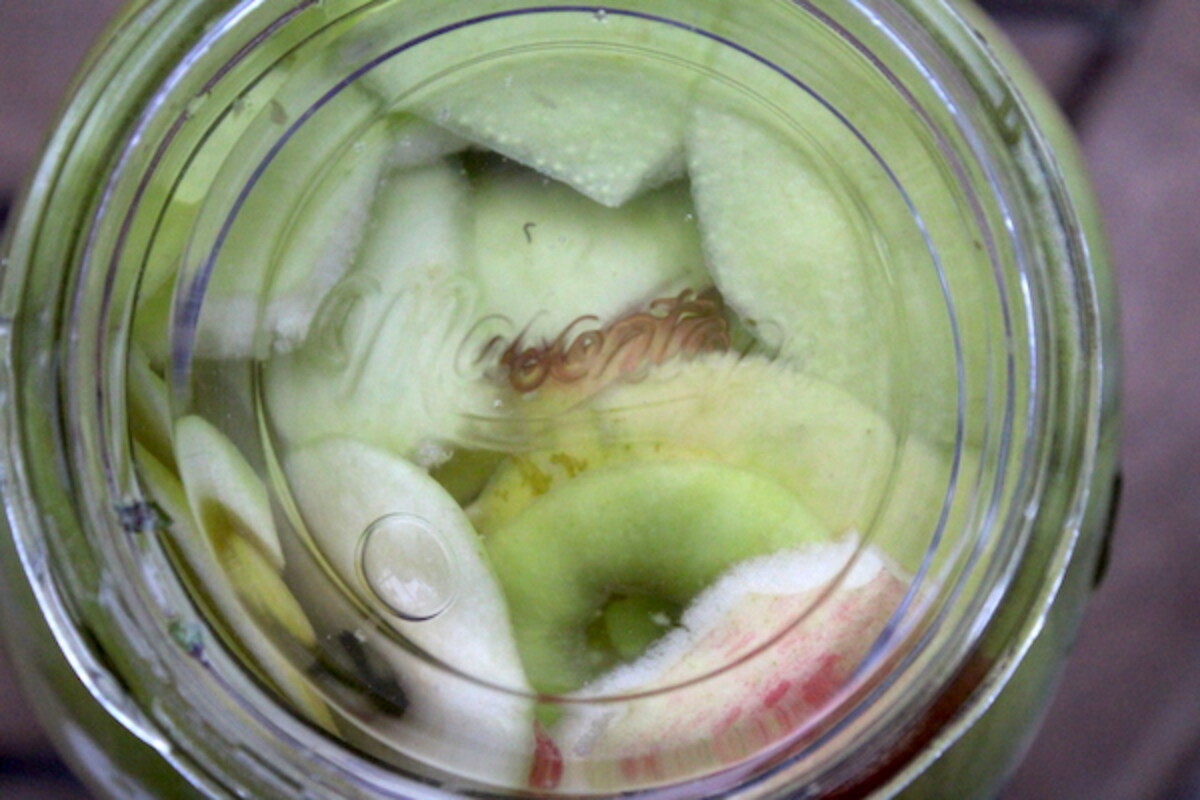
- Glass Fermentation Weights that fit neatly inside mason jars
- Spring Fermentation Weights that press the contents down as they press against the lid
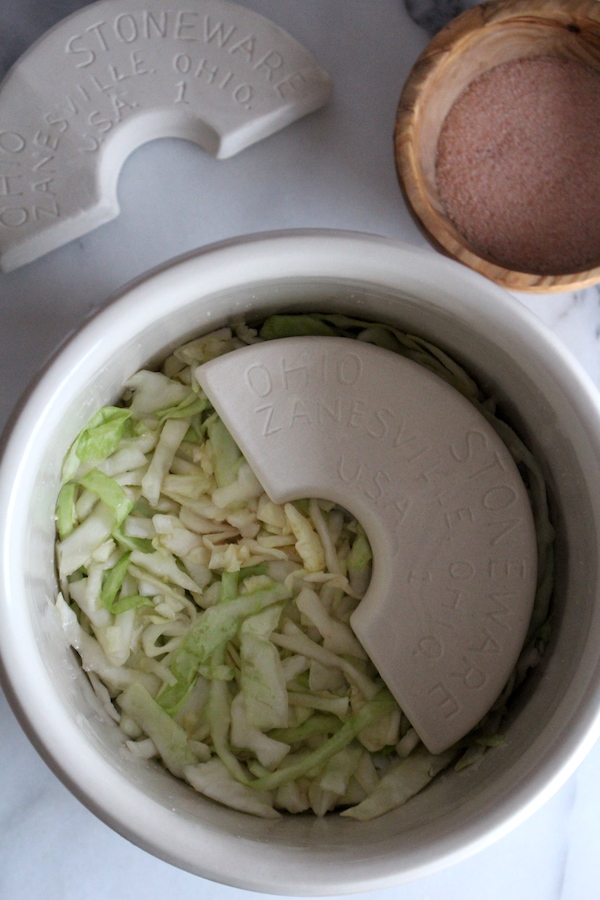
- Stoneware Crock Weights usually used with fermentation crocks
You can also improvise! Try using a small plate with something heavy placed on the top (like a jar of water). Some fermenters will also use a ziplock bag full of water (or brine) and stuff it into the top of the fermentation vessel to hold the veggies down.
Fermentation Air Lock
All you really need is a fermentation vessel and a weight, and that can be improvised with a kitchen bowl and Ziploc bag filled with water.
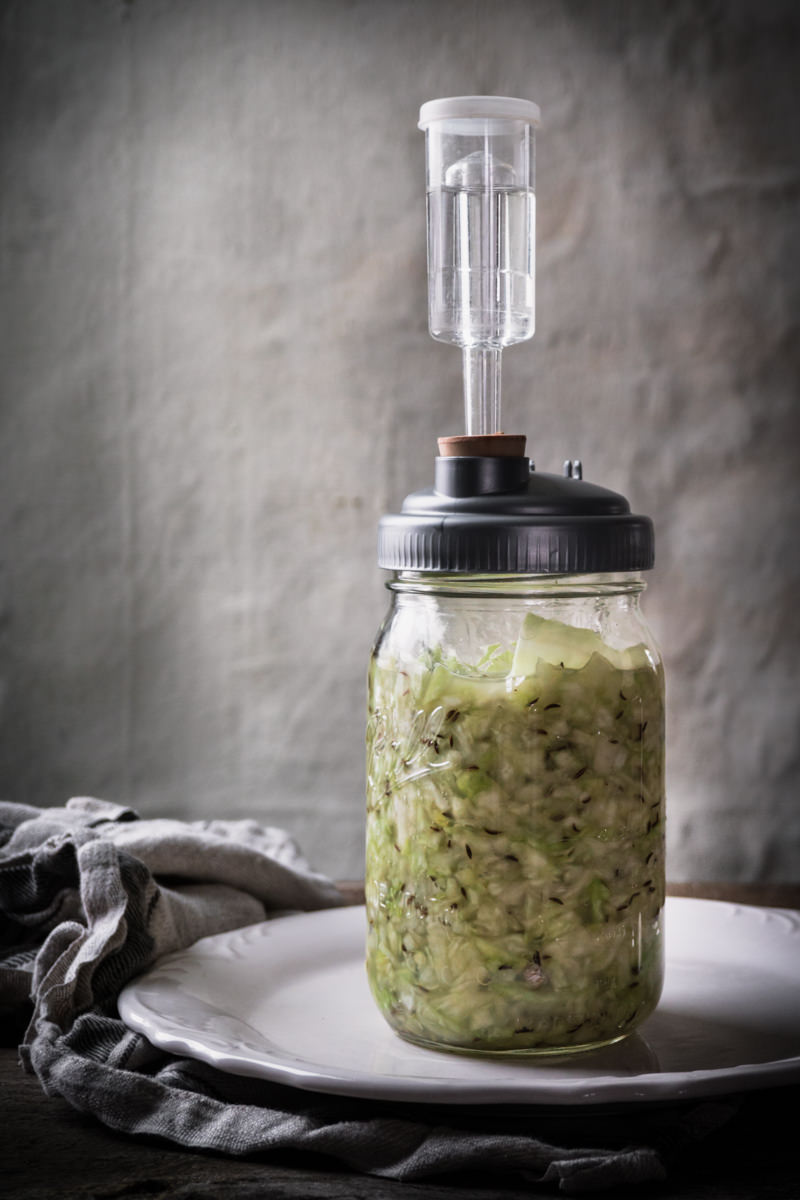
That said, many people opt to use an airlock for fermentation. It’ll help you control the process a bit better, and some people think it’ll yield more consistent results.
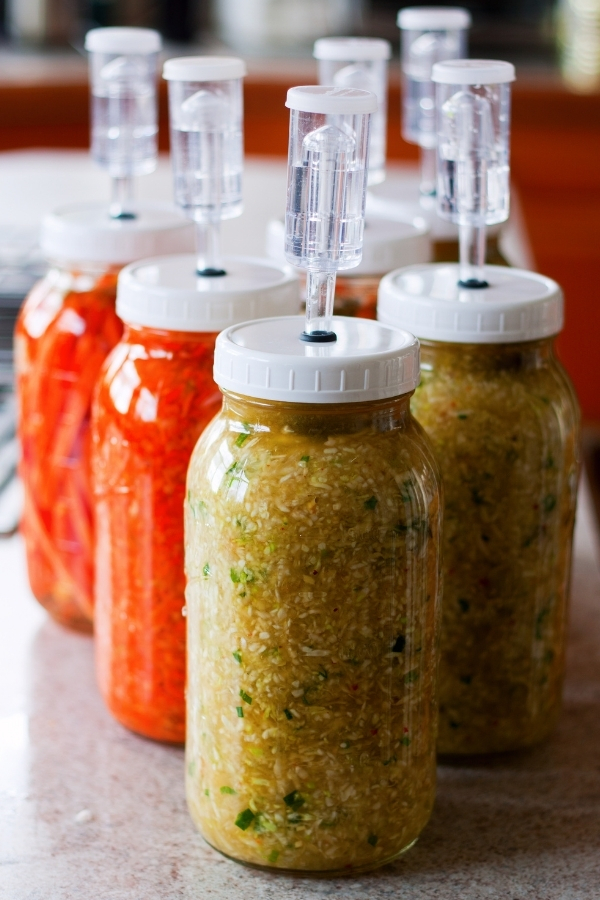
Lacto-fermentation is an anaerobic process, and it takes place without oxygen. An airlock seals off the container with a one-way valve that allows the CO2 produced during fermentation to escape, but doesn’t let any oxygen into the fermentation vessel.
The thing is, keeping the veggies below the water line accomplishes the same thing. So long as none float to the surface above the fermentation weight, the brine is its own water lock.
Still, if it makes you feel better, there are literally dozens of brands of mason jar fermentation kits that will conveniently fit on top of a wide-mouth jar.
(Be aware that some types of ferments to require a water lock, such as when you’re making mead or homemade beer, since that water lock is preventing the alcohol produced from turning to vinegar. That’s completely different than the lacto-fermentation happening when fermenting vegetables.)
How to make fermented vegetables
Making Lacto-fermented vegetables is pretty simple, and mostly involves covering raw vegetables in a saltwater brine then waiting. Weights are used to help ensure the vegetables say below the waterline, as air exposure can cause spoilage.
Sometimes a water lock is used, which is just a one-way valve that allows CO2 produced in the fermentation process to escape but doesn’t allow air or bacteria to enter (optional).
Prepping vegetables for fermentation
The preparation method you choose is dependant on the type of vegetable being fermented as well as your personal preferences around shape and texture.
The slicing method involves slicing vegetables into thin or thick pieces. Carrots and other firm veggies can be sliced thinly, while cucumbers and zucchini should be sliced on the thicker side to help prevent mushiness.
Use the chopping method to cut vegetables into smaller, uniform pieces, keeping in mind that the larger the cut the longer the fermentation process will take.
Finally, the whole vegetable method is perfect for small vegetables such as radishes, pickling cucumbers, and hot peppers.
There is also a grating method, which is better suited for soft vegetables like zucchini and cabbage, and typically involves a dry fermentation process using salt without a wet brine.
Make the brine
When I ferment vegetables, I use a brine containing only sea salt and water.
The ratio of salt to water varies, some recipes call for exact amounts and others merely eyeball the measurements. Personally, I like a ratio of 2 tablespoons of salt to 4 cups (or 1 quart) of water — this creates a 3.5 percent brine solution.
(If you’re working by weight or metric, that’s about 34 grams salt by weight to 950 ml water.)
To make the brine, add the salt to a jar or bowl containing warm water. Stir the mixture until the salt has completely dissolved. Let the brine cool while you prep the vegetables, you can pop it in the fridge and it should be ready to use by the time the vegetables are ready.
I find that 4 cups of brine will completely cover a half-gallon jar filled with vegetables (or two 1-quart jars).
Assemble the spices
Whether they’re chosen for being harmonious or contrasting in flavor, the spices added just before fermentation should work together to amplify the natural flavor of the vegetables.
Dill, red chili flakes, and garlic are reliable additions, but feel free to branch out and try more assertive ingredients such as ginger, fennel, and curry powder.
Depending on the structural integrity of the vegetable I’m fermenting, sometimes I’ll throw in a couple of unsprayed grape leaves, currant leaves, or black tea bags to help keep the veggies crisp.
Prepare jars for fermentation
Add the spice mixture of your choice, as well as a handful of grape leaves (if using), to the bottom of a clean mason jar.
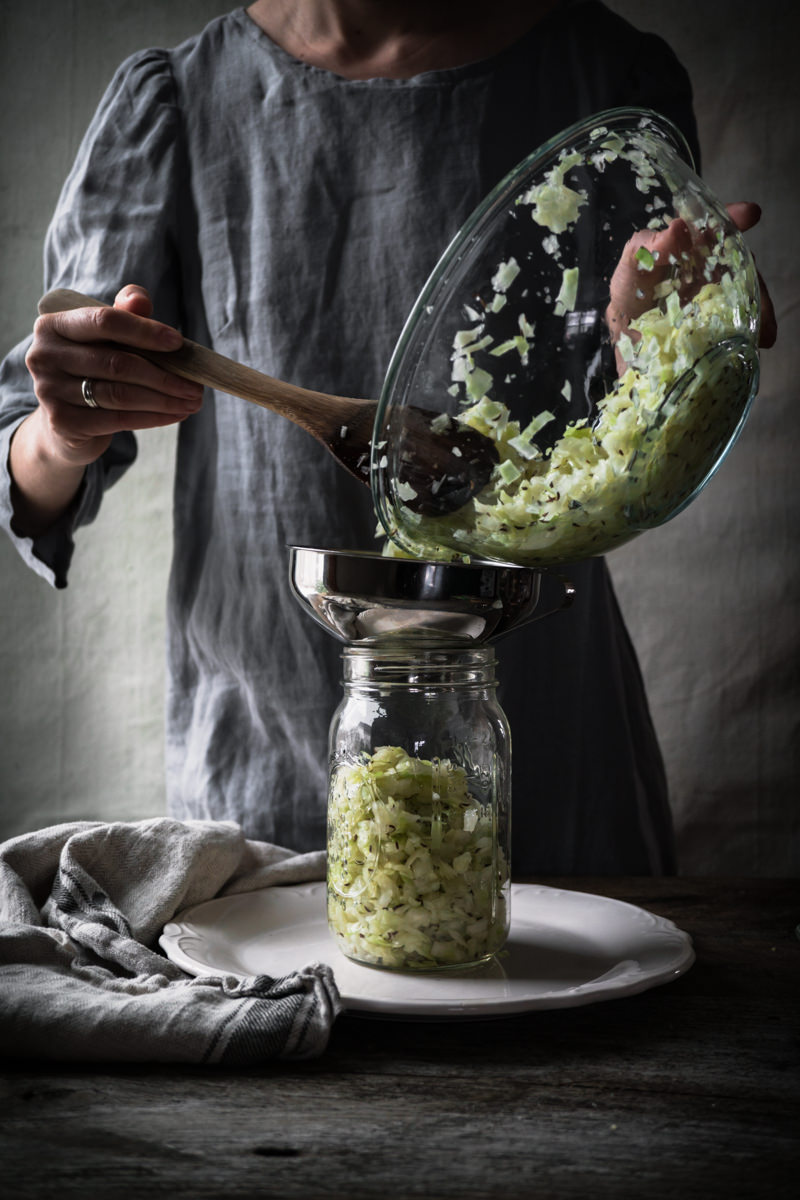
Pack in the vegetables as tightly as you can, filling them almost all the way to the curved shoulder of the jar if possible.
Pour the cooled brine over the vegetables to cover, leaving about an inch of space from the top. If the vegetables float upwards, use a fermentation weight or a sealed resealable bag filled with water to help the vegetables stay completely submerged.
You’ll notice that the spices will float to the top, this is fine — you only have to be worried about the vegetables floating to the surface.
Cover the jar to keep dust and critters out. This is where you can use a mason jar fermentation kit if you choose, or loosely cover the jar with a mason jar lid or cloth to allow gasses produced in fermentation to escape.
Let the fermentation begin!
Let the vegetables ferment
The timing for this stage will vary and depends on the ratio of salt to water in the brine, the ambient temperature of the fermentation space, and the kind of vegetable used.
Depending on the recipe, some fermented vegetables can be ready in as little as 3 days, others require 6-8 weeks for the Lacto-fermentation process to complete.
This is where following a specific fermentation recipe can be helpful, as it’ll give you an idea of how long a given vegetable takes to ferment.
I’d highly recommend the book Fermented Vegetables by Christopher and Kristen Shockey. It’s one of the best on this topic and covers just about every type of fermented vegetable under the sun, including a number of wild foraged greens, tubers, and vegetables.
Higher sugar vegetables (and fruits) will ferment faster, and you can begin tasting after as little as 3 days. Cabbage for sauerkraut usually takes 6-8 weeks to fully ferment, though you can eat it sooner for a milder flavor.
In part, when a ferment is done is actually a matter of taste. Once they’re as sour as you’d like, transfer the fermented vegetables to the fridge or other cool location, where they can be stored for several months.
You might notice the brine has turned cloudy or has spots of mold floating at the top, this can happen and if caught quickly it’s not a sign the fermentation process has gone awry (be sure to scoop out or pour off the mold as soon as you see it).
Keeping everything below the waterline will help prevent mold contamination issues. When I’m making sauerkraut in a crock, for example, I always use big stoneware weights to keep everything submerged in the salty brine.
Using Fermented Vegetables
Looking for ways to use fermented vegetables? There are many ways to incorporate these probiotic-rich veggies into your diet — although my favorite way to enjoy them is still the tried and true “eat straight from the fridge” method.
Pickled vegetables are a classic side, a small arrangement of assorted fermented veggies is a beautiful addition to any meal (or any snack plate). This recipe for fermented cauliflower, carrots, and garlic is at its best when the veggies are served alongside freshly baked bread and salted butter.
Fermented beets can be used to liven up a green salad, and they also pair well with pork, venison, and poultry (especially poultry that’s on the gamey side, such as duck or goose). I also happen to have it on good authority that they’re right at home submerged in a spicy Bloody Mary!
My lacto-fermented pickles are great for munching as is, but they’re also perfect for slicing thinly and adding to sandwiches and wraps.
Fermented Vegetable Recipes
Now that you understand the basic principles behind lacto-fermentation, here are a few beginner fermenting recipes to try:
- How to Make Sauerkraut (in a mason jar)
- How to Make Sauerkraut (in a crock)
- Fermented Dill Pickles
- Lacto-Fermented Carrots
- How to Make Kimchi
- Fermented Cauliflower
- Fermented Beets
- Fermented Dandelion Bud “Capers”
- Fermented Nasturtium Capers
Beyond Fermented Vegetables
If you’re interested in fermentation, vegetables are just the beginning! There are plenty of resources for fermentation projects of all kinds, from cultured dairy to cured meats.
- Farmhouse cheddar
- Fromage blanc
- Farmer’s cheese
- Homemade yogurt
- Kefir
- Duck prosciutto
- Salt cured egg yolks
- Fermented strawberries with honey and whey



How long is the shelf life on the ferment when its done? Also can you just put a cheesecloth over the jar or does it need to be completely sealed? I really apreciate what your doing here on this website god bless you and your family!
That all depends on where you are storing your ferment. It will continue to ferment and develop a stronger flavor. The warmer the temperatures, the faster the ferment. For the longest shelf life you would want to keep it in the fridge. The next best place would be a root cellar or unheated basement. You can totally cover it with any kind of cloth. You actually want the gases to be able to escape.
I began my first-ever batch of sauerkraut four days ago. It sits fermenting just a few feet away as I write this. I was already wondering what other options would be available to me with fermenting and see that some of the things that I am already successfully growing would work with this type of preservation. This was a very timely and informative article. Thank you!
Wonderful, so glad it’s helpful to you!