Affiliate disclosure: This post may contain affiliate links. Please see our Privacy Policy.
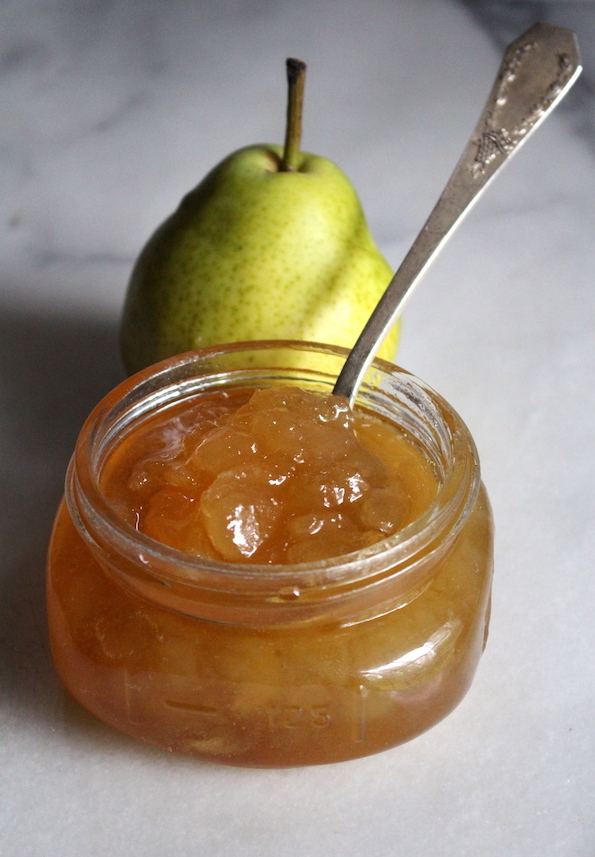
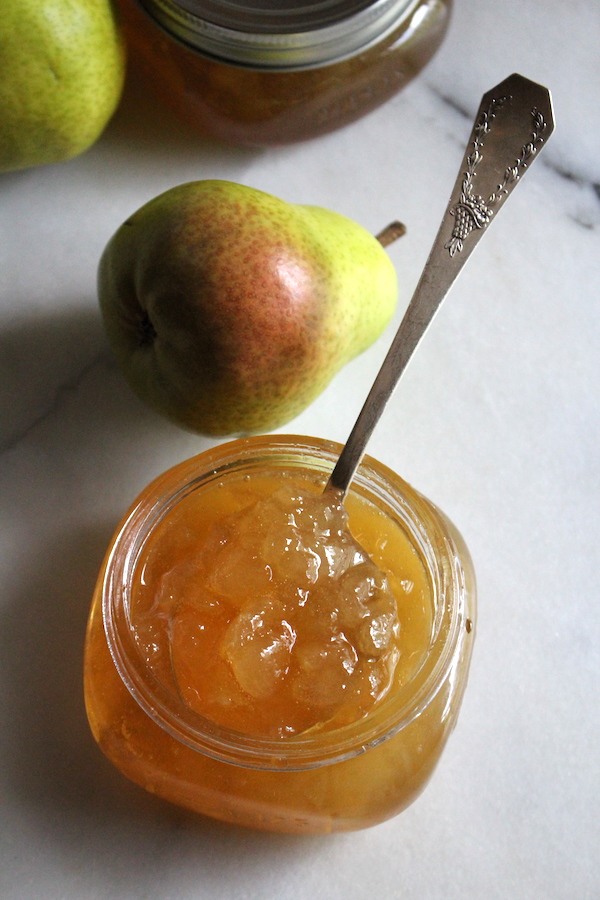
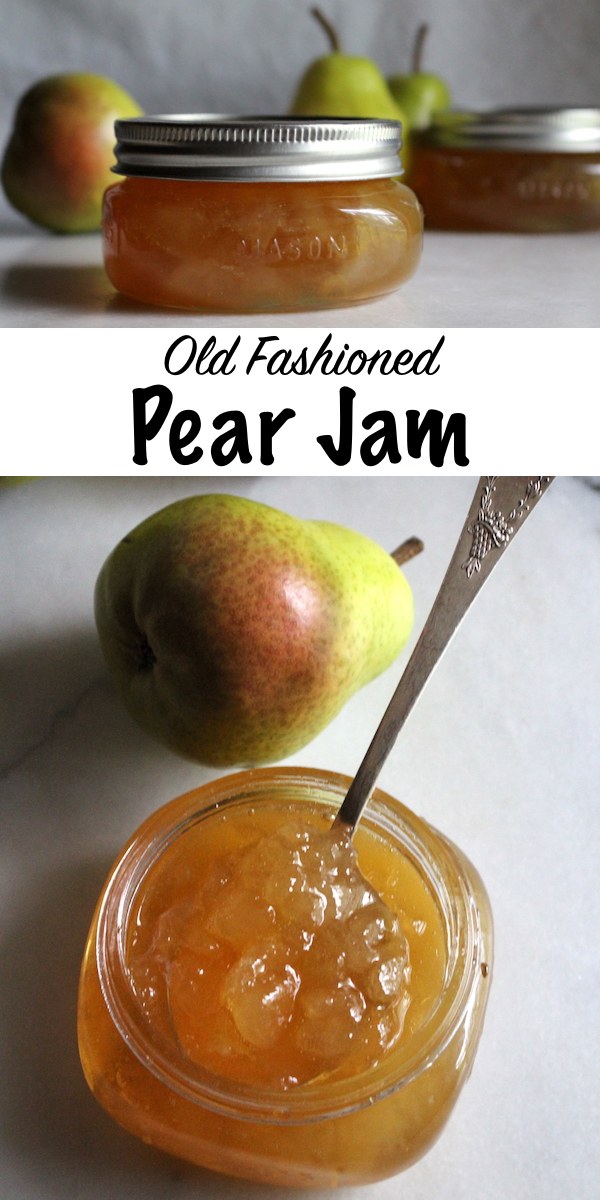
Pear jam is a delicious way to preserve pears for year-round use. Packed with flavor, this homemade pear jam recipe makes a thick jam naturally without added pectin.

Homemade pear jam is an old-fashioned preserve, popular before commercial pectins became widely available. Unlike apples, which can be stored for months in a root cellar, pears are generally short-lived fruits. If left to ripen on the tree, they’ll actually begin to rot from the inside out. Generally, pears are picked a bit underripe and allowed to mature on the counter for a few weeks before eating fresh.
At harvest time, right as the slightly underripe pears were picked, a portion of the harvest would be diverted to pear preserves. That means better odds on eating the rest of the pears over the next month or two before they spoil. If you’re lucky, and conditions are right, a couple of fresh pears might make it to the holidays. If not, there’s always pear jam…
This simple pear preserve has just three ingredients: pears (preferably a bit underripe), sugar, and lemon juice.
Choosing Pears for Pear Jam
While there are only a few varieties of pears available in the grocery store these days, there are literally thousands of varieties of pears. Heirloom apples are making a comeback and finding their way into local food coops, and I think it’s just a matter of time before the slow food revolution revitalizes pears. If you’re curious about historical and modern pear varieties, I’d highly recommend reading The Book of Pears: The Definitive History and Guide to Over 500 Varieties.
As far as modern varieties go, according to the PennState Agricultural Extension, “Recommended varieties for preservation include Bartlett, Bosc, Anjou, and Comice. Keiffer is acceptable, and Seckel pears are suitable for pickled and spiced products.”
I’m using Bartlett pears, which have firm flesh and excellent flavor. Select pears that are ever so slightly underripe or just barely ripe for pear jam.
Preparing Pears for Jam
The trick to making pear jam is all in the preparation. If not properly prepared, the pears will just quickly turn into pear sauce in the jam pot.
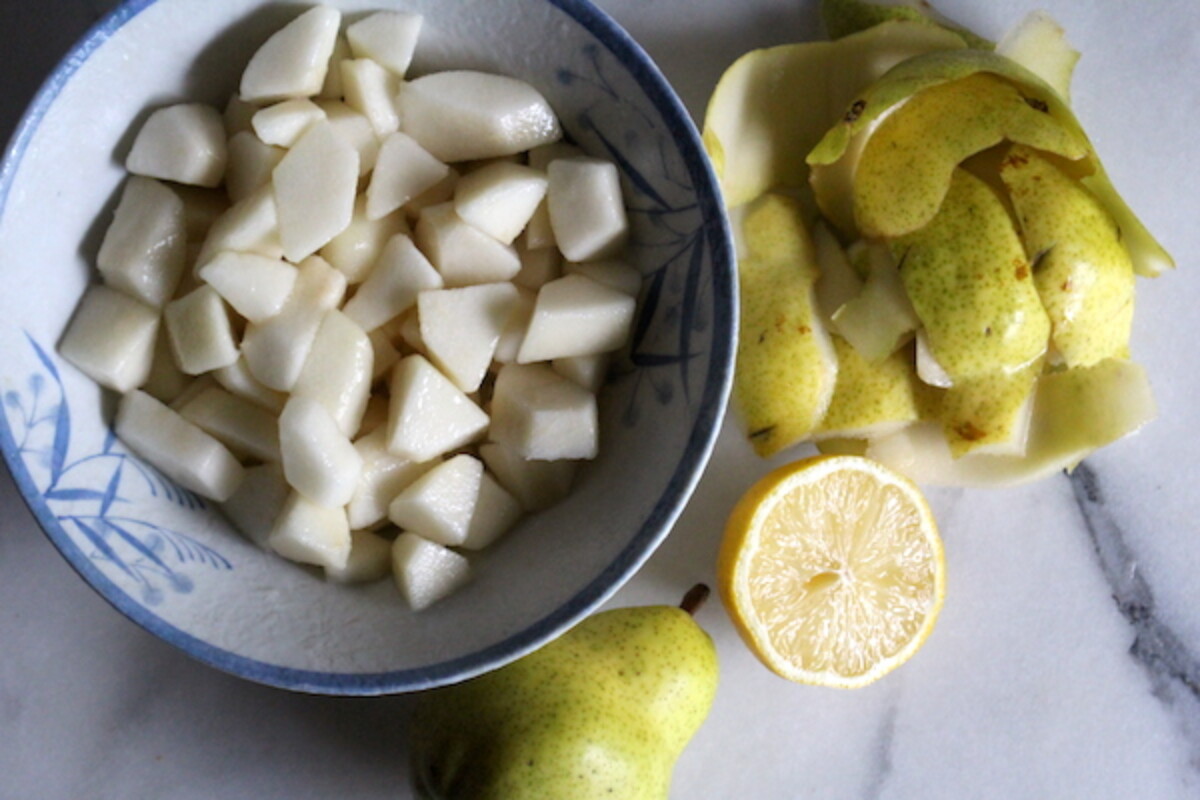
Start by peeling and coring the pears, then coarsely chop the fruit. I started with rather large pieces, assuming that they’d fall apart a little during cooking. That actually didn’t happen, and they held their shape beautifully. Since the original pieces were so large, I actually ended up using a potato masher to break them up a bit.
Chop the pears to whatever size you like based on your preference, but keep in mind that the pear chunks will retain their shape and size in the finished pear jam unless you crush them during cooking. I’d suggest uniform 1/2 inch pieces.
Coat the pear chunks in a bit of lemon juice as you work, to prevent oxidation and to add a bit of extra pectin. Lemons are rich in pectin, and most commercial pectin varieties are actually made from citrus. This is optional but will help the pear jam gel during cooking.
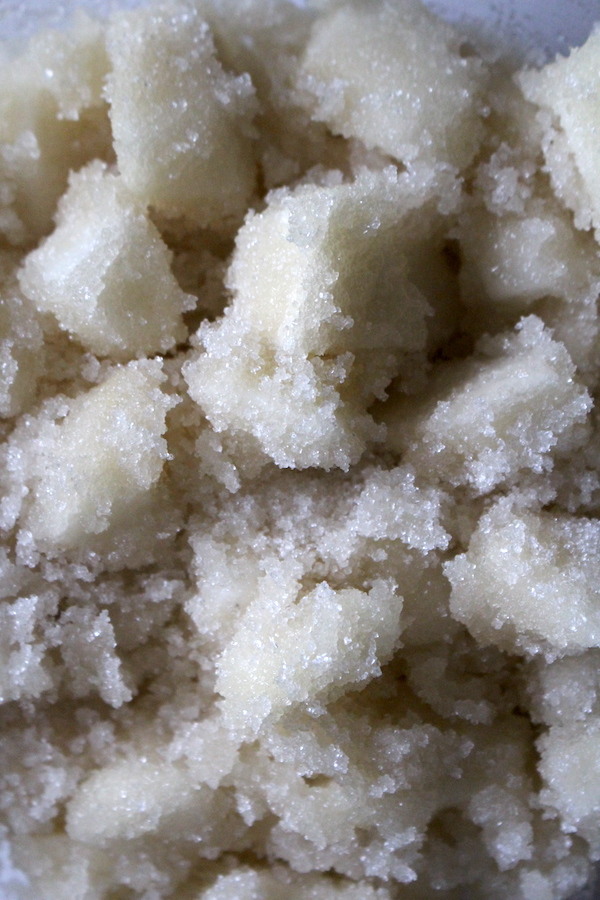
The next step is by far the most important…so pay attention here! The pear chunks must be macerated in sugar for 12 to 24 hours before cooking. If you’re crunched for time, the absolute minimum is 4 hours, but more time is strongly recommended.
This draws out liquid from the pears, which will be the “gel” portion of the finished jam. It also works to firm up the pear flesh as they infuse with sugar, meaning they’ll hold their shape as pear chunks in the finished jam (instead of turning to pear sauce).
If you skip this step, all you’ll have is a very sugary pear sauce. Not bad really, all things considered, but not really a pear jam. When you add the sugar to the lemon juice coated pear slices, it’s going to look a bit absurd. There’s so much sugar on those little pear chunks, but that’s what’s going to allow them to candy a bit into a jam rather than a sauce.
My recipe for pear jam uses 3 cups of sugar for 4lbs of pears (weighed before peeling/coring). Others use as much as 4 cups of sugar to 3lbs of fruit, which I found to be pretty over the top. You can use as little as 2 cups and still get a nice set.
You can choose how much sugar you’d like to use:
- Less sweet: 2 cups
- Moderately sweet: 2.5–3 cups
- Traditional sweet: 4 cups
Adjust to your tastes, knowing that you do need a good bit of sugar to make this work, at least 1/2 cup per pound of fruit or up to 1 1/3 cups sugar per pound of fruit for a very sweet pear preserve.
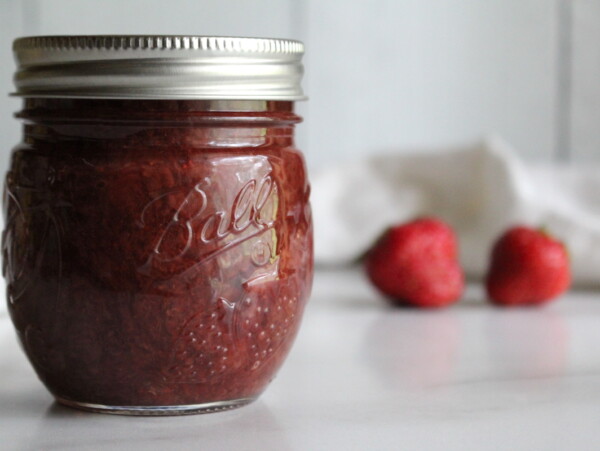
Give it time, they’ll draw out the liquid and create a rich syrup around the pear chunks. I use the same technique to make a strawberry rhubarb jam (both low pectin fruits) without added pectin and it works wonders.
Place the sugar covered pear chunks in the fridge overnight and give the sugar time to work its magic.
Making Pear Jam
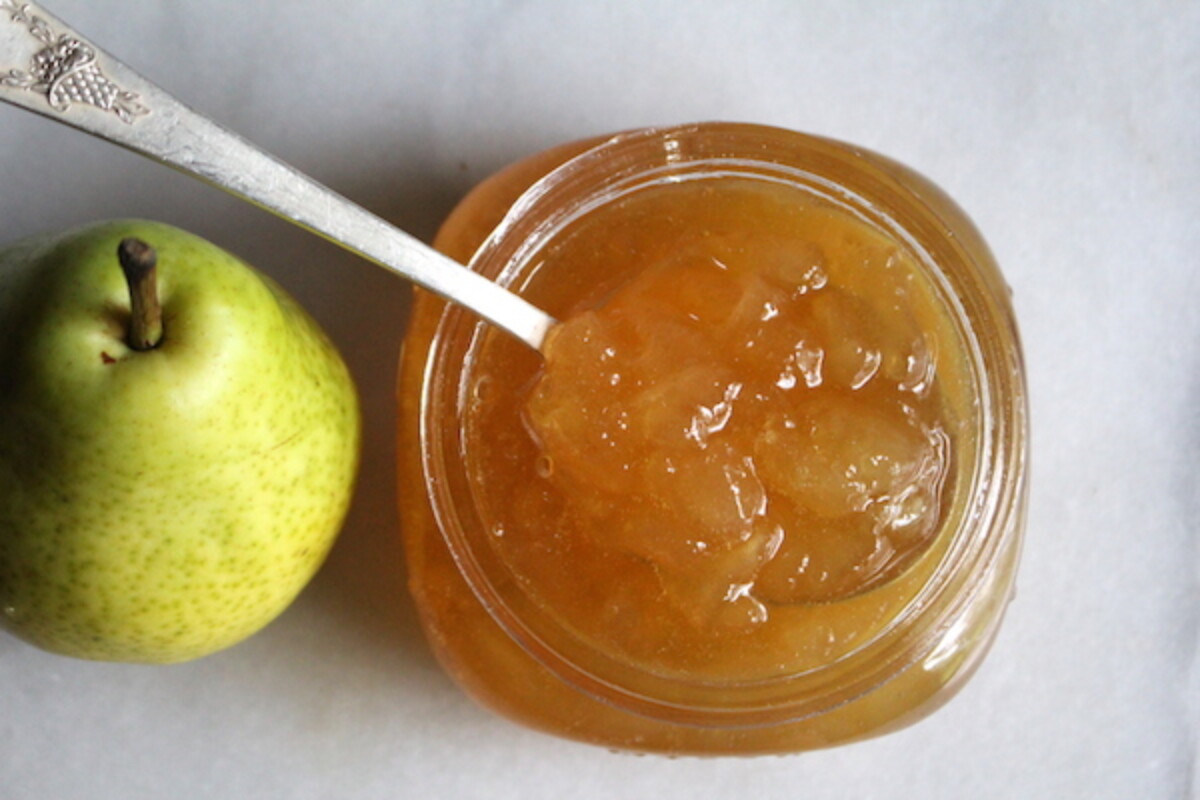
Once the pear chunks have macerated overnight in the refrigerator, you should have pear cubes floating in a sugar syrup made from their own juices. All, or almost all of the sugar should be dissolved, and the pear chunks should be very firm.
Place everything into a deep, heavy-bottomed jam pot allowing extra space at the top because the jam will foam up during cooking. Bring the pot to a hard boil over high heat, and then turn it down slightly and cook for about 10-15 minutes, stirring occasionally. If the pieces are too big for your liking, mash everything gently with a spoon or potato masher.
At this point, the jam should have thickened considerably and is nearing gel stage. If you’re an experienced canner, you know what this looks like. The bubbles will visibly change and become more glossy. There are a couple of ways to test this jam to see if it’s done.
The easiest and most foolproof is an instant-read thermometer. The jam sets at 220°F at sea level; reduce by 1°F for every 500 feet of elevation. I’m at 1000 feet, so my jams finish at 218 F.
Lacking an instant-read thermometer, spoon out a bit of the jam syrup and blow it to cool it quickly. Then slowly pour it back into the pot. If it’s done, the jam should “sheet” off the spoon rather than drip. You can also test the jam on a small plate that’s been put in the freezer. It should set quickly on the cold plate, and it should wrinkle back if pushed with a finger.
Once the jam is done, immediately remove it from the heat and get it into jars.
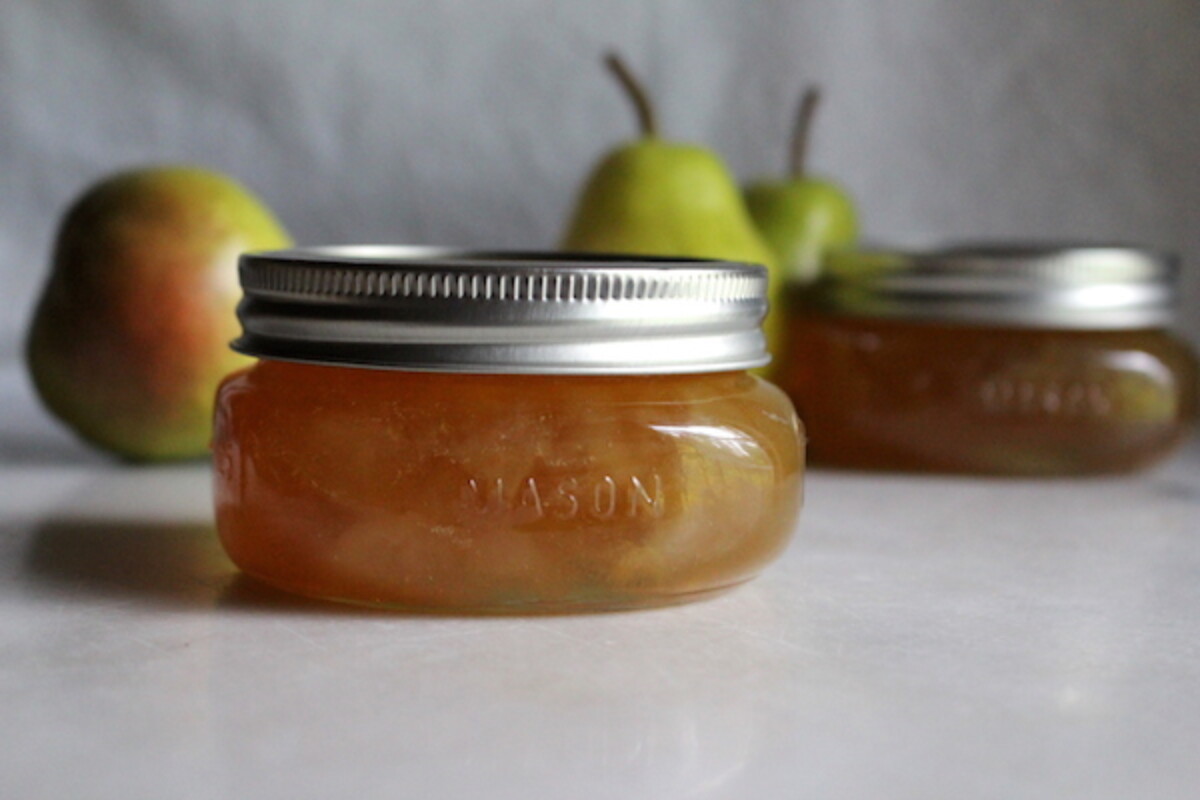
Canning Pear Jam
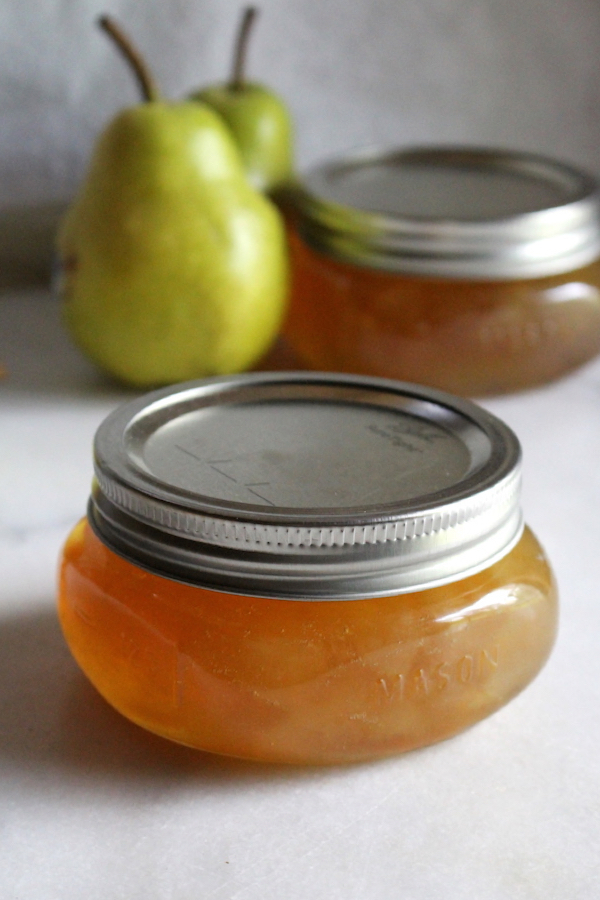
Canning is completely optional, and it’s fine to just fill the jars and store them in the refrigerator for immediate use (or the freezer for later). Since we live off-grid with minimal freezer space, canning is the best option for my family and it’s really easy anyway. Even if I lived in the suburbs, I’d still opt to can this pear jam for a shelf-stable preserve or for an easy holiday gift.
If canning, make sure you prepare a water bath canner before you start cooking the jam. That just means fill a deep pot with water and bring it to a boil.
Then, once the jam is done, fill clean jars leaving just 1/4 inch headspace. Run a plastic or silicone spatula (not metal, it can conduct heat and crack the jars) along the inside to remove bubbles and then adjust the headspace again, ensuring it’s still 1/4 inch.
Wipe the rims and seal the jars with two-part canning lids, tightening them to just finger tight. Process in a water bath canner for 10 minutes (or 15 minutes above 6,000 feet in elevation), then turn off the heat and allow the jars to sit in the hot water for another 5 minutes before removing them (this helps prevent siphoning due to rapid temperature changes).
Remove the jars to a towel on the counter, and allow them to sit undisturbed to cool. Within an hour or two, sometimes much faster, the jars will “ping” as they vacuum seal. After 24 hours, check seals and store any unsealed jars in the refrigerator for immediate use.
At this point, if properly canned, the pear jam should be completely sealed and shelf-stable. Ball canning now says it warrants the seal on their jars for 18 months, but in practice, I’ve kept jams longer than that without issue. Still, for best quality, it’s a good idea to rotate your stock and try to eat everything within 1 year.
Pear Jam Recipe Variations
While I’ve used a simple failsafe pear jam recipe with just three ingredients (pears, sugar, and lemon), it can easily be adapted to include seasonings, other fruits or alternate sweeteners. I think this recipe would actually work out really well with maple sugar, and it’s just dying for a pinch of cardamom, ginger, or a scraping of vanilla bean added just at the finish.
- With Green Cardamom ~ Food and wine has a recipe that’s very similar to this one, again with no pectin, but with a lot more sugar. They add a tablespoon of honey (not that you’ll taste it with all the other sugar?) and a teaspoon of green cardamom pods in a tea ball to infuse during cooking. A pinch of powdered cardamom would work too, and be a bit cleaner.
- With Vanilla ~ Food in jars has a recipe that’s also quite similar, again with a good bit of sugar, she also adds liquid pectin. I avoid liquid pectin on principle because it contains chemical preservatives (sodium benzoate, etc) that I don’t want in my jam. It’s also not necessary when working with a high-pectin fruit like pears. She doesn’t peel the pears, which is a labor saver, and the jam looks spectacular. The addition of two scraped vanilla beans is a delectable idea though.
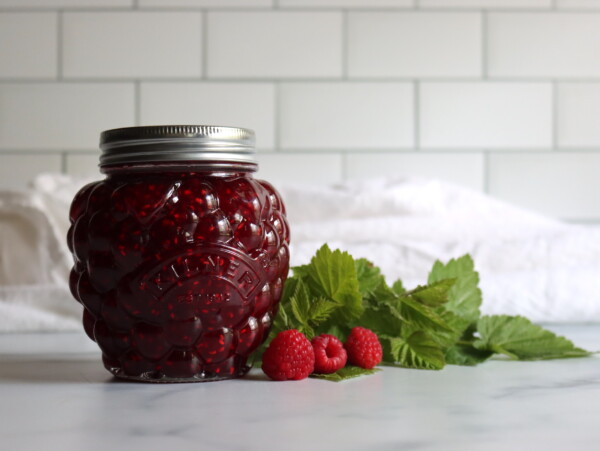
- With Cranberries ~ Another one from Food in Jars, this variation adds cranberries, eliminates the pectin and dramatically reduces the sugar. Cranberries are very high in pectin, and they help the jam set up nicely. Interesting to note though, that when adding a very tart fruit, this recipe ends up using half the sugar of her first recipe with vanilla.
- With Ginger ~ From the vegetarian times, this recipe is again very similar to mine, but adds 2 tsp fresh grated ginger. They also suggest adding 1 tsp powdered pectin, optionally, but that’s not usually how pectin comes. I’m assuming they’re using ball flex batch pectin which comes in a big tub, and can be dolled out in teaspoons at a time (rather than packets).
- With Blueberries ~ A very low-sugar recipe from Common Sense Home, using 3 parts pears and 1 part blueberries. The addition of Pomona’s pectin allows this jam to gel and stay a proper jam even with minimal sugar.
Pear Jam
Ingredients
- 4 lbs Pears, peeled and chopped into 1/2 inch pieces
- 3 cups Sugar, see note
- 1/4 cup lemon juice
Instructions
- Start by peeling, coring, and cutting the pears into small pieces. The size you chop them now will largely stay the same after cooking, so aim for bite-sized chunks that will melt into a lovely jam consistency.
- Toss your pear pieces with sugar and lemon juice, then cover and refrigerate them overnight (anywhere from 12 to 24 hours). This step is key for drawing out the natural juices. At the very least, let them sit for 4 hours, but the longer, the better.
- After maceration, the jam comes together quickly. If you’re planning to can your jam, set up your water bath canner now. If you’re making freezer jam, you can skip this step.
- Pour the pear mixture into a heavy-bottomed saucepan and bring it to a boil over high heat. The mixture will foam up, so make sure your pan is large enough to handle it without spilling over.
- Stir the pears occasionally to prevent overflows. Let the mixture cook for 10-15 minutes, adjusting the heat as needed. If the pear chunks feel too large, use a potato masher to gently crush some of them for a smoother texture.
- Continue cooking until the jam reaches the gel stage. You can use an instant-read thermometer to check (it should hit 220°F at sea level; adjust by 1°F for every 500 feet of elevation). Alternatively, test the gel by placing a small spoonful on a plate and popping it in the freezer for a minute. If it sets up and wrinkles when pushed, it’s ready.
- Once your jam has reached the perfect consistency, take it off the heat and immediately spoon it into jars, leaving about ¼ inch of space at the top. Seal with two-piece canning lids.
- Process it in the water bath canner for 10 minutes (if canning). After turning off the canner, let the jars sit for another 5 minutes before removing them to cool on a towel-lined counter. Check the seals after a few hours. Any jars that didn’t seal properly should be refrigerated.
- If you canned your pear jam, it should keep for 18 months or more in a cool, dark pantry (remember to refrigerate after opening). For refrigerated jam, it will stay fresh for 2-3 weeks.
Notes
Sugar Amounts
Traditional pear jam recipes include a lot of sugar, around 1 cup of sugar per pound of fruit (before peeling/coring). I tried it that way, and it was way too sweet for my tastes. You can use anywhere between 2 and 4 cups sugar and still get a nice set. I’d suggest these amounts:- Less sweet: 2 cups
- Moderately sweet: 2.5–3 cups
- Traditional sweet: 4 cups
Altitude Adjustments
If above 6,000 feet in elevation, increase canning time to 15 minutes.Shelf Life
For best flavor, consume canned jam within 12–18 months. Refrigerated jam lasts 2–3 weeks; freeze for up to 6 months.Nutrition
Nutrition information is automatically calculated, so should only be used as an approximation.
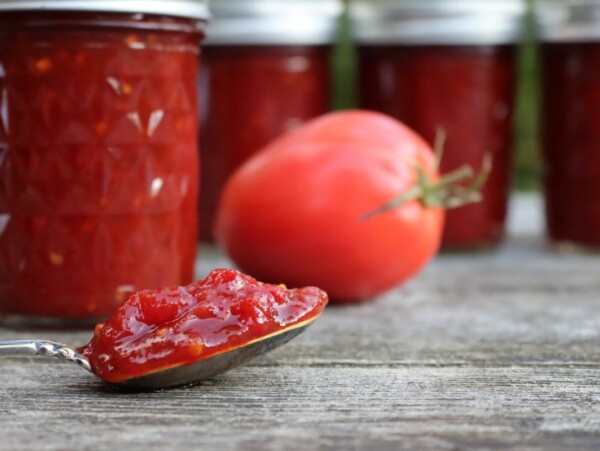
Other Fun Fall Canning Recipes
Looking for more canning recipes to preserve the fall harvest? Try any of these delicious preserves featuring fall produce:
Fall Preserves Without Canning
Done in the canning kitchen for the season? No worries, there’s plenty of other ways to preserve fall produce:
- Pear Cider
- Hard Apple Cider
- Extracting Sugar from Apples for Apple Sugar
- Pumpkin Powder (Pumpkin Flour)
- Pumpkin Puree


Easy and tasty!
What is the purpose of the lemon juice?
The lemon juice adds pectin, helps cut the sweetness of the sugar and helps the jam set. It’s not required for canning safety, but is instead used to improve flavor and get a slightly firmer set.
So good! My first time making jam. Mine did take a lot longer than 15 minutes to reach 220 degrees. More like 30 minutes, but it did get there. Thank you for the recipe.
I have little experience with making jam, but I was looking for a recipe that didn’t have too much sugar. This one looked ideal!
Alas, the jam burned. I cooked it as described in the steps – boil on high, stirring occasionally. Should I have reduced the temperature once it was boiling? should I have stirred more often? I don’t know… I wish the recipe was more detailed.
I’m so sorry. It does say in the blog portion of the post to turn it down slightly after it starts to boil but it doesn’t look like that got translated over to the recipe card at the bottom of the post. My other suggestion would be to make sure you have a jam pot that has a really heavy bottom. This helps with the heat distribution and will help with scorching as well.
That should be 222 degrees Fahrenheit. Hope that helps!!
Thank you but I think she was specifically asking about turning the temperature down on the burner because it burnt.
I sold jam through a cottage food license. Moved states but haven’t started here yet. Anywho, make sure you use a spoon that scrapes the bottom, like a wooden one. I also stir more than occasionally but less than constantly. And, once at a boil, I turn it closer to medium than high. My other recommendation is an instant-read thermometer — I cook mine until 220 degrees Fahrenheit. Hope that helps!