Affiliate disclosure: This post may contain affiliate links. Please see our Privacy Policy.
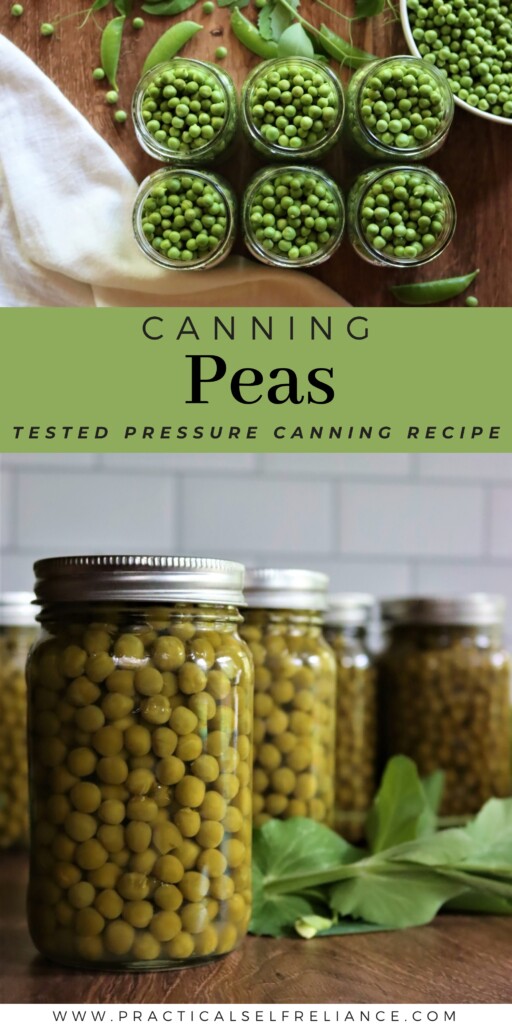
Canning peas is a simple way to preserve peas on the pantry shelf fresh from the garden. They’re much better than store-bought tinned peas, and canning soon after harvest seals in their natural sweetness.
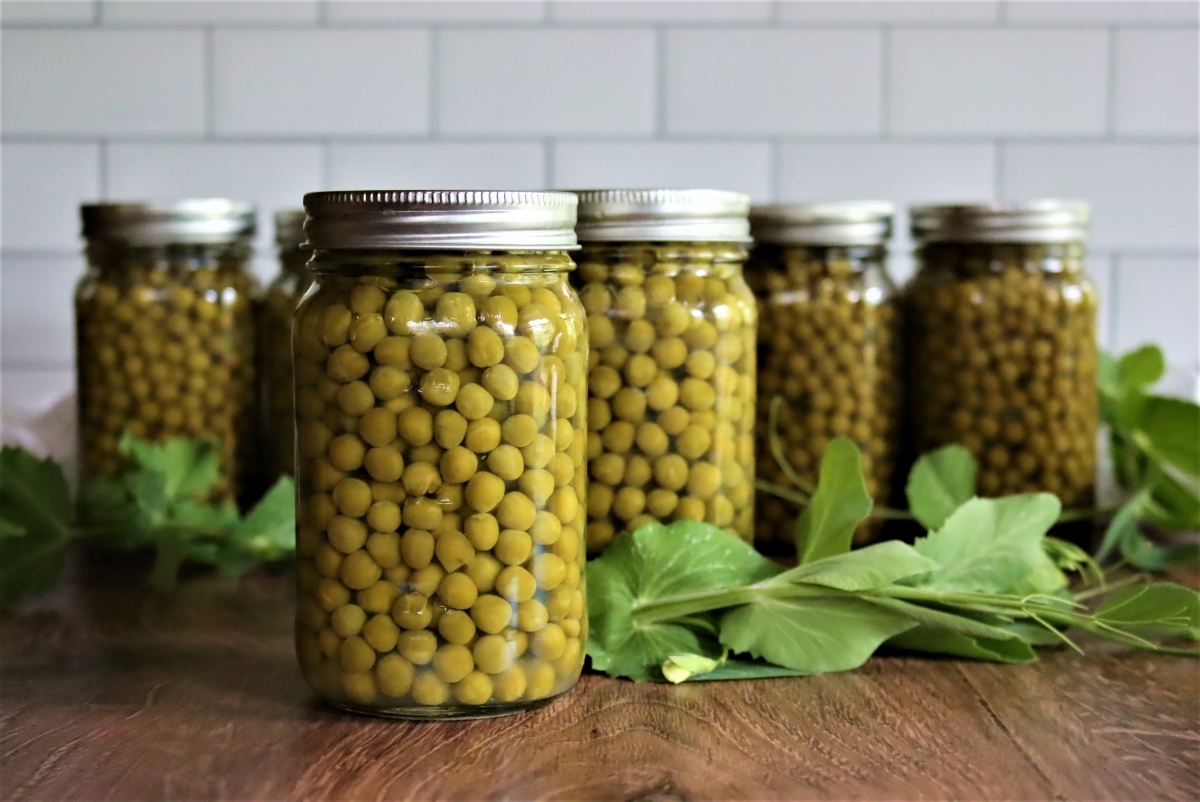
Canned peas are a particular favorite of mine, mainly because they were such a treat when I was a kid. Yes, you read that right, canned peas were a treat in my childhood.
The only vegetables we ever had were canned, and more often than not it was canned corn (which isn’t even strictly a vegetable, but that’s another story).
Every once in a while, that canned corn would get switched out with canned peas and I’d be in heaven. If it was someone’s birthday and my parents were feeling flush, they might even spring for canned asparagus, but don’t get greedy.
Simple pleasures to be sure, but even as an adult I remember canned peas as a childhood treat, back when money was so tight that an extra nickel for peas in a can seemed like an extravagance.
Now that I’m grown, we have huge sprawling gardens, and the only canned foods my kids eat are those that I’ve put up in mason jars.
We eat plenty of fresh veggies, and in the summer months, we all work together canning corn. I even put up a few jars of pressure canned asparagus every year, but now home-canned peas are an even bigger treat in my book than canned asparagus (which is relatively quick and simple to can at home).
Canning peas takes work, but more importantly, it takes time.
It’s not hard work, of course, and it’s honestly one of the best ways to spend your time in the spring and early summer months. Time spent sitting in the spring breeze shelling peas while my kids play in the yard, looking over my shoulder at all the other things I “should” be doing…
Instead, I’m here with my feet up slowly shelling peas, smelling the lilacs, and listening to the sounds of the littles giggling as they spray each other with the hose.
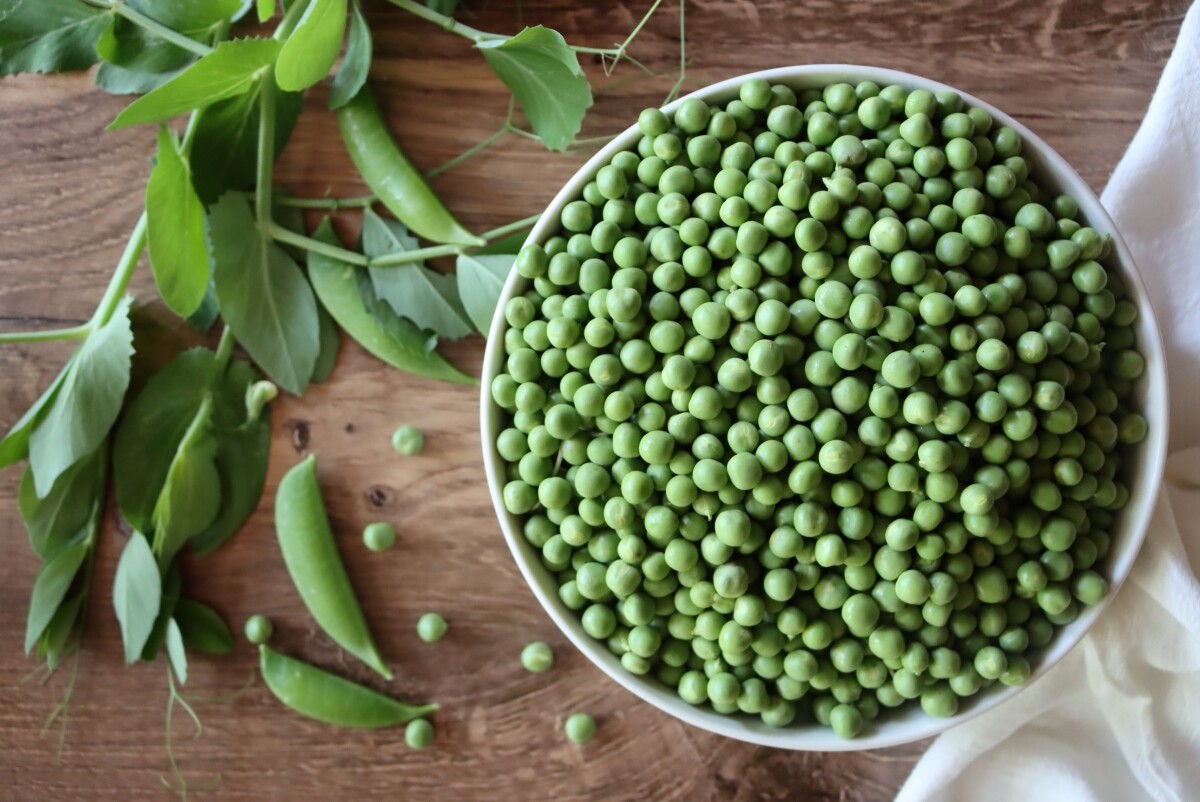
Shelling peas
Canning peas at home starts with shelling peas. Be sure you’re growing a shelling pea variety, which is different than snap or snow peas.
Both snap and snow peas are delicious, but they don’t work for pressure canning.
If you have those and are determined to preserve them, try making lacto-fermented snow peas or pickled snap peas. That will preserve them, but still, their best use is eaten fresh and sweet out of hand in the garden.
If you have a lot of peas, you can invest in a pea sheller which will greatly speed up the process, or you can just take your time and shell them slowly by hand in a comfy chair (or porch rocker if you really want to go old school).
I snap off the ends with my fingers, pulling up towards the seam, and then continue to pull and it “unzips” the string on the pea shell. From there they just fold open and you can pop the peas out.
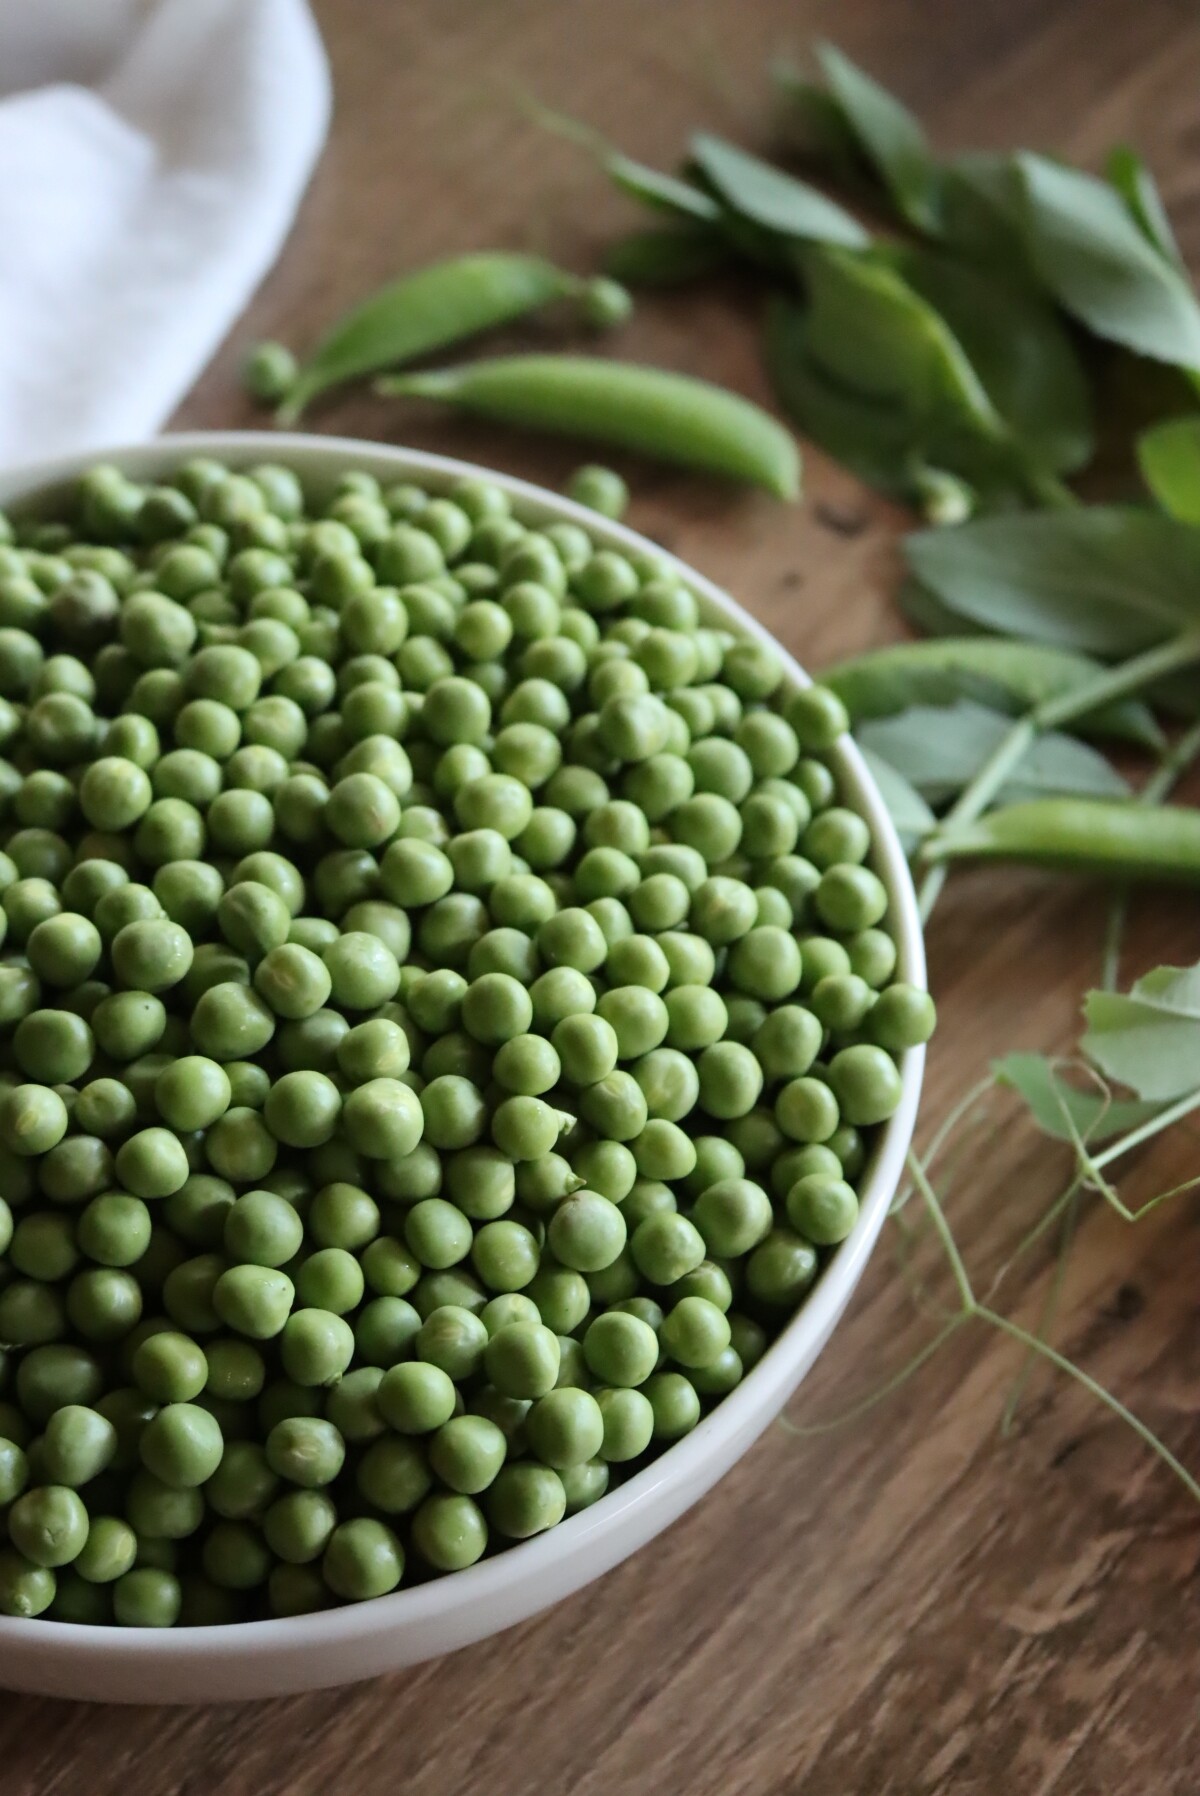
Amount of Peas Per Canning Jar
How many peas do you need for a batch? That depends a bit on how mature your peas are, but assuming they’re perfectly ripe, it takes roughly:
- 20-ish pounds of peas (in shell) for a 9-pint canner batch
- 30 to 32-ish pounds of peas (in shell) for a 7-quart canner batch
If measuring the peas once shelled, it takes about 9 ounces of shelled peas for a narrow mouth pint jar (around 10 ounces per wide mouth, as they pack better). For a quart, double it.
I tend to use narrow mouth pint jars for two reasons:
- The “shoulders” on the jars help keep the peas down in the jar under the water line even if there is a bit of sciphoning (or liquid loss) in the canner.
- More narrow mouth pints fit into my canner than wide mouth. I have a 30-quart double-decker all-American brand canner, which can hold 19 narrow-mouth pints (but only 18 wide-mouth pints). It’s a minor thing, but I do tend to save the narrow mouth pints for pressure canning because of it.
Quarts honestly would be the most economical in terms of canning time, since the canner holds 14 quarts (which works out to 28 pints in volume), but a pint serving size works out better for my family.
Choose what works best for your family, knowing that the canning times for both pints and quarts are the same.
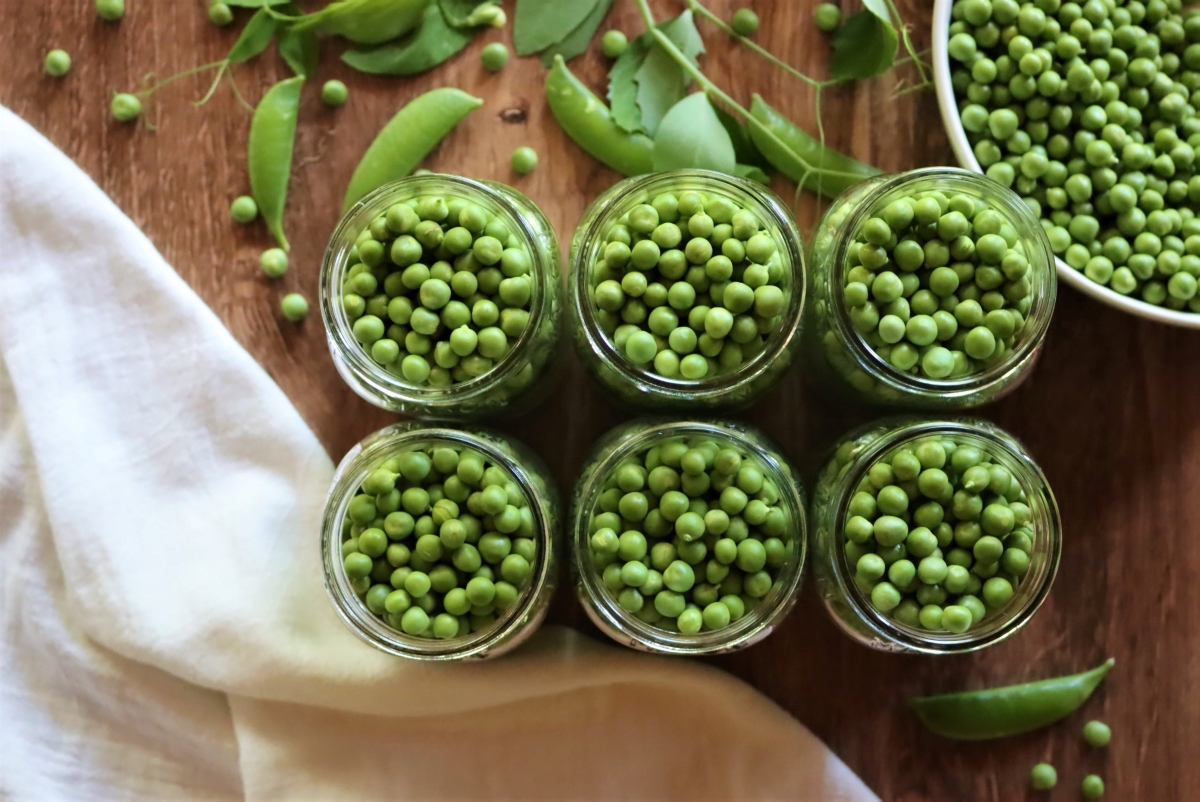
How to Can Peas
You have a number of options when canning peas, but know that the must be pressure canned. Peas are a low acid vegetable and they’re not safe for water bath canning. If you’re not familiar with pressure canning, please read my beginner’s guide to pressure canning before getting started.
That said, you do get to choose your jar size and pack type.
Jar Size ~ When canning other vegetables, a larger jar size means a longer canning time (and potentially mushy vegetables), but with peas, the canning time is the same for pints and quarts. Choose what fits your family best.
Pack Type ~ For pack type, you can do either raw pack or hot pack. Usually, hot packs result in better quality finished products. When canning peaches, for example, a hot pack results in a dramatically better finished product, even though it is a pain to pack fruit hot.
For peas, I’ve tried both, and honestly, I can’t tell the difference between hot pack and raw pack peas. They both fill out the jar nicely and the texture and flavor is identical.
I’d suggest raw packing since it’s so much easier, but I’ll walk you through both methods.
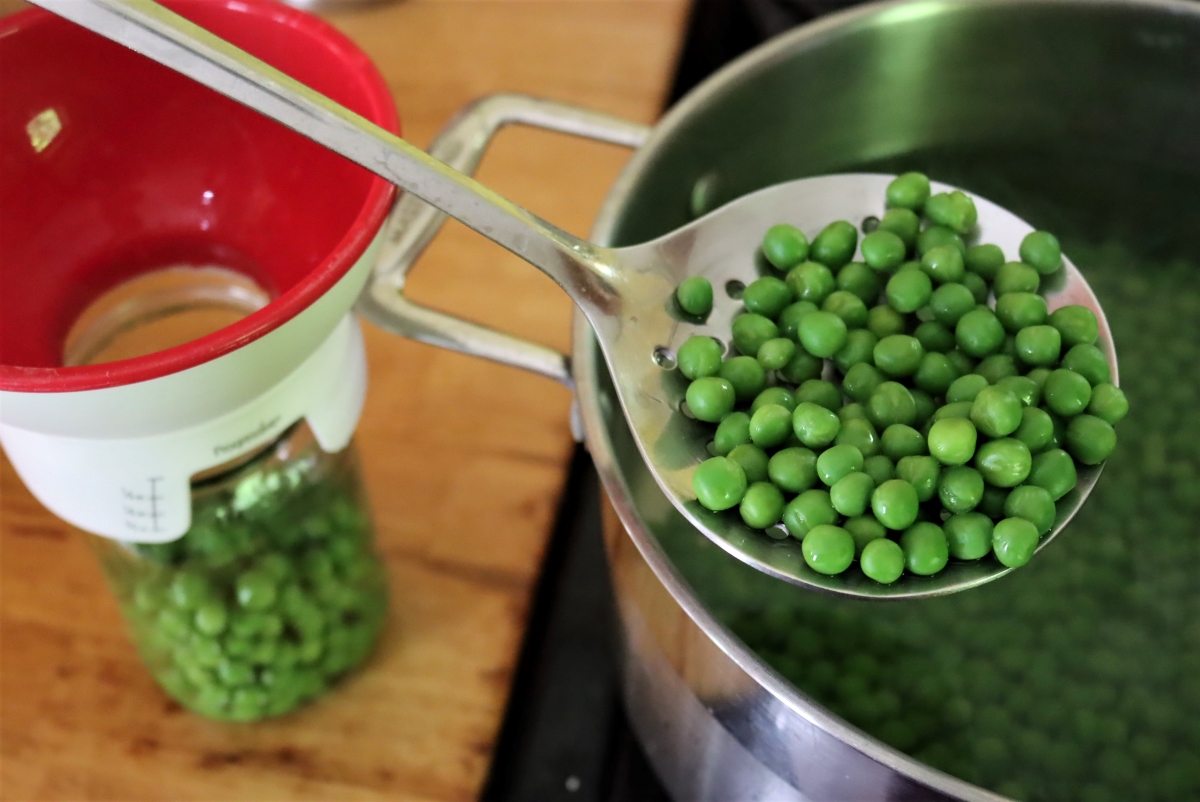
Hot Pack
Blanch the peas in boiling water for 2 minutes and then remove with a slotted spoon to pack into prepared canning jars. Top with either freshwater from a kettle or the blanching water.
Leave 1-inch headspace and seal with 2 part lids. Load the jars into a pressure canner that’s been preheated to just simmering (around 180 degrees F).
Raw Pack
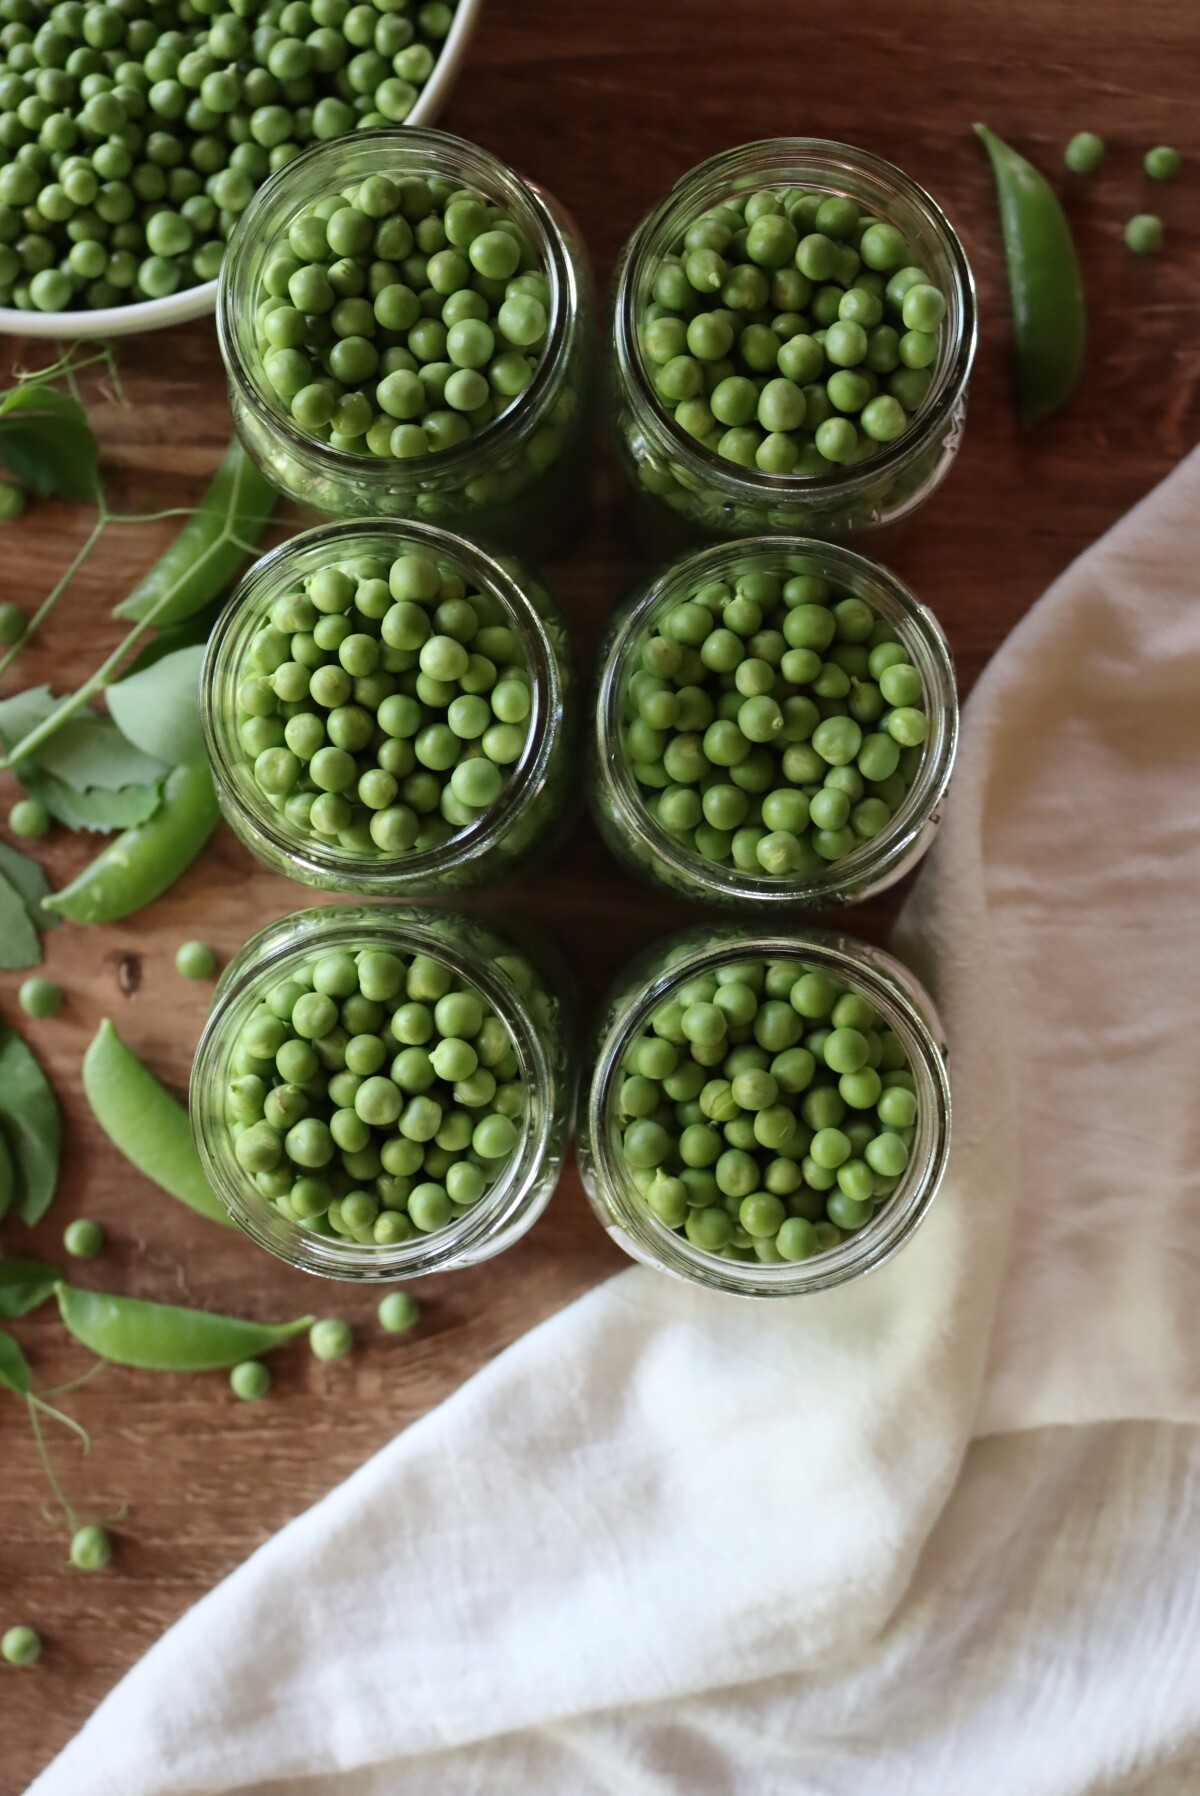
Pack peas directly into canning jars and top with boiling water from a kettle. Leave 1-inch headspace and seal with 2 part lids.
Load the jars into a pressure canner that’s been filled with very hot water, and just barely heated (around 140 degrees F). Note that’s much cooler than a hot pack to prevent the jars from cracking due to thermal shock.
The canner will take much longer to come up to temperature.
With either a hot or raw pack, seal the pressure canner lid on the canner after the last jar is loaded, but don’t start bringing it up to pressure. Turn the heat up to high and allow the steam to vent for 10 minutes before adding the canning weight and bringing the canner up to pressure.
Begin timing when the canner is at pressure and process both pint and quart jars for 40 minutes (adjusting pressure to altitude, see below).
Once the canning time is complete, allow the canner to come to room temperature before opening. Remove jars and check seals.
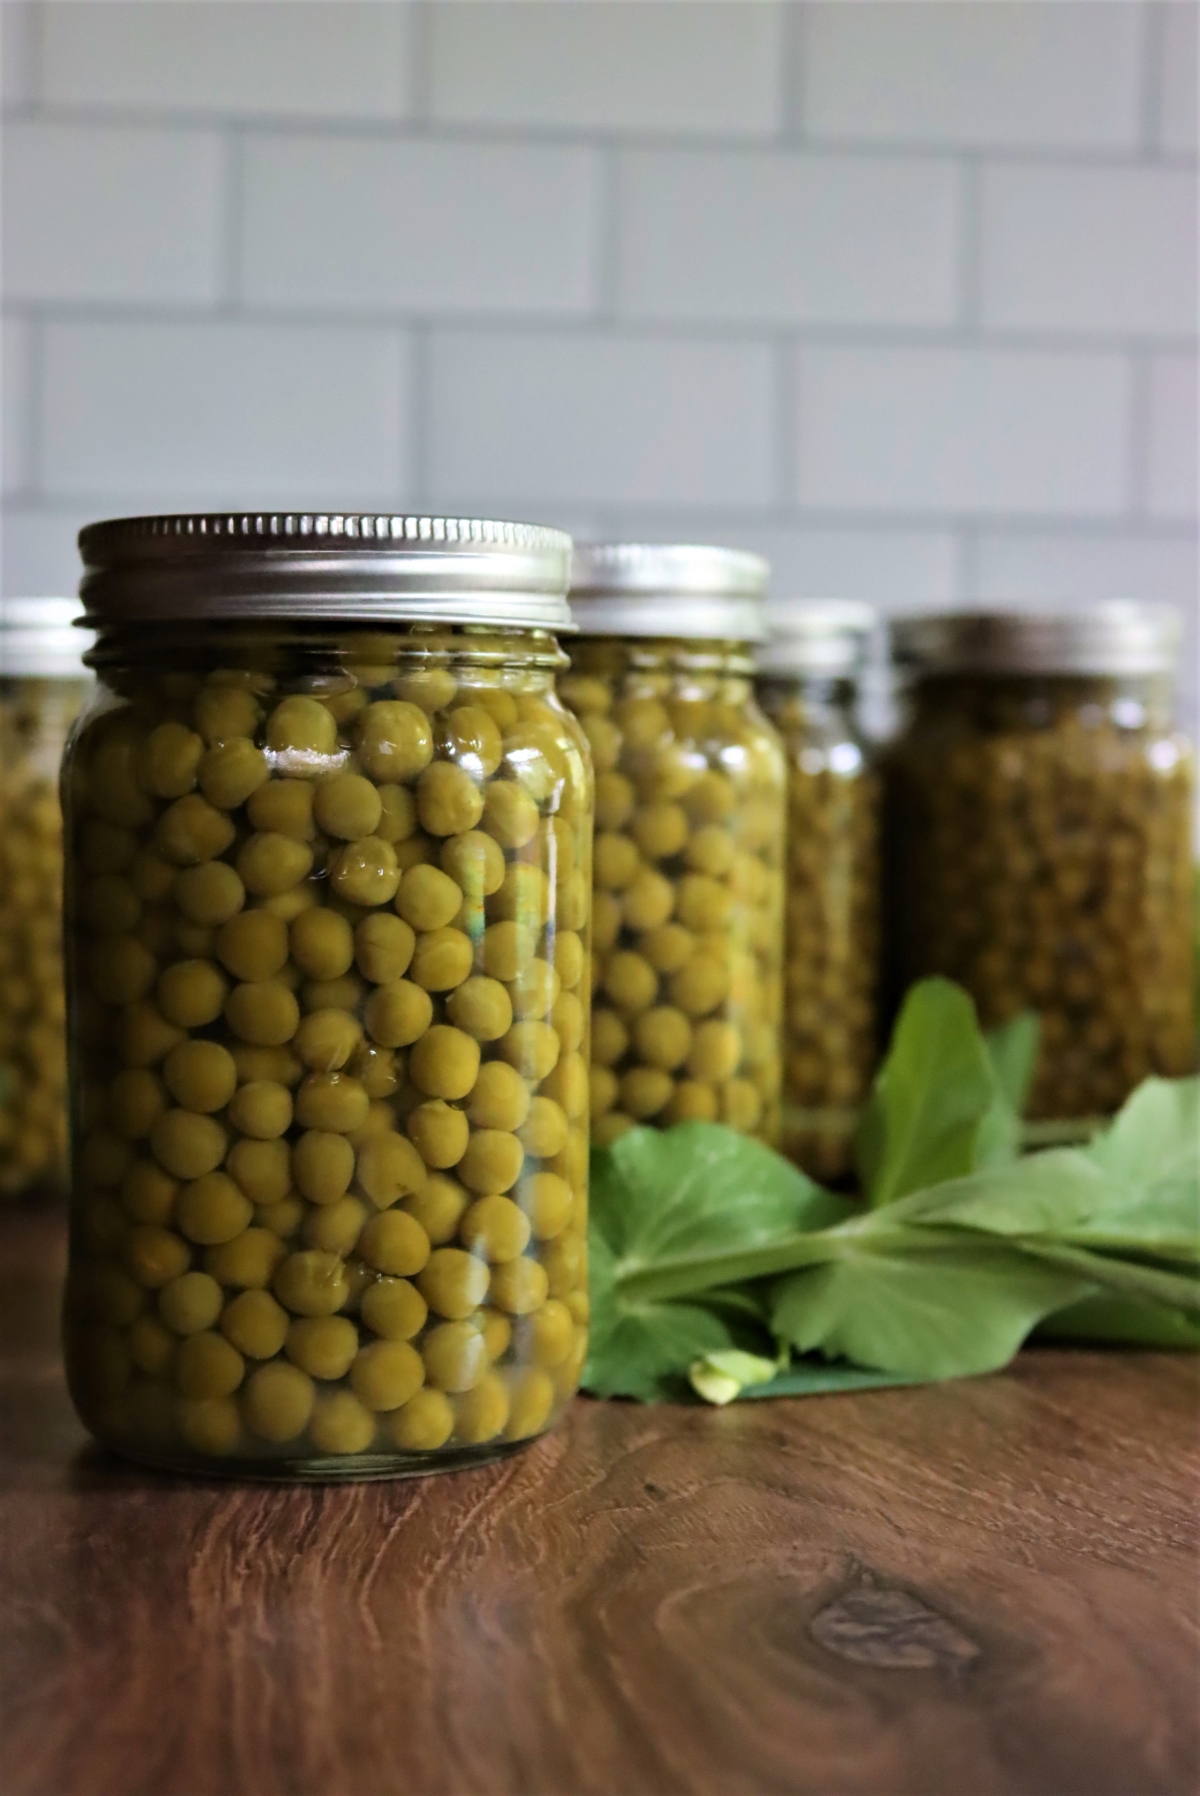
Store any unsealed jars in the refrigerator for immediate use. Properly canned and sealed jars will keep on the pantry shelf without losing quality for 12 to 18 months.
Altitude Adjustments
With pressure canning, the processing times stay the same at higher altitudes, but the pressures change. Here are the altitude adjustments for pressure canning peas:
For dial gauge pressure canners:
- 0 to 2,000 feet in elevation – 11 lbs pressure
- 2,001 to 4,000 feet in elevation – 12 lbs pressure
- 4,001 to 6,000 feet in elevation – 13 lbs pressure
- 6,001 to 8,000 feet in elevation – 14 lbs pressure
For weighted gauge pressure canners:
- 0 to 1,000 feet in elevation – 10 lbs pressure
- Above 1,000 feet – 15 lbs pressure
Pea Canning Recipes
Beyond simply pressure canning peas as they are in water, maybe with a bit of salt, you can also incorporate them into other canning recipes. They’re in my canning recipe for beef pot pie filling and chicken pot pie filling, and they really add a bright green note to that hearty meal in a jar.
When you’re canning split pea soup it’s not fresh garden peas, but rather dried split peas, so keep that in mind.
Ways to Preserve Peas
Looking for other ways to preserve peas? Honestly, they’re a bit tricky to preserve. Besides canning, the only other real option is fr freezing peas, but it will use up a good bit of freezer space.
I was hoping to make a garden pea wine for use in savory recipes (like risotto), but as it turns out, it’s traditionally made as a pea pod wine with the leftover pods after you’re done shelling the peas. It’s a good way to make use of the empty shells, but it won’t help you preserve peas.
Canning Peas
Equipment
- Pressure Canner
Ingredients
- Garden Peas, shelled (See notes for quantities)
- Water
- Salt, optional
Instructions
- Start by shelling the peas if they’re not already cleaned and shelled. See notes for quantities.
- Prepare a pressure canner by adding 2-3 inches of water to the bottom and preheating it to around 140 degrees. Follow the instructions in your pressure canner manual for setup. (See notes for hot pack, I’m providing raw pack instructions here.)
- Bring a kettle of water to a boil on the stove. You’ll need around 1 to 1 1/4 cups of boiling water for each pint jar.
- Load shelled peas into canning jars, either pints or quarts, leaving 1 inch headspace. Do not pack them down, just let them settle naturally.
- Pour boiling water over the peas in the canning jars, maintaining 1 inch headspace.
- Seal the jars with 2 part canning lids to finger tight and then load them into the prepared pressure canner.
- Close the lid of the pressure canner and turn the heat up to high. It will take some time for the pressure canner to reach boiling. Once it’s boiling, allow it to vent steam through the pressure valve for 10 minutes before adding the canning weight and bringing the canner up to pressure. The pressure is 10 psi for a weighted gauge canner below 1,000 feet, see notes for other elevations and canner types.
- Once the canner reaches pressure, set a timer for 40 minutes. The time is the same regardless of the elevation and jar size (don’t use jars larger than quarts).
- Maintain the pressure for the allotted time, and then turn off the pressure canner once the time is complete. Allow the canner to cool completely before removing the canning weight and unsealing the lid. (Do not attempt to speed the cooling process, just allow it to cool naturally.)
- Check jar seals and store any unsealed jars in the refrigerator for immediate use. Properly canned and sealed jars will keep on the pantry shelf for 12-18 months without losing quality.
Notes
Pressure Canning Times and Pressures
The canning time is always 40 minutes, regardless of altitude or jar size. Do not can peas in jars larger than quarts. For a dial gauge pressure canner, the pressure is as follows:- 0 to 2,000 Feet use 11 pounds pressure
- 2,001 to 4,000 Feet use 12 pounds pressure
- 4,001 to 6,000 Feet use 13 pounds pressure
- 6,001 to 8,000 feet use 14 pounds pressure
- 0 to 1,000 Feet use 10 pounds pressure
- Above 1,001 Feet use 11 pounds pressure
Quantity and Yield
- 20-ish pounds of peas (in shell) for a 9-pint canner batch
- 30 to 32-ish pounds of peas (in shell) for a 7-quart canner batch
Raw Pack v. Hot Pack
Both raw pack and hot pack are acceptable canning methods. I’ve tried both, and you cannot tell the difference in a blind taste test of the finished product. Raw packing is easier, so I’ve given those instructions above. If you prefer to hot pack for whatever reason, blanch the peas for 2 minutes in boiling water before packing into canning jars and topping with boiling water. Either the blanching water or fresh boiling water from a kettle works fine. Prepare the canner by preheating to just barely simmering (around 180 degrees), instead of the cooler temperature that’s used for raw pack (around 140 degrees, or very hot to the touch, but no where near boiling). This temperature difference helps more closely match the temperature of the jars going into the canner and reduces the risk of thermal shock to the jars.Nutrition
Nutrition information is automatically calculated, so should only be used as an approximation.
Vegetable Canning Recipes
Looking for more ways to can vegetables and other garden produce?
- Canning Carrots
- Canning Green Beans
- Canning Corn
- Canning Pumpkin
- Canning Sweet Potatoes
- Canning Potatoes
Pressure Canning Recipes
Stock your pantry with these pressure canning recipes:


My mother-in-law made peas and dumplings when the English peas were ready in the garden. They were so very good.
Youhave to check for Maggots when opening seed casings, and don’t directly dump the contents into a bowl of cleaned peas.
Could you use a light acid solution instead of plain water to avoid the need for pressure canning? I think you could still use such peas in a soup or a salad, even if they were a bit sour.
If the mixture is acidic enough you should be able to water bath can it. I would check to see if you can find an approved recipe.
I am canning purple hull peas today. I would like to use broth made with Better Than Bullion, but unsure if this is approved?
Yes, you can process peas in broth or bullion, that’s fine. Better than bullion can be really salty, so watch that flavor wise, but if you’ve made it before and know the flavor you want, that’s fine for canning. If you use real broth, as in made from meat/bones, be sure it’s strained really well as this recipe is fine for canning in liquid broth but does not have a process time long enough to include actual pieces of meat. Better than bullion doesn’t have meat chunks obviously, so that’s ideal. Enjoy!
I tried canning peas for the first time last summer. They ended up having a whitish film about a quarter to half way up the jar. I read that this is starch. I have opened a jar rinsed them and they did taste okay. I did pressure can them using the time table in the booklet that came with the canner. How can I avoid the “starch” issue next time? Yours look so nice in the pictures.
Is the liquid cloudy looking? If so, you can use canning salt and soft water to help avoid this in the future. Of course you want to be sure that you processed the food properly to ensure that there isn’t any spoilage.
How do you can peas that have already been frozen?
If you’re wanting to can frozen peas, I would thaw them to room temperature and then process them using the raw pack method. You might notice a little loss of quality and they will be softer than fresh peas so the hot pack method isn’t recommended.
Thank you for this thorough recipe. I tried it yesterday, and my peas look like soup on the bottom. Any tips or tricks to avoid such problems? Thanks again!
Did you use the raw pack or the hot pack method? And how long did you process them?
Can you can peas in half pint jars. If so would it still be 11 lbs pressure for 40 minutes. For 2 people a pint is a lot of peas. Lol
The processing time for 1/2 pint jars is the same as pint jars.
Can onions (pearl or otherwise) be added to the peas before canning?
No, unfortunately. Or, at least not using this recipe. Onions are approved for canning, but they take a very long time in the pressure canner. (instructions for canning onions here: https://practicalselfreliance.com/canning-onions/)
Though it’s not a tested recipe, in theory, you could can pearl onions and peas together, but you’d have to use the canning times for canning onions. Obviously, you’re doing it at your own risk there since there’s no tested method here. The downside is that you’d add a lot of cooking time to canning the peas, negatively impacting their flavor/texture. You might be better off canning them separately and then combining them at serving time.
You could also use this “choose your own adventure” canning soup recipe from the USDA, which allows you to mix ingredients, but the downside there is they only have you fill the jars halfway, leaving the rest water or broth to ensure that the end product isn’t too thick to allow for heat penetration. Instructions here: https://nchfp.uga.edu/how/can_04/soups.html
That soup recipe also uses the same time as canning onions alone (60 min for pints, 75 min for quarts, adjusting pressure for altitude).\
Hope this helps!
Yes home canned foods are a labor of love! They really don’t save you much if any money and surely doesn’t save any time. But, when you open a jar of what you produced from the fall in the middle of winter there is just some sort of satisfaction with looking at it and the taste and happiness that it brings! Makes it all worth while!
God Bless and stay safe…