
Affiliate disclosure: This post may contain affiliate links. Please see our Privacy Policy.
Canning tomato paste turns a mountain of ripe Roma tomatoes into small jars of concentrated flavor that take up almost no room on the pantry shelf. It’s the same process as tomato sauce, just carried much further, and a single tablespoon does more work in a winter soup than a whole cup of thinner sauce ever could.
Table of Contents
- Notes from My Kitchen
- Ingredients for Canning Tomato Paste
- How to Make Tomato Paste
- Knowing When the Paste Is Done
- Acidifying Tomato Paste for Canning
- Canning Tomato Paste
- Altitude Adjustments
- Yield Notes
- Storage Options
- Recipe Tips
- Ways to Use Tomato Paste
- Canning Tomato Paste FAQs
- Ways to Preserve Tomatoes
- Canning Tomato Paste Recipe
- Tomato Canning Recipes
Every year we grow literally hundreds of pounds of tomatoes, and no matter how many we eat fresh in August, there’s always a wave of them that needs to go into jars before the frost comes. I’ll can whole tomatoes when I’m short on time, because they go up fast, but whole tomatoes eat an enormous amount of shelf space for what you get back out of them.
Canning tomato sauce is a step better, since a food mill handles the peeling and seeding for you, but you’re still storing an awful lot of water in every jar. Paste is where that math finally tips in your favor. You’re canning flavor and nutrition with most of the water cooked out, which means the jar is small, the shelf stays open for other things, and you’re not simmering off a pot of liquid later just to get a sauce thick enough to cling to pasta.
The tradeoff is time. Paste asks for a long, slow afternoon at the stove and a fair bit of stirring, and this recipe comes straight from the National Center for Home Food Preservation, which is the only source I’ll use for a tomato product this thick. If you’re brand new to putting up tomatoes, it’s worth reading through canning diced or crushed tomatoes first, since that post walks through the prep work in more detail and gives you an easier project to cut your teeth on.
Notes from My Kitchen

The first year I made paste, I badly underestimated how long the second cook takes, and I ended up standing over the stove well past dark stirring a pot that seemed determined to stay a sauce. These days I plan for it. I start early, I keep the heat lower than feels efficient, and I stir far more often once the pot starts to thicken, because scorched paste ruins the whole batch and there’s no fixing the flavor once it’s in there. I also learned the hard way not to wear anything light colored while I do it, since a pot of thick tomato paste spits like a frying pan and those stains never really come out.
We harvest cherry tomatoes by the five gallon bucket once they really get going, and those work for paste too, they just take considerably more cooking to get down to the right consistency and the yield is lower than you’d get from meaty paste types. When I’m working with cherries, I usually roast them on sheet trays first to drive off some of the water, then run them through the food mill before I start reducing. It’s an extra step, but it saves an hour of standing at the stove, and the roasting adds a sweetness that I’ve come to like quite a bit.
Ingredients for Canning Tomato Paste
The ingredient list is short, but don’t skip the citric acid! It’s required for safe canning. The seasoning is to personal taste, and you can skip that if you like and make plain tomato paste, but the tomatoes and citric acid are required to get the job done.
- Roma or paste-type tomatoes: These have dense, meaty flesh and very few seeds, which means less water to cook off and a smoother finished paste. Slicing tomatoes and heirlooms will work, but they carry so much more juice that you’ll add hours to the reduction and end up with a smaller yield.
- Citric acid: This is the safety ingredient, and it isn’t optional. Tomatoes sit close to neutral on the pH scale, so acid has to be added before they can be safely processed in a boiling water canner. Buy food grade citric acid rather than the descaling kind sold for appliances.
- Canning or pickling salt: Salt is here for flavor and does nothing for safety, so you can leave it out if you’re watching sodium. Use canning and pickling salt rather than table salt, since the anti-caking agents in table salt will cloud the paste.
- Bay leaves (optional): Two whole leaves go in during the second cook and come back out before the jars are filled. They add a savory background note that you’d miss if it weren’t there.
- Garlic (optional): One whole peeled clove, added and removed the same way as the bay. It’s a single clove for the entire batch, not a whole bulb, and it perfumes the paste rather than making it taste garlicky.
The Romas sold in grocery stores are almost always the Heinz variety, bred by the ketchup company for processing rather than flavor. If that’s what you can get, use it without worrying, because the long cook and the canning process both pull out whatever sweetness the fruit has in it.
If you’re growing your own, though, the heirloom paste varieties are worth the seed order. The three I keep coming back to are Amish Paste, Hogs Heart and Opalka, all of which hold up well here in our short zone 4 season.
There’s more on choosing varieties in my guide to the best tomatoes for canning, and if you’re starting from scratch in spring, growing tomatoes from seed opens up varieties you’ll never find as transplants.
This took me 6 hours, but it was definitely worth it. I did 3/4 the recipe since I only had a little over ten pounds of tomatoes, and I got three half-pints filled plus a little left over that I’ll store in the fridge.
How to Make Tomato Paste
Making paste happens in two distinct cooks with a trip through the food mill in between. The first cook takes the raw tomatoes down by half and softens them enough to separate cleanly from their skins and seeds.
The second cook takes that sieved pulp down by half again, which puts you at roughly a quarter of your original volume and turns sauce into paste.
Preparing the Tomatoes
Wash the tomatoes well, pulling stems as you go and trimming out anything bruised or discolored. Don’t bother peeling or seeding at this stage if you own a food mill or a fine sieve, since the mill will do that job far faster than your hands can. If you don’t have either one, you can peel and seed by hand before cooking instead, and my post on peeling tomatoes covers the fastest way to get through a big pile of them.
Tomato juice separates from the pulp within seconds of a tomato being cut, which is why the order of operations matters here. Working with about a pound of tomatoes at a time, quarter them and drop them straight into a hot saucepan, crushing them with a potato masher over high heat until they come to a boil.
Keep cutting and adding and mashing until every tomato is in the pot, stirring often so nothing catches on the bottom. Resist the temptation to cut everything up ahead of time, because the juices will already have separated by the time the pot gets hot.
Separated juice is perfectly safe to eat, and it’s nearly impossible to avoid if you’re peeling by hand, so don’t panic if it happens. The hot crush method simply gives you a smoother, more cohesive paste at the end. Once everything is in the pot, drop the heat to low and simmer uncovered for about an hour, until the volume has come down by half.
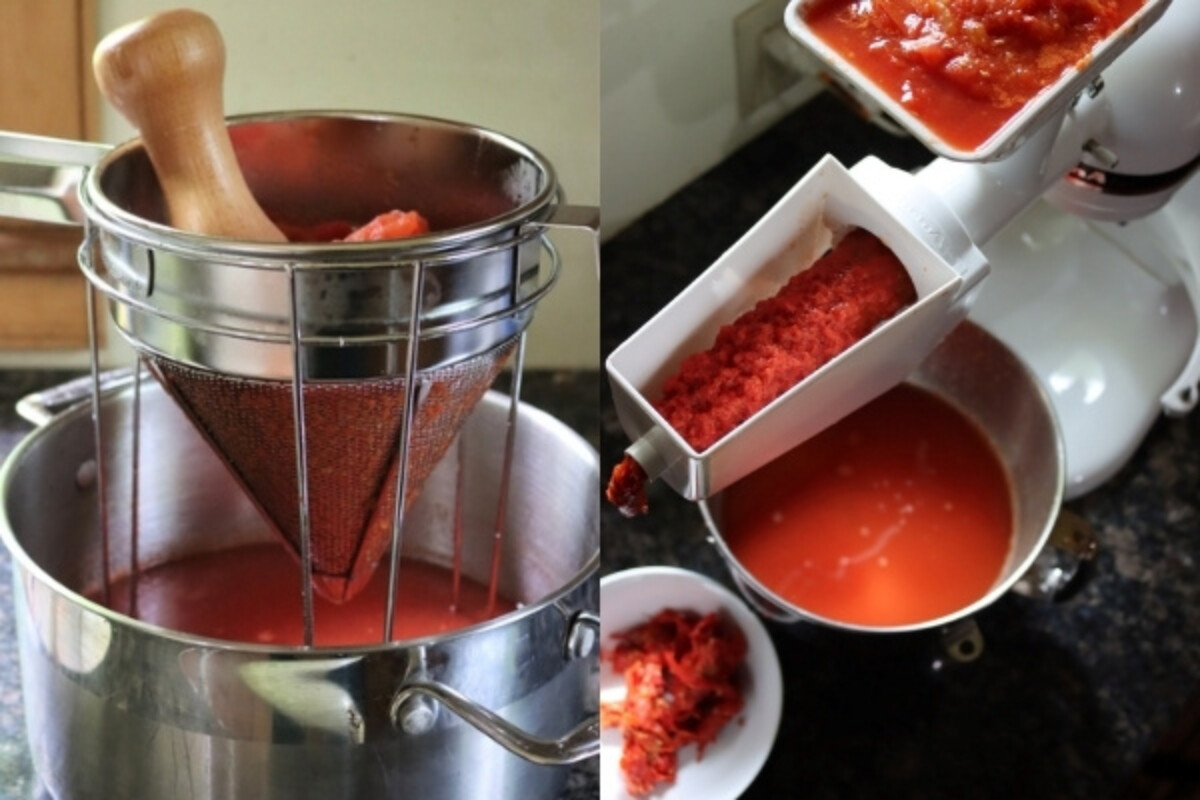
Now run the cooked tomatoes through a food mill or press them through a fine sieve to take out the skins and seeds. I use the food mill attachment on my KitchenAid, which makes short work of a big batch, though a hand crank food mill or a chinois will get you to the same place with a little more elbow grease. If you peeled and seeded by hand at the start, you can skip this step entirely and keep cooking.
Weston makes a really nice stainless steel tomato strainer, and that’s worth investing in if you’re putting up a lot of tomatoes either as paste or as sauce.
Whatever you do, don’t reach for a blender or food processor to speed this up. The blades whip air into the tomatoes, and incorporated air is exactly what you don’t want in a product you’re about to can. It also purees the skins back into the paste instead of removing them, which isn’t recommended for canned tomato products.
Cooking Down the Paste
Return the sieved tomatoes to the pot and stir in the citric acid until it’s completely dissolved and evenly distributed. Then add the salt, the bay leaves, and the garlic clove if you’re using them. Getting the acid in at this stage rather than at the end is a safety requirement, and I’ve explained why in the section just below.
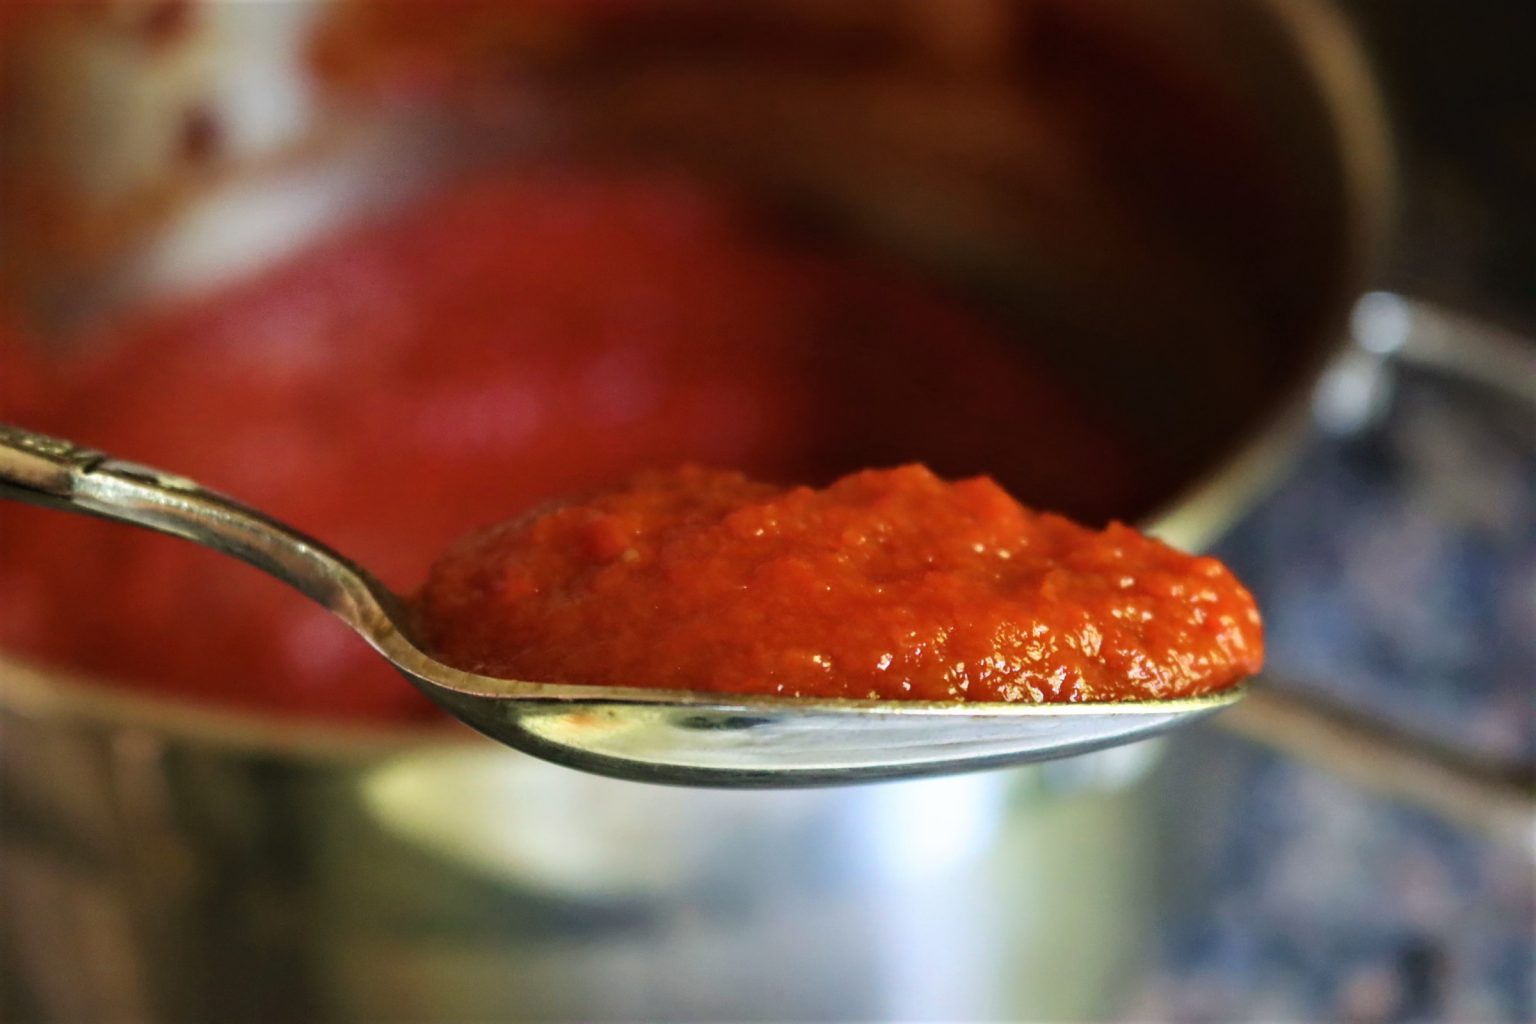
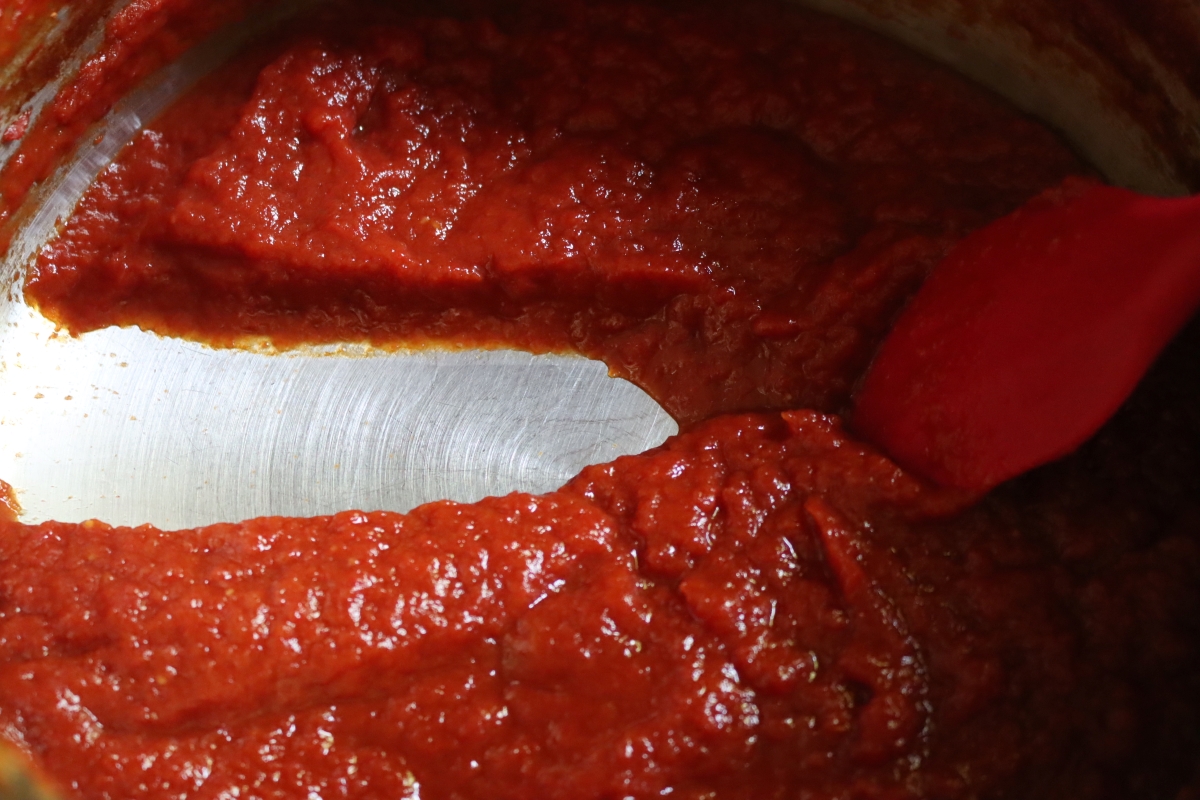
Cook uncovered over medium heat until the paste is thick enough to round up on a spoon, which takes roughly two and a half hours. Stir frequently the whole time, and almost constantly toward the end, because the thicker it gets, the faster it will scorch. Be careful of spatter as well, since thick boiling paste throws hot droplets a surprising distance.
Knowing When the Paste Is Done
Two simple checks tell you the paste has reduced far enough:
- The spoon test ~ A spoonful of paste should round up and hold its shape rather than running off flat.
- The trace test ~ Drag a spoon across the bottom of the pot. The paste should part and stay parted for a moment instead of flooding back in immediately.
- Don’t overshoot it ~ Home canned paste is meant to be softer than the stiff commercial paste that comes in a little can. Reducing it past the point where it rounds on a spoon makes it harder for heat to move through the jar during processing, and that matters for safety.
Acidifying Tomato Paste for Canning
Adding citric acid is the single step in this recipe you cannot skip. A lot of people assume tomatoes are highly acidic, but they’re actually borderline when it comes to canning, and modern varieties have drifted further that way over the decades. Without added acid, tomato products aren’t acidic enough to be safely processed in a boiling water canner.
With most tomato products I tell people to put the acid directly into the empty jars before filling them, which is how I handle it when I’m canning sauce or whole tomatoes. Paste is the exception, and it’s an important one. The NCHFP is specific that the citric acid has to go into the sieved tomatoes before they’re cooked down, because paste is far too thick to distribute acid evenly once it’s finished. Stirring it into a full jar of finished paste simply won’t work, and the ratio of acid to pounds of tomatoes has to stay consistent.
Readers ask about lemon juice constantly, so it’s worth being clear. Most tomato canning recipes give you the choice of bottled lemon juice or citric acid, and in general one teaspoon of citric acid is the equivalent of a quarter cup of bottled lemon juice. This particular recipe, though, was tested with citric acid only, and the published version gives no lemon juice option at all. I’d stick with citric acid here.
White vinegar is technically an acidifier for some tomato products, but I’d steer well clear of it for paste. It will leave you with something that tastes distinctly pickled, and after five hours at the stove that’s a hard thing to discover.
Canning Tomato Paste
Have your water bath canner, eight or nine half pint jars, and two-part lids ready before the paste finishes, since you want to fill the jars while everything is still hot. If this is your first canning project, my beginner’s guide to water bath canning covers the whole process start to finish, and common beginner canning mistakes is worth a read too. There’s also a full rundown of what’s worth owning in my guide to canning supplies.
Two things about jars. Paste is dense, which makes it slow for heat to work its way to the center of a jar, so this recipe has only been tested in half pints. Don’t move up to pints or quarts. You can safely go smaller, and quarter pint jars processed for the same length of time work beautifully if you only use a spoonful at a time.
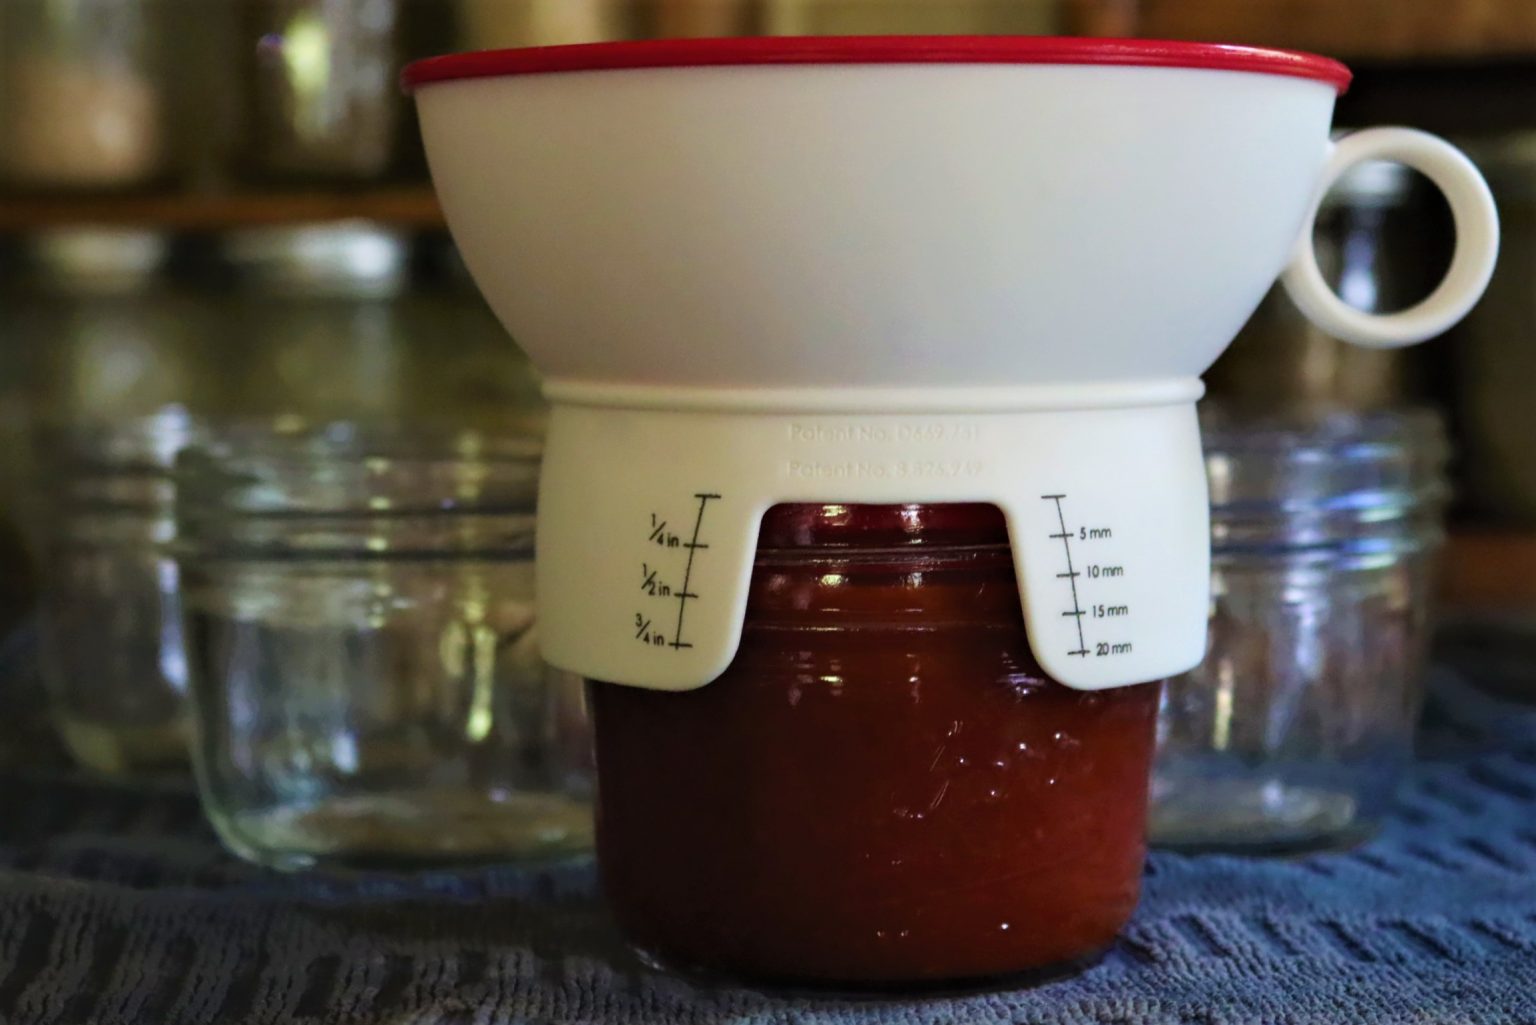
Fish out the bay leaves and the garlic clove, then ladle the hot paste into your hot jars, leaving 1/2 inch of headspace. A canning funnel with headspace markings saves a lot of mess with something this thick. The jars need to be hot going in to prevent thermal shock and cracking.
Run a nonmetallic spatula, plastic knife, or wooden chopstick down between the paste and the jar wall to release trapped air, which takes some persistence in a product this thick. Wipe the rims with a clean damp cloth, center the lids, and screw the bands down until they’re fingertip tight, meaning you stop as soon as the band stops turning easily. Don’t crank them down, and don’t touch them again after processing.
Process the jars in a boiling water canner for 45 minutes, adjusting for your altitude using the chart below. When the time is up, turn off the heat and let the jars sit in the canner another 5 minutes before lifting them out with a jar lifter. That short rest helps prevent siphoning.
Altitude Adjustments
Water boils at a lower temperature as elevation increases, so half pint jars of tomato paste need longer processing at higher altitudes:
- 45 minutes for altitudes below 1,000 feet
- 50 minutes for altitudes of 1,001 to 3,000 feet
- 55 minutes for altitudes of 3,001 to 6,000 feet
- 60 minutes for altitudes of 6,001 feet and higher
Yield Notes
Paste has a low yield by design, since you’re cooking away roughly three-quarters of what you started with:
- 14 pounds of tomatoes ~ Makes about 8 to 9 half pint jars.
- Tomato variety changes everything ~ Watery slicing tomatoes and cherry tomatoes will give you noticeably fewer jars from the same weight, and they’ll take longer to get there.
- Scaling down is fine ~ You can halve or quarter this recipe as long as you keep the ratio of citric acid to pounds of tomatoes the same. Watch a small batch closely, because a shallow pot of paste scorches fast.
- Save the odd jar ~ If you come up short of a full jar at the end, refrigerate it and use it up in the next week or two rather than processing a partially filled jar.
Set the jars on a rack or a folded towel with an inch of space around each one, away from cold surfaces and drafts. Give them 12 to 24 hours to come to room temperature before you check the seals.
Press gently on the center of each lid, and if it flexes down and springs back the jar hasn’t sealed and belongs in the fridge. If it doesn’t move at all, you’re set. Take the rings off, label the jars with the contents and the date, and put them away.
Storage Options
Canning isn’t the only way to keep a batch of paste, and if you’d rather skip the canner entirely the freezer works well for this.
- Refrigerator ~ An opened jar keeps about a week to ten days in the fridge. Half a pint is a lot of paste for a small household, so I usually freeze whatever I won’t get through quickly.
- Freezer ~ Spoon the finished paste into ice cube trays, freeze solid, then pop the cubes into a freezer bag. Each cube runs right around a tablespoon, which is exactly the amount most recipes call for. Frozen paste holds its quality for about 6 months.
- Canned ~ Sealed jars stored somewhere cool, dark and dry hold their quality for 12 to 18 months. Refrigerate after opening.
Recipe Tips
A handful of things I’ve learned across a lot of paste batches, plus the questions readers send most often:
- Use a slow cooker for the second reduction ~ Once the tomatoes have been through the food mill, you can move them to a slow cooker with the lid off and let them reduce there. It takes longer, but it won’t scorch and it won’t redecorate your kitchen with spatter.
- Roast the tomatoes first ~ Halve and roast the tomatoes on sheet pans to drive off water before the first stovetop cook. Finish the reduction on the stove or in a slow cooker after milling.
- Frozen tomatoes work ~ If you’ve been stashing whole tomatoes in the freezer all season, thaw them and use them. Drain off the water they release first and you’ll shave time off the cook.
- Peeling first is fine ~ Some people would rather peel and seed cold tomatoes than run hot ones through a mill, and there’s nothing wrong with that. Just skip the milling step and go straight through.
- Leave the skins out ~ Pureeing the peels back in isn’t recommended for canned tomato products, so run everything through the mill or sieve even if you like the extra fiber.
- If it starts to scorch ~ Spoon the good paste off the top into a clean pot without scraping the bottom, then taste it. If there’s no burnt flavor, carry on. If there is, it won’t cook out.
- You can stack the jars ~ Half pints are short enough to double stack in most canners. Put a rack between the layers so water circulates freely around every jar.
- Water bath processing isn’t optional ~ Filling hot jars and letting them seal on the counter will give you a sealed lid, but it isn’t a safe method for any canned food. Process the jars.
Ways to Use Tomato Paste
A spoonful of paste bloomed in hot oil at the start of a braise, a chili, or a pot of soup builds a savory backbone that’s hard to get any other way. I stir it into bean dishes, into pan sauces for meat, into stews that need more body, and into the base of nearly every long simmered thing we eat between November and April.
It’s also what turns a thin pot of sauce into something that actually clings to noodles, which is worth knowing if your heirloom tomatoes cooked down watery. In tested recipes, like thickened tomato salsa, you can add it to salsa as well.
Once the paste is put up, there’s usually still tomatoes coming in, and it’s worth spreading the harvest across a few different methods so you’re not stuck with nine cases of the same thing.
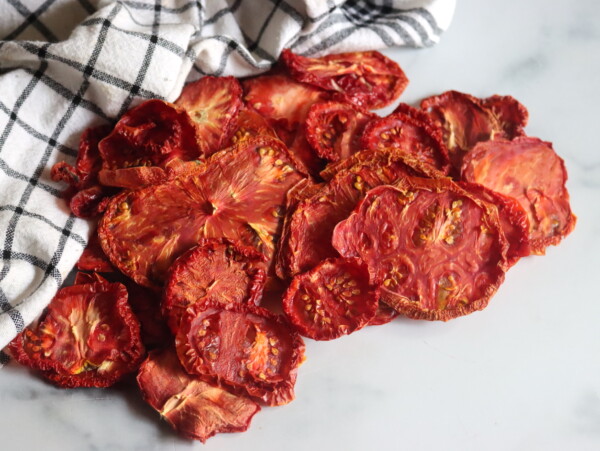
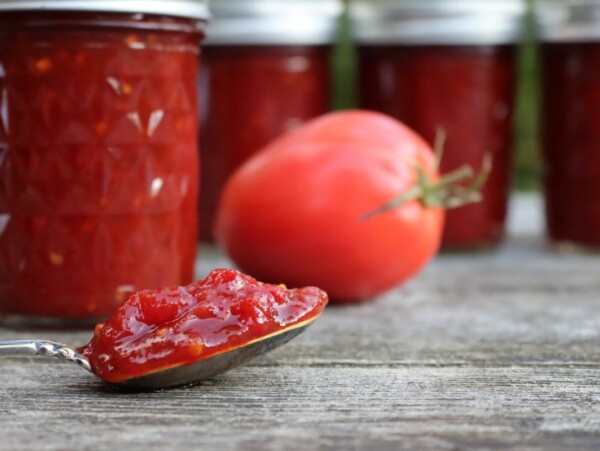
Tomato jam is a good use for a smaller batch, dehydrating tomatoes takes almost no active attention, and freeze drying tomatoes is worth considering if you have the equipment. My full list of tomato canning recipes has the rest if you’re after more ideas.
If you’re running a big tomato year and your kitchen is getting unbearable, setting up an outdoor canning kitchen changed our whole August routine for the better. There’s also a broader index of canning recipes covering everything else that comes out of the garden.
Canning Tomato Paste FAQs
This recipe starts with 14 pounds of Roma or paste type tomatoes and yields about 8 to 9 half pint jars. That works out to roughly a pound and a half of fresh tomatoes per half pint jar, because you’re cooking away about three quarters of the original volume. Watery slicing tomatoes, heirlooms, and cherry tomatoes all yield less than paste types from the same weight and take longer to reduce.
This particular recipe was tested with citric acid only, and the published version gives no lemon juice option, so citric acid is what I’d use. For most other tomato products the two are interchangeable, and 1 teaspoon of citric acid is roughly equal to 1/4 cup of bottled lemon juice. The acid also has to be stirred into the sieved tomatoes before they’re cooked down, not added to the jars, because finished paste is far too thick to distribute acid evenly.
No. Tomato paste is dense enough that heat moves through it slowly, and this recipe has only been tested in half pint jars. Moving up to pints or quarts risks the center of the jar never reaching a safe temperature. You can safely go smaller, though, and quarter pint jars processed for the same 45 minutes work well if you only use a spoonful at a time.
Plan on about three and a half hours of cooking, split into a one hour first simmer and a two and a half hour second reduction after the tomatoes go through the food mill. Readers regularly report five or six hours with watery tomatoes or a larger batch, so give yourself a full afternoon. Cooking at a lower heat takes longer but dramatically reduces the risk of scorching the batch.
Sealed jars stored in a cool, dark, dry spot hold their quality for 12 to 18 months, though they stay safe beyond that as long as the seal is intact. Once a jar is opened, keep it in the refrigerator and use it within a week to ten days. If half a pint is more than you’ll get through, freeze the rest in ice cube trays, where each cube is about a tablespoon.
Ways to Preserve Tomatoes
Did you make this canning tomato paste recipe? Leave a ⭐ star rating and tell me in the 📝 comments how many jars you got out of your batch!
And make sure you stay in touch with me by following on social media!
Canning Tomato Paste
Equipment
Ingredients
- 14 lbs. Tomatoes, Roma or Paste Type
- 1 tsp. citric acid, mandatory, do not substitute
- 2 large bay leaves
- 1 tsp. canning salt
- 1 clove garlic, optional
Instructions
- Wash the tomatoes, remove the stems, and trim away any bruised or discolored parts.
- Working with about a pound at a time, quarter the tomatoes and add them to a large stockpot over high heat.
- Crush the tomatoes with a potato masher as they heat, bringing them to a boil.
- Keep quartering and adding tomatoes, crushing as you go, until all of them are in the pot. Stir often to prevent sticking.
- Reduce the heat and simmer uncovered for about 1 hour, until the volume has reduced by half. Stir frequently.
- Press the cooked tomatoes through a food mill or fine sieve to remove the skins and seeds. Do not use a blender or food processor.
- Return the sieved tomatoes to the stockpot. Stir in the citric acid until fully dissolved and evenly distributed.
- Stir in the salt, bay leaves, and garlic clove if using.
- Cook uncovered over medium heat until the paste is thick enough to round up on a spoon, about 2 1/2 hours. Stir frequently, and almost constantly toward the end.
- As the paste nears done, prepare a boiling water canner, half-pint jars, and two-part lids.
- Remove and discard the bay leaves and garlic clove.
- Ladle the hot paste into hot half-pint jars, leaving 1/2 inch headspace.
- Slide a nonmetallic tool between the paste and the jar wall to release air bubbles, then adjust the headspace.
- Wipe the rims clean, center the lids, and screw the bands to fingertip tight.
- Process in a boiling water canner for 45 minutes, adjusting for altitude (see notes).
- Turn off the heat and let the jars rest in the canner 5 minutes before removing with a jar lifter.
- Set the jars on a towel or rack with an inch of space around each, and leave undisturbed 12 to 24 hours.
- Remove the rings and check the seals. Refrigerate any jar that didn’t seal and use it first.
- Label with contents and date. Sealed jars hold quality on the pantry shelf for 12 to 18 months. Refrigerate after opening.
Notes
- 45 minutes for altitudes below 1,000 feet
- 50 minutes for altitudes of 1,001 to 3,000 feet
- 55 minutes for altitudes of 3,001 to 6,000 feet
- 60 minutes for altitudes of 6,001 feet and higher
Nutrition
Nutrition information is automatically calculated, so should only be used as an approximation.
Tomato Canning Recipes
Find the perfect recipe
Searching for something else? Enter keywords to find the perfect recipe!











Your recipe says 1 clove of garlic..?.. did you really only use 1 clove of a garlic bulb or 1 entire bulb?
Yes, this is a pretty standard recipe.
Thank you for the guiding recipe. “Guiding” because I had almost full hamper (Canadian) Roma tomatoes. I ended up with 28 cups (finely) chopped tomatoes. However, because I had more than your recipe, it took me 2 days to process all 🙂 (long simmering, to reduce moisture aka “juice”).
The paste turned out thick! It’s my first time doing it. Tomorrow, I will reheat the paste and then, will be doing bath water canning.
To purchase store bough tiny cans seems to get more expensive by the week!?
I don’t mean to ramble on, just explaining a little 🙂
I’m not sure how many cups this will yield but will find out tomorrow.
I added (according to my perhaps lame calculation) 120 ml store bought lemon juice
Thank you again for your guidance and recipe that to me, was enjoyable to try.
You’re welcome. So glad you enjoyed the recipe.
Can i peel my tomatoes then put them in the strainer before i cook them? It seems to me it would be safer than putting them in the strainer hot.
You can definitely peel them first if you prefer.
If using bottled lemon juice, how much do I use? Waiting for more romas to ripen so I can make this!
This took me 6 hours, but it was definitely worth it. I think it took me a little while longer because I was scared of burning it. I did 3/4 the recipe since I only had a little over ten pounds of tomatoes, and I got three half-pints filled plus a little left over that I’ll store in the fridge. Next time, I think at step 8 (after the food mill) I’ll put the sauce in a crock pot to simmer. Maybe it won’t make as big as a mess (rest in peace stovetop, counter, my shirt, the nearby air fryer, and the kettle I left on the stove).
Oh my goodness, that made me chuckle a little. So glad you enjoyed the recipe.
I just made this recipe but it only made 4 half pint jars. I thought it should look like what I buy from the store which is very thick. Is it ok that I processed it for 45 minutes even though it is thicker?
Thickening the tomato paste too much could definitely affect the ability of the heat to permeate completely through the product which could definitely be a safety issue.
Is it safe to half or even quarter this recipe? We don’t use paste that often but want to have some on hand.
thanks!
Yes, you can reduce the recipe, but really keep an eye on it as when you’re cooking that little in a pan it has a tendency to burn when it starts to thicken. Make sure you stir it frequently.
I’m a 3rd generation canner. My grandmother used her trusty ball book which I now have. I have never put citric acid of any kind in my tomatoes nor have any of the other women in my family They have water bathed and kept on the shelf for years with no trouble. I personally will probably not be adding any, but thank you for the recipe. Tomato paste is one of the only tomato products that I still purchase. This sounds so easy, and I liked the idea someone had above of freezing in ice cube trays. That will work so well for my family! Blessings!
It has always been an assumption that tomatoes could be canned as a high acid food. As more research has been done, it has been determined that tomatoes actually have a more neutral pH. For this reason, it is recommended that additional acid be added in order to make them safe for water bath canning. This is a precaution that is taken in order to avoid botulism bacteria. This bacteria is deadly and impossible to detect until someone gets sick. I totally understand your desire to follow the traditions of the generations who have come before you, but I personally would not want to risk my family’s health, especially when there is such an easy solution.
Is there a way to save tomatoes if they start to burn? Or should the whole batch be thrown away?
I’m canning for the first time and in my very first stage of cooking the tomatoes they seem to have burned. There is a slight burn smell to them and I’m hoping there is a way to salvage them.
Spoon them off the burned part at the bottom of the pan and into a clean pan. Resume cooking and taste them as you go. If they still taste ok, then you’re fine. Just make sure you don’t scrape the burned part up when you move them to a new pan.
We like the added fiber from the peels.. Could I run this through a food processor once the tomatoes are cooked to incorporate the peelings??? Then continue to reduce?
It is no longer recommended to include the peels when canning tomato products.
Can you use a slow cooker to reduce the tomato paste leaving the lid off.
Yes that should work just fine.
can you use fresh lemon juice instead of the citric acid? thank you
You can use lemon juice but it is recommended to use bottled lemon juice since that is the only way you can know the acidity for certain.
can you roast the tomatoes in the oven instead of cooking on top?
You can roast them for the first part of the cooking process but then you would want to cook it down on the stove after processing it through the food mill.
Like this recipe very much
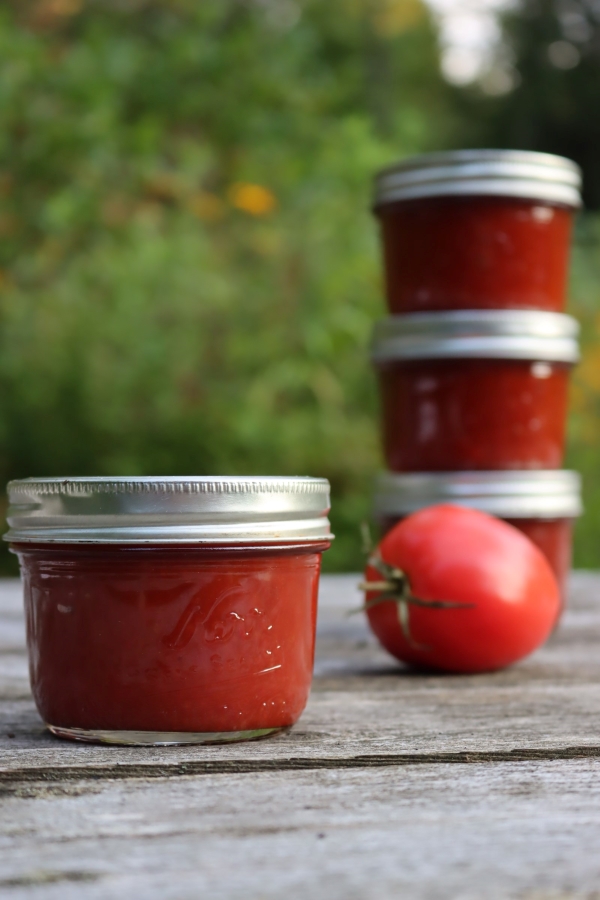
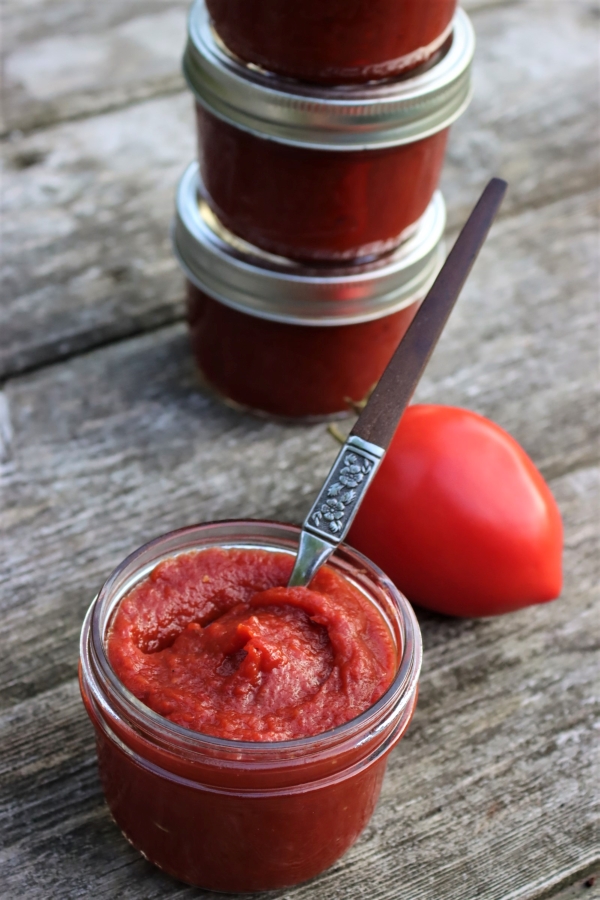
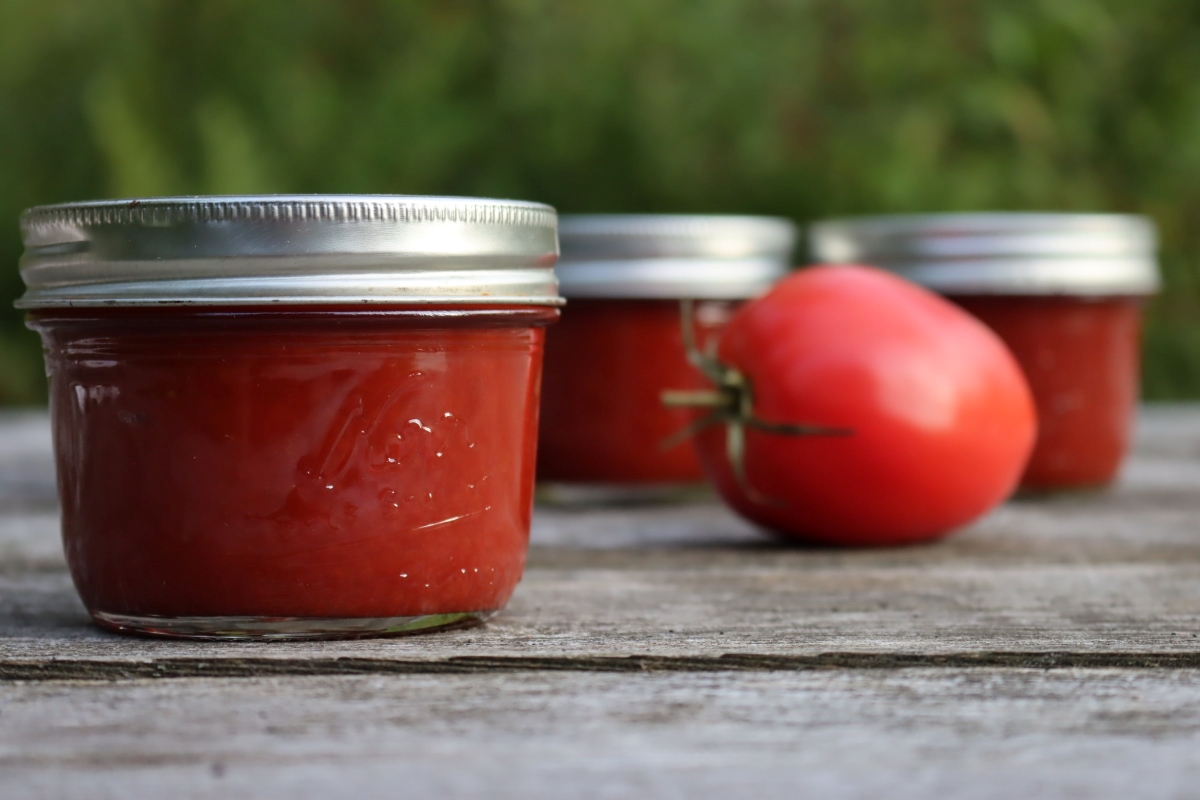
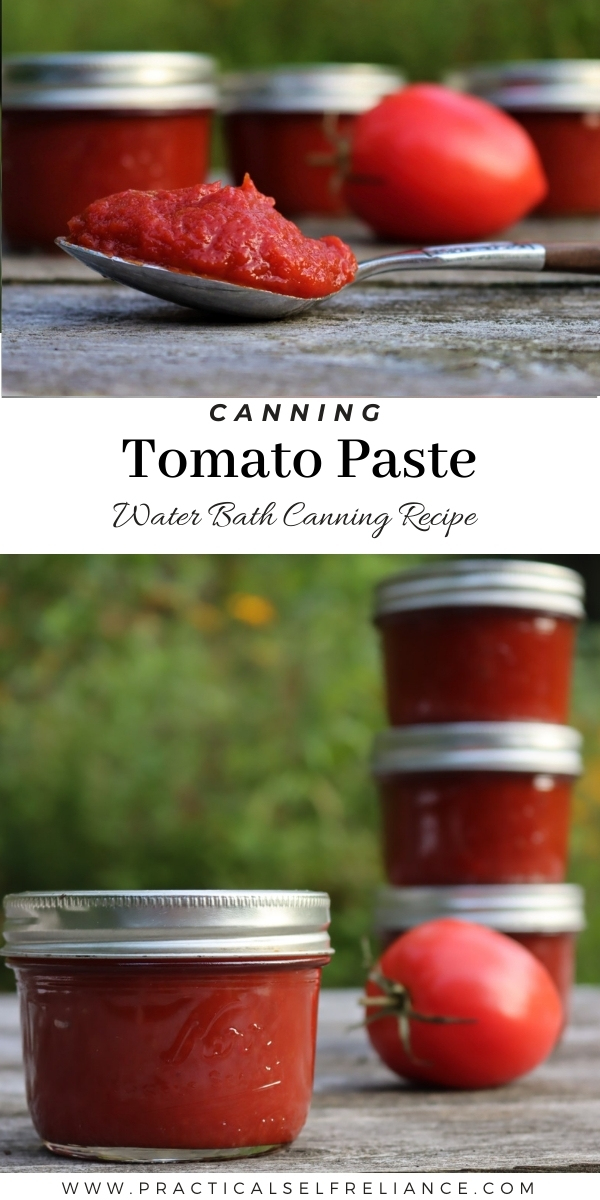
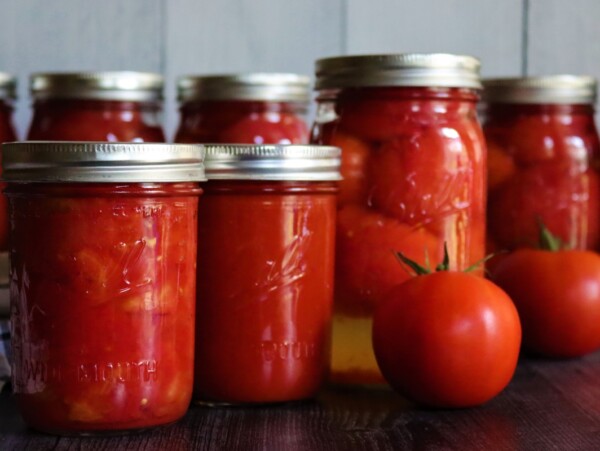
You say 1/2 pint, 8 oz jars. The pictures show 1/4pint, or 4 oz jars. Which is correct.
The recipe is written for half pint jars but you can certainly use smaller jars if you wish.
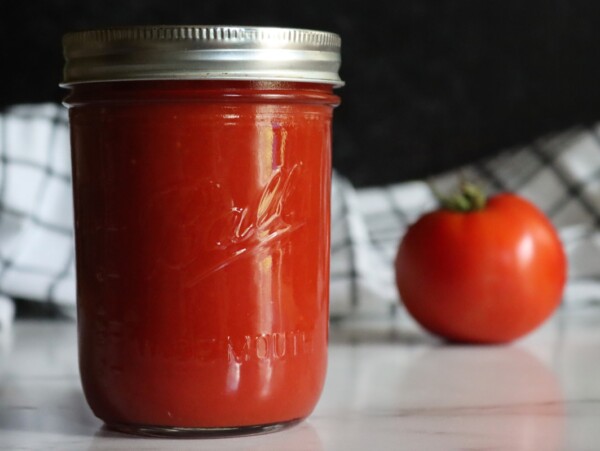
I believe the jar in the picture is the shorter wide mouth 1/2 pint. I thought as you did at first but then took a closer look. I have actually ordered the shorter 1.2 pint, since I thought that those would be nice for tomato paste versus the taller narrow mouth.. I can see how the picture could be mistaken for the 1/4 (4 oz.) jars.
Do you know if it would still can well to purée the tomatoes first in a blender and leave the puréed seeds and skins in the paste?
I have done this before when putting it in the freezer but if you’re canning, it’s best to remove the skins. The skins can often hold a lot of bacteria.
Wondering if I could freeze this in ice cube trays and then transfer to a freezer bag instead of canning.
Yes, you can definitely do that.
Because the jars are so small, is it ok to stack them on top of each other in the canner to get more done in one processing time?
Yes, you can process two layers of jars at one time. You do want to place a rack in between them if possible so that the steam and/or water can circulate properly around the jars.
Good explanation of this process. Good recipe too, even if it is incredibly simple. Thanks for this post.
You’re welcome. So glad you enjoyed the post.
How long would processing time be for quarter pint jars? I rarely make a recipe that calls for more than a couple tablespoons at a time? Thank you for sharing your recipe! I’m so excited to make it!
There isn’t a specific processing time indicated for that size jar so I would just process the smaller jars the same amount of time as the half-pints.