Affiliate disclosure: This post may contain affiliate links. Please see our Privacy Policy.
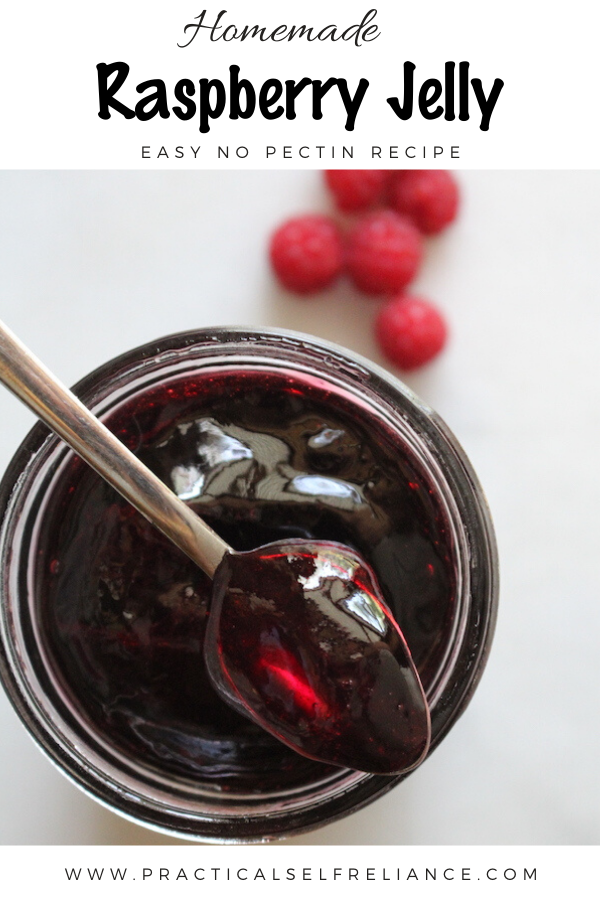
Raspberry jelly is easy to make at home with just two ingredients: raspberries and sugar. No need to add commercial pectin for this old-fashioned seedless raspberry jam.
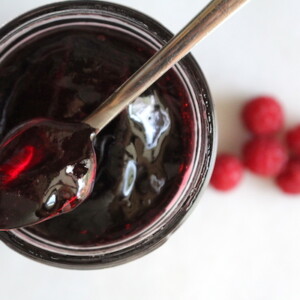
Homemade raspberry preserves are a real treat, tart and sweet all at the same time and just bursting with fresh raspberry flavor. Just one problem…the seeds.
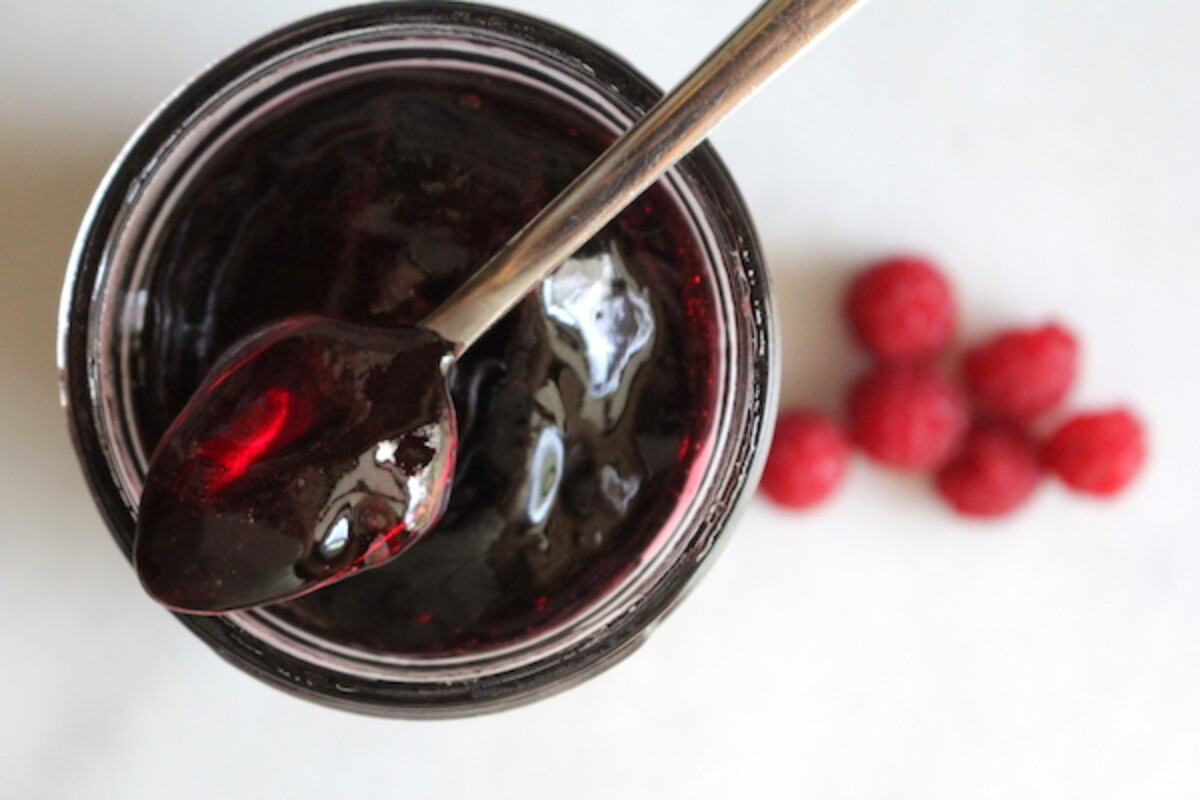
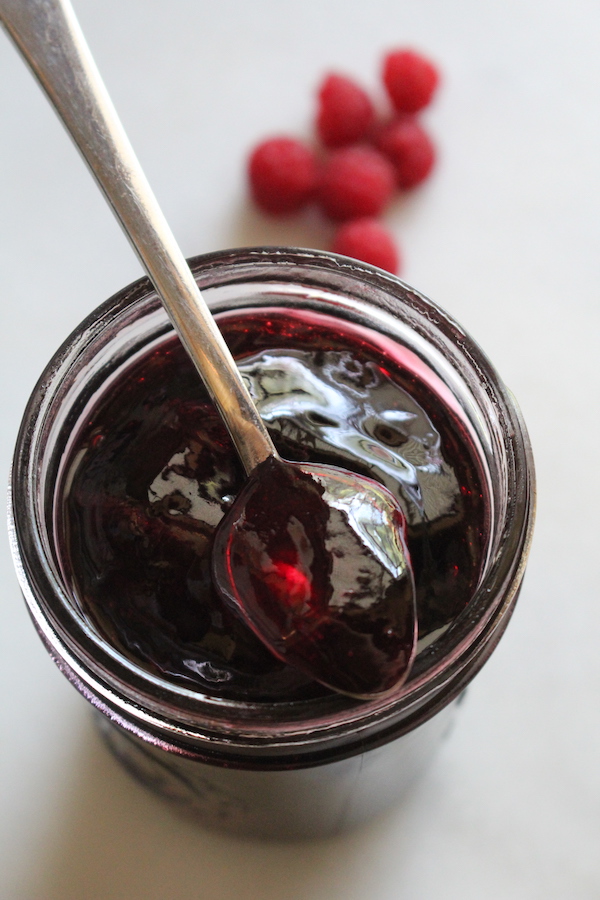
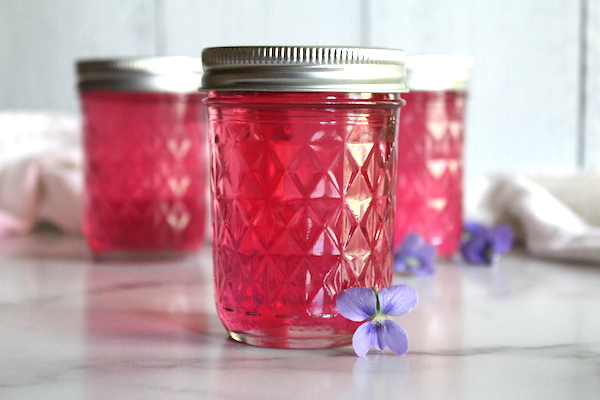
Seedless raspberry jam, also known as raspberry jelly, has all that amazing raspberry flavor but without the seeds.
There are a number of quick and easy ways to remove the seeds before making raspberry jelly. After that seedless raspberry jam comes together in about 30 minutes on the stove.
This simple raspberry jelly comes together without added pectin. Since raspberries are naturally tart and acidic, there’s no need to add lemon juice either (unless you want to).
Just two ingredients, raspberries and sugar, and you’re well on your way to a silky smooth homemade raspberry jelly.
How to Make Raspberry Jelly
The first step to making raspberry jelly is extracting the raspberry juice while removing the seeds.
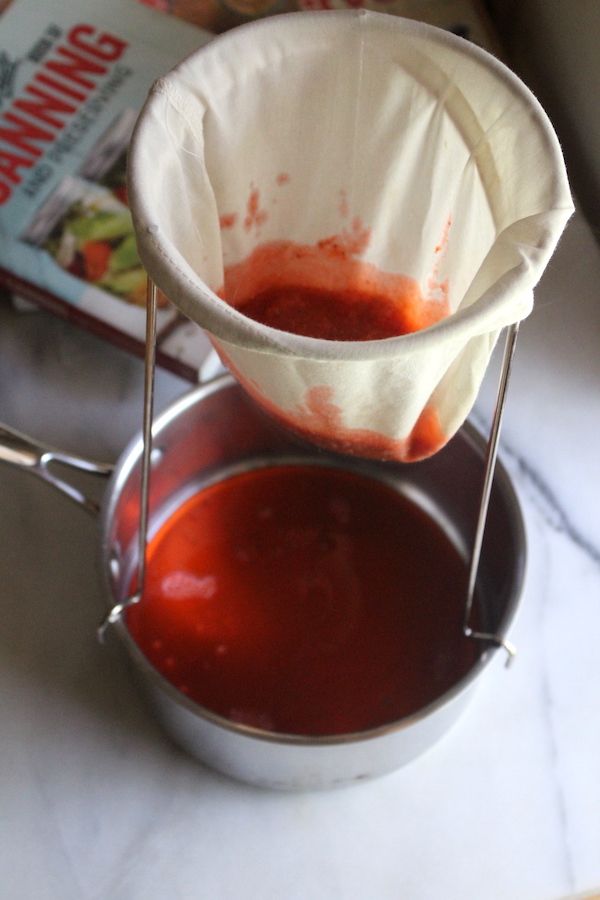
One of the simplest methods for juicing raspberries involves either cheesecloth or a jelly bag. Start by placing the raspberries in a saucepan with a few tablespoons of water. Mash with a potato masher or the back of a spoon.
Turn on the heat and bring the raspberries to a simmer. Cook about 5-8 minutes, until they’ve released their juices and completely fallen apart.
Pour the raspberry juice into a jelly bag and allow it to drain overnight (or at least 4 hours). Alternately, line a fine-mesh strainer with butter muslin and use that as a jelly bag.
This simple method is pretty foolproof and works efficiently with minimal equipment. This year, however, I’ve fallen in love with my steam juicer.
I originally bought it for juicing blackcurrants for blackcurrant jelly and blackcurrant mead, as they’re notoriously difficult to cleanly juice with a jelly bag. Since then though, I’ve used it for just about every fruit under the sun…even a really epic cherry wine…
and now homemade raspberry jelly!
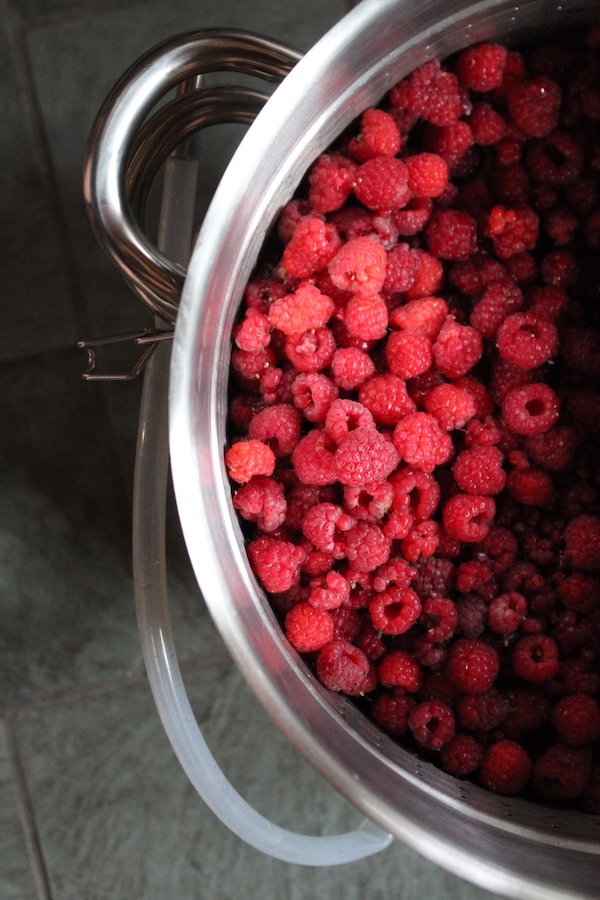
I started with 4 pounds of raspberries or about 8 pints. That yielded precisely 5 cups of juice.
This raspberry jelly recipe is in ratios, however. Start with more or less raspberries, but just be sure to measure the juice before proceeding.
For every cup of extracted raspberry juice, add one cup of sugar. You can use less sugar, but it will take considerably longer to reach gel stage, and your yield will be lower.
My raspberries were quite tart, so it worked beautifully, but consider adding a bit of lemon juice if you have very sweet fruit.
Next, add the raspberry juice and sugar to a heavy-bottomed deep-sided pot. Don’t fill the pot more than about 1/3 to 1/2 of the way, as raspberry jelly foams quite a bit while it’s cooking.
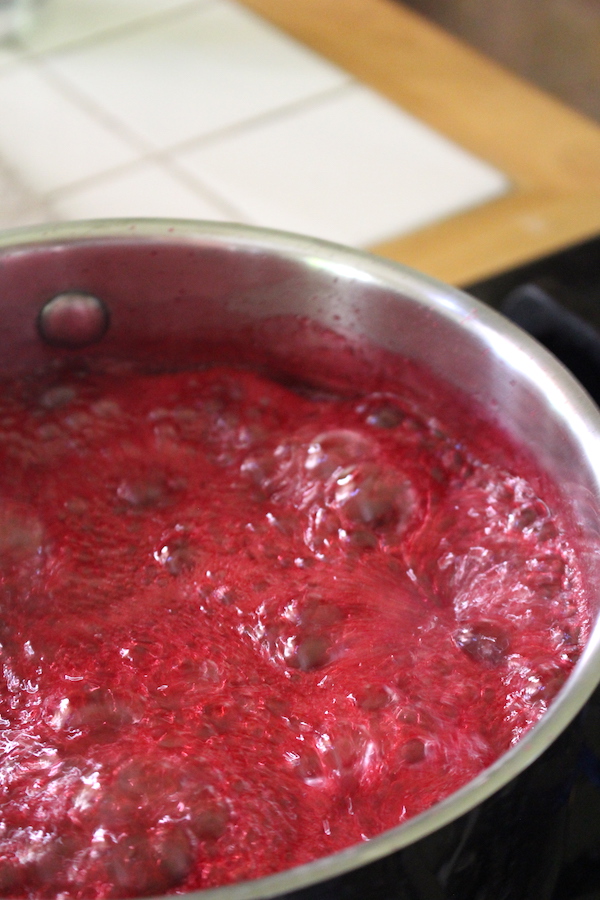
Boil the raspberry juice and sugar on medium-high heat, stirring frequently to prevent scorching. Watch for overflows, and stir the bubbles down if they start to come near the top of the pot.
After about 30 minutes, the jam should be at or near gel stage.
Gel stage is when the sugar concentrates enough to raise the temperature to 220 degrees on an instant-read thermometer (at sea level). For every 500 feet above sea level, that drops by 1 degree as the boiling point of water lowers with elevation.
We’re right about 1000 feet in elevation, so I finish my raspberry jelly at 218 degrees F.
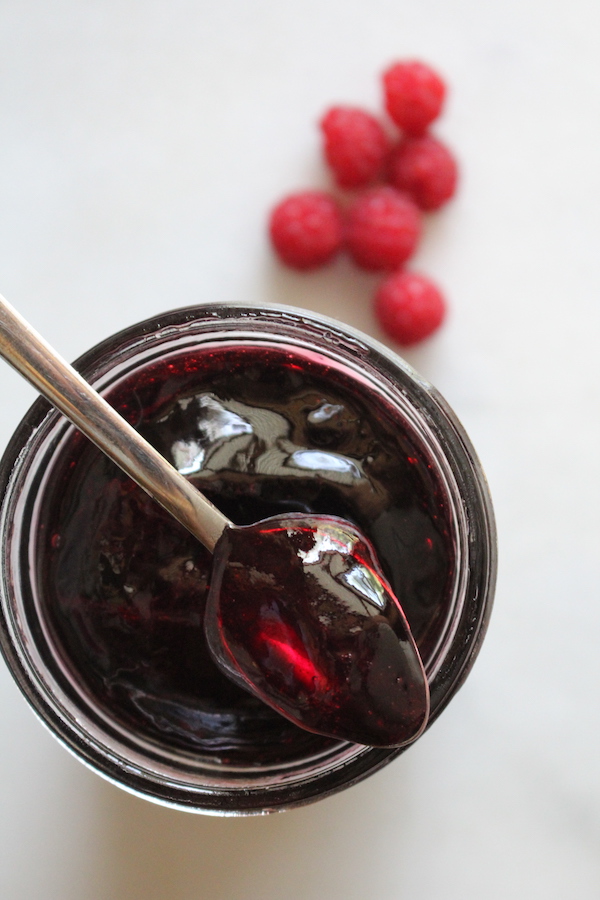
Lacking an instant-read thermometer, place a plate in the freezer and test the jelly’s consistency as it gets close. When finished, a small amount spooned onto the cold plate should set up quickly and it should wrinkle when you push it with a fingernail.
You can also do the spoon test. Scooping up a spoonful out of the pot and watching how it pours. If it drips off the spoon it’s not ready, wait until it sheets off the spoon.
Either way, once the raspberry jelly reaches gels stage, it’s time to turn off the heat and get it into clean canning jars.
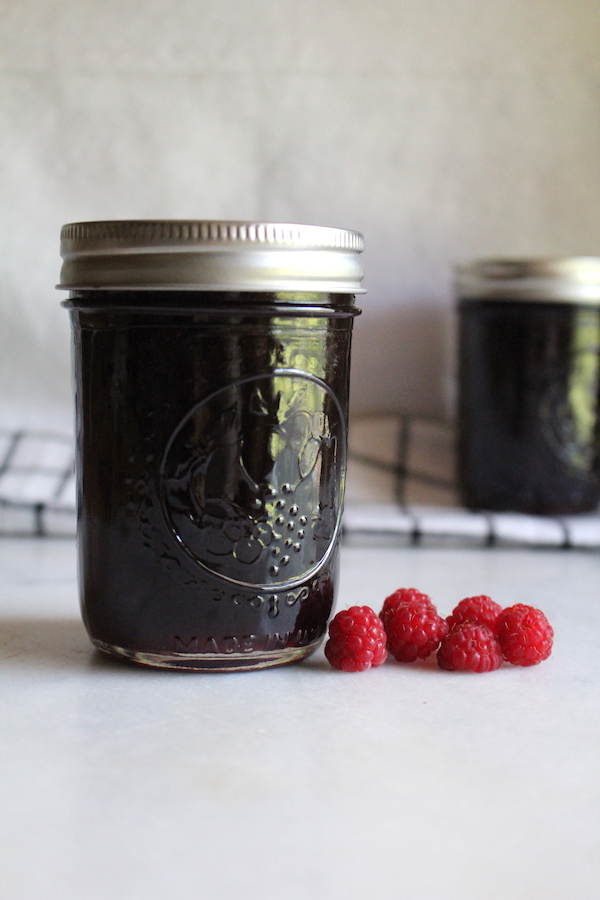
Canning Raspberry Jelly
Raspberry jelly can be made as a refrigerator or freezer jelly, or you can water bath can it for long-term preservation at room temperature.
If you’re canning, fill jars leaving 1/4 inch headspace. Air bubbles shouldn’t really be an issue with this seedless raspberry jam since it’ll flow easily off the ladle, but de-bubble the jars if necessary.
Cap with 2 part canning lids and process in a water bath canner for 10 minutes.
Remove the jars to a towel on the counter to cool, and check seals after 24 hours. Store any unsealed jars in the refrigerator for immediate use and put the rest up in the pantry.
Jelly Recipes

Raspberry Jelly (Without Added Pectin)
Ingredients
- 5 Cups Raspberry Juice, from about 8 pints fruit
- 5 Cups Sugar
Instructions
- Extract raspberry juice from fresh or frozen raspberries. The simplest method is bringing them to a boil for a few minutes in a saucepan, then straining through a jelly bag or cheesecloth.
- Measure the juice and add 1 cup of sugar for every cup of raspberry juice.
- Bring the sugar and raspberry juice to a boil over medium-high heat, using a deep heavy-bottomed saucepan.
- Cook, stirring frequently, for about 30 minutes until the mixture reaches gel stage. Watch for boil overs and scorching.
- Test for gel stage with an instant-read thermometer (220 degrees F at sea level), or on a plate placed in the freezer.
- Once gel stage is reached, remove the raspberry jelly from the heat and ladle into canning jars, leaving 1/4 inch headspace.
- Store in the refrigerator for immediate use, or process in a water bath canner for 10 minutes.
Notes
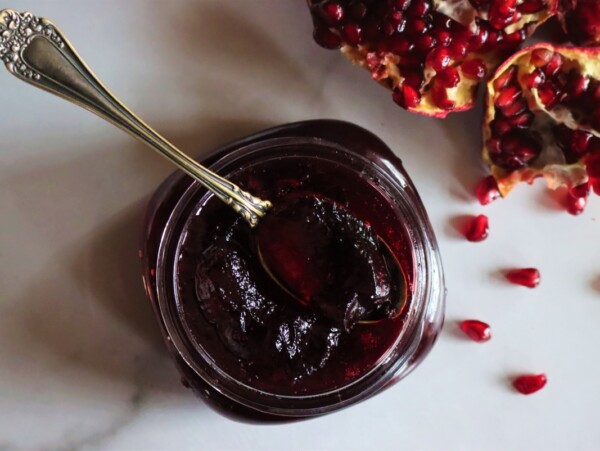
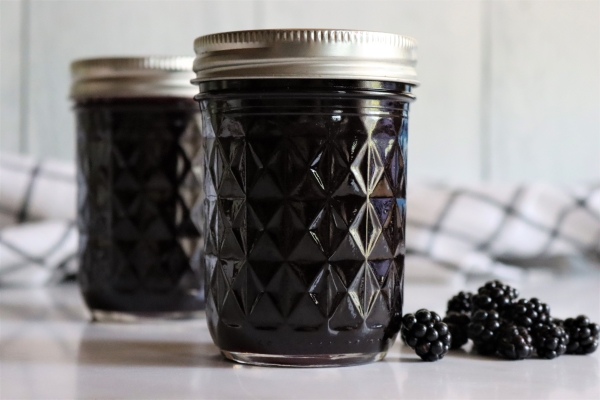
More Easy Summer Jam Recipes
Looking for more canning recipes? Keep your jam pot bubbling with these…


I eat organic frozen raspberries several times a week, strain off the juice they exude and then freeze it for syrup, baking and beverages. There were 8 cups worth in the freezer so I reduced the liquid (slowly on the wood stove) then used your method plus lemon seeds for pectin. The jelly is perfect and delicious. Thank you!
That sounds absolutely delicious, and what a wonderful way to make use of every bit of those raspberries. I’m so glad the jelly turned out perfectly for you, and thank you for coming back to share how you made it!