
Affiliate disclosure: This post may contain affiliate links. Please see our Privacy Policy.
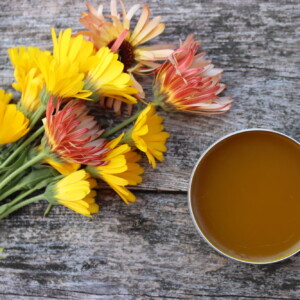
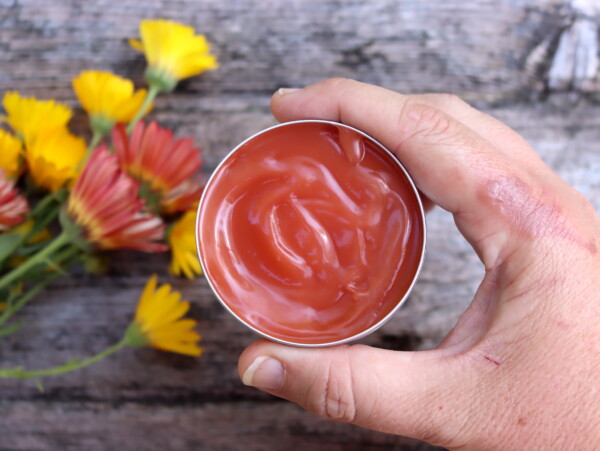
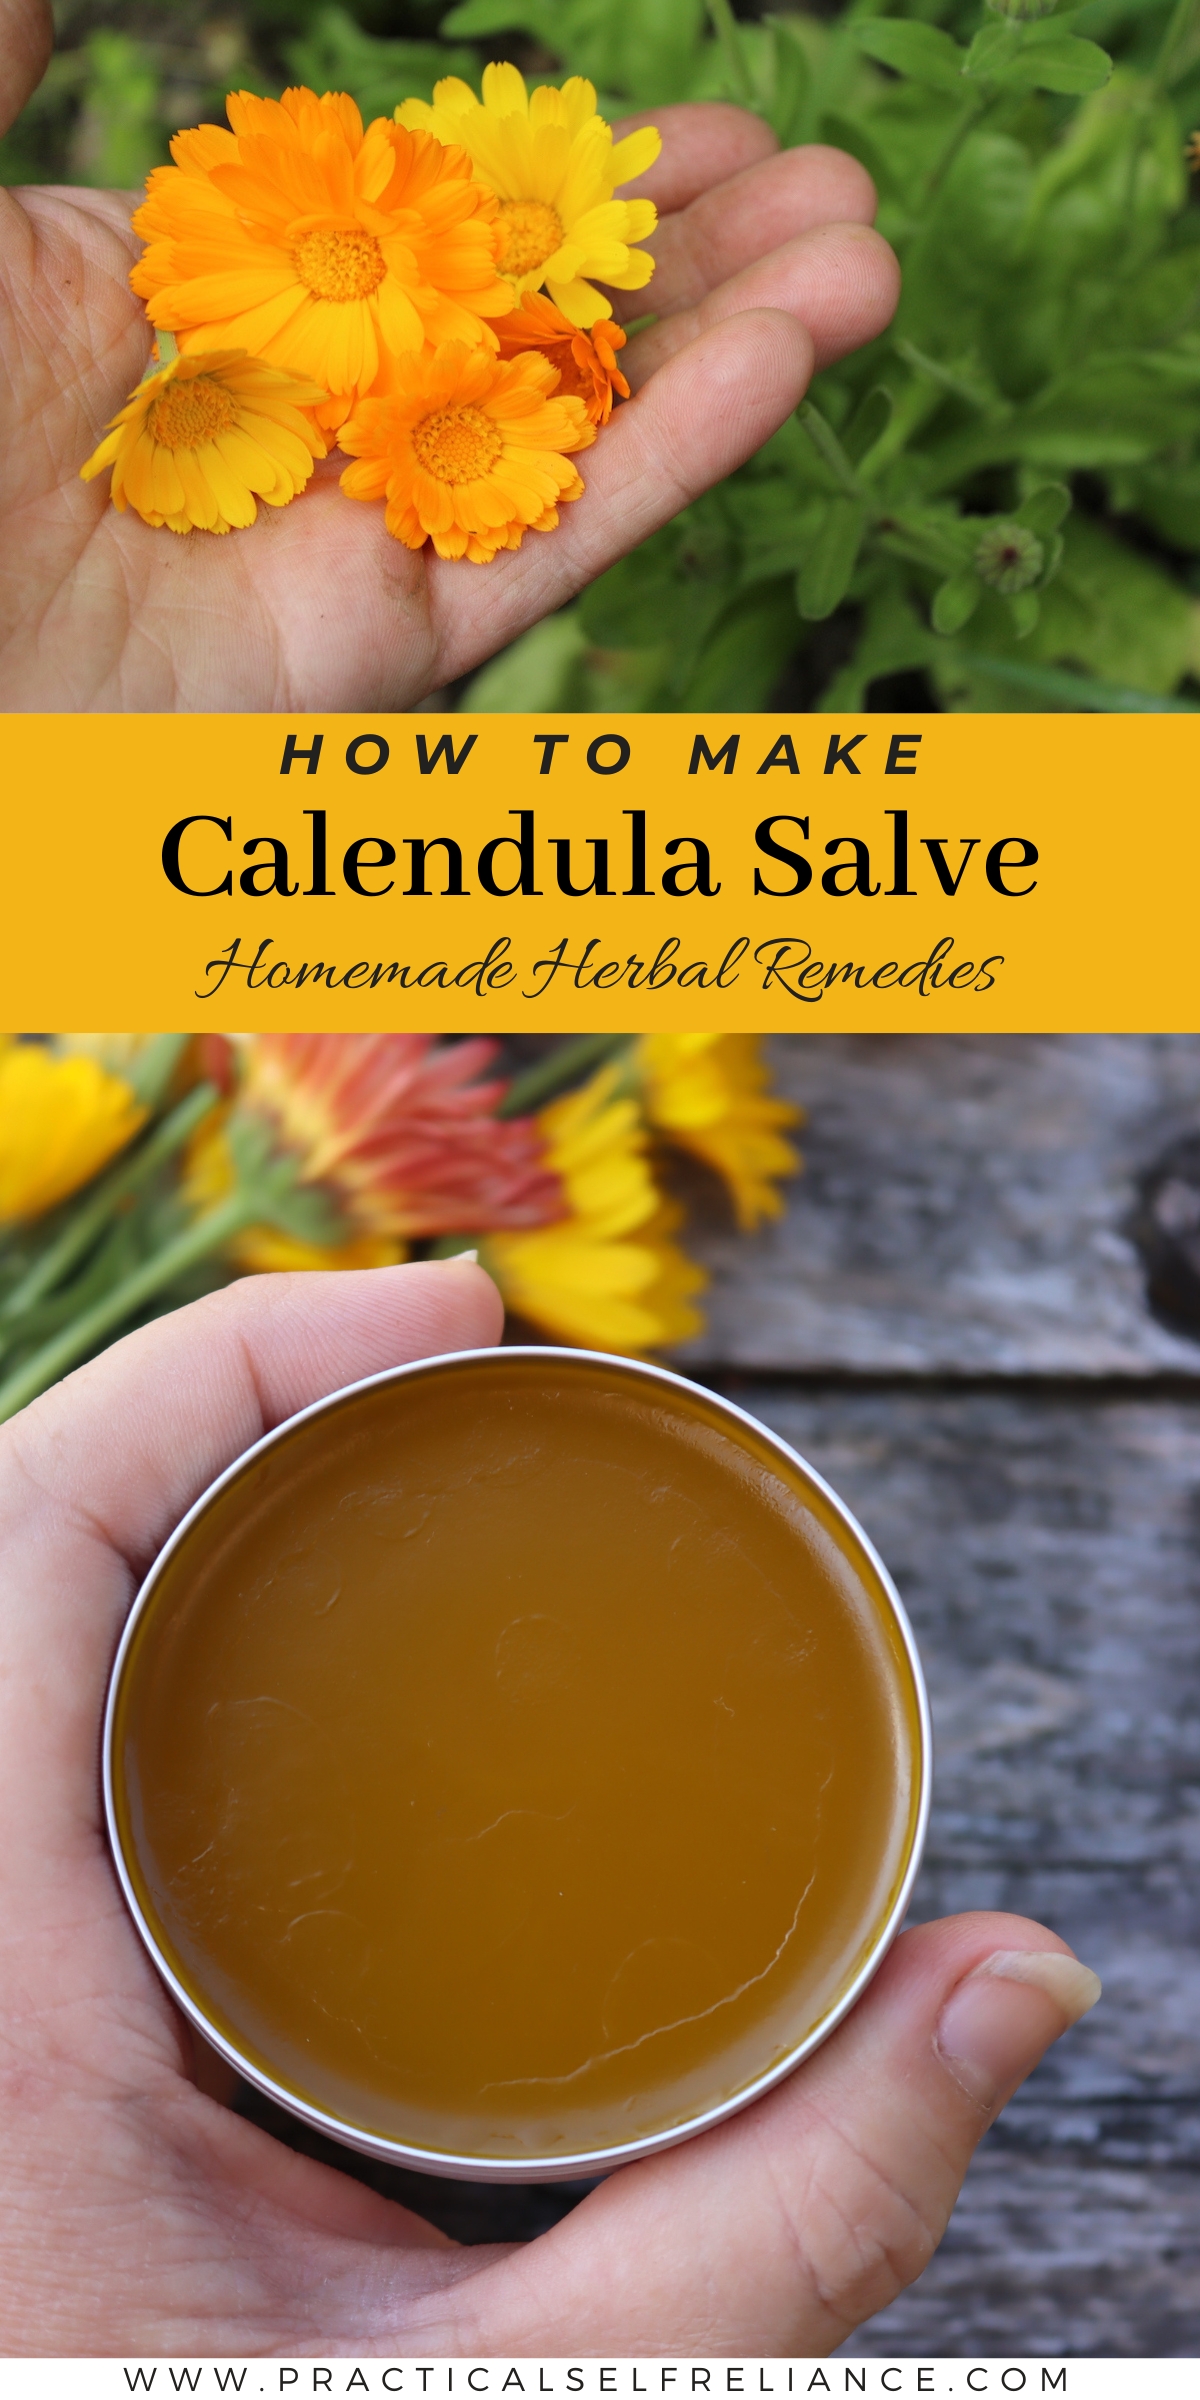
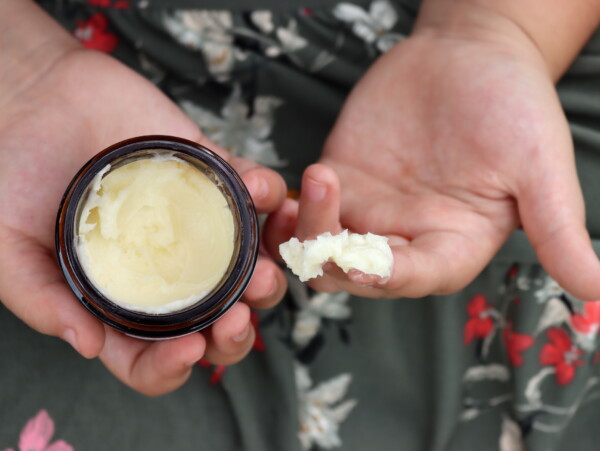
Calendula salve soothes burns, scrapes, eczema, and just about every other kind of irritated skin. It’s a golden, resin-rich oil infusion thickened with beeswax, and it’s the one salve I make a fresh batch of every single summer.
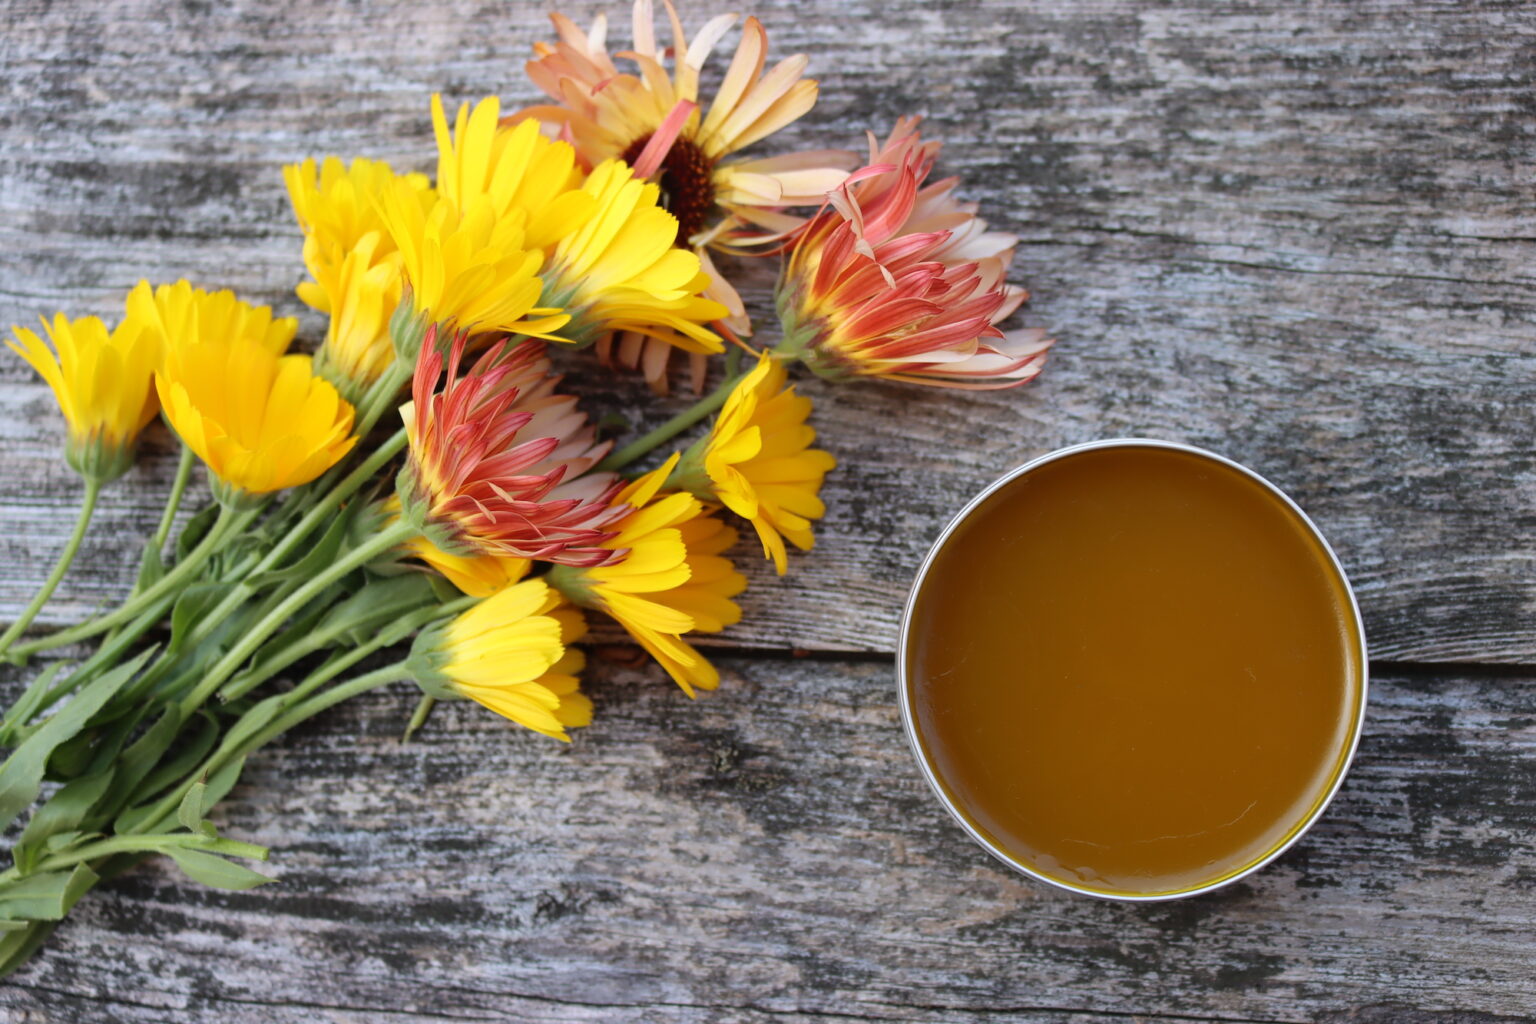
Table of Contents
- Notes from My Herb Garden
- What Calendula Salve is Used For
- Ingredients for Calendula Salve
- Equipment for Calendula Salve
- How to Make Calendula Salve
- Salve Consistency Notes
- Storage and Shelf Life
- Recipe Tips & Variations
- Ways to Use Calendula
- Calendula Salve FAQs
- Calendula Recipes & Remedies
- Calendula Salve Recipe
- Herbal Salve Recipes
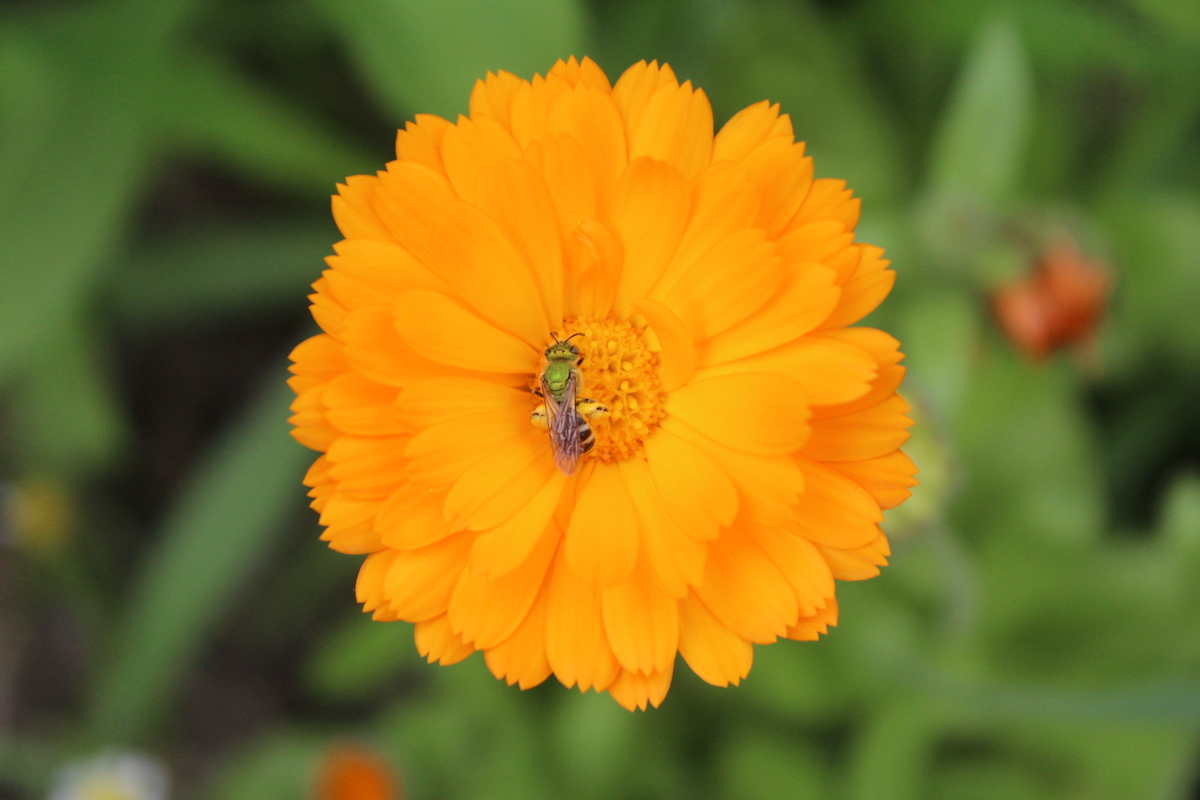
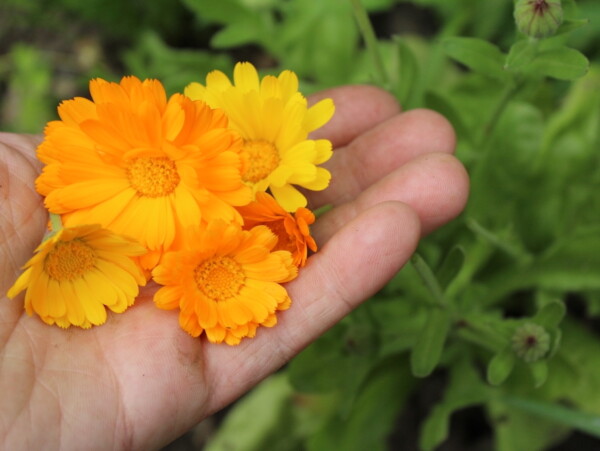
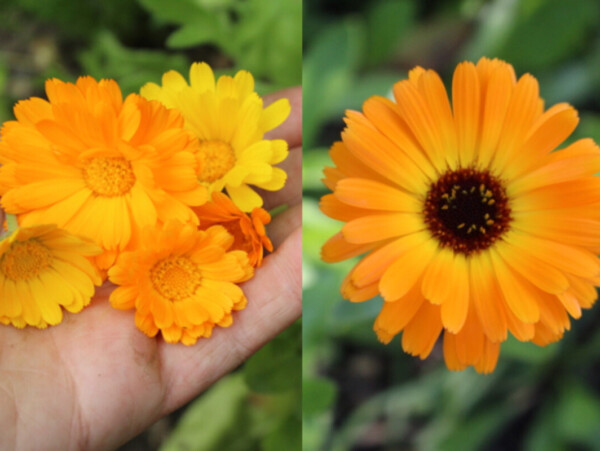
Calendula officinalis, sometimes called pot marigold, is a bright orange and yellow flower that earns its garden space several times over. It’s a solid companion plant, the petals stand in for saffron when you want color more than flavor, and it makes a natural botanical dye. But the reason I grow a full bed of it every year has nothing to do with any of that. It’s the medicine.
Keep in mind, this is not the standard marigold you’re thinking of. The bedding marigolds sold at every garden center in spring belong to the Tagetes genus and are a different plant entirely. Calendula is the one with medicinal value, and if you’re buying seed, look for it by botanical name. My guide to growing calendula covers the varieties worth planting and how to keep a patch producing all season.
Calendula’s medicinal punch comes from sticky resin in the flower heads, and plenty of the newer ornamental cultivars have been bred for looks at the expense of resin content. Varieties like Resina were selected specifically for herbal use. You can find seed for the medicinal types through Mountain Rose Herbs and Southern Exposure Seed Exchange.
If making salve from scratch isn’t the project you’re looking for, small-batch herbalists on Etsy sell it. You won’t find calendula salve on a drugstore shelf, but it’s a staple among people who make their own medicine.
Notes from My Herb Garden

I harvest calendula mid-morning, once the dew has burned off but before the afternoon heat sets in. Ten minutes with a pair of scissors and my fingers are tacky enough to stick to each other, which is the whole point. That stickiness is resin, and resin is the medicine. The first year I grew a cultivar picked for flower size rather than herbal use, I came in from the garden with clean hands and no idea yet that it meant I’d wasted the bed.
Calendula is a cut-and-come-again flower, so a decent-sized patch keeps producing right up until a hard frost. On a big harvest day I’ll carry everything back to the porch and split the pile: some goes straight into oil for salve, the rest gets spread on screens to dry for tincture and winter tea. We keep a tin of the finished salve in the first aid kit year-round, and between poison ivy, scraped knees, and the cracked knuckles that show up every February, it’s the tin that empties first.
What Calendula Salve is Used For
Calendula is native to the Mediterranean and has been used medicinally since at least the 12th century. Its reputation as a skin and wound herb traveled with people, which is why you’ll find it growing in gardens on every continent where anything grows at all. During the American Civil War, doctors carried calendula petals to help stop bleeding and dress wounds.
The modern research is promising, and it’s mostly clustered around wound healing. A 2016 laboratory study found that a calendula extract stimulated the growth of dermal fibroblasts, the cells that rebuild skin after an injury. A separate 2016 clinical study tracked 41 adults with diabetes-related foot ulcers, which are notoriously stubborn even with conventional treatment, and 78% saw their wounds close completely over the course of the study. Worth knowing that this one had no comparison group, so it tells us what happened but not how it stacks up against standard care.
Calendula also has measurable antifungal and antimicrobial activity against a range of bacteria and fungi, which is likely part of why it turns up in so many traditional preparations for acne and other skin complaints. Memorial Sloan Kettering’s herb database is a good place to see the whole picture on calendula, including its use for radiation-related skin irritation. The honest summary across all of it is that the preclinical evidence is strong and consistent, while the human trials are small and not always well designed.
What I use it for is much less dramatic than diabetic ulcers. Around here it goes on:
- Minor burns, including the ones you get reaching into a hot oven
- Scraped knees, small cuts, and general kid damage
- Poison ivy, once the rash has settled in
- Eczema patches and dry, cracked skin
- Diaper rash
- Chapped lips and windburn
Calendula is gentle enough that a lot of people use it on the face, and its antimicrobial activity is part of why it shows up in homemade acne preparations. A beeswax salve is heavier than most facial moisturizers, so if that’s your plan, a thin layer at night is a better starting point than a full application. For serious kitchen burns there’s a purpose-built herbal burn salve that combines several herbs.
A note on what salve isn’t for: Skip it on deep cuts, punctures, serious burns, and anything showing signs of infection, and see a doctor instead. Calendula belongs to the Asteraceae family alongside ragweed, daisies, and chrysanthemums, so if you react to any of those, patch test a small area before you use it more widely.
Ingredients for Calendula Salve
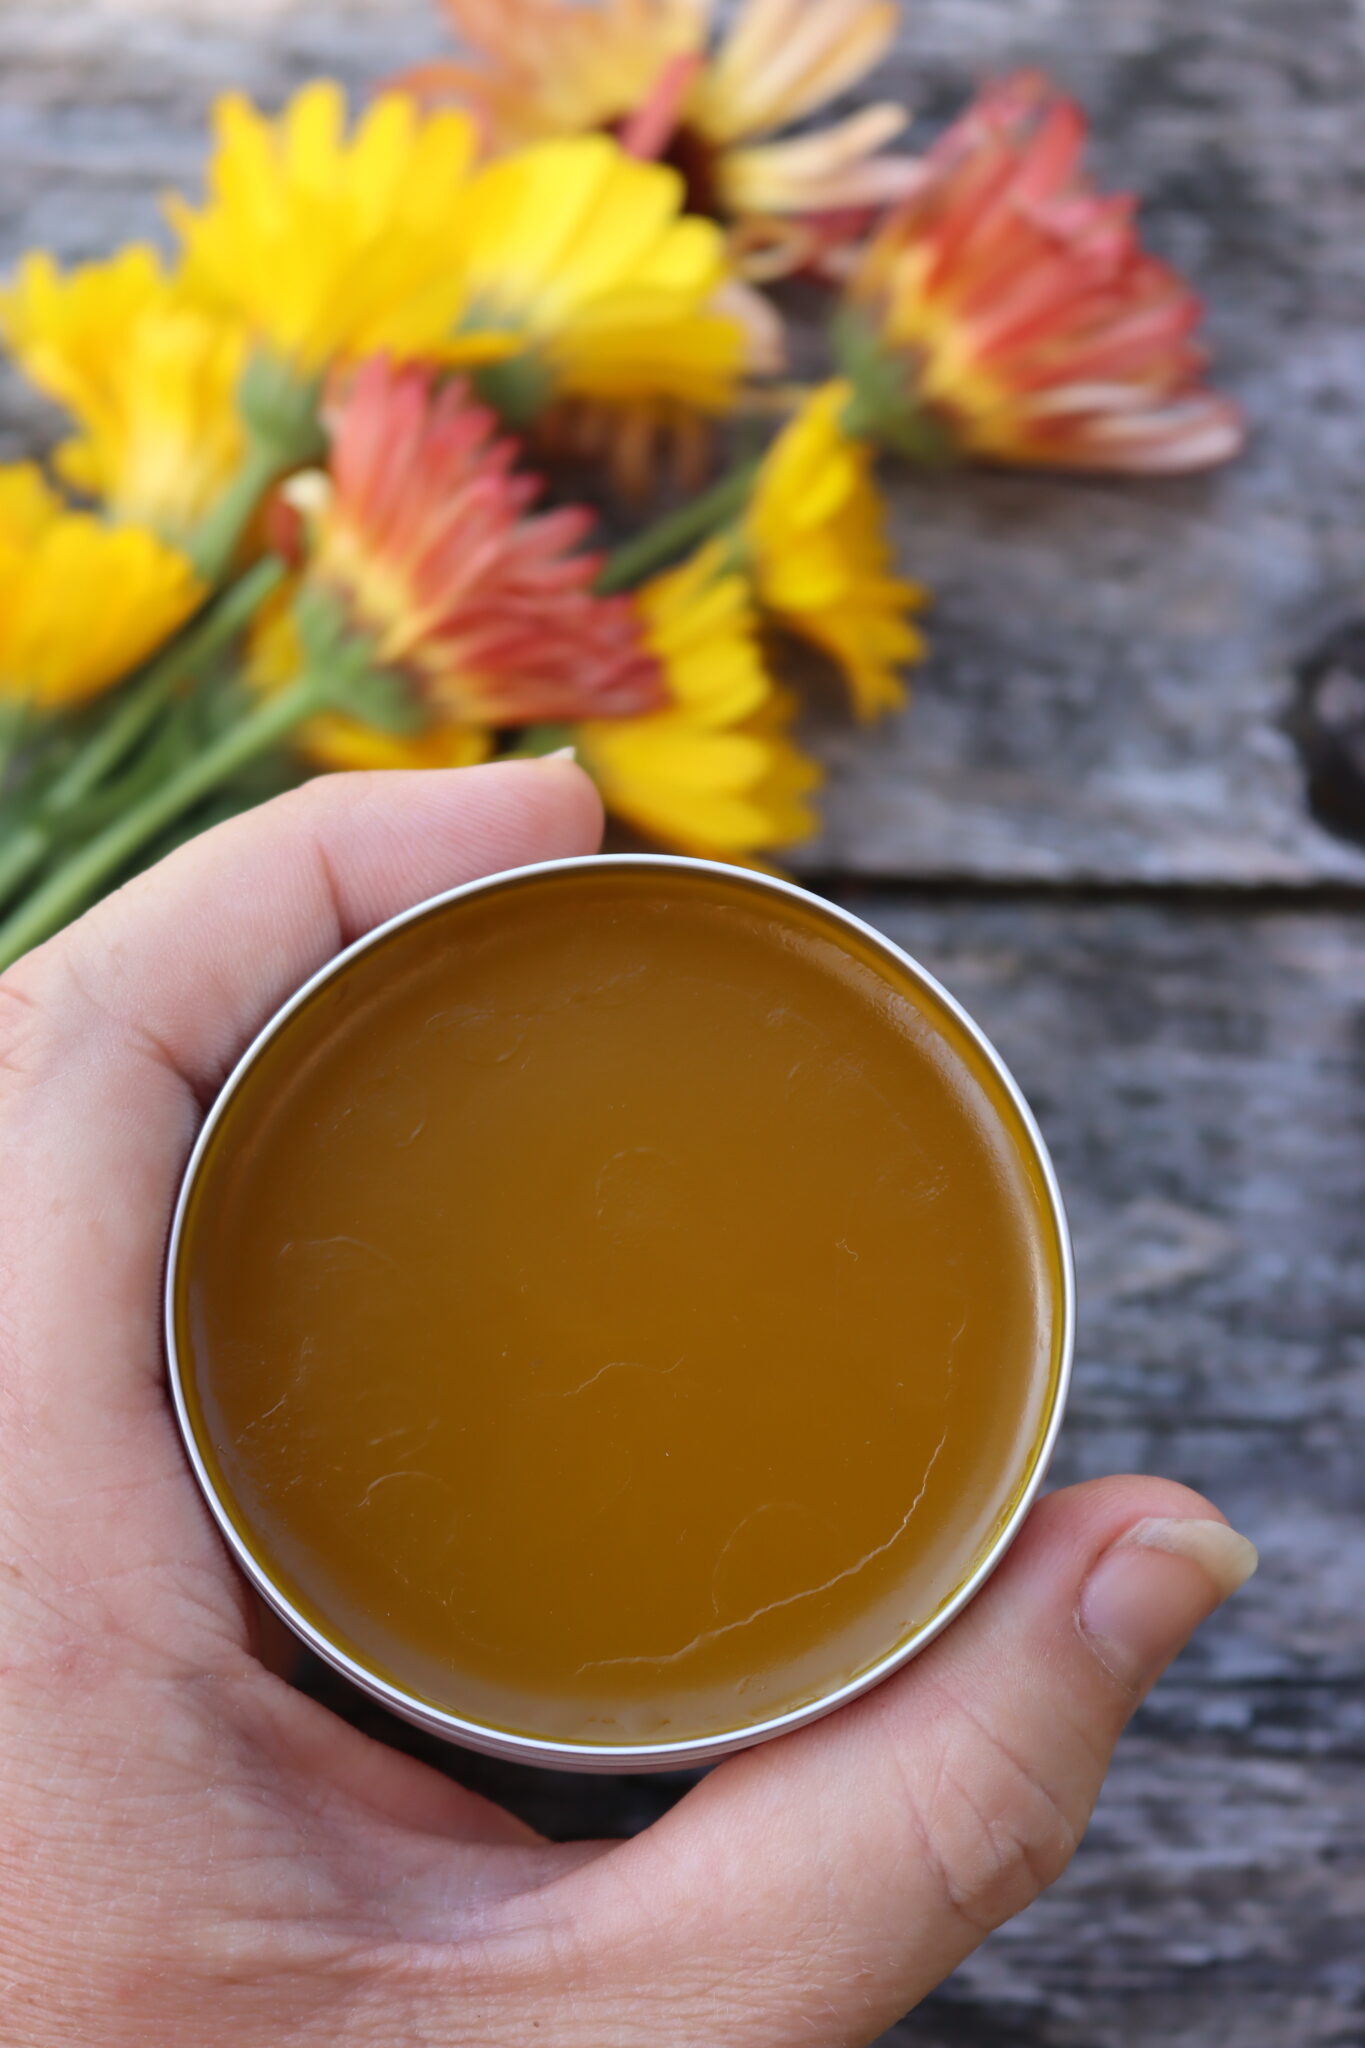
Three ingredients, and the hardest part is growing the first one.
- Calendula flowers (fresh or dried): Whole flower heads, not just the petals. The green base of the flower holds a good share of the resin, and you’d be throwing away medicine to pluck it off. Harvest mid-morning after the dew dries, and judge quality by how sticky your fingers get. Fresh flowers go through the warm infusion below; dried flowers can use either method.
- Olive oil (or another neutral carrier): Olive is what I keep in the pantry, and it’s stable and gentle on skin. Sweet almond, grapeseed, coconut, and jojoba all work. Jojoba absorbs quickly and is a common pick for facial preparations. My guide to making herbal infused oils goes further on choosing a carrier.
- Beeswax (pellets or grated from a block): This is what turns infused oil into something you can carry in a pocket, and it leaves a breathable barrier on the skin rather than sealing it. Pellets measure and melt easily, though a block or bar grated on a box grater works the same. To skip bee products entirely, the vegan herbal salve recipe uses candelilla wax.
Equipment for Calendula Salve
You don’t need an herbalist’s workbench. Most of this is standard kitchen equipment.
- Pint mason jar to hold the flowers and oil during infusion
- A way to hold the jar at 110 to 120°F for 24 to 48 hours. A multicooker on yogurt mode or a dehydrator with a temperature dial are the least fussy options.
- Fine mesh strainer and a square of cheesecloth for straining out the flowers
- Small saucepan or double boiler for melting in the beeswax. A mason jar set in an inch of simmering water does the same job for free.
- Small kitchen scale for weighing beeswax, unless you buy it in pre-measured 1 oz bars
- 2 oz salve tins, quarter-pint mason jars, or any small container with a tight lid
How to Make Calendula Salve
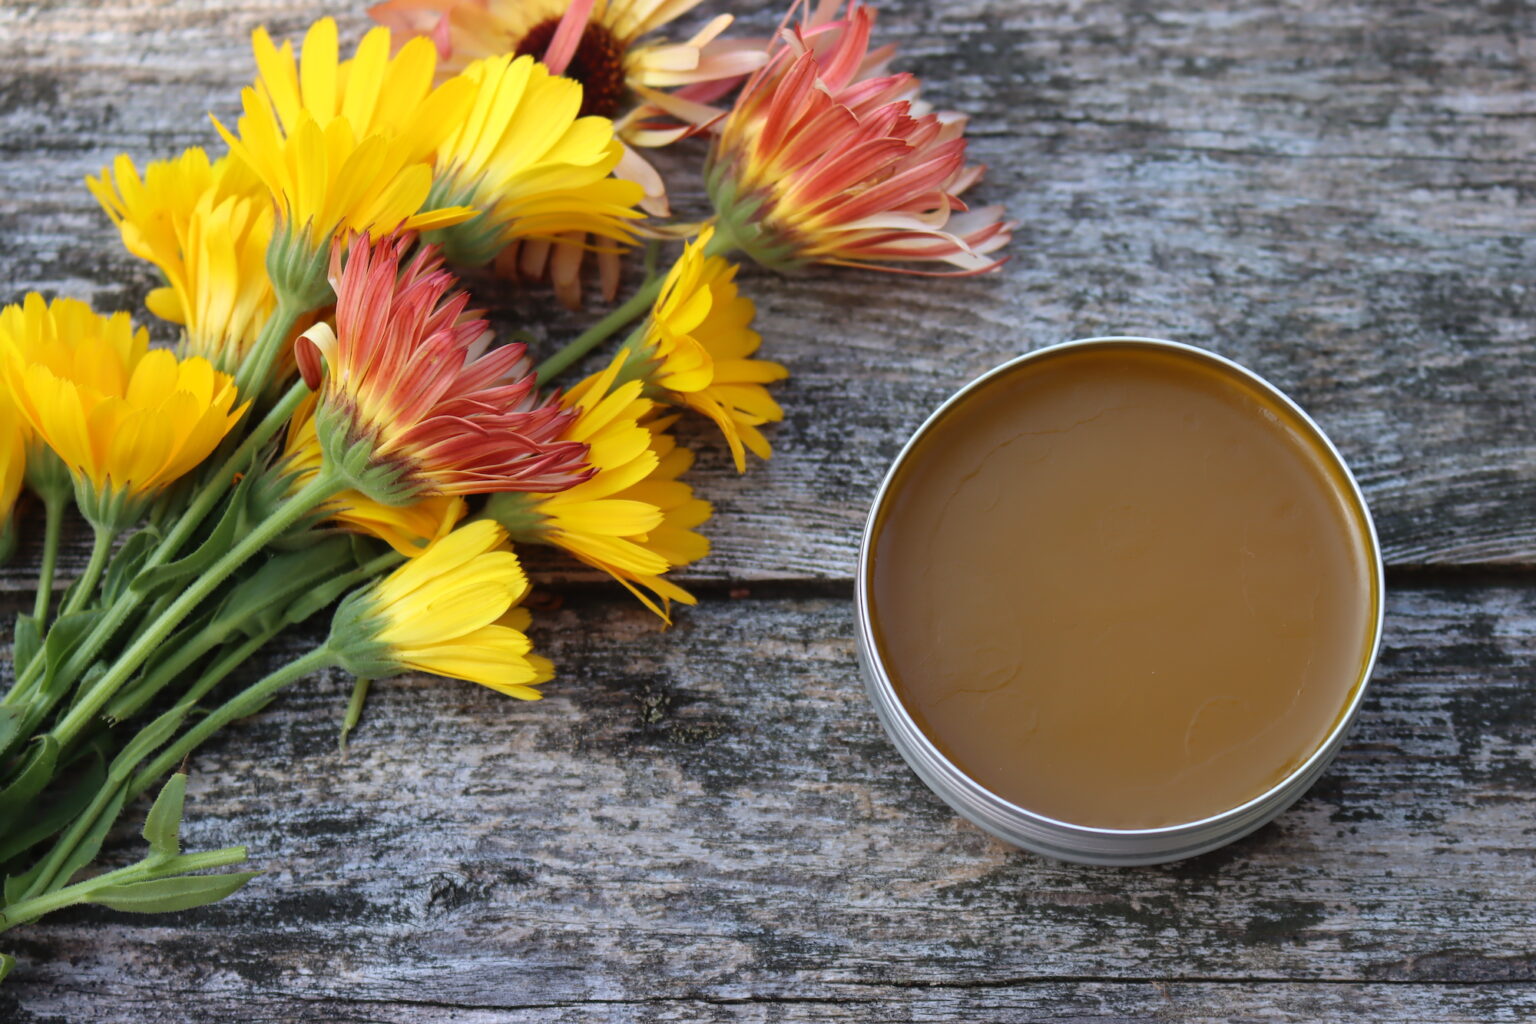
Making calendula salve takes about 30 minutes of hands-on work and a day or two of mostly unattended waiting. Three stages: harvest and prepare the flowers, infuse them into oil, then strain and melt in the beeswax. If this is your first salve of any kind, my guide to making a herbal healing salve walks through the underlying method in more detail.
I use the warm rapid infusion, which brings the infusion time down from three to six weeks to a couple of days. That speed is the whole reason it exists: fresh flowers carry water, and water sitting in oil for a month means spoilage. If you’d rather do the traditional slow cold infusion, dry your calendula first. I’ve written up that version separately as calendula oil, which uses dried flowers and a longer steep.
Harvesting and Preparing the Calendula
Cut the flowers mid-morning, after the dew has dried off but before the sun gets high. Clip the stem just below the flower head with scissors or shears. Your fingers will get sticky, and that’s the signal you want. Sticky means resin, and resin means potency.
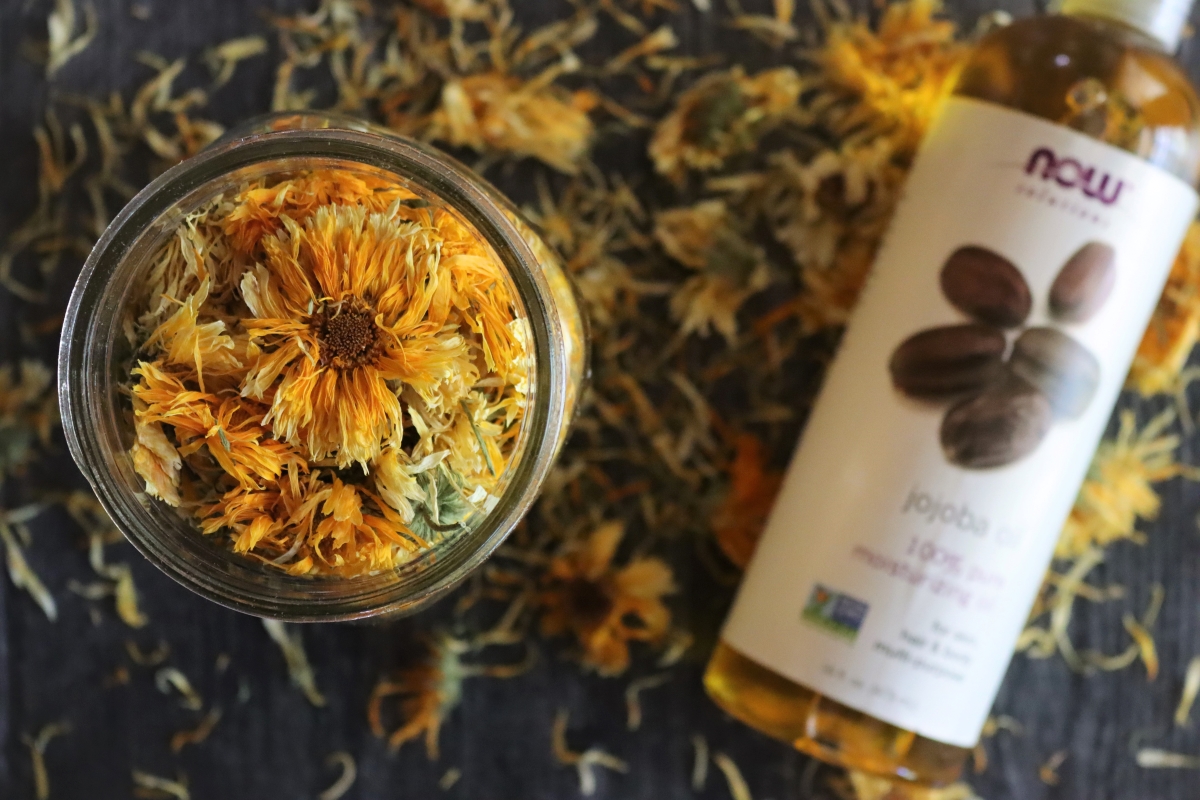
Chop the flowers roughly with scissors or a knife. It’s less photogenic than whole blossoms floating in a jar, but chopping opens up far more surface area for the oil to work against, and you’ll get a noticeably stronger infusion for it. Pack the chopped flowers into a pint mason jar, pressing them down firmly, until the jar is nearly full.
If you’re working with fresh flowers and want to hedge against spoilage, spread the chopped calendula on a towel and let it wilt for a few hours first. It sheds some water without losing resin, and the finished oil keeps better.
Infusing the Oil
Pour your oil over the packed flowers until they’re completely covered, leaving the jar uncapped. Then set the jar into about an inch of water in a saucepan or slow cooker, resting it on a trivet, a folded cotton dish towel, or a stack of canning jar rings so the glass never touches the hot bottom.
Warm the water slowly to 110 to 120°F. That’s Fahrenheit, and the number matters. You’re coaxing the resin out, not cooking it, and once the oil climbs past roughly 140°F you start destroying exactly what you came for. Slow and gentle produces a better salve than fast and hot, every time.
Now hold that range for 24 to 48 hours. On the stovetop I bring the water up to temperature, shut the burner off, and drape a towel over the pot to hold the heat, repeating whenever it cools. I never leave the burner on for a stretch, and never overnight. Top up the water as it evaporates so the jar stays surrounded.
There are easier ways if you have the gear. A multicooker on yogurt mode sits right in the window without any attention at all. A dehydrator set to 115°F is steadier still, and it’s what I reach for when I’m infusing several jars at once. A slow cooker works fine as a water bath the way described above, but never as direct heat: even the keep-warm setting runs around 170°F and will cook the flowers.
Straining and Combining with Beeswax
Line a fine mesh strainer with cheesecloth, set it over a measuring cup, and pour the warm oil through. Gather the corners of the cloth and wring it out, because a real amount of golden oil stays trapped in those flowers otherwise. If you used an edible carrier oil, the spent flowers can go into soup or stew rather than the compost. Otherwise compost them.
Measure what you actually recovered. This is the step people skip, and it’s the reason most salves come out soft. You started with more oil than you’ll finish with, since the flowers drink some and the cheesecloth keeps some, so measure after straining rather than before. The ratio this recipe is built on is 1 ounce of beeswax per cup of strained infused oil.
Return the oil to a small saucepan or heatproof container over simmering water, add the beeswax, and stir constantly over low heat until it’s completely melted and the mixture looks smooth. No scale? One ounce of beeswax is roughly one heaping tablespoon of pellets. Pour into tins or jars and leave them alone for at least 30 minutes to set before capping.
Salve Consistency Notes
One ounce of beeswax per cup of strained infused oil gives a medium-firm salve that softens the moment it touches warm skin. Almost every batch that comes out runny traces back to measuring the oil before straining instead of after.
- To test before pouring: drop a spoonful onto a plate from the freezer, wait 30 seconds, then check it with a fingertip.
- Too soft? Rewarm gently and stir in more beeswax, a teaspoon at a time.
- Too hard? Rewarm gently and stir in a tablespoon of oil at a time.
- For a softer balm: drop to about 3/4 oz beeswax per cup of oil.
- For a lip balm or stick: increase to about 1 1/4 oz per cup of oil.
Storage and Shelf Life
Store finished salve somewhere cool, dark, and dry. A medicine cabinet, a pantry shelf, or a drawer all work. Homemade herbal salves hold their potency for about a year, and they stay safe past that, they just get gradually weaker. Since calendula is an annual that produces heavily from midsummer to frost, making a fresh batch each season is easy enough that there’s no reason to stretch an old one.
To push the shelf life further, stir a few drops of vitamin E oil in with the beeswax. It works as a natural antioxidant and slows the oil from turning. Freezing also extends it considerably if you’ve made more than a year’s worth. Toss any salve that smells rancid, like old cooking oil, or shows the slightest mold.
Recipe Tips & Variations
- Alternative oils. Coconut, sweet almond, grapeseed, and jojoba all substitute for olive. Coconut sets firmer at room temperature, so pull back slightly on the beeswax. Jojoba absorbs fastest and is the usual pick for anything going on the face.
- Adding essential oils. Ten to fifteen drops per cup of finished salve, stirred in right before pouring, won’t interfere with how it sets. Lavender pairs naturally with calendula.
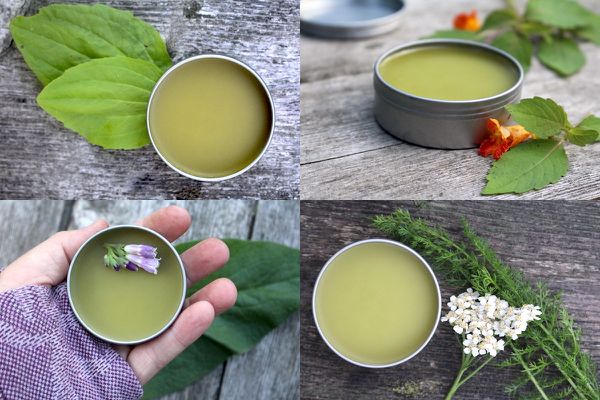
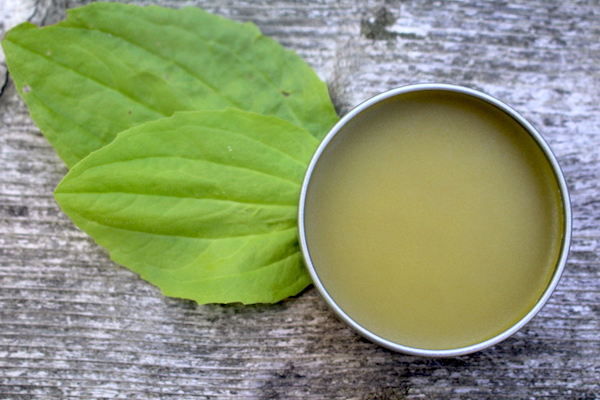
- Combination salves. Calendula is a good base for blends because it’s mild. Half calendula and half plantain makes a solid bug bite and scrape salve, and calendula with comfrey leans toward bruises and sore muscles.
- Vegan version. Candelilla wax swaps in for beeswax at roughly the same ratio, and cocoa butter works too, though you’ll need a bit more of it.
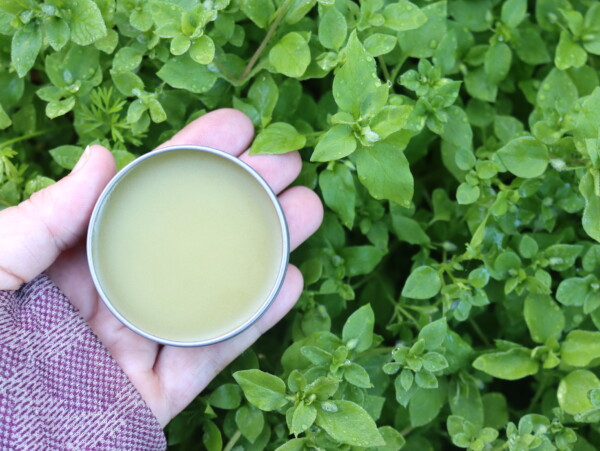
- Same method, other herbs. This warm infusion handles any fresh plant material you’d want in oil, including yarrow and chickweed. The herbal salve recipes roundup collects 20+ variations built on it.
Ways to Use Calendula
Salve is only one of the places calendula ends up around here. A calendula tincture pulls out a different set of compounds than oil does and keeps for years, and dried petals make a mild tea that the Chestnut School of Herbal Medicine recommends for digestive complaints. The petals are also edible, which is how they end up scattered across salads and stirred into rice for color.
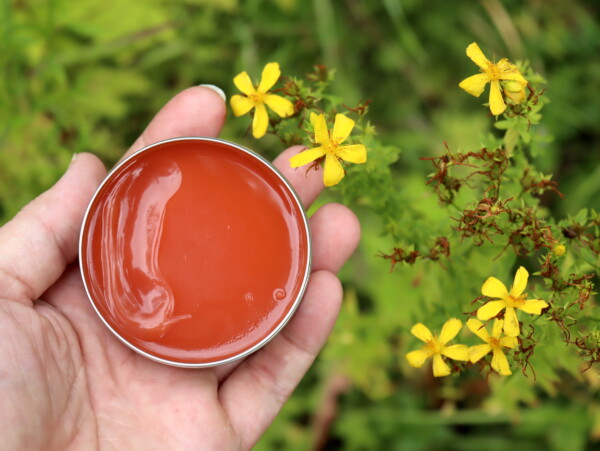
My roundup of ways to use calendula covers the food and dye side alongside the medicine. And if calendula is your entry point into making salves at all, the same equipment and method carry straight over to jewelweed for poison ivy, arnica for sore muscles, and St. John’s wort for nerve pain. One infusion setup, an afternoon, and a whole shelf of the first aid kit stocked.
Calendula Salve FAQs
Either works, but the method changes. Fresh flowers need the warm rapid infusion described here, because the water in fresh plant material will spoil an oil left to sit for weeks. Dried flowers can go either route: the same warm infusion, or a traditional cold infusion of three to six weeks. If you’re using fresh flowers, letting the chopped calendula wilt on a towel for a few hours first sheds some water without losing resin, and the finished oil keeps better. Note that dried calendula is much more concentrated by volume, so a jar packed with dried flowers holds considerably more plant material than the same jar packed with fresh.
Use the whole flower head. The sticky green base of the flower holds a large share of the resin that carries calendula’s medicinal value, so plucking the petals off means throwing away a good part of what you harvested. Petals alone are the right choice for tea, salad, and natural dye, where you want color and mild flavor without the resin. For salve, chop the whole heads and use everything.
Yes, but only as a water bath, never as direct heat. Set the jar on a trivet, a folded dish towel, or a stack of canning rings, add about an inch of water around it, and watch the temperature. Even the keep-warm setting on most slow cookers runs around 170°F, which cooks the flowers and weakens the finished salve. For truly hands-off options, a multicooker on yogurt mode or a dehydrator set to 115°F both hold 110 to 120°F automatically.
Almost always a ratio problem. This recipe uses 1 ounce of beeswax per cup of strained infused oil, and it’s easy to end up with more oil than you think if you measure before straining instead of after. To fix a batch that’s already poured, scrape it back into the pan, rewarm it gently, and stir in more beeswax a teaspoon at a time. Test a spoonful on a plate from the freezer before you pour again.
Stored somewhere cool, dark, and dry, calendula salve holds its potency for about a year. It stays safe to use beyond that but gradually weakens. A few drops of vitamin E oil stirred in with the beeswax works as a natural antioxidant and extends shelf life, and freezing extends it further still. Discard any salve that smells rancid or shows mold.
Calendula Recipes & Remedies
If you tried this Calendula Salve recipe, or any other recipe on Practical Self Reliance, leave a ⭐ star rating and let me know what you think in the 📝 comments below!
And make sure you stay in touch with me by following on social media!
Calendula Salve
Equipment
Ingredients
Instructions
- Harvest calendula flowers mid-morning, after the dew has dried. Clip the stem just below the flower head. Sticky fingers mean the flowers are resin-rich.
- Roughly chop the whole flower heads with scissors or a knife to open up surface area, then pack them firmly into a pint mason jar until it’s nearly full.
- Cover the flowers with olive oil until they’re fully submerged, leaving the jar uncapped.
- Set the jar on a trivet, folded dish towel, or stack of canning rings inside a saucepan or slow cooker, then add about an inch of water around it.
- Warm the water slowly to 110 to 120°F and hold that range for 24 to 48 hours. A dehydrator set to 115°F or a multicooker on yogurt mode is the most hands-off. On the stovetop, bring the water up to temperature, turn the heat off, and cover the pot with a towel, repeating as it cools. Never use a slow cooker as direct heat, since even “keep warm” runs around 170°F and will cook the flowers.
- Strain the warm oil through a cheesecloth-lined fine mesh strainer, wringing the cloth to release the last of the oil.
- Measure the strained oil and return it to a small saucepan or heatproof container over simmering water. Add beeswax at 1 oz per cup of oil. Starting with about 1 1/4 cup will yield about 1 cup strained, as some is always lost to tools/cheesecloth in the process.
- Warm gently over low heat, stirring constantly, until the beeswax has melted completely and the mixture looks smooth.
- Pour the finished salve into 2 oz tins or small glass jars.
- Let the salve cool undisturbed for at least 30 minutes before putting lids on or using.
Notes
A Note from Your Family Herbalist
I’m a family herbalist, trained by more than 20 years of hands-on work with medicinal plants and rounded out with coursework through the Herbal Academy of New England. That means I know my way around the plants in this post, and I’ve personally made and used the remedies I write about, often many times over. But there’s a real difference between knowing what works on my homestead and knowing what’s right for you.
Medicine is a personal affair. Every body is different, every medical history is different, and herbs interact with medications, pregnancy, nursing, and existing health conditions in ways no general blog post can anticipate. Even mild medicinal plants like chamomile cause allergic reactions in some people, so what sits comfortably on my own medicine shelf might not be the right choice for yours.
For guidance tailored to your situation, there are three directions I’d point you:
- See a local clinical herbalist. A practicing clinical herbalist can take your full health picture into account, recommend the right herb and dose for you, and adjust the protocol as you go. Ask around at your nearest food co-op, herb farm, or natural-foods store; most communities have at least one.
- Talk to your doctor before adding any new herb to your routine, especially if you take prescription medications, are pregnant or nursing, or are managing a chronic condition. A good doctor will welcome the conversation.
- Educate yourself, the way I have. The Herbal Academy of New England runs the courses I credit with sharpening my own practice. Their Introduction to Herbal Medicine course is where I’d start. I’ve also taken and recommend their Mushroom Course and their Botany and Wildcrafting Course. All three are well-paced and easy to follow at home.
Herbal Salve Recipes
Find the perfect recipe
Searching for something else? Enter keywords to find the perfect recipe!









Question: We use the entire flower, not just the petals? If so, could I stick them in a blender to chop them?
I have used several of your recipes and they all turn out well. Thank you
Yes, on this one, you use the whole flower head. A blender would be fine. Good luck with it!
We always keep this on on hand! Gotta love calendula =)