
Affiliate disclosure: This post may contain affiliate links. Please see our Privacy Policy.
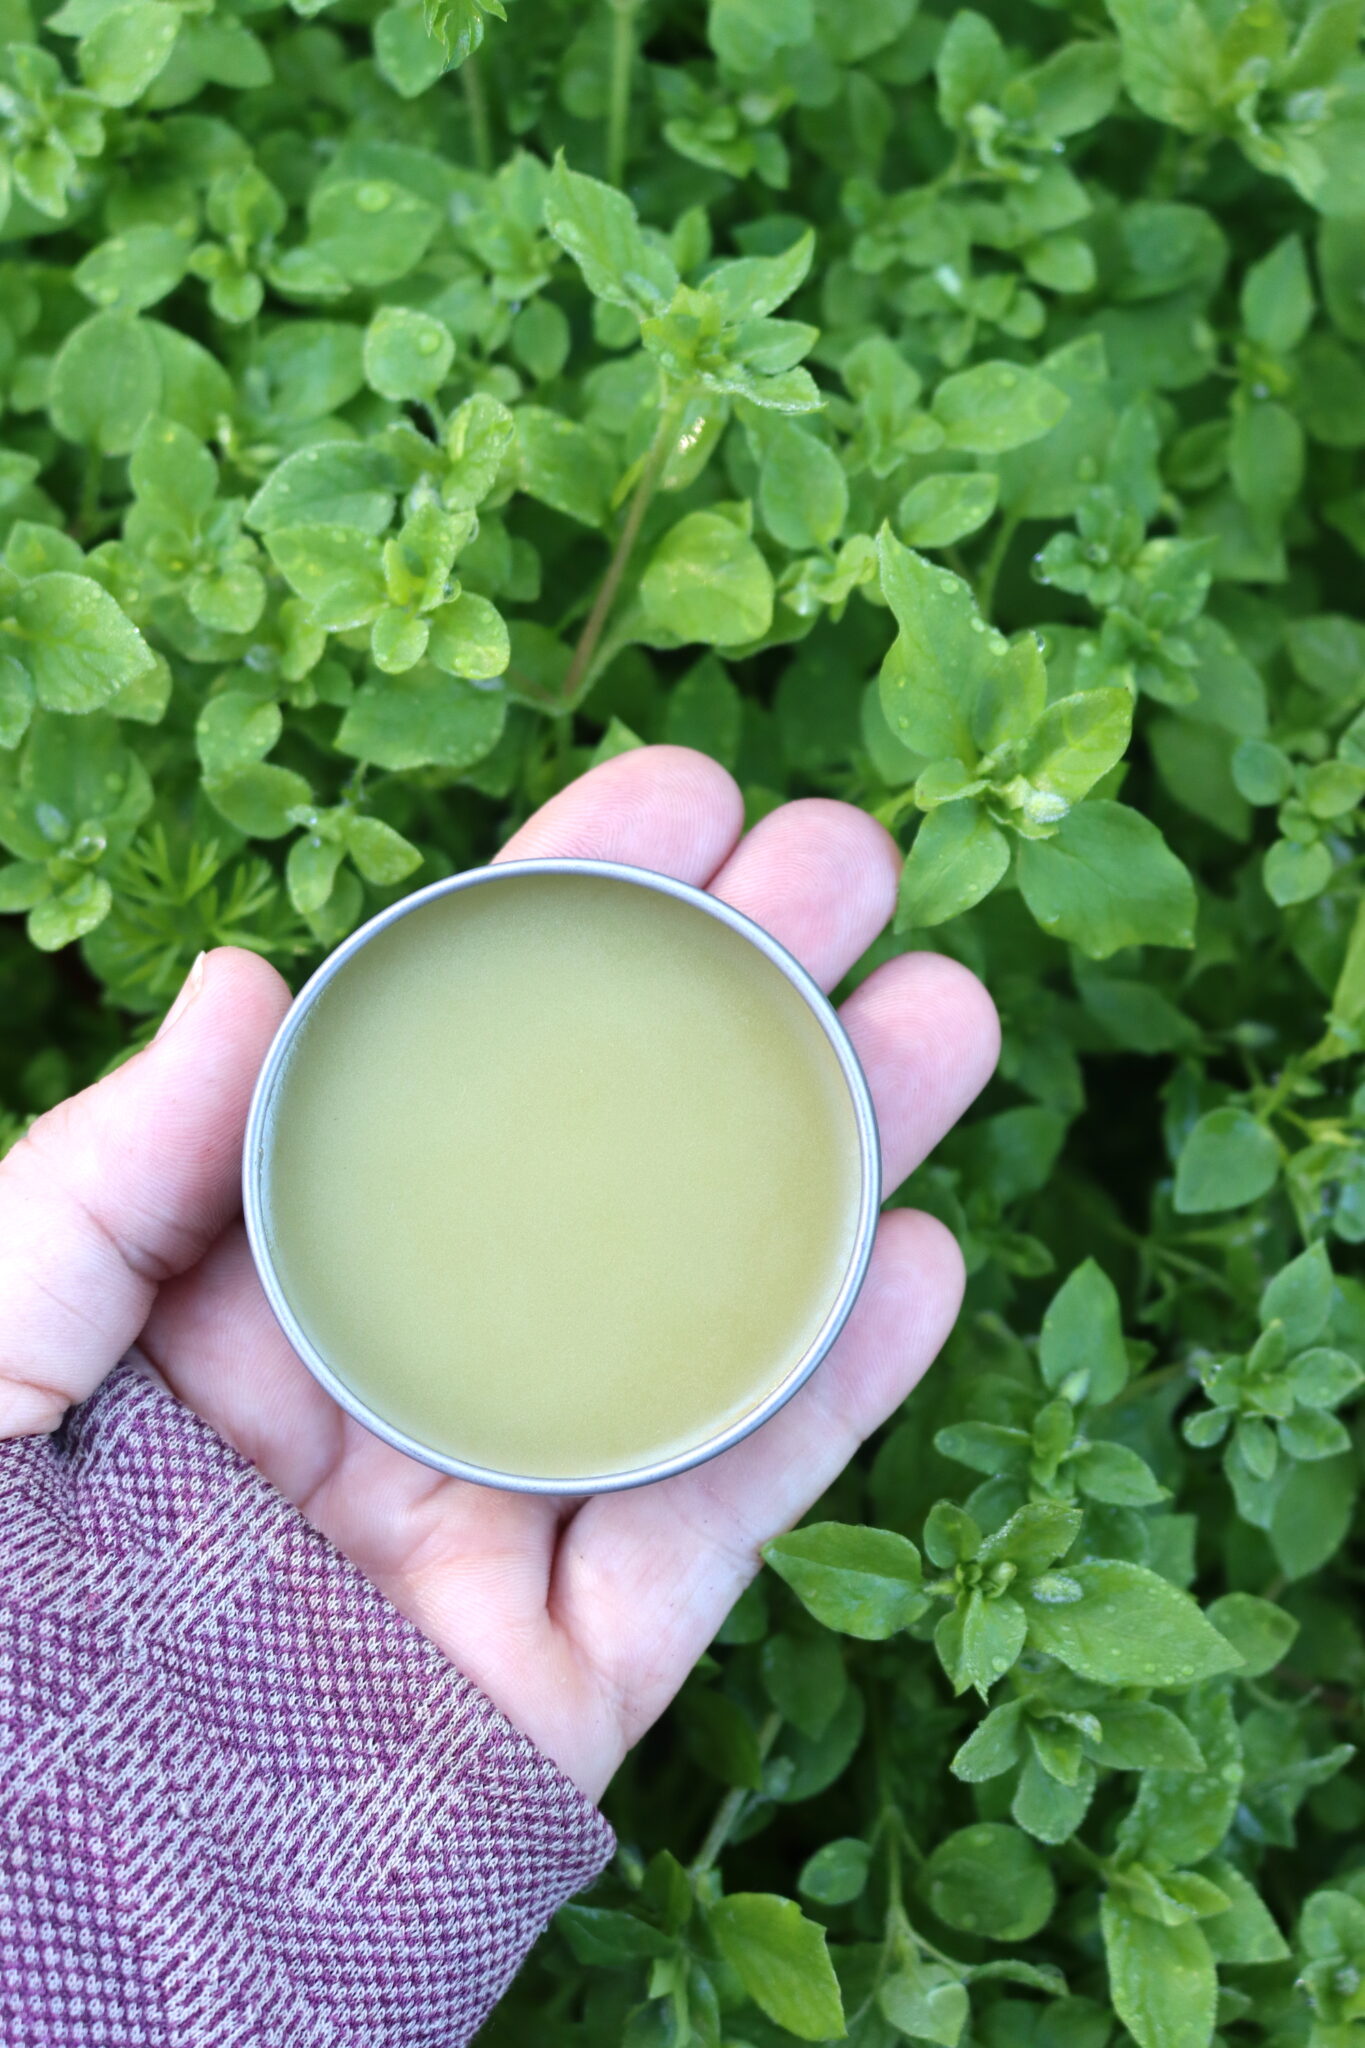
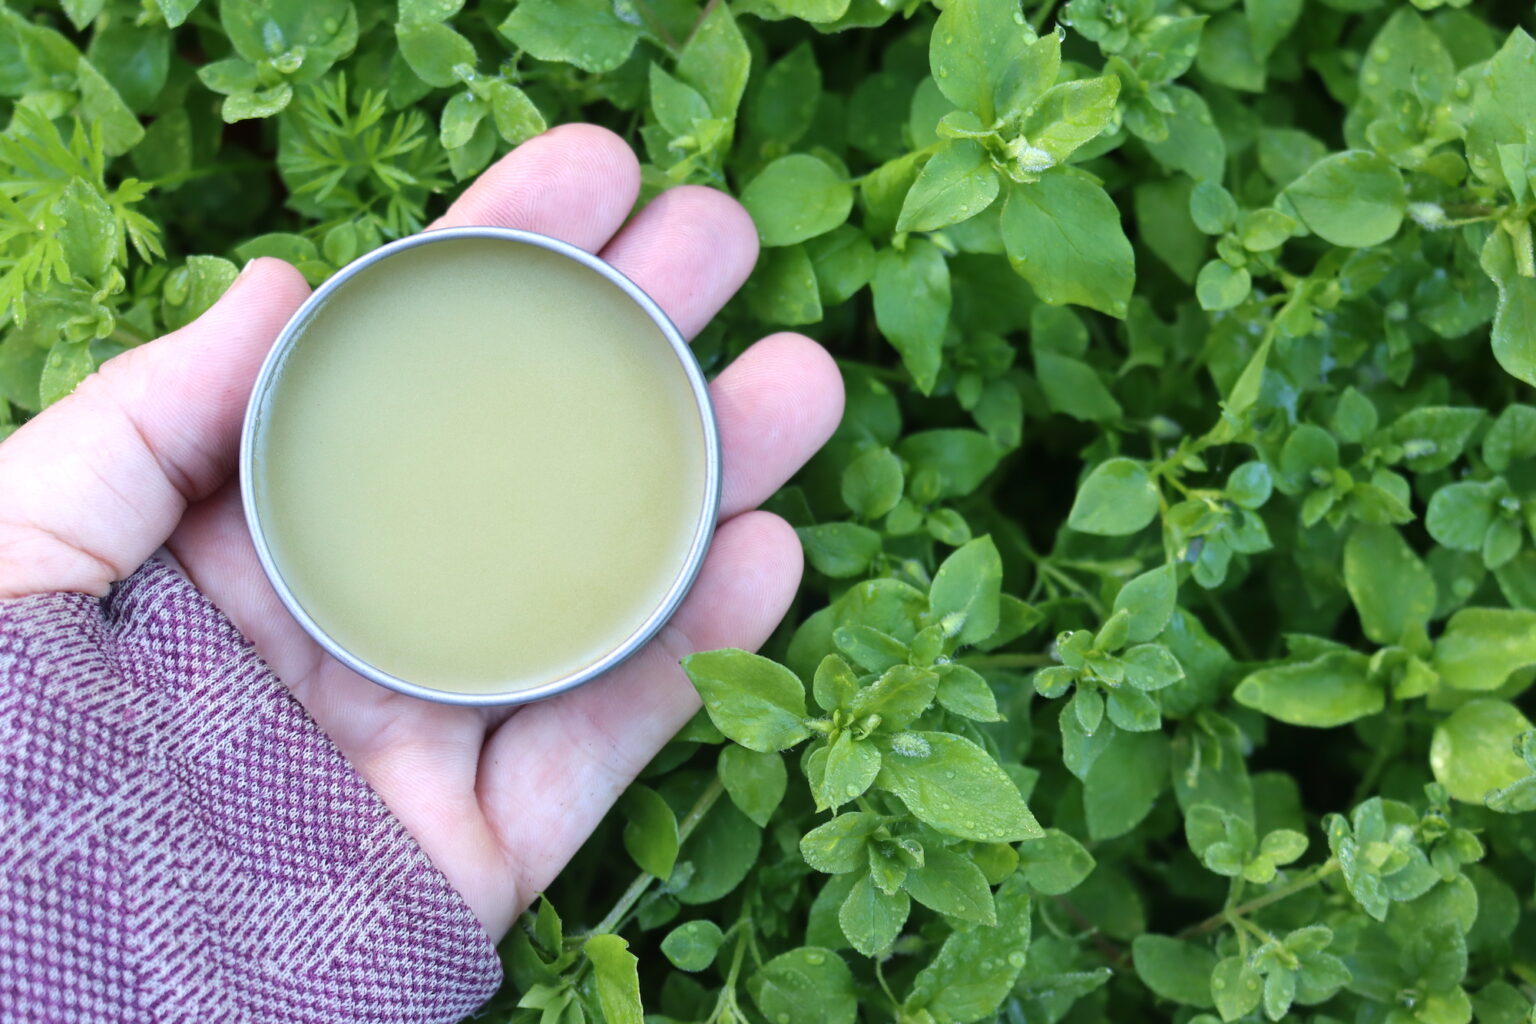
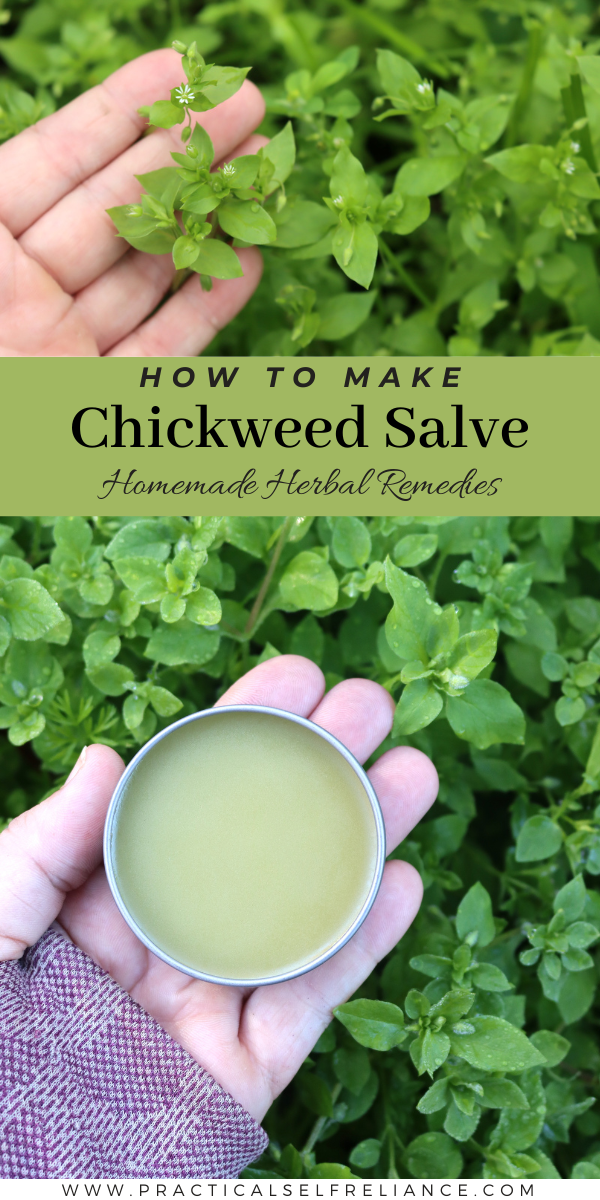
Chickweed salve cools and soothes irritated skin, and it’s one of the first herbal remedies I make every spring.
If you’ve never made a salve before, this is a forgiving place to start. The plant is abundant, the method is simple, and the finished salve is mild enough for sensitive skin. Three ingredients get you there: fresh chickweed, a neutral oil, and a little beeswax.
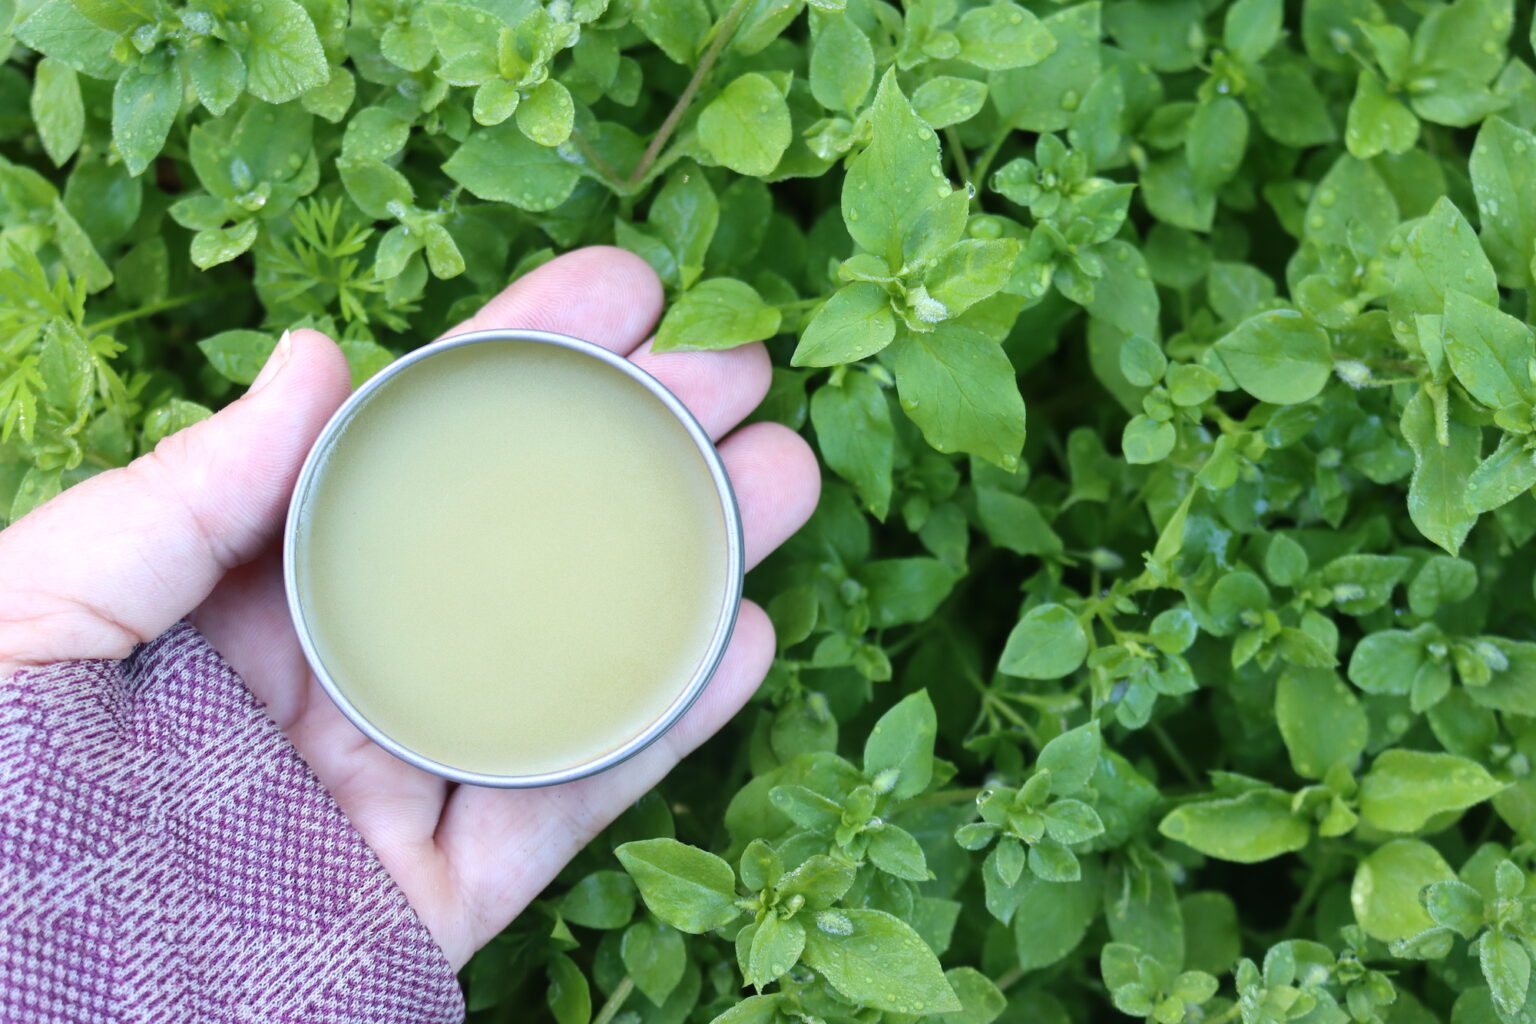
Table of Contents
- Notes from My Homestead
- What Chickweed Salve is Used For
- Ingredients for Chickweed Salve
- Equipment for Chickweed Salve
- How to Make Chickweed Salve
- Salve Consistency Notes
- Storage and Shelf Life
- Recipe Tips & Variations
- Ways to Use Chickweed
- Chickweed Salve FAQs
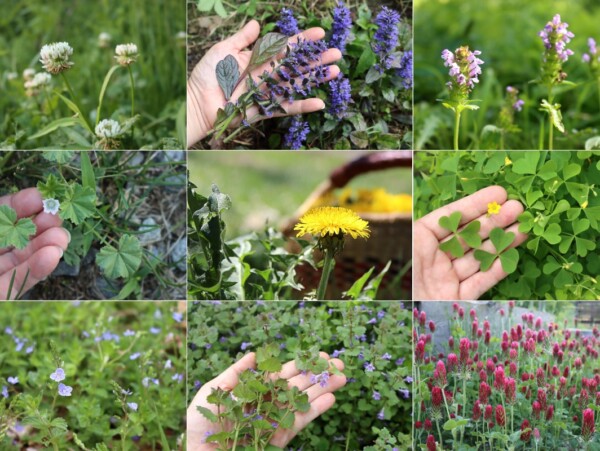
- Chickweed Recipes & Remedies
- Chickweed Salve Recipe
- Herbal Salve Recipes
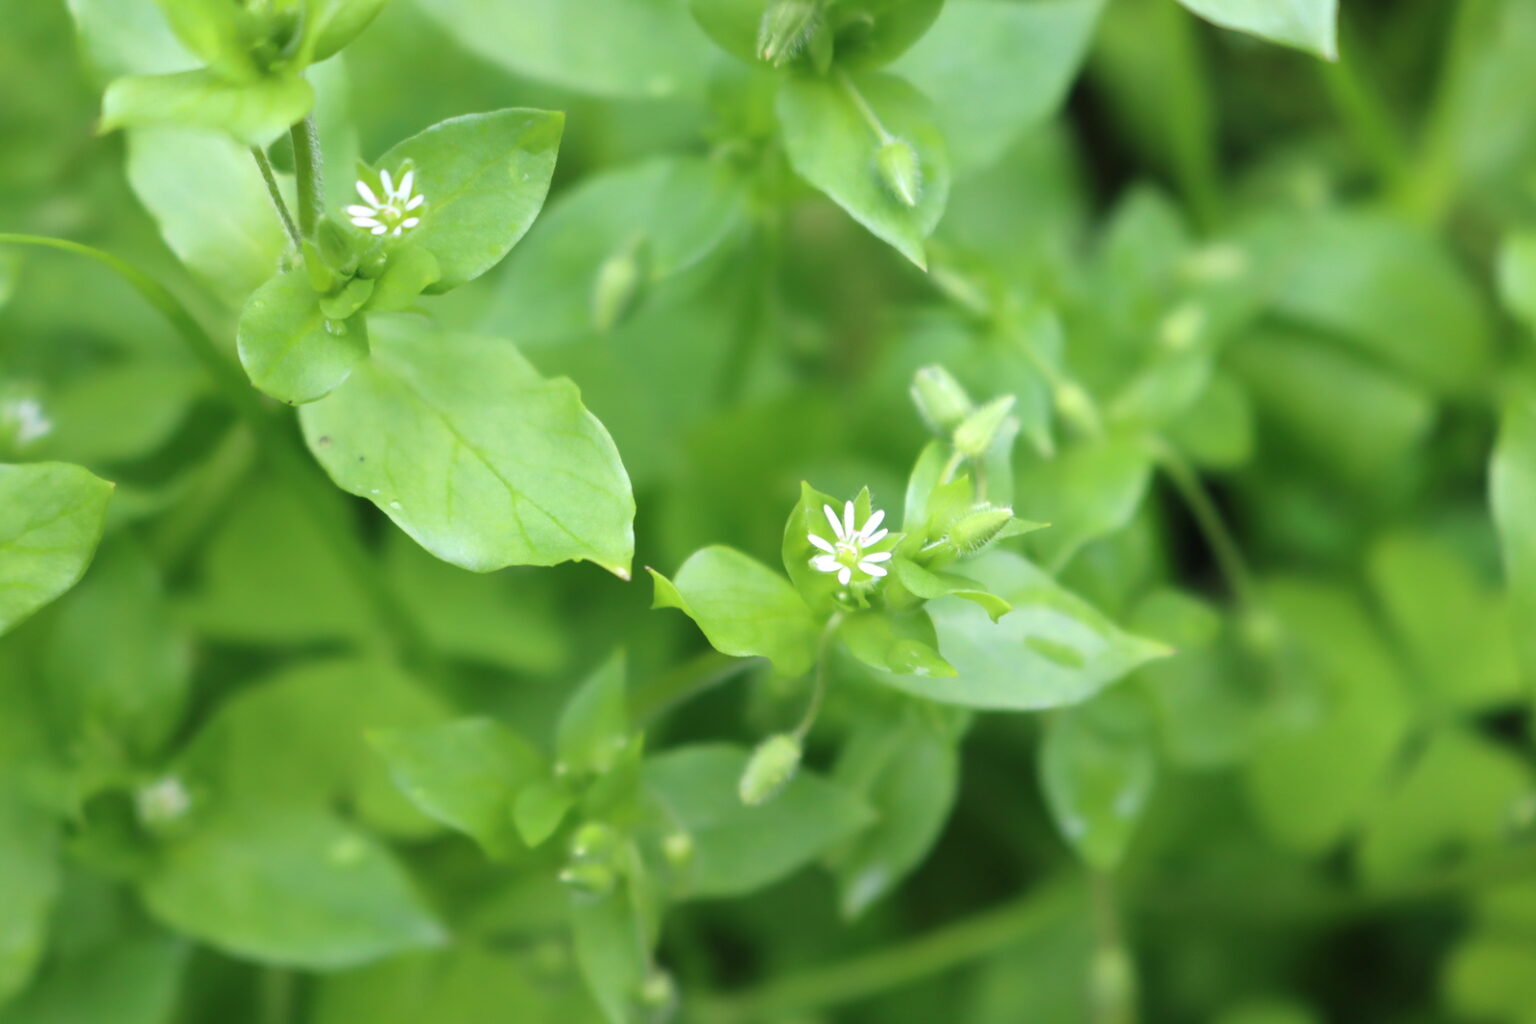
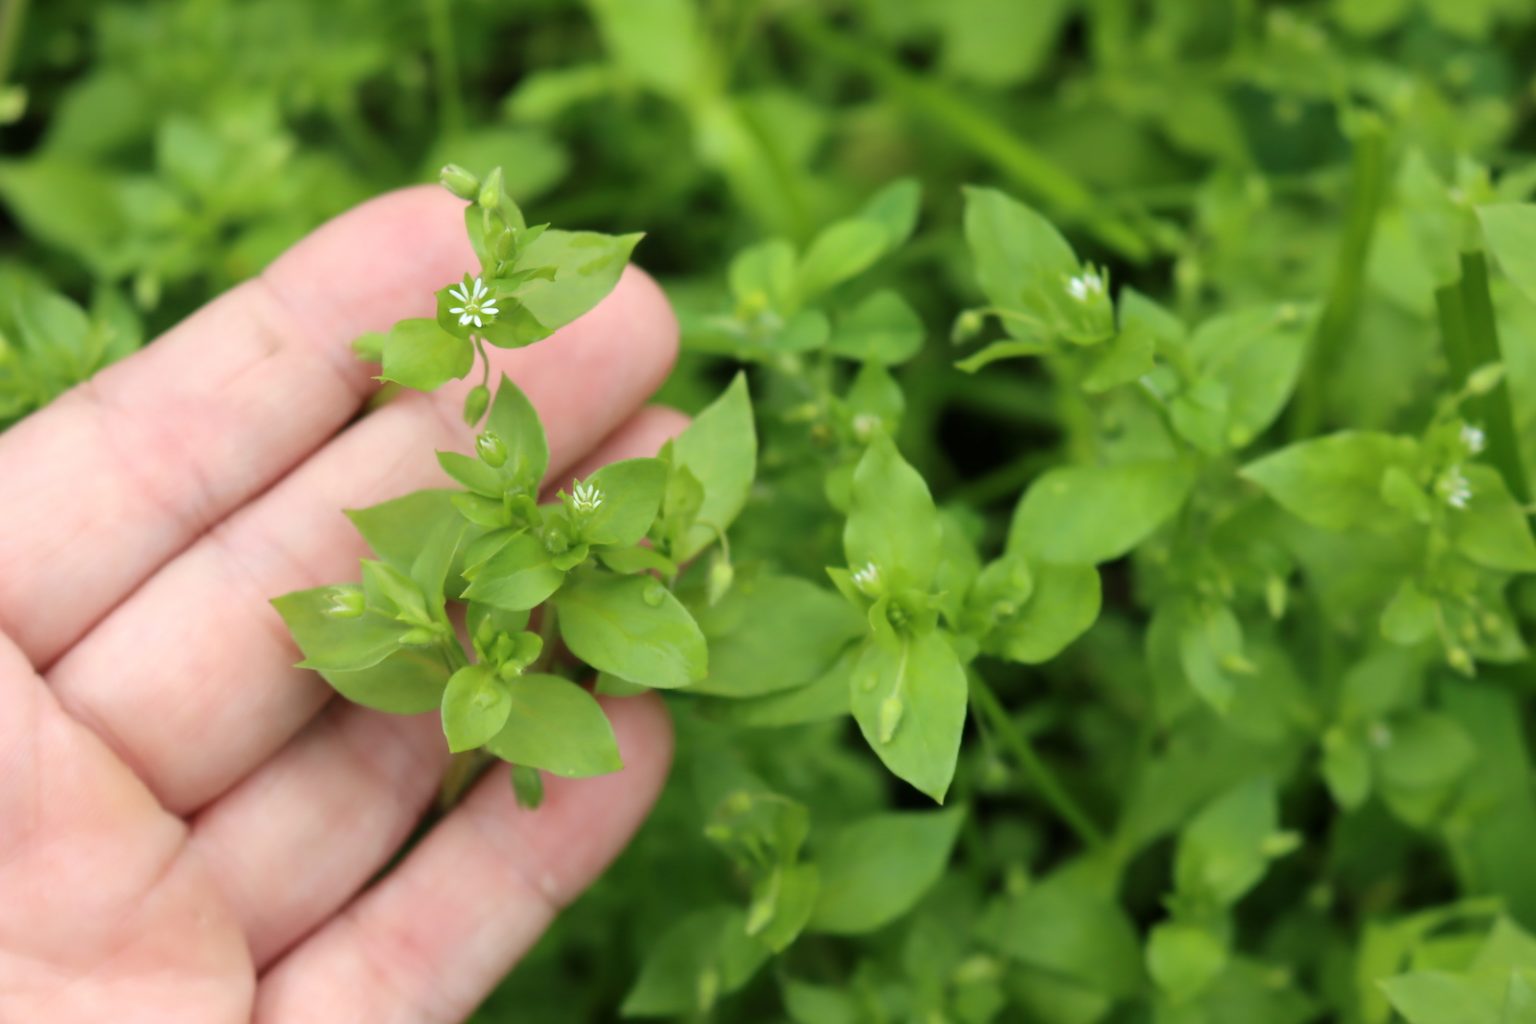
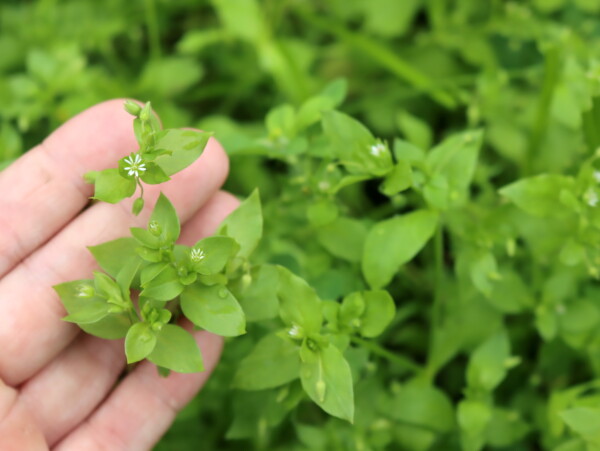
Chickweed (Stellaria media) is a sprawling annual that turns up in the shady, cool patches of my lawn and garden without fail. It’s a cool-weather plant, which means it’s one of the first things I get a real harvest of after the snow finally goes, long before anything I planted on purpose is ready. If you’re not sure what you’re looking at yet, my guide to foraging chickweed walks through the identification details and the look-alikes worth knowing, and it shows up on my list of wild spring edibles every year.
The long trailing stems and oval leaves are surprisingly mild and succulent, and I use chickweed in the kitchen as much as I use it in the medicine cabinet. It’s one of the gentler wild greens, good raw in a spring salad and good cooked into pesto or a stir fry, and it earns its spot on my roundup of edible lawn weeds. On the medicinal side, I put up a batch of chickweed tincture most years alongside the salve.
What I appreciate about chickweed topically is how juicy the leaves and stems are. Crushing a handful reminds me a little of breaking open aloe vera. That succulence is exactly what you’re infusing into the oil here, and it makes a salve that’s cooling and gentle even on skin that’s already angry.
Chickweed salve isn’t something you’ll find at the grocery store. If you’d rather buy than make, you’ll need to track down a cottage-scale herbalist, and plenty of them sell it on Etsy and other online marketplaces. And if chickweed doesn’t happen to grow near you, it’s easy enough to sow. I buy seed from a small Vermont seed company, Earthbeat Seeds, and it establishes readily anywhere the soil stays moist and cool.
Notes from My Homestead

My harvesting setup for this salve is embarrassingly low tech. I walk out with a clean mason jar and a pair of scissors, and I chop the chickweed straight into the jar as I go, packing it down as it fills. Some years, if I’m gathering for the tincture and the salve at the same time, I’ll cut it in the yard and sit on the porch to process it. Either way it takes maybe twenty minutes, and I’m rarely more than thirty feet from the back door.
We live an outdoor life here, so we run into more than our share of itchy skin. Between eczema, poison ivy, and the bee and nettle stings that come with a Vermont summer, the chickweed tin gets opened a lot. I make it in spring when the plants are lush and juicy, and sometimes I catch a second flush in the fall if the weather cooperates. The batch usually carries us through to the following year.
What Chickweed Salve is Used For
Chickweed has been a working herbal remedy for centuries. It has a long history in Chinese traditional medicine, where practitioners have used it to soothe and treat eczema, and our first written record of people using it medicinally comes from the ancient Greek physician Dioscorides, who described it as a tonic for inflammation. Modern reviews of the plant’s chemistry and pharmacology back up that long track record of traditional use.
Thankfully, chickweed is an herb that has stayed with us through the generations. Modern research has demonstrated that chickweed does have anti-inflammatory properties. Chickweed may also help protect irritated skin against certain infections. In a laboratory setting, chickweed has demonstrated anti-viral activity, specifically against the hepatitis B virus.
In practice, this is the tin I reach for when skin needs attention but nothing dramatic has happened. It’s cooling, mild, and easy to apply, which matters when you’re putting it on skin that’s already sore. For the more specific complaints I keep other salves on the shelf too, like jewelweed salve for poison ivy and plantain salve for bites and stings, but chickweed is the general-purpose one.
I reach for it most for:
- Dry, chapped, or chafed skin
- Eczema and psoriasis patches
- Rashes and general itchy irritation
- Bug bites, bee stings, and nettle stings
- Minor burns and windburn
A note on what salve isn’t for: Don’t use this salve on deep cuts, punctures, serious burns, or infected skin. Those need a doctor, not a tin from the medicine cabinet. And if you have known allergies in the carnation family (Caryophyllaceae), patch test on a small area of skin first and wait a day before using it more widely.
Ingredients for Chickweed Salve
Three ingredients, and one of them is free if you have a lawn.
- Fresh chickweed (the whole aerial portion): Stems, leaves, and flowers all go in. Gather on a dry day from a patch you know hasn’t been sprayed, and use it the same day you cut it while the stems are still juicy.
- Olive oil (or another neutral carrier): Olive is what I keep in the pantry for cooking, so it’s what I reach for. Almond, coconut, grapeseed, and jojoba oil all work just as well. My guide to making a herbal infused oil goes deeper on choosing between them.
- Beeswax (pellets or grated from a block): This thickens the infused oil and sets it into something you can dab on with a fingertip. For a plant-based version, candelilla wax swaps in, and my vegan herbal salve has the ratios worked out.
Equipment for Chickweed Salve
You don’t need much, and most of it is probably already in your kitchen.
- A double boiler, or a DIY version made by setting a mason jar on a trivet, canning ring, or folded cotton towel inside a small pot
- A pint mason jar to hold the chickweed and oil during infusion
- A fine mesh strainer and a square of cheesecloth for straining the infused oil
- Beeswax pellets, which I find simplest to handle, or a block or one-ounce bar you cut down yourself
- A small digital kitchen scale for weighing the beeswax, which I find indispensable for herbal work generally
- Two-ounce metal tins with screw-on lids for the finished salve. They’re pretty enough to give away and sturdy enough to carry in a pocket. Quarter-pint mason jars work too, they’re just bulkier.
How to Make Chickweed Salve
Making chickweed salve takes about 30 minutes of hands-on work, and the rest is patience. The method below is a rapid warm infusion, which runs 24 to 48 hours instead of the three to six weeks a cold infusion needs. If this is your first salve, my guide to making herbal healing salves covers the different infusion processes and where each one makes sense.
Beyond being quicker, the warm method lets me work with fresh herbs. With a cold infusion you have to dehydrate the plant material first, because fresh herbs can go rancid over that long, cool infusion period.
Harvesting and Preparing the Chickweed
Chickweed is a spring plant, so that’s when I gather for this salve. It thrives in cool, moist weather and sulks in summer heat. Occasionally I’ll get a second flush in the fall, but spring is when you’ll find it in quantity. The white star-shaped flowers are the giveaway, and they’re one of the easier ones to pick out among all the weeds with white flowers that come up in a lawn.
Harvest the entire aerial portion, meaning everything above ground: stems, leaves, and flowers. Chop it as you go with scissors and pack it firmly into a pint mason jar. Chopping matters more than it looks like it should, because it increases the surface area and lets the oil pull more out of the plant. Don’t worry about neatness. Just make sure there are no large intact pieces left, and keep going until the jar is nearly full.
Infusing the Oil
Cover the packed chickweed with your oil, leaving at least half an inch of headspace so you can move the jar around without slopping oil everywhere. Then set up your double boiler with about an inch of water in the bottom and either pour the oil and herbs into the top or lower your mason jar onto a trivet, canning ring, or folded cloth.
Bring the water up to 110 to 120°F over gentle heat, then turn the burner off. Don’t let it get hotter than that. The goal is to infuse the oil, not cook the herbs, and overheated plant material makes a weaker salve. Reheat each time the temperature starts to drop, then shut the burner off again. You’re holding that 110 to 120°F range for the next 24 to 48 hours, and the heat should never be running unattended for a long stretch.
At bedtime, warm it one last time, then wrap the whole setup in a towel or blanket to hold heat overnight and pick it back up in the morning. Keep an eye on the water level throughout and top it up as needed to stay around an inch deep.
Straining and Combining with Beeswax
When you’re happy with the infusion, strain the chickweed out through a cheesecloth-lined fine mesh strainer. Squeeze the cheesecloth gently to get the last of the oil, then compost the spent plant material. Return the clean oil to your double boiler over simmering water and stir in the beeswax until the mixture is completely smooth.
If you don’t have a kitchen scale, you can measure beeswax pellets by volume instead. One heaping tablespoon of pellets is roughly equivalent to one ounce of solid beeswax. Pour the warm salve into your tins or jars and let it cool undisturbed for at least 30 minutes before you put lids on or start using it.
Salve Consistency Notes
This recipe uses one ounce of beeswax for roughly one and a quarter to one and a half cups of infused oil, which makes a soft, spreadable salve that melts fast on contact with skin. If you want it firmer, work toward one ounce of beeswax per cup of oil instead.
- To test before pouring: drop a spoonful onto a plate straight out of the freezer. Give it 30 seconds to set, then check the texture with a fingertip.
- Too hard? Gently rewarm the salve and stir in another tablespoon of oil at a time until it’s where you want it.
- Too soft? Gently rewarm and add more beeswax, about a teaspoon at a time.
- For a stick or lotion bar: go up to about one and a quarter ounces of beeswax per cup of oil.
Storage and Shelf Life
Store finished salve somewhere cool, dark, and dry. A pantry shelf or a medicine cabinet is fine. Use it within a year for full potency, since it fades gradually after that even though it stays safe to use for longer. If it ever smells rancid, the way old oil does, or you see any mold, throw it out.
For a bit more shelf life, stir a few drops of vitamin E oil in along with the beeswax. It works as a natural antioxidant and slows the oil down from going off.
Recipe Tips & Variations
- Alternative oils: Coconut oil sets up firmer at room temperature, jojoba absorbs into skin fastest, and sweet almond and grapeseed both stay light and neutral. Any of them can stand in for the olive oil one for one.
- Slow cooker as an incubator: Don’t heat the oil directly in a crock pot, since even the low setting runs around 165 to 180°F. Instead, fill the crock with water as hot as your tap runs, set the jar of oil and chickweed down in it, and let it coast. Swap the water out every 12 hours or so.
- Dehydrator method: If your dehydrator holds a temperature around 110 to 120°F, it does this job better than a stovetop double boiler and without the reheating cycle.
- Combination salves: Half chickweed and half calendula makes a lovely all-purpose skin salve. My calendula salve and comfrey salve both blend well with this one.
- Adding essential oils: Stir in 10 to 15 drops per cup of finished salve right before pouring. Lavender is a forgiving place to start.
- Scaling up: The ratio holds at any size, so double or triple it as long as your jar and pot can handle the volume. For more ideas, I keep a running list of herbal salve recipes.
Ways to Use Chickweed
Salve is only one direction to take a spring chickweed harvest. The greens are mild enough to eat by the handful, which is why chickweed shows up on my roundup of edible weeds in the garden alongside things like purple dead nettle that come up at the same time. Pesto is the one my family asks for, and it holds its own raw in salads or wilted into a stir fry. As the name suggests, chickens love it too, so if you have free-range hens in spring you may find yourself competing for the patch.
On the medicinal side, chickweed takes well to just about every preparation. A quick poultice of crushed leaves handles a fresh sting or a patch of chafed skin when you don’t have salve within reach, and a tincture keeps the plant on hand year round. If you’re curious what else you could be doing with a spring harvest, my overview of the different types of herbal preparations lays out the options side by side.
Chickweed Salve FAQs
Not as a direct heat source. Crock pots run around 165 to 180°F even on low, because they are built not to go below that for food safety reasons, and that is hot enough to cook the chickweed and weaken the finished salve. What works instead is using the crock pot as an incubator. Fill it with water as hot as it comes out of your tap, set your jar of oil and chickweed down in the water, and let it sit. It will hold the warmth all day, and the only thing you need to do is swap the water out every 12 hours or so. A dehydrator set to 110 to 120°F works well too.
Yes, and dried is actually the better choice if you want to do a cold infusion instead of a warm one. Fresh chickweed carries water, which can turn an oil rancid over the three to six weeks a cold infusion takes, so dried plant material is what you want for that method. For the rapid warm infusion in this recipe I use fresh chickweed, since the short infusion time and gentle heat keep moisture from becoming a problem. If you substitute dried chickweed in the warm method, use about half as much by volume, since it packs down more tightly.
This recipe uses one ounce of beeswax for roughly one and a quarter to one and a half cups of infused oil, which gives a soft salve that melts quickly on skin. If you prefer something firmer, move toward one ounce of beeswax per cup of oil, and go to about one and a quarter ounces per cup for a stick or lotion bar. Test before you pour by dropping a spoonful onto a plate from the freezer and letting it set for 30 seconds. If it is not right, gently rewarm the whole batch and adjust with more oil or more beeswax before it sets.
Olive oil is what I use because it is already in my pantry, but almond, coconut, grapeseed, and jojoba all work and swap in one for one. Each one behaves a little differently. Coconut oil sets up firmer at room temperature, jojoba absorbs into skin the fastest, and sweet almond and grapeseed stay light and neutral. Avoid strongly scented oils, and avoid anything that has already started to smell old, since the finished salve will only be as fresh as the oil you started with.
About a year, stored somewhere cool, dark, and dry like a pantry shelf or medicine cabinet. It stays safe to use beyond that, but it gradually loses potency, so I try to make a fresh batch each spring. Stirring a few drops of vitamin E oil in with the beeswax will stretch the shelf life further. Throw out any salve that smells rancid the way old cooking oil does, or that shows any sign of mold.
Chickweed Recipes & Remedies

If you tried this Chickweed Salve recipe, or any other recipe on Practical Self Reliance, leave a ⭐ star rating and let me know what you think in the 📝 comments below!
And make sure you stay in touch with me by following on social media!
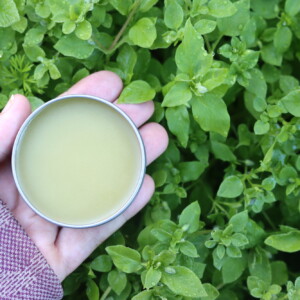
Chickweed Salve
Equipment
Ingredients
- 1 to 2 cups fresh chickweed leaves, stems and flowers or 1/2 to 1 cup dried
- 1 1/4 cups of olive oil, or neutral oil of your choice, strained to 1 cup in the finished salve
- 1 ounce beeswax, 1 oz per cup of strained oil
Instructions
- Chop fresh chickweed with scissors as you harvest and pack it firmly into a pint mason jar, leaving about an inch of headspace.
- Pour oil over the chickweed until it is fully covered, leaving at least half an inch of headspace at the top of the jar.
- Add about an inch of water to a double boiler. Pour in the oil and herbs, or set the mason jar on a trivet, canning ring, or folded cloth inside a small pot.
- Warm the water to 110 to 120°F over gentle heat, then turn the burner off. Do not let it get hotter, since overheated plant material makes a weaker salve.
- Reheat each time the temperature drops and turn the burner off again, holding that range for 24 to 48 hours. At bedtime, warm it once more and wrap the setup in a towel to hold heat overnight. Top up the water as needed.
- Strain the infused oil through a cheesecloth-lined fine mesh strainer, squeezing gently to release the last of it. Compost the spent chickweed.
- Return the clean oil to the double boiler over simmering water and stir in the beeswax until completely smooth.
- Pour the warm salve into tins or small jars.
- Let the salve cool undisturbed for at least 30 minutes before putting lids on or using.
Notes
A Note from Your Family Herbalist
I’m a family herbalist, trained by more than 20 years of hands-on work with medicinal plants and rounded out with coursework through the Herbal Academy of New England. That means I know my way around the plants in this post, and I’ve personally made and used the remedies I write about, often many times over. But there’s a real difference between knowing what works on my homestead and knowing what’s right for you.
Medicine is a personal affair. Every body is different, every medical history is different, and herbs interact with medications, pregnancy, nursing, and existing health conditions in ways no general blog post can anticipate. Even mild medicinal plants like chamomile cause allergic reactions in some people, so what sits comfortably on my own medicine shelf might not be the right choice for yours.
For guidance tailored to your situation, there are three directions I’d point you:
- See a local clinical herbalist. A practicing clinical herbalist can take your full health picture into account, recommend the right herb and dose for you, and adjust the protocol as you go. Ask around at your nearest food co-op, herb farm, or natural-foods store; most communities have at least one.
- Talk to your doctor before adding any new herb to your routine, especially if you take prescription medications, are pregnant or nursing, or are managing a chronic condition. A good doctor will welcome the conversation.
- Educate yourself, the way I have. The Herbal Academy of New England runs the courses I credit with sharpening my own practice. Their Introduction to Herbal Medicine course is where I’d start. I’ve also taken and recommend their Mushroom Course and their Botany and Wildcrafting Course. All three are well-paced and easy to follow at home.
Herbal Salve Recipes
Find the perfect recipe
Searching for something else? Enter keywords to find the perfect recipe!










Hello! Love your blog, I’ve gotten so many great ideas from you. I don’t know where you find the time to do all you do, you are amazing!
My question is about heating the chickweed and oil. Can this be done in a crock pot on low? I’m having anxiety over having to watch it so closely, and the many start and stops. If that’s not a doable option I’ll just eat some of the mass quantities of chickweed we are blessed with.
Hi Julie,
So a crock pot on low is around 165 to 180 degrees, and they don’t operate below 165 for food safety reasons. That’s much too hot, however, you can just put warm water in your crock pot and let the crock pot act as an incubator for the batch. Start with water that’s about as hot as it’ll come out of your tap, put it in your crock pot and then put your jar to infuse in there. It should keep it warm all day long, and the only thing you may need to do is replace the water every 12 hours or so. Easy enough, no worries about overheating (and if it’s cold for a while, that’s fine too). Hope this helps!
Like your new hair-cut. Thanks for this recipe.
Barb
Thanks Barb!