
Affiliate disclosure: This post may contain affiliate links. Please see our Privacy Policy.
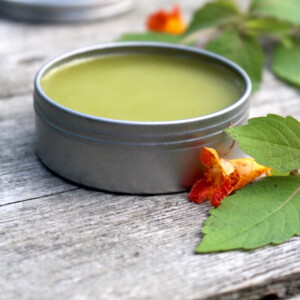
Jewelweed salve calms the itch of poison ivy, stinging nettle, and bug bites using a plant that usually grows within arm’s reach of the trouble. It takes three ingredients and a couple of days of mostly hands-off infusing.
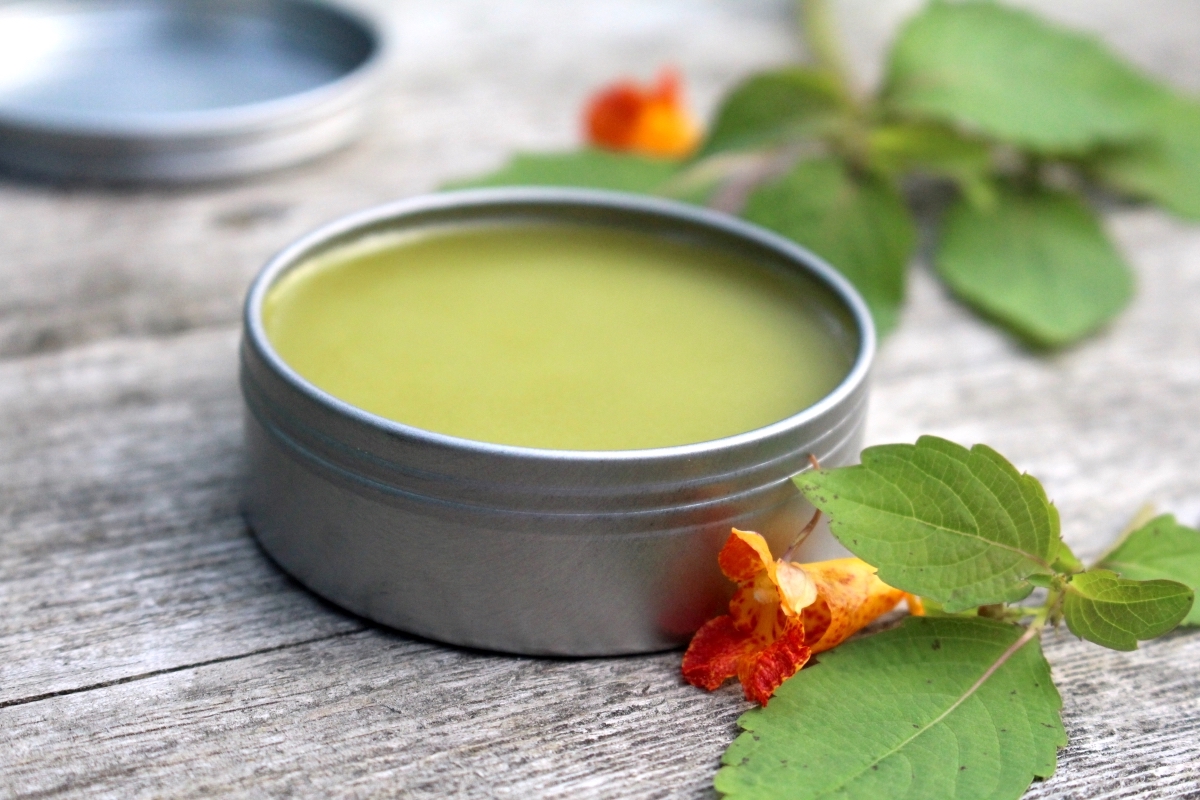
Table of Contents
- Notes from My Homestead
- What Jewelweed Salve is Used For
- Ingredients for Jewelweed Salve
- Equipment for Jewelweed Salve
- How to Make Jewelweed Salve
- Salve Consistency Notes
- Storage and Shelf Life
- Recipe Tips & Variations
- Ways to Use Jewelweed
- Jewelweed Salve FAQs
- Jewelweed Recipes & Remedies
- Jewelweed Salve Recipe
- Herbal Salve Recipes
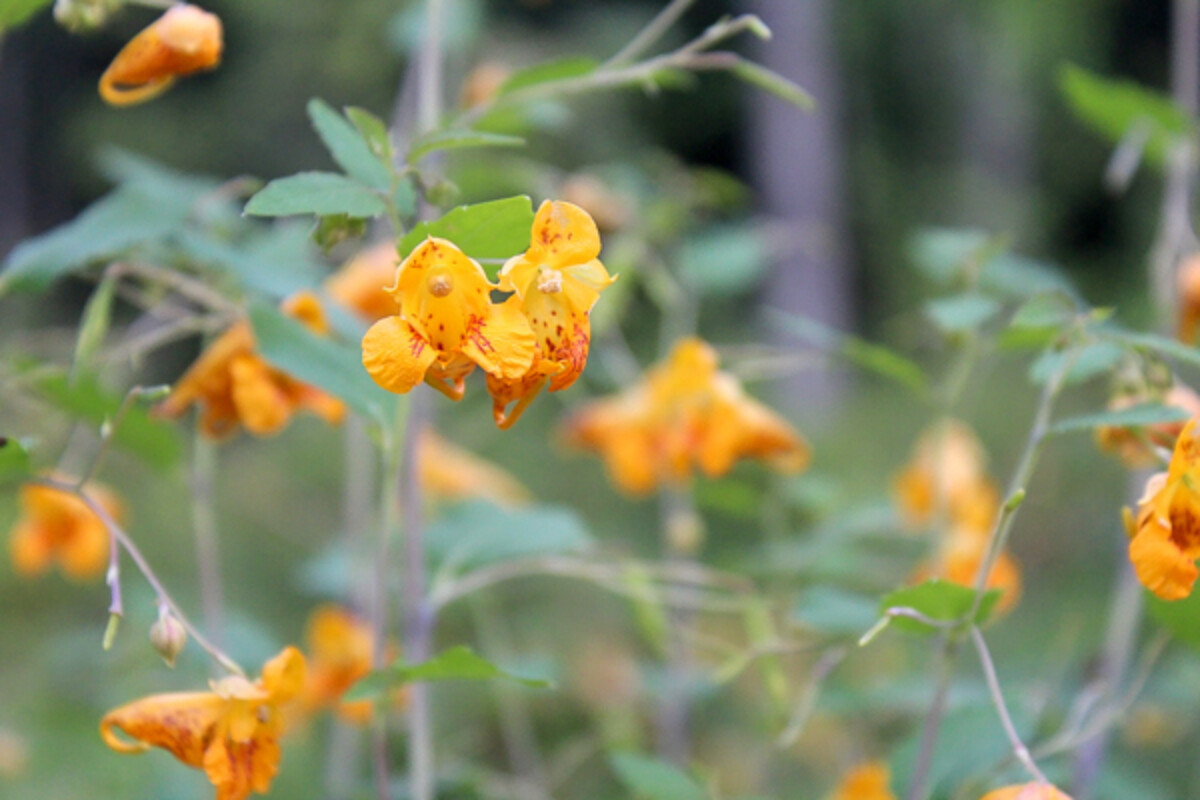
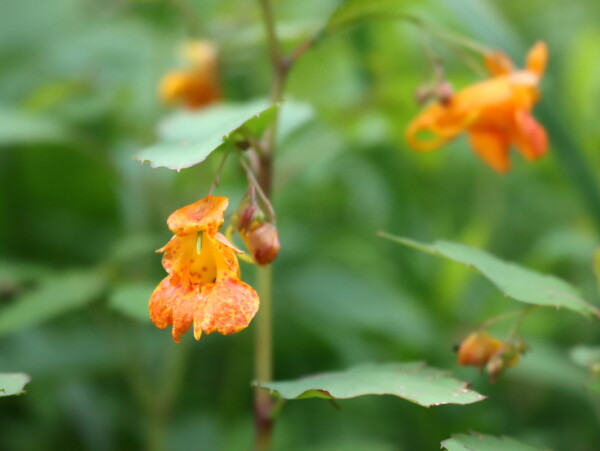
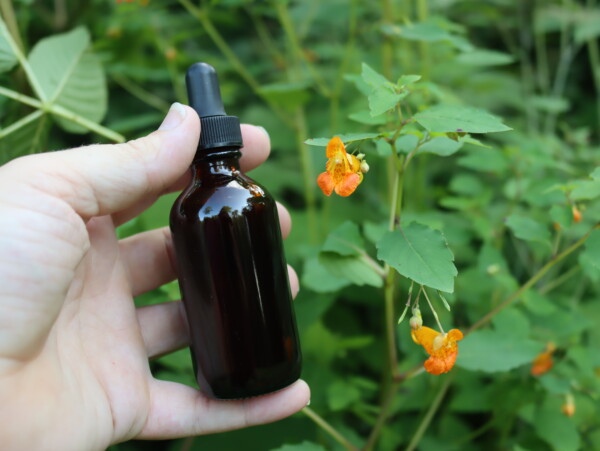
Jewelweed grows in the damp, shaded edges of our property here in Vermont, along the stream bank and in the low spots where the ground never quite dries out. It’s a tall, succulent annual with translucent stems and coarsely toothed leaves, and by mid to late summer it’s hung with those speckled orange flowers that hummingbirds work over all day. If you’re not sure you’ve got the right plant, my guide to foraging jewelweed walks through the identification points in detail.
The plant earns its keep in more ways than one around here. The green seed pods are surprisingly good eating and taste like walnuts, and I keep a bottle of jewelweed tincture in the cabinet as well. The salve is what actually leaves the house though, because it’s the form that travels. A tin lives in the daypack from June until the frost takes the plants down.
Notes from My Homestead

I have jewelweed growing close enough to the house that I’ve stopped bothering to harvest it into a basket. I carry the empty mason jar out to the patch and cut leaves straight into it, stuffing as I go, and by the time I’ve worked my way down the row the jar is full. If I’m making several batches at once I’ll cut everything into a bucket and stuff the jars back on the porch, but for one jar it’s easier to do it standing in the plants.
When I first wrote this recipe I was using a stovetop setup and babysitting the water temperature, turning the burner on and off and draping a towel over the pot overnight. I’ve since made it in my yogurt maker and in my Excalibur dehydrator, and both of those hold the temperature so much more steadily that I don’t think I’ll go back. If you have either one sitting in a cupboard, this is the project that earns it a spot on the counter.
I made my first batch of this using a small crockpot. Immediately, my daughter needed some. She said it smelled like Chinese food so her dogs were very interested in licking her leg haha BUT it removed her itch like nothing else she had tried. We have jewelweed all over the place here. Who knew??
What Jewelweed Salve is Used For
Jewelweed has been used by Native American tribes across eastern North America for generations as a mash applied to skin after contact with poison ivy, and the plant obligingly grows in the same damp, shaded ground that poison ivy favors. Herbalists have carried that use forward, and it holds up under testing. A 2012 study in the Journal of Ethnopharmacology found that jewelweed mash reduced poison ivy dermatitis compared with water alone, supporting the traditional use, though plain soap did better still. A follow-up study in 2015 pinned the effect on saponins, the naturally soapy compounds in the leaves, and found the same extracts had antibacterial activity as well.
Worth knowing where that evidence stops. The research looked at fresh plant material applied to skin shortly after exposure, not at oil infusions. So if you’ve just walked through a patch of poison ivy, the strongest move is washing with soap and crushing fresh jewelweed stems against the skin right there on the trail. What the salve does well is the part that comes afterward, when the rash has already set in and the itching goes on for days. That’s the stretch where I reach for a tin, and where readers keep telling me it earns its place.
I use it for:
- Lingering poison ivy and poison oak rash
- The welts left behind by stinging nettles
- Mosquito, blackfly, and other bug bites
- Brush burns and scratches from working in the hedgerow
- General dry, itchy skin after a day outside
A note on what salve isn’t for: Skip it on deep cuts, punctures, serious burns, and anything that looks infected. Those need a doctor, not a tin of herbal salve. Patch test on a small area first if you have sensitive skin, and stop using it if the irritation gets worse rather than better.
Ingredients for Jewelweed Salve
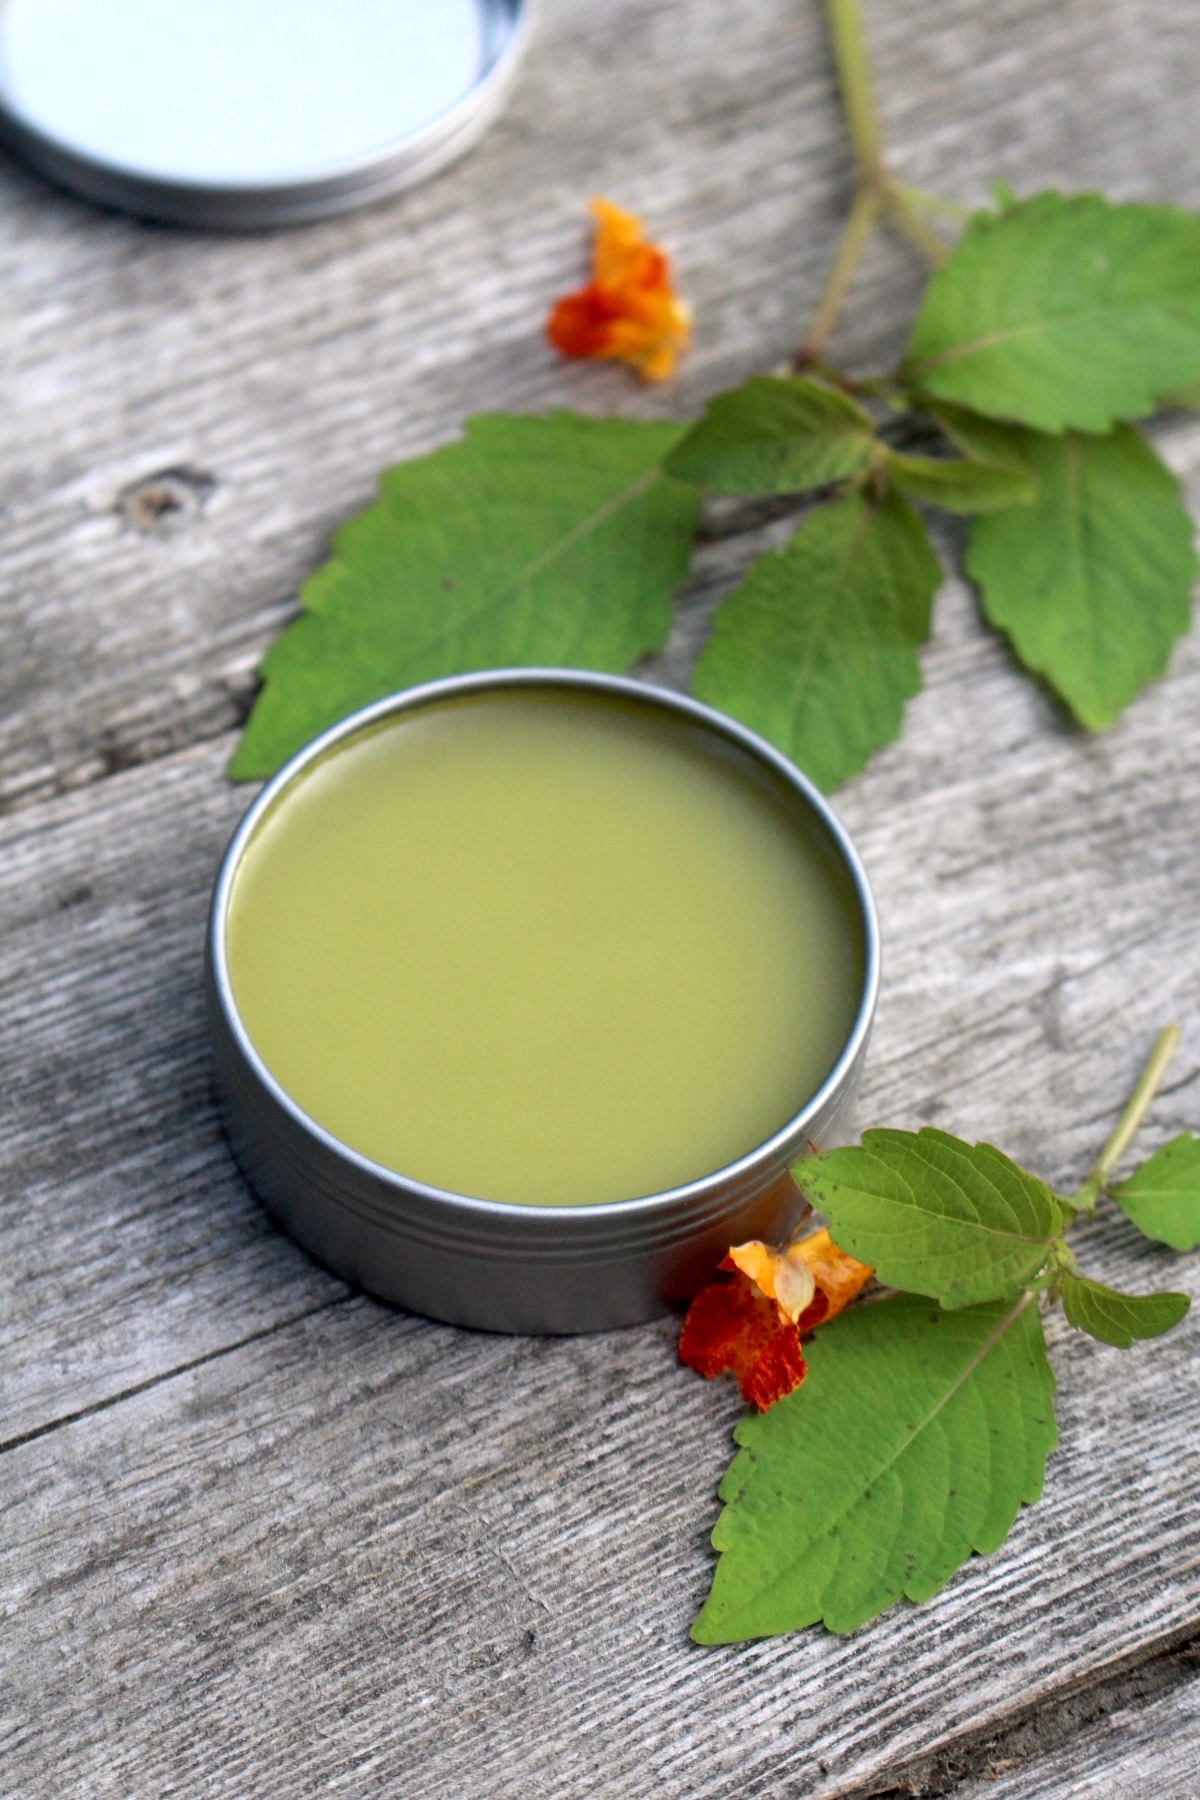
Three ingredients, and one of them you’re picking yourself. Exact amounts are in the recipe card below.
- Fresh jewelweed leaves and stems: Cut the upper leafy portions of the plant on a dry day, after the morning dew has burned off. I don’t fuss about separating leaves from flowers. I take the whole top of the plant, which works out to something like 98% leaves anyway since that’s what there’s most of. Wet plant material is the enemy here, so wait out a rainy morning rather than harvesting through it.
- Olive oil (or another neutral carrier): Olive is what I keep on hand for cooking, so it’s what most of my salves start with. Sweet almond, grapeseed, and jojoba all work, and readers have had good results with grapeseed in particular since it’s light and doesn’t clog pores. My guide to making herbal infused oils goes deeper into choosing between them.
- Beeswax (pellets or grated from a block): This is what turns infused oil into something that stays put in a tin. I usually buy filtered beeswax because it gives a smoother finished salve, but wax straight from a beekeeper works fine if you strain it yourself first. For a plant-based version, candelilla wax substitutes in at roughly half the amount, and my vegan herbal salve recipe has the ratios worked out.
Equipment for Jewelweed Salve
Nothing specialized. Most of this is already in your kitchen.
- A pint mason jar to hold the leaves and oil during the infusion
- Garden shears or sharp kitchen scissors for chopping the plant material
- A heat source that holds a low, steady temperature: a dehydrator, a yogurt maker, an Instant Pot on yogurt mode, or a double boiler you tend by hand
- A fine mesh strainer plus a square of cheesecloth for straining the infused oil
- A small kitchen scale for weighing the beeswax, or buy beeswax in 1 oz bars and skip the weighing
- Two ounce salve tins, or small glass jars if you’d rather see what’s inside
How to Make Jewelweed Salve
Figure on about 30 minutes of hands-on work spread across two days, with a long stretch of unattended infusing in the middle. The process is three steps: cut and pack the jewelweed, infuse it into oil at low heat, then strain and melt in the beeswax. If you’ve never made a salve before, my guide to making an herbal healing salve covers the method from the ground up.
Harvesting and Preparing the Jewelweed
Cut the leafy upper portions of the plants and chop them roughly with garden shears or scissors. I’m after surface area rather than tidiness, so the pieces come out uneven and that’s fine. Stems that come along for the ride are no problem at all.
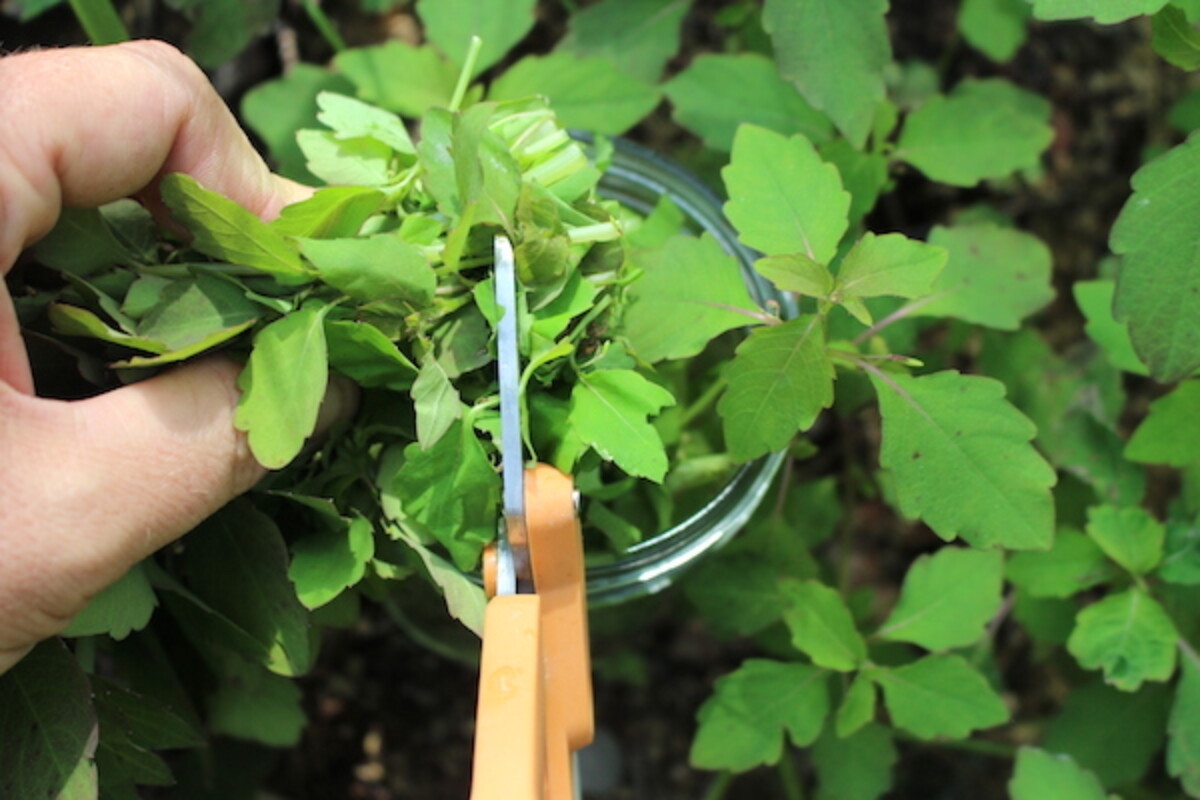
Pack the chopped jewelweed into a clean pint mason jar, pressing it down firmly as you go, and leave an inch or so of headspace at the top. Don’t wash the plant material unless it’s genuinely dirty. Any water you introduce works against you later. If it does need rinsing, spread it on a towel and let it dry completely before it goes anywhere near the oil.
Infusing the Oil
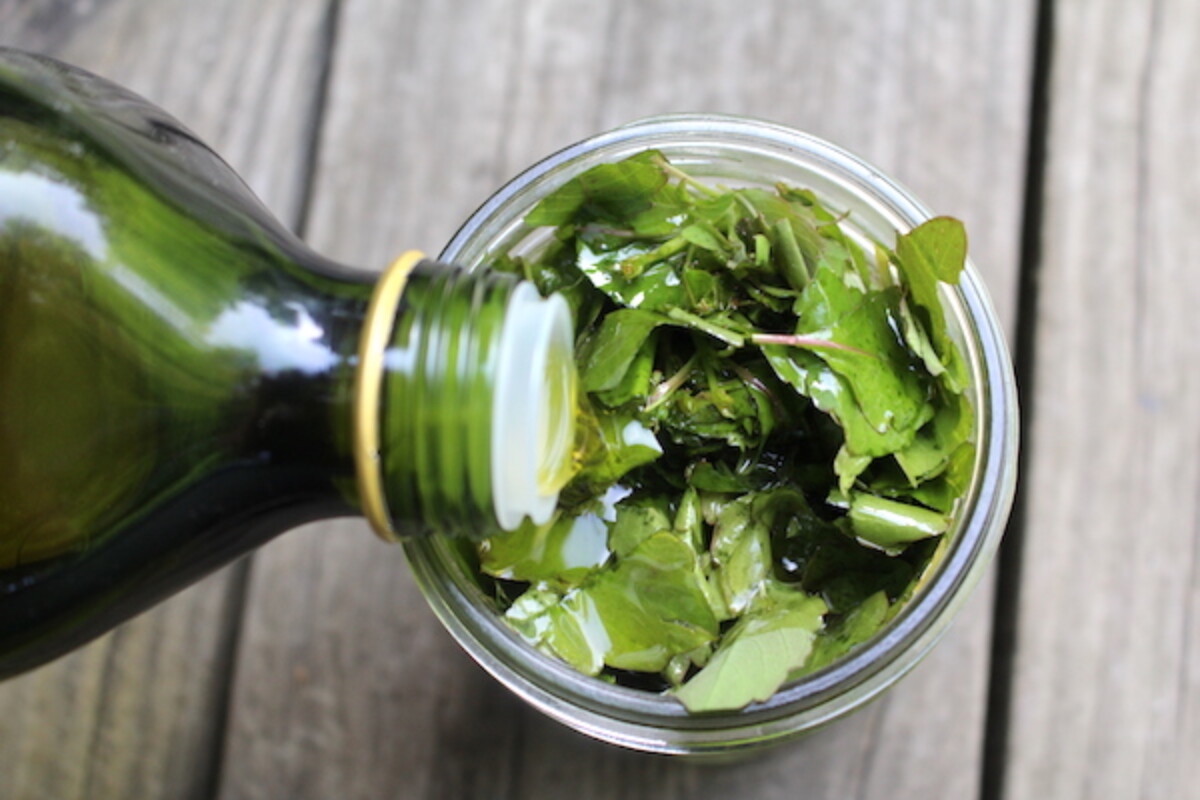
Pour olive oil over the packed leaves until they’re fully covered, still leaving a little room at the top.
Leave the lid loose or off entirely so moisture from the fresh leaves has somewhere to go instead of condensing back into the oil.
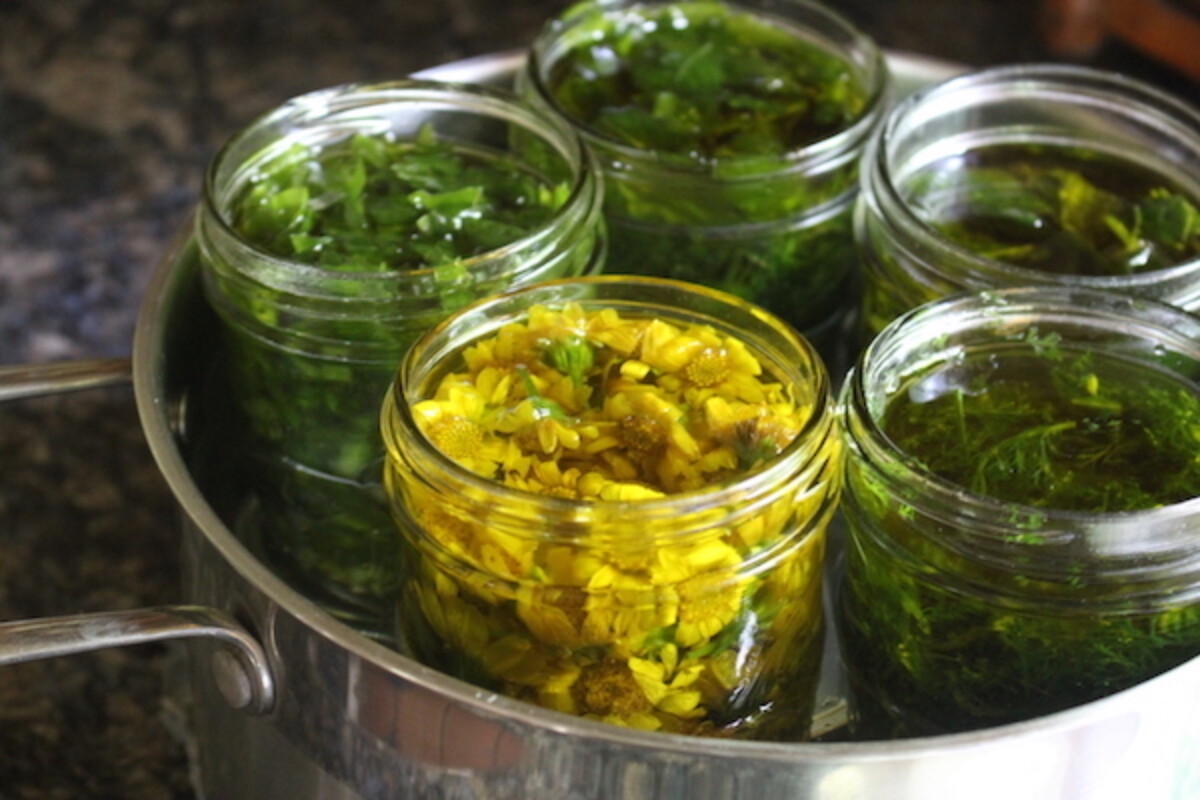
Hold the jar at 110 to 120°F for 24 to 48 hours. This is a warm rapid infusion rather than the slow weeks-long steep, and it’s the method fresh plant material calls for, since the water content in fresh leaves will spoil an oil left sitting at room temperature for a month.
A dehydrator set to 115°F, a yogurt maker, or an Instant Pot on yogurt mode all hold that range without any attention from you. If you’re working on the stovetop, set the jar on a trivet or a folded dishtowel in a pot with an inch of water, warm it up, then turn the burner off and bring it back to temperature every few hours. A towel draped over the pot overnight keeps things from cooling too far.
Keep the heat gentle. Once the oil climbs past about 140°F you’ve stopped infusing and started cooking, and a cooked infusion makes a weaker salve. That’s the reason I steer people away from running a slow cooker as a direct heat source, since even the keep-warm setting on most of them sits around 170°F.
Straining and Combining with Beeswax
Strain the warm oil through a cheesecloth-lined mesh strainer into a clean heatproof bowl, and resist the urge to wring out the cheesecloth. Squeezing fresh plant material pushes its water content straight into your finished oil, and you’ll see it later as a rusty orange layer sitting under the oil. Let it drain on its own and compost what’s left in the cloth.
Set the bowl over an inch of simmering water, add the beeswax, and stir until it’s melted and the mixture looks completely smooth. Pour into tins or small jars right away, before it starts to set, and leave them uncovered on the counter for at least 30 minutes. Putting lids on warm salve traps condensation, which is the one thing that will shorten its life.
Salve Consistency Notes
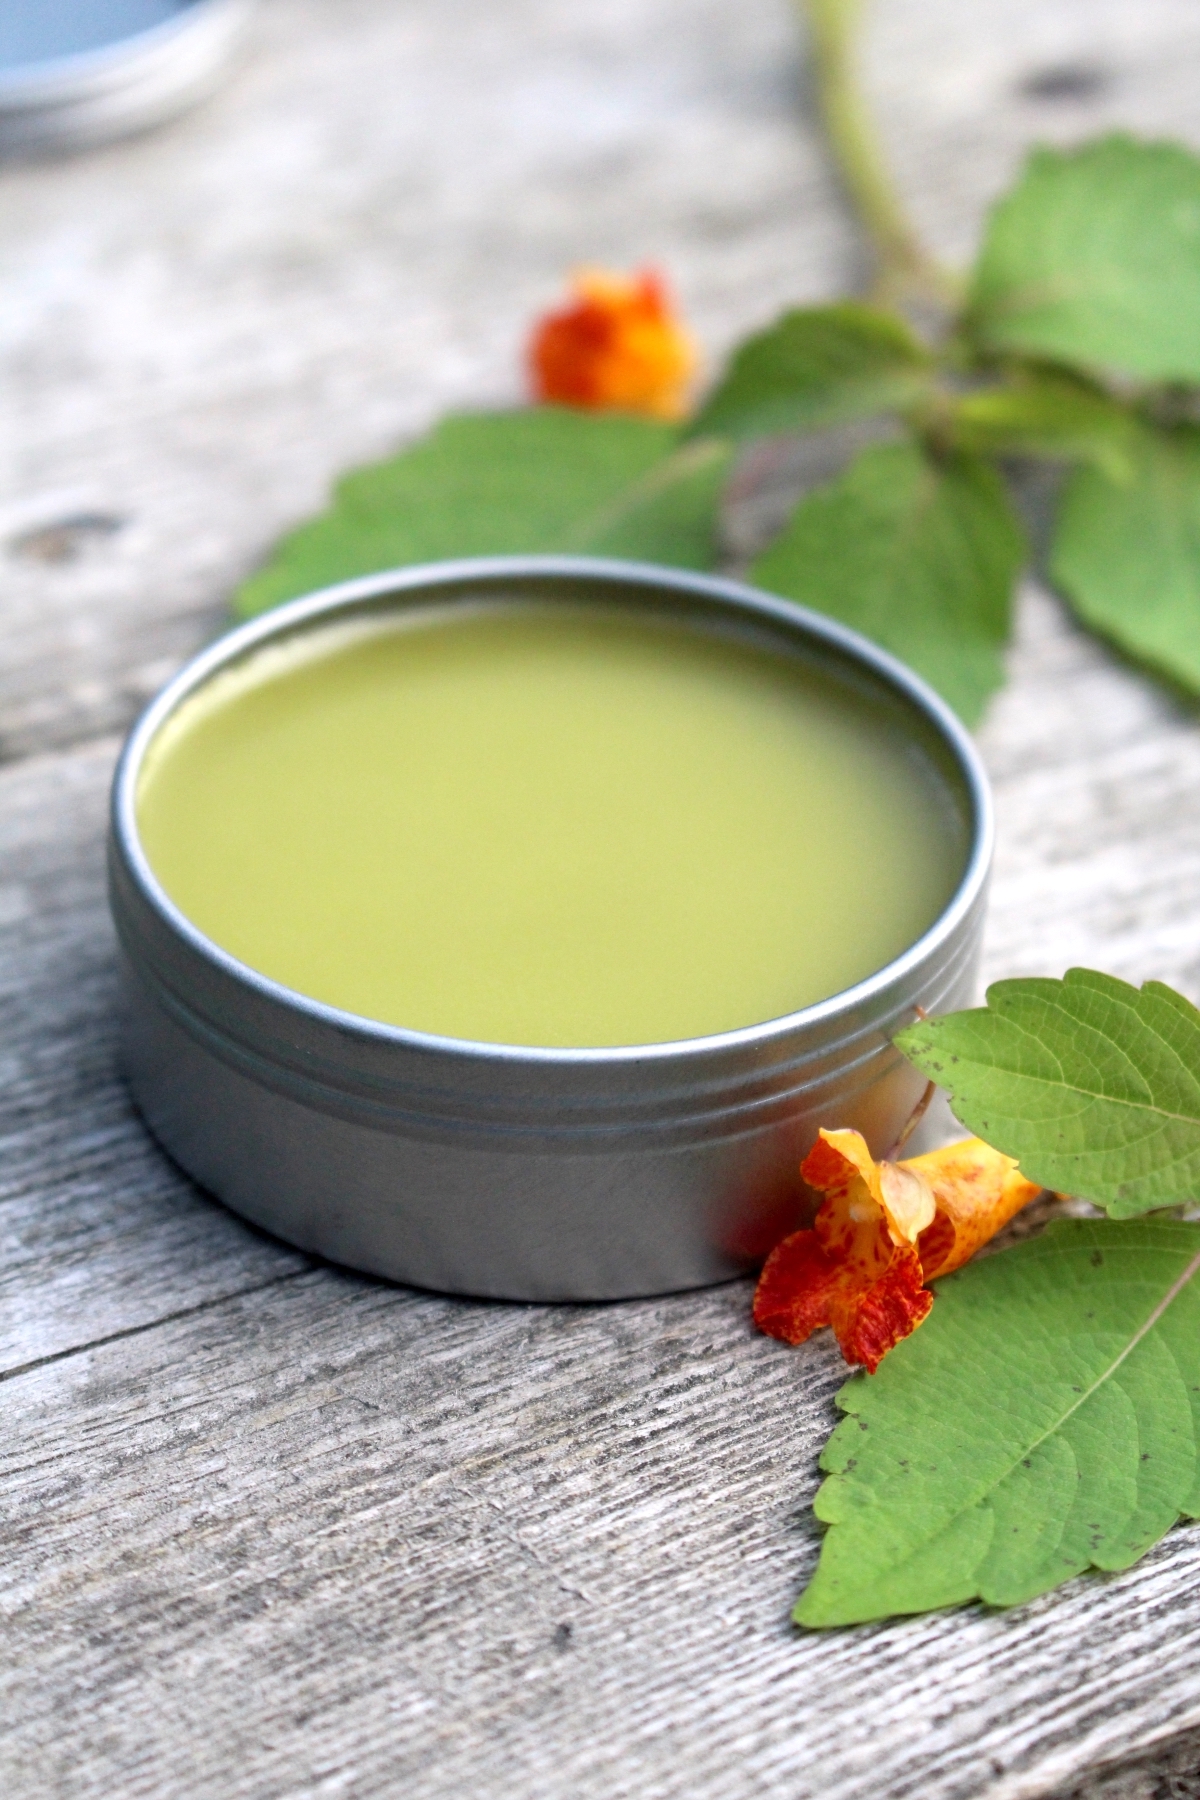
This recipe uses 1 ounce of beeswax for the full batch of infused oil, which produces a soft salve that spreads easily and melts on contact with skin. If you want something firmer, closer to a balm, work up toward 1 ounce of beeswax per cup of oil.
- To test before pouring: drop a spoonful onto a plate straight from the freezer. Give it 30 seconds and check the texture.
- Too soft? Gently rewarm the whole batch and stir in more beeswax, a teaspoon at a time.
- Too hard? Rewarm and add a tablespoon more oil at a time until it’s where you want it.
- Scaling up: the beeswax scales with the oil, so a triple batch takes 3 ounces of beeswax.
Storage and Shelf Life
Store finished salve somewhere cool, dark, and dry. A pantry shelf or a medicine cabinet away from the shower is plenty. It holds its potency for about a year, and it stays safe to use past that point, it just gets weaker. If it smells rancid the way old oil does, or you see any mold, throw it out.
A few drops of vitamin E oil stirred in with the beeswax will stretch that a little further. And if you do end up with a watery orange layer under your infused oil, pour the clear oil off the top and leave the sludge behind before you make the salve. Water in a salve is what invites mold.
Recipe Tips & Variations
- Alternative oils: Grapeseed is light and non-comedogenic, which readers with acne-prone skin tend to prefer. Sweet almond is soft and mild. Jojoba absorbs fastest. Coconut oil firms up on its own at room temperature, so you can back the beeswax off slightly if you use it.
- Adding scent: Jewelweed salve has a green, vegetal smell that not everyone loves. Ten to fifteen drops of essential oil per cup of finished salve, stirred in just before pouring, covers it. Lavender and rosemary both work well here. Check dilution guidelines for whichever oil you choose.
- Cocoa butter: You can swap part of the beeswax for cocoa butter for a different feel. It sets softer and creamier than a straight beeswax salve.
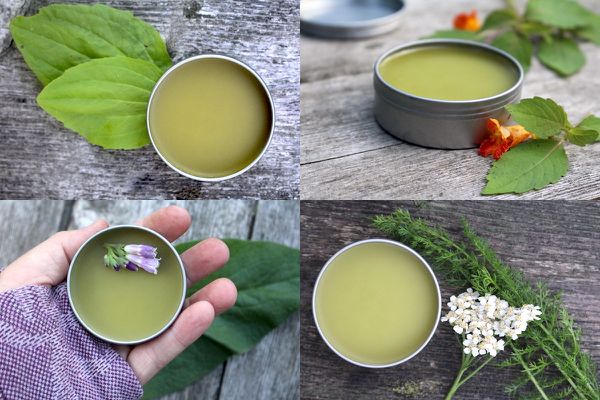
- Combination salves: Half jewelweed and half plantain makes a good all-purpose itch and irritation tin. My plantain salve, chickweed salve, and calendula salve all cover overlapping ground if you want to blend.
- More salves to make: Once you’ve got the method down, the same three-step process works for dozens of plants. I’ve collected the ones I make most often in my roundup of herbal salve recipes.
Ways to Use Jewelweed
The salve is the version I make the most of, but it isn’t the only way this plant earns space in the apothecary. A tincture keeps indefinitely and takes up almost no room, which makes it the better choice if you want jewelweed on hand year after year without an annual harvest. Fresh crushed leaves and stems, rubbed directly on skin, remain the fastest response to a known poison ivy encounter and cost nothing at all.
On the food side, the plump green seed pods are worth seeking out in late summer, and the flowers are pretty enough to scatter over a salad if you’re already picking from my list of edible flowers. Jewelweed is one of a long list of plants I keep coming back to, and if you’re building out a home apothecary, my roundup of medicinal plants and their uses is a good place to see what else grows near you.
Jewelweed Salve FAQs
Yes, but not as a direct heat source. Most slow cookers run around 170°F even on their keep-warm setting, which is hot enough to cook the jewelweed rather than infuse it. Use the crockpot as an insulated water bath instead: fill it with warm water, set the jar on a trivet or folded dishtowel so it isn’t touching the bottom, and cycle the heat on and off to hold the water between 110 and 120°F. A dehydrator, yogurt maker, or Instant Pot on yogurt mode is easier because it holds the temperature for you.
This method is written for fresh plant material, and fresh is what I’d recommend. Jewelweed is thought to lose a good deal of its potency in drying, so the standard advice is to use it fresh. If you do want to dry it, spread it in a single layer to air dry or use a dehydrator on a low setting, then infuse it using the slow cold-infusion method rather than the warm one, since dried material has no water content to spoil the oil.
I use the whole upper portion of the plant and don’t separate them. In practice that works out to roughly 98 percent leaves, simply because a jewelweed plant carries far more leaf than flower. The flowers can go in the jar right along with everything else, and softer stems are fine too.
That’s water drawn out of the fresh plant material, usually because the cheesecloth got squeezed during straining. Fresh jewelweed holds a lot of moisture, and pressing it forces that water into the oil. Pour the clear oil off the top and leave the rusty layer behind before you melt in the beeswax. Water in a finished salve shortens its shelf life and can lead to mold, so it’s worth taking the time to separate them.
About a year stored in a cool, dark, dry place. It stays safe to use beyond that, it just gradually loses strength. Adding a few drops of vitamin E oil along with the beeswax extends it further. Discard any salve that smells rancid like old oil or shows visible mold.
Jewelweed Recipes & Remedies
If you tried this Jewelweed Salve recipe, or any other recipe on Practical Self Reliance, leave a ⭐ star rating and let me know what you think in the 📝 comments below!
And make sure you stay in touch with me by following on social media!
Jewelweed Salve
Equipment
Ingredients
Instructions
- Harvest the leafy upper portions of jewelweed plants on a dry day, after the morning dew has burned off.
- Chop the leaves and softer stems roughly with garden shears or kitchen scissors.
- Pack the chopped jewelweed firmly into a clean pint mason jar, leaving about an inch of headspace.
- Pour oil over the leaves until they’re fully covered, still leaving a little room at the top.
- Leave the lid loose or off so moisture from the fresh leaves can escape during the infusion.
- Hold the jar at 110 to 120°F for 24 to 48 hours. A dehydrator set to 115°F, a yogurt maker, or an Instant Pot on yogurt mode holds the temperature without attention. On the stovetop, set the jar on a trivet in a pot with an inch of water and cycle the heat.
- Strain the warm oil through a cheesecloth-lined mesh strainer into a clean heatproof bowl. Do not squeeze the cheesecloth. Let it drain on its own. Measure the strained jewelweed infused oil. From a single batch starting with 1 1/4 cup, you should have about 1 cup strained oil as some is always lost to tools and straining.
- Set the bowl over an inch of simmering water, add the beeswax, and stir until melted and smooth.
- Pour into tins or small glass jars immediately.
- Leave uncovered for at least 30 minutes before putting lids on.
Notes
A Note from Your Family Herbalist
I’m a family herbalist, trained by more than 20 years of hands-on work with medicinal plants and rounded out with coursework through the Herbal Academy of New England. That means I know my way around the plants in this post, and I’ve personally made and used the remedies I write about, often many times over. But there’s a real difference between knowing what works on my homestead and knowing what’s right for you.
Medicine is a personal affair. Every body is different, every medical history is different, and herbs interact with medications, pregnancy, nursing, and existing health conditions in ways no general blog post can anticipate. Even mild medicinal plants like chamomile cause allergic reactions in some people, so what sits comfortably on my own medicine shelf might not be the right choice for yours.
For guidance tailored to your situation, there are three directions I’d point you:
- See a local clinical herbalist. A practicing clinical herbalist can take your full health picture into account, recommend the right herb and dose for you, and adjust the protocol as you go. Ask around at your nearest food co-op, herb farm, or natural-foods store; most communities have at least one.
- Talk to your doctor before adding any new herb to your routine, especially if you take prescription medications, are pregnant or nursing, or are managing a chronic condition. A good doctor will welcome the conversation.
- Educate yourself, the way I have. The Herbal Academy of New England runs the courses I credit with sharpening my own practice. Their Introduction to Herbal Medicine course is where I’d start. I’ve also taken and recommend their Mushroom Course and their Botany and Wildcrafting Course. All three are well-paced and easy to follow at home.
Herbal Salve Recipes
Find the perfect recipe
Searching for something else? Enter keywords to find the perfect recipe!









My water temp went above the recommended temperature for an extended time (by about 20 degrees). How much of an issue is this?
Don’t worry, you almost certainly haven’t ruined it. Going over temp for a while isn’t a safety problem, it’s more of a potency one. The reason for keeping the heat gentle is that too much heat can break down some of the beneficial compounds from the jewelweed, so your salve might end up a touch less potent than a perfectly-temped batch. But 20 degrees over isn’t going to wreck it. And since jewelweed is a fresh herb, a little extra heat actually drives off more of the water, if anything, so it won’t spoil any faster. Give the oil a sniff before you finish. If it smells clean and herby (not scorched or off), you’re good to go ahead and use it. Hope this helps!
I made this salve previously and have had wonderful results. It’s time for another batch and I wanted to try the warm infusion method you recommended. Pawing through the pantry shelves I found a dusty yogurt maker I received as a gift so many years ago. Doing some research I found that the holding temperature for the unit is 115 F and I can run the device for 15 hours at a time. It appears the yogurt maker may get a new lease on life for this project, and any other warm infusion processes in the future. Maybe I’ll even make some yogurt.
Thanks.
Since writing this recipe I’ve also made this salve in my yogurt maker, as well as my excaliber dehydrator. They’re so good for keeping those temps!
Ashley, I am really wanting to make this salve and see how it works for us. Pardon the pun, but jewelweed grows like a week around our property.
I do have a couple of questions before I delve into this adventure. 1. Do you use just the green of the plant or include the blossoms as well? Do you buy commercially available beeswax that has been “cleaned up” or something directly from a beekeeper?
I use the whole plant and don’t really distinguish between the flowers and the leaves here, but doing so, it’s probably 98% leaves because they are so much more abundant on a plant. I generally use cleaned up bees wax because it gives a nice smooth salve, but you can use it straight from a beekeeper if that’s what you can get. (You can also get it from a beekeeper and strain it yourself.). Enjoy!
Are smal glass jars ok to use?
Yes, small glass jars work just fine. You don’t have to have metal tins.
Can coconut oil be used instead of bees wax to make it solid??
You could use coconut oil but it will be quite a bit softer than the salve with the beeswax.
Hello Ashley, I have a couple questions. First have you ever added essential oils to your salve? I’m reading in the comments that some have and it seems like a great idea. The thought had crossed my mind so I was thinking of trying it as well.
Also, have you ever used cocoa butter instead of or combined with beeswax? I have both actually, as we have bees, but I had ordered some cocoa butter wafers from Mountain Rose herbs for just such purposes but have not tried it yet. Just curious if you knew whether it would work as well as the beeswax or last as long.
I also noticed (just like Christina) that when I strained my infused oil into a jar it has a layer of orange liquid underneath the oil. I’m guessing it is just as you mentioned, the water content from the plant. I’m wondering if there’s a way to easily separate the 2 before melting my beeswax in? I have a feeling it won’t last as long if I don’t.
Yes, essential oils are great to use. Just be sure to look up the dilution rate so that you’re using a safe amount. The cocoa butter should be fine. It will be a little different consistency than what you typically expect from a salve but it will work or you could try doing part beeswax and part cocoa butter. As for the water, you can gently pour the oil off the top, leaving the watery sludge in the bottom.
I just made my first batch after coming across this recipe/technique; I have learned the very hard way that my new property has poison ivy *everywhere*. I used my mini crockpot as the heating source, opted for grapeseed oil as it is noncomedogenic, and am currently waiting on it to cool in the jars. I draped a towel over the crock to try to contain and preserve the heat in between On/Off periods; it only has Low and High, and both settings get too hot to leave it on consistently. I cycled the heat for ~40hrs, and once or twice it reached ~140°, but no higher.
I used cheesecloth to squeeze the oil out of the infusion/plant material mixture and let it run through a sieve before going into my bowl. Perhaps I got too aggressive or used too much pressure when squeezing because I did notice some red-orange/rust-colored liquid being extracted at the end of my squeezes.
I melted in the beeswax over a double boiler, and poured into two jars. It appeared smooth and well-homogenized prior to pouring. The smaller 2oz jar looks smooth, a creamy dusty olive in color, but the larger 8oz jar developed an obvious different layer immediately after pouring the remaining mixture. Again, I did notice this different color/substance as the pour finished, and it sank through the oil to settle at the bottom. I wish I could attach a photo here.
Can you offer any insight here? Could it be as simple as “don’t squeeze it so much”, or “don’t squeeze at all, just let it drain in a sieve”? Is it excess plant material that will just sit there as a bottom layer? If so, I suppose that jar’s contents is now compromised? (Meaning in the sense that it won’t last as long as the recommended 1 year timeframe.)
Yes, it is really that simple. Anytime you are using plant material that still has moisture in it, you want to avoid squeezing it. All of that moisture is being squeezed out of the plant material and right into your salve. You can still use the cheesecloth to catch any finer particles that might be missed by the sieve, just don’t squeeze it. I think I would remove the salve that isn’t discolored, leaving the discolored material. You can then heat it up and re-pour it. I think if you leave out the discolored material and reheat it then you should be ok.
My family and I have been trying jewelweed for different things. It is amazing. It is listed as an anti-inflammatory, anti-histamine, and anti-fungal. We have used it for toe fungus, arthritis pain and muscle cramps.
That’s wonderful. Thanks for sharing.
GJ Amber – You mentioned in your comment that your family has been trying jewelweed as an anti-inflammatory, anti-histamine and anti-fungal. Where did you find the info for these uses. We have jewelweed all over our property. I would like to give it a try for other uses to see how we can benefit from it.
I tried the crockpot method but I think the water bath got too hot for too long – up to 200 degrees for eight hours. Is it ruined? I can start again. Would a heating pad and a tea cozy work well enough? That’s what I use for yogurt making with good results.
If the heating pad and tea cozy works for the yogurt, it should work fine for the salve as well. As long as your herbs didn’t get burnt the crock pot one should be totally fine.
I’m just completing 4 new batches of jewelweed salve. I have several requests from family & friends. I could fit 4 quart jars in my crockpot. I’m getting this large batch made before the jewelweed is done for the season. I’ve had good success with this recipe. Thanks again! 🐝🐝 A local beekeeper friend gave me the beeswax so this batch is really locally sourced. 😊
You’re very welcome. So glad you enjoyed the recipe.
Hello! How much beeswax if you are doing three 12 oz mason jars? Currently trying to get mine to set! 🤣
This recipe makes 6 tins of salve that are each 2 oz. so the recipe makes 12 oz of salve total. If you want to fill three 12 oz jars then you would need to triple the recipe which would be 3 oz of beeswax.
I made my first batch of this using a small crockpot. Immediately, my daughter needed some. she said it smelled like Chinese food (???) so her dogs were very interested in licking her leg haha BUT it removed her itch like nothing else she had tried. I just ordered tins hoping that my current batch will make it into tins before being shared. We have jewelweed all over the place here. Who knew??
thanks so much for sharing this!
You’re very welcome. We are so glad you enjoyed the post. That’s interesting that she thought it smelled like Chinese food and that the dogs were so interested in it.
I added some rosemary essential oil to help improve the scent. I like it very much and use it often. It’s amazing stuff!!! 🐝🌿🌿🌿🌿
Can you use the described method with dried jewelweed? The wording is unclear to me.
Thanks!
The method described in this post is actually done with fresh plant material. You can dry jewelweed as you would any other plant. You can lay it out in a single layer to air dry or use a dehydrator. Many people think that it loses some of its potency when it is dried though and it is typically suggested to use the fresh plant preparation method.
Yesterday & today I jumped into this project. We have jewelweed everywhere on our property. I made two batches. One with olive oil and one with flaxseed oil. I experimented with adding some rosemary essential oils to the olive oil batch. It really came out beautifully. Does it have a slight earthy plant smell. Not really too appealing. Did I cook it too much or is that smell just how it is? The rosemary added a nice scent. Thanks for the recipe. I have dry skin and often feel itchy when I’m out working in the yard gardening etc. I plan on using this salve a lot. I’m ready to try more recipes like this! 🌻🦋
I’m wondering if, instead of a double boiler or bowl/pot set up, my Salton yogurt maker would work for this? It has five glass cups, which I have sometimes replaced with 8-oz Mason jars. I suppose the smaller jars would fit as well. And should I do this with or without lids?
I don’t see why it wouldn’t work. Let us know if you decide to give it a try.
I’m wondering if its possible to make the infusion w/ jars set into a slow cooker/crockpot? Also- how many 2 oz. tins does this recipe make? Finally – you’ve got a great site here- I like your straightforward approach and the idea that anyone can take on these projects. Thanks for being authentic.
A crockpot should work just fine. You should end up with six 2 oz. tins.
Did anyone use the crockpot method? Im going to try Wednesday!
Here, I have a more prolific crop of Himalayan Balsam. After much research, I found that the properties are similar enough to warrant me trying as a cream for poison ivy and stings. I have both salves and I think I like the Balsam better. It seems to work faster. Have you tried it?
I wasn’t familiar with them, I had to look it up actually, but now I’m going to keep an eye out for them to try it. Thank you!
Sorry I’vr taken so long to reply, if you are interested in some of the seeds, email me and we can exchange info. I am a couple of 3 weeks away from harvesting the seeds and will be happy to send you some if you’d like.
Instead of double boiler, I have an induction cooker. Would that work? And how? Just place jars in a pot with or without water?
An induction cooker should be fine. You would place the jars in a pot with water and I like to have something else on the bottom of the pan so that the jar doesn’t have direct contact with the bottom of the pan. You can use a rack of some kind, a canning ring or even a dish towel.
Good medicine to have on hand.
Thank you for this! Just a few days ago I was hoping to find some information on preserving the healing goodness of jewelweed. My husband just had a brush Poison Oak. I took the juiciest jewelweed stems I could find and ran them through the blender, and applied to the affected area. He said it didn’t really help with the itch (this was in the evening) but the next morning the rash was completely gone. I did not know the leaves could be used as well. I look forward to trying some of the flowers and seed pods (if the deer don’t eat them all!)
That’s wonderful! Thank you for sharing.
Lourdes- what a beautiful name ! Are you from NY ? I used to know a wonderful girl name “Lourdes “
How do I print your recipes ? I can not find any print buttons or shortcuts . Thanks
Each post that has a recipe should have a print button under the picture at the top of the recipe. Just scroll down towards the bottom of the page until you see the actual recipe.