Affiliate disclosure: This post may contain affiliate links. Please see our Privacy Policy.
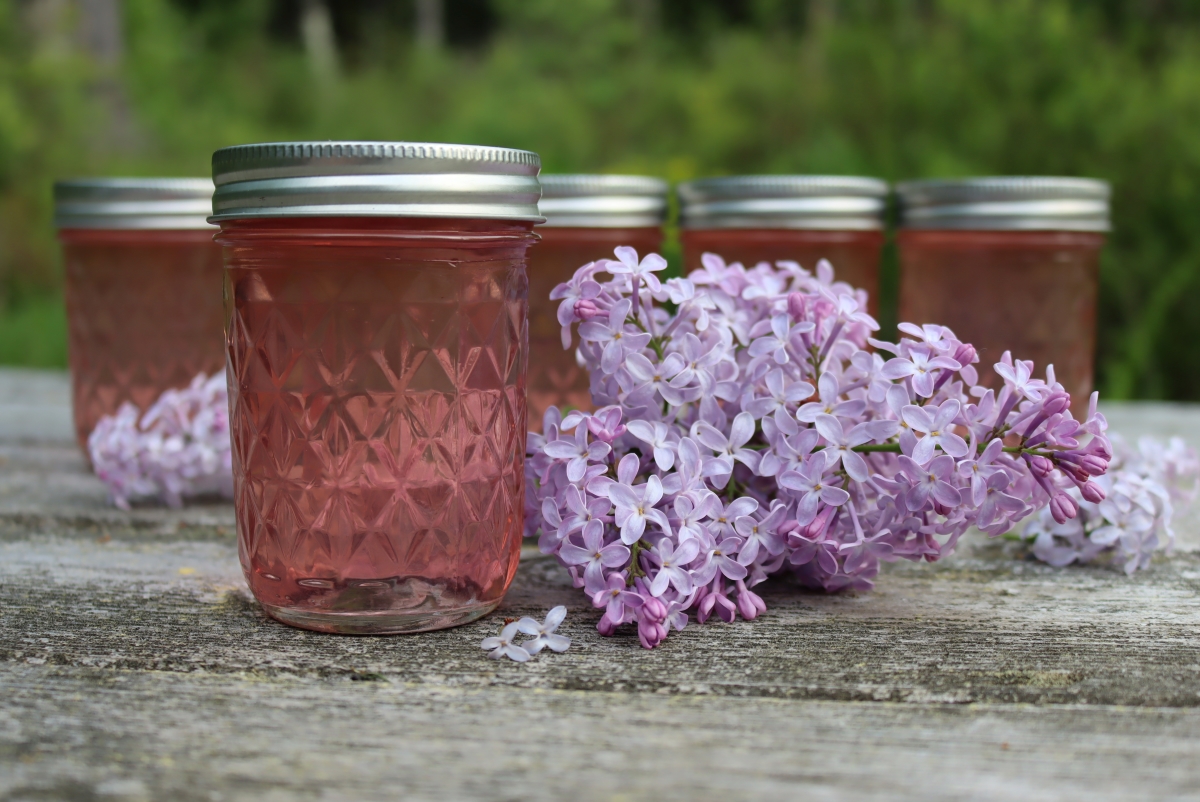
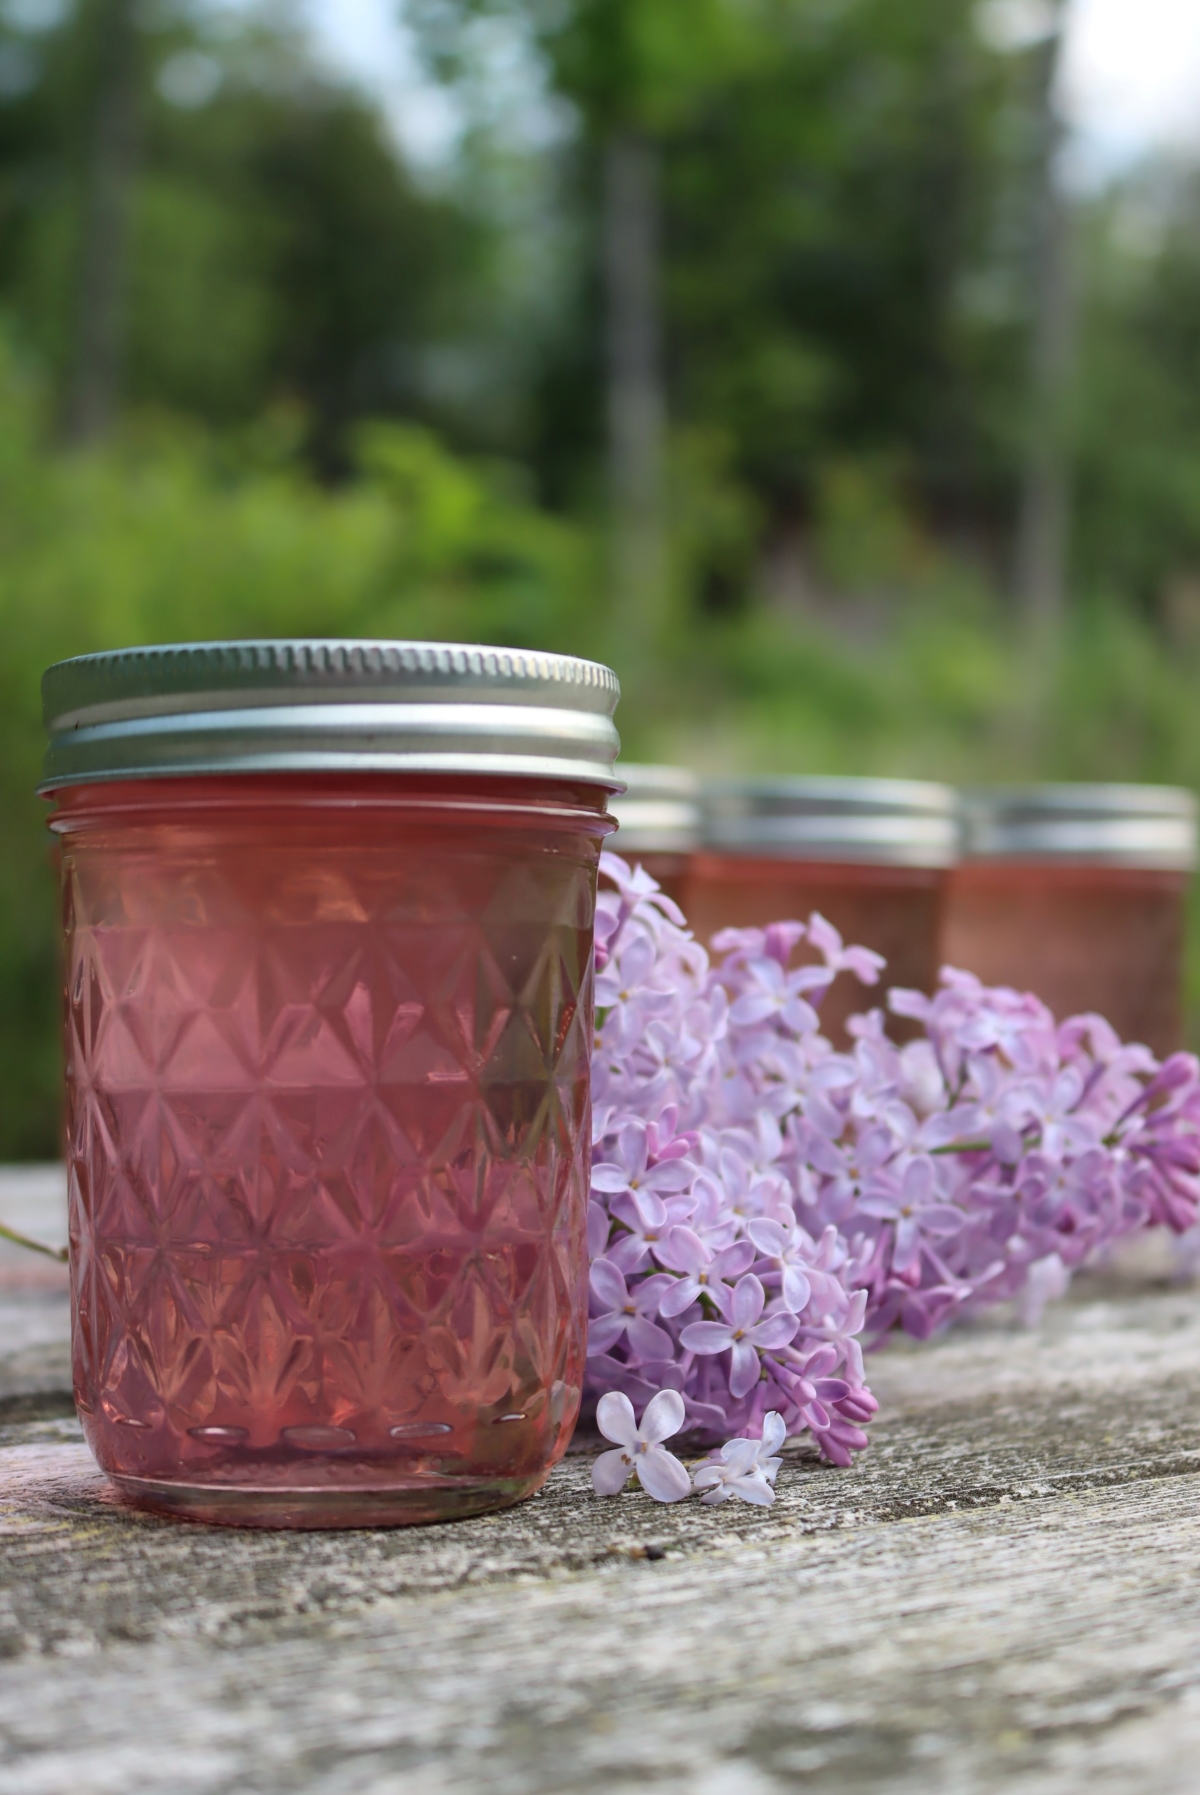
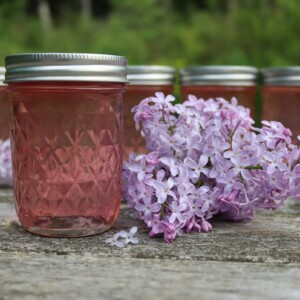
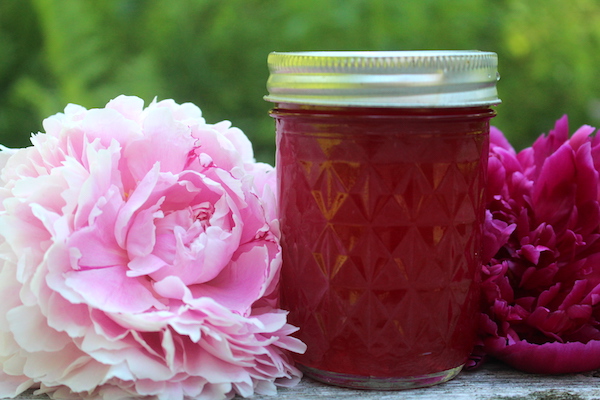
Lilac jelly is a sweet way to enjoy this fragrant springtime edible flower. Simple to make, you’ll be done start to finish in less than 30 minutes.
Gardening with kids can be tricky, especially since seeds planted today won’t be harvested for months. While my littles are still looking forward to strawberries (still a month off) and watermelons much later in the summer, there are plenty of tasty edible flowers to enjoy each spring.
Lilacs are a particular new England favorite, planted in the dooryard of just about every old New England home. You can still see them thriving around old block foundations, literally a century since the house last stood.
Ours greet us for a few weeks each spring with incredible fragrance right beside the front door, and with the windows open, the cool spring breezes perfume the whole house.
My little ones know that most of the blossoms in our garden are edible flowers, but they still always bring the blossoms to me to check before popping them into their mouths.
This time when my daughter brought me a few sprays and asked me if lilacs are edible flowers, hoping she could have them for a snack. Of course, I said yes, but I also started thinking about what lilac flower recipes we hadn’t yet tried.
Last year, lilac wine was a huge hit with the adults, and lilac donuts were equally popular with the kids.
Flower jellies have been the stars of our breakfast table of late, and with dandelion jelly and violet jelly already on the shelves, I decided to add a few jars of fragrant lilac jelly to the mix.
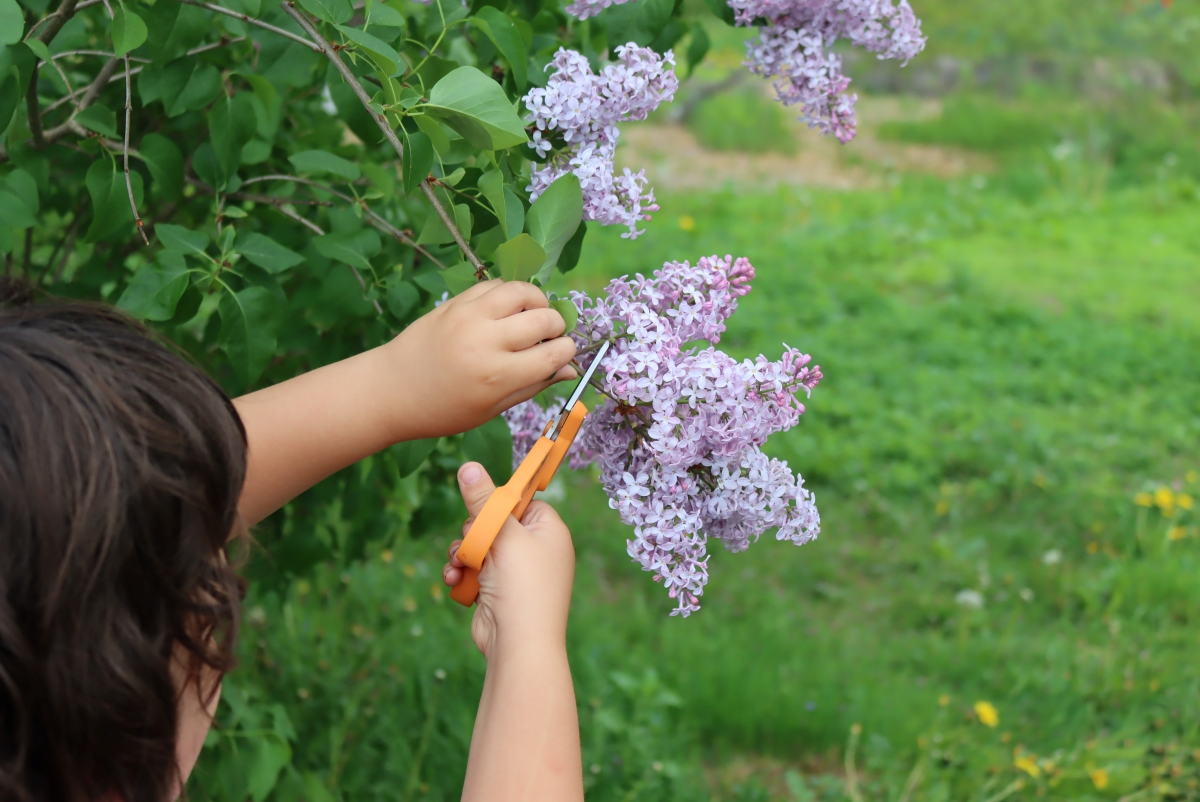
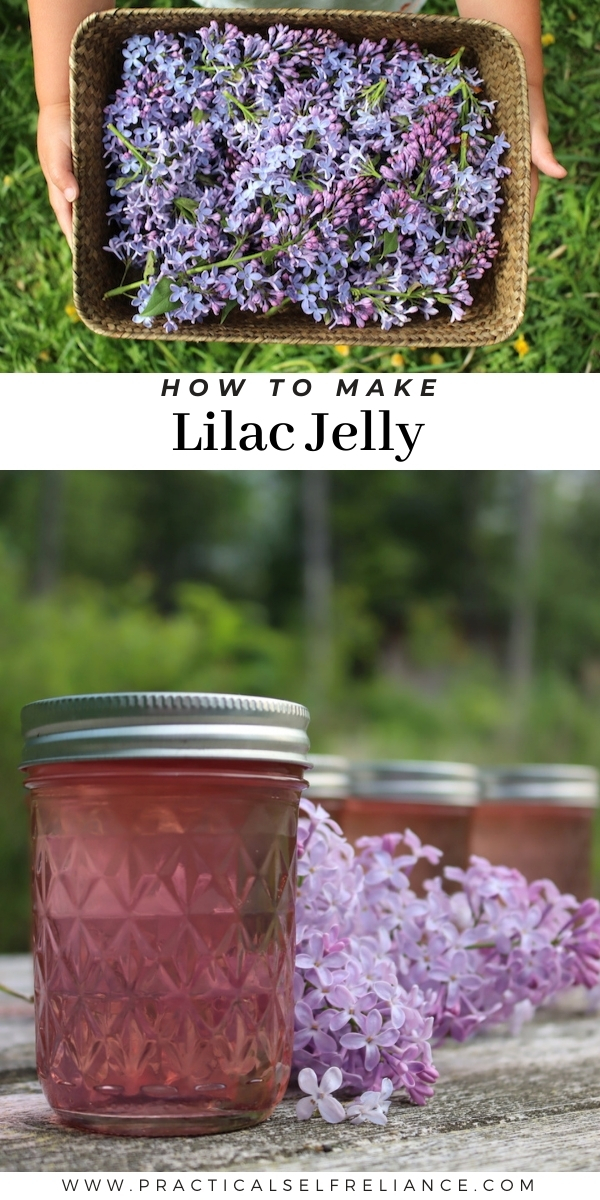
Unlike dandelions or violets, which are tedious to pick and clean, requiring a few hours commitment, lilac jelly comes together in just minutes. Full sprays of blossoms are quickly harvested with scissors, and it only takes a few to make a full batch of lilac jelly.
Preparing Lilacs for Jelly
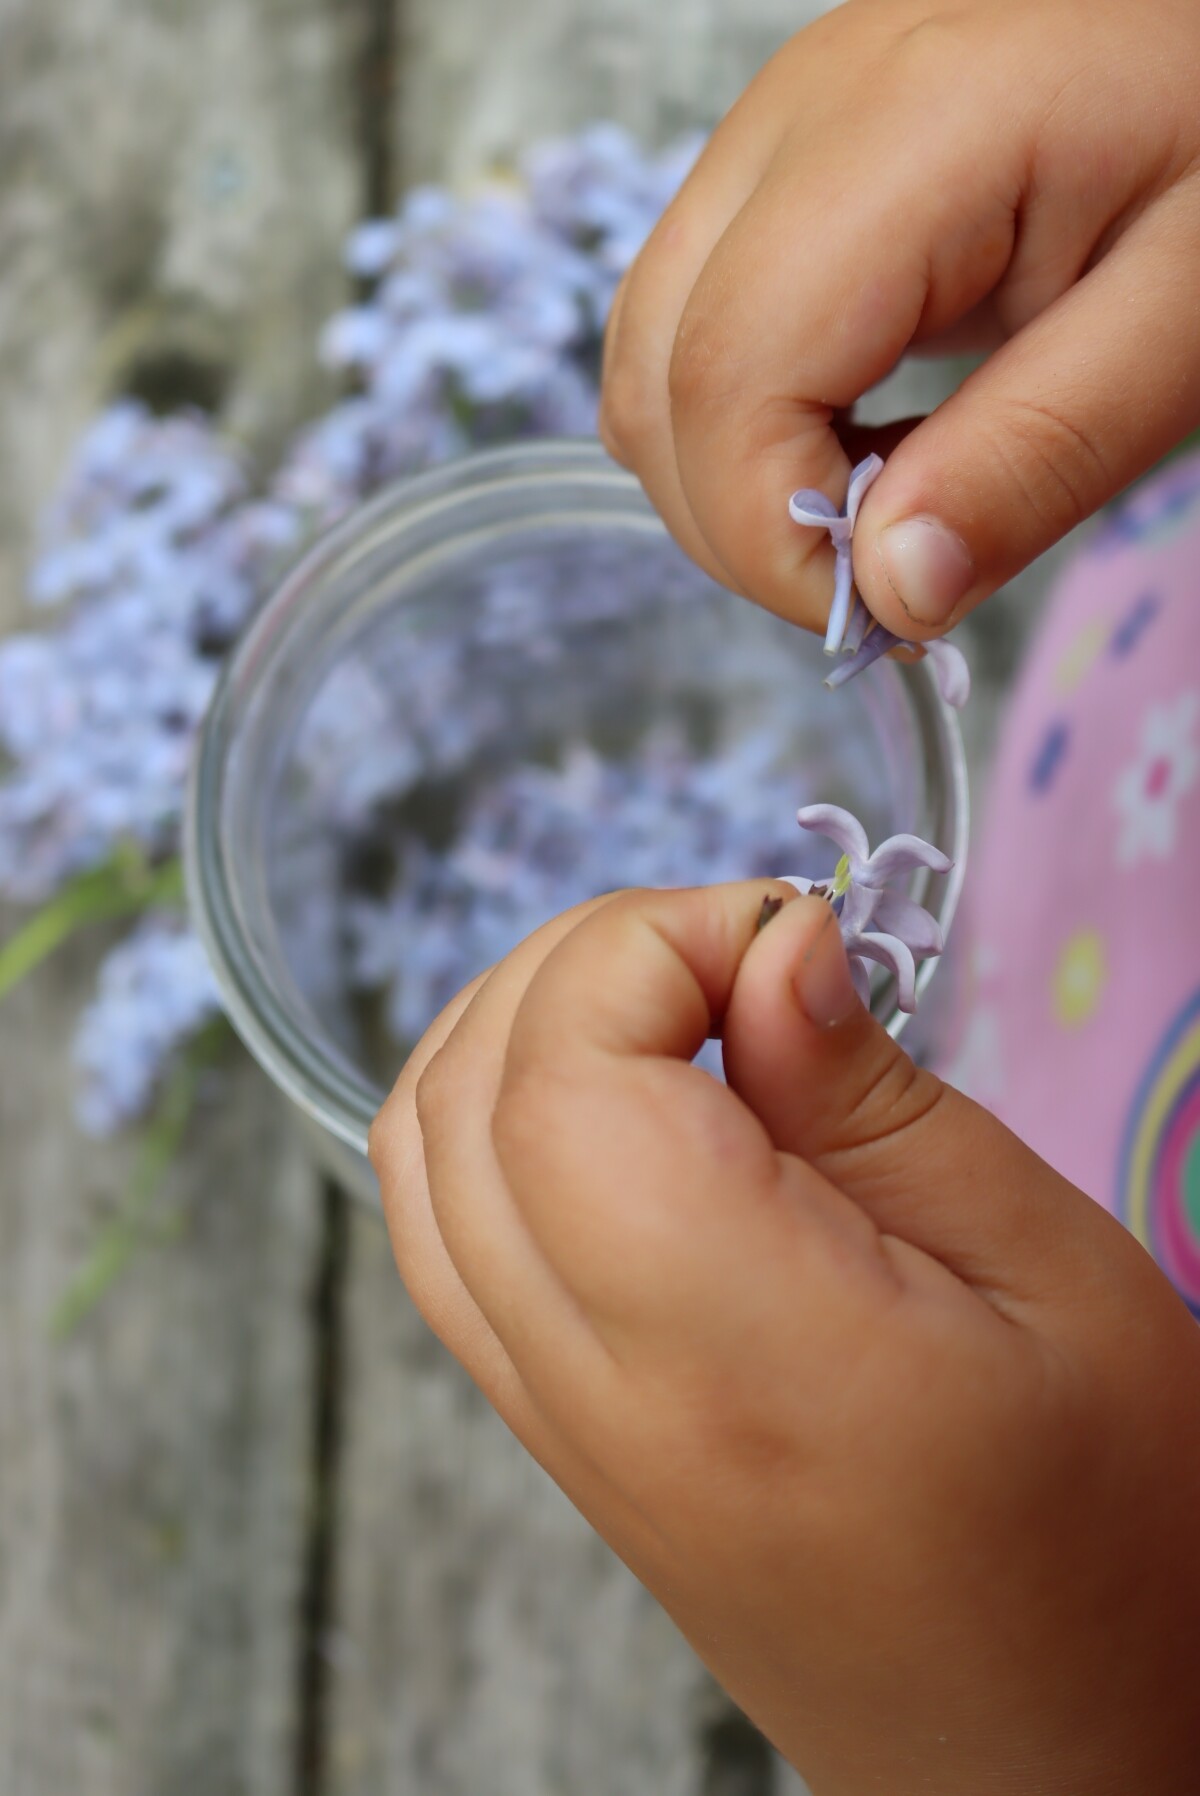
After you’ve harvested a few bunches of lilacs, they need to be separated from their stems and sepals (green parts). The flowers, specifically the open blossoms, are the source of the flavor in this jelly.
They’re actually surprisingly quick to separate, and the little trumpet-shaped blooms pull out easily with gentle pressure. No need to do them individually, you can grab them by the handful and pull out the petals.
(Or, gently pluck them one at a time, as was my daughter’s preference.)
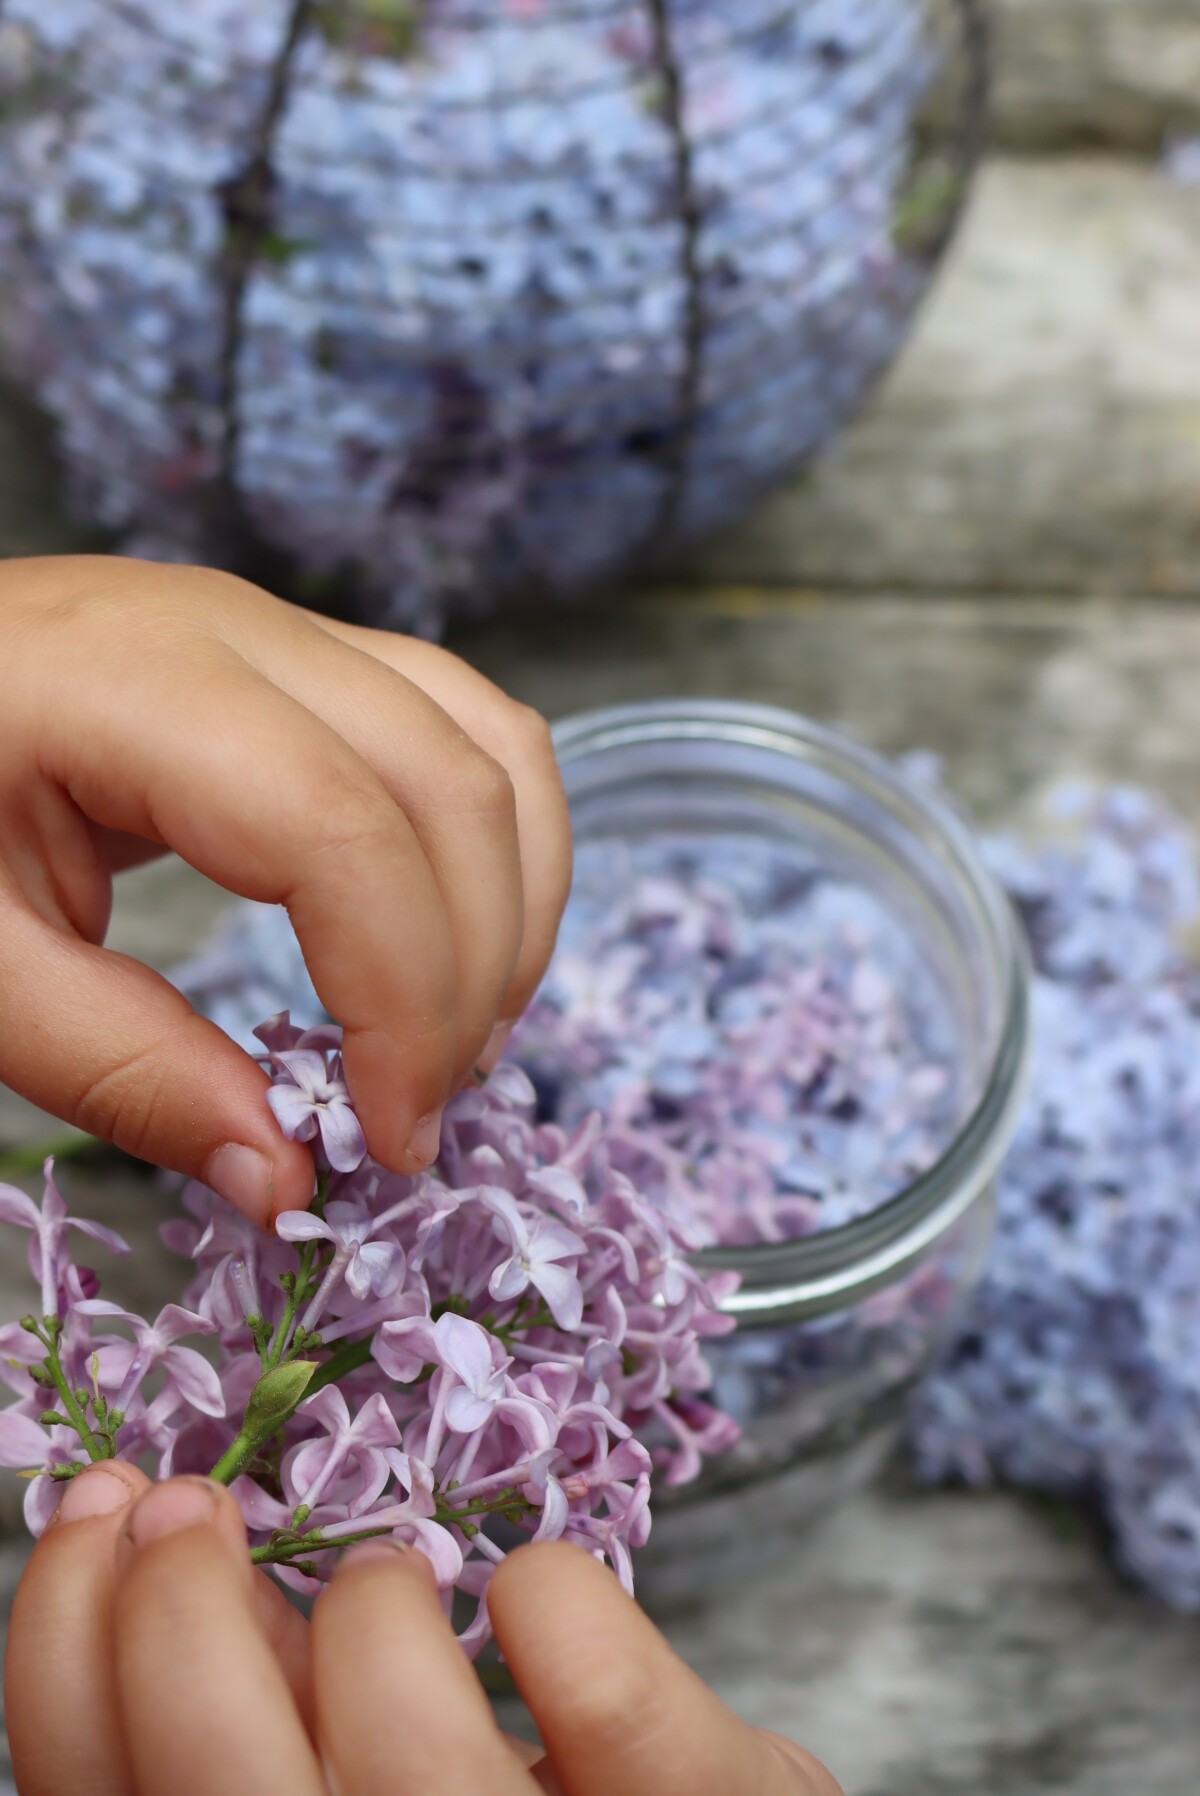
However you do it, try to avoid getting anything but the petals, and leave the green flower bases behind.
If you’re harvesting the flowers by the handful, you’ll have to go back and clean them up a bit, removing any stray green flower bases. It’s not the end of the world if a few are in the jelly, but try to minimize it, as the bright floral flavor comes from the fragrant petals alone.
If you’re carefully harvesting them just a few at a time, you won’t have to do a second pass, so perhaps the careful method has its benefits.
You’ll need about 4 cups of lilac petals for a batch of lilac jelly. That may seem like a lot, but really it’s only 5 or 6 sprays of flowers, and takes no more than 10 to 15 minutes to separate (even working slowly and carefully).
My daughter has a lot of practice cleaning flowers from all the batches of flower jelly we make every year, and it takes her maybe 5 minutes for a batch, she flies through these a lot faster than cleaning the blooms for dandelion jelly (which is delicious, but a labor of love).
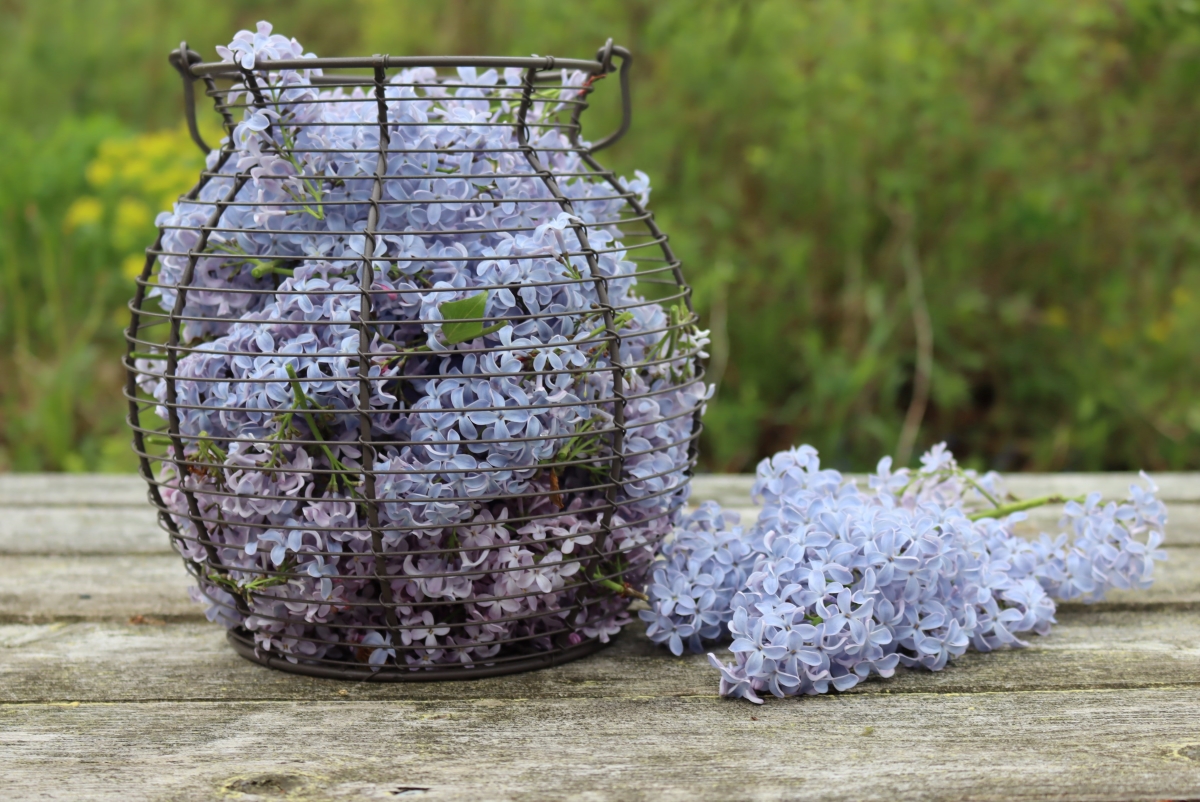
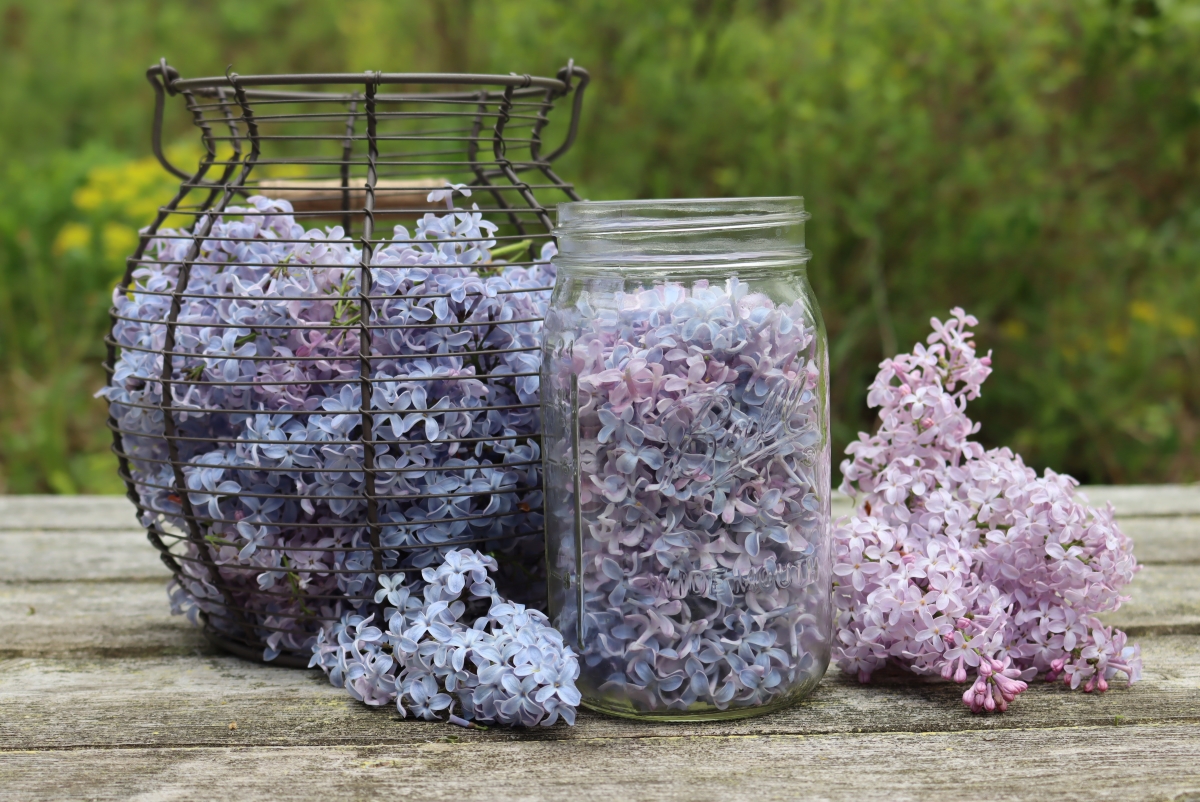
We harvested a full basket of lilac flowers in about 2 minutes, and then plucked enough for jelly in just a few minutes more. I dramatically overestimated how many flowers we’d need. When working with dandelions, you need about a gallon of blossoms to make a quart of petals once they’re separated out, which just isn’t the case with lilacs.
We still have 3/4 of a basket of flowers for other recipes (or simply to grace our table).
We just measure them right into a quart mason jar, which is convenient for the next step, since the jar is heatproof.
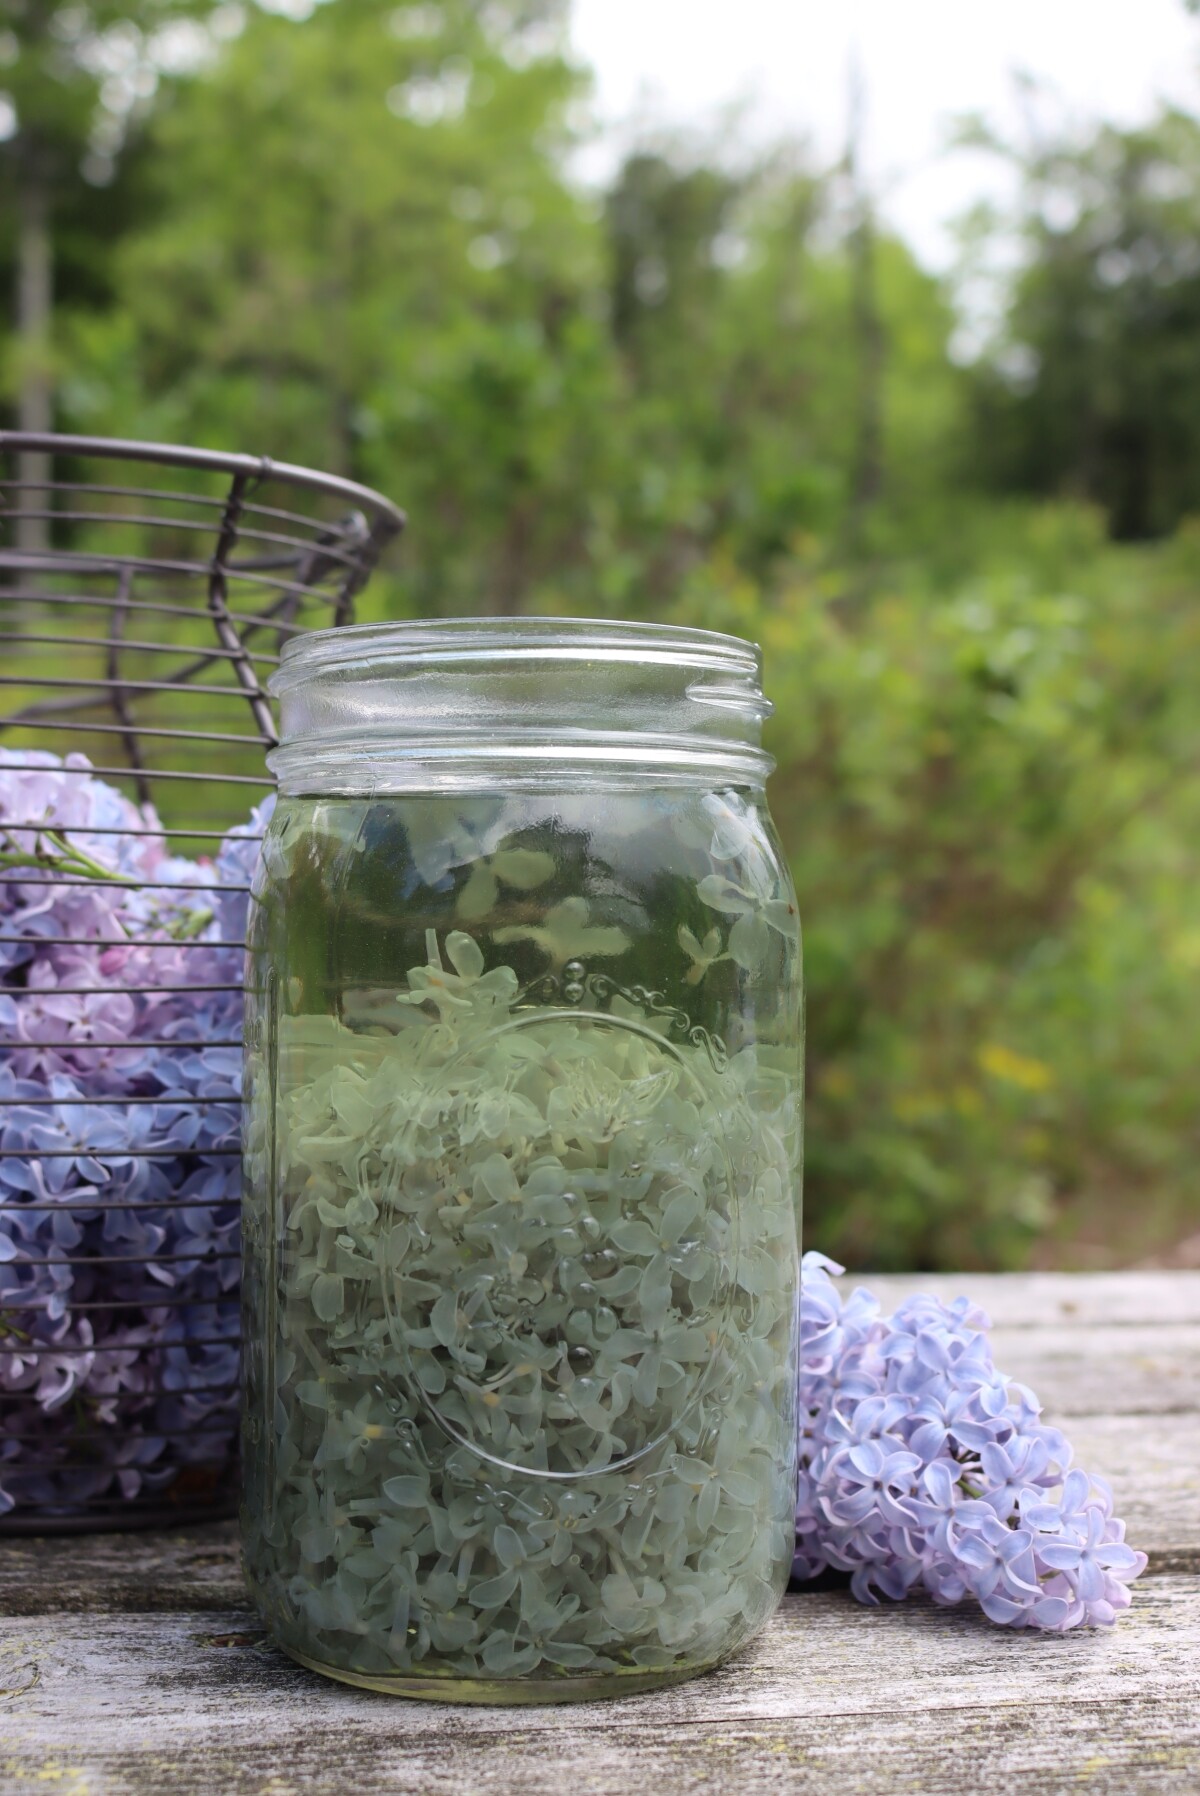
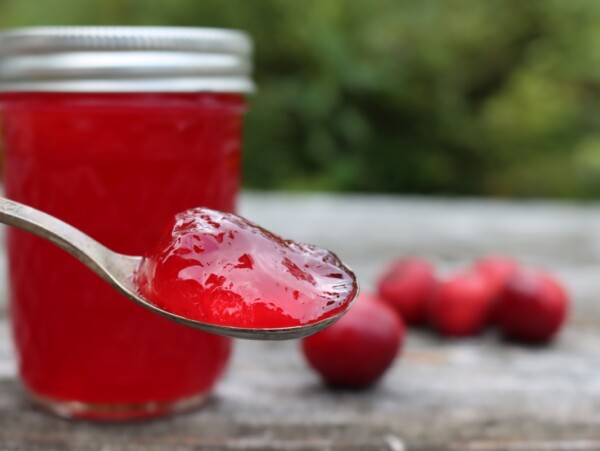
Once you’ve separated the petals, the next step is to make lilac tea. Here’s where the color magic happens!
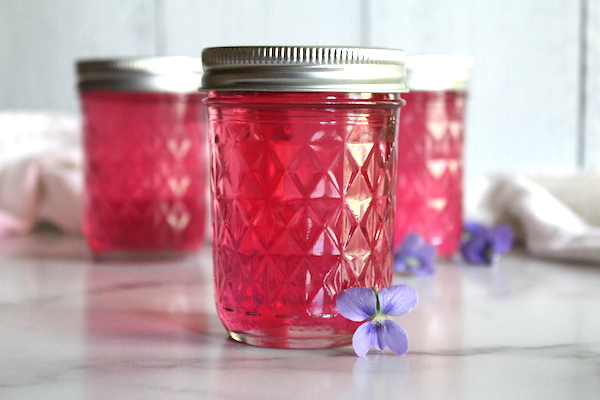
When you pour boiling water over the lilac petals, the water may turn a turquoise green. That’s what you’re looking for since once lemon juice is added that’ll quickly turn bright pink.
(The pectin also contains citric acid, so you won’t have a choice, it will turn pink/purple even if you’d like to keep that neat green color.)
The same thing happens to violet jelly, and the color compounds in blueberries and blackberries have some of the same properties.
Some of our lilacs don’t give up their color, and white lilacs won’t contribute any color at all. If you still want that beautiful pink/purple color, add a few mashed blueberries or blackberries into the jar before you make the tea. They’ll contribute a deep color that will turn pink once lemon juice is added as well.
(Or don’t worry about the color, and just enjoy the flavor if you don’t mind a light brown/tan jelly that will come as a result of using white lilacs. We eat with our eyes as much as with our mouths, and I think the color really contributes to the experience, but to each his own.)
Allow the tea to infuse for about 5 to 10 minutes before straining the mixture to make the jelly.
Making Lilac Jelly
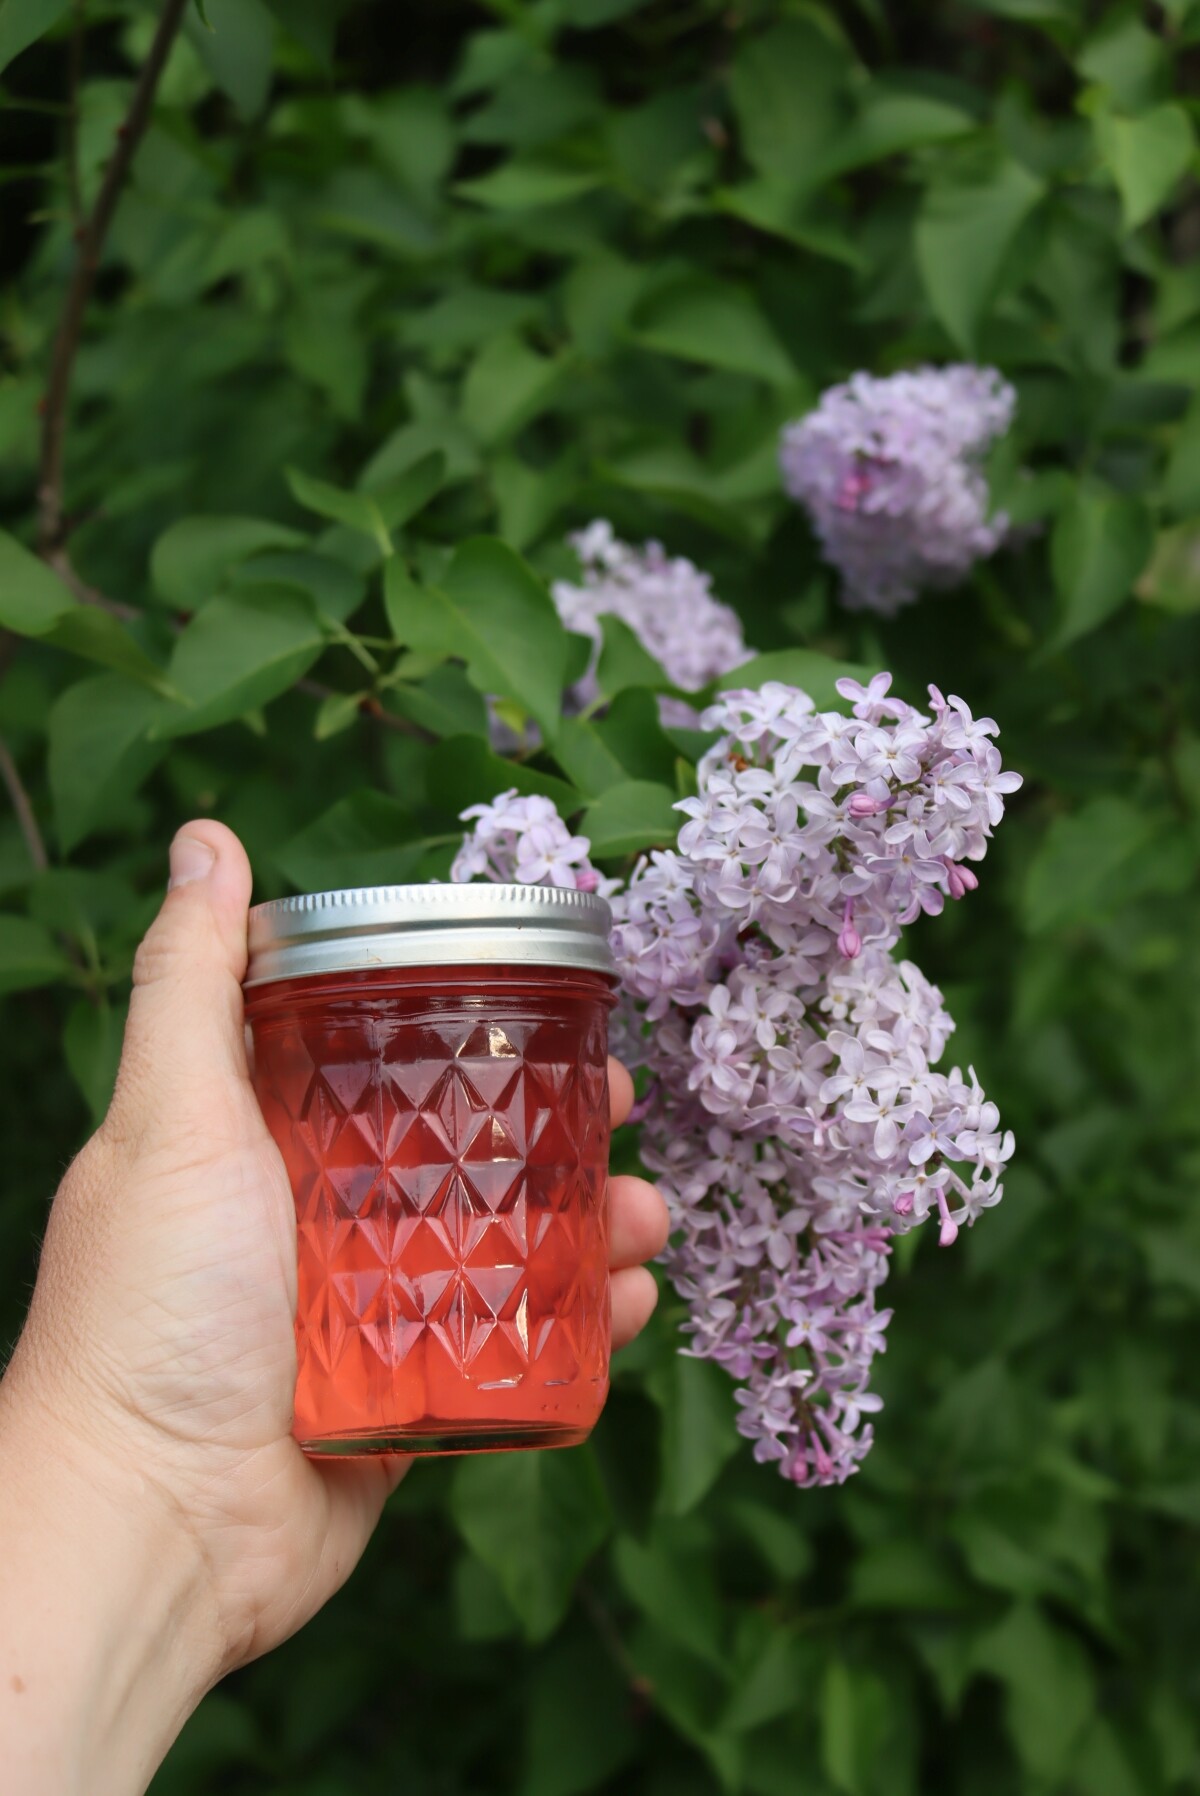
To make lilac jelly, start with the strained lilac tea in a saucepan or jam pot. You should have roughly 4 cups of lilac tea if you poured it over 4 cups of blossoms in a mason jar. Add the lemon juice and watch the color change in the pot.
This will be roughly the finished color of the jelly, so if you’d like to make any adjustments by adding berry juice, this is the time to do it. My lilacs gave good color on their own, and once the lemon juice and pectin were added the finished color was pretty close to the flowers on the bush.
Bring it up to a boil and add a box of Sure-Jell Pectin (1.75 oz), but don’t add the sugar yet. (If you’re using another type of pectin, just follow their directions for mint jelly.)
Allow the pectin/tea mixture to boil for 1 minute before adding 4 cups of sugar for standard pectin, or 1 to 4 cups of sugar for sure jell low sugar pectin. I’d suggest using low sugar pectin, as it allows you to adjust the sugar level to your taste, and you can still use as much as you would with “regular” full sugar pectin.
Stir in the sugar to dissolve and then bring the mixture back to a boil for 1 minute.
Ladle the mixture into jelly jars, leaving 1/4 inch headspace and cap with 2 part lids.
Canning Lilac Jelly
At this point, you can process the jelly in a water bath canner (optional) for 10 minutes for a shelf-stable jelly.
Or, you can simply allow the jars to cool on the counter and then store them in the refrigerator (for up to a month) or the freezer (for up to 6 months). If you’re storing in the freezer, leave a bit more headspace, and be sure to use freezer-safe mason jars with straight sides.
Though canning is completely optional, a single “batch” makes around 5 half-pints, which is a good bit of a single type of jelly to eat in a month, so we usually process our jellies in a water bath canner.
(If you’re not familiar with canning, I’d suggest reading this beginner’s guide to water bath canning before getting started.)
Lilac Jelly
Ingredients
- 4 cups lilac blossoms
- 4 cups water
- 2 tbsp lemon juice
- 1 to 4 cups sugar , *see note
- 1 box powdered pectin, 1.75 oz pectin or 6 Tbsp. (Regular or Low Sugar)
Instructions
- Separate 4 cups of lilac blossoms from their stems, carefully removing any green parts.
- Pour 4 cups boiling water over the top of the lilac blossoms and allow the tea to infuse for about 10 minutes. It should be a turquoise color (which will change to pink when lemon juice is added). If it’s not, you can add a few mashed blueberries of blackberries at this step for color, but that’s optional.)
- Strain the lilac tea into a saucepan or jam pot. Add the lemon juice, which will adjust color, but it’s also required to balance the sugar in the recipe and help the pectin set, so don’t skip the lemon!
- Bring the mixture to a boil and add the powdered pectin, stirring to dissolve. Allow the mixture to boil for 1 minute before adding sugar. (Note: Do not add the sugar at the same time as the pectin, or before the pectin, or the jell will not set.)
- Add the sugar, stirring to dissolve (See notes on quantity). Bring the mixture back to a full boil for 1 minute before ladling into jelly jars leaving 1/4 inch headspace.
- If canning, process in a water bath canner for 10 minutes. Otherwise, allow the jars to cool completely on the counter before storing in the refrigerator (for up to a month) or the freezer for up to 6 months.
Notes
Nutrition
Nutrition information is automatically calculated, so should only be used as an approximation.
Edible Flower Recipes
Looking for more ways to enjoy edible flowers?
- Dandelion Capers
- Dandelion and Honey Ice Cream
- How to Eat a Rose (Rose Recipes)
- How to Eat a Peony (Peony Recipes)
Spring Jelly Recipes
Try your hand at more than just lilac jelly this season!


Made this in 2024 on the stove without a pressure canner or anything. It turned out wonderful. I added 3 mashed blackberries. The colour was beautiful, taste was phenomenal, the bards also lasted a full year in the fridge and the taste stayed the same! Definitely making again this year. I absolutely loved it.
Wonderful!
Wish I could post a photo with my comment! I made three batches of this last year (pretty sure it was this exact recipe? lol I scrolled a bit this afternoon looking for something familiar) and I’m just about to start my second batch tonight because I snipped more than enough lilac (and then had to rush out and get a new canning pot bc the one I thrifted two years ago rusted right through and sprang a leak lollll)
The flower processing time is definitely more than what’s described, but it’s kinda meditative, and otherwise the entire process is delightful. I still have a jar in my fridge from last year’s lilac jelly adventures, it still tastes floral and still holds its jelly form. I guess I lucked out with the variety of lilac outside my kitchen door, as the jelly I made kept its gorgeous purple colour. However, I did make one batch last year that came out lighter than the others- I think because the flowers either weren’t quite ready for jelly or they were too spent I don’t recall when I made that batch.
Anyway, glad I had some free time to make today! Next up: googling best lilac pruning methods for maximum flowers next season.
Nice! Yeah, I think my daughter and I have A LOT of practice quickly working through flowers for jellies because we make so darn many types each year. I’ll go update those processing times to be a bit more realistic. They’re quicker than most of the flowers we process (and definitely easier than cleaning dandelions), but they’re probably not that quick!
Either way, I’m so glad you like the recipe!
This recipe was excellent. The instructions were complete and clear. I did add some blueberries which made it deeper pink than the photo.
However, it took me a long time to prepare the lilacs; more time consuming than the recipe says.
I made this and have noticed that both the color and the flavor fade over time after processing in a water bath canner. The jars came out lovely pink, but in just a few days had faded to a slightly peachy yellow. Also noted that after a few weeks, the lilac flavor just fades to a vague bitterness. When I first tasted the jelly, the lilac flavor was there, especially in the small amount I put in the fridge without canning. Now, as I’m opening and using jars a few weeks later, it’s not there. If I didn’t know it was lilac jelly, I could not tell. This is very disappointing. Any ideas why this happened?
I’m sorry that happened. Some varieties seem to be able to hold their color through the canning process better than others. I haven’t heard of many people having issues with it being bitter though. Were you careful to remove the green parts and only use the petal?
I made this today.Compared it to two other recipes. It was perfect before canning, great color and consistency; but after canning, it turned to water and a yellowish brown. Can you help explain what went wrong? It must be in the canning process because the one jai saved for immediate use in the fridge is fine.I processed for only 10 minutes in a Presto canner.
I’m wondering if a shorter processing time would help. The 10 minute processing time is for non-sterilized jars. If you sterilize the jars, then you only need to process for 5 minutes. This process sometimes works better for low pectin fruits or flowers.
My jelly didn’t set either. It’s nice and pink but liquid. I did 2 batches and both didn’t work.
I was hoping one would be fine and I made a mistake with one but no.
The dandelion jellies are all fine. Same process, same amount of everything.
Try this method for remaking soft jellies and then when you can it try sterilizing the jars and then only processing for only 5 minutes as long as you’re under 1,000 feet in elevation. This method sometimes works better for lower pectin jellies. It’s so weird that the dandelion worked fine but not the lilac.