
Affiliate disclosure: This post may contain affiliate links. Please see our Privacy Policy.
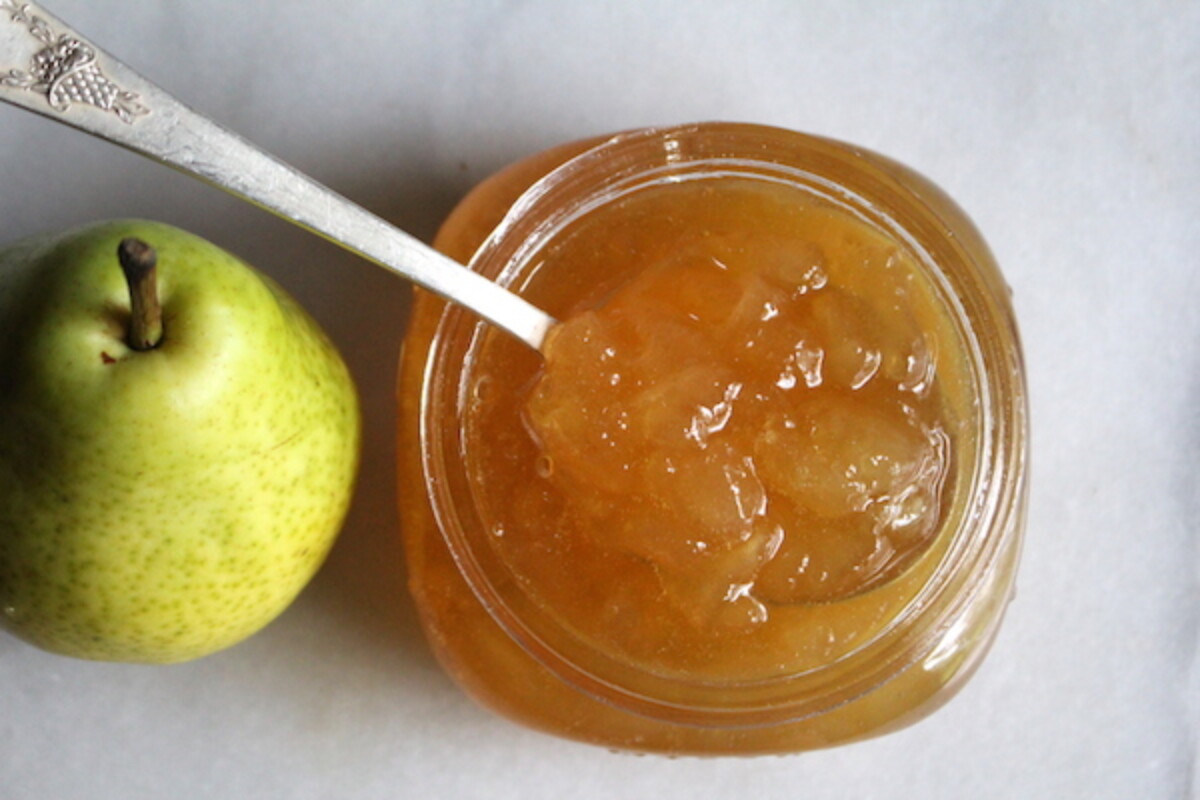
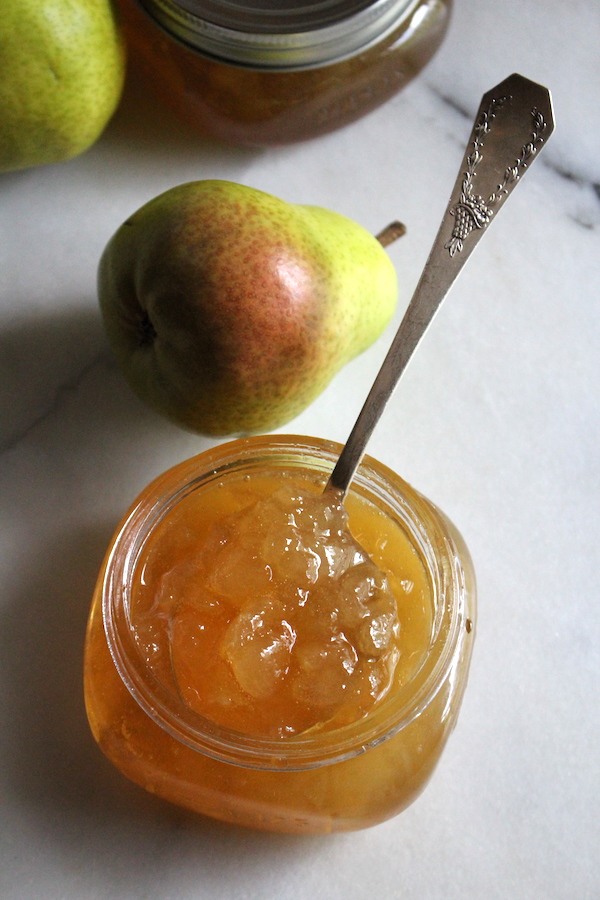
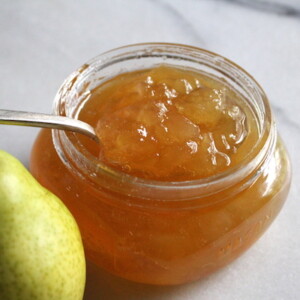
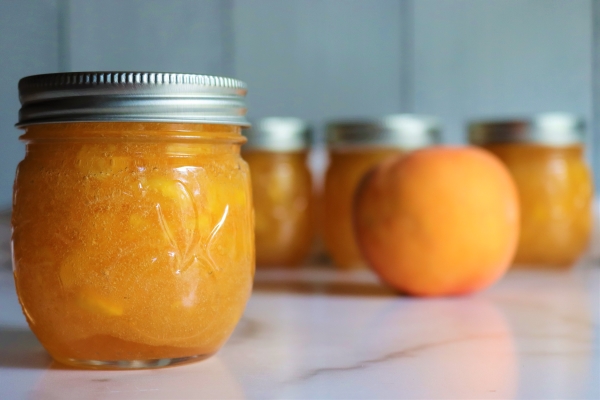
Pear jam captures the delicate, honey-like sweetness of fresh pears in a spreadable preserve that lasts all year long. Unlike store-bought versions that often taste flat and overly sweet, homemade pear jam made without commercial pectin has a rich, nuanced flavor with tender chunks of fruit suspended in a glossy gel.
The secret to getting this old-fashioned preserve just right lies in one simple technique that transforms ordinary pears into something truly special.
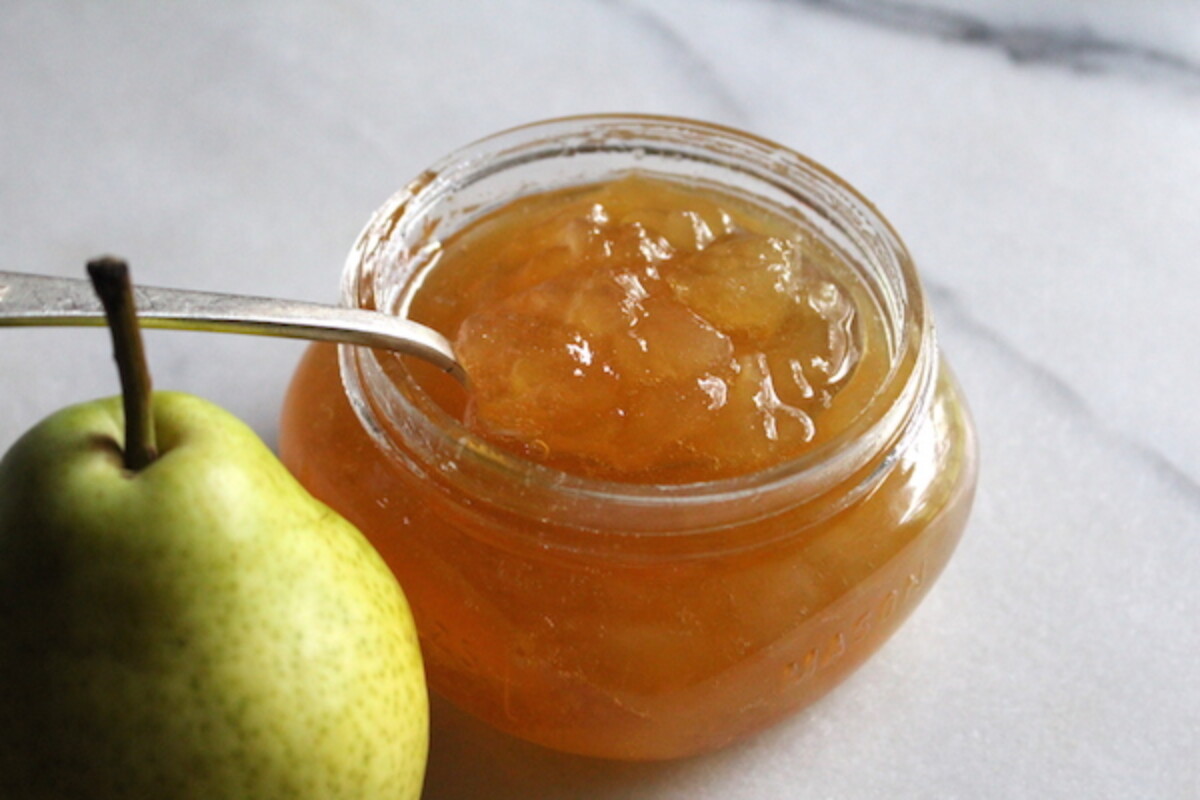
Before commercial pectins became widely available, home cooks relied on the natural pectin in fruits to thicken their preserves. Pears happen to be relatively high in pectin, especially when slightly underripe, which makes them perfect candidates for old-fashioned jam making. The catch is that pears also turn to mush quickly when heated, so without the right preparation, you end up with pear sauce or pear butter rather than pear jam.
Macerating the pear chunks in sugar overnight is the key to making a chunky pear jam that sets beautifully on a spoon. This single step changes everything, drawing out the natural juices while firming up the flesh so the pieces hold their shape during cooking.
Notes from My Kitchen

The overnight maceration step is truly non-negotiable here. I know it requires planning ahead, but trust me when I say that skipping this step will leave you with sweetened pear sauce instead of proper jam. The sugar draws moisture out of the fruit cells while simultaneously firming the pectin structure, creating pear pieces that stay intact through the cooking process. Give yourself at least 12 hours, though 24 is even better.
I also want to address a common issue: burning. A few readers have mentioned their jam scorched on the bottom of the pot. The key is to reduce the heat after the jam comes to a boil and stir more frequently as it thickens. Use a heavy-bottomed pot that distributes heat evenly, and keep a close eye on things during the last few minutes of cooking when the jam is most likely to stick.
Choosing Pears for Pear Jam
According to the PennState Agricultural Extension, recommended varieties for preservation include Bartlett, Bosc, Anjou, and Comice, while Kieffer pears are acceptable and Seckel pears work well for pickled and spiced products.
I use Bartlett pears for most of my pear jam batches because they have firm flesh and excellent flavor that holds up well to cooking. The most important factor, regardless of variety, is ripeness. Select pears that are slightly underripe or just barely ripe for jam making. Underripe pears contain more pectin and will hold their shape better during cooking. If your pears are already soft and fully ripe, they will work but may produce a softer set.
Unlike apples that store for months in a root cellar, pears are generally short-lived fruits. If left to ripen on the tree, they actually begin to rot from the inside out, which is why most pears are picked slightly underripe and allowed to mature on the counter. This makes pear harvest time the perfect opportunity for preserving, whether you are making jam, canning pear halves, or brewing homemade pear cider.
Ingredients for Pear Jam
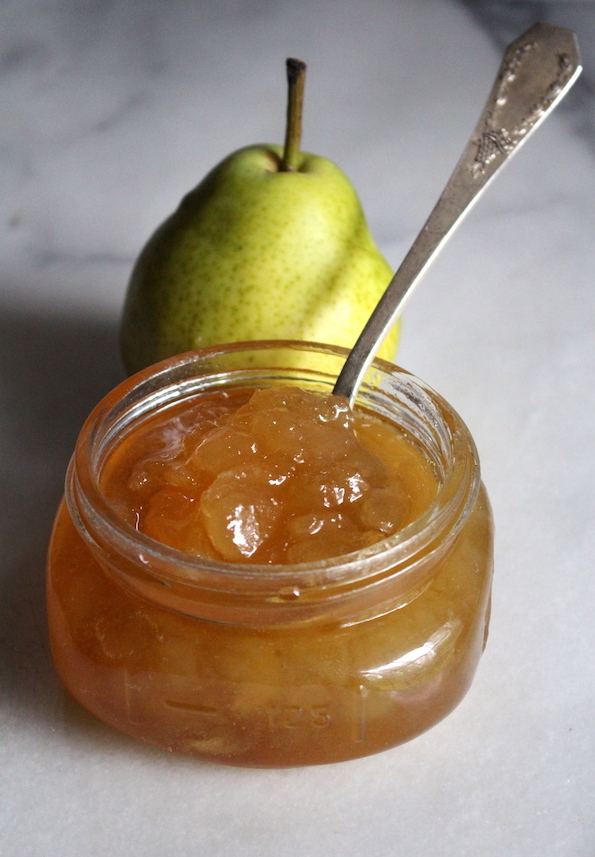
This recipe keeps things simple with just three ingredients, each playing an important role in the final preserve.
- Pears: The star of the show, pears provide natural sugars, pectin, and that distinctive honey-like flavor. Choose firm, slightly underripe fruit for chunks that hold their shape. You will need about 4 pounds before peeling and coring.
- Sugar: Granulated white sugar draws moisture from the pears during maceration, helps activate the natural pectin, and acts as a preservative. This recipe uses 3 cups, though you can adjust between 2 and 4 cups depending on your sweetness preference.
- Lemon Juice: Bottled or fresh lemon juice adds pectin to help the jam gel, provides acidity that balances sweetness and prevents browning. Use 1/4 cup for this batch size. It’s for flavor, not preservation, so feel free to use fresh lemon juice for better flavor.
Traditional pear jam recipes often call for as much as 4 cups of sugar for 4 pounds of fruit, which I find overly sweet. I prefer a ratio that lets the pear flavor shine through rather than tasting like candy.
You can experiment with sugar amounts within the range of 2 to 4 cups and still achieve a nice set, though less sugar may result in a slightly softer jam. For a moderately sweet preserve that is not cloying, 2.5 to 3 cups works well. If you want to reduce sugar even further, consider using Pomona’s Universal Pectin, which allows jam to gel with minimal sweetener.
I’ve made Ashley’s pear jam recipe multiple times now and it always turns out perfectly. The overnight maceration step really does make all the difference. Beautiful chunks of pear in a glossy jam that sets up just right!
How to Make Pear Jam
The key to pear jam success lies in the preparation. If you rush through the maceration step or skip it entirely, your pears will quickly turn into sauce in the jam pot. Follow these steps for pear chunks suspended in a beautiful gel.
Preparing the Pears
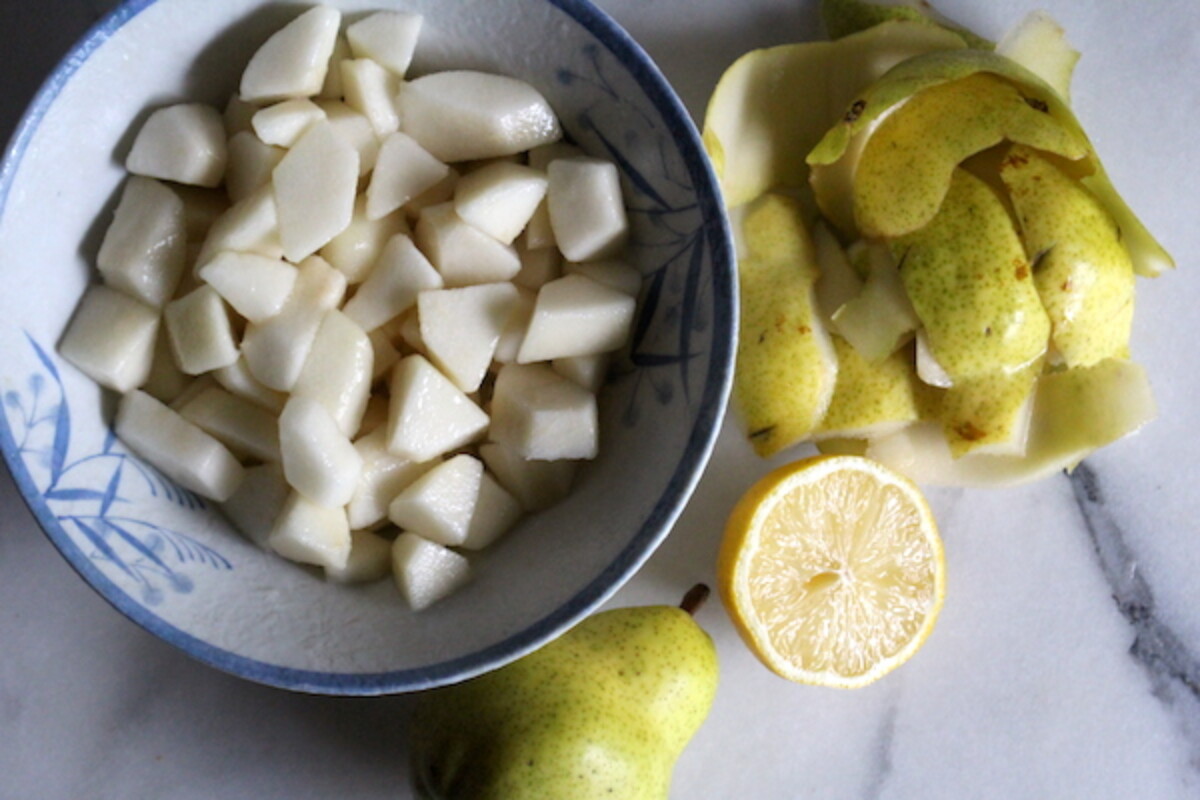
Start by peeling and coring your pears, then chop the fruit into uniform pieces about 1/2 inch in size. The size you cut now will largely remain the same after cooking, so think about how you want your finished jam to look. Larger chunks create a more rustic preserve, while smaller pieces give a smoother texture.
As you work, toss the pear chunks with the lemon juice to prevent oxidation and browning. The lemon juice also contributes extra pectin since citrus fruits are naturally rich in this gelling agent. Most commercial pectins are actually derived from citrus, so you are essentially making your own mild pectin boost.
Macerating Overnight
This step is crucial, so pay close attention. The pear chunks must macerate in sugar for 12 to 24 hours before cooking. If you are truly crunched for time, the absolute minimum is 4 hours, but longer is strongly recommended for the best results.
Add the sugar to your lemon-coated pear pieces and stir to combine. At first, it will look like an absurd amount of sugar on relatively little fruit, but this is exactly what creates the magic. The sugar draws liquid out of the pear cells through osmosis, creating a rich syrup while simultaneously firming up the fruit flesh. This dual action is what allows the pear chunks to hold their shape during cooking.
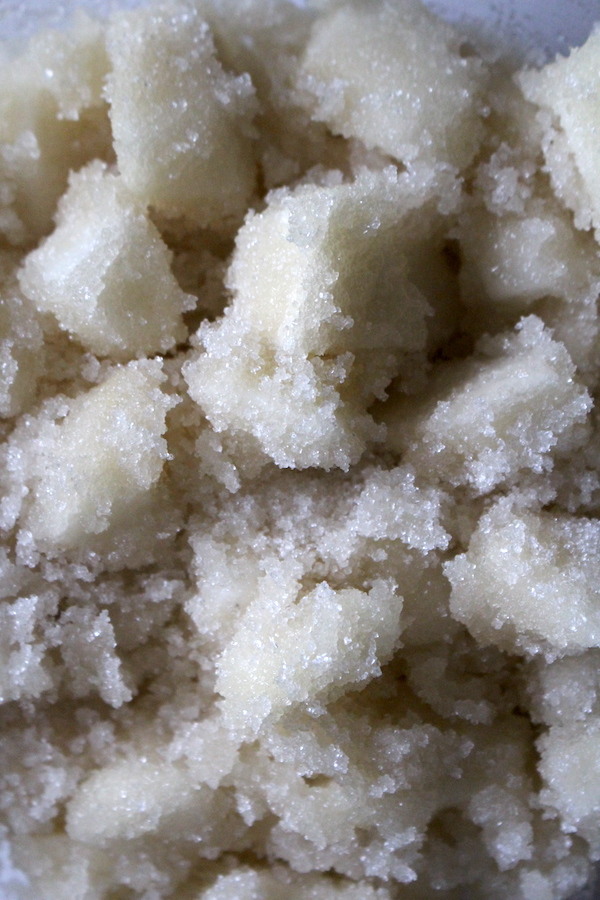
Cover the bowl and place it in the refrigerator overnight. By morning, you should have firm pear cubes floating in a pool of their own sugary syrup, with most or all of the sugar dissolved.
I use this same maceration technique for strawberry rhubarb jam since both strawberries and rhubarb are low-pectin fruits that benefit from this treatment. It also works well for old-fashioned strawberry jam when you want a chunkier texture.
Cooking the Jam
Transfer everything from the bowl, including all the syrup, into a deep, heavy-bottomed jam pot. Leave extra space at the top because the jam will foam up during cooking. Bring the mixture to a hard boil over high heat, then reduce the heat slightly and cook for about 10 to 15 minutes, stirring frequently to prevent sticking.
If the pear pieces seem too large for your liking, you can gently crush some of them with a potato masher or the back of a wooden spoon. I find that the chunks hold their shape remarkably well through cooking, so you may need to break them up a bit if you prefer a smoother consistency.
Keep cooking until the mixture reaches gel stage. To test for set, place a small plate in the freezer beforehand and drip some jam onto it. After a few seconds, run your finger through the jam. If it wrinkles and holds its shape, it is ready. Alternatively, you can use an instant-read thermometer. Pear jam sets at 220°F at sea level, and you should reduce this by 1°F for every 500 feet of elevation. Here in Vermont at about 1,000 feet, my jams finish at 218°F.
Once your jam reaches gel stage, immediately remove it from the heat. The jam will continue to thicken slightly as it cools. For more details on testing techniques, see my complete guide on how to make jam.
Canning Pear Jam
I usually can my jam so I can enjoy it all year long, but it is completely optional. You can also store it in the fridge for 2 to 3 weeks or freeze it for up to 6 months. For a complete walkthrough of the process, see my beginner’s guide to water bath canning.
To can your pear jam, start by preparing your water bath canner and washing your jars. When the jam reaches gel stage, ladle it into hot half-pint jars, leaving about 1/4 inch headspace. Run a plastic spatula along the inside to remove air bubbles, wipe the rims, and secure with 2-part canning lids. Process in a water bath canner for 10 minutes. If you are above 6,000 feet in elevation, increase the processing time to 15 minutes.
Once the jars are done, use a jar lifter to remove them from the canner and let them cool on a towel on the counter. After 12 to 24 hours, check the seals by pressing the center of each lid. Sealed lids will not flex. Store any unsealed jars in the refrigerator and use them soon. Properly sealed jars will maintain peak flavor for 12 to 18 months on your pantry shelf. Refrigerate after opening.
Yield Notes
This recipe yields approximately 4 to 5 half-pint jars (8 oz each), depending on how long you cook the jam and how much moisture evaporates. The exact yield also varies based on the water content of your particular pears and the sugar amount you choose.
Pear Jam Variations
While I love the simple three-ingredient version of this jam, pears pair beautifully with warming spices and other flavors. Here are some variations to try once you have mastered the basic recipe.
- Pear Jam with Ginger: Add 2 teaspoons of freshly grated ginger to the jam pot along with the macerated pears. Ginger adds a warm, spicy note that complements the honey-like sweetness of pears beautifully.
- Pear Jam with Vanilla: Scrape the seeds from one vanilla bean and stir them into the finished jam just after removing it from the heat. Adding vanilla at the end preserves its delicate flavor, which would cook off if added earlier.
- Pear Jam with Cardamom: Add 1/2 teaspoon of ground cardamom or place whole cardamom pods in a tea ball and let them infuse during cooking. This creates an exotic, fragrant preserve.
- Pear Cranberry Jam: Replace 1 cup of pear chunks with fresh cranberries. The cranberries are very high in pectin and will help the jam set up firmly while adding a beautiful ruby color and tart contrast. You may want to increase the sugar slightly to balance the tartness. If you have extra cranberries, try canning cranberry sauce for the holidays.
This recipe would also work wonderfully with homemade maple sugar in place of white sugar for a truly local Vermont flavor profile.
Pear Jam FAQs
Lemon juice serves three important functions in pear jam. First, it adds pectin to help the jam gel properly since citrus fruits are naturally high in this gelling agent. Second, it provides acidity that balances the sweetness of the sugar and pears. Third, it prevents the pale pear flesh from oxidizing and turning brown during preparation. While the lemon juice is not required for canning safety in this recipe, it significantly improves both the flavor and appearance of the finished jam.
Pear jam can burn if the heat is too high or if you are not stirring frequently enough, especially during the final minutes of cooking. To prevent burning, use a heavy-bottomed pot that distributes heat evenly. Bring the jam to a boil over high heat, then reduce to medium or medium-high for the remainder of cooking. Stir occasionally at first, then more frequently as the jam thickens. The jam is most likely to scorch in the last few minutes when there is less liquid to buffer the heat.
I strongly recommend against skipping the maceration step. This overnight rest in sugar is what allows the pear chunks to hold their shape during cooking. Without it, the pears will quickly dissolve into a runny pear sauce rather than a proper jam with distinct fruit pieces. If you are absolutely pressed for time, the minimum maceration period is 4 hours, but 12 to 24 hours produces significantly better results.
Traditional pear jam recipes use about 1 cup of sugar per pound of fruit (before peeling), but this creates an extremely sweet preserve. You can successfully make pear jam with anywhere from 2 to 4 cups of sugar for 4 pounds of pears. For a less sweet jam that lets the pear flavor shine, use 2 cups. For moderately sweet jam, use 2.5 to 3 cups. For traditional candy-like sweetness, use 4 cups. Less sugar may result in a slightly softer set, but the jam will still gel properly.
Recipe Tips
- Preventing burning: Use a heavy-bottomed pot that distributes heat evenly. Reduce the heat after the jam comes to a boil, and stir more frequently as the jam thickens during the last few minutes of cooking.
- Managing foam: Jam will foam during cooking, which is normal. Use a pot that is no more than half full at the start to accommodate the foaming. If thick foam accumulates, you can skim it off with a mesh strainer, but the normal bubbling foam will subside once cooking is complete.
- Testing gel stage: The plate test is reliable: chill a small plate in the freezer, spoon a small amount of jam onto it, wait one minute, then push with your finger. If it wrinkles, it is ready.
- Chunk size: Cut pears to the size you want in your finished jam. Unlike many fruits, pear pieces hold their shape through cooking thanks to the maceration step.
- Refrigerator or freezer storage: If not canning, store jam in the refrigerator for 2 to 3 weeks or freeze for up to 6 months. Use freezer-safe straight-sided jars for freezing.
Jam Recipes
If you tried this Pear Jam recipe, or any other recipe on Practical Self Reliance, leave a ⭐ star rating and let me know what you think in the 📝 comments below!
And make sure you stay in touch with me by following on social media!
Pear Jam
Ingredients
- 4 lbs Pears, peeled and chopped into 1/2 inch pieces
- 3 cups Sugar, see note
- 1/4 cup lemon juice
Instructions
- Peel and chop pears: Start by peeling, coring, and cutting the pears into uniform 1/2-inch pieces. The size you chop them now will largely stay the same after cooking since the maceration step firms them up.
- Macerate overnight: Toss pear pieces with sugar and lemon juice, then cover and refrigerate for 12 to 24 hours. This step is essential for drawing out juices and firming the fruit. The absolute minimum is 4 hours, but longer produces better results.
- Prepare canning setup: After maceration, the jam comes together quickly. If you plan to can your jam, set up your water bath canner now. If making refrigerator or freezer jam, skip this step.
- Cook the jam: Pour the pear mixture into a heavy-bottomed jam pot and bring to a boil over high heat. The mixture will foam up, so ensure your pot is large enough. Once boiling, reduce heat to medium-high.
- Stir and mash: Stir frequently to prevent burning, especially as the jam thickens. Cook for 10 to 15 minutes, adjusting heat as needed. If pear chunks are too large, gently crush some with a potato masher.
- Test for gel stage: Continue cooking until the jam reaches 220°F at sea level (reduce by 1°F per 500 feet elevation). Alternatively, place a spoonful on a frozen plate; it should set and wrinkle when pushed.
- Fill jars: Remove from heat immediately and ladle into clean jars, leaving 1/4-inch headspace. Remove air bubbles with a plastic spatula. Wipe rims and seal with two-part canning lids.
- Process jars: Process in a boiling water bath for 10 minutes (15 minutes above 6,000 feet). Turn off heat and let jars rest 5 minutes before removing to a towel-lined counter.
- Cool and store: Let jars cool undisturbed for 24 hours, then check seals. Properly sealed jars keep 12 to 18 months in a cool, dark pantry. Refrigerate unsealed jars for immediate use (2-3 weeks) or freeze for up to 6 months.
Notes
Sugar Amounts
Traditional pear jam recipes include a lot of sugar, around 1 cup of sugar per pound of fruit (before peeling/coring). I tried it that way, and it was way too sweet for my tastes. You can use anywhere between 2 and 4 cups sugar and still get a nice set. I’d suggest these amounts:- Less sweet: 2 cups
- Moderately sweet: 2.5–3 cups
- Traditional sweet: 4 cups
Altitude Adjustments
If above 6,000 feet in elevation, increase canning time to 15 minutes.Shelf Life
For best flavor, consume canned jam within 12–18 months. Refrigerated jam lasts 2–3 weeks; freeze for up to 6 months.Nutrition
Nutrition information is automatically calculated, so should only be used as an approximation.
Canning Recipes
Find the perfect recipe
Searching for something else? Enter keywords to find the perfect recipe!










I am in the process of making this with asian pears (I have a tree). I squeezed one lemon onto about 2 cups of chopped pears. it’s swimming in lemon juice. I added the sugar anyway but am thinking this is not going to work? Should I discard and not bother cooking?
How much lemon juice? And could you give ratios of sugar to pears based on cups of pears not pounds? Thank you.
Here is an article that deals specifically with canning asian pears. https://practicalselfreliance.com/canning-asian-pears/ I would use the recommendations her for the amount of lemon juice. 1 pound of pears will give you about 2 cups sliced so that should give you a general idea of how many cups.
I discovered an overgrown pear tree on my property and have harvested a ton of Bartlett pears! However, bc the tree is overgrown, the fruit is small. I don’t have a scale, either. I was wondering if you could estimate how many cups of chopped pears I’d need for the recipe? I’m assuming about 4 cups?
1 pound of pears should give you about 2 cups sliced. I can’t seem to find anything specifically for a diced measurement but this should give you a general idea.
The recipe reads “sugar”. I’m new to this so please can you confirm what type of sugar to use – granulated, caster, jam sugar? It’s a lot to waste if it goes wrong. Thank you.
That’s just regular granulated sugar.
Best large batch pear recipe I have found yet. I never thought to sugar brine overnight the pears and I immediately taste the difference between a great pear jam vs. sugar with pears in it.
Awesome, Amanda. I’m ao glad you liked it!
Delicious!
Made the jam as directed, with 24 hr maceration time, and 1/2 cup sugar/cup of fruit, lemon, etc.
The jam didn’t set! I reheated it assuming I’d not gotten it hot enough since we live at 2500ft. No go.
I gave up, added an additional cup of sugar, 3 Tabsp of lemon and pectin- heated it to a rolling boil for 1 minute…Viola!
Beautiful amber colored chunky jam… worth the extra step, though still not sure what happened!
So glad it worked out for you.
Hi, your pear jam recipe sounds wonderful and I am keen to try it with my conference pears which are just coming to ripeness. However, I am really foxed by the small amount of sugar you used. I always reduce the sugar content in all my jams but is it really cups (i.e. 200 grams of sugar) for 4 lbs of pears. Sorry, I am in the UK so using metric. I don’t know if you are still taking questions/comments but thought I would try! Thanks
You can use anywhere from 2 to 4 cups of sugar. A lot of jam recipes call for 1 cup (200g) per pound of fruit but you can reduce that amount by half and still get it to gel up fine.
If I add cranberries, how much for 2 lbs of pears and do i lower the sugar from 1 cup? Do i still add lemon juice?
You can do 1 part cranberries, 3 parts pears and 2 parts sugar and still add the lemon juice.
Welp I made the pear jam today and spiced it with cardamom. It is absolutely delicious! I followed everything exact including the maceration process but used 2-3/4 cups of sugar and ground up 3 cardamom pods which I added just before jarring up. I ended up with 4 full jars that I water canned and 3/4ths of a half pint jar which I immediately used on some multi-grained buttered toast. It was ridiculous good. Give it a try!
That sounds really lovely.
Sorry, did not read the recipe completely. Saw that I could freeze instead of canning.
No worries.
How do I freeze jam instead of canning ?
You can freeze it in glass or plastic. If you decide to use glass, you want to be sure to allow for at least 1/2 inch of headspace to allow for expansion. It is often recommended to use straight-sided jars as well.
Can I freeze this jam?
Yes
As a working single mom with little bits of random time, I am wondering if it would be ok to leave the sugary pears sitting for closer to 40 hours?
Hi Liz. I don’t think it would be an issue to leave them for a bit longer. If you try it, let us know how it works out.
I did the peach perserves and we love the taste. Could I do pears the same as peaches? I used a hand blender with peaches to make a peach butter, I blended next to last cooking.
My mother always used paraffin to seal her jelly jars. Would this work for your recipe? If so when would I seal the jars?
Many food preservation practices that were used by our mothers and grandmothers are no longer recommended. Using paraffin to seal jelly is not considered a safe practice. It does not remove the air from the jar and it can often separate from the sides of the jar allowing bacteria in.
Just made some jam – brilliant – I wasn’t sure what macerated meant (I’m into UK) so I soaked the peeled and diced pears with the juice of a lemon for about 10 hours – the best jam everv- thank you
You’re welcome! I’m so glad you enjoyed it!
How long should I WB process if I use pint jars?
5 minutes is plenty.
Do the pears turn brown over nighter in the fridge? If so what’s a trick to not get them brown?
If you coat them in lemon juice as stated in the post, you shouldn’t have any issues with them turning brown.
If you put a couple tablespoons of lemon juice in the water and put the fruit in there they will not turn brown
How many half pints does this yield?
Hi Daniel. This will make 4-5 half pint jars.
I made this recipe and it didn’t gel for me at all. I tested it several times on a cold plate, zilch. I finally added some pectin and put it in jars and processed it. Not sure yet how it will turn out as the jars are still hot. I don’t know what went wrong.
Hmm…it’s possible different types of pears have different amounts of pectin and maybe that’s the issue? Mine gelled really firmly, and there was no need to add pectin.
Hi! What type of pear did you use and would you recommend for this recipe?
This recipe was made with Bartlett pears.
So, unfortunately, I only saw your recipe after making pear jam after I’d already made another recipe. It turned out way too sweet and I’m not sure what to do now to sweeten it down. Any advice?
I will be sure to follow your recipe next time I make the jam 🙂
A couple of options, depending on how much you made…
To save the jam though, and still have it on toast…I’d pull it all out of the jars and put it back in the jam pot. Add in another fruit, preferably a pretty tart fruit. This time of year that’s tricky, and depending on where you live there may not be a lot available. I’d mix it with a bunch of raspberries maybe? Even frozen ones? And then re-cook it until it reaches gel stage, without adding any more sugar. That’ll help balance out the sugar.
Beyond that, you can also just get creative in how you use it.
Use it in places where you can have a lot of sweet, like jam thumbprint cookies. Lower the sugar in the cookies themselves pretty dramatically, and then the really sweet jam will balance nicely.
Use it to glaze meat or in marinades, with a lot of other ingredients. Generally, there’s vinegar which will dilute it out in those recipes, just skip the sugar they already add.
Good luck!
Many thanks for your advice on the sugar coating of the 🍐 pears before cooking
I have canned whole life but did know this very important info. I do the farmers market so my customers will be thrilled with my new product. Thanks so much.
Can I use asian pears?
Here is an article that Ashley did on canning Asian pears. https://practicalselfreliance.com/canning-asian-pears/
I just wanted to thank you for this lovely recipe! 🙂 I’ve made pear jam for years but I hadn’t yet learned the trick, re: macerating the pears prior to cooking them. This makes such a huge difference! Thank you for this! I look forward to reading more of your recipes and seeing what else I can learn from you. Wishing you all the best 🙂
Wonderful, so glad it helped!
Can I use the “sand pears” that are so abundant here in Florida? They are not usually eaten raw, but I make pies with them all the time.
I am not familiar with “sand pears”. I did do a little research and my understanding is that they are classified as an asian pear. These should work just fine for the jam. The only concern with Asian pears and canning is achieving the proper acidity for water bath canning since they are a low acid fruit. This recipe however has enough acid to safely can them. You need about 1 tablespoon per pint and this recipe has nearly that much in just a half pint.
Would this same method work with apples as well? I don’t always love the texture of apple jam and think macerating overnight might be a fix.
I’ve never tried it that way but if you do let us know how it works.