Affiliate disclosure: This post may contain affiliate links. Please see our Privacy Policy.
Food preservation methods go way beyond the modern techniques we use today. Older techniques like salting, fermenting, and dehydrating have their place, even in modern kitchens.
Learn about all the different ways you can extend the life of fruit, vegetables, meat, poultry, eggs, and grains (plus plenty more) in this in-depth guide to preserving food at home. From root cellars to water baths and pressure canning, there’s an option for every space, taste, and budget!
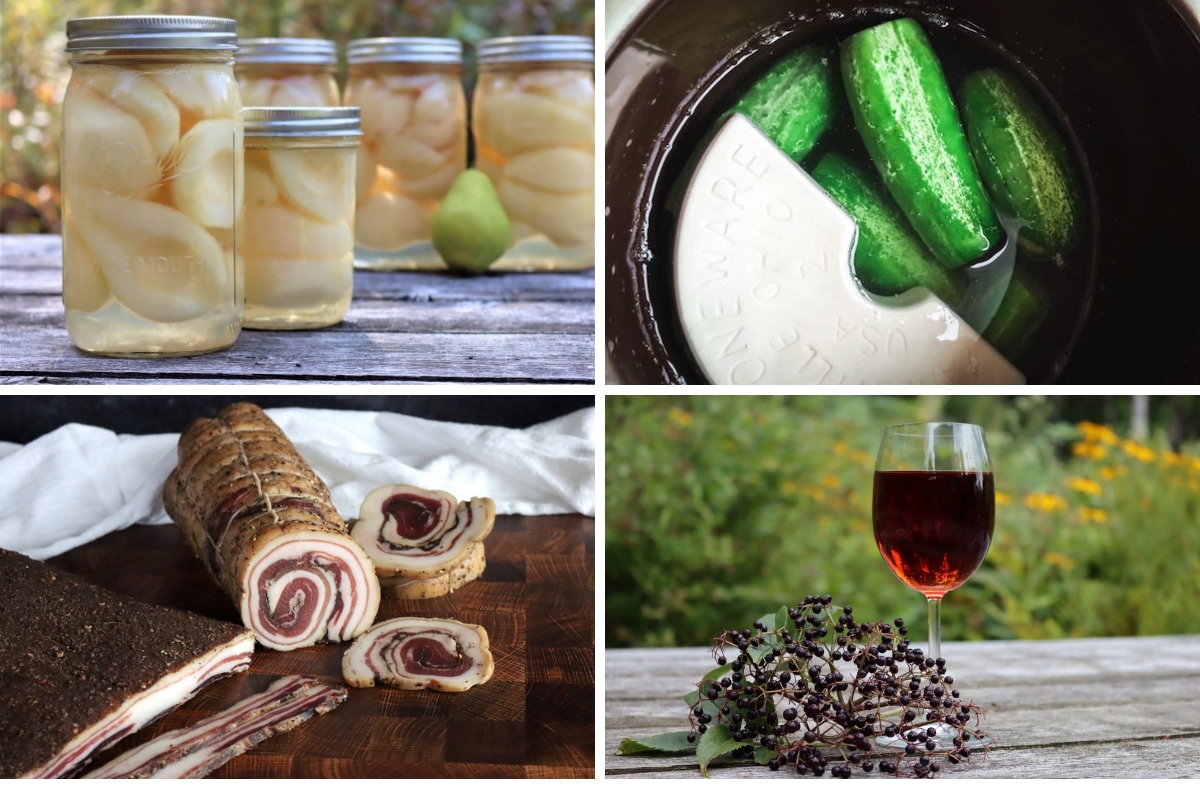
Food Preservation Methods
There are a lot of different ways to preserve food at home, but many rely on the same principles. A root cellar and modern refrigeration, for example, preserve food by keeping it cool.
There are 11 main ways to preserve food, and in each method, I’ve broken out the options to accomplish that goal. Winemaking, charcuterie, cheesemaking, and lacto-fermentation are all examples of “fermentation,” but they’re each very different.
- Refrigeration
- Root Cellar
- Spring House
- Modern Electric Refrigeration
- DC and Propane Refrigeration
- Freezing
- Deep Freezing
- Regular Freezing
- DC and Propane Freezers
- Outdoor Freezing
- Fermenting
- Winemaking
- Charcuterie
- Lacto-Fermentation
- Kombucha, Kefir and Ginger Bug
- Vinegar Making
- Shrubs
- Cheesemaking
- Preservation in Salt or Sugar
- Water Bath Canning
- Pressure Canning
- Dehydrating
- Freeze Drying
- Preserving in Alcohol
- Preserving in Vinegar
- Preserving in Oil
- Olive Oil
- Potting
- Confit
I’m going to walk you through each method, one by one, explaining how and why it works, as well as linking to a few recipes for you to try. If I’ve missed your favorite food preservation method, please do leave me a note in the comments!
Refrigeration
Most people are familiar with the basic idea of refrigeration, as cooler temperatures can delay food spoilage. Modern electric refrigerators are just one day to get the job done.
Root Cellar
Root cellaring is the practice of preserving food in a location that’s naturally cool and protected, without the use of traditional refrigeration or electricity. In most cases, root cellars are built underground or at least partially underground.
Root cellars are ideal for storing fruits and vegetables, canned or pickled foods, cured meats, and cheese. Root cellars are also used to store homemade wine, beer, and mead. Home gardeners can store perennial bulbs and rhizomes in a root cellar over the winter.
Food preservation via root cellaring has several advantages. For one, use of a root cellar gives you the freedom to store large quantities of food for up to 6 months (and even longer in some cases). True to its name, this type of cellar is particularly useful for preserving hardy root vegetables.
Another major benefit? You won’t have to pay any electrical bills to keep your root cellar and its contents cool.
For optimal food storage, keep these tips in mind when stocking your root cellar:
- Fill your root cellar as close to the end of the season as possible.
- Resist the urge to rinse dirt off of fresh produce. Instead, give your fruits and vegetables a gentle shake to remove clumps of soil.
- Some types of produce needs to be cured for a few days before storage, including winter squash, pumpkins, and onions. To cure these vegetables, dry them in shaded, cool place with plenty of air circulation.
- If you have a surplus of sulfur-rich brassica vegetables, keep them stored in their own root cellar alcove to prevent the smell from permeating everything else you have in storage.
Root cellars are easy to implement in most homes (you can even use a dark corner of your basement, no real labor required) but there are a few things to keep in mind if you decide to build your own:
- The temperature needs to be consistent and it should sit between 32° and 40°F.
- Ventilation is important and prevents a buildup of ethylene gas from developing, which is emitted by certain fruits and vegetables and can cause food to ripen and spoil.
- Make sure it’s in a truly sheltered location. If you’re digging out the framework for a root cellar, make sure it’s reinforced with a material that will prevent moisture from leaking in.
- Aim to maintain a humidity level of 85% to 95% and keep the root cellar as dark as possible.
For more tips on building a root cellar out of unconventional materials, check out my beginner’s guide to root cellaring (without an actual root cellar!). If you’re hoping to build something in your backyard, this earthbag root cellar is one of the easiest and least expensive options. My friend, Teri at Homestead Honey, also has a book with root cellar plans (shown below), and I discuss her book in my post on resources for building a root cellar.

Spring House
Springhouse sightings are fairly rare these days, but I think it’s worth mentioning these little structures for the sheer ingenuity that went into their design. An invention that predates the 1750s, spring houses were one-roomed buildings that were intentionally built over springs. The spring would not only be cold enough to chill the food, it would also lower the temperature of the entire room.
Spring houses were commonly used to preserve fresh dairy that would otherwise be prone to spoilage at room temperature. Milk was stored in earthenware crocks, which were then stored directly in the cool spring water.
In this video, you can get a tour of a historical spring house and learn more about how it was used to preserve food (and more!):
Standard Electric Food Storage
There’s no denying the appeal of modern refrigerators. The benefits of using a fridge include temperature consistency (both ambient temperature and the temperature of its content) and controlled humidity, both of which slow down the growth of bacteria and cause food to spoil over time. In short, unless your appliance stops working for any reason, you have a guaranteed means for easily storing food and anything else that needs to be chilled.
Fridges are familiar for most people but not everyone knows how to optimize the cooling powers of this appliance. The following tips and tricks improve space, storage, and safety, no matter the size of your fridge:
- Always store meat on the lowest possible shelf, preferably on a plate, or in its own special container.
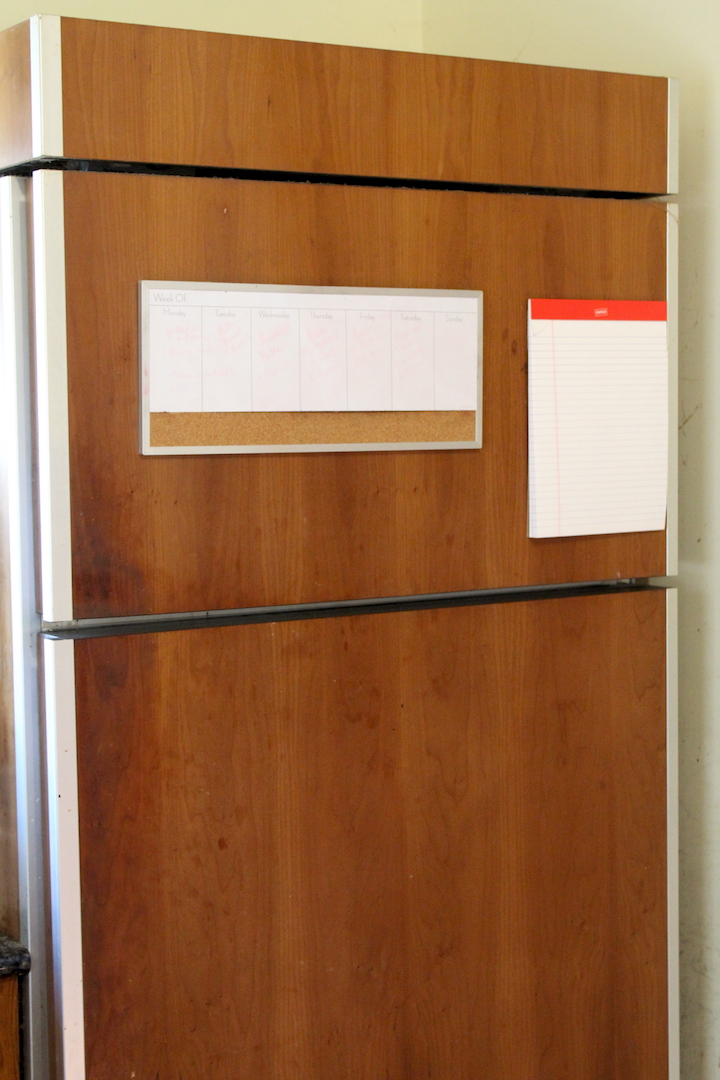
- Keep an inventory and keep a notepad or whiteboard handy so family members can record when something is used and needs to be replaced. Knowing what’s in your fridge will help prevent food waste.
- If you need more refrigerator space than what you have available, try stacking food on baking trays as makeshift shelves—this works particularly well for jars and containers.
- Learn to use the crisper drawer correctly. If you have the option of two crisper drawers with their own humidity settings you can follow this loose guide for proper storage:
- High humidity drawer: leafy greens and herbs, strawberries, cruciferous vegetables (broccoli, Brussels sprouts, cabbage), cucumbers, peas, green beans, watermelon, peppers, carrots
- Low humidity drawer: apples, avocado, pears, stone fruit, papaya, kiwi, plantain, figs, honeydew melon, cantaloupe
- Store dairy products at the back of the fridge and make sure they are well-covered. Dairy is infamous for taking on strong odors from surrounding foods, and this will help prevent cross-contamination.
DC and Propane Refrigeration
Standard grid-based electrical refrigeration is just one option, but what if you’re off-grid? Off-grid appliances are much more efficient, and they often run on other forms of energy.
Our home refrigerator is a DC electric refrigerator that runs off our household batteries (charged by our solar panels). The conversion to AC power (which is the type of electricity used in the power grid) wastes a lot of power, and using a DC refrigerator is a lot more efficient if you’re powering your home with batteries. There are also options for propane-powered refrigerators if you’re off the grid without electricity at all.
Freezing
While refrigeration can keep food fresh for a few days to weeks, freezing is much more effective when you need to store food for months at a time.
Deep Freezing
A deep freezer is a standalone freezer that offers more space than a refrigerator freezer. When food is placed in a deep freezer its core temperature will rapidly fall to 0°F or -18°C in only one hour.
When a deep freezer is used, any of the water that is naturally present in the foods become finely crystallized which in ensures the texture remains preserved. This makes it one of the best, if not the best, way to preserve fish, vegetables, and other delicate foods.
Regular Freezing
A regular refrigerator freezer does exactly what a deep freezer does, it just takes longer for food to reach 0°F/-18°C. Instead of only taking one hour, a regular freezer will take about 24 hours for the food to reach a safe temperature for storage.
Because it takes longer for food to freeze in a regular freezer, it’s typically more prone to freezer burn and other changes in temperature that affect temperature.
Whether you’re using a deep freezer or a regular freezer, keeping either appliance as packed as possible with food will help it run more efficiently. In the event of a power outage, a freezer that is completely full will stay cold much longer than a half-filled freezer.
To fill any nooks and crannies in your freezer, use ice packs, resealable bags filled with water, or even balled-up newspaper.
DC Freezers & Propane Freezers
True to their name, DC freezers run off of a DC (direct current) which means they run off of a battery. Many DC freezer models are also solar-powered, making them a favorite option for anyone looking to preserve food off-the-grid.
Other benefits to using a DC freezer include easier troubleshooting because of fewer parts if something goes wrong, there’s no need to rely on traditional electrical power, and it is convenient and efficacious in the face of emergency readiness.
Outdoor Freezing
If you live in a climate with below-freezing winters, you might consider trying your hand at an outdoor freezing. I’d only suggest outdoor freezing if you’re surrounded by consistently cold temperatures. Changes in temperature, even if they’re small, can lead to textural changes (at best) and accidental food poisoning (at worst).
To make an outdoor freezer you’ll need several ice blocks to form the base of your structure. Choose a spot on the north side of your building, this will protect food from the warm southern sun. Build a foundation out of ice blocks and then a wall of ice blocks surrounding it for insulation. Use a piece of ice as a lid. If you don’t have the right shape, use a saw to customize the size.
Store food on top of the ice block and be aware of any local scavengers looking for an easy meal. To prevent this from happening, try burying your outdoor freezer with copious amounts of snow.
Fermenting
Most people know about fermented alcoholic beverages, but there are many different types of fermentation…from sauerkraut to charcuterie.
Winemaking
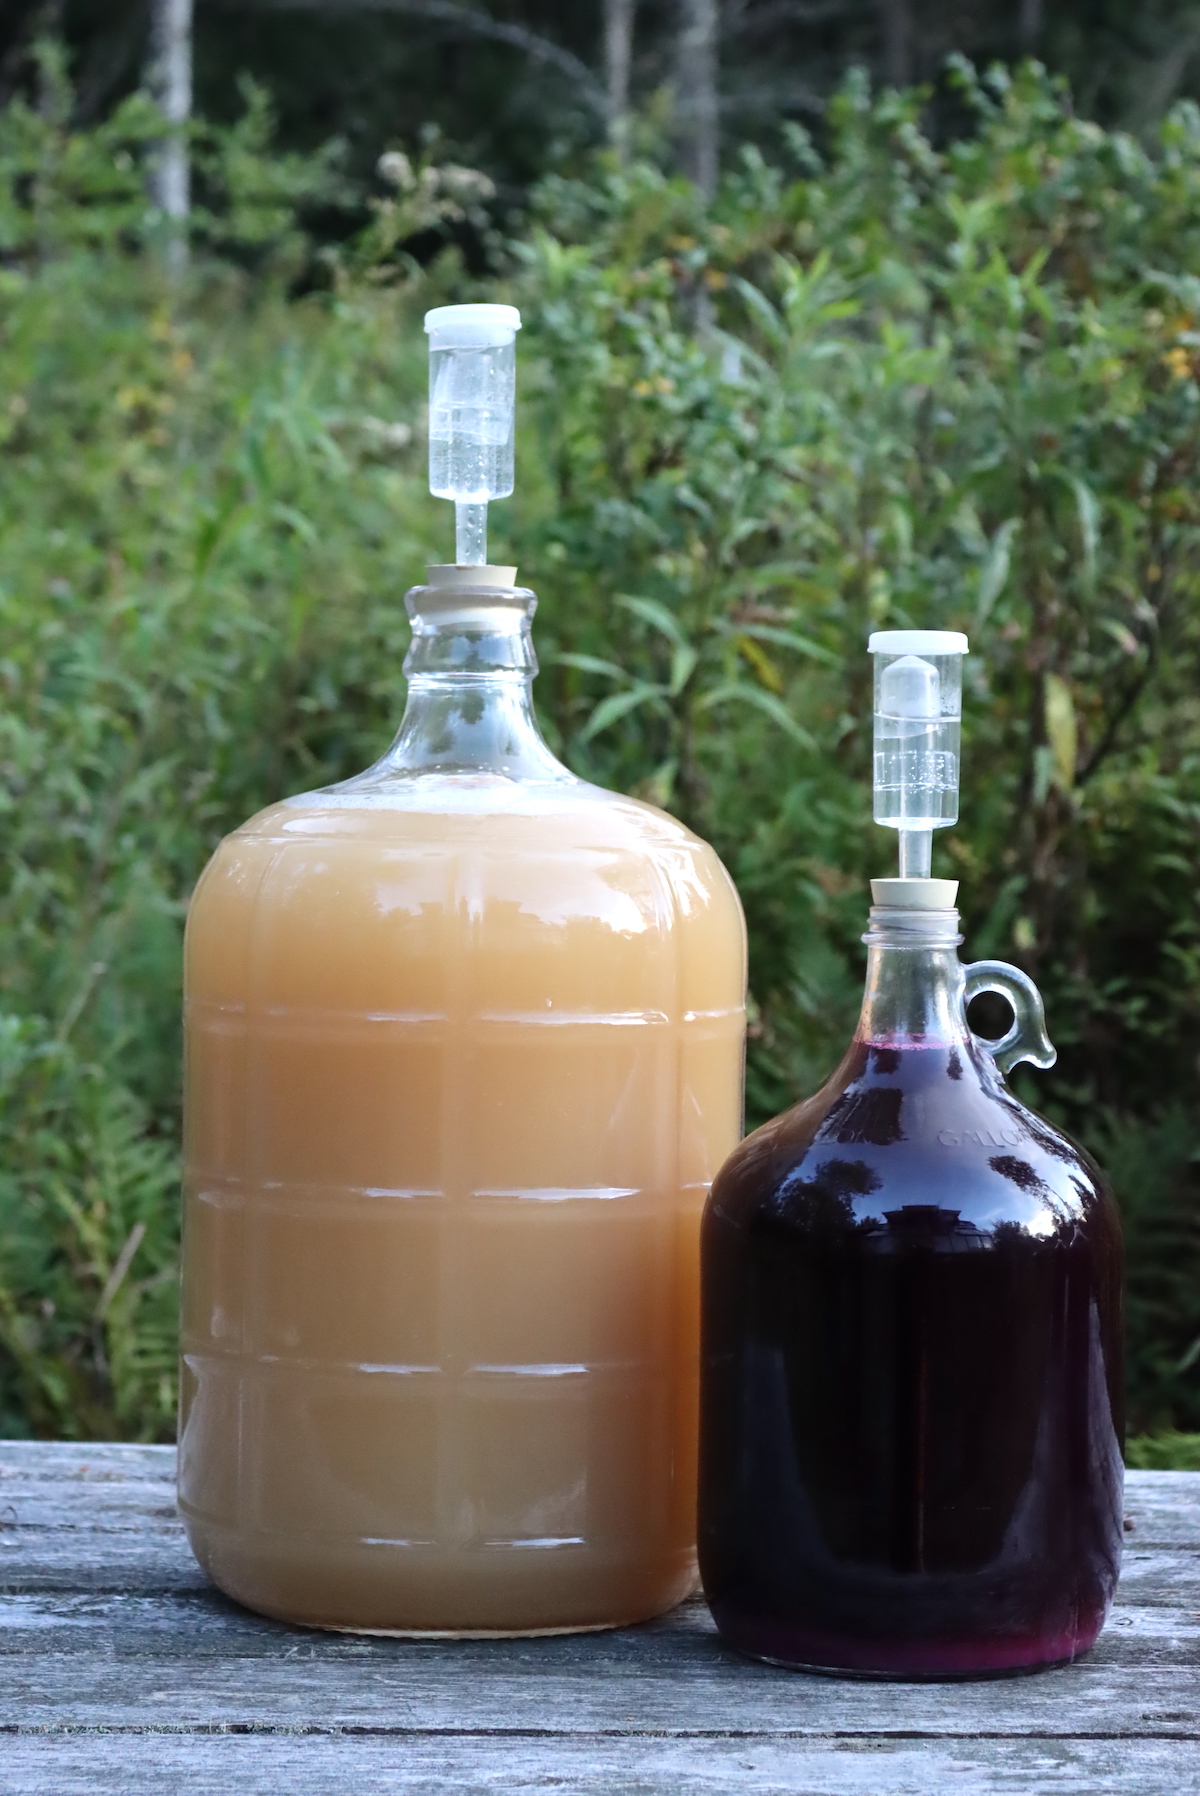
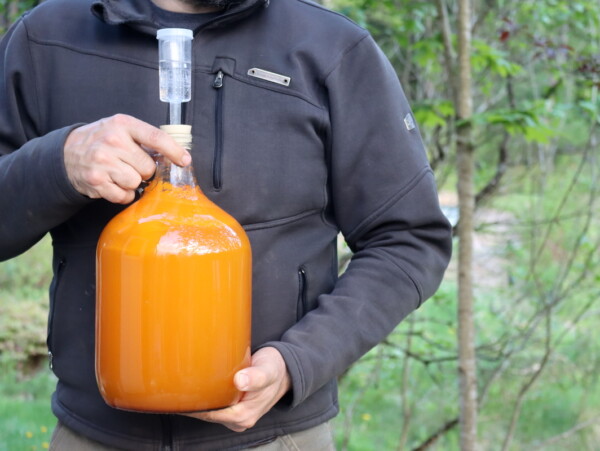
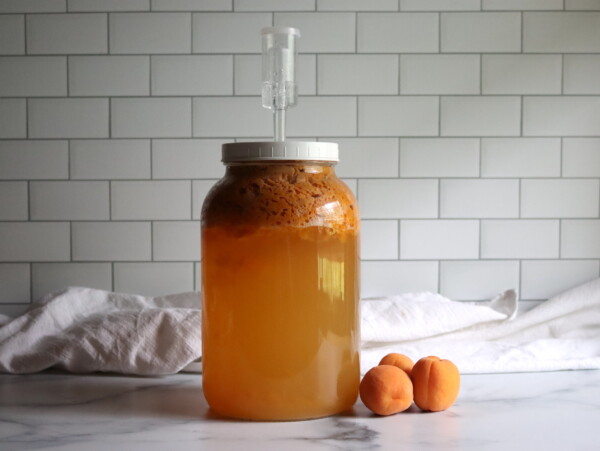
People have been making wine as a way to preserve food for thousands of years. While wine made from grapes is the most popular iteration of winemaking, other types of fruit, vegetables, herbs, rice, and even edible flowers can be fermented to produce wine.
Making wine is simpler than you might think and is surprisingly hands-free; it’s only near the beginning of the recipe that most of the mixing, sterilizing, and decanting occurs. In addition to the equipment listed below, you’ll need a protected space with a consistent cool temperature and fairly fixed humidity levels.
To make wine at home, you’ll need two (one) gallon glass carboys, a rubber stopper, and water lock, a brewing siphon, wine bottles, a bottle corker (if using corks), and a brewing sanitizer.
The most important tool you’ll need for winemaking is patience. Giving wine a chance to properly ferment yields results that are delicious, complex, and, best of all, incredibly drinkable.
These guides will get you started:
- Beginners Guide to Making Fruit Wines, where I take you through all the steps in the winemaking process.
- Small Batch Winemaking can be done for micro-batches, making as little as 1 bottle of wine at a time, and the process and equipment are a bit different with super tiny batches.
- How to Make Mead (Honey Wine) is mostly the same, but there are some particularities when working with honey.
- Equipment for Winemaking, which covers all the durable equipment you’ll need to make your first batch (besides your ingredients).
- Ingredients for Winemaking, which covers all the other things you’ll need (besides yeast).
- Yeast for Winemaking can get complicated quickly, and there are dozens of common strains (and hundreds of obscure ones). Picking the right one is actually pretty important, but I’ve broken them all down for you.
- How to Make Wine from Grapes, though not necessarily for beginners, but everyone always asks about this one first!
- 50+ Winemaking Recipes will allow you to make wine from just about anything.
- 50+ Meadmaking Recipes are even more obscure than winemaking recipes, but I’ve got you covered there too.
Charcuterie
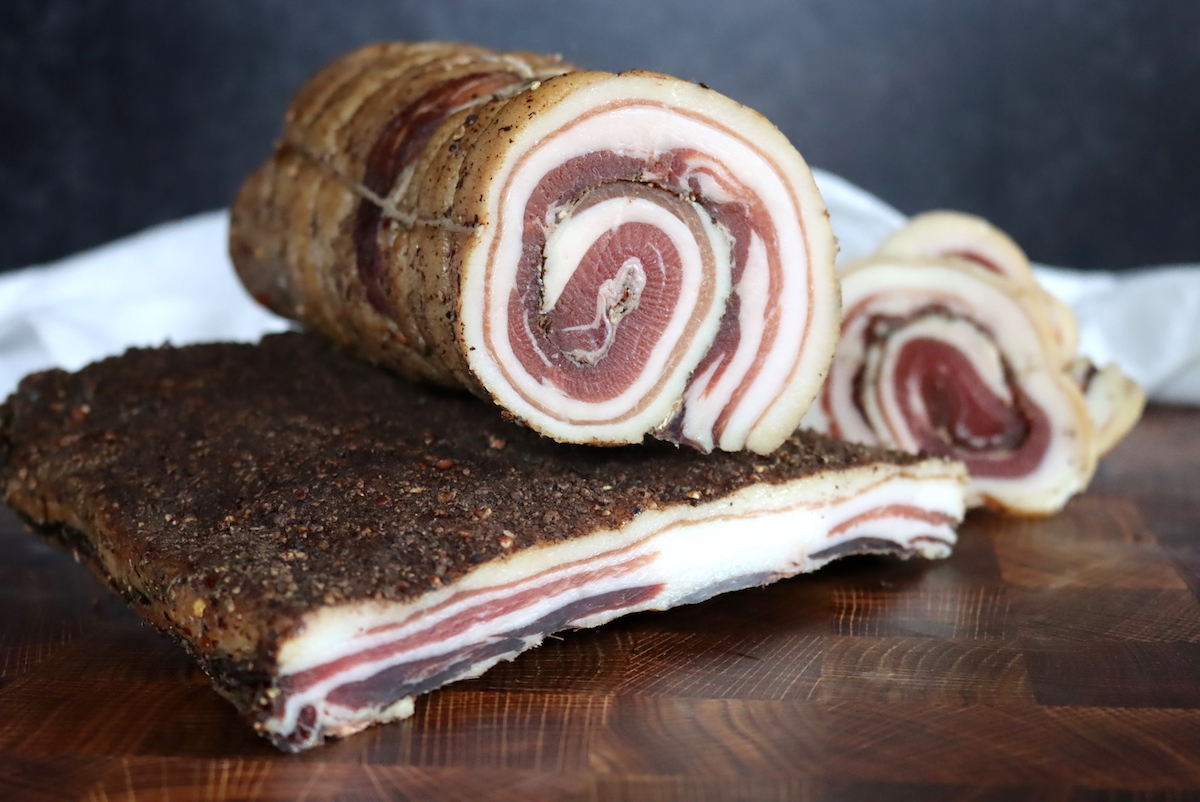
In the culinary world, the term charcuterie refers to a focus on the preservation of prepared meats. The name charcuterie is taken from the French “chair cuit” which means, somewhat dramatically, “cooked flesh.”
Charcuterie was, like almost any other kind of food preservation technique, borne of necessity before the arrival of the electric refrigerator. Examples of charcuterie include bacon, pâté, salami, sausage, ham, and terrines.
Curing salts have been somewhat demonized in the conversation around preservatives today, but they remain an important, if not essential, ingredient that will help ensure your homemade charcuterie is safe to eat. As an added bonus, curing salts keep the color of charcuterie from turning gray, add flavor, and will help maintain an ideal texture.
If you want to see any of my charcuterie-making firsthand, you can read all about my experiences (I’ll also share plenty of tips and tricks I discovered along the way) making beef bacon, duck prosciutto, lonzino (cured pork loin), and homemade pancetta.
Lacto fermentation
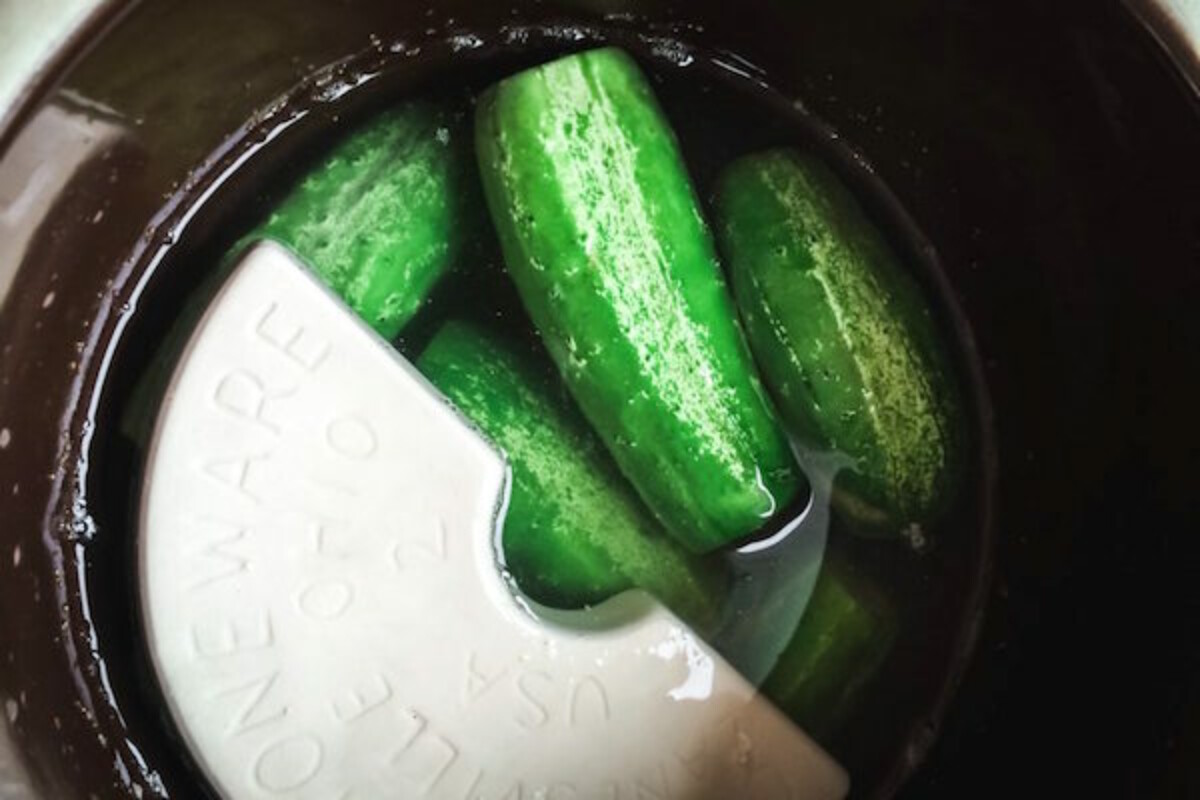
With lacto fermentation, an environment is created (usually in a jar) where certain types of desirable bacteria (such as lactobacillus) are intentionally protected and promoted through careful stewardship. In other words, harmful bacteria is killed off and the growth of beneficial bacteria is encouraged.
To create this environment, a simple brine is made using warm, non-chlorinated water and sea salt. The ratio of water to salt will depend on the recipe, but I like brine that is made from 2 tablespoons of salt to 4 cups/1 quart of water.
The lactobacillus works to convert the natural sugars found in the food to lactic acid, which also acts as a preservative. The end result is an ingredient submerged in an environment that is both salty and acidic—a hostile setting for any type of unwanted bacterial growth.
The length of time it takes to adequately ferment anything will depend on the recipe, some ferments take three days and some take eight weeks or even longer. When fermentation is successful, the shelf life of the main ingredient can be extended to four months—sometimes as much as 12 or even longer—depending on the recipe.
The world of lacto fermentation isn’t limited to pickled vegetables, it also includes yogurt and other fermented dairy, meats and fish, condiments, and many, many hot sauces from around the world.
Some of my favorite recipes that utilize this particular type of ferment include sauerkraut, pickles, garlic honey, turmeric, and strawberries.
Fermented foods are not only delicious, they also have well-documented benefits for your overall digestive health. Foods that have been preserved using the lacto fermentation method are a good source of probiotics thanks to gut-friendly bacteria and yeast that develops during the ferment period.
Kombucha, Kefir and Ginger Bug
Kombucha is a lightly fizzy, tart-tasting drink that is touted for its many purported health benefits. Kombucha is made with sugared tea and a SCOBY (symbiotic culture of yeasts and bacteria), which are combined in a jar or other glass container and then left to ferment.
If you’re making kombucha at home, it will need to ferment for at least ten to 14 days before it’s ready to drink. Once it’s ready to be enjoyed, however, it can be left to slowly ferment in the fridge for much longer periods of time.
Kombucha is a refreshing drink on its own, but it can also be dressed up with fruit juice, aromatics (such as ginger, lavender, and rosemary), citrus slices, blended fruit, or with syrup from a shrub.
Kefir and ginger bugs are a similar idea, but they’re using a different culture.

Vinegar Making
Acetic acid fermentation used in vinegar making is a bit different than lacto-fermentation, but only in that different cultures are involved. You can make vinegar from just about anything with sugar in it, or with alcohol in it. First, the sugar is converted to alcohol, and then the alcohol is converted to vinegar. (That’s how wines went “off” historically, but today, it’s its own type of preservation.)
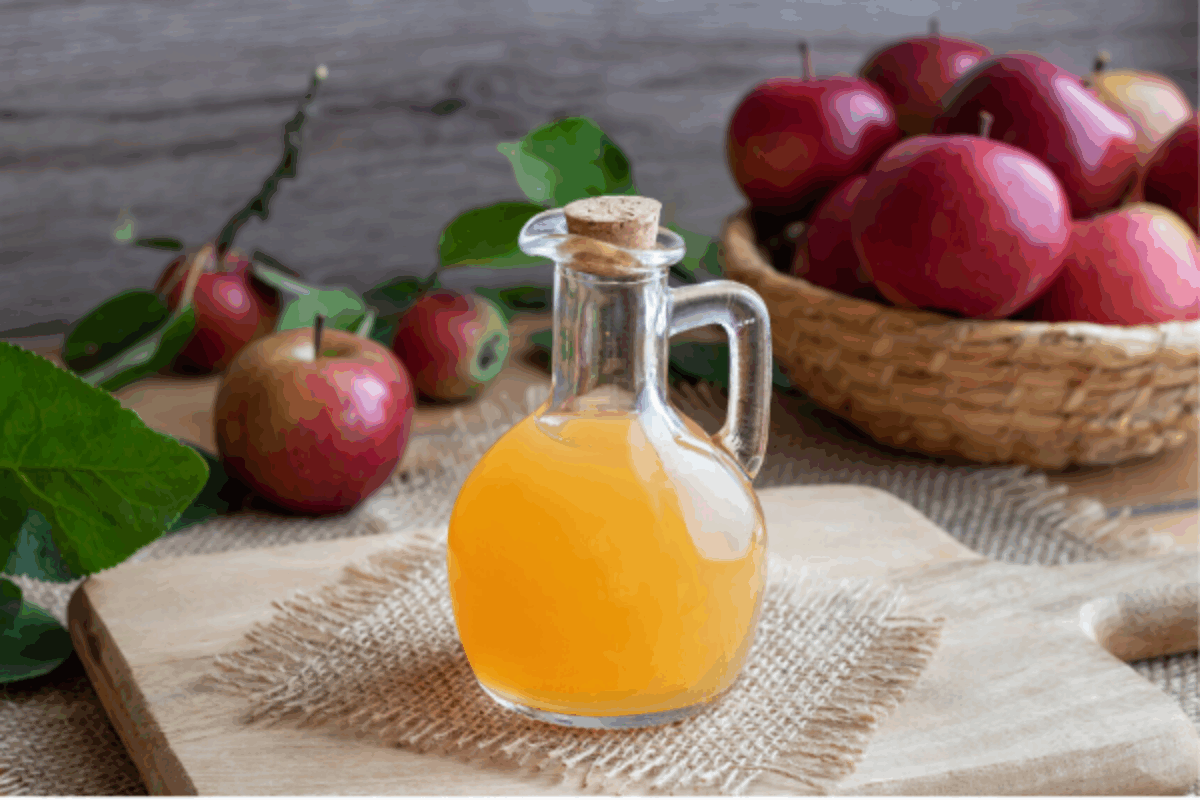
Fruit vinegars can be made from any type of fruit, and then, of course, there’s the most common type…homemade apple cider vinegar.
Apple cider vinegar has hundreds of uses, beyond just in the kitchen, so home vinegar making is a great way to make a resource that can do more than just feed your family.
Shrubs
Up to your elbows in seasonal fruit? Try making a non-alcoholic shrub! A shrub is a fermented (but non-alcoholic), syrupy fruit mash made with equal parts fruit, sugar, and vinegar (sour fruit like rhubarb might need more sugar—you’ll find that shrub recipes are as adaptable as they are forgiving).
The fruit, sugar, and vinegar is combined and is left to ferment for a couple of days, during which time the fruit begins to break down, resulting in a thick mash of fruit with a flavorful syrup. The fruit is then strained from the syrup (keep the fruit as a topper for ice cream, oatmeal, and yogurt parfaits!), and the syrup is stored separately in the fridge.
Shrubs are traditionally added to cocktails and other mixed drinks, but the syrup can also be drizzled on top ice cream or added to milkshakes.
While shrubs are traditionally made with sweet fruit, there are some recipes that make use of savory fruit (such as tomatoes) as well as aromatics such as peppercorns, ginger, chili, rose petals, lavender, and thyme.
Cheesemaking
Thanks to a surge in popularity, making your own cheese at home is easier than ever. If you’ve ever thought about cheesemaking seriously, to the point that you find yourself in the planning stages, you may have hit a roadblock when it came time to sourcing supplies.
Cultures for Health and many other DIY-focused online stores have made home cheesemaking so much more accessible to the average person. No more empty-handed searches for niche supplies like rennet and cheese molds, now you can find everything you need on a single website.
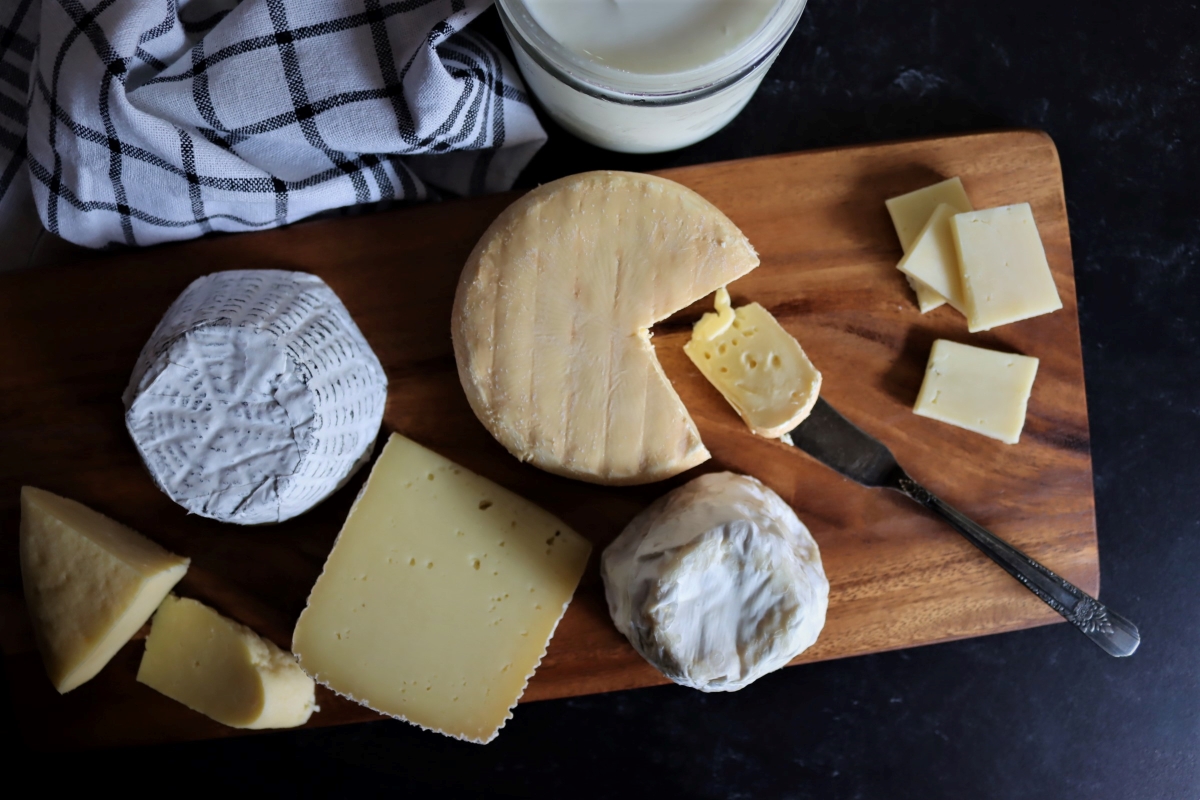
One of my favorite things about cheesemaking is its versatility. It can be as simple as a fresh mozzarella or homemade ricotta, or it can be as ambitious as a wheel of brie or even a firm cheese like cheddar or gouda.
My biggest piece of advice when learning to make cheese is to start with the basics: fresh mozzarella, ricotta, cottage cheese, and fresh goat cheese are all tasty, beginner-friendly cheeses. As you become more confident, you will develop a sense of intuition that becomes useful when making more complicated cheeses.
For total beginners, I would also recommend the use of cheese making kits, which contain everything you need (minus the dairy) to make any number of specific cheeses.
These resources will help you get started cheesemaking:
- 50+ Cheesemaking Recipes (For Beginners and Beyond)
- Beginner’s Guide to Cheesemaking
- Cheddar Cheese Recipe
- Colby Cheese Recipe
- Paneer Recipe
- Fromage Blanc Recipe
- Farmer’s Cheese Recipe
- 18th Century Farmhouse Cheddar
- Yogurt Cheese Recipe
- Gjetost (Norwegian Brown Whey Cheese)
Preservation in Salt or Sugar
Before refrigeration was a regular occurrence in modern homes, salting was considered one of the best methods for preserving certain types of food. An extremely effective antimicrobial and antibacterial agent, salt prevents the growth of harmful microorganisms by drawing water out of microbial cells through a process called osmosis.
Salting has been used worldwide as a food preservative as far back as 3000 BCE, and shows up in cuisines all over the world in places as far reaching as Scandinavia, North Africa, Southern China, and the Arctic.
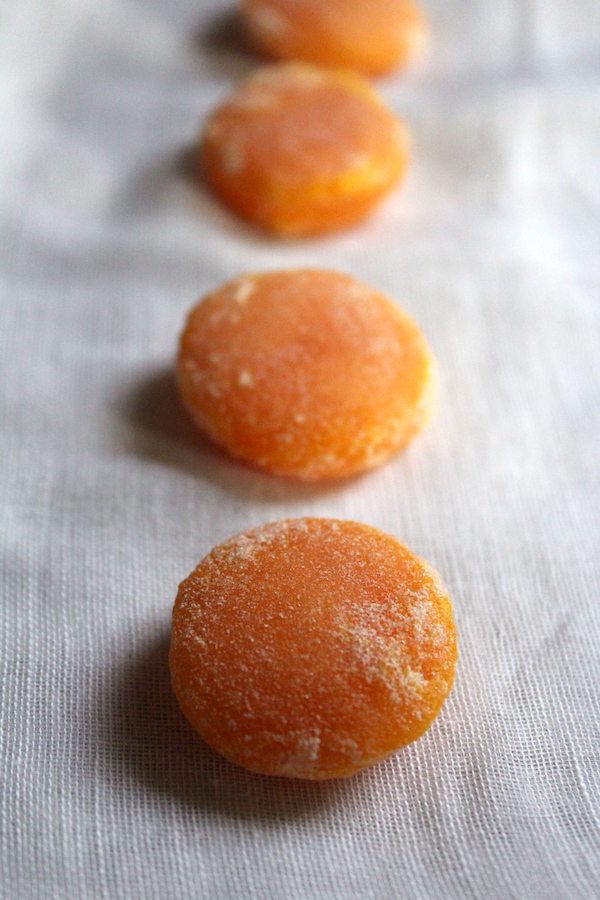
Salting is favored by those living off-the-grid as a way to preserve food, but it’s also common for fine dining establishments, particularly farm-to-table restaurants to have a cool space designated for salting. In North America, you’ll find that salting is generally used to preserve meat, fish, and whole egg yolks (chicken, quail, or duck—your choice), which will add a funky, umami-rich flavor to any dish it’s added to.
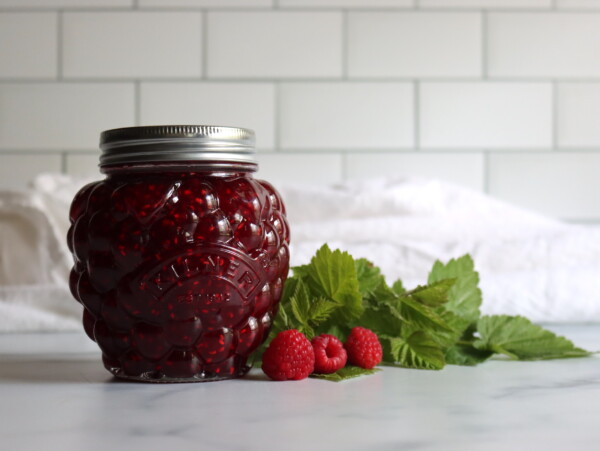
Preserving food in sugar has the same effect as storing it in salt, the sugar draws water from microbial cells which prevents their growth. Examples of this method include jams, jellies, fruit syrups, and honey.
Salt and sugar are both natural humectants, which means they are always chemically trying to match the same level of water that is present in whatever type of food the humectant is in contact with.
Water Bath Canning
Water bath canning is a lower-temperature form of canning that is used to preserve high-acid foods, especially fruit. In order for the bath to be successful, the pressure from the boiling water must create an environment in the jar where undesirable bacteria are unable to grow.
This canning method is a fantastic way to preserve everything you have gathered from a particularly successful harvest or after a friend drops off surplus fruit from a bumper crop. Specifically, you can use the hot water bath canning method to preserve:
- Fruit* and fruit juices
- Fruit butter
- Pickles
- Relish**
- Jam
- Vinegar
- Salsa**
*Some fruit will need citric acid or juice added to bump up the acidity before it’s safe for canning, including tomatoes, white peaches, white nectarines, Asian pears, melon, persimmons, and papaya.
**Relish and salsa recipes will sometimes call for onions or peppers, both of which are low-acid foods. To counteract this, the recipe you’re using should call for the addition of vinegar or lemon juice. For the sake of food safety and to avoid potential serious illness, always stick to tested recipes when embarking on any home canning projects.
In order for the jars to be completely sterilized in a water bath canner, they must be processed in vigorously boiling water for at least 10 minutes. If the canning time is shorter, the lid will still seal but the jar isn’t technically sterilized.
You can expect food that has been canned in a water bath to keep for 18 months, although it will have its best texture and color if consumed within a year.
If you’re interested in learning how to can food using the water bath method take a look at my comprehensive guide to water bath canning, which goes into this type of food preservation in detail while also containing all the advice I have to offer on the subject as a seasoned canner.

Pressure Canning
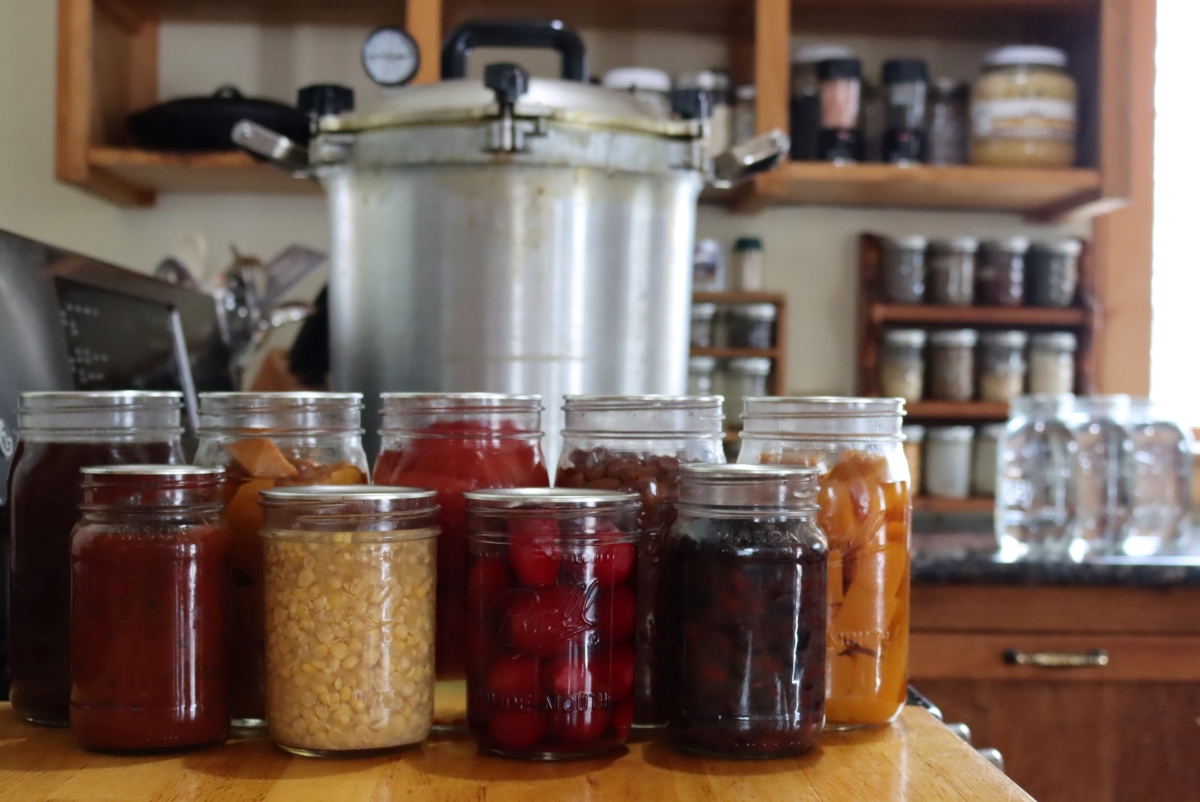
Pressure canning is another form of food preservation in jars, utilizing steam to heat process whichever food is being canned. Because the temperature is so much higher, you can preserve low acid foods in a pressure canner that are considered unsafe for processing in a water bath canner.
- Vegetables* (asparagus, artichokes, lima beans, green beans, carrots, corn, mushrooms, winter squash, pumpkin**, and peas)
- Soups and stews
- Meat of all kinds (beef, pork, venison—all kinds)
- Poultry (chicken, turkey, duck—again, all kinds)
- Broth (meat, poultry, fish, or veggie-based)
- Dry beans
- Chili
- Baked beans
*Excludes pickled vegetables.
**Certain foods, such as pumpkin, are notorious for not being able to handle temperature swings. To learn more about temperature swings check out my blog post on pressure canners and pumpkin, where I offer a recipe as well as solutions for canning this notoriously tricky vegetable.
Other foods that are not suitable for pressure canning include dairy (milk, cream, butter, etc.), coconut milk, flour, corn starch, rice, pasta, and eggs (including pickled eggs).
If you’re in the market for a pressure canner, you’ll be able to choose between two models. Both do the same thing in the same way, the difference being in the way that pressure is measured. A weighted gauge canner uses weights to measure pressure buildup while a dial gauge canner uses a dial.
Regardless of the pressure canner you choose, you’ll need to adjust the heat on your stovetop to maintain the correct PSI (pounds per square inch) throughout the canning time. If you’re canning at high altitudes the PSI and time guidelines will most likely be different than recommendations for pressure canning at sea level.
Because the temperature and pressure is so high, the jars will automatically get sterilized during as they are being processed. Like food that has been preserved in a hot water canner, food that has been pressure canned will be at its best if eaten within a year but is safe to consume for up to 18 months.
To learn more about pressure canning, which can be somewhat intimidating as a newcomer, head on over to my in-depth pressure canning guide, where I de-mystify this incredible method of preserving food for long period of time.
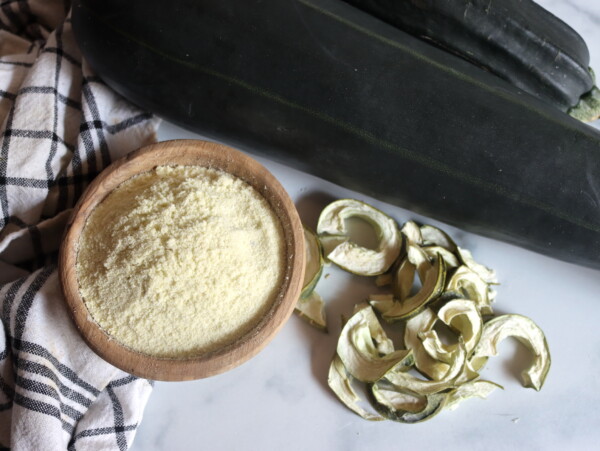
Dehydrating
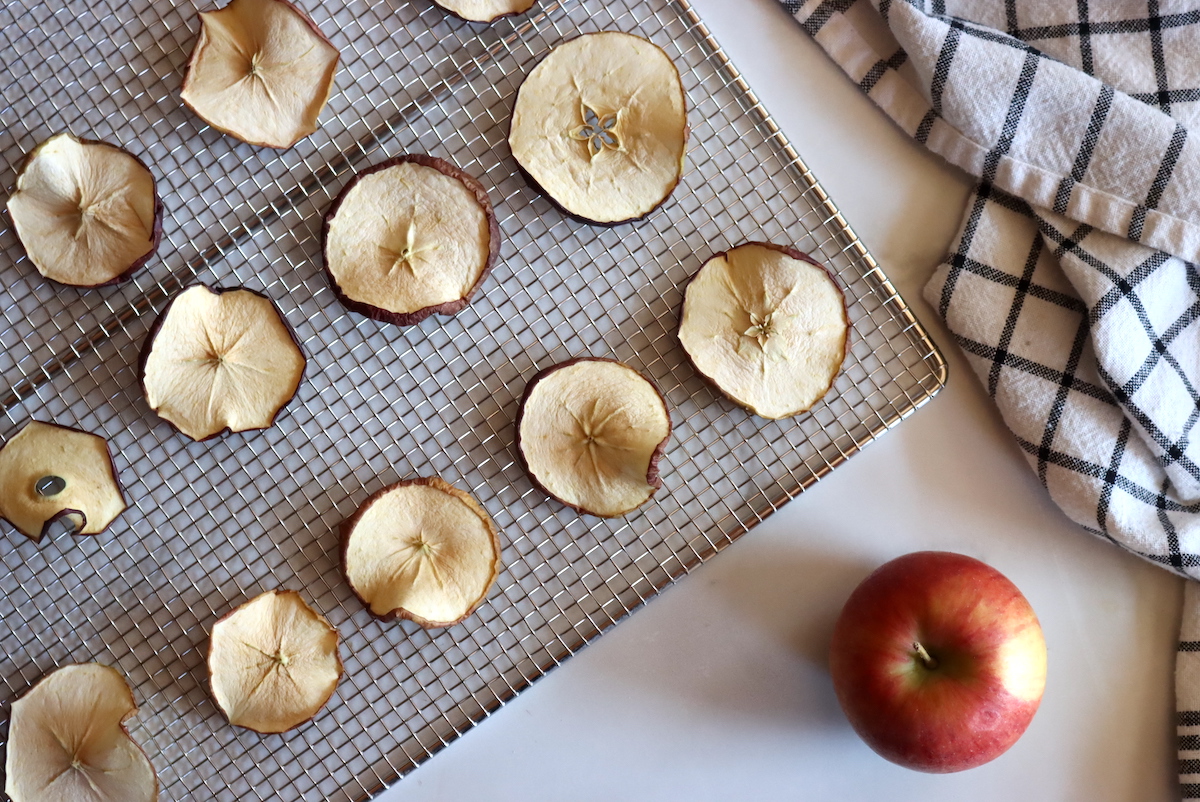
Dehydrating food as a means to extend its shelf-life is a practice that is many thousands of years old. In almost all cultures around the world, with the possible exception of cultures from very cold climates where ice was plentiful, it was the first kind of food preservation ever used.
There are many benefits to dehydrating food. For starters, it’s not a method that involves hard-to-find equipment—unless you prefer using an electric dehydrator—which isn’t necessary, but does come in useful. I’d go so far as to say that if you have access to an oven, you have all the tools needed to get started and get the job done.
Once food has been dehydrated it will be shelf stable for four months and up to one year. The exact length of time will depend on the specific food in question. For best quality dried food, keep it stored in a cool location away from the light. The higher the temperature, the faster the food will spoil.
If you’re someone who is already very familiar with dehydrating food, there’s a good chance you own an electric food dehydrator. If you aren’t familiar, these small appliances are designed to dry out food efficiently, using minimal power, and have built-in fans and vents for optimal circulation. All of these features while also maintaining a consistent temperature of 140°F/60°C.
Dehydration in the oven also happens at 140°F/60°C (or as low as your oven will possibly go). If you haven’t checked it in a while, measure the temperature of your oven with a heat-safe thermometer before attempting to dehydrate any food. After all, you want to dehydrate food safely and without burning or wasting it due to temperature-related issues.
You can use any kind of conventional oven to dehydrate food, but convection ovens are particularly efficient when it comes to this method of preservation. Unlike a regular electric or gas stove, the defining feature of a convection oven is a built-in fan that circulates hot air around whatever is being cooked (or, in this, dehydrated) inside.
If you don’t have a convection oven, don’t worry, there’s an easy fix! Simply prop the oven door open an inch or two and place an electric fan next to the stove so that the air is directed into the oven.
For more information about dehydrating, check out the following articles about the technique behind specific types of food (recipes included):
- Meat, mutton, venison, elk, chicken, turkey, pork, and bear
- Fish and seaweed
- Fruits and vegetables
- Mushrooms
Freeze Drying
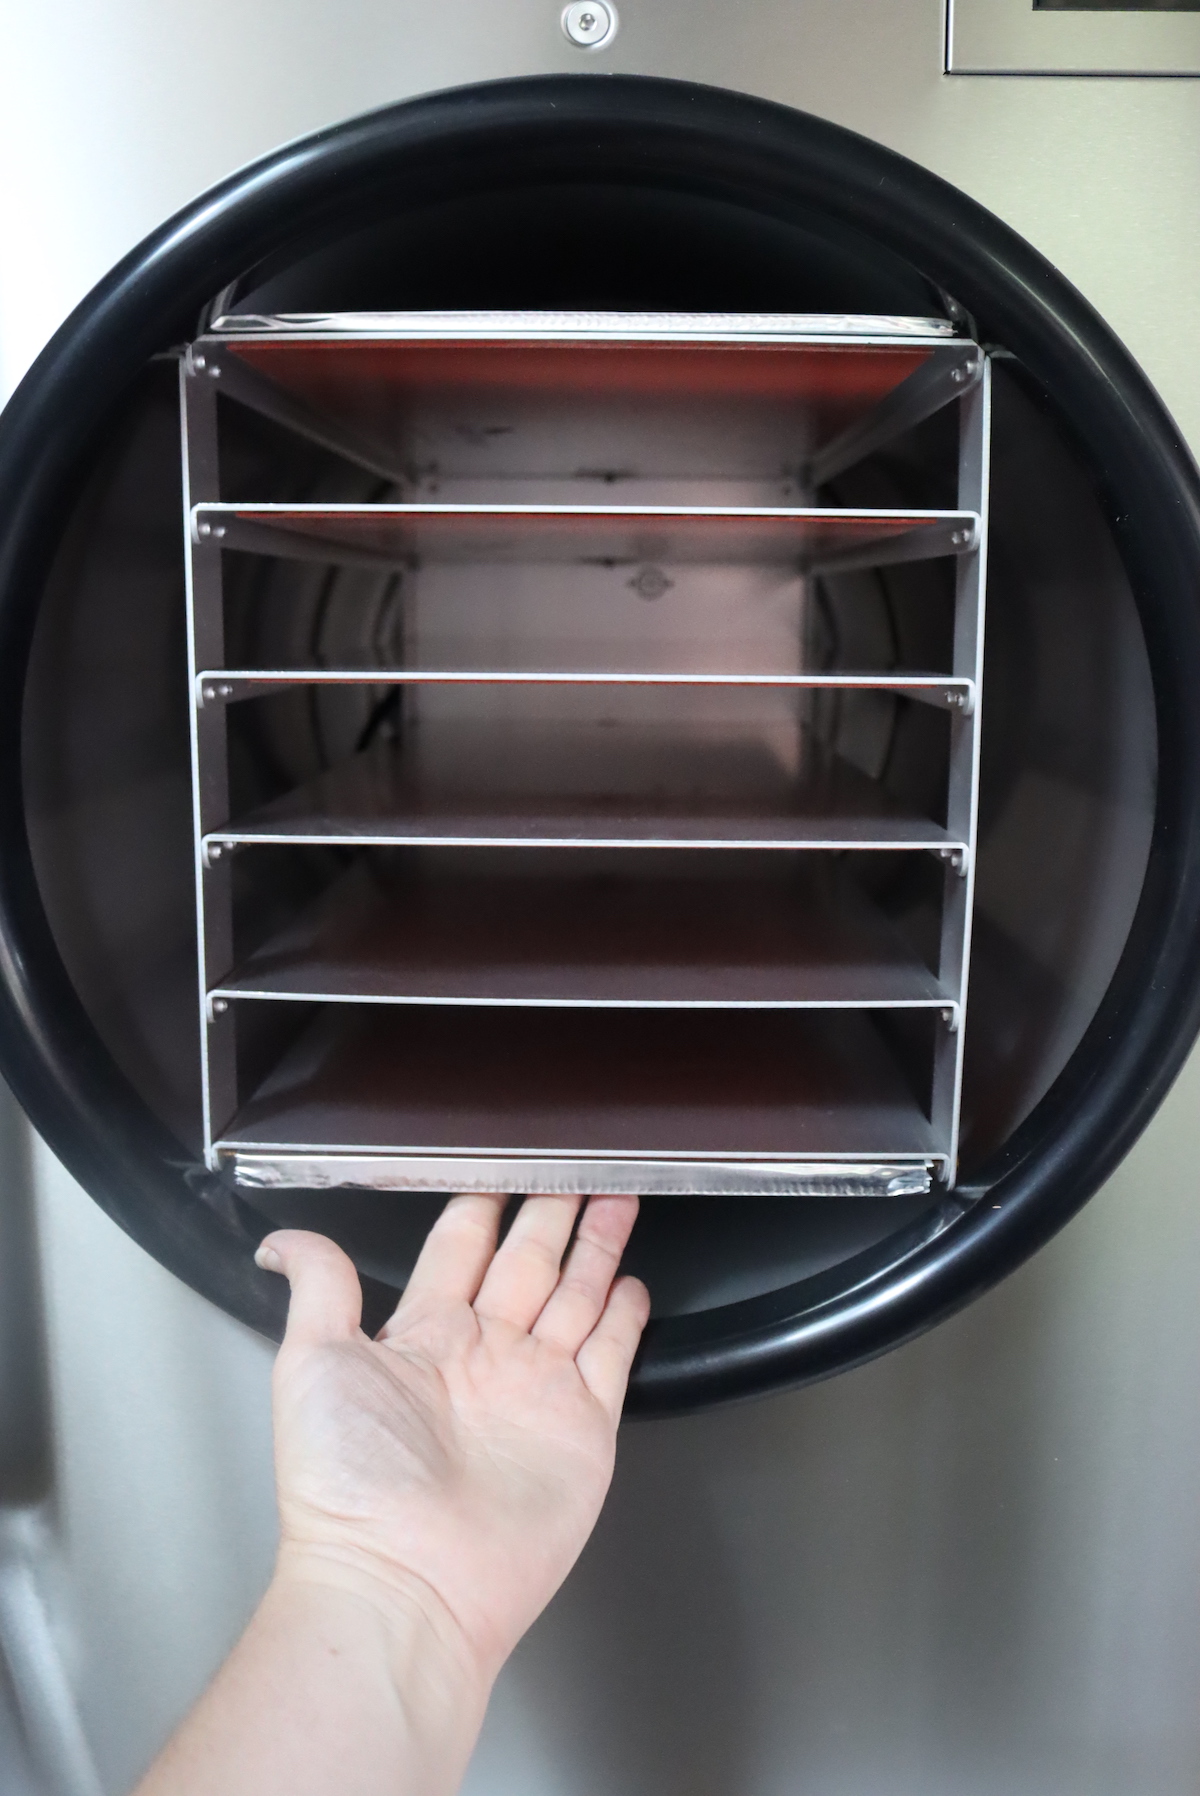
Would you believe me if I told you that it was possible to freeze dry food at home using a scaled-down version of a commercial freeze dryer? Now, an actual possibility, if you’re someone who spends a ton of money on freeze-dried foods, then it might be worth the investment to buy a home freeze dryer.
We use a model from Harvest Right, the original (and only) kid on the block for a long time, but a significantly more expensive model called The Cube has recently shown up on the market as an alternative option. Freeze dryers come in multiple sizes, and you can choose whichever model meets your anticipated needs.
Why freeze drying? I find this method the absolute best when it comes to pure flavor preservation. Especially for fruit, I’ve had freeze-dried strawberries that taste more strawberry-like than the real thing. Freeze-dried food is compact, and it can easily be rehydrated, making it an excellent option when you’re stocking food for an emergency kit.
Preserving in Alcohol
Preserving fruit in alcohol is a time-honored culinary tradition, resulting in two separate ingredients: the preserved fruit and the rich, boozy syrup that’s left behind. When the proper precautions are taken, this type of fruit can last for three years or even longer—some say this method yields fruit that will stay edible indefinitely!
As for the type of fruit that can be preserved in alcohol, it’s a fairly comprehensive list (and by no means a complete one):
- Cherries
- Plums
- Damsons
- Peaches
- Nectarines
- Apricots
- Strawberries
- Blackberries
- Apples
- Figs
- Citrus
- Blueberries
When choosing an alcohol, the main piece of criteria is that it should be at least 35% ABV or 70 proof. Brandy, whisky, and rum are popular choices and have a sweetness that is complementary to the flavor of the fruit.
Some of my favorite ways to prepare alcohol-preserved fruit include brandied cherries, apricots in vanilla-brandy syrup, and German preserved fruit in rum (which gives you the opportunity to choose your own fruit).
Preserving in Vinegar
Traditional pickling and quick fridge pickling are both food preservation methods that use vinegar to prolong the shelf life of food. Vinegar contains acetic acid, which increases the acidity of the vegetables (or other food that is being pickled), killing off microorganisms that make the food more vulnerable to food storage.
Many people choose to preserve food using white vinegar as a base (which has a fairly neutral flavor and can take on the flavor of added aromatics), but there’s always the option to use cider, malt, or wine vinegar for a more pronounced taste.
For aromatics, popular choices include dill, peppercorns (black, white, or pink), whole mustard seed, coriander seeds, ginger, garlic, and fennel. Some individuals like adding sugar or another sweetener to their pickles, but the option is largely yours to choose and not an actual necessity.
Pickles that have undergone the canning process will keep unopened in a cool, dry place for up to 18 months (although they’ll be at their color, flavor, and textural peak before the 1 year mark). As the name suggests, fridge pickles must be stored in the fridge, where they’ll keep for up to 2 weeks.
Whether I’m stocking my pantry or giving jars away as gifts, I absolutely love making homemade pickles. Over the years, I’ve developed recipes for pickling all sorts of vegetables, including:
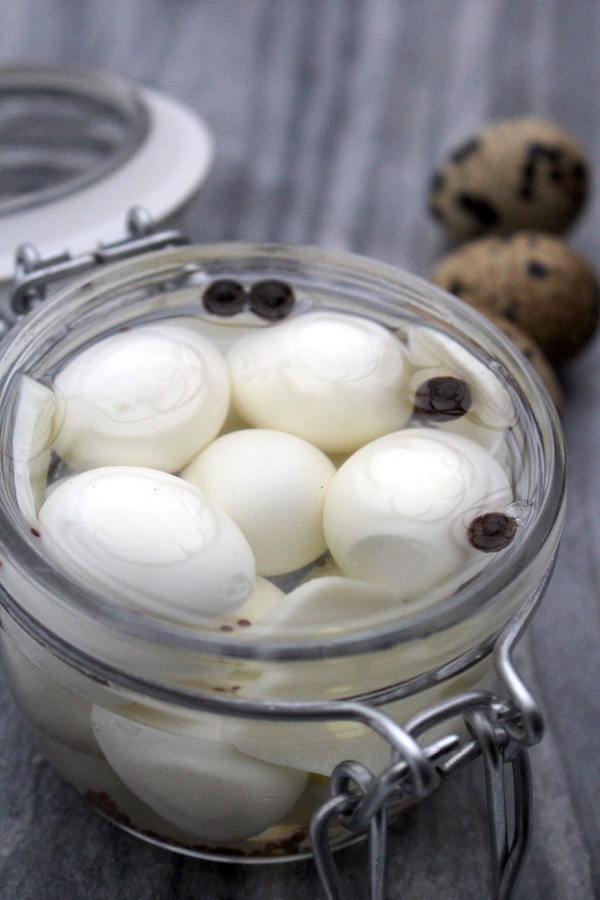
Preserving food in vinegar isn’t only for vegetables! I’ve also had plenty of successful attempts at pickling chicken eggs and quail eggs as well as mushrooms and walnuts.
Preserving in Oil (and Potting)
Olive oil
As the name suggests, this method involves submerging food in olive for preservation. If you’re determined to preserve food in olive oil, it’s important to have an understanding of food safety and warning signs to look out. Food preserved in olive oil (and the oil itself) is more likely to encourage the growth of botulism spores, a serious illness that can easily turn fatal whether it’s treated or not.
This information sheet from the folks at Penn State gives you all the information you need about the importance of acidifying infused oils and properly choosing and preparing the right ingredients.
Potted meat
The term potted meat refers to both a cooking method as well as a traditional method of meat preservation. Recipes and precise methods vary, but in general, meat or poultry is slow-cooked over many hours. Meat is typically cooked in a rich stock while poultry is more likely to be cooked in its own fat.
To begin the process, the meat or poultry is generously salted and allowed to cure for up to 24 hours. This steps helps tenderize the meat while drawing out excess moisture.
At this point, the meat or poultry is submerged in fat or stock and then slowly cooked until it begins to fall apart (usually at least 3 to 4 hours). More fat is added, sometimes in the form of clarified butter, until there’s at least 1/4-inch of fat covering the meat. Once covered, the entire container is refrigerated, effectively using the congealed fat as a cold wax seal.
Potting meat as a means of food preservation is another method that carries the risk of botulism. That’s why refrigeration is crucial—this definitely isn’t the correct way to prepare meat and poultry for storage at room temperature. Cooking potted meat is also of the utmost importance. Foods that have been stored in fat should always be simmered for at least 10 minutes before they are consumed.
To learn more about the history of potted meat and for several different recipes, you can read all about my foray into this historical means of food preservation in my guide to potting meat.
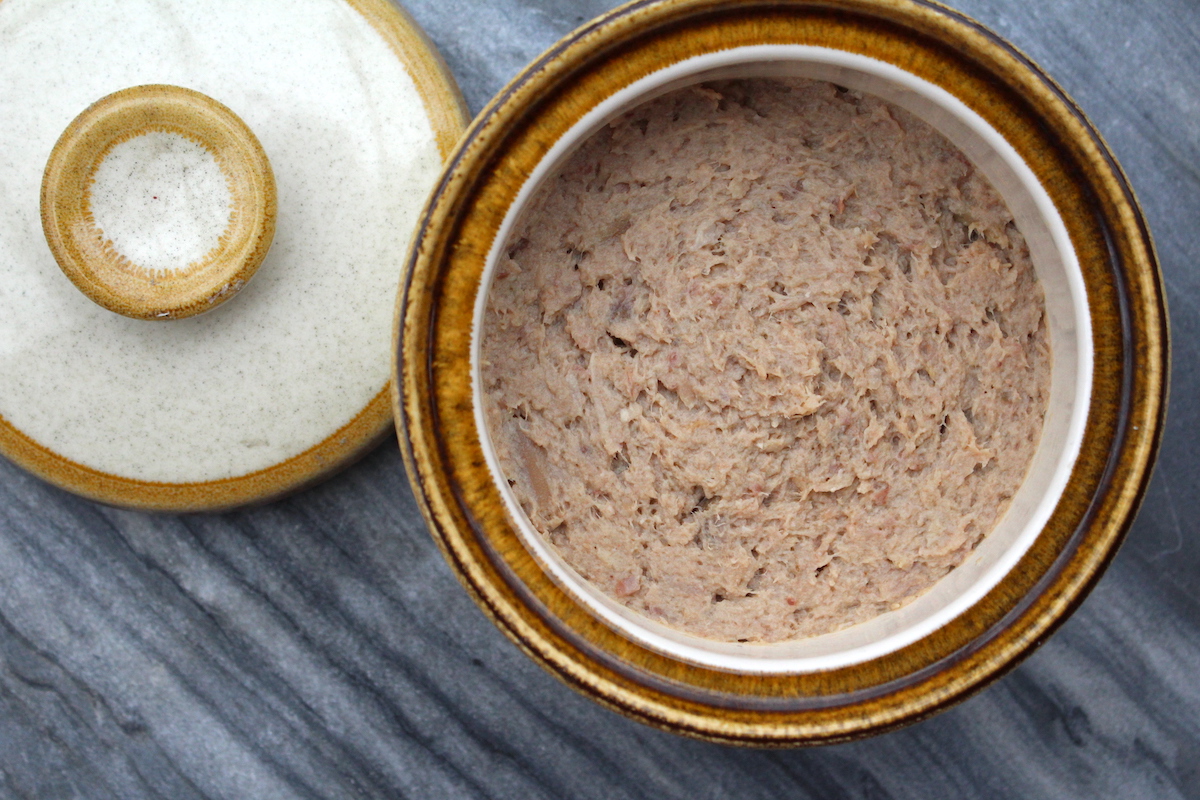
Duck confit
The French word confit translates to the word preserved in English, so it’s not surprising this famous dish has enjoyed immense popularity over the years as both a recipe and a method, rightly cementing itself among other staples of French cuisine. Confit duck is an example of potted meat, an older form of food preservation.
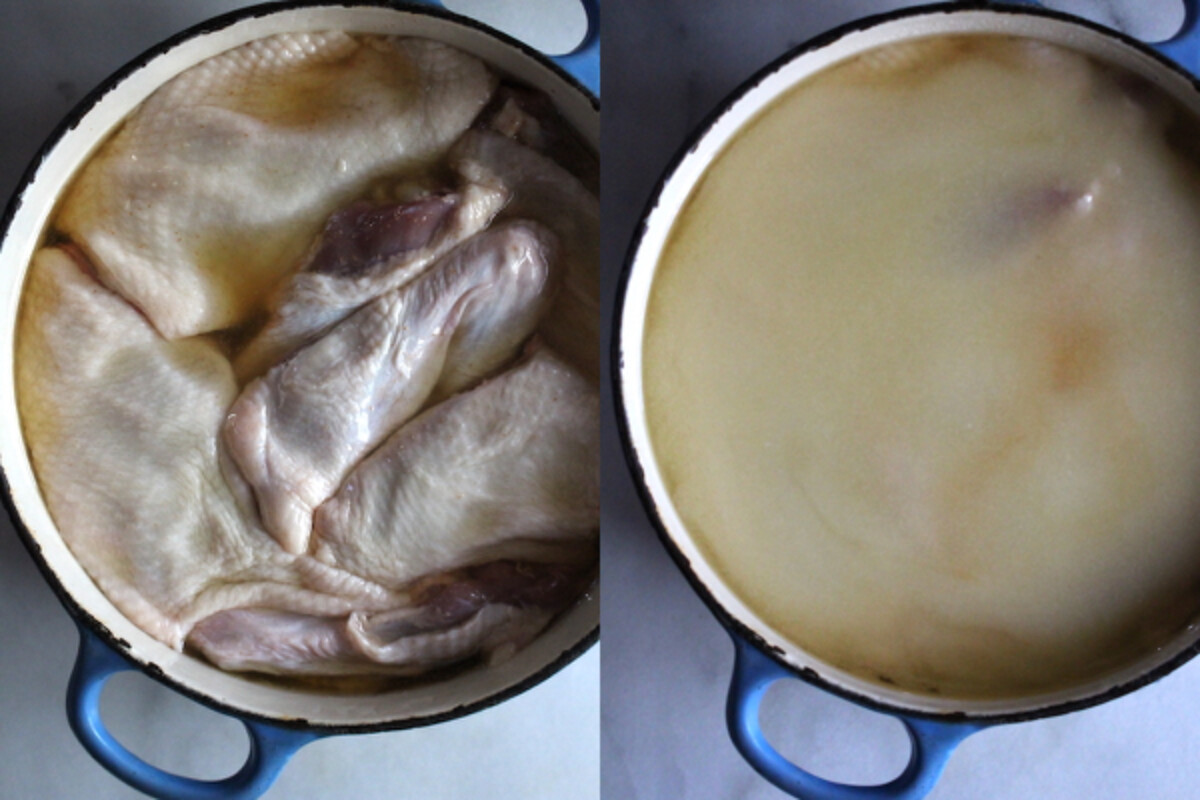
Essentially, duck legs are first cured in a mixture of salt, pepper, onion, garlic, parsley, and thyme. As the duck sits, the salt begins to draw moisture from the meat. When the duck is ready to cooked, it’s submerged in its own fat (0r any other duck fat you have on hand) and cooked for 3 to 4 hours in the oven over very low heat.
The entire cooking vessel is then removed from the oven and allowed to cool to room temperature. When the fat hardens, the duck and surrounding duck fat are tightly sealed in the original cooking dish. As long as it is properly stored, duck confit will keep in the refrigerator for up to one month.
When you’re ready to eat your confit de canard, remove the duck from the refrigerator and let it come to room temperature over the course of several hours. Preheat the oven to 425°F/220°C. Carefully place the duck in the oven and heat through for 15 to 20 minutes or until the skin is nice and crispy.
To get the recipes, notes and tips included, head on over to my duck confit recipe over at Adamant Kitchen.
Duck legs in short supply? You can make an equally delicious version, less pricey version of duck confit by using plump, juicy chicken thighs in their place.
Conclusions
How you preserve food at home really depends on your resources and your goals. Freeze drying is my favorite way to preserve strawberries, for example, because they retain their flavor wonderfully, and they take on a pleasant crunch that you just can’t get with any other method. Pressure canning and freezing work wonderfully for meat, and of course, who wouldn’t love homemade wine?
It all really depends on what you have to preserve and how you plan to use it.
What are your favorite ways to preserve food at home? Leave me a note in the comments.
DIY Guides
Looking for more DIY guides?
- How to Process Soil into Clay for Pottery
- How to Make Soap
- How to Make Chocolate from Scratch
- Beginner’s Guide to Candlemaking


What is the best way to save the freeze dried meat, vegetable, fruits.
For long term storage the best way is to store in mylar bags sealed with an oxygen absorber.