Affiliate disclosure: This post may contain affiliate links. Please see our Privacy Policy.
Water bath canning is a simple way to safely preserve jams, jellies, pickles, and fruits right on the pantry shelf.

Table of Contents
- What is Water Bath Canning?
- Which Foods Are Safe for Water Bath Canning?
- Foods Not Approved for Water Bath Canning
- Equipment for Water Bath Canning
- Basic Instructions for Using a Water Bath Canner
- Common Beginner Canning Mistakes
- Making up a canning recipe
- Adding extra starch to the recipe
- Diluting a salsa or relish with extra vegetables
- Using an oven in place of a water bath canner
- Ignoring altitude adjustments
- Letting “hot pack” liquids cool before processing
- Not Using Canning Jars
- Using wax or paraffin to seal jars of jam or jelly
- Cooling the jars too slowly after they’re removed from the canner
- Storing canned food for too long
- Beginner Water Bath Canning Recipes
- Jam Recipes
- Jelly Recipes
- Fruit Butters
- Whole Fruit Canning Recipes
- Pie Fillings
- Pickle Recipes
- Sauce Recipes
- Food Preservation Techniques
Water bath canning is an effective way for home cooks to extend the shelf life of food, and it’s a valuable skillset to have if you’re a fan of homemade jams, pickles, and other preserves.
What is Water Bath Canning?
Water bath canning is a processing method used for canning high acid foods. If done properly, it’ll allow you to store fruit, juices, jams, and pickles at room temperature on a pantry shelf without spoilage.
Canning jars are filled with food and then capped with a specific 2 part canning lid. They’re then submerged in simmering or boiling water, which effectively pasteurizes both the jar and the contents.
Once removed from the “water bath,” the special canning lid seals as it cools, creating an airtight vacuum seal that preserves the contents for extended periods (at least 12-18 months).
While canning might seem intimidating, it’s really about as simple as boiling water, provided you choose and follow tested safe canning recipes.
Which Foods Are Safe for Water Bath Canning?
Water bath canning is suitable for acidic foods with a pH below 4.6.
Be sure to check, as some foods seem acidic, but actually aren’t. Low acid fruits, such as persimmons, mangoes, and cantaloupe are not approved for water bath canning (unless you add extra acidity, following a specific tested recipe).
Tomatoes, likewise, seem acidic, but most modern varieties have been bred for sweetness and low acidity, meaning you’ll need to add acid to reduce the pH before canning.
- Fruit and fruit juices (including tomatoes, if a small amount of acid is added)
- Fruit butter
- Pickles
- Relish
- Jam
- Jelly
- Vinegar
- Salsa
Always follow a safe and tested recipe, especially when working with a mix of high and low acid ingredients.
Some water bath canning recipes use a small proportion of low acid ingredients, such as salsas or sauces which include peppers and onions. In safe tested recipes, they’re in specific proportions with lots of added vinegar or lemon juice to ensure that the whole batch is well below a safe pH of 4.6.
Foods Not Approved for Water Bath Canning
You’ll see all manner of recipes circulating on the internet, including instructions for water bath canning low acid foods like meat, vegetables, and dairy products. Those are NOT safe canning recipes.
Before the advent of pressure canning, there were instructions for water bath canning low acid foods like meat and green beans. They involved submerging the jars in boiling water for 3+ hours but effectively reducing the contents to a pulp.
Still, even after extended water bath canning, those foods were not “safe” and could only be eaten if they were then boiled hard for at least 10 minutes after they came out of the jar. (Hard boiling denatures the botulism toxin, which is why no one died after eating grandma’s water bath canned green beans.)
While some people do it, it’s really not worth the risk. Botulism is deadly, and there’s no reason to play Russian roulette with your family’s health when there are safe methods out there. Please only water bath can high acid foods and be sure to use a pressure canner when canning low acid foods.
Foods that are not suitable for water canning (but that can be preserved using a pressure canner) include:
- Vegetables (not pickled)
- Soup
- Meat
- Poultry
- Broth
- Dry beans
Equipment for Water Bath Canning
Just like any hobby, you can buy all manner of fun gadgets for water bath canning, but most aren’t strictly necessary. At the very least, you need the following supplies:
- Canning Jars ~ It’s important to use jars approved for canning, rather than re-used mayonnaise jars or similar containers. They need to be rated to take heat, and they need the two-part sealing lid that comes with canning jars. There are a number of brands, shapes, and styles including Ball Canning Jars, Kerr Jars, and Anchor Hocking Jars in the US. Weck jars and lockeat jars are popular in other countries, and work slightly differently (but are still great for water bath canning).
- Canning Lids ~ Two-part canning lids are a must for safe water bath canning. The rings can be used again and again, but the lid itself is single-use. There’s a rubber gasket that creates a vacuum seal on the jar lid and it’s only approved for one use. We buy them in bulk packs a few hundred at a time for pennies apiece, but you can also buy them in small 12 packs.
- A Deep Stock Pot ~ Graniteware sells an enameled stock pot that they call a “water bath canner,” but really any deep stockpot will work just fine. We tend to use a big 5-gallon pot that we also use for making homemade beer and bone broth.
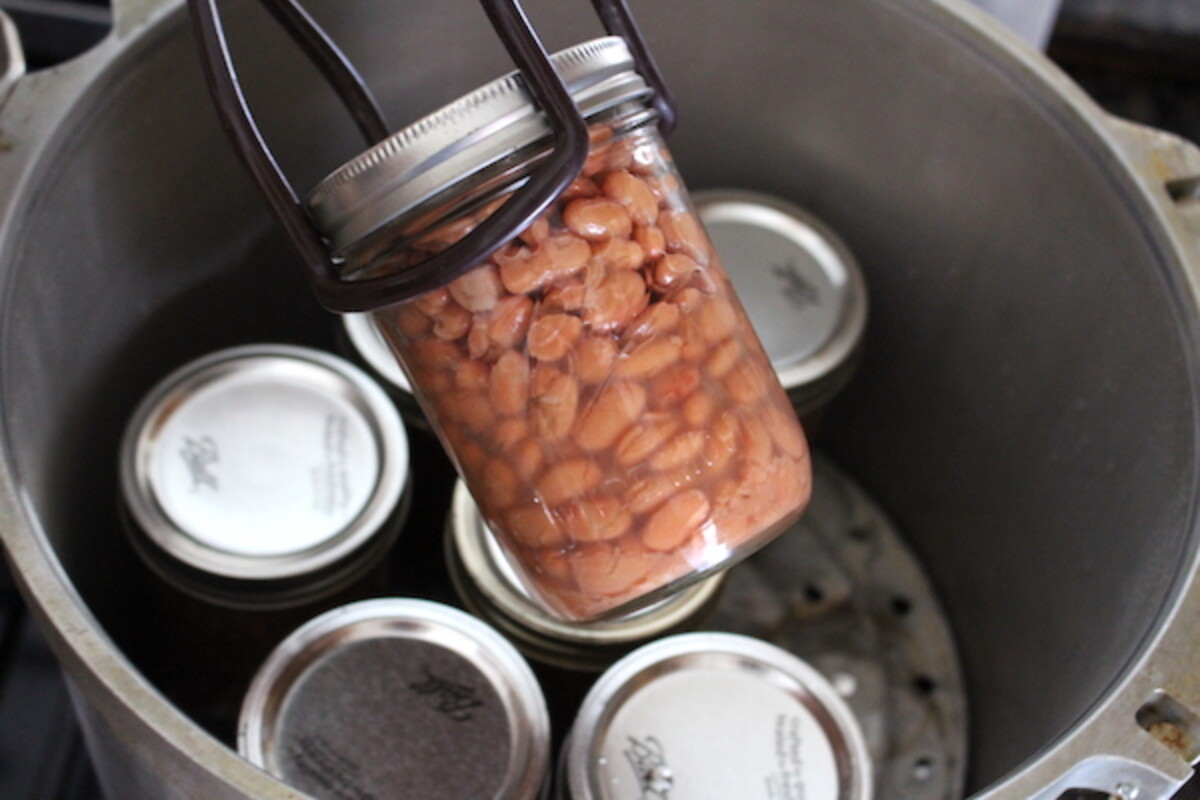
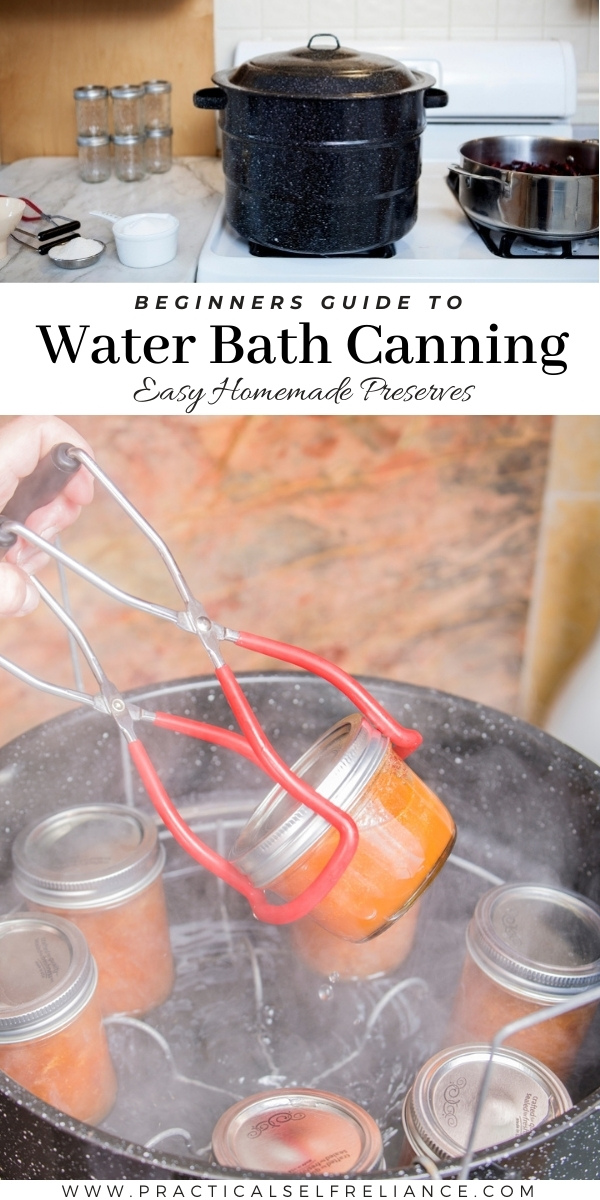
- Jar Lifter ~ You’re going to be lowering jars into boiling hot water, and then pulling them back out again. A canning jar lifter is a nifty tool to grab individual jars out of the boiling water securely, and without burning your hands. It’s a few bucks, and absolutely essential in my opinion.
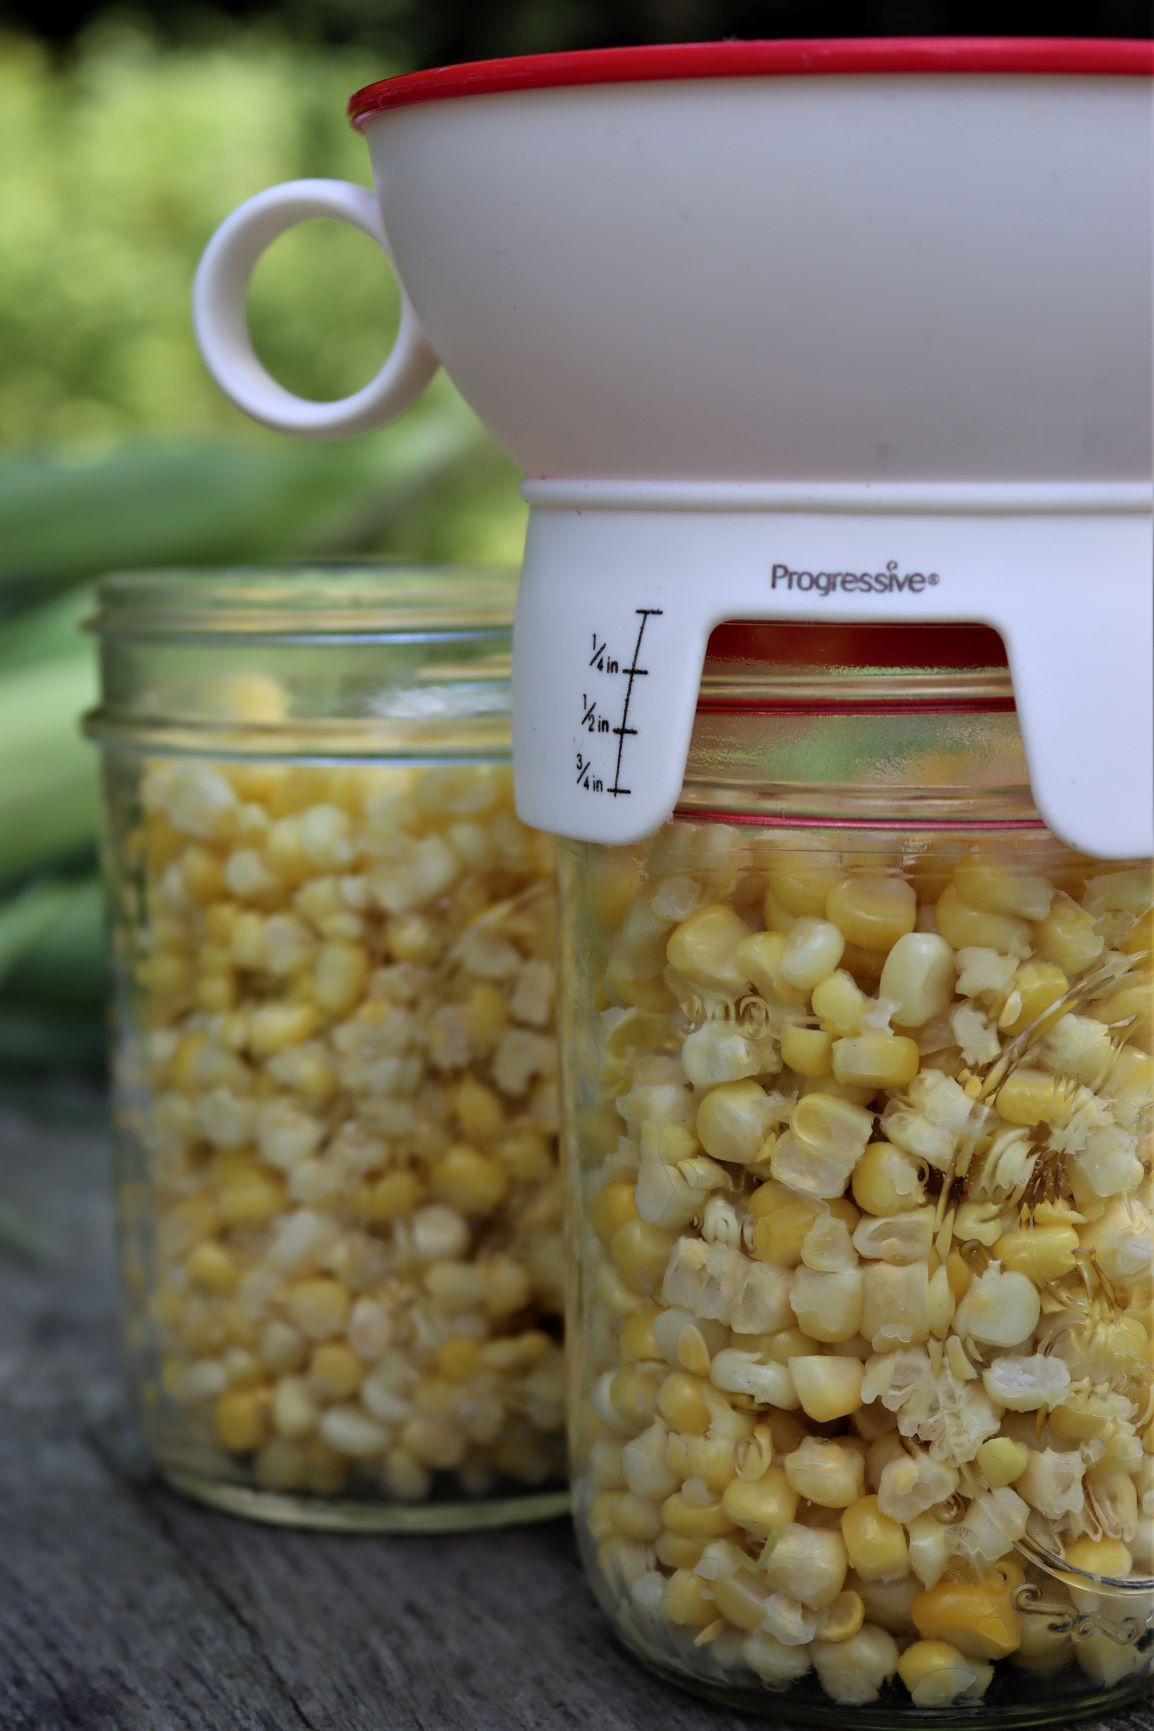
- Canning Funnel ~ Often you can get away without a funnel, but slopping food onto the rims can compromise the seal. I’d highly recommend using one, and I love this one with headspace measurements included. It allows you to fill the jars precisely and without mess.
Optional Canning supplies
If you’re just getting started and you buy a “canning supply kit” it’ll contain a lot of extras that aren’t strictly necessary, or you can improvise with something else in your kitchen. They’re nice to have sometimes, but entirely optional:
- Canning Rack or Trivet ~ This is just a simple metal rack that keeps the jars from coming into direct contact with the bottom of the canner. In a thin-walled canning pot a rack is essential because there’s only a thin bottom between the jars and the flame. When using a heavy-bottomed brewing pot, I skip the trivet without issue as the pot itself is over 1/2 thick bonded metal. (In a pinch, you can improvise your own with canning rings too!)
- Headspace Measure ~ A tiny piece of plastic with stairstep measurements on the side is often used to quickly measure headspace in jars. They break easy, and I think it’s just easier to use a canning funnel with headspace measurements (as shown above).
- Magnetic Lid Lifter ~ Older canning instructions suggest simmering canning lids in water and then placing them on the jars hot. This is no longer “necessary” according to the experts, but if you do choose to simmer your lids, a magnetic lid lifter is the easiest way to pull them out of the water without burning yourself.
- Bottle Brushes ~ You will need to wash your jars somehow, and bottle brushes are often included in canning kits. I usually just use wide-mouth jars, and then I’m able to get my hand in and wash it with my usual dishwashing sponge.
Basic Instructions for Using a Water Bath Canner
Begin by positioning the canner rack at the bottom of a boiling water canner. A canning rack is basically a trivet that keeps the jars from coming into direct contact with the intense heat of the pot at the bottom, which could crack them.
(If you don’t have a canning rack, you can improvise one by using canning rings (or a cotton towel) arranged below the jars to keep them just off the bottom.)
Fill the canner so that the water will be 1 to 2 inches above the top of the filled jars.
This can be tricky to estimate, as the filled jars will take up a lot of space in the canner and raise the water level. In most cases, filling the canner about halfway will do it, as small jam jars will be well under the water level, and larger quart jars will raise take up enough space to raise the level above their lids.
(If you’re unsure, put a second tea kettle on and bring it to a boil so you can top off the canner after you’ve added the jars. Be careful not to add too much at the beginning, having the pot overflow while you’re adding jars will make a big mess and can cause burns.)
Preheat the water to the appropriate temperature.
For raw-packed foods, you’ll want the water temperature in the canner to be around 140° F (60° C), and for hot-packed foods, the temperature should be simmering at around 180° F (80° to 85° C).
These temperatures ensure that the jars don’t change temperature too quickly, which can lead to thermal shock. Thermal shock results in cracked jars, as even canning jars aren’t meant to go from cold to boiling temperatures within seconds. Start with very warm water for raw packed foods, and just barely simmering water for hot packed foods.
I like to start preparing the food for jars as soon as I have the water canner on the stove. To make this step easier for myself, I have all my ingredients and equipment lined up and ready to go before I start any canning project.
Once the water has reached the correct temperature, prepare the food, and load it into canning jars as specified by your recipe.
Pay careful attention to headspace, or the amount of space between the top of the food in the jar and the top edge of the jar. Recipes will specify somewhere between 1/4 inch (for juices, jams, and jellies) all the way up to a 1/2 inch or 1 full inch for pickles and whole fruits.
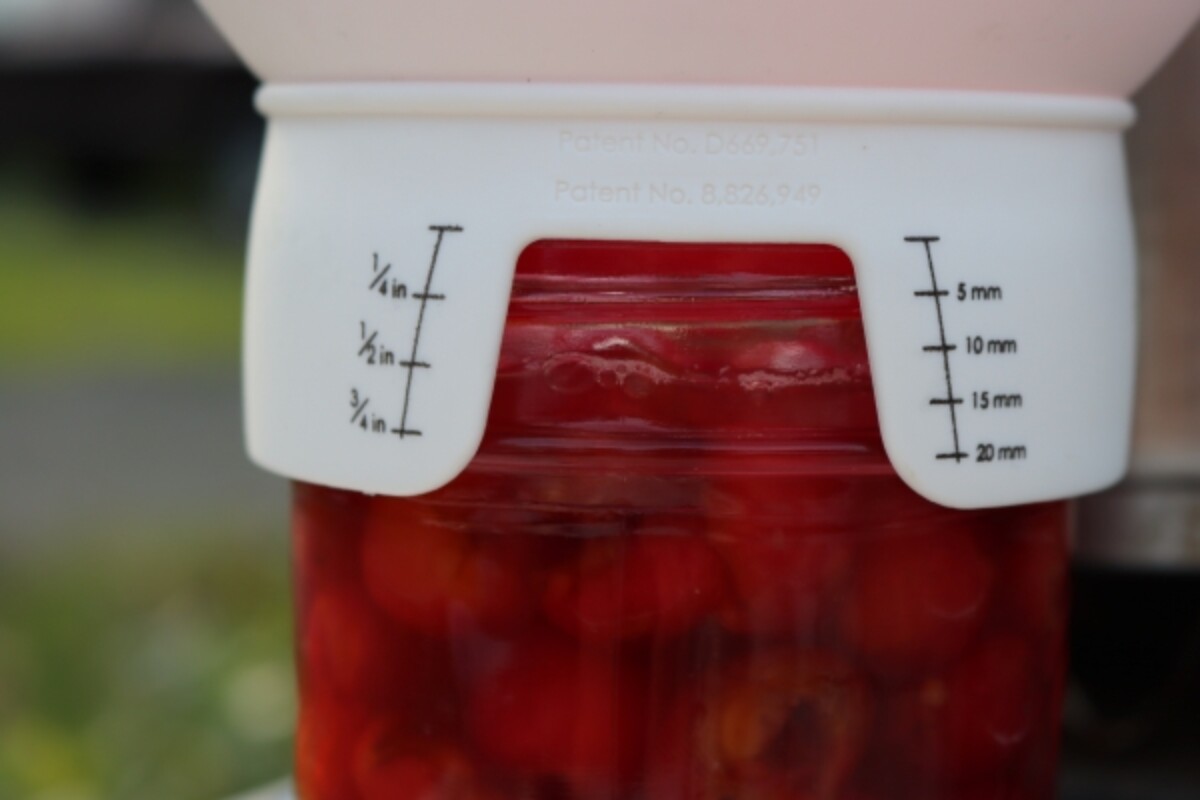
Headspace is calculated for each recipe, and jars won’t seal properly if the incorrect headspace is used. (Here’s why.)
Tighten the canning rings to hold the lids in place during canning. They should be “finger tight,” just tight enough to hold the lids in place but still allow air to escape (which will create a vacuum after canning).
Add the filled jars — fitted with canning lids and ring bands — into the canner.
In order to prevent accidental scalding from splashed water, I’d suggest loading the jars in one-at-a-time and with a jar lifter.
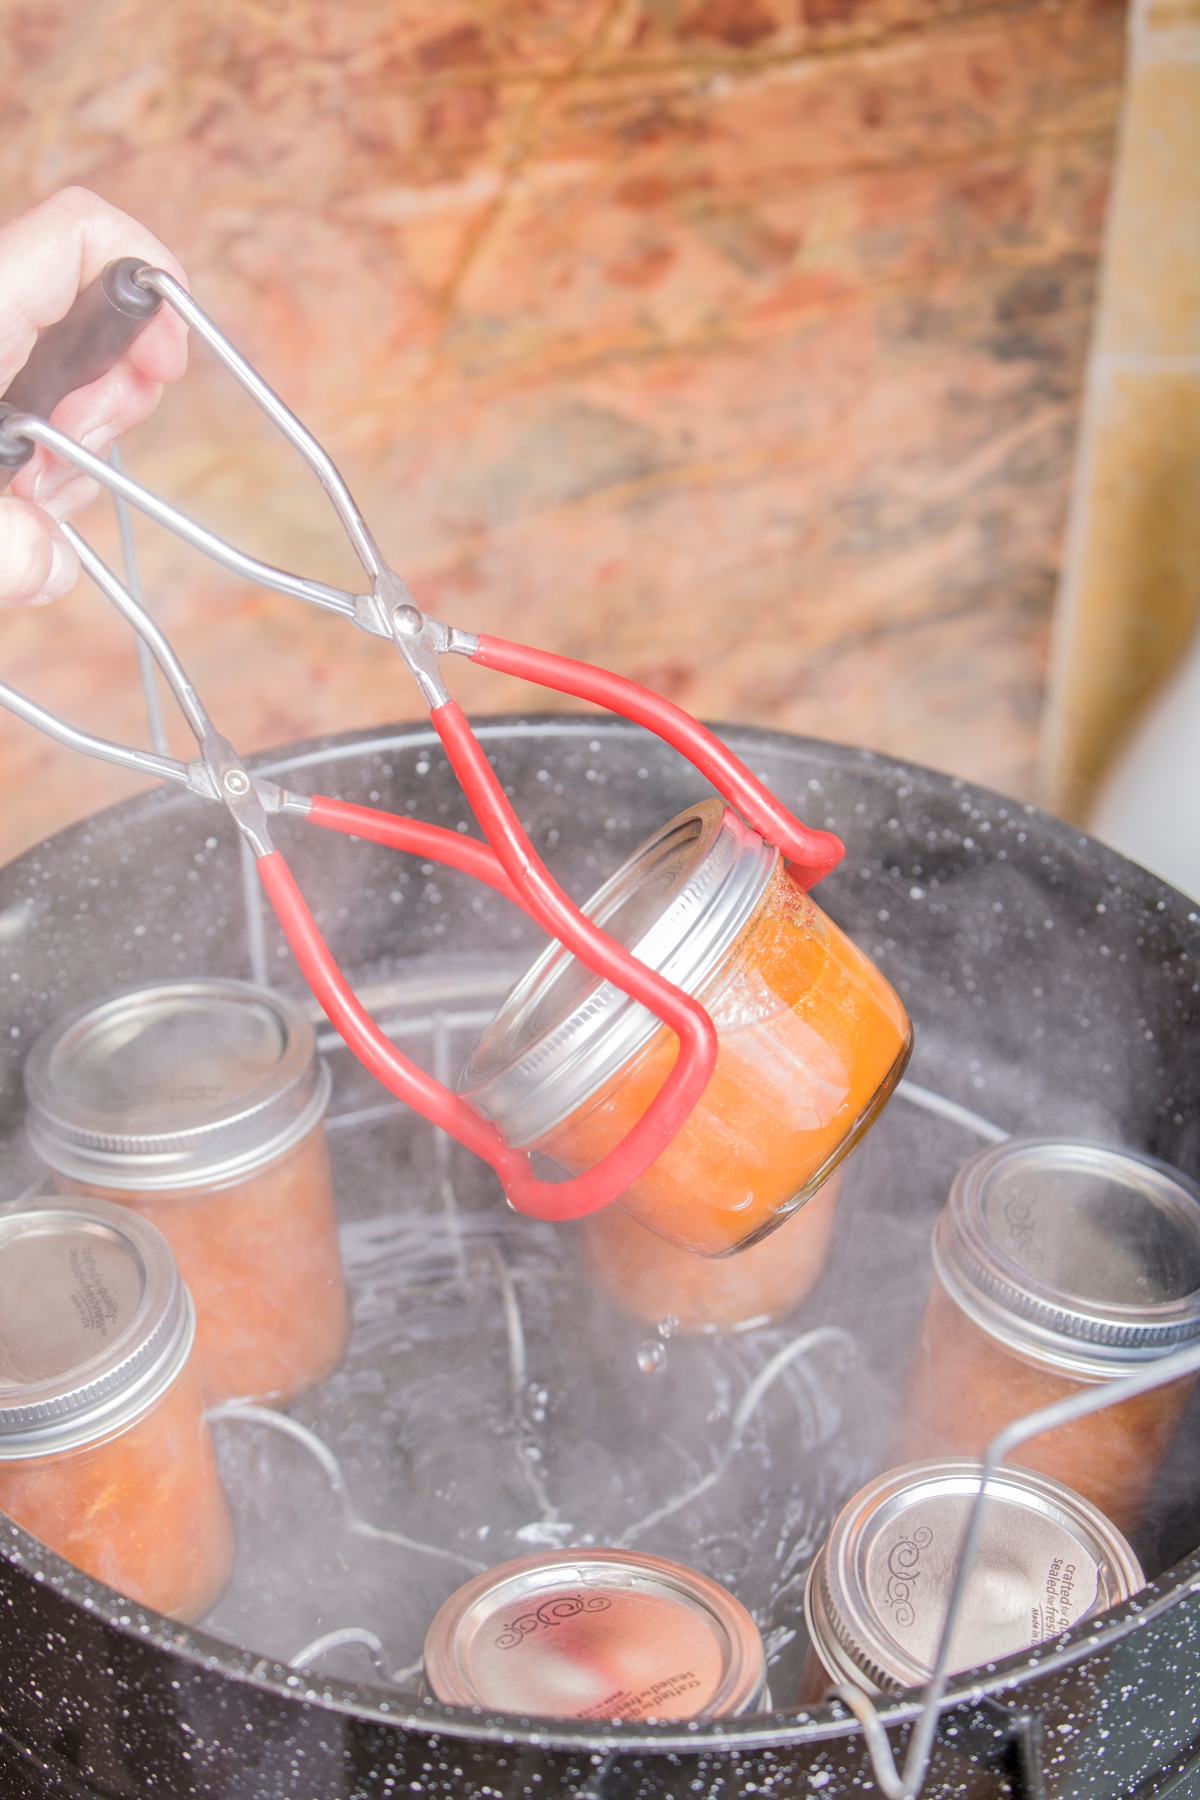
Always use caution when using a jar lifter, it should be positioned below the neck of jar for the best grip. Keep the jars upright in the water canner at all times; if tilted the food may escape into the sealing area of the lid.
A wire canning rack can also be used, in which case place the jars into the rack right-side, using the handles to lower the jars into the water all at once.
Turn the heat to its highest setting and let the water come to a complete boil.
Keep the water level consistent throughout, adding more boiling water as needed, so that the top of the jar is continuously covered by at least 1 inch of water.
(If the process time is 30 minutes or longer, keep the jars covered by 2 inches of water, just to be safe).
I like to keep a kettle of almost-boiling water handy during this stage, so I can top off the water in the canner if needed. Pour the boiling water around and between the jars when adding extra water.
Once the water has come to a boil, set a timer for the processing time indicated in the recipe or method.
Maintain a gentle, yet complete boil, by covering the water canner with a lid.
Again, keep an eye on water levels — adding more boiling water as needed. Do not add water that is below boiling temperature as this will lower the temperature of the canner water.
If you discover that the water is no longer boiling, turn the heat all the way back up and bring the water to a rolling boil, at which point you’ll need to reset the timer and start the entire processing time from the beginning.
When the processing time is complete, turn off the heat and remove the lid from the canner, but don’t take the jars out yet! Let the jars sit for 5 minutes in the still-hot water.
This extra time allows the jars to cool slightly before they’re removed from the water, which helps prevent siphoning of liquid out the seal.
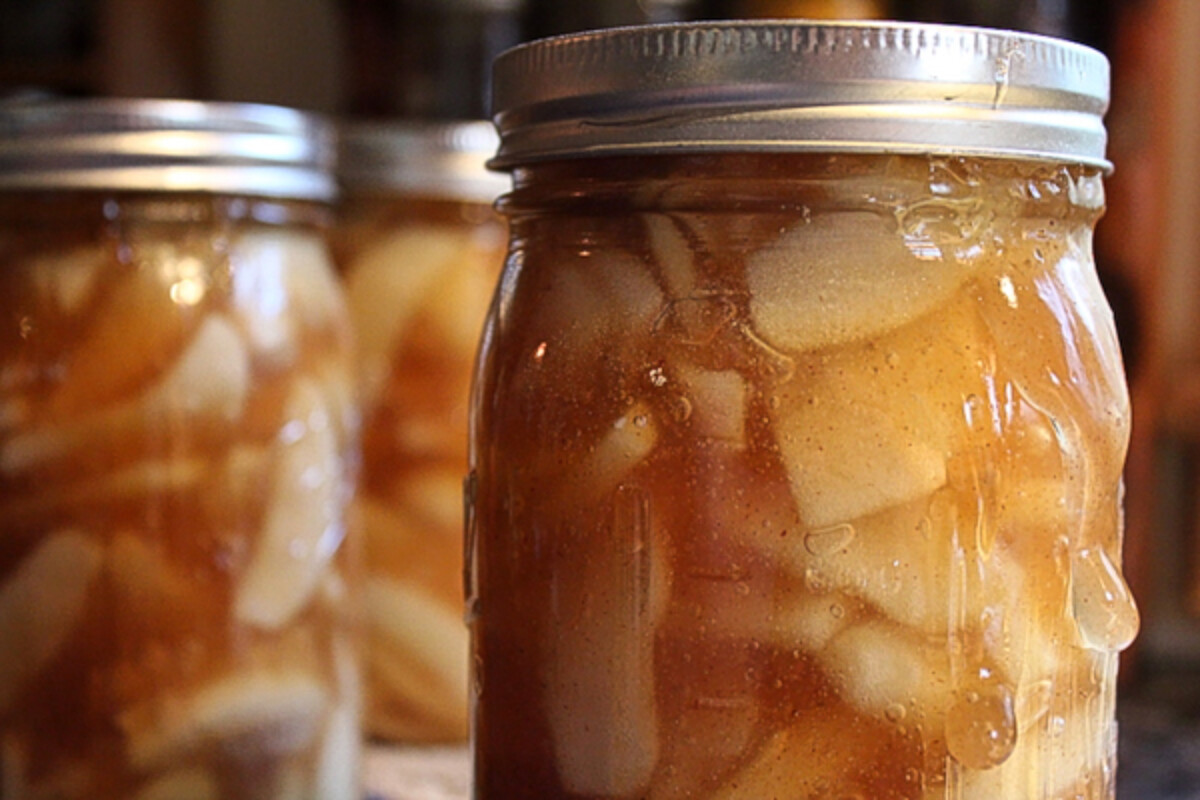
Carefully lift the processed jars out of the hot water using a jar lifter, being mindful not to tilt the jars.
Place the jars on a towel or cooling rack, leaving at least 1 inch of space around each jar. To prevent thermal shock, avoid placing the hot jars on a cold surface or in an area with a cool draft.
The jars should sit for 12 to 24 hours, or until they reach room temperature. Resist the temptation to tighten the ring bands or to push down the center of the flat metal lid before the jar and its contents have cooled.
To test whether a cooled jar has been properly sealed, press down on the lid: if the lid pops downward and then pops back up the jar is not properly sealed, while the lid on a jar that is properly sealed won’t move. (Only do this once the jars have cooled completely, as doing it while hot can cause a false seal.)
Remove ring bands from sealed jars, storing unsealed jars in the fridge to be used first.
(Important: Jars should be store with canning rings removed. This prevents the rings from rusting onto the jars, or mold developing beneath the ring if any food is trapped in the threads. A properly sealed jar does not need the ring to hold on the lid. The lid will stay put due to vacuum and leaving the ring on means you may not notice if jars somehow become unsealed.)
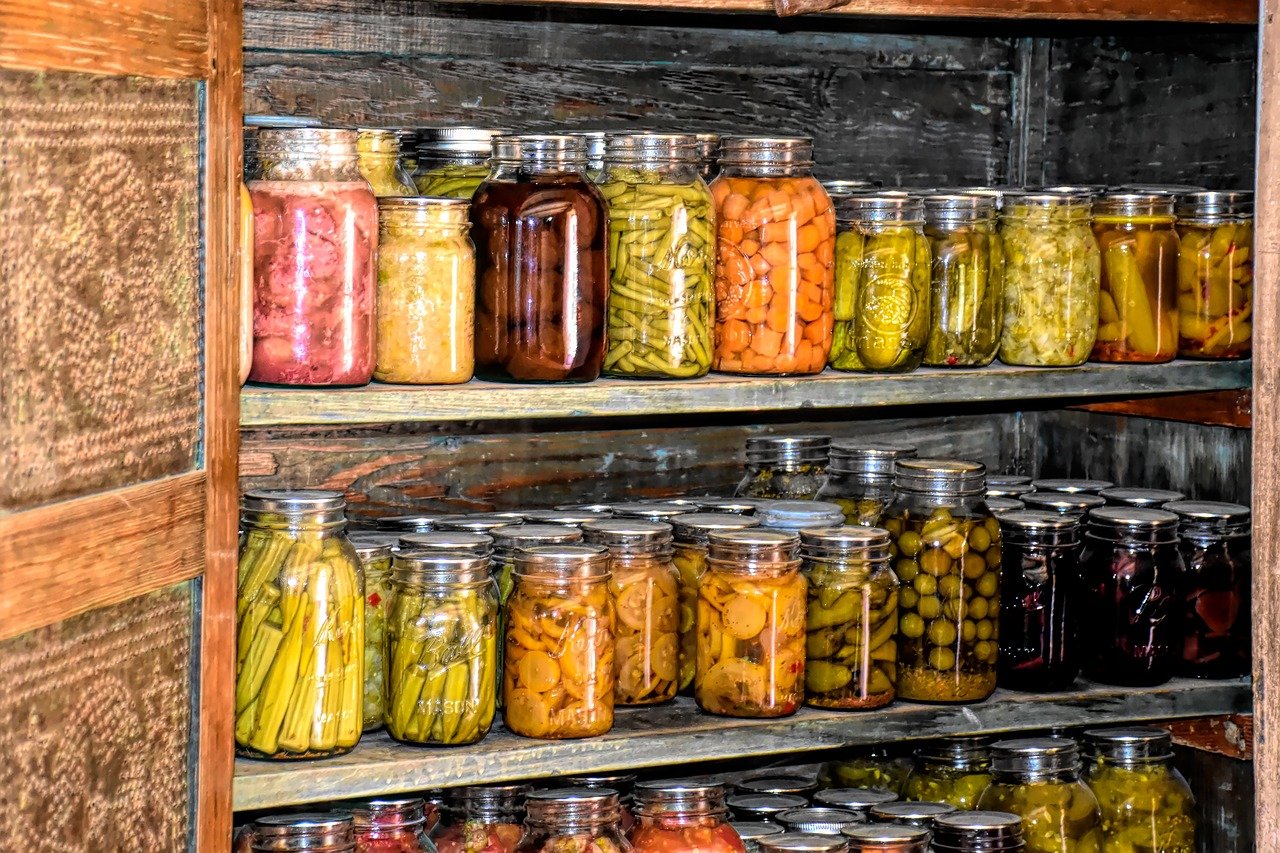
Label each jar with its contents and the date it was processed in the water canner. Store jars in a cool, dry area away from sunlight.
Common Beginner Canning Mistakes
I know this may seem like a lot, but once you become a more experienced canner, this will all become second nature and you’ll develop consistency in your method.
Below you’ll find some of the most common mistakes people make when they get started canning. For more in-depth water canner troubleshooting, I’ve compiled a list of common beginner canning mistakes, which takes you through more dos and donts.
Making up a canning recipe
Quality canning recipes have been tested numerous times to make sure they’re safe. While it can be tempting to riff on other recipes, always follow canning instructions to the letter (especially when canning is still new to you).
Once you understand the principles of home canning, you can begin experimenting successfully, so long as you’re sure to only water bath can high acid foods.
Adding extra starch to the recipe
It can be tempting to thicken home-canned goods with flour, cornstarch, or other thickeners, but these ingredients actually slow down the rate of heat penetration — potentially resulting in undercooked and under-processed food.
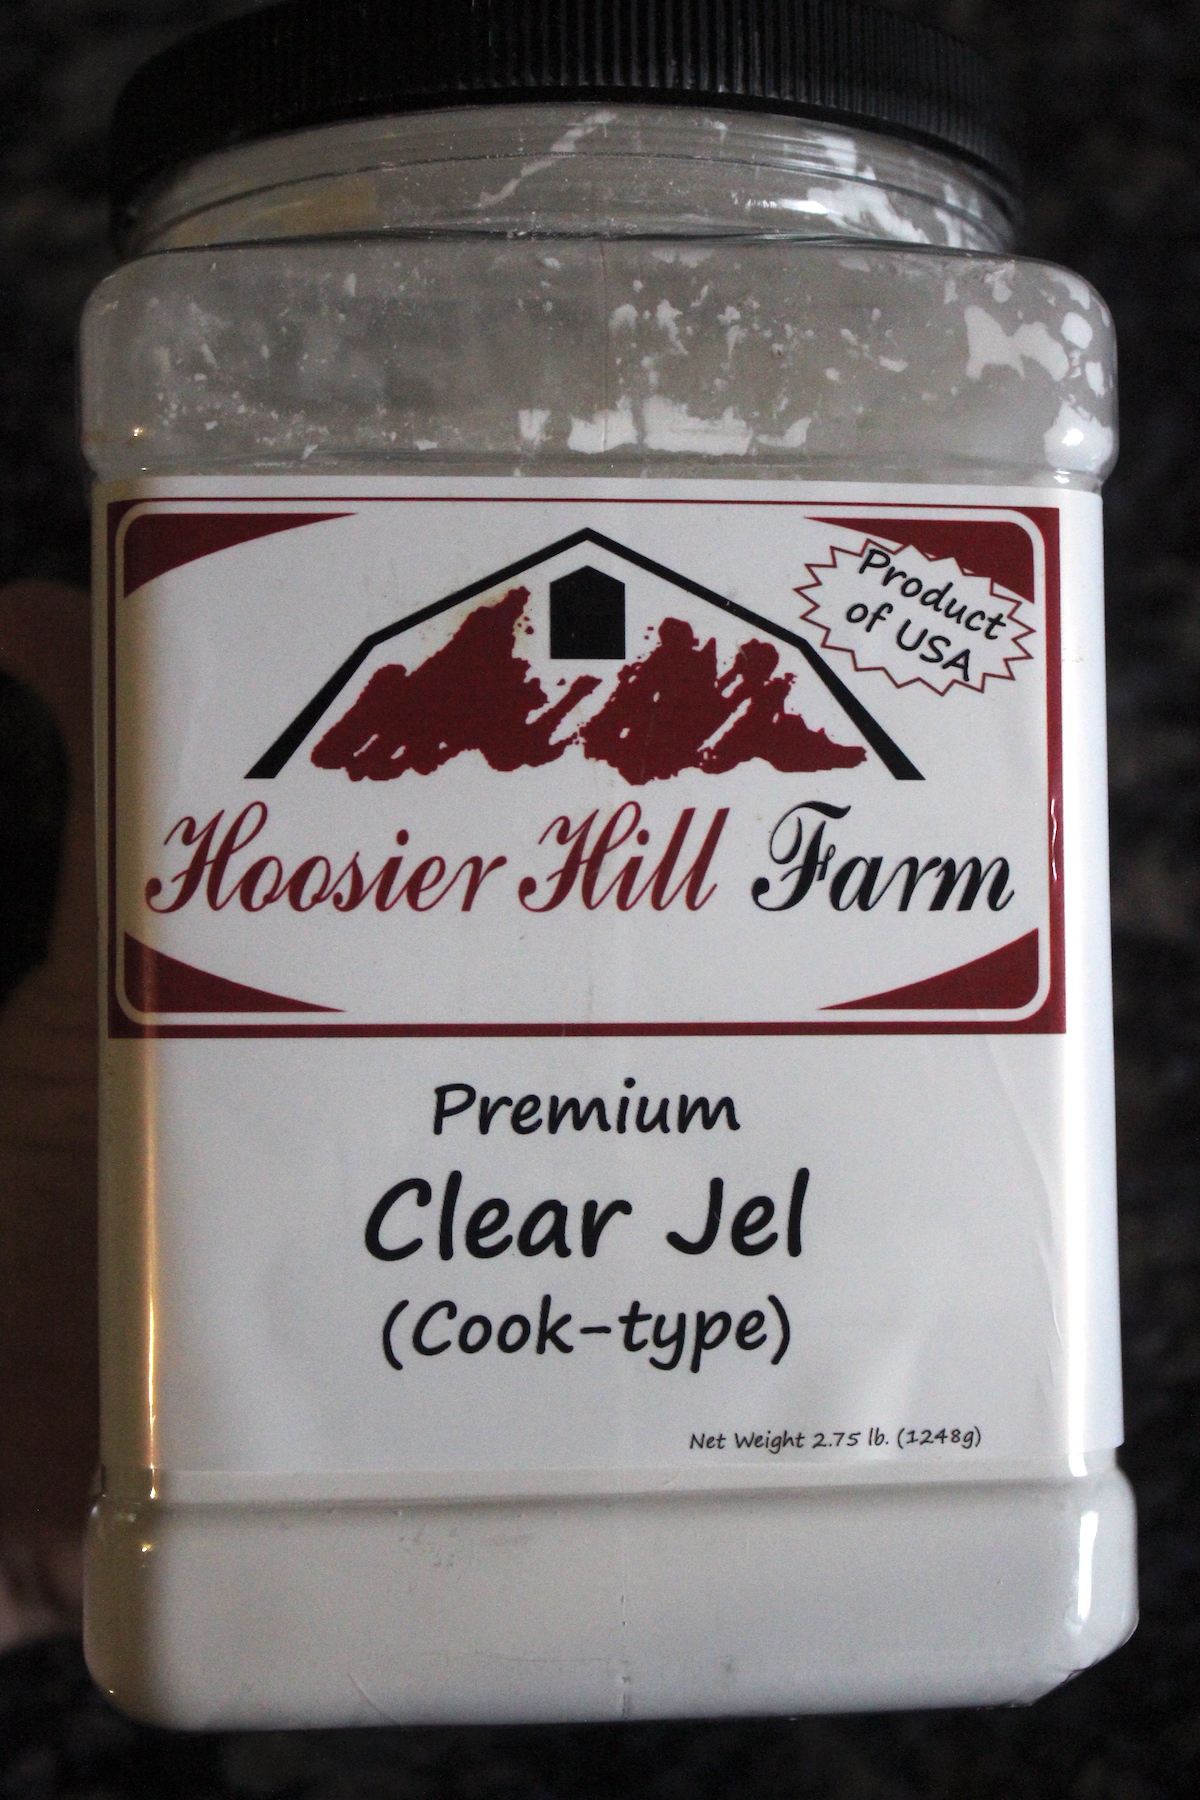
There’s only one thickener, called clear jel, that’s approved for canning. It’s a type of cornstarch, and won’t interfere with heating in the canner. It’s commonly used for thickening home-canned pie fillings (and gravy/soups for pressure canning).
Don’t ever add flour or regular cornstarch, and only use clearjel where it’s called for in approved recipes.
Diluting a salsa or relish with extra vegetables
Adding more low acid vegetables to a tested recipe is potentially dangerous, as it may raise the pH above 4.6. The more vegetables that are added to the recipe, the higher the risk of botulism.
Tested salsa recipes have lots of extra acid (literally cups of lemon or lime juice), which basically pickles the low acid onions/peppers and allows you to water bath can salsa.
Lowering the acid, or increasing the low acid veggies could mean the recipe is no longer safe for water bath canning.
Using an oven in place of a water bath canner
When jars are placed in a hot oven to process, there’s an increased risk that the glass will explode. Heat is better transferred via water or steam, which could lead to an under-processed final product.
You’ll sometimes read about “oven canning” online, but there’s never a reason to can in the oven.
Ignoring altitude adjustments
As with any high altitude cooking, extra care is needed when water bath canning. Water boils at a lower temperature at higher altitudes, which means you’ll need to process jars in a water bath canner for longer periods at higher altitudes.
Usually, it’s an extra 5 minutes for every one to two thousand feet in elevation, but pay careful attention to the recipe and learn the adjustments for your elevation.
Letting “hot pack” liquids cool before processing
Hot packing involves boiling food, letting it simmer for a couple of minutes, and then adding it to a jar with hot liquid (such as water, syrup, or juice).
If the jars are treated as a cold or raw pack, unheated food is added and then covered with liquid that has been recently brought to a boil. Processing times for hot packing are based on the food being very hot before being placed in the water canner, which can yield under-processed results.
Not all mistakes have the potential to be deadly, some are merely frustrating (although should still be avoided whenever possible).
Not Using Canning Jars
Glass jars such as mayonnaise jars are sometimes too thin to be processed in a water bath — this is more of an issue with pressure canning, but it’s best to avoid using them altogether if you can.
Be sure to use canning jars, rather than mayonnaise or craft jars.
Using wax or paraffin to seal jars of jam or jelly
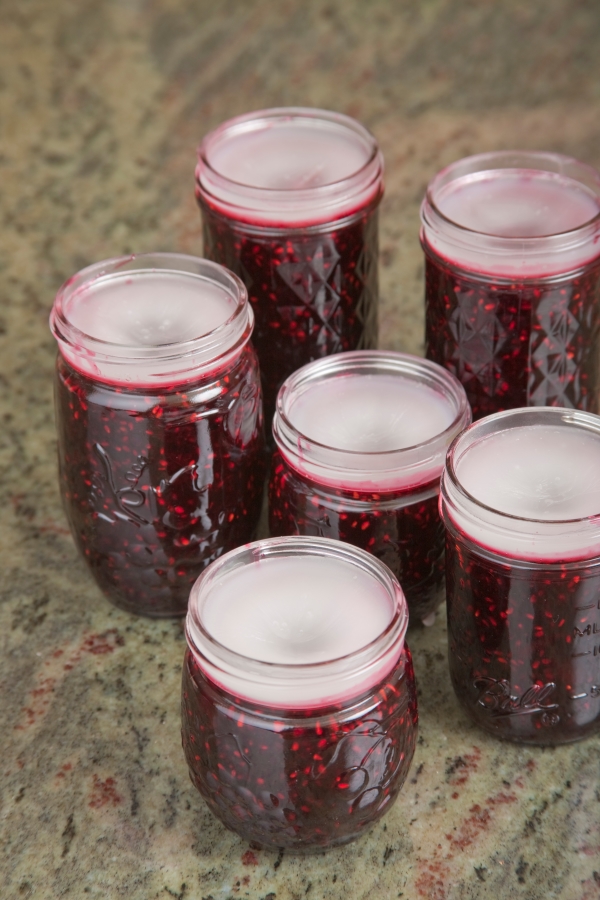
Wax and paraffin don’t make an air-tight seal, which can lead to the growth of mold on jams and jellies.
Cooling the jars too slowly after they’re removed from the canner
As soon as jars have been removed from a water bath they should be spaced out to dry on a towel or a cool rack, without touching.
Jars that have been stacked close together will stay warm, longer, and will this can affect the taste of the finished preserves.
Storing canned food for too long
Storing canned food for longer than the suggested time, at temperatures higher than 70° F, will eventually lead to a decrease in the quality, in both flavor and nutrition. The food will still be safe to consume, but it may also lose or change color the longer it’s stored.
Usually, home-canned foods should be consumed within 12-18 months. Some foods, like home-canned lemon curd, only maintain quality for 3-4 months. Be sure to look at the specific recipe for recommendations.
Beginner Water Bath Canning Recipes
Ready to get canning, but not sure where to start? Here are some of my favorite water bath canning recipes, perfect for beginners:
Jam Recipes
Homemade jams are made by mixing fruit with sugar to create a delicious preserve. Many can be made with just fruit and sugar, but some require added pectin.
Pay careful attention to the recipe, and if it calls for citric acid or lemon juice, that extra acidity may be required for safe canning. (Sometimes it’s just added for flavor, so be sure to check if you want to omit it.)
- Apple Jam
- Pear Jam
- Blackberry Jam
- Peach Jam
- Blackcurrant Jam
- Persimmon Jam (Requires added acidity)
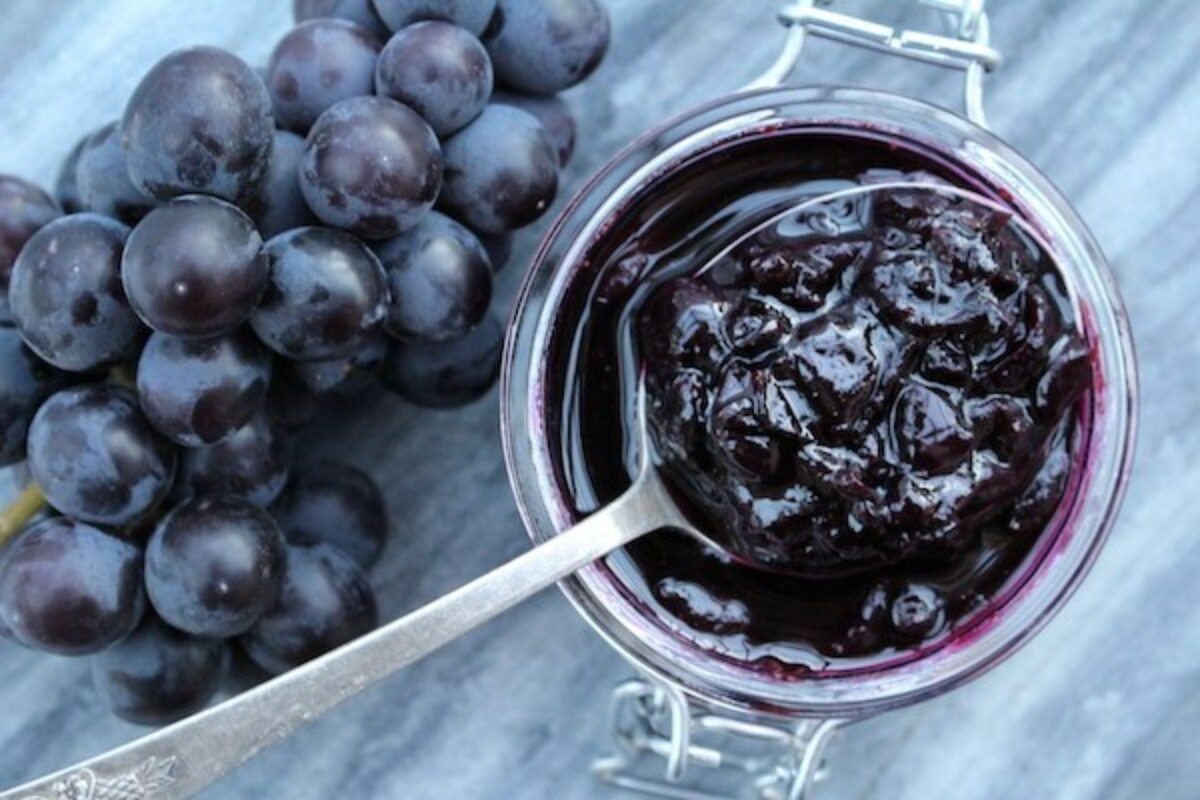
- Grape Jam
Jelly Recipes
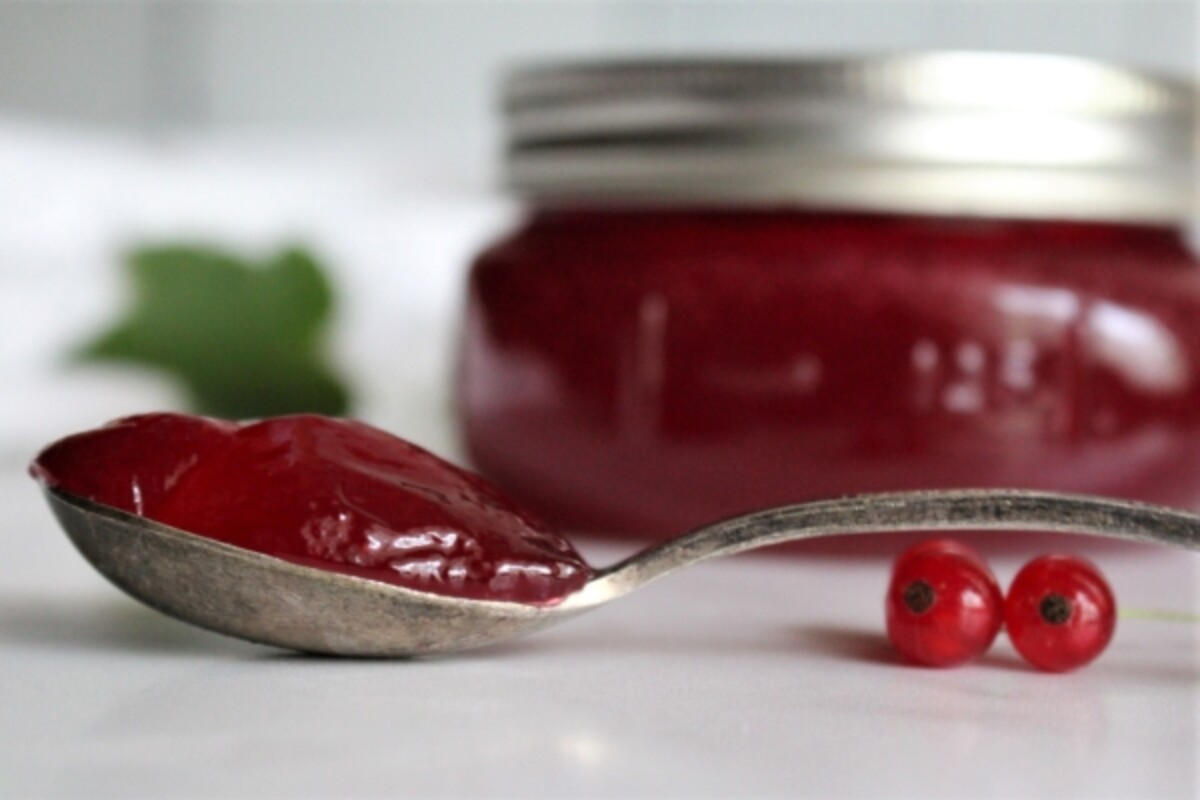
Homemade jellies are smooth preserves, similar to jams but without the seeds or fruit chunks.
Jellies can be made with purchased fruit juice, or by straining the fruit after cooking (but before canning).
Fruit Butters
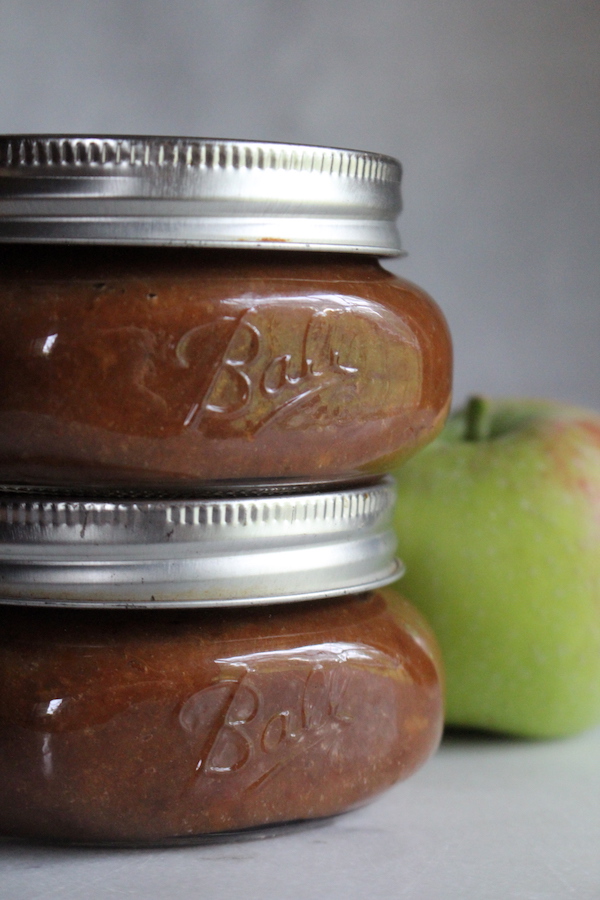
Fruit butters are wonderfully silky spreads made by cooking pureed foods down until they’ve thickened, and their sugars have caramelized. Slow cooking is key, as it takes a long time to properly carmelize the sugars (without burning them).
Whole Fruit Canning Recipes
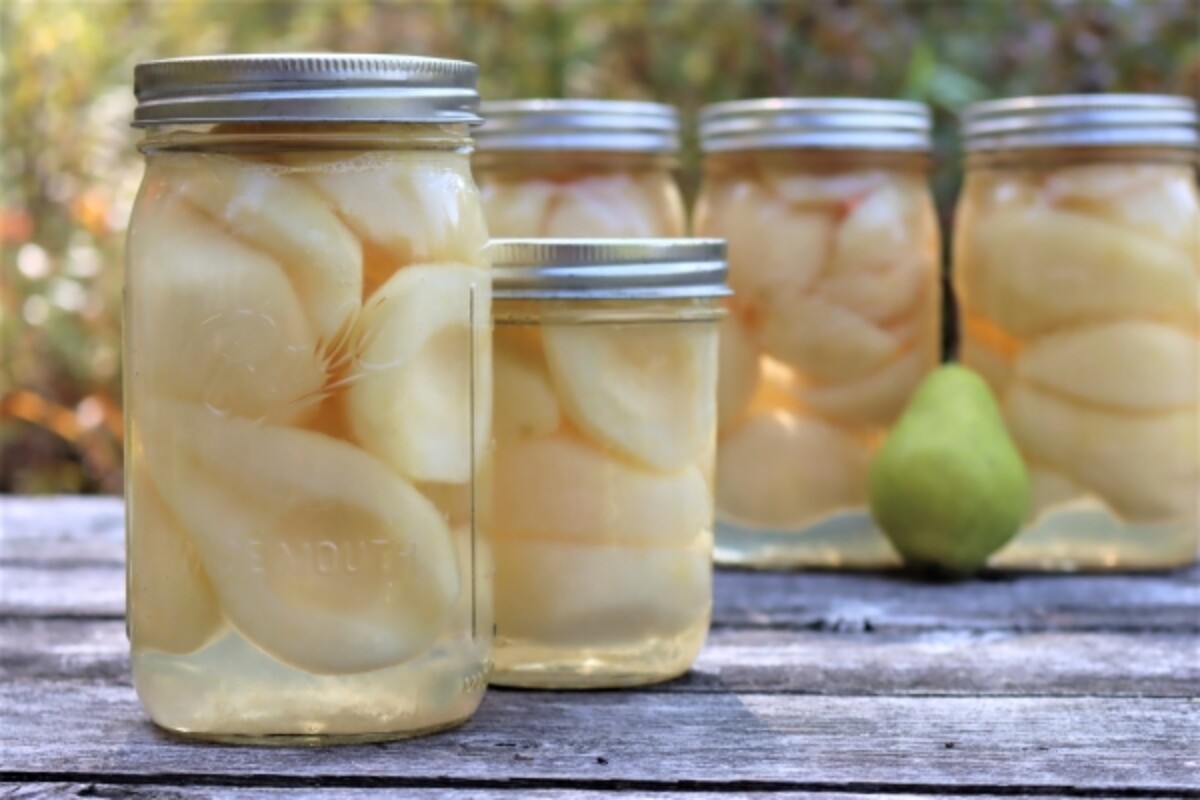
Many fruits are perfect for water bath canning, as either halves or slices. They can be canned in water, fruit juice or syrup depending on your tastes.
Generally, I prefer to can fruits in extra light syrup, which approximates the natural sweetness within the fruits. This prevents their natural sweetness from seeping into the canning water, but doesn’t add much sweetness to the fruits themselves.
- Canning Plums (Whole or Halves)
- Canning Oranges (Whole or Sections)
- Canning Pineapple (Rings or Chunks)
- Canning Whole Blackberries
- Canning Apple Slices
- Canning Peaches (Halves or Slices)
- Canning Pears (Halves or Slices)
- Canning Whole Strawberries
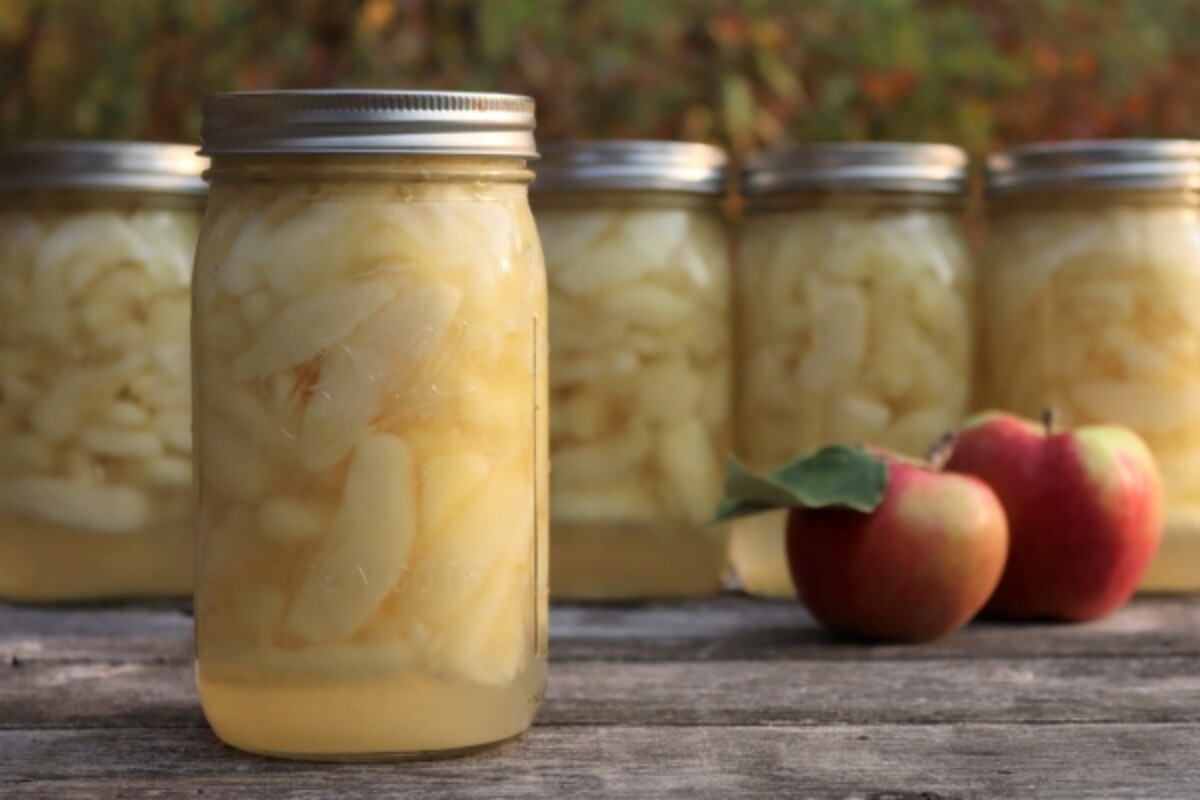
Pie Fillings
There are specific recipes for canning pie fillings using clear jel as a thickener. The resulting filling is perfect as a dessert topping right out of the jar, and it can also be poured into an unbaked pie shell for a quick home-baked pie.
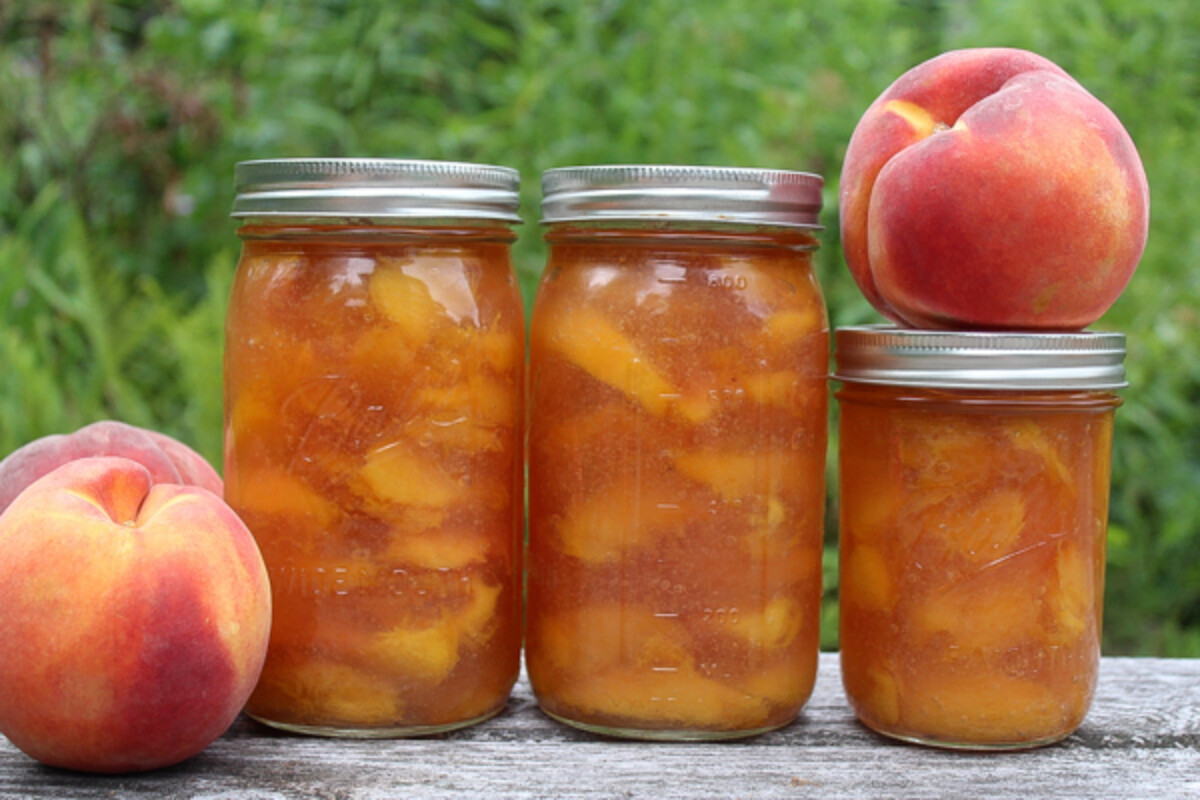
Pickle Recipes
Often made from low acid vegetables, pickles can be water bath canned because they’re made with a vinegar rich brine. The canning liquid needs to be at least 50% vinegar (at 5% acidity) to be safe for canning, so please be sure to follow tested recipes.
- Bread and Butter Pickles
- Classic Dill Pickles
- Pickled Asparagus (three ways!)
- Sweet Dill Pickle Relish
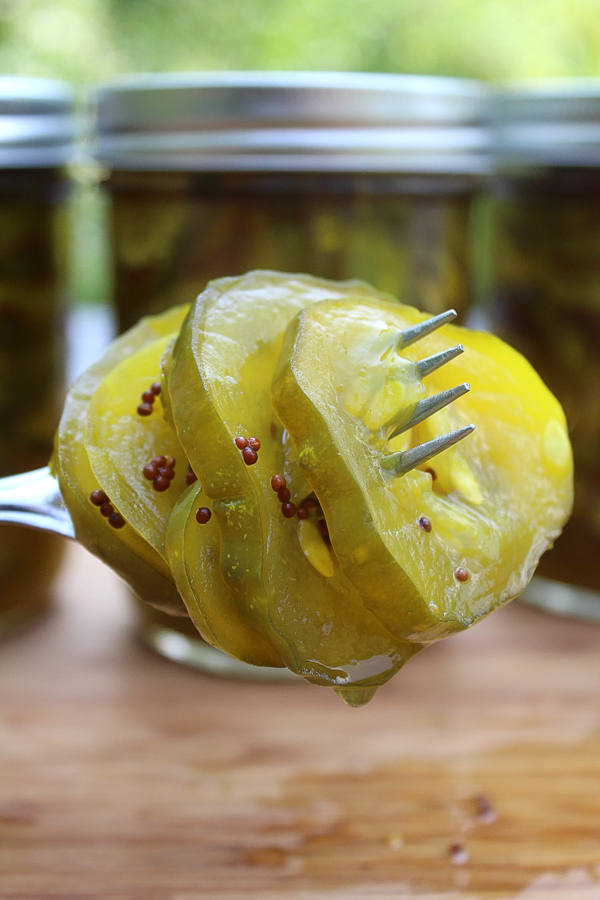
Sauce Recipes
Condiments and sauces are often quite acidic so that they bring out the flavor of the foods on your plate. That means many homemade sauces are perfect for water bath canning. (Still, be sure to use a canning approved recipe, as many sauces don’t have quite enough vinegar or lemon juice added for safe canning).
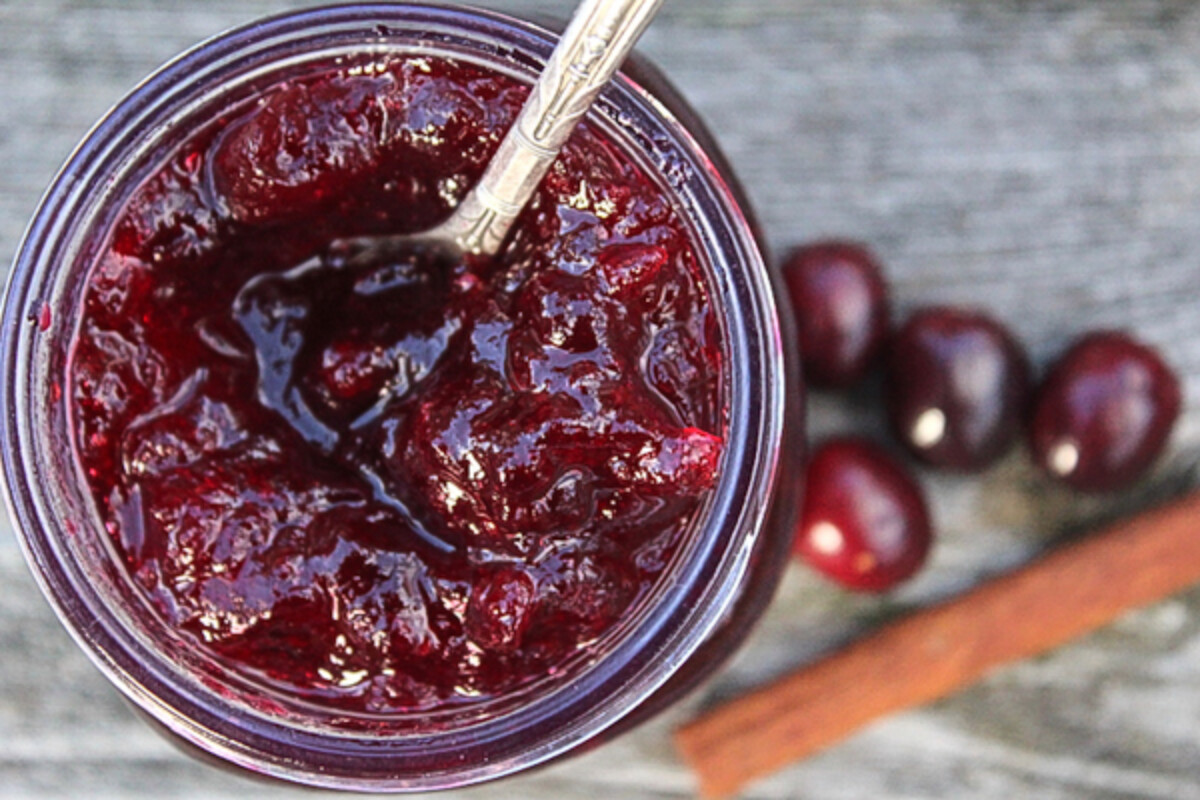
Looking for even more canning recipes? I’ve put together a comprehensive list of how to can everything, with both water bath and pressure canning recipes. It’s organized from A to Z, so it’s easy enough to find anything you could possibly put up in a canning jar.
Food Preservation Techniques
Looking for more ways to put up the harvest?
- 30+ Ways to Preserve Apples
- 20+ Ways to Preserve Pumpkins
- 30+ Ways to Preserve Eggs
- Preserving Cheese in Wood Ash
- Salt Cured Egg Yolks



Hello! I am new to water bath canning. I have am just wondering as my family prefers honey over cane sugar. Is it okay to swap the honey for the sugar portion? I know that honey is considered acidic, but I am still not certain. Thank you!
Yes, it’s perfectly fine to swap honey for sugar in canning recipes. Honey is a bit sweeter by volume than sugar, so generally you use a bit less (around 2/3rds as much). Sometimes jams will have trouble setting with honey, just because of the way it interacts with pectin, but that’s only occasionally. Most the time it works just fine. Best of luck with it!
I love your site. I’ve been canning since I was a child. I’m curious if you’re canning whole tomatoes, do you know if you can you bypass the water bath and use the electric mason jar vacuum sealer that is available now? I have one and it definitely seals. It sure would shorten the time and the water, lol.
Thanks
A sealed jar does not equal safe food. The canning process is required to heat the food up to a level to where it kills off harmful bacteria.
If a recipe calls for let’s say a 16 oz jar, can I follow the same recipe using a smaller jar?
Yup, you can definitely use a smaller jar and use the same canning times. (But not a larger jar, as canning times change that way.)
I canned peaches using the raw pack method. I then heated the sugar and water mixture. I did not boil the mixture although it was hot. I poured this over my peach slices and then placed them in the water bath canner. Will the peaches be safe even though I did not boil the water/sugar syrup before adding to the jars?
The National Center for Home Food Preservation indicates using hot liquid for raw pack so you should be just fine. It is recommended to use the hot pack method for better quality but they should be safe to eat as long as you followed the proper processing procedure.
I can not get your links to work for your products to purchase..
I’m sorry you’re having trouble with those links. I checked a couple of them and so far they seem to be working fine for me. Is there something specific that you were trying to purchase?
Yes
The funnel with the inches on it for canning
Thank you
Ok, thank you for sharing that. I did check that link and it seems to be working fine on this end. The link is for Amazon so you should be able to look it up directly on there.
When storing filled jars after processing, is it okay to stack them in the cardboard box they came in? I’m wanting to stack two boxes high on a shelf I have, but I’ve always thought this was a no no.
You can definitely stack the jars for storage as long as you do not disturb the seal. If you are stacking them it is actually best to have them in a box so that they are not directly on top of one another. This gives them more support and does a better job of protecting the seal.
How do you like to prepare your jars prior to filling them?
You want your jars to be clean and warm prior to filling to avoid breakage. If the processing time on your food is 10 minutes or more, the jars will be sterilized during the water bath and do not need to be sterilized in advance.
I have found it the water bath canner or even the pressure canner are not full I will put that size jar filled with water and seal it for storage and later use.
Could I have your recipe for grape jam?
Of course: https://practicalselfreliance.com/grape-jam/