Affiliate disclosure: This post may contain affiliate links. Please see our Privacy Policy.
Homemade jam is one of the simplest ways to preserve fruit at home. Learn the basics of how to make jam and you’ll be able to make just about any variety of fruit jam imaginable.
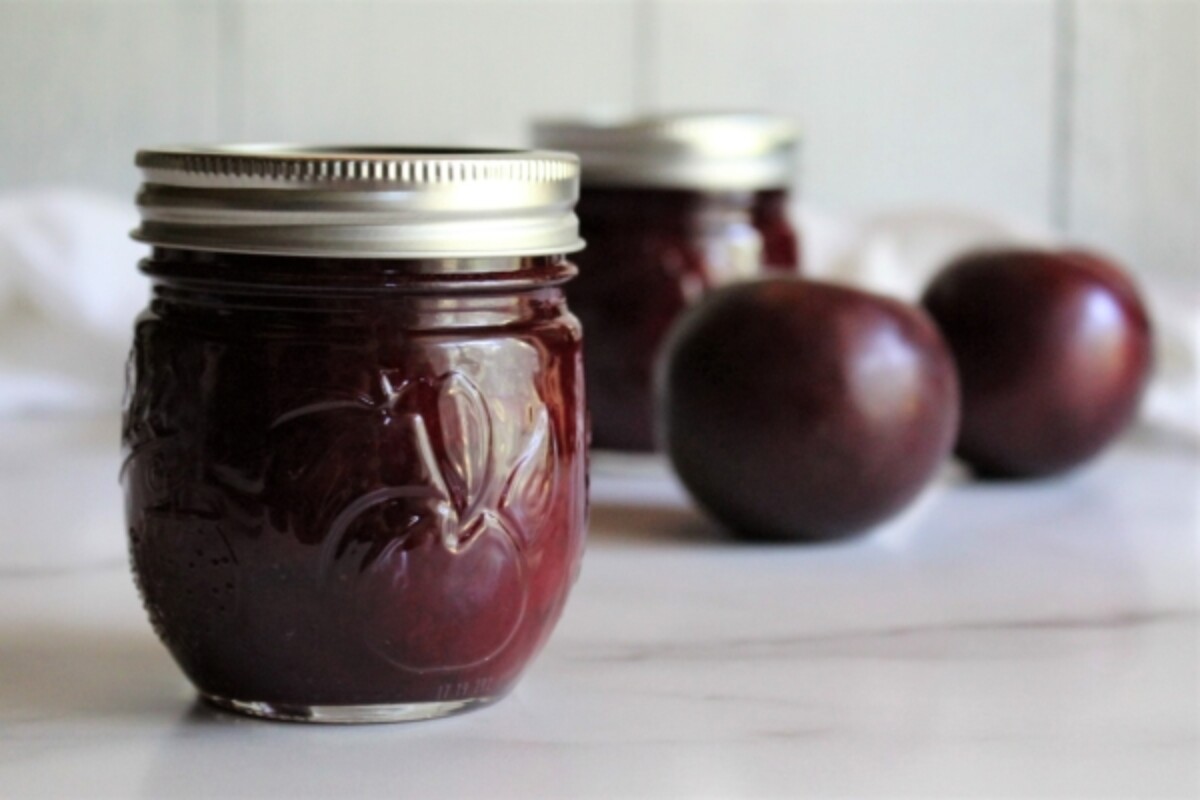
People have been making jam at home for hundreds of years, long before the advent of canning jars and convenient boxed pectin. Back in the day, the homemade jam was stored in small stoneware crocks and sealed with wax, paper, or simply topped with high proof spirits to prevent spoilage.
Canning jars make the process much more dependable, as does powdered pectin, which will help even the stubbornest low pectin fruits to set into silky homemade jam.
Making jam is incredibly easy these days, and there’s no reason to settle for lack luster grocery store preserves when you can have your own homemade jam bursting with all the flavors of the season.
Basic Process for Making Homemade Jam
The basic process for making homemade jam is pretty simple, and it’s more or less the same regardless of the type of jam you’re making. If you’ve never made jam before, here are the basic steps (before I really dive into the details later).
- Wash and Prepare Fruit (peeling, coring, etc)
- Place fruit in a saucepan or jam pot
- Add sugar, honey or maple syrup (if using)
- Bring the mixture to a boil
- Add pectin (if using), or simply cook until gel stage for a no pectin added jam (more on that later)
- Ladle into jars and cap lids
- Process in a water bath canner for a shelf stable jam, or store in the refrigerator if not canning
- Enjoy!
Jam Making Terminology & Equipment
Making jam is incredibly simple, but it helps to define a few terms from the start to avoid confusion.
- pH ~ A simple measure of the acidity of a given food, straight out of chemistry class. Fruits must have a pH below 4.6 to be safe for water bath canning. While most fruits seem acidic, many are not quite acidic enough without the addition of lemon juice or citric acid. Good examples include watermelon, persimmon, mango and cantaloupe. No need to break out the testing strips, University Extension Services put out convenient tables online that tell you the average pH of fruits for canning.
- Pectin ~ A natural starch found in fruits and vegetables that causes jam to gel when heated to the proper temperature. Boxed versions are available to help jam set, and they’re also made naturally, usually from citrus pectin.
- Gel Stage ~ The point at which a jam will gel or “set” is a specific temperature, usually right around 220 degrees F at sea level. The gel temperature drops 1 degree for every 500 feet above sea level, so it’s 218 F at 1,000 feet. Gel stage can be measured with a thermometer, or you can test the jam by flash cooling it on a plate that’s been placed in the freezer. (There are other methods as well, discussed below.)
- Headspace ~ The amount of space between the top rim of the jar and the level of the contents inside the jar. For freezer jams, it’s usually 1 inch to allow for expansion during freezing. For canning, it’s usually 1/4 inch so that there’s minimal air in the jar, which makes it easy to create a vacuum in a water bath canner. For refrigerator jams, it doesn’t matter at all. Too much or too little headspace can cause failed seals, so watch it if you’re canning.
- De-Bubble Jars ~ Air bubbles can be trapped inside the jam as it enters the jar, and when a canning recipe tells you to “de-bubble” the jars they mean run a spatula along the inside of the jar to free any air bubbles. After the air is released, you often need to add a bit more jam to maintain the proper headspace before capping the jars.
- Canning Jars ~ Jam gets very hot, and the sugar in fruits (or added sugar) allows it to reach temperatures well above the boiling point of water. It’s always a good idea to store jams in canning jars, which are rated to take high temperatures, even if you’re not canning jam.
- Canning Lids ~ The lids for canning jars, at least in the US, are usually made of 2 parts. A single time use canning lid, and a re-usable metal ring (or band) that holds the ring in place. Outside the US, other jar types are popular that have clips or single part lids.
- Check Seals ~ After the jam cools, canning recipes tell you to “check seals” to ensure that the jars have vacuumed shut. Failed seals mean that the jam is not shelf stable, and will need to be store in the refrigerator for immediate use. The jar is “sealed” if the little button in the center sucks down, and it won’t pop back up when pressed.
Beyond these terms, if you intend to can the jam to make it shelf stable, you’ll need to understand the basics of water bath canning. Canning is optional, and it’s perfectly fine to make a refrigerator or freezer jam for short term storage.
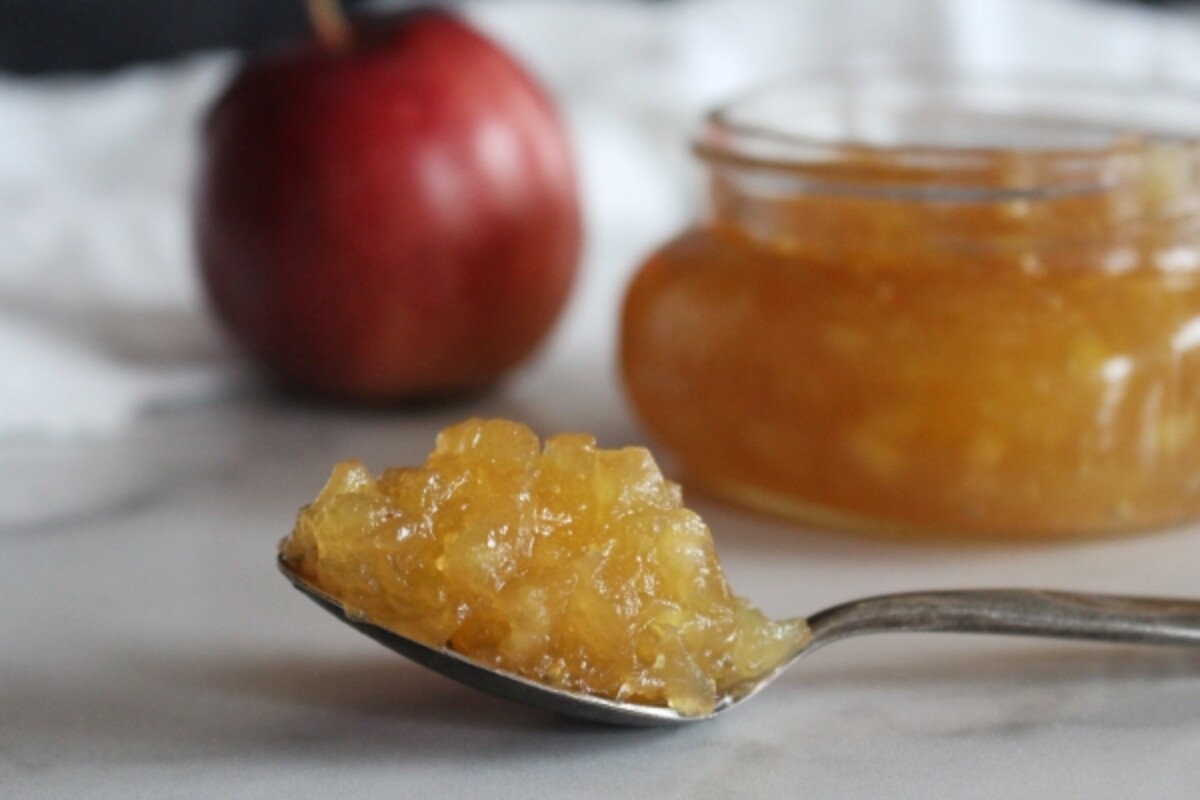
Ingredients for Making Jam
Generally, homemade jam is a simple preserve with just a few ingredients.
Fruit (or Vegetables!)
Jam is usually a fruit based preserve, but you can also make it with certain vegetables. Carrot cake jam is absolutely delicious, as is rhubarb jam, and I’ve even made a zucchini jam. Vegetables, and high pH fruits will need added acid to safely preserve them at a pH below 4.6, so be sure to follow a tested recipe.
Always use the absolute best produce you can find, as the flavor of the jam is entirely determined by the quality of the fruit.
Use the freshest fruit you can find, as this is really the only thing that gives the jam flavor.
Sugar, Honey or Maple
Generally, pectin sets best in the presence of sugar. Most old fashioned jam recipes opt for a 1:1 ratio of sugar to fruit (by weight) because they were written before water bath canning, and the sugar was used as a preservative. When canning, the sugar is only added for flavor and to help the pectin set properly, so it’s not required for preservation.
I make a delicious blackberry jam without added pectin using 1 part sugar and 5 parts fruit, and it sets beautifully. That said, blackberries are high pectin fruits with a good bit of natural sugar, and usually you’ll need more sugar than that to make jam set.
Honey and maple are also good options, and will both flavor and set jams just like white sugar. I don’t recommend artificial sweeteners, as they behave differently than sugar.
Pectin
Beyond natural pectin within fruits, there are a number of different types of pectin available for making homemade jam. Different types of pectin have different instructions, and won’t set if you add things in the wrong order. Be sure you have the right type of pectin for your recipe, or that you know how to alter the recipe to use the pectin you have on hand.
- Regular Powdered Pectin ~ This is the most common variation, and jam is made by first bringing the fruit and pectin to a boil together, then adding sugar. (Adding the sugar early will cause a failed set.) Generally, “regular” pectin requires a minimum of a 1:1 ratio of mashed fruit to sugar by volume. Popular brands include Sure Jell (which is my preference) and Mrs. Wages.
- Low Sugar Powdered Pectin ~ Regular low sugar pectin works the same way as powdered pectin, but doesn’t require sugar to set. It’s added in the same way, but then you can reduce the sugar in recipes. There are many brands, but I find Sure Jell Low Sugar Pectin to be the most dependable.
- Pomona’s Pectin (Low Sugar) ~ Many canners use Pomona’s Universal Pectin, which is an all natural pectin for low sugar or no sugar added jams. It’s added in 2 parts, with a powdered pectin and a bit of calcium dissolved in water to activate the pectin. It will set without any sugar at all, but be sure to follow the instructions on the box. The texture of the finished jam tends to be a bit more like gelatin than a smooth “jam” and I no longer use it because I prefer Sure Jell low sugar pectin as it’s easier to use and results in a better texture.
- Liquid Pectin ~ This should be called “high sugar” pectin because it requires astronomical amounts of sugar to set. Often recipes will require around 7 cups of sugar to 4 cups of fruit. Liquid pectin is added at the end of the jam making process, after the sugar and right before the jam goes into the jars (unlike powdered pectin that must be added before the sugar). It’s often used to “save” jams that just refuse to set, since it can be added at the very end after the sugar’s already in there. To keep the packets from spoiling, it has added preservatives in the pouch, and that combined with high sugar requirements prevents me from using it.
- No Cook Freezer Pectin ~ This is a special type of no cook pectin that’s only used for freezer jams. It basically sets mashed fruit into a jam like consistency without added heat. It cannot be used for canning, as the thickener will denature if heated. I’ve never used it, and honestly, I’m not sure what it makes is technically “jam,” but rather just thickened mashed fruit you store in the freezer.
Acid Source
Adding additional acidity is optional for most jams, as many fruits have plenty of natural acidity on their own. Some jams specifically required added acidity to ensure they’re below a pH of 4.6, so check the recipe to see if it’s truly optional.
Beyond just ensuring that the jam is acidic enough for preservation, a lower pH actually helps activate the pectin. Commercial pectin actually contains citric acid as well, to ensure a good set.
Usually, lemon juice is used as an acid source since it’s flavor complements the flavors of the fruit in most recipes. It also contains a lot of natural pectin, so sometimes it’s added in large amounts to boost the pectin levels in low pectin fruit jams. Lime juice is also a popular choice, but it’s flavor can dominate a homemade jam.
Citric acid powder is a neutral alternative that won’t add extra flavors to the jam. One tablespoon of bottled lemon juice is equal to 1/4 teaspoon of citric acid.
Other Ingredients
Beyond these basic jam making ingredients, you’ll sometimes see the addition of things like chia seeds, cornstarch, arrow root and other artificial thickeners. Recipes that include these ingredient’s aren’t actually “jam” in a technical sense, though they do result in a thickened fruit spread.
They’re not safe for canning (even if the recipe tells you otherwise), and they have a very different texture than a true pectin thickened jam.
How to Make Jam
Making jam at home is simple, and mostly just involves cooking fruit and sugar until it thickens. The process is somewhat different if you’re making jam without pectin, as compared to quick jam with added boxed pectin.
Making Jam without Added Pectin
My preference is always to make jam without added pectin whenever possible. It saves money, as a box of pectin adds about $1 to the cost of each half pint jar, and it also usually results in a better finished texture.
Old fashioned jams started with high pectin fruits and cooked them to “gel stage” with sugar or honey until they set. The total cooking time depends on the type of fruit and its pectin content.
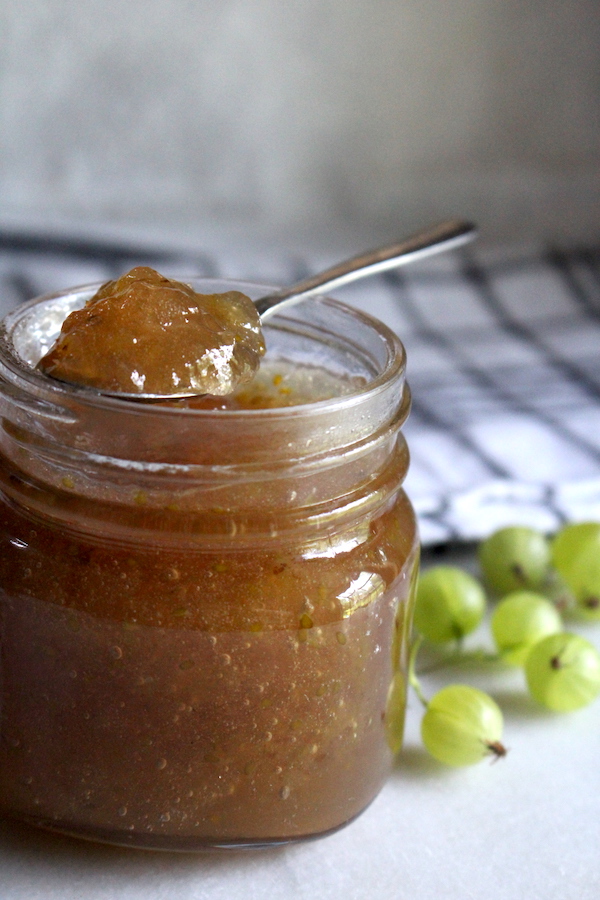
For example, Gooseberries are very high in pectin and low in water, so they’ll set in as little as 5 minutes. Basically, cook them just long enough to heat them through and you’ll have a stiff jam.
Other fruits, like strawberries, are low pectin and high water. They’ll require extended cooking, and often the addition of some high pectin citrus juice to set properly. Even still, after as much as an hour of simmering it may only achieve a lose set.
I’d suggest following a specific recipe which will give you guidance on how much sugar to add, cook times and whether or not you need added acidity. None the less, here’s the basic process for making jam without added pectin:
- Prepare the fruit (Wash, seed, peel, core, etc)
- Place the fruit in a heavy bottomed saucepan or stock pot.
- Add sugar and lemon juice (if using), ensuring that the fruit and sugar fill the pot no more than half way (it will foam up during cooking)
- Turn on the heat to medium/low and mash the fruit gently to encourage it to release juice to help prevent scorching (or add a tiny bit of water)
- Once the fruit have fallen apart, turn the heat up to high and boil hard
- Watch the mixture, as it approaches gel stage the bubbles will change and take on a slow glossy sheen
- Test for gel stage with an instant read thermometer (220 F at sea level), or by spooning a small amount of jam onto a plate that’s been in the freezer
- When the jam reaches gel stage, remove from heat and ladle into jars
This simple process works for high and moderate pectin fruits, but you may have trouble setting very low pectin fruits including blueberries and strawberries. For those, I’d suggest using added pectin.
That said, it is possible to make a no pectin added jam with any fruit if you’re determined (and patient).
Jam Recipes without Added Pectin
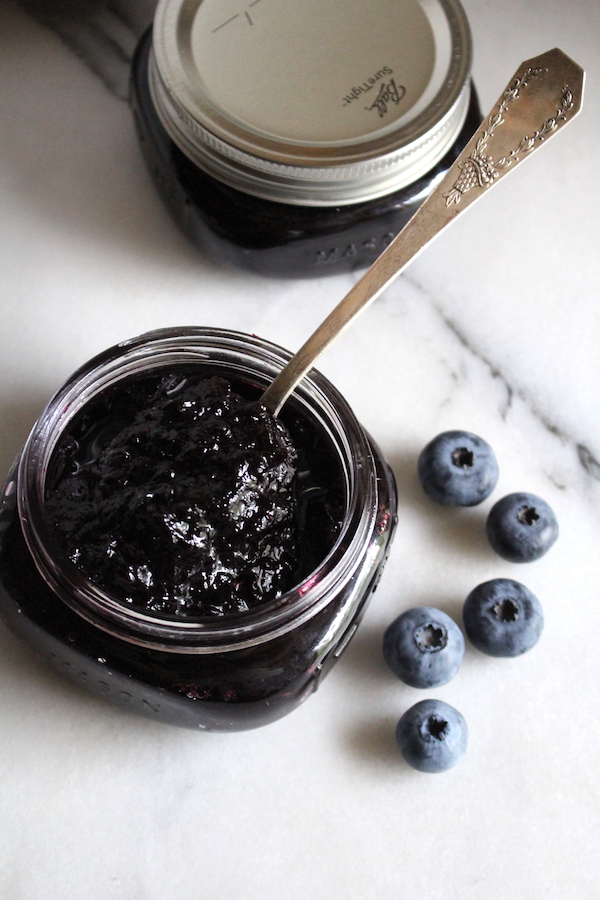
Most of my homemade jam recipes don’t add pectin:
- Apple Jam without Pectin
- Blackberry Jam without Pectin
- Blackcurrant Jam without Pectin
- Black Raspberry Jam without Pectin
- Blueberry Jam without Pectin
- Cherry Jam without Pectin
- Chokecherry Jam without Pectin
- Cornelian Cherry Jam without Pectin
- Gooseberry Jam without Pectin
- Grape Jam without Pectin
- Ground Cherry Jam without Pectin
- Haskap Jam without Pectin
- Kiwi Jam without Pectin
- Kumquat Jam without Pectin
- Mango Jam without Pectin
- Orange Jam without Pectin
- Pear Jam without Pectin
- Plum Jam without Pectin
- Quince Jam without Pectin
- Red Currant Jam without Pectin
- Rhubarb Jam without Pectin
- Strawberry Rhubarb Jam without Pectin
- Raspberry Jam without Pectin (coming soon)
- Strawberry Jam without Pectin (coming soon)
Making Jam with Added Pectin
The process for making jam with added pectin is a lot faster, and usually you’re done start to finish in less than 10 minutes. There’s a reason many modern cooks choose to add a convenient box of pectin rather than slow cook homemade jam.
To make jam with regular pectin, the order of operations is very important. The pectin must be added before the sugar or the jam won’t set properly. Here’s the basic process:
- Prepare the fruit (Wash, seed, peel, core, etc)
- Place the fruit in a heavy bottomed saucepan or stock pot.
- Add lemon juice (if using), but don’t add sugar yet! (Be sure that the fruit fills the pot no more than 1/4 to 1/3 so there’s space for both added sugar and foaming during cooking)
- Turn on the heat to medium/low and mash the fruit gently to encourage it to release juice to help prevent scorching (or add a tiny bit of water)
- Once the fruit have fallen apart, add the boxed pectin and stir to incorporate
- Turn the heat up to high and boil hard for 1 minute
- Add sugar, stir to dissolve and return the pot to a full rolling boil for 1 minute
- Remove from heat and ladle into jars
When using boxed pectin there’s no need to test for a “set” or check the temperature of your homemade jam. Provided you’ve used enough sugar to properly set the pectin and you’ve added the ingredients in the right order, the jam will set. Be aware that it can take up to 48 hours for boxed pectin jams to set, so don’t worry if it’s still runny as it cools.
Jam Recipes with Added Pectin
These jam recipes come together quickly, thanks to the added pectin:
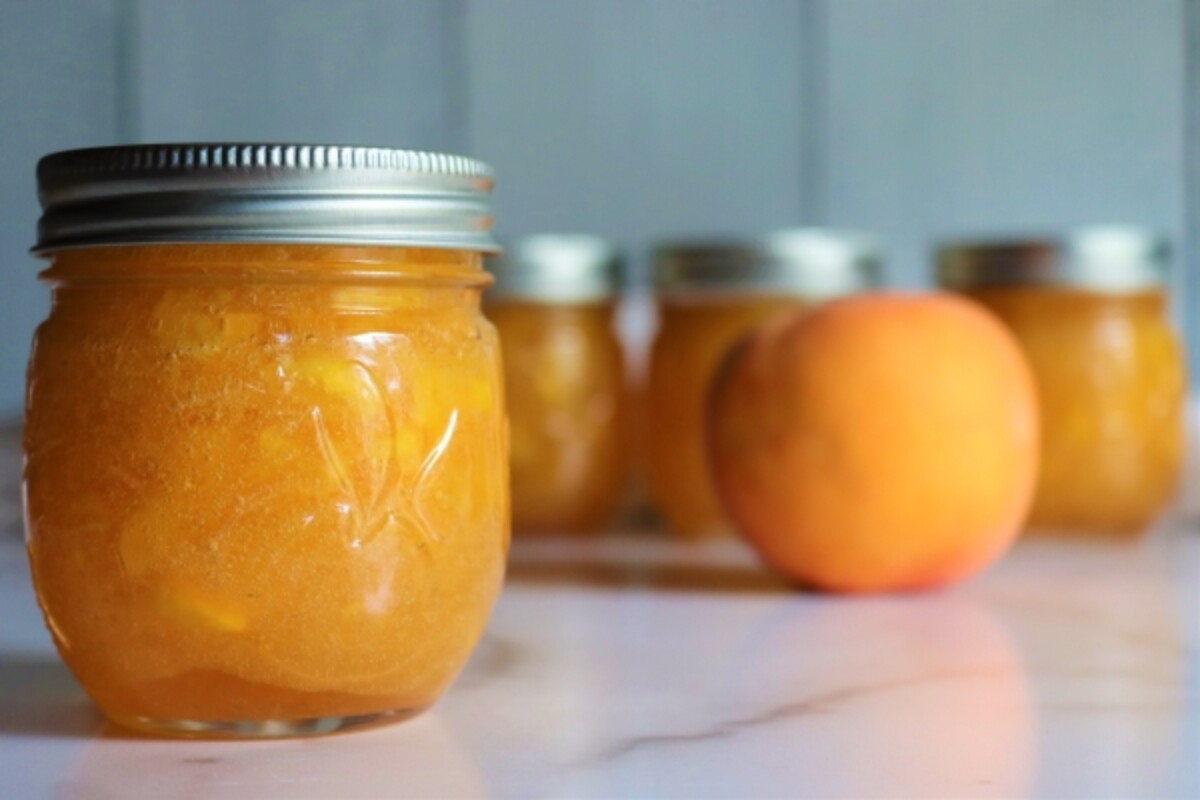
- Sure Jell Peach Jam
- Sure Jell Strawberry Jam
- Sure Jell Raspberry Jam
- Sure Jell Blueberry Jam
Making Jam with Low Sugar Pectin
Regular boxed pectin requires at least 50% sugar in the recipe, so if the jam doesn’t set the most likely problem is not enough sugar. Low sugar pectins are more dependable for this reason, and allow you to reduce (or eliminate) the added sugar without worrying about the set.
Most low sugar pectin varieties work exactly the same as regular pectin, and the order of operations is the same.
Pomona’s Pectin is the one exception, and requires the addition of two different ingredients (powdered pectin and calcium water), both provided in the package. The calcium water is added along with the fruit, and the powdered pectin is mixed into the sugar to distribute it so it doesn’t clump when added. The sugar and pectin are added together at the end, and then the jam in returned to a boil for 1 minute before removing it from the heat.
Low Sugar Jam Recipes
For the most part, you can just use a regular jam recipe to make low sugar jam. All you need to do is switch to a low sugar pectin, such as Sure Jell Low Sugar, and then reduce the sugar as much as you’d like.
Pomona’s pectin often requires a specific recipe, as it’s trickier to get the proportions right.
- Low Sugar Peach Jam (Pomona’s Pectin)
- Low Sugar Strawberry Jam (Pomona’s Pectin)
- No Sugar Added Strawberry Jam (Pomona’s Pectin)
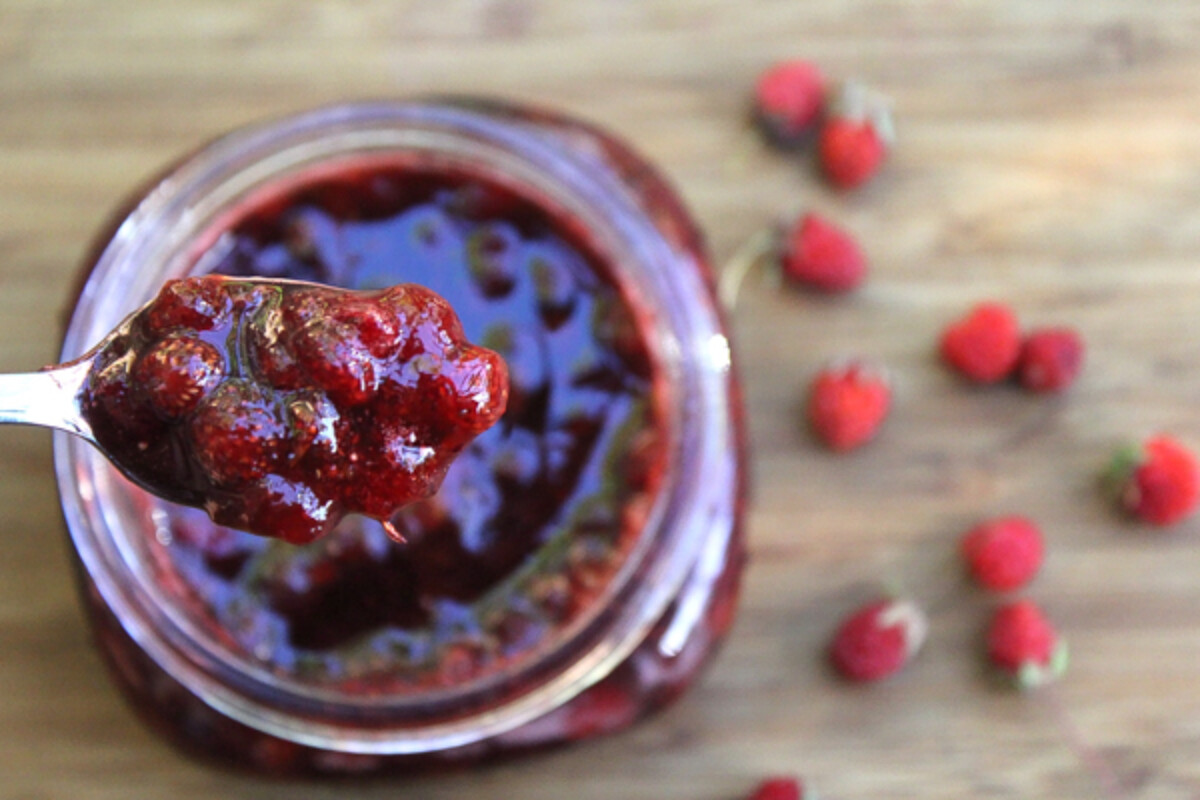
- Wild Strawberry Jam (Pomona’s Pectin)
Other Ways to Make Jam
While I’ve walked you through the basics of making jam at home, there are a few other unique ways to set fruit into an absolutely spectacular spread.
Sun Jam is another technique that thickens jam without extended cooking. You start by bringing the fruit to a boil with sugar, but then you remove the mixture from the heat and spread it on a shallow baking sheet. Leave that sheet in the sun and it’ll slowly evaporate over 24 to 48 hours and thicken naturally. It’s actually one of the best ways to make strawberry jam without pectin, since extended cooking isn’t great for the delicate flavor of fresh strawberries.
Chia seed Jam isn’t technically a “jam” but it will set beautifully without added sugar. You’re basically using the gelling properties of chia seeds to set the juices in the fruit. The fiber filled chia seeds add a bit of extra nutrition, and it’s a great way to make a healthy homemade jam.
Food Preservation Tutorials
Looking for more detailed food preservation tutorials? Read on…
- Beginners Guide to Cheesemaking
- Beginners Guide to Lacto-Fermentation
- Beginners Guide to Pressure Canning
- How to Make Homemade Beer
- How to Make Homemade Wine
- How to Make Apple Cider Vinegar


Hi Ashley. I messed up and used freezer pectin to water bath can my strawberry jam. 4 1/2 pds strawberries, 1/4 c. Lemon juice, 7 c. sugar, 6 tbs. freezer pectin. I use it in my yogurt so I don’t care if it sets. Is it safe to store?
Probably? I just looked up the ingredients for freezer pectin from mrs. wages, and here’s the list I found:
Ingredients: Dextrose, Fruit Pectin, Citric Acid, Sodium Citrate (Controls Acidity), Potassium Sorbate (Preservative)
All of these ingredients are fine for waterbath canning, so if you used their pectin then it’s fine. They’re one of the most common brands. Take a look at the ingredients on the freezer pectin you used (if not mrs wages), and so long as it’s similar with no starch of any kind, then it’s totally fine to store.
But, as you say, may or may not set.
This is such a wonderful article. I’ve been making jam for several years, and I learned new things reading this! Like you, I prefer to make my jams without pectin…but I always thought the sugar was necessary for preservation! I’ve always “cheated” a bit by using less than the recipes called for, and I’ve never had a problem with spoilage,,,haven’t killed anyone yet. But I did worry that I might be taking a risk there. SO happy to hear that the sugar is not crucial!
One question: If there’s no tried-and-true recipe out there for the jam I want to make (like the wild plum-fig jam I make each summer), can I just use testing strips to ensure the pH is below 4.6?
You should be able to do a quick internet search to find out the pH of a specific type of fruit.
Lots of good info here. I just finished making grape jam with no pectin and little sugar and I don’t mind saying it’s some of the best jam I’ve ever tasted. Just looking around to see what else the cookbooks and elders have been lying to us about! If you haven’t made grape jam, I highly recommend it. Separating the skins from the pulp, and then the seeds from the pulp is a bit time consuming (and sticky!), but it’s worth the effort.
My next mission is dealing with piles of quince before they rot…
This is one of the best articles I’ve read that gives simple and very easy to understand directions! I’ve always wanted to make my own homemade jams but it’s always intimidated me but after reading your article I’m excited to give it a try. I’ve read several of your articles and really love your style of keeping it simple and understandable in every single one I’ve read. Great job!
Thank you so much for that. I am glad to know that it was helpful for you.
Just finished making violet jelly about 2 hours ago! I followed the steps and it turned out perfect. I’m glad my grandson helped pick the flowers because that was a lot of bending. I hope to try making the dandelion jelly next and later on the plantain salve.
Wonderful! Hope you enjoy them!