Affiliate disclosure: This post may contain affiliate links. Please see our Privacy Policy.
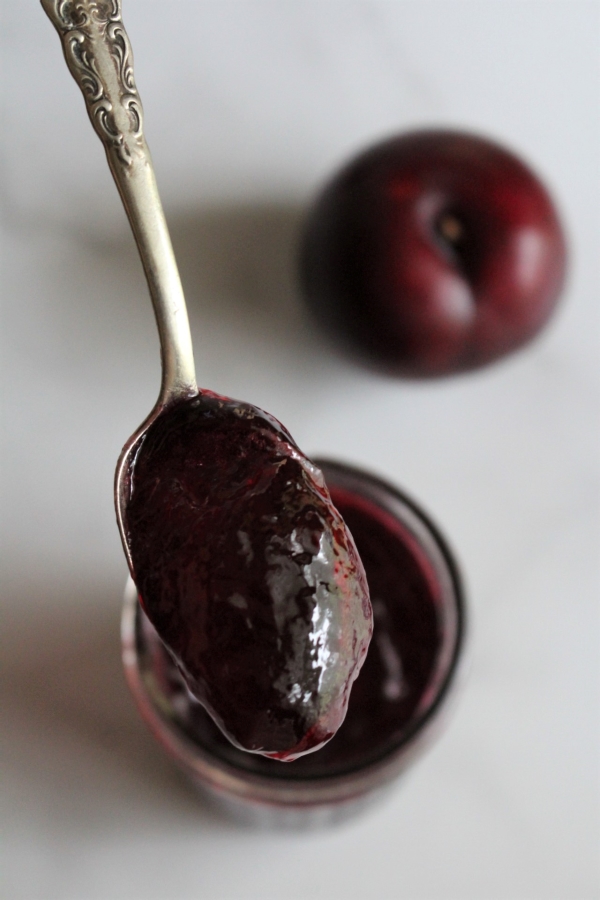
Plum jelly gives you all the flavor in a rich plum preserve without the skins. Plums have plenty of natural pectin and acid, and this easy plum jelly comes together with just two ingredients (no added pectin needed).
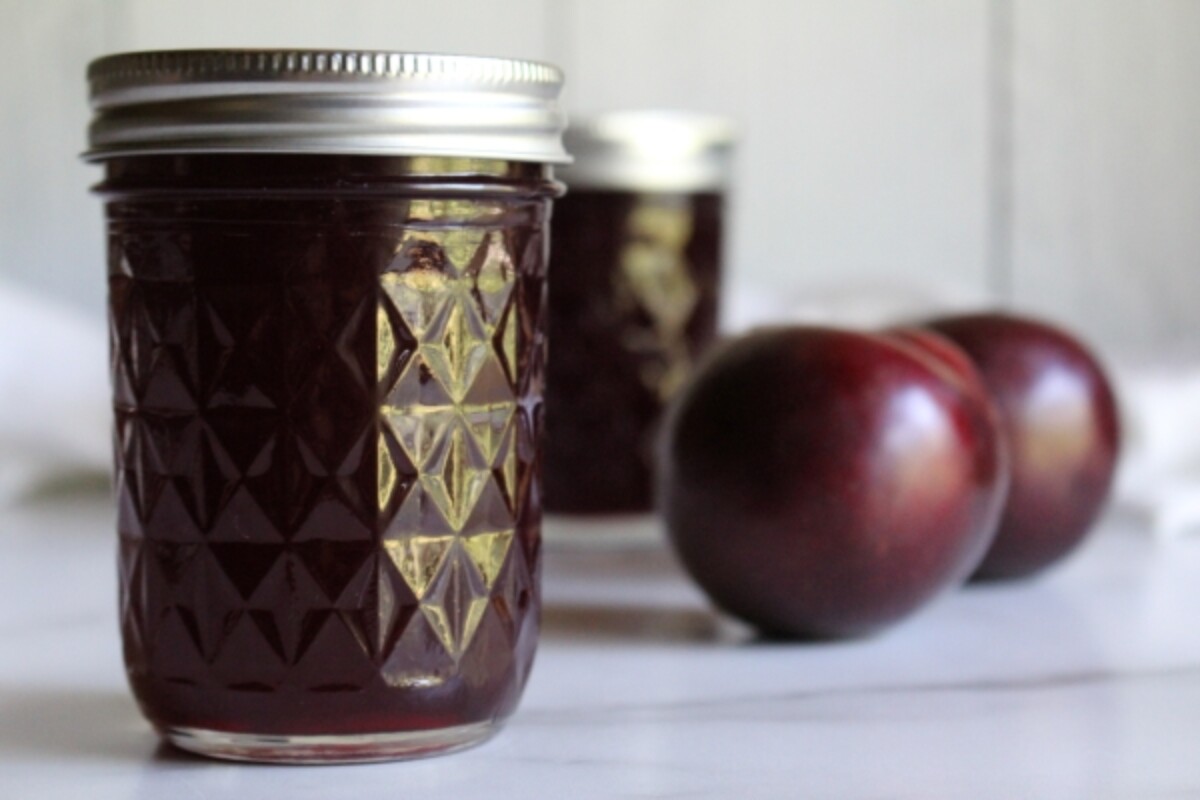
The eternal question when making preserves at home…jam or jelly?
My kids always prefer jelly, no matter the fruit. They love how it spreads smoothly across their sandwiches and jiggles on the spoon.
Plum jam is one of my absolute favorites preserves, and I actually love the big chunks of fruit in the jar. Jam’s not always the best choice though, depending on the fruit.
There are literally hundreds of types of plums (just like there are hundreds, if not thousands, of types of heirloom apples), and they’re all quite different.
Besides just preferring jelly to jam, there are plenty of reasons to preserve plums as jelly:
- Clingstone Fruit – Some of the most flavorful plum varieties are clingstone, and they don’t pit cleanly. It can be incredibly difficult to pull all the fruity goodness off of those pits, and it’s messy in any case.
- Small Fruit – While modern grocery store plums are often the size of tennis balls, easily filling your palm, many homegrown varieties aren’t all that much bigger than a plump cherry. It’s a lot easier to just skip pitting and chopping altogether and just make plum jelly.
- Bitter Skins – Not all plums have sweet skin! Wild plums and damsons, some of the best for plum jelly, are small enough to be pitted with a cherry pitter, so pitting isn’t the big issue. The problem is their skins can be bitter if left in the finished preserve. Simply cooked for a short period of time while making plum jelly they contribute color and flavor but hold onto their bitterness so that it’s filtered out.
- Grainy or Stringy Plums – Some plum varieties can be a bit stringy when cooked, and they just don’t make an attractive plum jam. Filtering out the stringy pulp and just leaving the incredible plum flavor in straight plum jelly is the best option there.
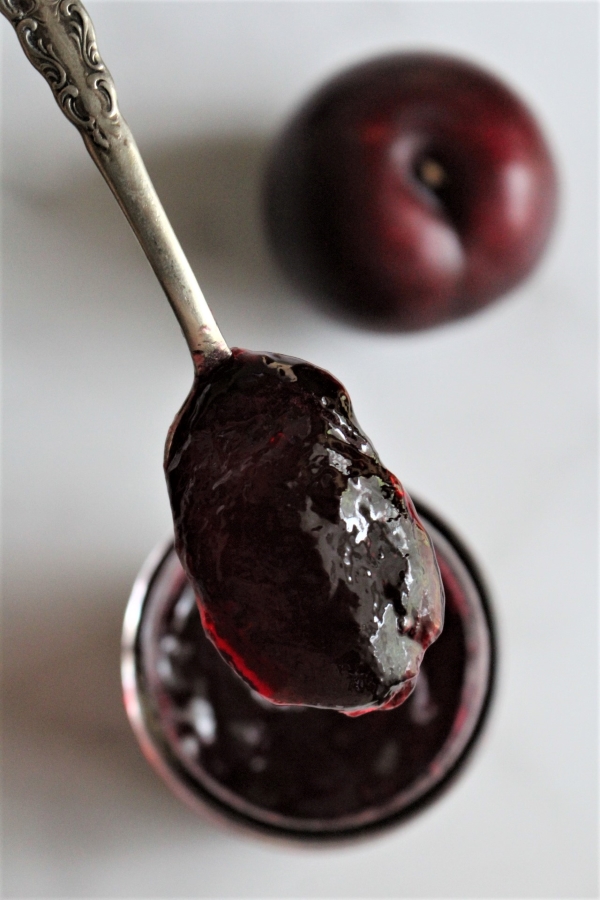
Whatever your reason for making plum jelly, know that it’s actually quite easy. Plums have a good bit of pectin, mostly in their skins, but if simmered with skins intact before straining it’s easy enough to make a firm set plum jelly without added pectin.
It’ll stand up beautifully on the spoon, and still spread nicely on your toast. The best of both worlds!
How to Make Plum Jelly
Making plum jelly starts with extracting plum juice by simmering.
If you’re tempted to use a juicer here, don’t. Simmering the whole fruit, especially with the pectin rich skins, is required to extract the pectin to naturally thicken the jelly
There’s no need to pit or skin the plums, they can go into the pot.
If the plums are large, go ahead and coaresly chop them so they beak down easier and cook faster. Likewise, if they’re freestone and the pits come out easily, go ahead and remove them (don’t bother for clingstone).
However you prepare them, make sure you leave in the plum skins for both color and pectin.
Add 1/2 cup of water for each pound of plums and bring to a boil over high heat. Reduce to a simmer and cook 15-20 minutes, until the fruit has completely broken down.
Strain the mixture through a jelly bag or a fine-mesh strainer lined with 2 layers of cheesecloth. Allowing the bag to drip for at least 1-2 hours (or overnight), or until the pulp is pretty well dry.
Measure the resulting juice.
For every cup of plum juice, add 3/4 cup of sugar.
Bring the mixture to a hard boil on the stove and cook over high heat until it reaches gel stage.
On a thermometer, gel stage is 220 degrees F at sea level. At higher elevations, it drops by one degree for every 500 feet above sea level. I’m at 1000 feet elevation, so I finish my jelly at 218 degrees F.
If you don’t have a thermometer, you can test the jelly on a plate that’s been chilled in the freezer.
Plum Jelly Yield
How many plums do you need for a batch of plum jelly?
It can vary a bit, as some plums have a lot more juice than others. The size of the fruit, and thus the flesh to pit ratio can affect yield too.
With plump juicy fruit, you’ll get about 3/4 to 1 of juice per pound of fruit. That’s if you start with 1/2 cup water per pound of fruit and simmer for 15-20 minutes. During that time the water cooks off, leaving just plum juice at straining.
For smaller plums or dryer fruit (like wild plums), expect around 1/2 to 3/4 cup juice per pound of fruit.
I stared with a bag of plump juicy plums, and since they were freestone I removed their pits. I was able to collect 4 cups of juice from 4 pounds of chopped prepared fruit (no pits).
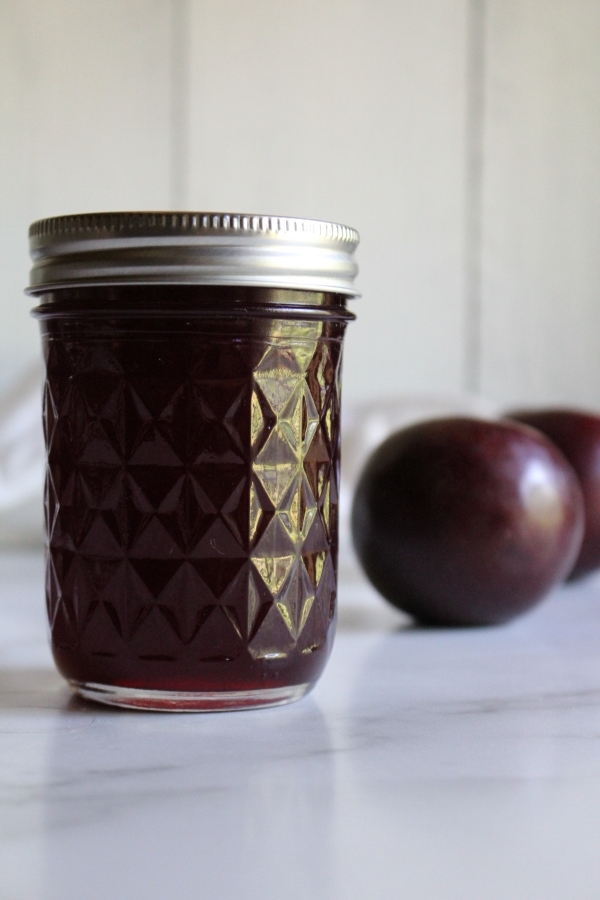
Making plum jelly with 3/4 cup of sugar per cup of fruit, so 4 cups juice and 3 cups sugar, this recipe yields 3-4 half-pint jars. (Or 3-4 cups of finished plum jelly.)
Plum Jelly Variations
The choice of plum variety is really going to impact the finished flavor.
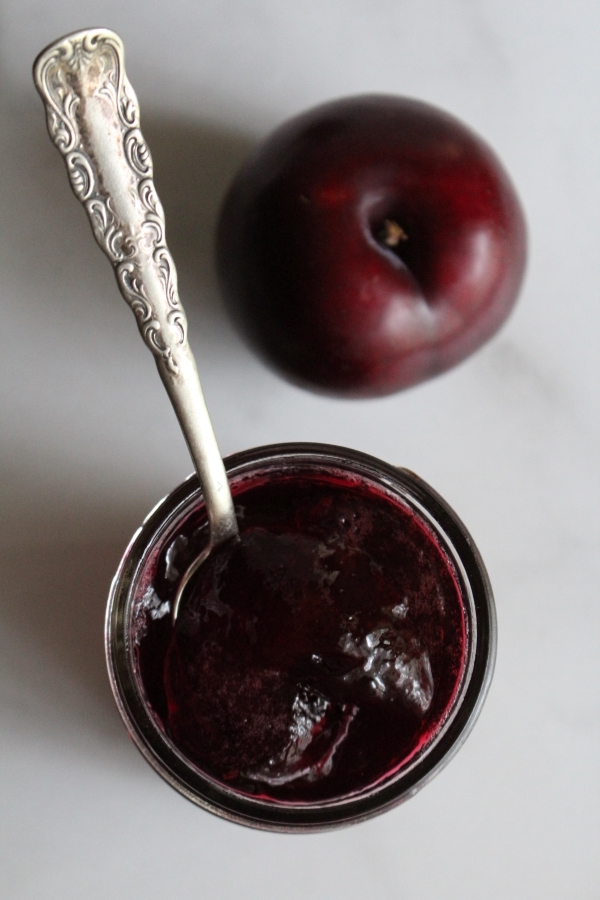
Greengage plum jelly, for example, is completely different from damson plum jelly, both in color and flavor. One will be bright green, light, and sweet, while the other is a deep purple (almost black), with deep flavors like a fine red wine.
If you’d like to branch out and make a mixed fruit jelly, be careful with your choice of fruit.
If you add other fruits they should have at least a moderate amount of pectin. Plums have just enough pectin to set without added commercial boxed pectin, but if you add low pectin fruit to the mix, the jelly may not set properly.
Good choices include red currants, apples, crabapples, hawthorn fruits, chokecherries, cranberries, and citrus fruits. All of those are moderate to high in pectin.
Avoid adding cherries, strawberries, raspberries, peaches, and apricots, as all of those are low pectin and will prevent the jelly from setting. In that case, you can still make it work, but you’ll need to add boxed pectin for a proper set.
Beyond simply the choice of fruit, however, you can also add other flavors to compliment the finished plum jelly.
Here are a few ideas:
- Balsamic Roasted Plum Jelly – Slice the plums in half and sprinkle them with sugar and balsamic vinegar, then roast them cut side up in the oven until the sugars begin to carmelize (but be careful not to burn them). Remove from the oven and proceed with the plum jelly recipe.
- Spiced Plum Jelly – Add a cinnamon stick, a few allspice berries, and a clove or two into the pot when cooking the whole plums. After straining, substitute a small amount of brown sugar for some of the cane sugar. About 1/4 cup brown sugar and 1/2 cup white sugar per cup of juice is a good balance.
- Vanilla Bean Plum Jelly – Add a scraped vanilla bean to the pot when cooking the jelly (after straining).
- Honey or Maple Sweetened Plum Jelly – You can substitute either honey or maple for the sugar in this recipe.
The possibilities really are endless, use your imagination!
Canning Plum Jelly
It’s totally fine to make this recipe for plum jelly as a refrigerator or freezer jelly, no canning required.
That said, water bath canning is incredibly simple, and it only takes a few minutes to process plum jelly so you have it available on the pantry shelf year-round.
If canning, make the plum jelly just as you otherwise would, but ladle into prepared canning jars leaving 1/4 inch headspace. Wipe rims, de-bubble jars, and seal with 2 part canning lids.
Process the jars in a water bath canner, adjusting for altitude (see table below).

It’s important to note that the 5 minute process time for 0-1000 feet assumes you sterilize the jars by boiling them for 10 minutes in the water bath before filling. New guidance from the national center for food preservation says that it’s not necessary to pre-boil the jars if the processing time is 10 minutes or more.
You can actually save yourself time (and mess) if you just process the jars for 10 minutes under 6,000 feet in elevation, and 15 minutes above 6,000 feet. That way, you don’t have to boil the jars before filling, just make sure they’re washed and clean.
Once the canning time is complete, remove the jars to cool on a towel on the counter. Leave them undisturbed for 24 hours, then check seals.
Store any unsealed jars in the refrigerator for immediate use.
Be aware that it can take jellies 48 to 72 hours to set properly. If you’re plum jelly’s not set, don’t panic, just be patient. If after 3 days it still hasn’t set, try these steps for rescuing a soft or unset jelly.
Ways to Preserve Plums
Looking for more ways to preserve plums?
- Plum Jam
- Canning Plums (whole or halves)
- Freezing plums
- Dehydrating plums
- Russian Brined Plums (they’re preserved with Lacto-fermentation)
Plum Jelly
Equipment
Ingredients
- 4 cups plum juice, from 5-6 lbs plums, whole as purchased, or 4-5 lbs pitted
- 3 cups sugar
Instructions
Extracting Plum Juice for Jelly
- Wash and coarsely chop plums, or leave small plums whole. Pit if freestone, or leave pits in if clingstone. Do not skin plums, the peels are needed as a pectin source.
- Place plums in a stockpot or deep saucepan with 1/2 cup water per pound of plums (ie. 3 cups water for 6lbs plums).
- Bring the plums/water to a hard boil over high heat, then reduce the heat and simmer for 15-20 minutes until the plums have completely fallen apart.
- Remove from heat and strain the juice through a jelly bag or fine mesh strainer lined with a double layer of cheesecloth. Allow the mixture to strain for at least 1-2 hours, or overnight until the pulp is quite dry and the juice is extracted.
Making Plum Jelly
- Measure the extracted juice. For every cup of plum juice, add 3/4 cup sugar. Starting with 5-6 lbs whole plums you should have about 4 cups juice (so add 3 cups sugar), but the yield will vary depending on the juiciness of your fruit.
- Bring the sugar and juice to a hard boil in a deep saucepan. Cook over high heat for about 15 minutes, until it reaches gel stage. Test for gel stage with an instant-read thermometer (220 degrees F at sea level, see notes for altitude adjustments). Or, test for set on a plate that's been chilled in the freezer.
- When ready, ladle the plum jelly into prepared jars leaving 1/4 inch headspace. Wipe rims and seal with 2 part lids.
- If canning, process the jars in a water bath canner for 10 minutes (below 6,000 feet in elevation) or 15 minutes above 6,000 feet.
Properly water bath canned jelly will maintain peak quality on the pantry shelf for 12-18 months. Store in the refrigerator after opening. If not canned, allow the jelly to cool to room temperature and then store in the refrigerator for up to 3-4 weeks, or freezer for 6 months.
Notes
Nutrition
Nutrition information is automatically calculated, so should only be used as an approximation.
Jelly Recipes
Try making these other easy homemade jellies!
- Grape Jelly
- Strawberry Jelly
- Blackberry Jelly
- Peach Jelly
- Pear Jelly
- Dandelion Jelly
- Wild Violet Jelly
Summer Canning Recipes
Keep your canner hot with these summer canning recipes!
- Canning Peaches
- Canning Strawberries
- Canning Corn
- Canning Peppers (Hot or Sweet)
- Canning Green Beans
- Canning Whole Tomatoes
- Tomato Canning Recipes (Sauce, Salsa, etc)
- Zucchini Canning Recipes



I look forward to giving this recipe a try with all the plums my aunt gave us from her tree. Do you have suggestions for what to do with the pulp besides just tossing it? Thank you!
You can use the pulp to make plum butter! You can run it through a food mill to get it a nice smooth consistency (and remove seeds if they’re in there) and then cook it into a butter like apple butter (with a little sugar).
Perfect, thanks!
Hi, just wanted to verify, it’s said that this won’t work with a juicer; does this mean steam juicer, too? It sure is tempting to use one as it’s so much easier to make the juice that way.
The reason for this is because most of the pectin is in the skins of the fruit. Simmering the whole fruit allows you to extract the pectin from the skins so that no store-bought pectin is needed.
Hi, thanks for the answer! Just wanted to give a little feedback:
There are some plum trees growing in our orchard, and I never paid much attention to them as the fruit are small and not that tasty. Also I always thought that they are simply a smaller fruited or wild-ish variety of plums, but turns out they are most likely a different species: “cherry-plums” Prunus cerasifera, not the more fancy Prunus domestica.
Anyway: tried one batch from a yellow-fruited tree, made the juice with the longer simmering + strainer method — I guess I either did not boil it long enough with sugar or the particualar tree produces fruit with less of it’s own pectin, the jelly did not set (not much of a problem, will use it to make a sweetened drink or the like).
Decided to give it another try as the small plums are really abundant and it’s kind of a shame to let them all go to waste. Picked plums from a red fruited tree, this time just used the steam juicer as it’s so much more quick; and did boil the juice with sugar quite a bit longer (and also actually heeded what the thermometer says). It jellied.like.a.brick.
I guess it makes sense that the steam juicer method works for small plums, as there is much more skin (and thus also pectin) per juicy flesh.
So now I have found at least one use for the small plums 🙂
Thanks for sharing.
I have tried this recipt 2 times now with no success in getting the jelly to det. I followed the recpt. to the letter, process with the skins on, bring to temp. (checked with a food thermotor, exact amount of sugar as in the recpt. Both times they just cam out after 3-4 days with thick juice! Save yourself a lot of work, don’t try without pectin!
I’m sorry that happened. It’s possible that the variety of plums you used had a lower pectin level.
I have made both blackcurrant and plum jelly. Both turned out beautifully and are very popular. I am new to preserving and jam making having bought a house that has multiple fruit trees in the garden. I love the uncomplicated nature of your website and the clarity of the instructions. You have helped to make me an avid jam / jelly maker!
That’s wonderful! We’re so glad you’re enjoying the recipes.
God Morning, I attempted to make the Plum Jelly per your recipe (no pectin) and instructions. (Sadly) The Plum Jelly did not set. Then I followed your instructions for: “If your jelly did not set”. using pectin this time. (Sadly again) the jelly did not set. Help? Suggestions?
Did you simmer the whole fruit along with the skins?
Thank you so much for your reply. I apologize for delay in getting back with you. Life Happens. To answer your question …. Yes, per your instructions. The jelly did not set. Then we followed instructions for when / is jelly doe not set. In that recipe it called for sugar and pectin. Which I added and attempted to make jelly again. It did not set. I followed and met temperature requirements on both occasions.. I am scratching my head. Can I redo it using the unset jelly?
I look forward to hearing from you.
R/
David
You can try to redo it but if you already did that with the sugar and the pectin, I’m not sure that doing it again will help.
plums combine with all the fruits….raspb, strawb, peach ,etc. to make wonderful jams. sorry, you may have mentioned that.
Hi! After simmering whole wild plums with pits still inside, can I just take out the pits and leave the pulp if I want more of a preserve rather than a jelly?
Thanks!
Yes, that would be totally fine.
Thanks! Your jelly looks delicious, I’ll have to try it. But it’ll have to wait until next summer, since this year’s plum harvest is already swimming in the jars down in the cellar, glowing like little red evening suns. I’m using very similar jelly recipe with strawberries, but it never lasts long enough for me to can it (we eat it hot with quark dumplings and sour cream, kids love it).
Anyway, do you know “powidl”? https://en.wikipedia.org/wiki/Powidl
We make it from different kind of plums (prune plums – https://en.wikipedia.org/wiki/Prune_plum), generally without sugar if they are very well ripe and sugary; otherwise you’d put about a pound of sugar per four pounds of plums. You also can spice it with ground cinnamon, ground clove, lemon zest and a dash of rum if you’re so inclined. You boil pitted and chopped/mashed unpeeled plums slowly over small heat, stirring frequently if not constantly (it likes to stick and burn), until all free liquid is gone, pulp is dissolved and the resulting smooth goo is about to start caramelizing (it can take as much as four hours depending on the ripeness and juiciness of the fruit used); that’s when you take it off the fire and ladle it into a jar/pot. Traditionally it’s preserved by pouring a small amount of rum (or wine brandy, if one dislikes rum) into the full jar and placing an appropriately sized parchment paper circle onto the surface snugly before closing the lid. The paper keeps air away, the alcohol and next-to-zero amount of liquid in the preserve prevents germs from growing. That’s how they did it before they knew canning.
The taste is much more “earthy” and concentrated than jam, the consistency is that of soft cheese – firm, but spreadable.
Then there’s my practical grandma’s alternative lazy recipe. First you bake sliced plums in a deep baking tray, the same amount as above, doused with two tablespoonfuls of vinegar (not sure why, probably to balance out the sugars; the recipe doesn’t explain), at 400F for about half a hour without stirring. Then you cover the plums with half of the sugar and bake for another 15 minutes, then spice with three ground cloves, a dash of cinnamon, 3-5 tablespoons of rum, stir, add the rest of the sugar and bake for another 15 minutes. Then push it through a sieve (or more likely today, a food processor). If it’s too runny (which it probably is), stick it back in the oven, occasionally stirring until it’s thick to your liking (another half a hour should suffice). This version is quicker and much less work-intensive, but the product might be slightly more prone to spoilage due to higher amount of liquid in the mass.
Either recipe can be used with many other sweet temperate climate fruits, not just plums. Blueberries for example. Pear powidl is my most favorite by far, it goes awesome with cheese. Apples can be used too, perhaps with a quince or two added for good measure – it’s surprisingly good with roasted meat. Other than that, powidl is most often used as pastry filling, as sweetener, or as breakfast spread on bread or pancakes (heaps healthier than nutella!)
I have not heard of powidl before. This sounds very interesting. Thank you so much for sharing.